
The diy sleep mask pattern you'll find here might turn out to be the BEST ever diy gift for anyone who can benefit from a quick, energizing nap or a full night's sleep - and that's pretty much everyone!
Especially you. For those mornings you want to sleep in and the sun is bright. Go ahead, make one and test it. You'll thank me later 🙂
This is a beginner-friendly sleep mask. It's also super comfortable and soft, and I redesigned the curve for better light-blocking. Scroll down for the link to the sleep mask pattern, sew it up, and sleep late this weekend!
Prefer an ad-free printer-friendly option of the whole tutorial+pattern? See the → optional PDF file in our shop.

This tutorial is also part of Printable Tutorials BUNDLE
100 PDF tutorials now, and growing!
Table Of Contents
- Diy Sleep Mask
- Sleep Mask Sewing Video
- Finished Size
- Supplies:
- Diy Sleep Mask Tutorial
- How do you make a kids sleep mask?
- How to make sure the elastic for a child sleep mask is short enough?
- How To reduce Bulk When Sewing?
- What is the best fabric for sleep eye mask?
- WANT A PRINTABLE COPY OF THE WHOLE TUTORIAL?
- WANT MORE FREE TUTORIALS AND Sewing Patterns?
Diy Sleep Mask
I never thought a super easy sew like this one would make my sleep so much better! I made my first sleep mask when I was a student. Just after I'd realized there were no light-blocking curtains in my dorm room. And then I sewed a few more when kids were little and I, new mom, needed every precious minute of sleep I could get. Those sleep masks surely saved my sanity. And when traveling too, those quick, energizing naps were life-savers!
None of those would be possible without my cool 'light-blocking tool'.
Various Interfacing Options
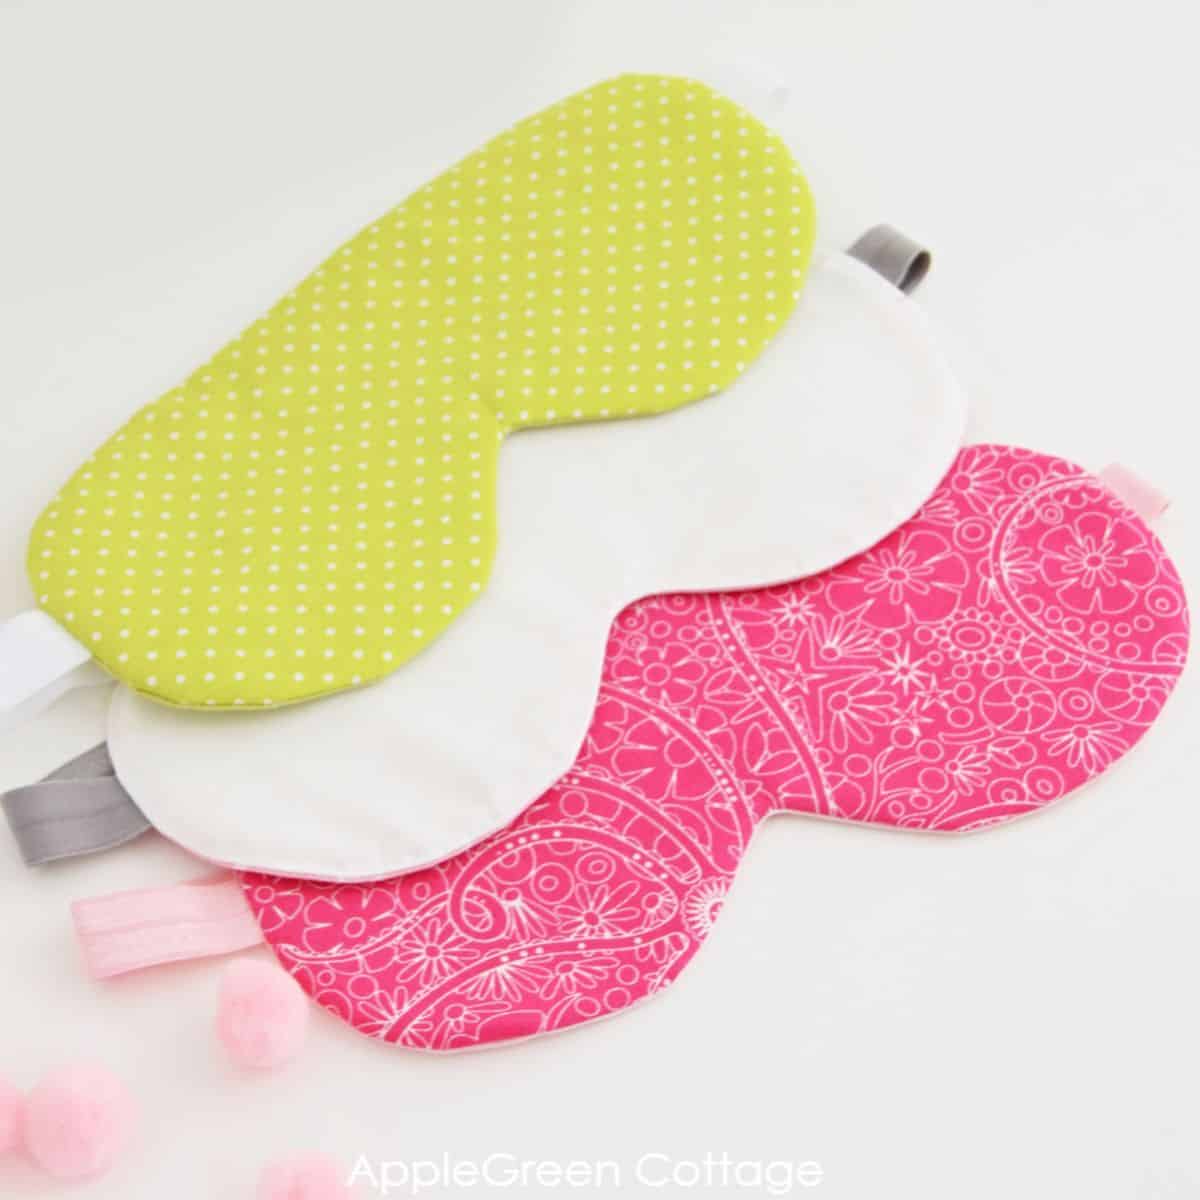
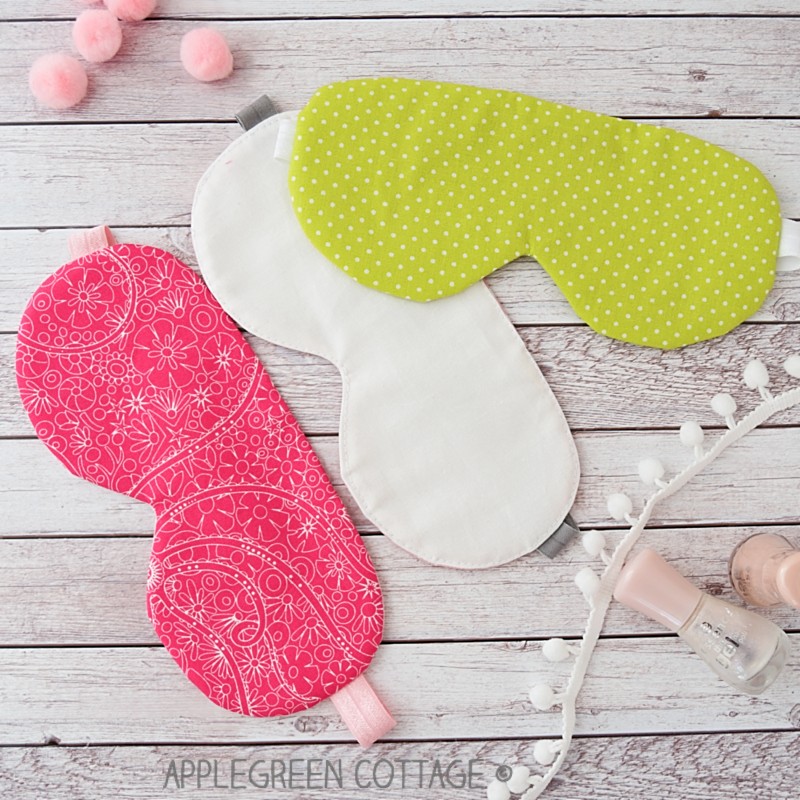
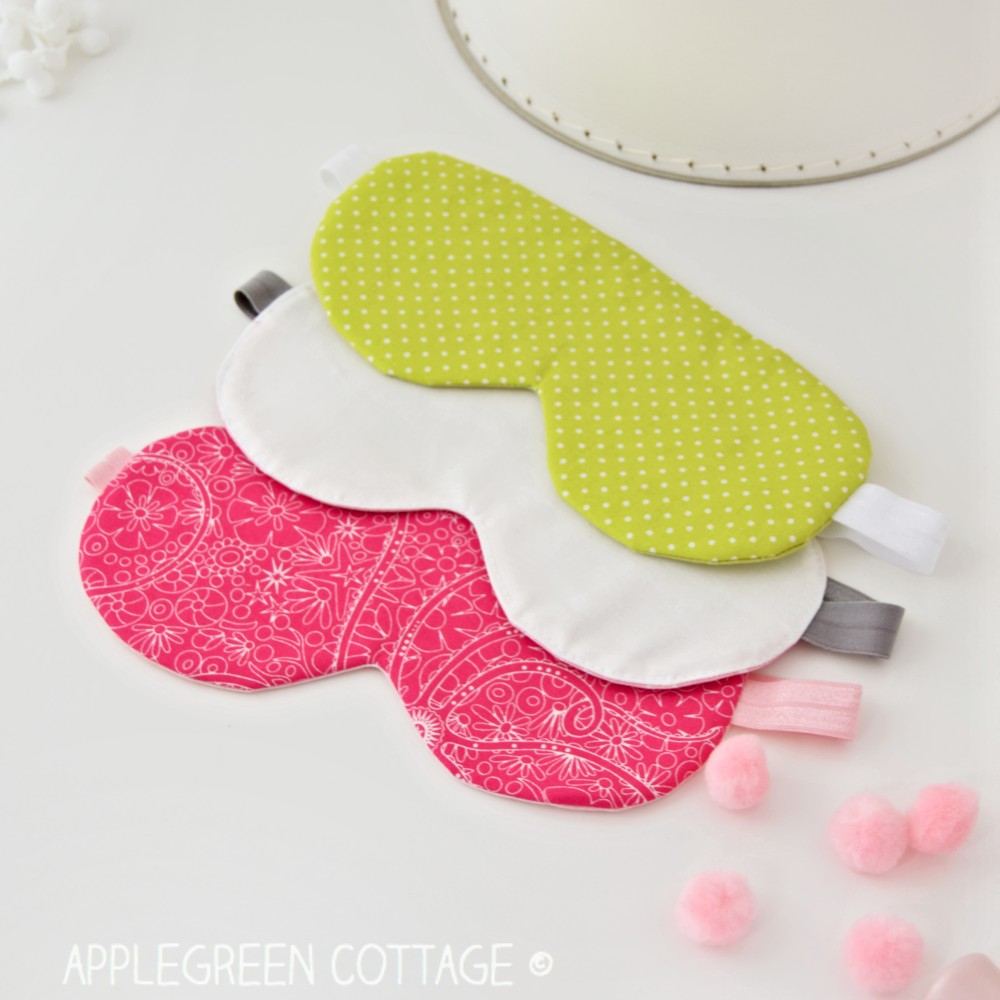
Make it easier to relax using this diy sleep mask! This is one of my free patterns for quick projects that can be finalized within less than an hour and is ideal for beginners. Two interfacing options and a lot of sewing tips are included.
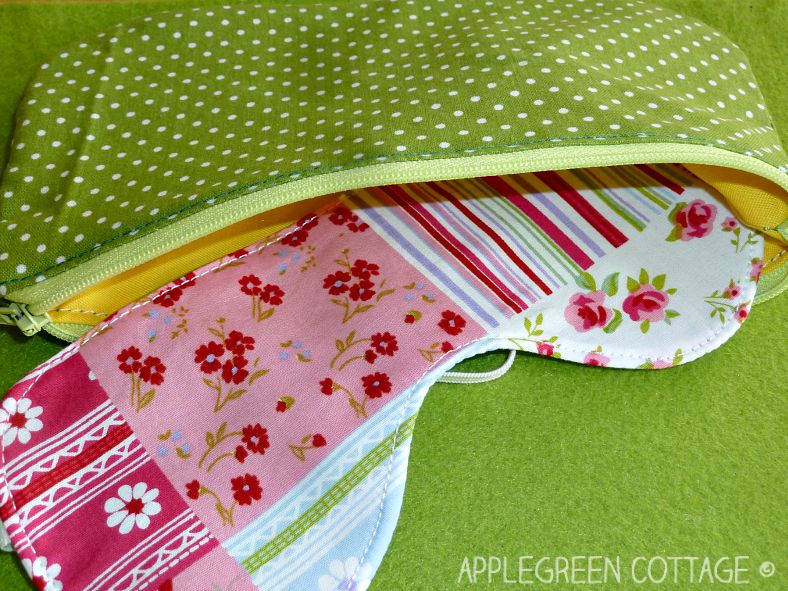
A sleep mask like this one, packaged in a cute diy little pouch like the free LILI pouch pattern here, or the Mia pattern (from my shop ) makes a great gift for a new mom, a college student, anyone who can benefit from a quick energizing nap - and that's pretty much everyone! Oh, and while at it, add one of these sweet scrunchies to the mix - use my new 4 free scrunchie patterns!
Sleep Mask Sewing Video
First, for those of you who like video, I've made a slide show to get the feeling of how easy it is to sew one:
If you want to hear a little story behind this diy sleep mask pattern, scroll down. But first, let me show you how to sew it.
Finished Size
This homemade sleep mask finishes at 8" in length, and 3 ½" in width (20cm x 9cm). Trust me, it's a good size, I've been testing it for years on me 🙂
Supplies:
- two pieces of 10" x 4" (25cm x 11cm) scrap fabric
- same size fusible fleece or batting (Adding batting in place of fusible fleece will make your sleep mask even softer)
- 16" (40 cm) of fold-over elasticc (I used ⅝" width, that is 1.5cm)
- sewing machine or needle, pins or sewing clips,
- iron, scissors, or rotary cutter plus cutting mat (I use this one by Olfa)
- the sleep mask pattern
Shop my personal favorite sewing supplies on Amazon HERE.
NOTE: This tutorial shows white batting as interlining. Adding a dark layer (black batting, available in most stores) is a good option to better block out the daylight.
Diy Sleep Mask Tutorial
Step 1 - Print the Sleep Mask Pattern
Join our mailing list and get the sleep mask pattern emailed to you:
Prefer an ad-free printer-friendly option of the whole tutorial+pattern? See the → optional PDF file in our shop.
Now print the free sleep mask template (see below) to a piece of cardboard or paper - twice! Why? On one of these two templates, cut off the seam allowance marking. This way, you'll end up with a separate piece for your interfacing/fusible fleece, and cutting will be super quick. Clever, right? 🙂
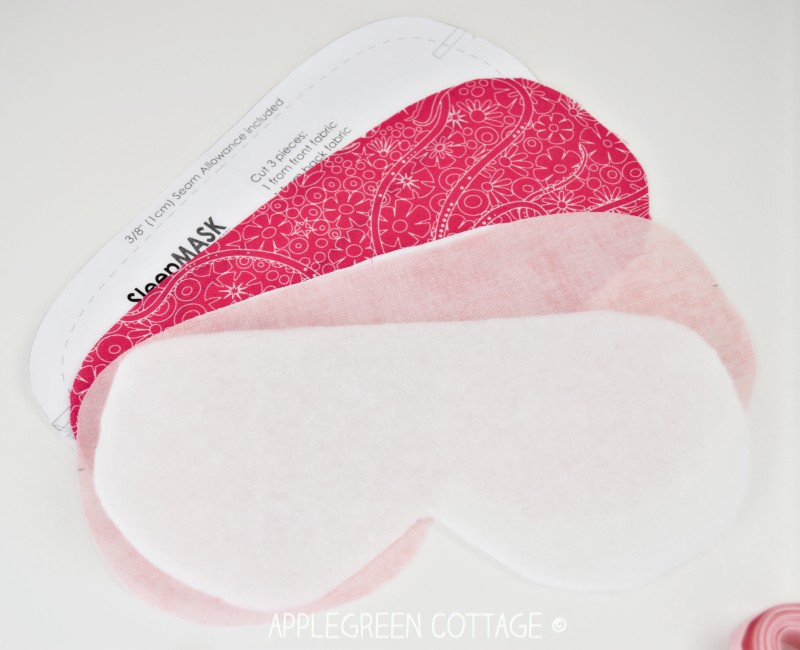
Step 2 - Cut Fabric And Interfacing
Then use the larger template to cut 2 pieces from fabric and the smaller template to cut the fusible fleece. As an alternative, you can use batting, but keep in mind that batting needs to be cut full size, as you'll need to sew it in:
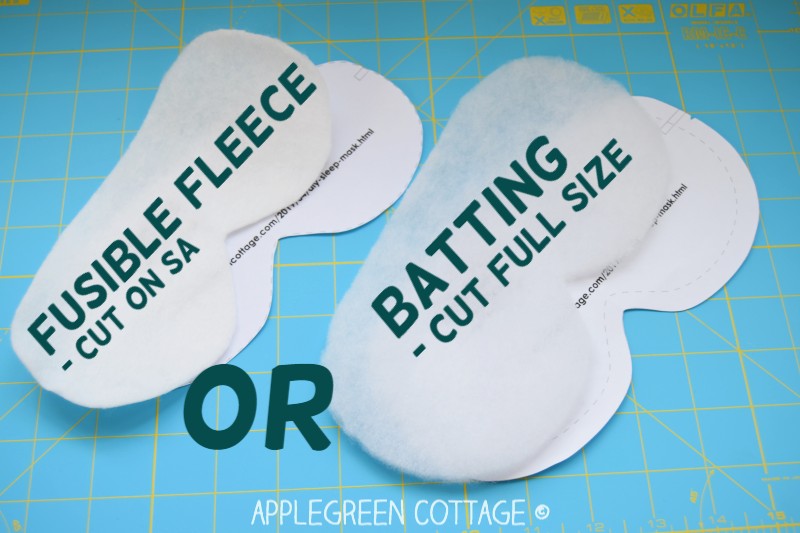
This tutorial is made with fusible fleece. Later on, I'll show you a few details if you want to sew it with batting (See the green sleep mask in the title image? Sewn with sew-in batting. So soft!)
Step 3 - Fuse Interfacing
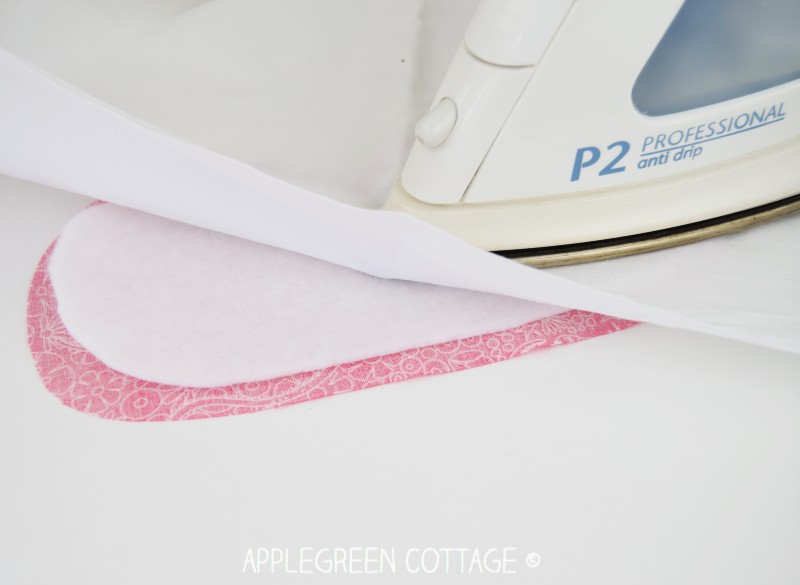
Next step: attach fusible fleece to the front fabric piece. Use this quick how-to if you're not used to working with fusibles:
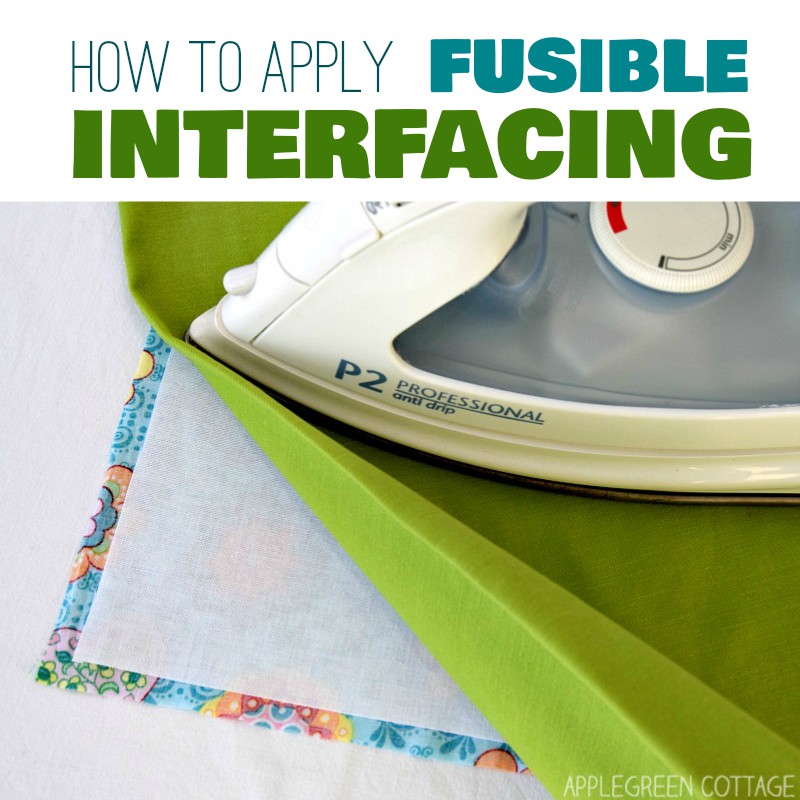
New to fusible interfacing? See how to add fusible fleece. Or visit our free
Step 4 - Baste Elastic
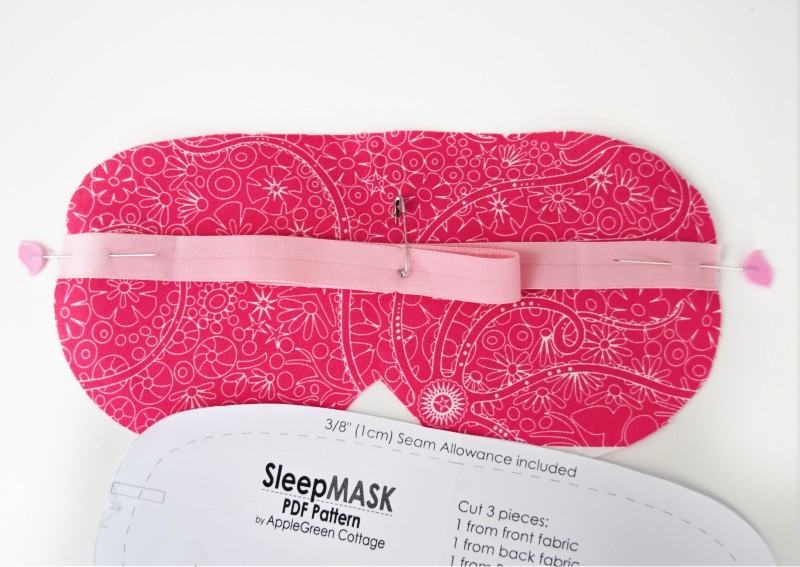
Pin the fold-over elastic to the right side of the front piece (the one with the fusible fleece on the back). The elastic ends will peek out on the sides, you can cut them off later. Also, make sure the elastic won't get in the way when sewing. Use a safety pin.
Step 5 - Layer the Fabric

Now, place the lining right-side-down on the front piece, so the two pieces will be right-sides-together. The elastic will be sandwiched between them.
Step 6 - Sew the Layers Together
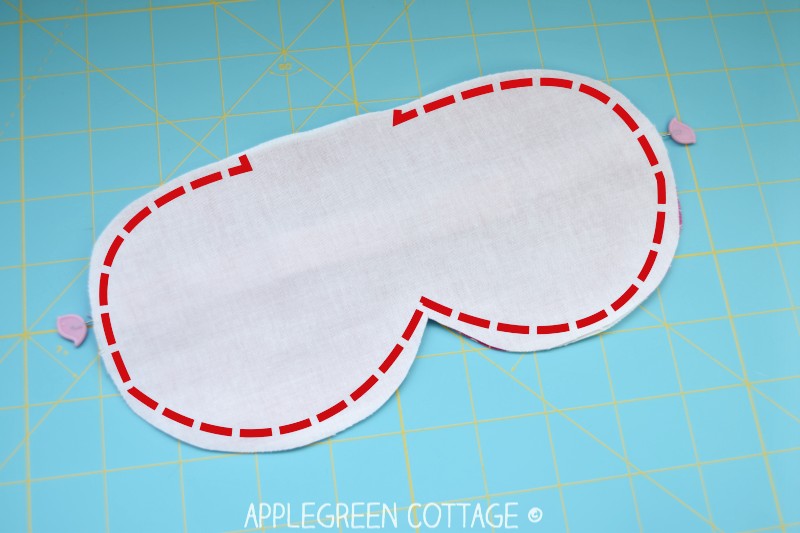
Stitch around, leaving a 3" (7.5 cm) gap at the top edge, for turning. Go slowly and use a short stitch length, it will make sewing curves easier.
Step 7 - Trim
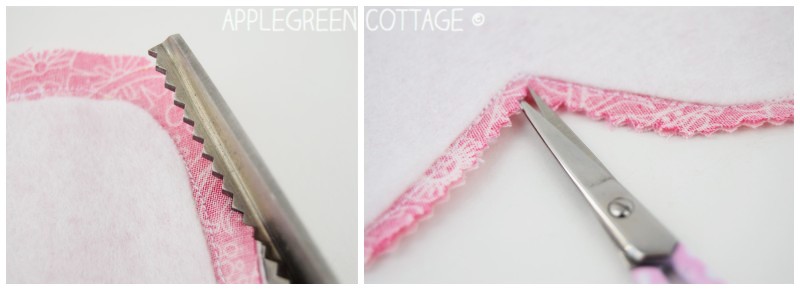
Trim the seam allowance, using pinking shears, taking care not to snip into any stitches. Also carefully clip into the seam allowance in the 'nose' area, just a few threads away from the stitch. It will release the tension when turning that seam right-side out and prevent puckers.
Step 8 - Turn Right side Out
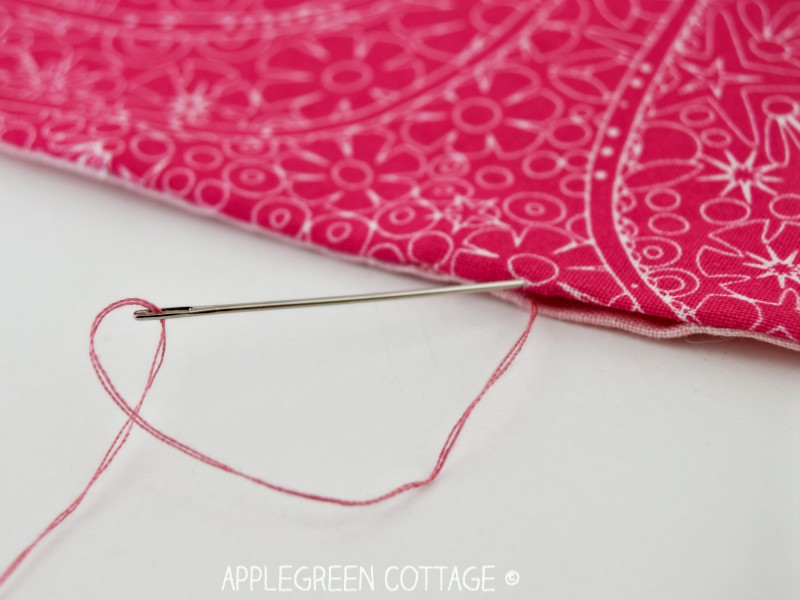
Turn right side out and press. Then close the turning hole. You can do this by topstitching all around the sleep mask, or by hand-stitching. Ladder stitch works great, as always - use this invisible stitch tutorial if you've never come across this stitch yet.
Finished! Now time to answer a few question I regularly get from you. I hope they will help you make your best diy sleep mask:
How do you make a kids sleep mask?
Same way as this tutorial shows you, just reduce the printing size to 90% and shorten the fold-over elastic by just a little if needed. Since kids' head sizes will vary a lot, it's best to model the length of the elastic needed against their head: simply place the paper template over their eyes and guide the elastic around the back of their head, not tugging, just loosely touching. Please remember that some of the elastic length will be 'lost' in the seam allowance.
How to make sure the elastic for a child sleep mask is short enough?
As noted, some of the elastic will be sewn into the seam allowance. Also, remember that the elastic ending up too short is way more common than getting it too long, so it's good to err on the side of caution when shortening it: shortening by an inch is plenty.
I personally prefer to make a sleep mask with an elastic tie too long, as it's so easy to shorten: as simple as tying a little knot.
Less searching. More sewing.
Keep 100+ printable AGC tutorials ready to print, save, and sew anytime.
How To reduce Bulk When Sewing?
BONUS TIP: A note on sewing with batting instead of fusible fleece: once you've sewn the layers together, trim the batting very close to the seam, like this:
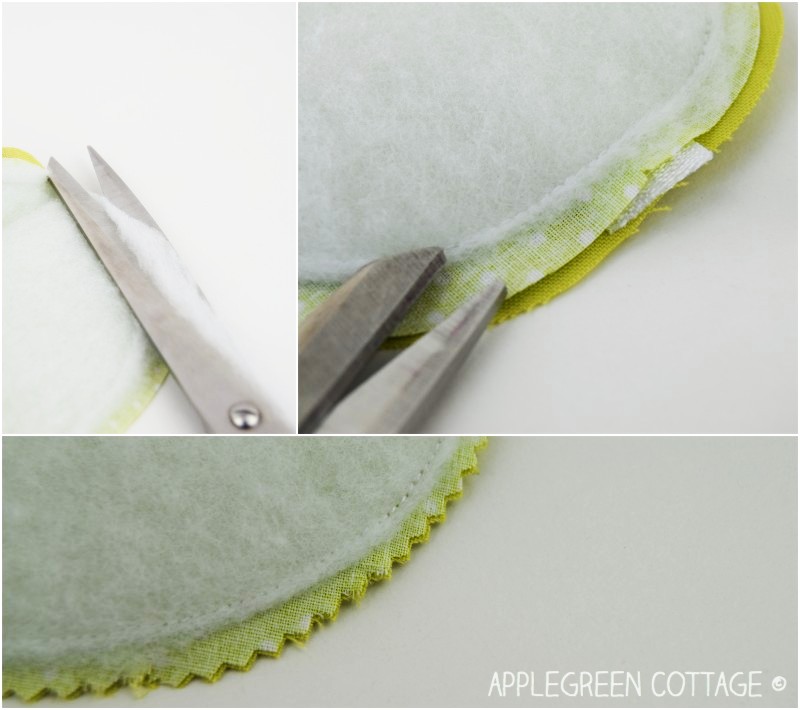
Then proceed as mentioned above: by trimming the fabric and then turning right-side-out. That's all. Batting makes the sleep mask soooo soft! I wanted to take a nap right away, but it will have to wait until I've taken all the photos I need for insta and FB 🙂
Want to keep it with you at all times? Tuck your new sleep mask into this cute and handy eyeglasses case to sew (hint: you can get the eyeglasses case pattern for free too!)
What is the best fabric for sleep eye mask?
While silk is a popular choice of material for sleep masks because it's so pleasant to the skin, it's not as easy to sew with if you are new to sewing. I usually sew sleep masks with poplin or quilting cotton on the front, and cotton at the back too - my favorites are cotton lawn, cotton voile, or poplin.
Having said that, I need to admit that I am pretty casual about washing - I prefer to be able to throw my sleep mask in the washer to washing it by hand. Who has the time! That's why you'll mostly see cotton in my projects - it's machine washable.
Also, one thing to remember, it's way easier to sew with cotton and materials that do not fray much, as opposed to a silk sleep mask, or one to be made with satin, and similar materials.
And as promised, here's a little bit of a story behind. It is such an easy project, but it took me so long to put the free pattern online! Want to hear when I got the idea to make a pattern for a sleep mask? Back in 2012 when I made a few for myself and for gifts. And here's a pic from that time:
Finally, after years, I managed to make my draft digital, yey! Also, I changed my original template a little, for better coverage of the area between the nose and the eyes, letting less light in. I'm super happy with this last version you'll get. No wonder, the testing period has been years long!
WANT A PRINTABLE COPY OF THE WHOLE TUTORIAL?
Prefer an ad-free printer-friendly option of the whole tutorial+pattern? See the → optional PDF file in our shop.
Less searching. More sewing.
Keep 100+ printable AGC tutorials ready to print, save, and sew anytime.
WANT MORE FREE TUTORIALS AND Sewing Patterns?
Get email updates and never miss out on new patterns, printables, and tutorials:
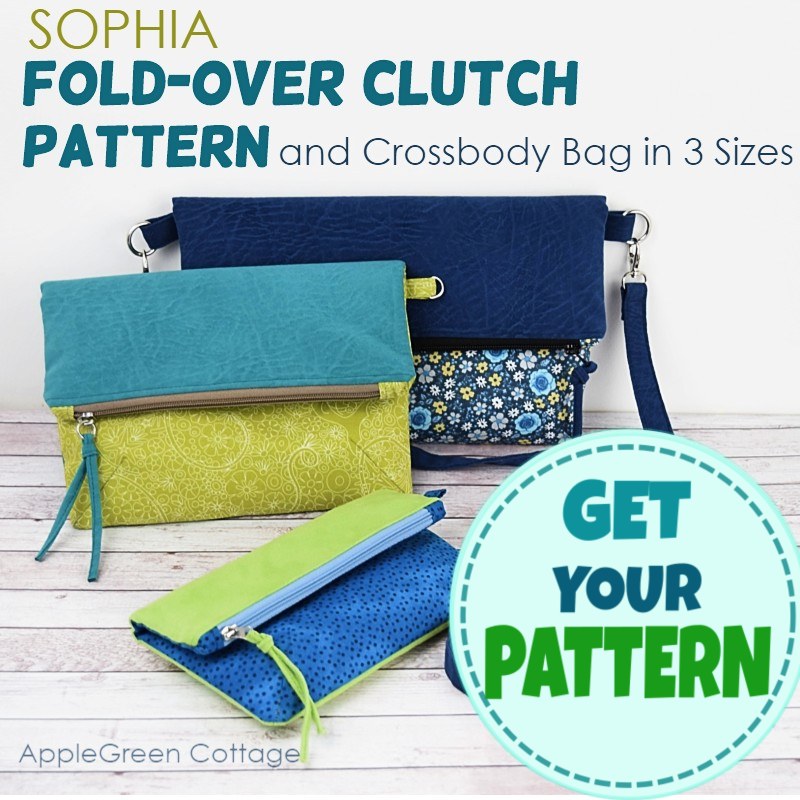
Or …check out the SOPHIA Fold-Over Clutch in our shop:


Darlene Barrier says
Looking forward to sewing the sleep mask for my husband.
Julie says
Could flannel or fleece be used instead of cotton?
Damjana says
Sure, that would work!
xoxo, Damjana
Lucy says
Thanks so much for this free pattern, I have made two for my daughter and myself. Along with a baby gift for all the mothers at our church, I add a mask for the mom, they love them too.
Audi says
I Live in Alaska and sure could use the eye mask and would love to make one with all the day light we get in the summer time, filled with my dried up lavender. However Im having trouble finding the free pattern?
Can anyone help me find the pattern?
Damjana says
Hi Audi, just scroll to Step 1 of the tutorial, and there's a button to click, saying 'GET FREE sleep mask TEMPLATE'. Happy sewing,
Victoria says
When choosing the batting option, do I still need to cut a front and back of the desired fabric? Thank you so much for the free pattern 🙂
Damjana says
Victoria hi,
a great question - I definitely suggest still adding both front and back fabric - you want your sleep mask back to be soft, washable and pleasant to the touch. One of the ideas I'm trying out these days is using rayon challis for the back of the sleep mask - sooo soft!
xoxo, Damjana
Francine says
Putting dark felt is so obvious. Of course, you want to keep out the light, but I wouldn't have thought of it if you hadn't mentioned it. Thank you for helping me to avoid such a big and obvious mistake.
Loretta says
I love this pattern! I put a piece of dark colored felt in between the front piece and the lining. This helps block out any light, which is the reason that I wear one. I cut the felt larger (like the batting) because it needs to be sewn in.
Damjana says
Adding a dark felt layer is super smart! There's also a black batting option available in most stores - you can add that to make your sleep mask super soft (my felt is sometimes too stiff to use for a sleep mask). Happy sewing,