
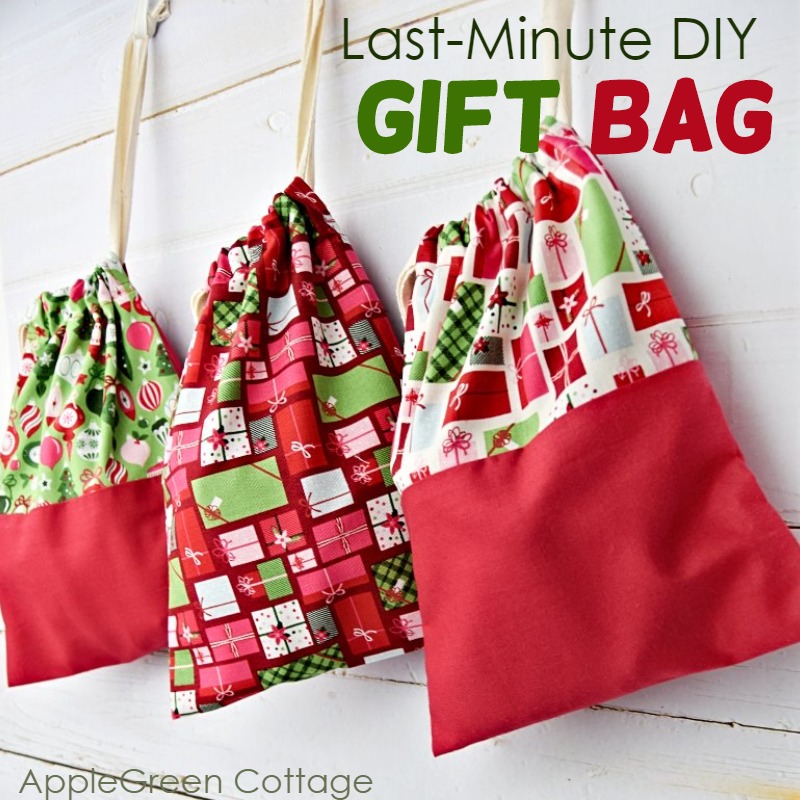
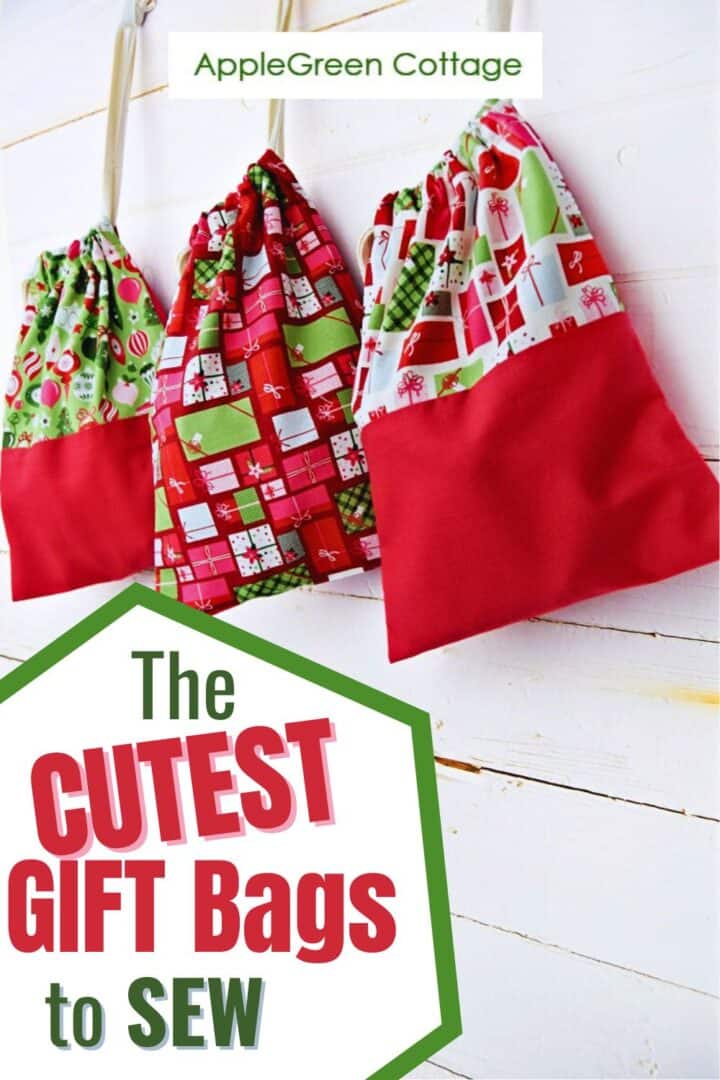
Make diy fabric gift bags using this easy tutorial and get ready for holiday gift-giving - in minutes!
NEW: I've added directions to make gift bags in 5 sizes, so you can create the perfect gift bags for any size present.
Plus, don't miss the bonus tips at the end to add unique touches and make each reusable gift bag one-of-a-kind. Your holiday wrapping will be eco-friendly, beautiful, and personalized!

This tutorial is also part of Printable Tutorials BUNDLE
100 PDF tutorials now, and growing!
Table Of Contents
It feels so good to have holiday gifts ready early! (Check out my favorite things to sew for Christmas HERE) Not that I manage to do that very often, but this year it looks like I won't need to resort to last-minute sewing. Looks and sounds like a win!

This year I've even made a few additional diy gift bags to have ready - you know, just in case. Since these are really, really quick to sew, I thought you might want to sew them yourself. Just in case you'd need a few last-minute gifts to wrap.
Let's get ready for holiday gift-giving! If you like this post, check out these too:

Finished Sizes
The finished gift bags in this photo are 9" tall and 7" wide. They are just perfect for little Christmas gifts, or you can use them instead of Christmas stockings.
If you want multiple finished sizes, I added a cutting chart below for 4 more gift bag sizes. You can make them all! (See Cutting Directions under the tutorial)
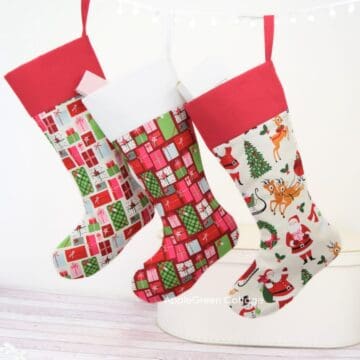
On a side note, just in case you do want to make a Christmas stocking too, join the mailing list and I'll send it to you for free:
Supplies
To create your diy gift bag for Christmas gifts, gather these supplies:
- fabric (see bonus tips below for 5 sizing options - I chose the small size and cut 21" by 8")
- twine, grossgrain ribbon, twill tape, or cord (40 inches / 1 metre per bag)
- scissors or a rotary cutter and a cutting mat
- basic sewing supplies
- sewing machine
Shop my personal favorite sewing supplies on Amazon HERE.
How to Sew A Gift Bag - STEPS
Step 1 - Cut Fabric

Cut a 21" by 8" piece from your fabric.
Instead of a single piece of fabric, you can also use scraps of fabric from your holiday fabric stash. Stitch pieces together until you get the desired size. Or use the bonus tips at the end. This diy gift bag is a great scrap buster, and fat-quarter friendly.
If you want a different size, check out the Tips section below.
Step 2 - Finish the Raw Edges

Grab the fabric piece and serge the two long edges, or simply use a zigzag stitch on your home sewing machine. That is if you have enough time. The photo above shows both options.

Then turn under the other, short two edges by anything between ⅜" and ½". Press and stitch.
Step 3 - Fold the Fabric

Then fold the fabric in half with the right sides together, bringing the short edges together:
Step 4 - Stitch the sides

Starting at the fold, stitch on both sides using a ½" seam allowance - but don't go all the way up - stop sewing 2" (5 cm) before you reach the top:
Step 5 - Finish the top part of the gift bag

Press the seams open, making sure to turn under and press the top unsewn portion the same way as if the seam were there.

Stitch around the opening on each side at the top side - this is the place where the side seam is open.

Fold the top edge down by 1" (2.5 cm) towards the wrong side of the fabric and topstitch around using a small seam allowance - ¼" inch (7mm) or so.
Step 6 - Thread the casing

Thread the casing: You'll use two pieces of 20" (50 cm) ribbon length. Using a safety pin, bodkin or elastic threader, guide the first piece through the entire drawstring casing.
Both ends of the cord will come out of the same opening. Repeat with the second piece of ribbon and start-end at the other opening in the casing.
Step 7 - Finish Thread Ends

Knot the ends of the drawstring on your Christmas gift bags so you will be able to tie the top and the gifts stay safely tucked in. See bonus tip below for a different drawstring pull solution - super cute!
Done. Make one more! If you have enough time or love experimenting, check out my bonus tips below!
Cutting Directions for Multiple Gift Bag Sizes
Ready to whip up a variety of fabric gift bags in different sizes? Whether you're wrapping small trinkets or larger presents, having a range of gift bag sizes is super handy. Here are the cutting directions for creating multiple sizes, so you can customize each bag to fit your gifts perfectly.
| Diy Gift Bag Size | Finished size (width x height) | Cut fabric (width x height) |
|---|---|---|
| Tiny Gift Bag | 5" x 7" | 6" by 17" |
| Small Gift Bag (in tutorial) | 7" x 9" | 8" by 21" |
| Medium Gift Bag | 10" x 14" | 11" by 31" |
| Large Gift Bag | 15" x 20" | 16" by 43" |
| Very Large Gift Bag | 20" x 30" | 21" by 63" |
Bonus Tips For Diy Gift Bags
How To Make a Color-Blocked Fabric Gift Bag
This will take a few extra minutes to cut twice plus an additional stitch, but it's so worth it! I've made two of my diy gift bags this way.

Grab a 7" by 8" piece of printed cotton and a longer one in solid fabric approximately 15" by 8", stitch them together into a single 21" by 8" strip. Proceed with the project in Step 1 of the tutorial above.
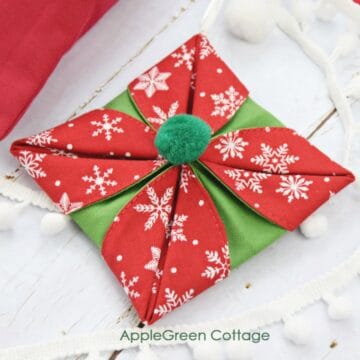
Or Make super cute drawstring pulls!
Instead of just knotting the two ends on your finished drawstring gift bags together, you can make cute pulls for your Christmas gift bag. I only have a sneak peek here but I promise to post a simple how-to do these. So easy and practical for a bag you can reuse a number of times!
Edit: Here is how to make hexies, my latest tutorial. And here's how to add these to any bag - How To ADD pretty drawstring stoppers.

Your Questions Answered
These fabric Christmas bags in the photos are fat quarter friendly, and you can sew a gift bag with a fat eight only. Feel free to use the additional cutting directions for 4 more sizes in the Cutting Directions section, above.
Here's how to make sure your fabric gift bag is the perfect size:
If you already have the gift in hand, you're halfway there! First, find a piece of fabric that's at least twice the size of your gift. Place the gift on the fabric, and if you can comfortably wrap the fabric around it with enough room to tie or secure the top, you're good to go! Follow the steps in the tutorial above using this fabric piece to sew a custom-sized gift bag.
Personalizing fabric gift bags is a fun way to add a special touch! You can embroider the recipient's name, applique cute shapes, or use fabric paint to create custom designs. Try adding decorative trims, like lace or ribbon, for an extra pop of style.
I hope you liked this how to sew a gift bag tutorial - now you'll be ready for the holiday season! Sign up for the newsletter HERE so you don't miss out on any future tutorials. I've got tons of plans for tutorials with these hexies. Yey! Get ready for gift-giving!
Get free EPP Hexies templates:
Hoping you've enjoyed my Christmas gift bag tutorial. If you want to, check out more stuff I've got to sew, on the Free tutorials page here.
Want a printable copy of the whole tutorial?
Do you want an ad-free, printable copy of this online tutorial? Get it in our shop. Or get the whole →BUNDLE!

Related Ideas


WANT MORE FREE TUTORIALS AND GOODIES?
Get email updates and never miss out on new patterns, printables, and tutorials:
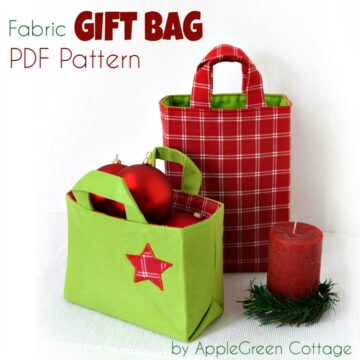
Or …check out the popular Aiden Cell Phone Purse in our shop. Guess what's on the back of this cool phone bag!
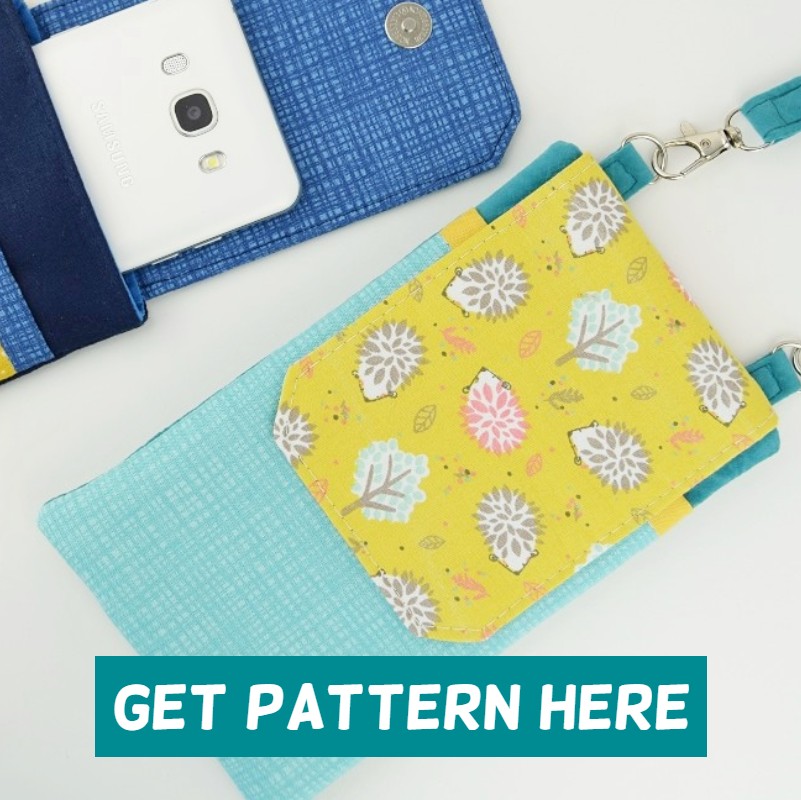
This mini bag makes a perfect little diy holiday gift you can make for all your loved ones.


A says
Hi
Thank you so much for this tutorial, I used your scrunchie ones and they were amazing!
If using these for Christmas presents, how do you attach labels to identify which bags are for who?
Damjana Jakos says
For Christmas gifts, you can use my free template for tags here - https://www.applegreencottage.com/diy-christmas-gift-tags/ – just tie them onto the drawstrings with a little ribbon!
Anna says
Perfect for my purposes. Thank you for a great tutorial!
Sheri Teal says
Have you tried doing the last step in step 5 by laying the tie material into the "pocket" and then sewing?
Wondering if that would work in deleting the threading portion of the process in step 6.
Damjana Jakos says
Sheri hi, an interesting idea. I could try, but I'm afraid that I'd run into a different issue - I'd have to take great care not to accidentally sew over any of the two ties when stitching over the folded portion of the casing. For me, creating the casing first, and only then threading it is easier, but I'm so glad you mentioneds it - always good to have options! Happy sewing, always,
Cristi P says
This is the BEST tutorial ever!! It's exactly what I was looking for. The instructions are perfect, so easy to follow and the pictures make it so easy to follow. THANK YOU!! These come together quickly and easily even for a fairly novice seamstress like me.
Damjana Jakos says
Cristi I'm so glad this tutorial has been helpful! Happy holiday season,
Kristin says
I'm anxious to try this! My 8 year old daughter was just saying how she wants a Christmas bag to store her ornaments in! Thank you 🙂
Lesley C says
Loving this tutorial. Super easy instructions( with useful drawn over diagrams). Have just moved house, so haven’t unpacked sewing machine yet. Have pinned for later. Thanks for sharing.
Beth B says
Thank you! This looks perfect for what I was looking for. I love the clear instructions with pictures