
Here's an easy and hassle-free way to create a stunning advent calendar that will add a touch of festive cheer to your home. Year after year.
Let me show you how to make an advent calendar with Christmas fabric panels like the one I sewed up. I share how I sew an advent calendar in just a few easy steps (spoiler alert: easier than the classic way!) and I throw in a few bonus tips and ways to make it even better looking. Make a reusable advent calendar you can admire year after year!
If you're here for sewing Christmas advent calendars, also check out this diy advent calendar that I made from yardage. Pretty too!
Btu first, check out this huge free pattern bundle. Yep, FREE:
HUGE Holiday Sewing Pattern BUNDLE - FREE!

17+ sewing patterns to craft your own, cozy holidays!
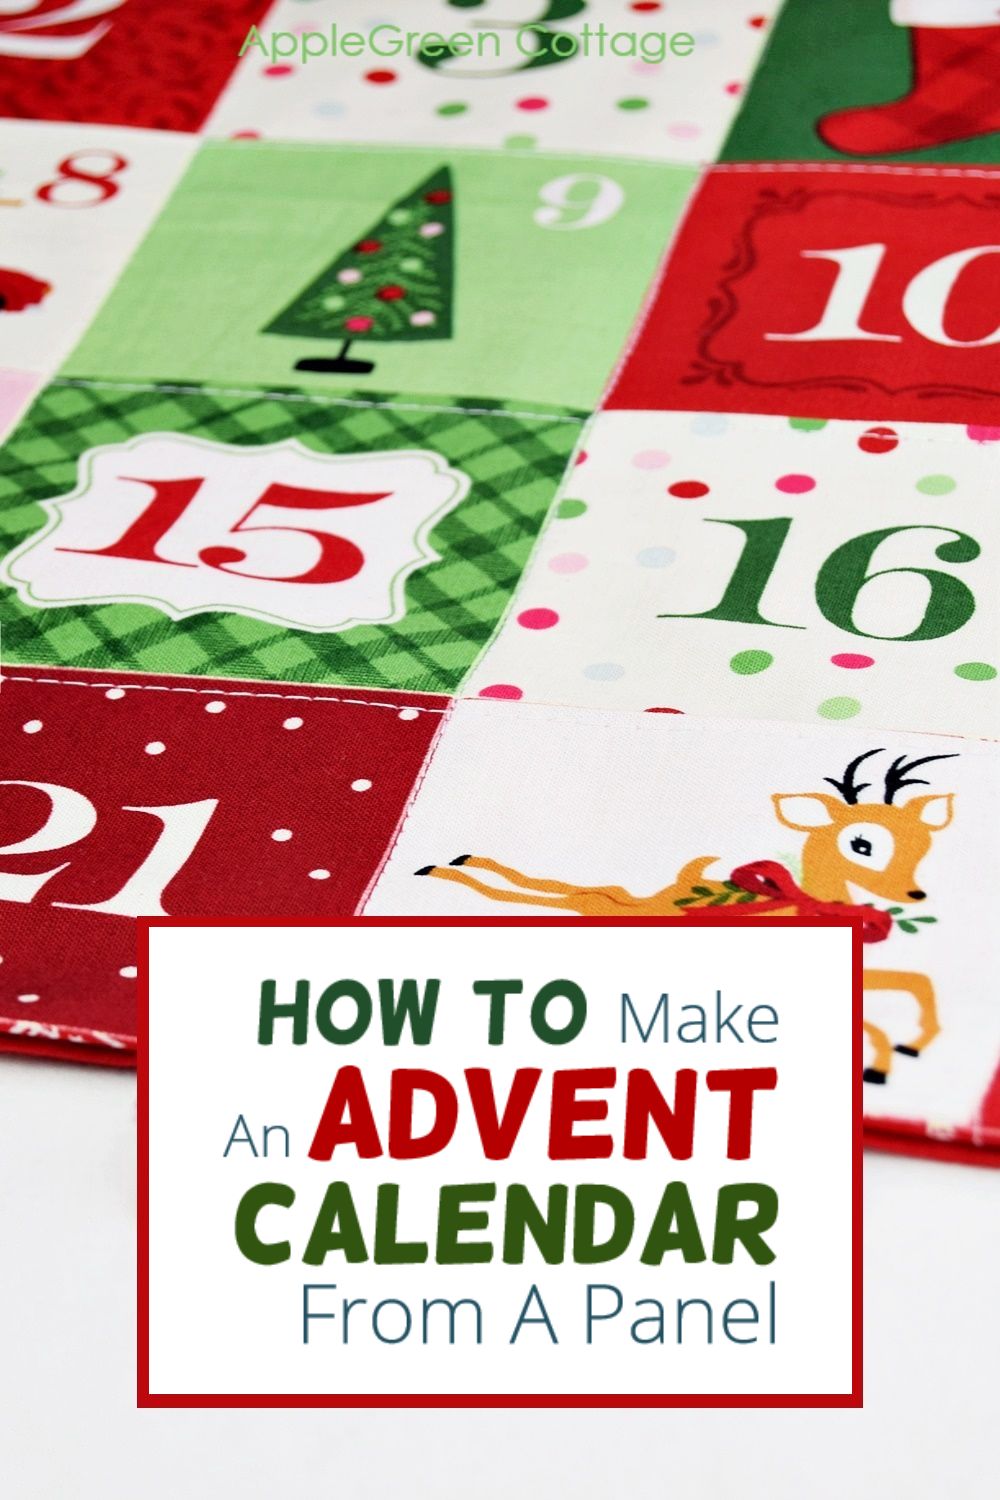
How To Make An Advent Calendar From Christmas Fabric Panels
Have you ever sewn with an Advent calendar fabric panel? If not, this is such a fun one to try.
I was completely new to it too, and honestly - what a nice surprise. The panel already has the pieces printed, the fold lines marked, and the Advent numbers included, so it comes together much faster than you'd expect.
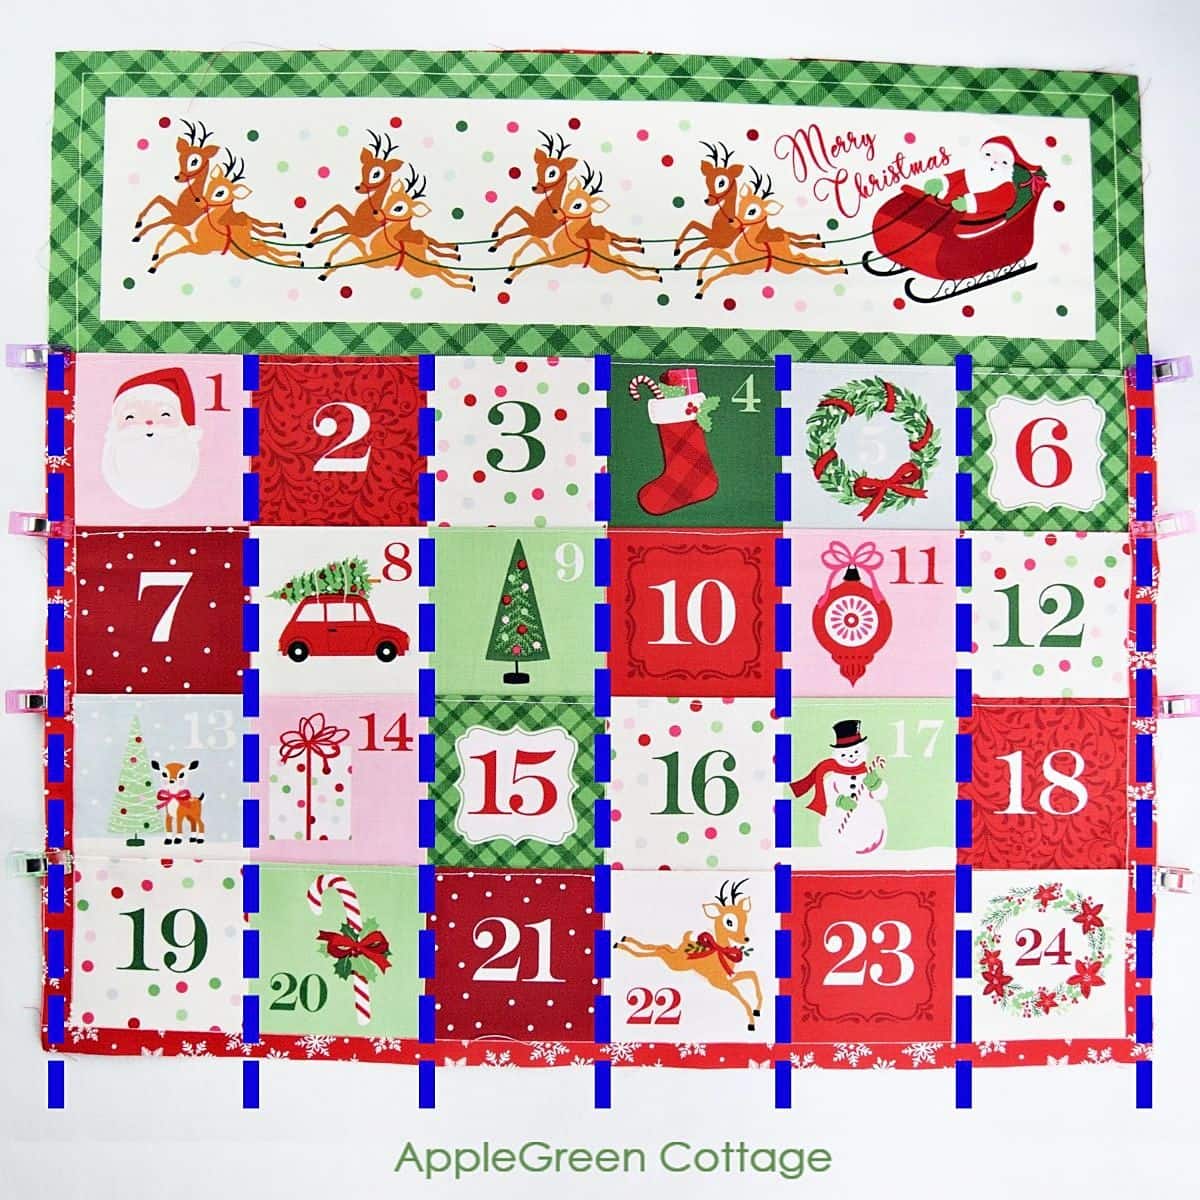
I used a beautiful Merry and Bright panel by Riley Blake Designs, plus a fat quarter of solid fabric from my stash for the backing. That was it. No hunting for lots of matching prints, no extra fuss, and no pile of leftover holiday fabric.
But here's one thing to know first...
Order a Christmas advent panel BEFORE the major rush hours for holiday fabric shopping. You can sew later.
Choose your favorite Christmas fabric panel, order it now - and sew later.
Ideally, I'd say to get your advent panel as soon as holiday fabrics hit the shops, and that's in the summer. Don't wait till November - by then the best ones might be all gone and I don't want you to have to wait another year to get your Christmas fabric panel. (guess how I know?)
And it's a much better holiday pattern mix available now.
I got this adorable Christmas panel at the very start of the summer. (Actually, THE time to snag the best holiday prints of the year!)
Where to get advent calendar fabric panels?
Currently, the Cream colorway is still available at: GardeniaFabrics (5 left only, ships from the US)
Edit: sold out at KBlandfordFabrics , The JellyRoll Queen, TheBobbinJar, BloombirdsFabrics, CCsFabricCloset. Since this exact advent panel has been sold out mostly everywhere, I'm also adding a list of my top choices for advent panels:
More Christmas Advent Calendar Panels to Buy:
- Santa Paws Advent Calendar Panel
- Kaufman How The Grinch Stole Christmas Advent Calendar
- Panel Advent Calendar Cosy Christmas Holidays
- Snowflake Christmas Advent Calendar Red Gold
- Barnyard Christmas by Deborah Edwards
Steps To Sew An Advent Calendar From Christmas Fabric Panels
Once you've got the fabric, you can either sew it up immediately or wait for that last-minute day in November. Your choice - just make sure you've got your panel at hand. I decided to make it all now and be ready for the holiday season early!
Step 1 - Get the Christmas advent calendar panel - soon enough!
Get your panel. My panel size was 24" x 43" (net size 19" x 42"). The tutorial is adjusted to fit this panel, but you can use it on a number of other manufacturers' Christmas fabric panels.
Step 2 - Cut Fabric

Cutting directions
- Main panel - The panel will have some additional fabric around, so make sure to cut it out - make sure to leave some seam allowance if the panel has not accounted for it in the markings. The one I used has the ½" seam allowance marked everywhere, so I simply cut along the cutting line (19" wide, 42" tall)
- optional interfacing - Feel free to add a layer of interfacing to it, you'll need the same size as the panel: 20" by 43" - fuse to the back of the main Christmas advent panel.
- backing - cut 19" by 18" piece from Christmas prints, a solid or muslin fabric for the back - anything from your stash, it won't be visible from the front!
- for hanging tabs, cut a 12" by 3" rectangle
Step 3 - Make Pockets
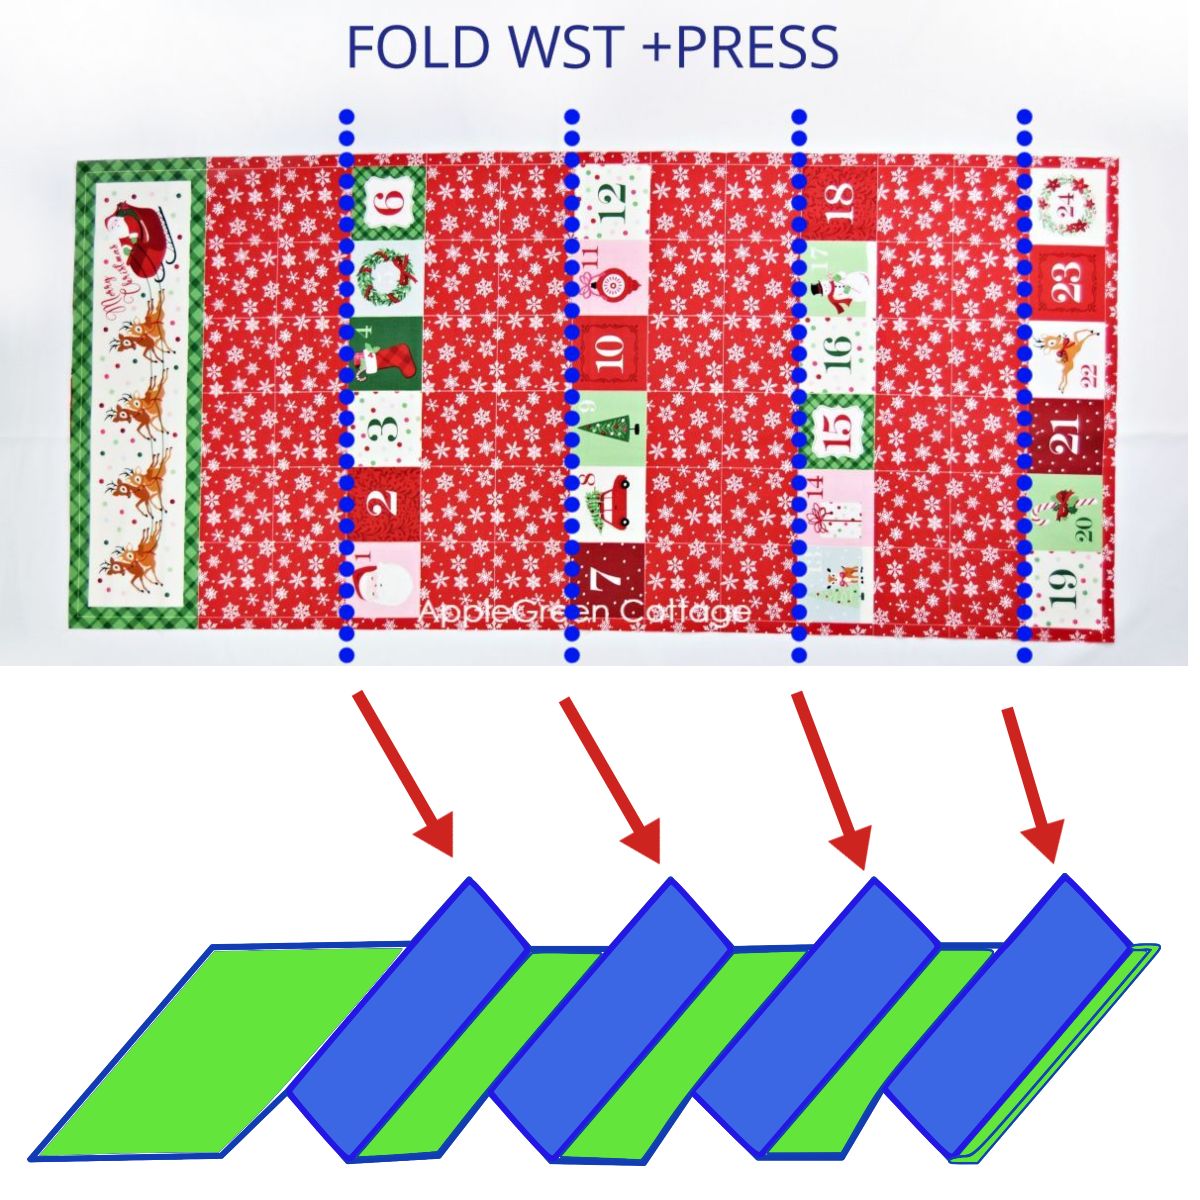
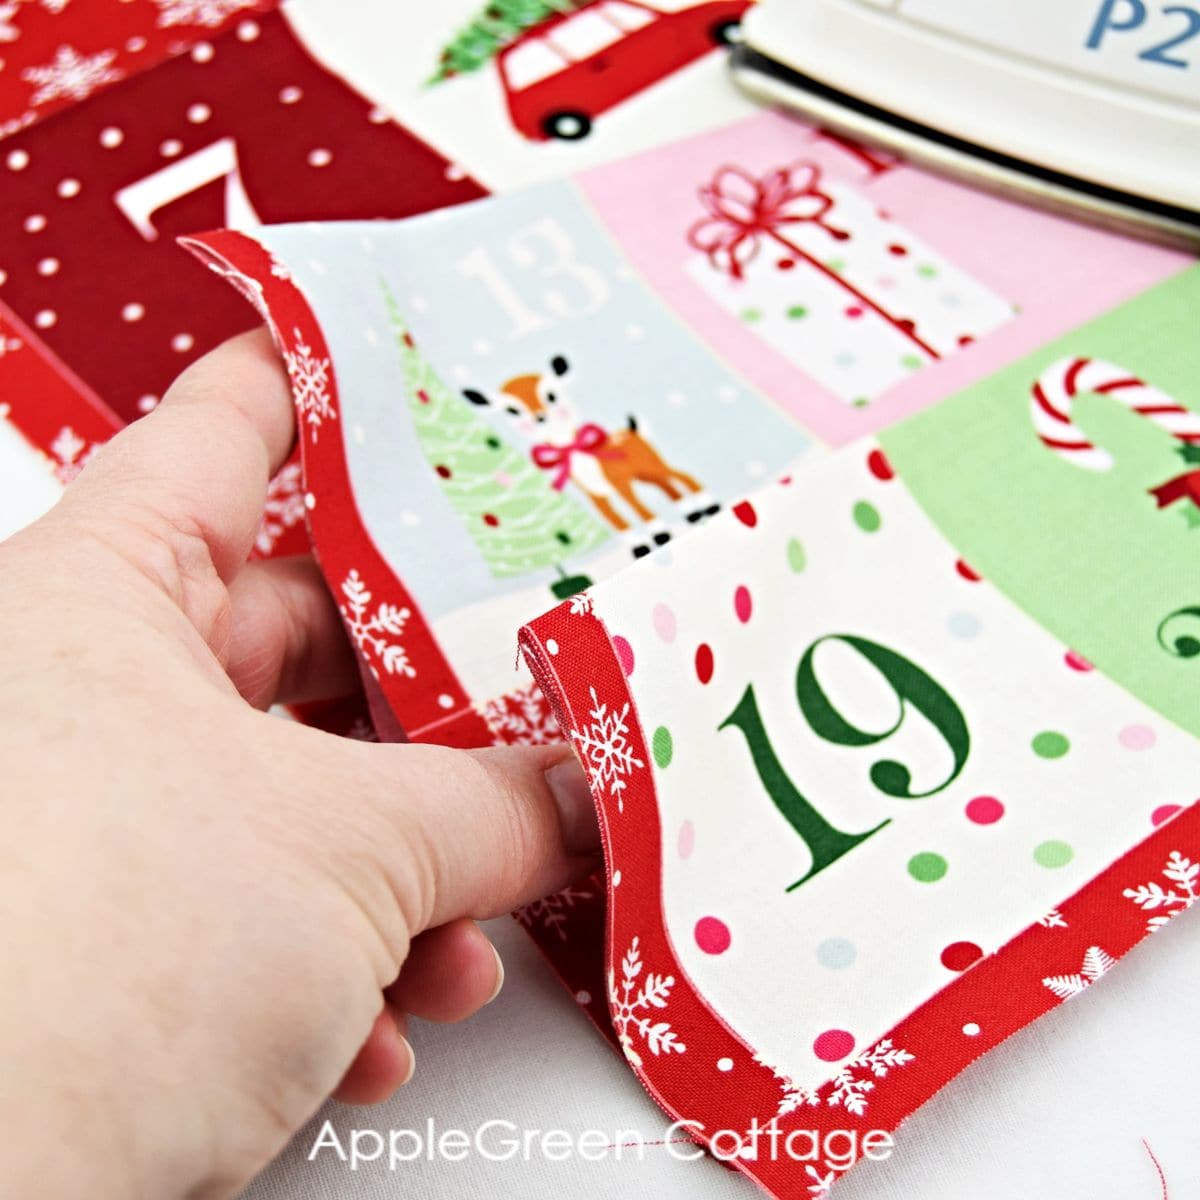
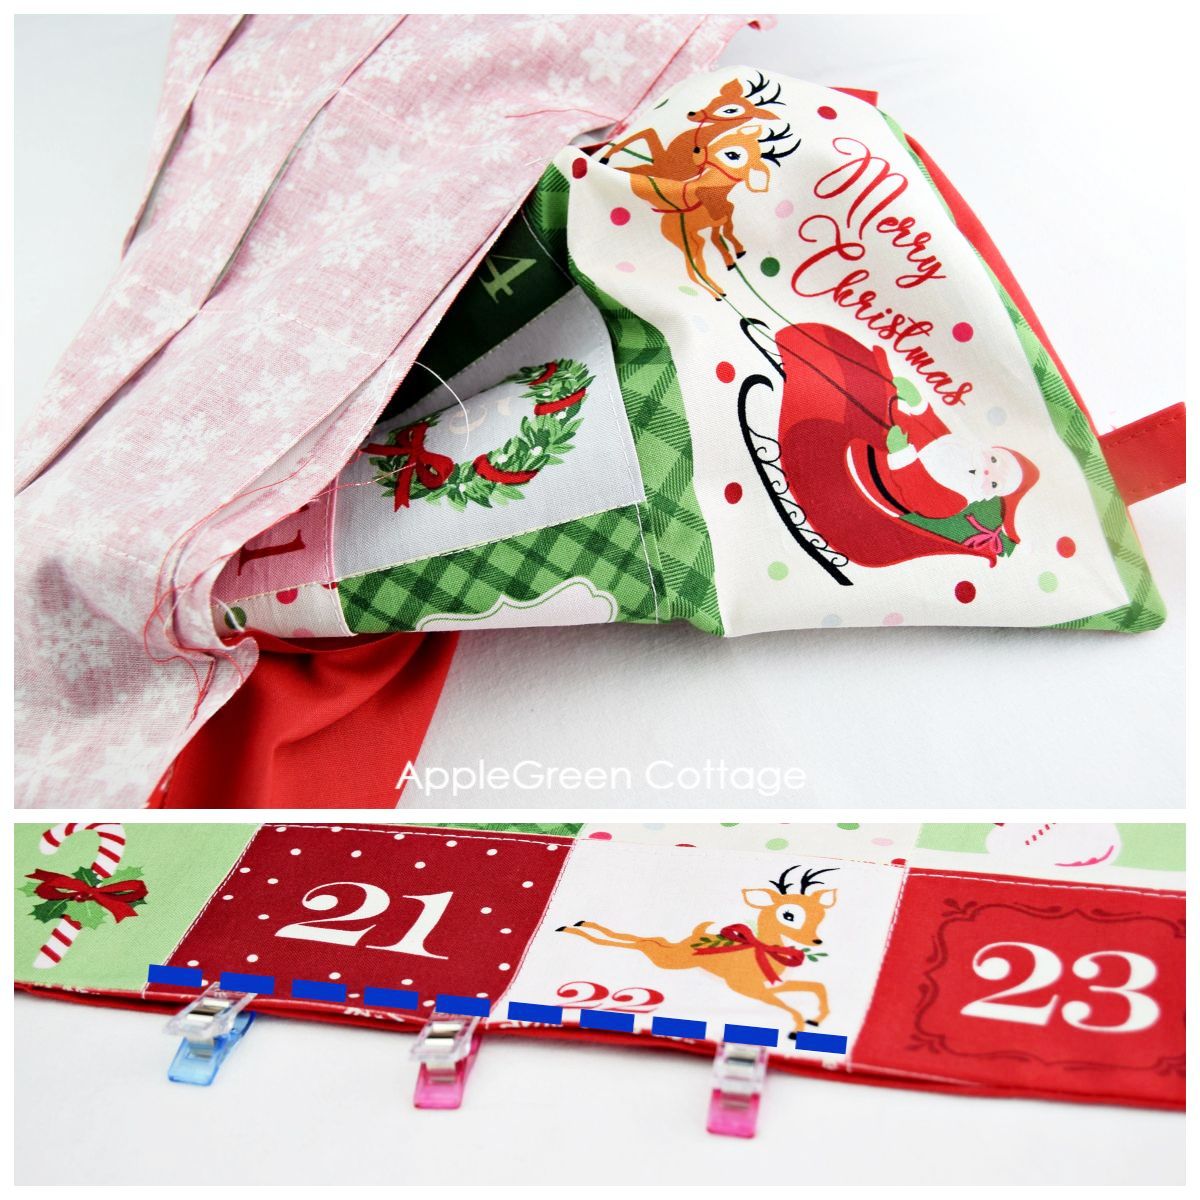
Notice the four rows with pretty images bearing the numbers 1-24? These will become the pocket fronts. Fold the top edge of each pocket row with the wrong sides together, and press well.
Now you've got creases along each top of your future pocket line.
Now pull up the pocket edges so all 4 front pocket rows are aligned and visible. Press and you should get this:
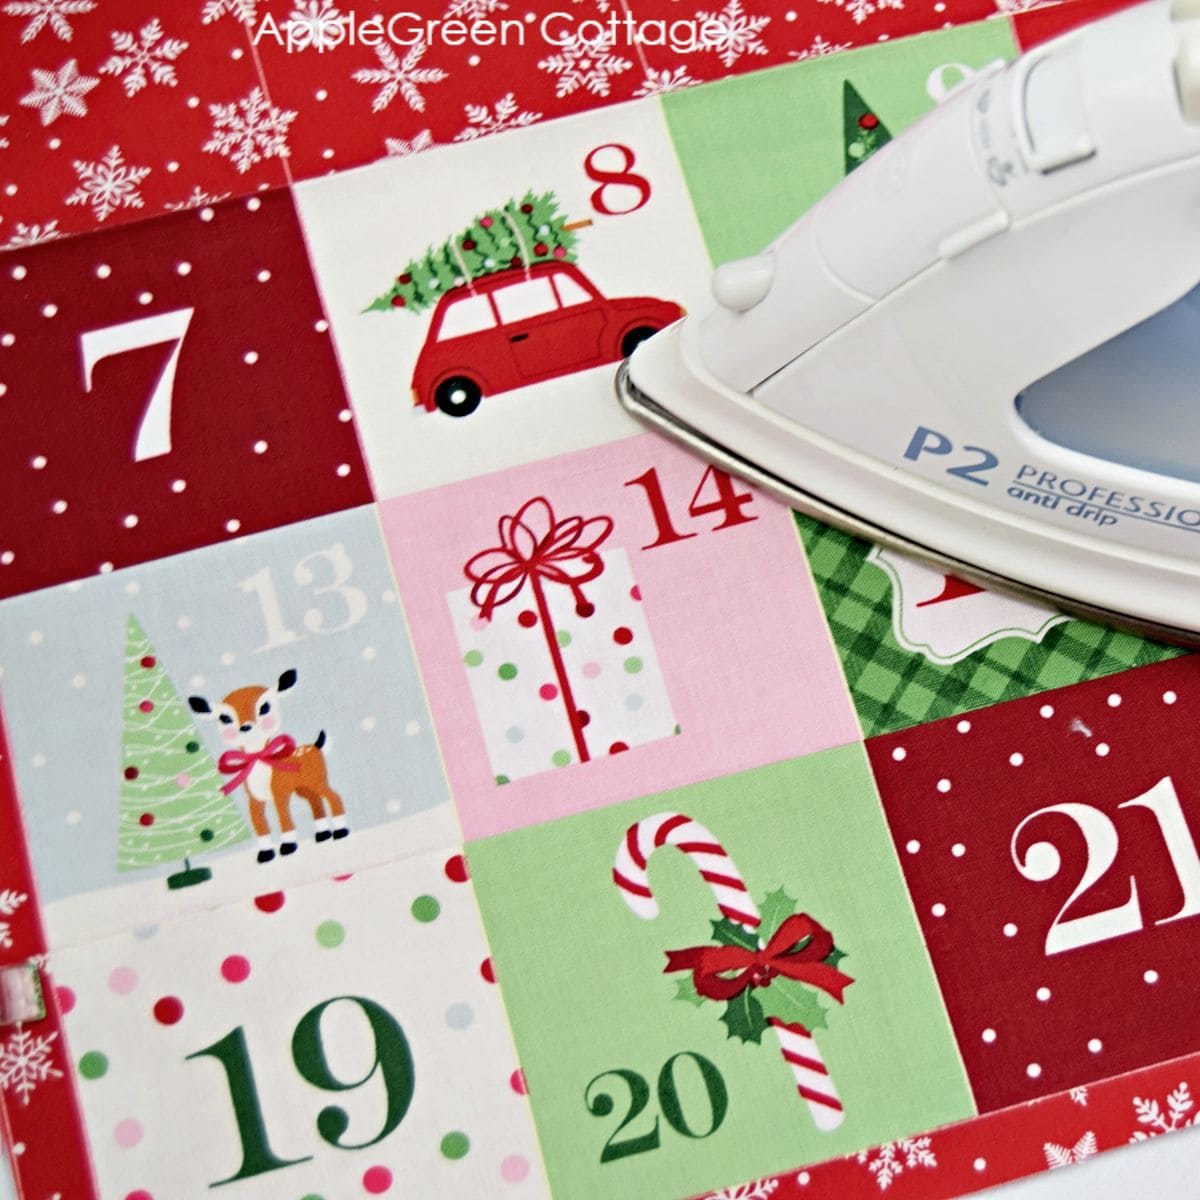
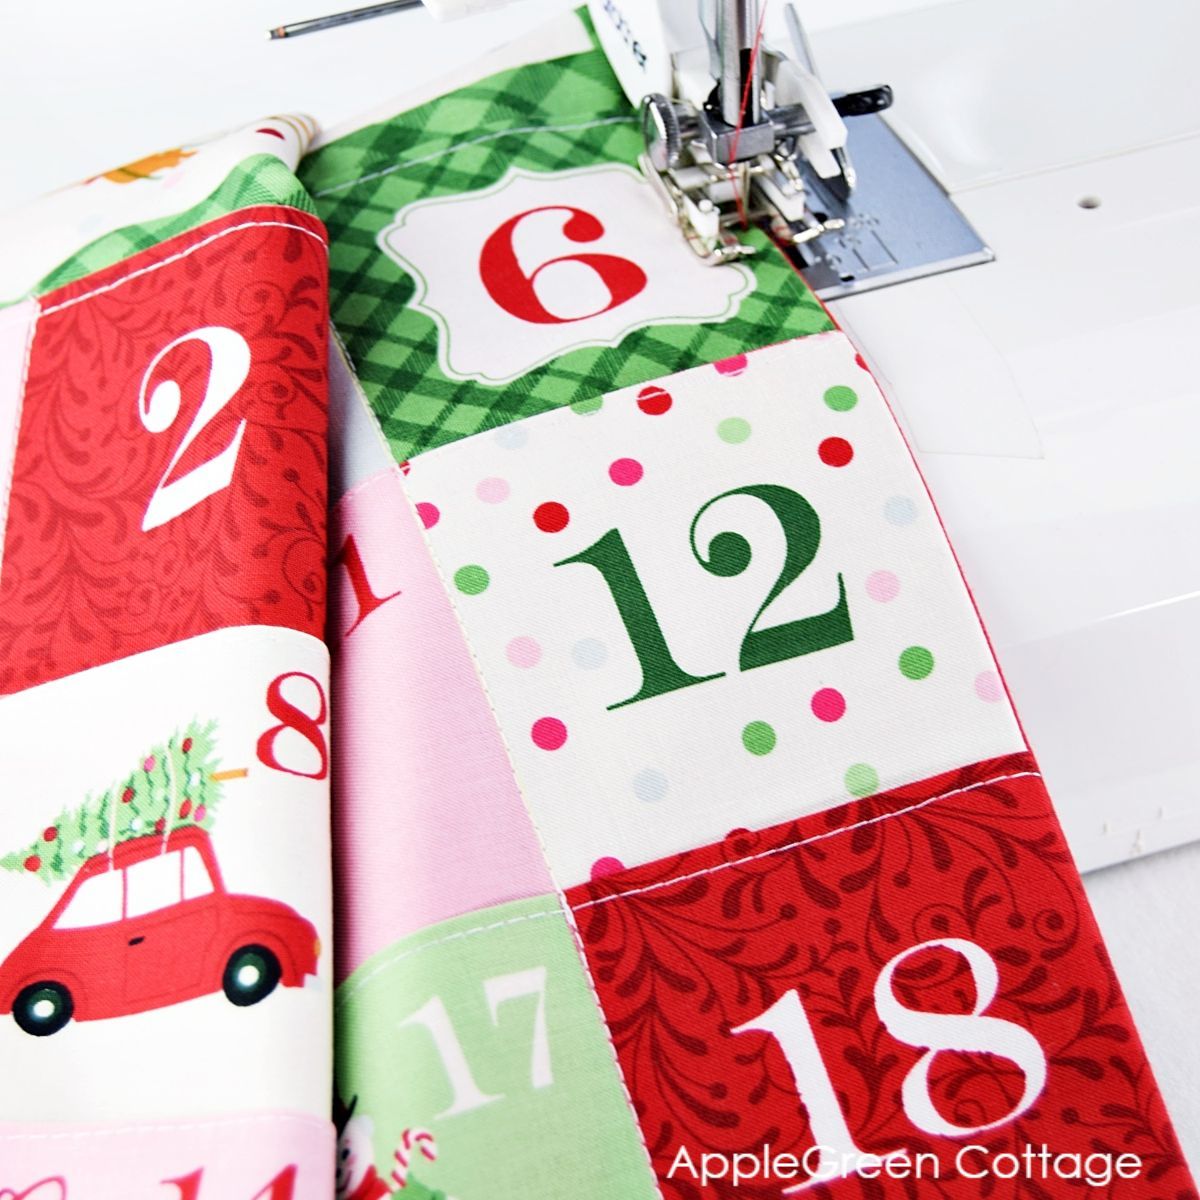
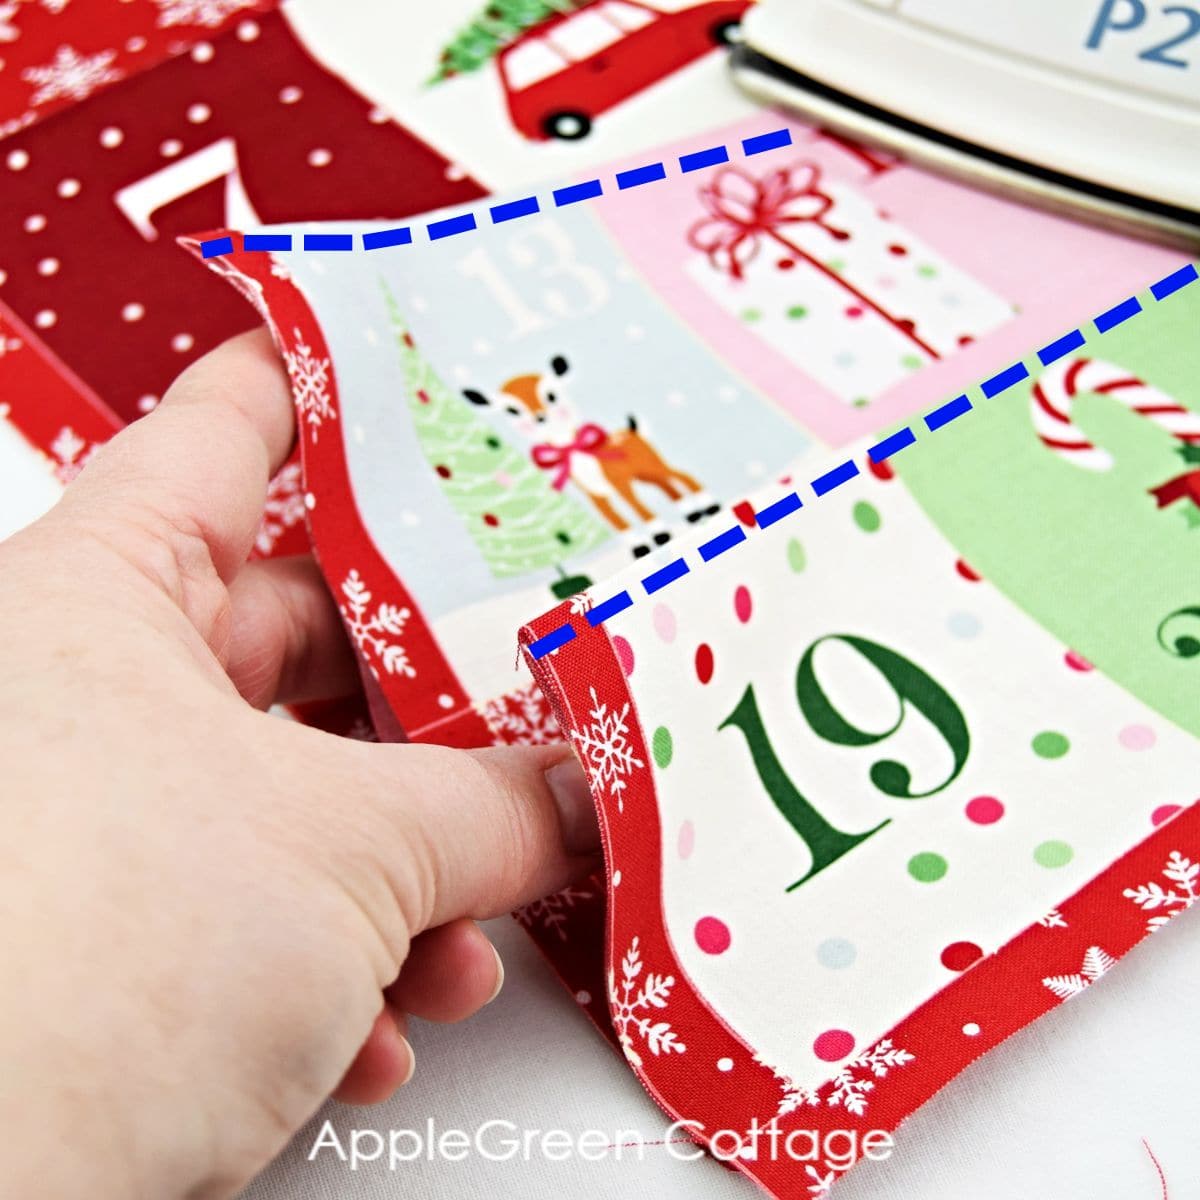
Topstitch/Edgestitch the fold at the top of each pocket row:
Once all 4 pocket rows are topstitched, lay all layers down so they are flat. Pin the layers in place and attach sewing clips to the ends of the rows, then sew on vertical lines to create pockets:
Step 4 - Make Hanging Tabs
Now, let's make four hanging tab pieces (use 3 x 12" rectangle) to be able to hang your beautiful advent calendar. We'll make all 4 in one go:
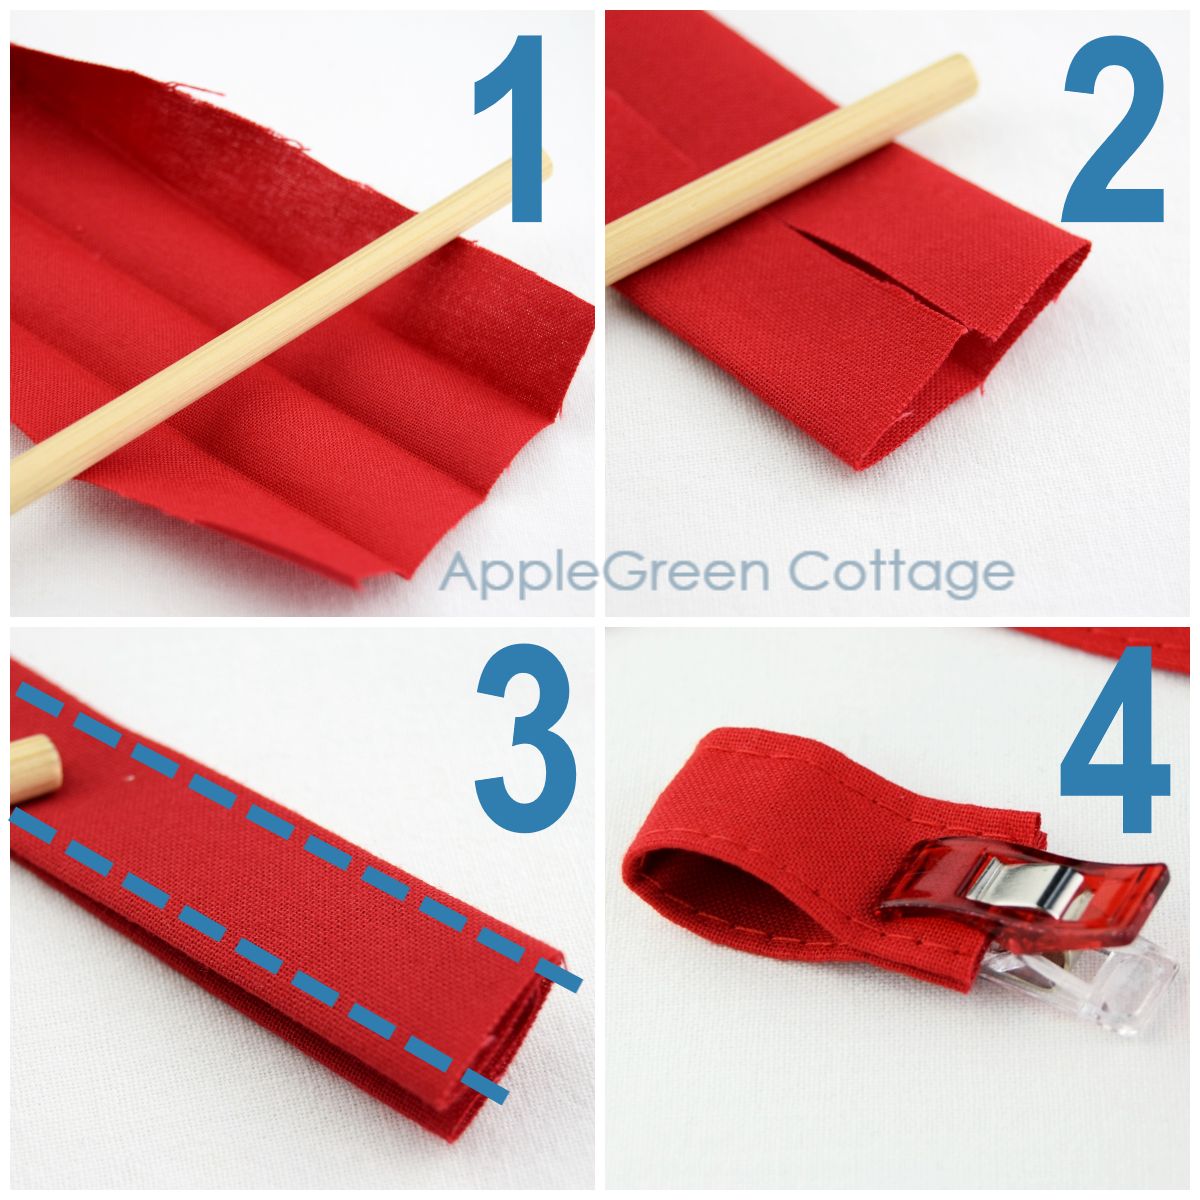
- (1-2) Place your 3 by 12" piece wrong-side-up and fold one shorter edge towards the center and do the same with the other short edge
- (3) Fold once more along the center and press, then topstitch along the edges.
- (4) Cut into four equal pieces - each will be 3" long. Fold them in half.
You've got four hanging tabs ready to install:
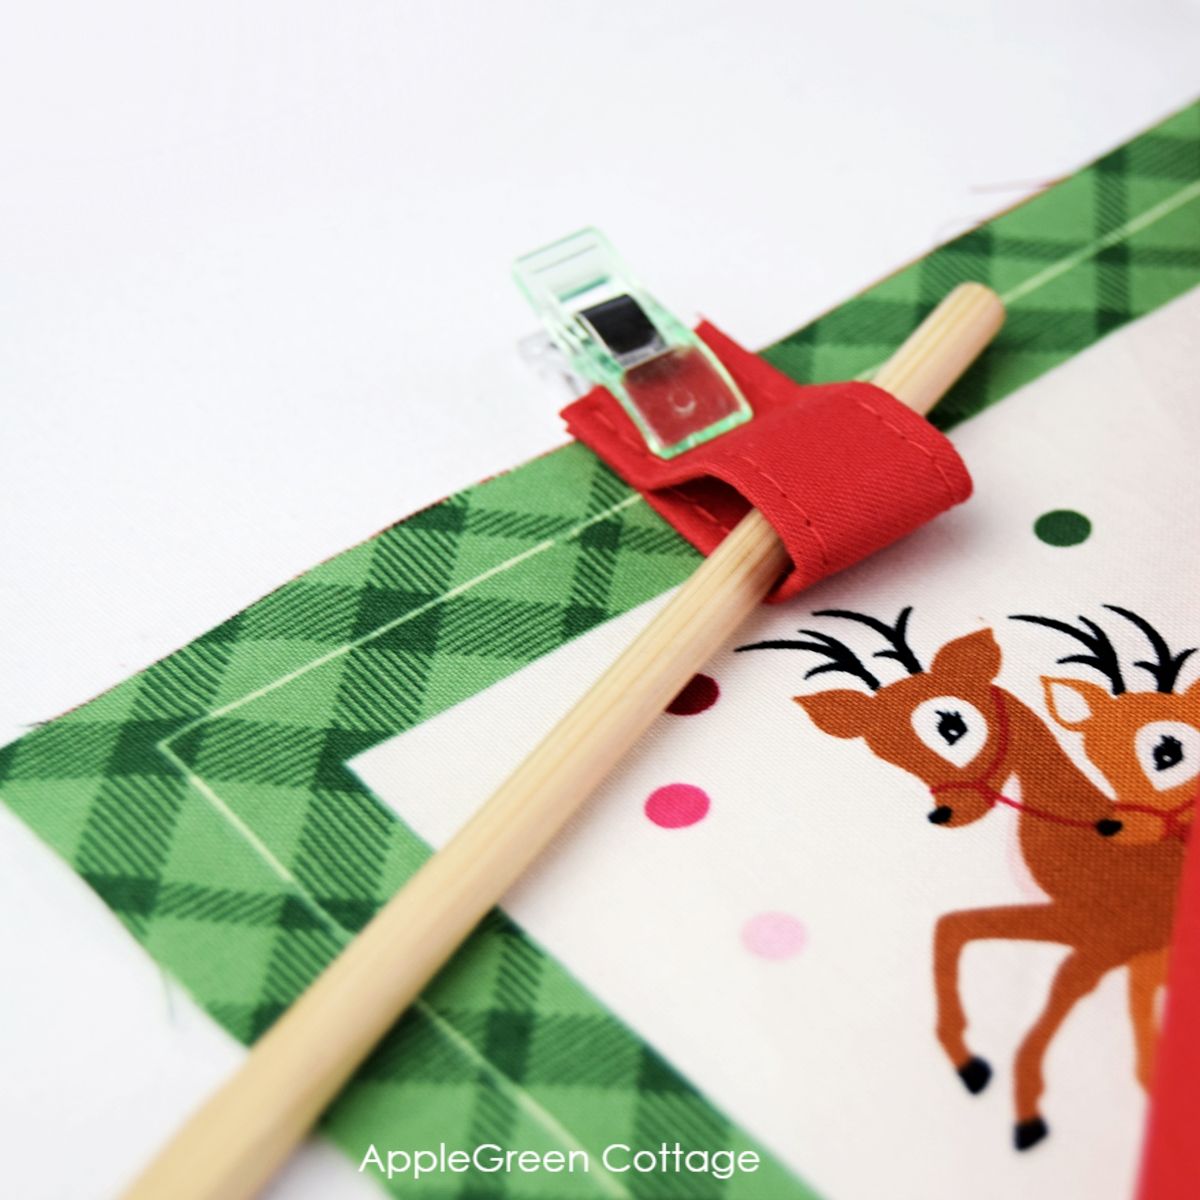
Place the front panel with the right side facing upwards, and attach tabs, aligning them along the top edge of the front piece. Loops need to face towards the inside!
I basted them in place (see the white arrows on the next photo)
Step 5 - Join Front And Back
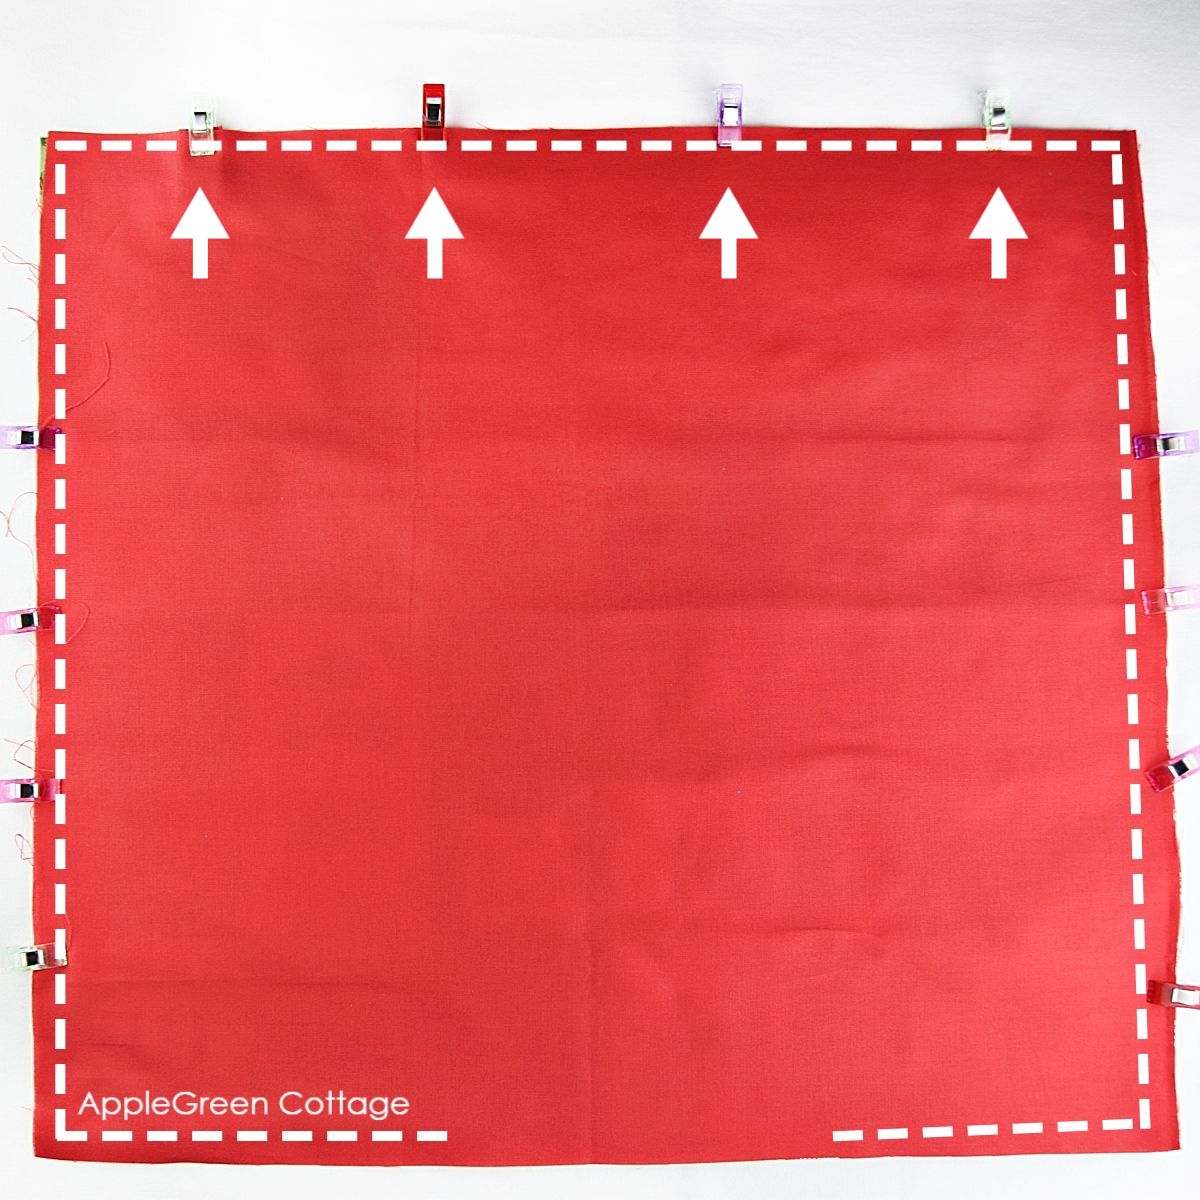
Cover the front panel with the backing piece (width 19") and sew around using a ½" seam allowance. Make sure to leave a 6" opening at the bottom for turning.
Then trim corners (see this how to trim the seam allowance tutorial), turn and tuck in the seam allowance on the opening hole.
As a last step in the how to make an advent calendar tutorial, either just stitch the opening shut, or topstitch around at ⅛" away from the edge.

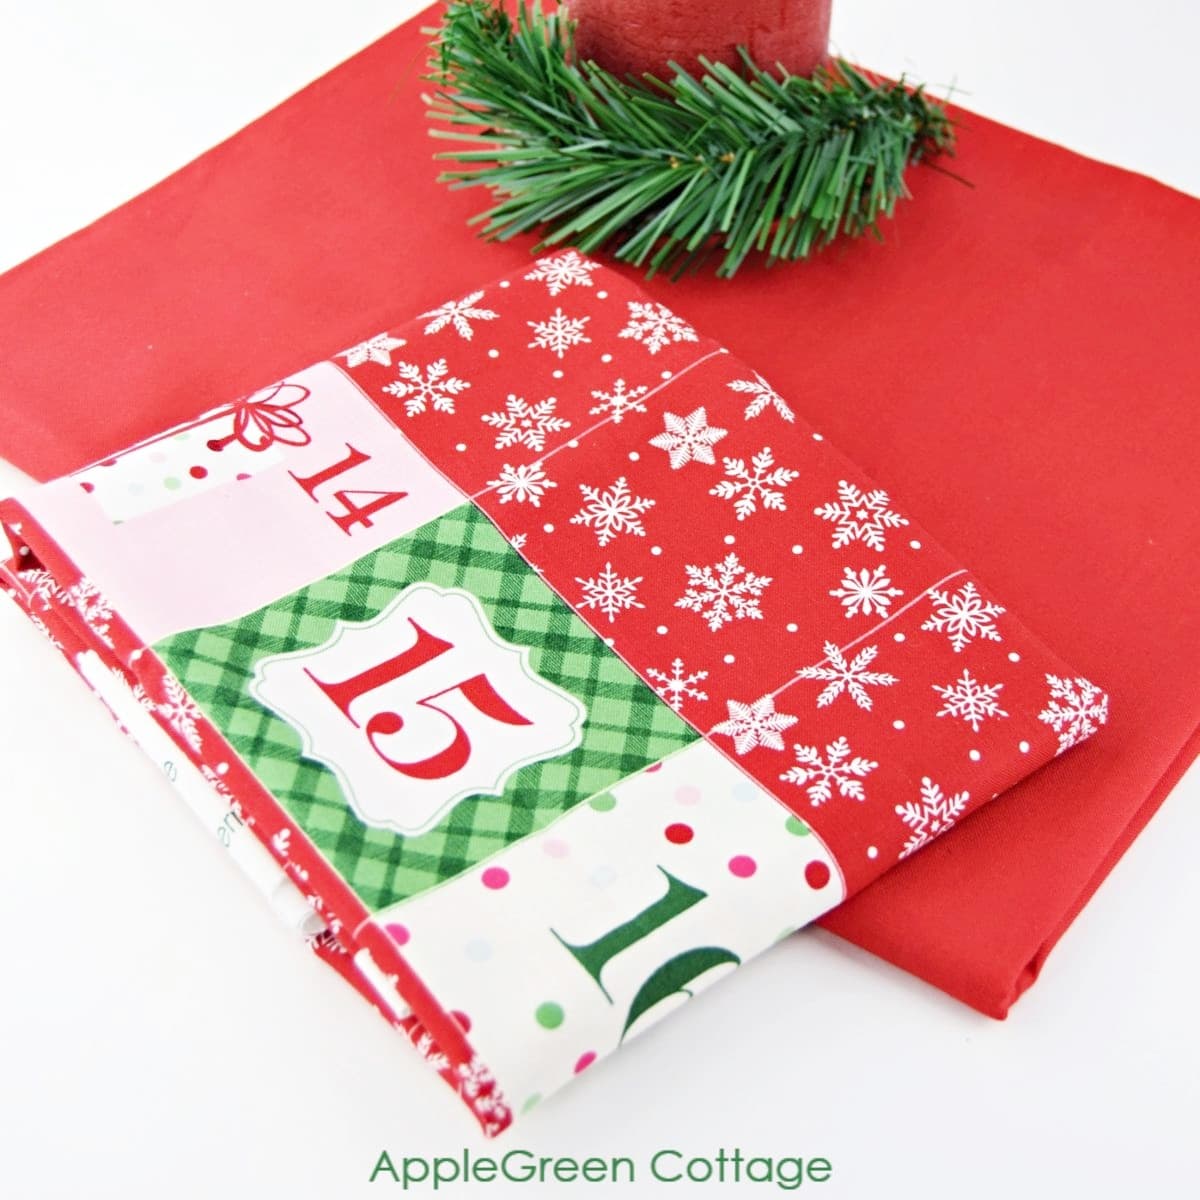
You've finished your adorable Christmas advent calendar, congrats!
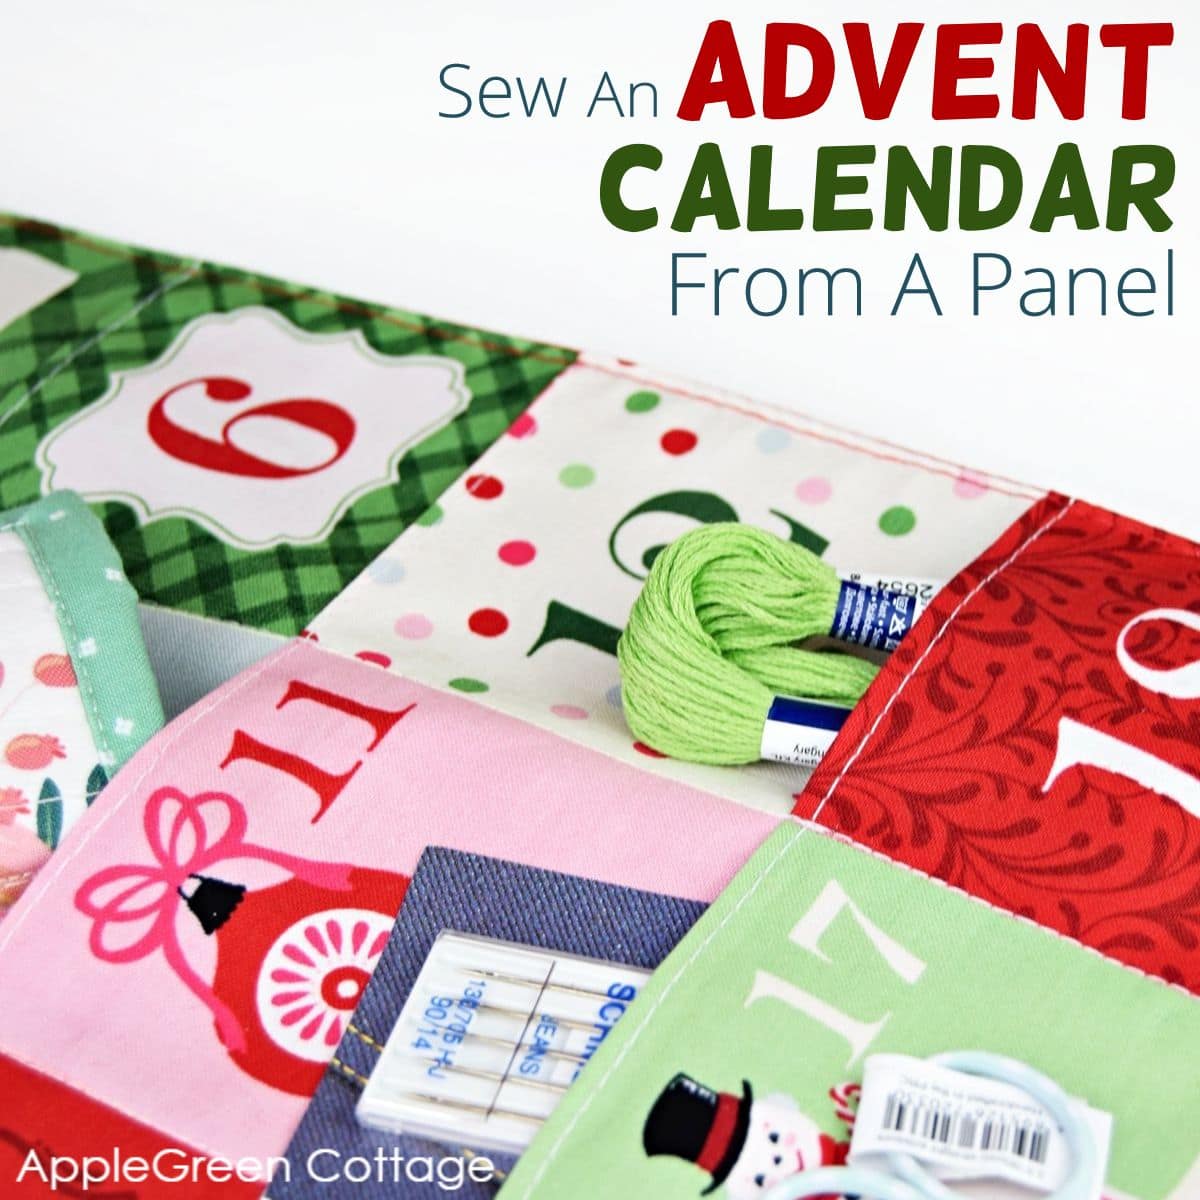
Each pocket can be filled with thoughtful trinkets of your choosing…What about making a sewing gifts advent calendar for a sewing friend!
Sewing an advent calendar from a panel sounds like a brilliant way to make some festive memories for your family each year - don't you think?!
More places to get the prettiest Christmas advent calendars panels are Fat Quarter Shop and Plush Addict - UK-based, they carry the beautiful Makower Christmas fabric!
And the best thing, you can use this tutorial with any size panel of this type.
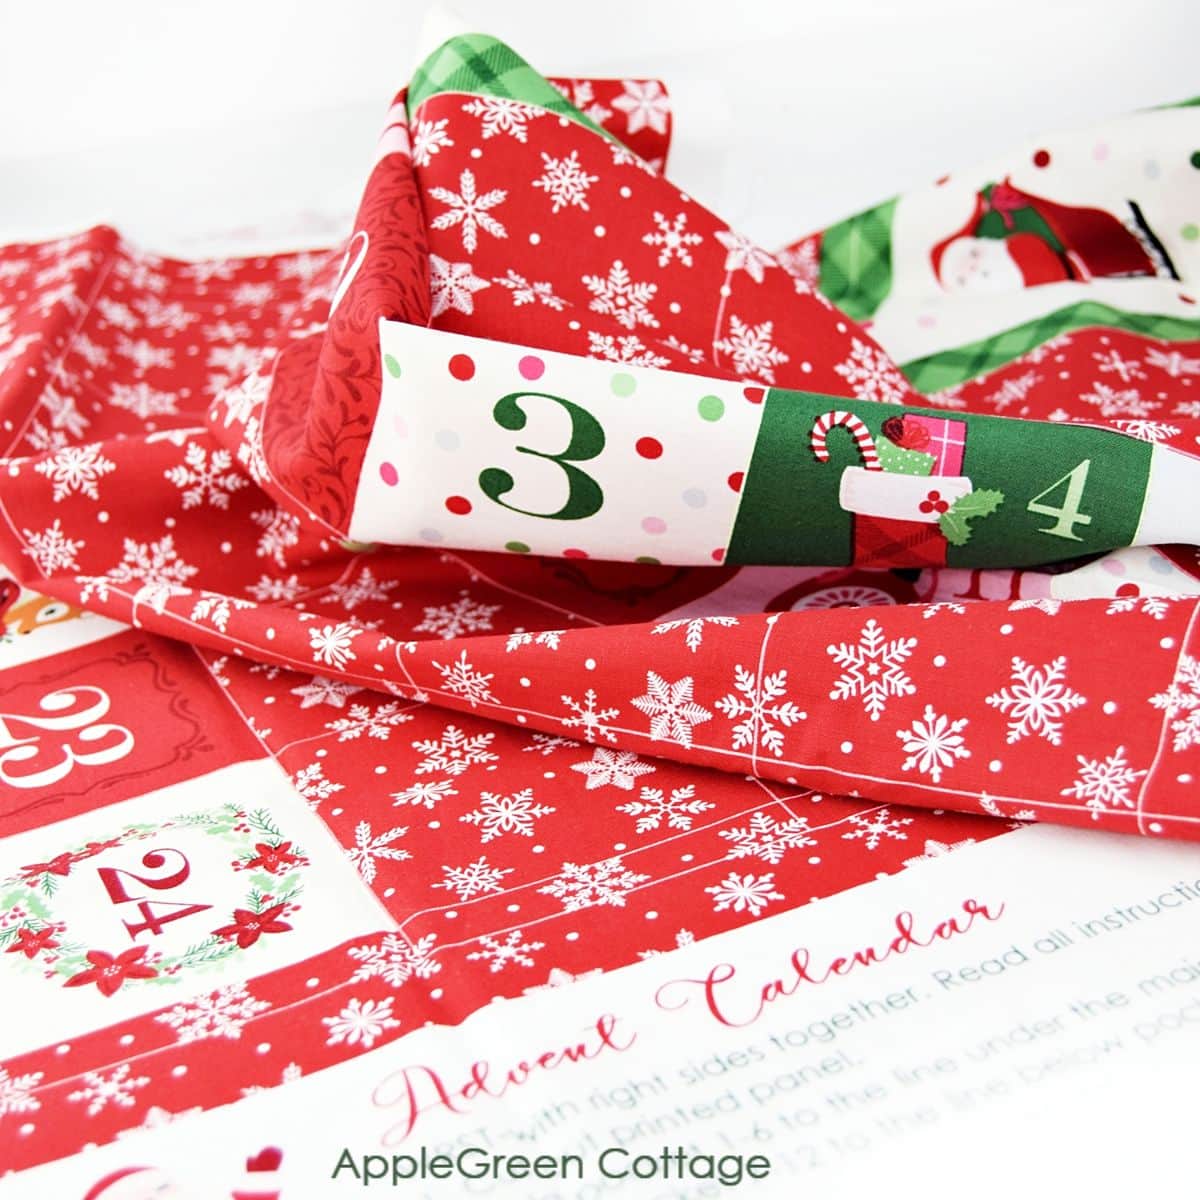
Instructions Printed on the Panel Too!
A great thing with fabric panels is that sometimes, you get the steps printed at the side of the panel, just like mine came with. Yey! But while those short instructions work perfectly fine for seasoned sewists, some steps are not mentioned and could get you confused, especially if you've never sewn an advent calendar with Christmas fabric panels. (This tutorial does not follow the printed instructions.) This is why I made the tutorial to do away with any obstacles a sewing beginner, or a first-time-panel sewist might encounter - let's make it fun and easy. Enjoy!
Can't get a fabric panel right now, but want to create a gorgeous advent calendar anyway? I have collected all the best diy advent calendar ideas I could think of - check them out!
If you want more holiday sewing projects, you're in the perfect place:
- 70 Free Tree Skirts You Can DIY
- 20+ Christmas Diy Gift Ideas You'll Love
- This cool modern diy Christmas stocking - free pattern!
WANT MORE FREE TUTORIALS AND GOODIES?
Get email updates and never miss out on new patterns, printables, and tutorials:
Or …check out the gift bag pattern in 6 sizes in our shop - a super easy no-corner-boxing sewing project. Reusable gift bags for all your future gifts!


Leave a Reply