
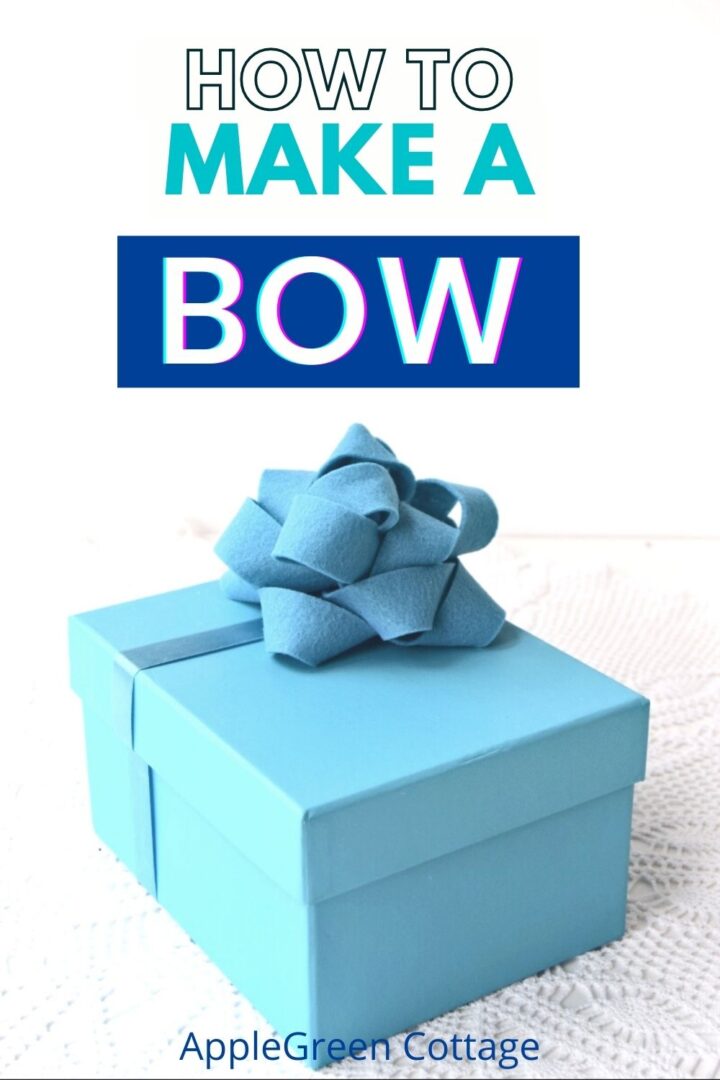
See how to make a felt bow with simple loops - so cute! And perfect for gift toppers, holiday presents, wreaths, and garlands.
These felt bows are quick to make, and you don't need a template or a sewing machine. Just cut a few felt strips, fold them into loops, and stack them into a pretty bow.
Follow this easy felt bow tutorial and scroll down for a few extra tips to make your bows look neat and full.

If you're here for fun projects, try this super popular bucket hat pattern:
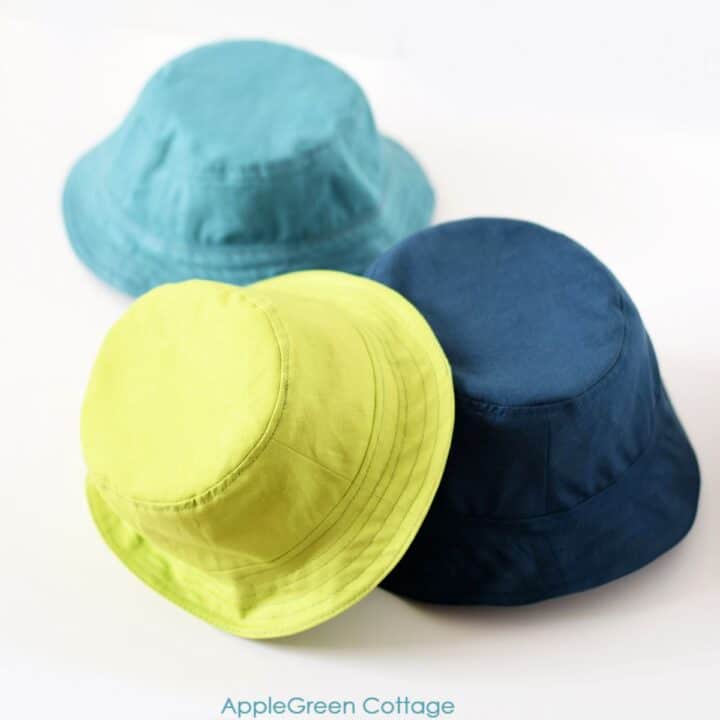
+ FREE Bucket Hat Pattern
Table Of Contents
I love creating cute gift bows: look at this tulle bo tutorial, quick diy fabric hair bows, and everything in between! These felt diy bows are perfect for presents - no template, no sewing machine, and just a few simple strips of felt. They're quick, easy, and perfect for topping handmade gifts.
Supplies
- felt scraps
- marker and ruler (my 6x24 inch quilting ruler is a multi-tasker!)
- scissors or rotary cutter plus cutting mat (I use this one by Olfa)
- needle, thread
Shop my personal favorite sewing supplies on Amazon HERE.
How To Make A Bow Video
First, here's a video slideshow for those who prefer a video:
Felt Bow Tutorial - STEPS
Now let's continue to our written step-by-step tutorial:

Step 1 - Cut felt strips
First, let's cut the strips: all of them should be 1 inch wide (2.5cm):
- 4 strips 12 inch long (30cm)
- 2 strips 11 inch long (28cm)
- 2 strips 10 inch long (25cm)
- 1 strip 4 inches long, for center (10cm)
NOTE: Scissors are just fine, but a rotary cutter and a cutting mat will make this task a breeze!
Step 2 - Twist and join ends

Take the first strip and twist one end to the center point (1), and then do the same with the other end (2). It will form into a number 8.

Repeat with all strips, except for the shortest one. You'll end up with 8 pieces of 'eights', and one 'circle'.
Step 3 - Stack all pieces

Let's sew! Start by threading the needle in a way it won't require any knot-tying (check out this no-knot trick, it's so popular!) Use the first, largest 4 pieces. Then make a few stitches through the center of the first one.
OPTION: Alternatively, you can use your glue gun, of course. I wouldn't, because, with me, it takes forever to clean up the glue afterwards. (#messy) The needle and thread - done in a moment! I might be a little biased, of course!

Then stitch the second piece at a 90-degree angle (5), and then continue by stacking up + stitching the rest, one by one from the largest to the smallest one. Pivot them a little if needed, so they fit into the center.

In the end, attach the center of your felt bow, the circle piece.
Final step - Secure the thread

Pull the thread to the back, finish off the sewing and bury the knot.
TIP
If you want to find out more about ending stitching and finishing seams the neat way, see how to bury the knot.
Done! You've just learnt how to make a bow and here's your beautiful creation:

BONUS TIPS
- Adjust the fullness - If your bow feels thick enough, or the center gets too crowded, leave out one or two loop pieces.
- Change the strip width - Wider felt strips make a fuller bow. Narrower strips make a slimmer, more delicate bow.
- Want lots of narrow loops? - For a bow with many thin loops, it's better to use a different bow-making method. I'll share that tutorial soon!
More Ideas
Ever made a scrunchie? Try these free scrunchie patterns with special shapes:
If you like making accessories, check out these easy projects, too:
- This diy infinity scarf (So soft!)
- This FREE Cowl Scarf pattern (Super popular NOW)
Or …check out the gift bag pattern in 6 sizes in our shop - a super easy no-corner-boxing sewing project. Reusable gift bags for all your future gifts!


Mea Cadwell says
I like this idea...a lot. But I can't figure out how to attach it to a present. Do you use a strip of felt with velcro?
Damjana says
Mea hi, a great question. The simplest way to attach the bow to a wrapped present is to tape it using a double-sided tape.
Kim says
I love this felt bow idea! Thanks so much!!
Amy P says
What a great idea!! I actually have a bow maker, just need to cut some felt strips! Thanks, I also enjoy reading your posts!