
If you like Christmas pillow covers, why not create your own - it's so easy, and every season when you pull out your holiday pillow decor, you'll be so proud you've designed them yourself!
Make a cute diy Christmas pillow sham with a flange following this free tutorial and use the free applique templates - there are enough of them for all your diy Christmas home decor.
See more pillow finishing options in the video below.

And scroll down to get all the free templates from the HOMEMADE HOLIDAY Bundle too! And try our popular SewPretty HOME series:

Join the FREE 7-part email course and make 6 beautiful items for your home! You'll love it!
Table Of Contents
- About Diy Christmas Pillow Sham
- Diy Christmas Pillow Sham Video
- Free Applique Templates To Use
- HUGE Holiday Sewing Pattern BUNDLE - FREE!
- Finished Size of the Diy Christmas Pillow
- Supplies for the Diy Christmas Pillow
- How To Make A Christmas Pillow
- More Design Options For Your Diy Christmas Pillow Sham
- Related Holiday Projects
- Where can I get the free pattern?
About Diy Christmas Pillow Sham
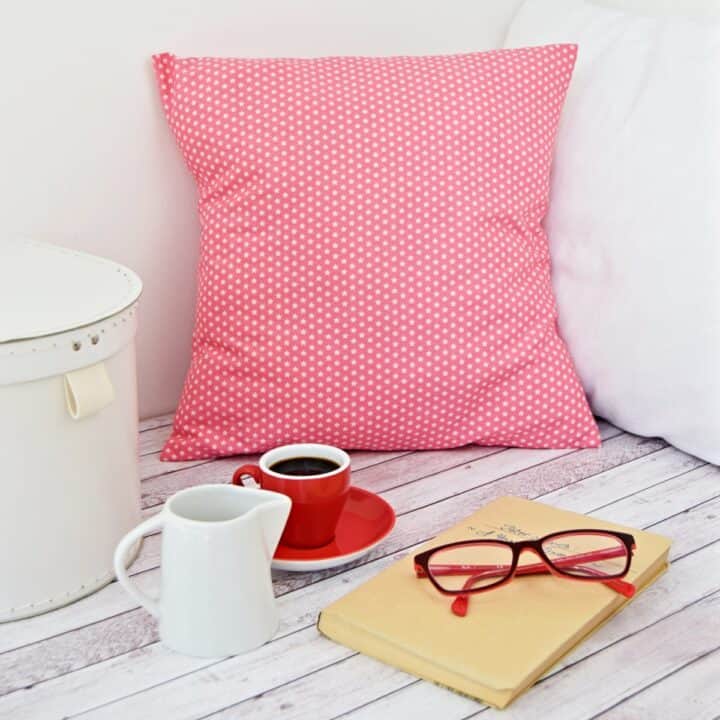
One of my top things to sew for Christmas? These simple and beautiful pillow shams. Never have enough of them, and every home can use them! Meaning they make great easy sew christmas gifts.
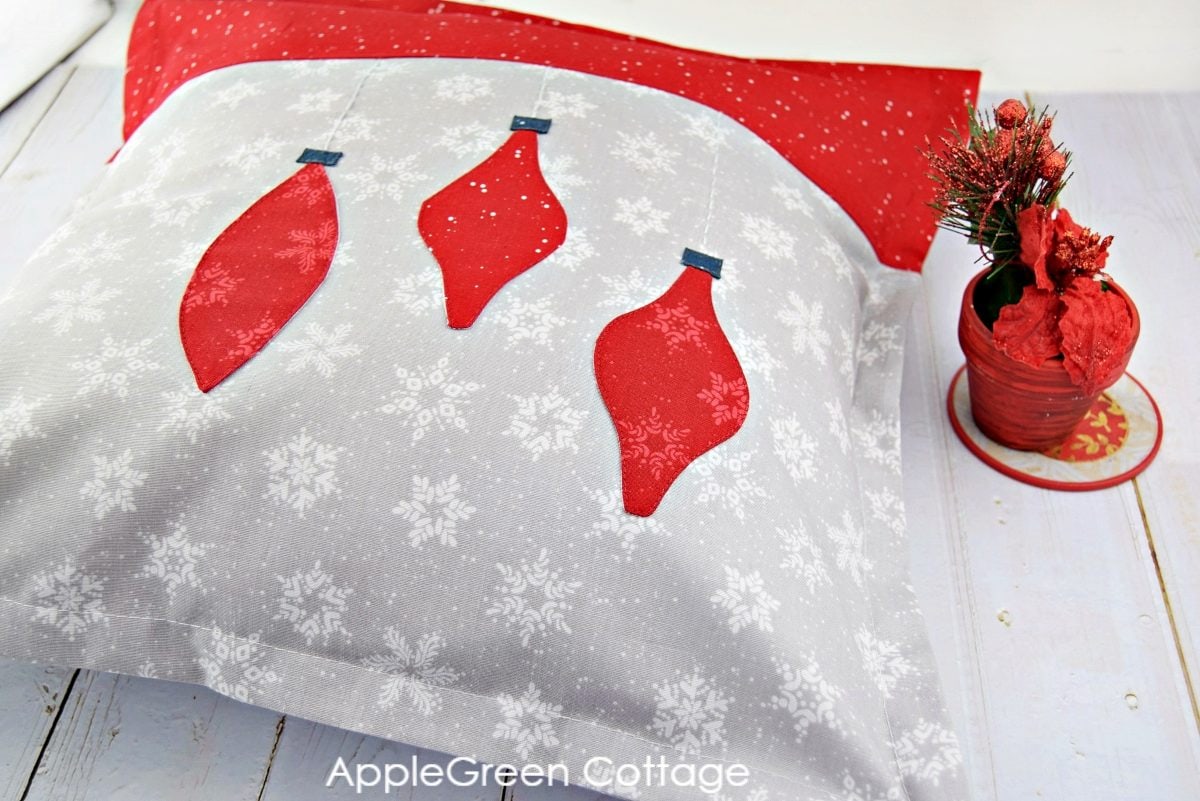
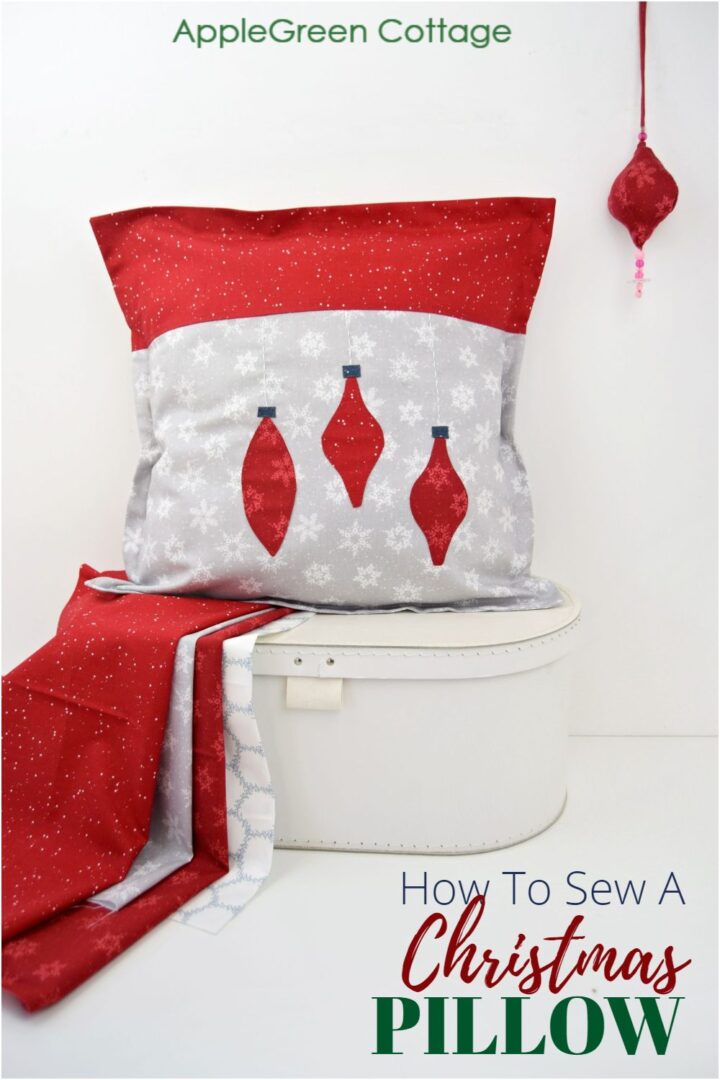
Every year, I love to add a few handmade items to our holiday decor. This year, I'm making the color-blocked pillow with a 1" flange that gives the simple project that stylish high-end look. Easy and quick!
And we'll cover ALL the raw ends. Yes. No raw ends here. Not even on the pieced front.
Diy Christmas Pillow Sham Video
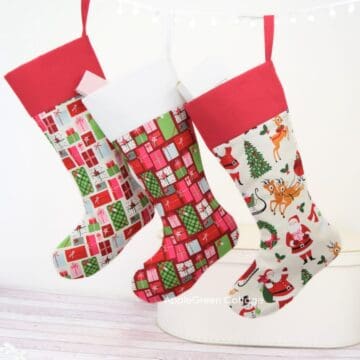
This diy Christmas pillow cover has tons of finishing options. Wanna see? Check out this slideshow to get a glimpse at just a few of all the designs possible:
Now think how many MORE options you have with not just with designs from this one page, but 17 more pages that are included in the free Homemade Holiday Pattern Bundle. Just sayin'. Get the free bundle and make all your holiday decor match!
You'll love this tutorial! Not just because of the fabric combos, it's also because this project gives you the option to use tons of free printable templates as applique.
Free Applique Templates To Use
Download all the free templates from my FREE HOLIDAY Pattern Bundle - and use them all.
HUGE Holiday Sewing Pattern BUNDLE - FREE!
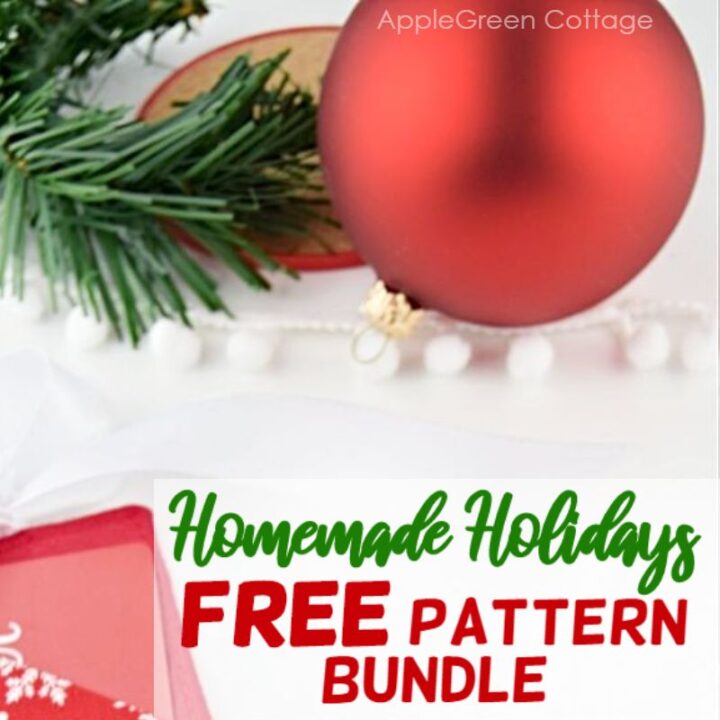
17+ sewing patterns to craft your own, cozy holidays!
This bundle is a gift from me to all AppleGreen Cottage followers. It's a free pattern bundle you can use to make your holidays handmade, cheerful, and pristine. This holiday patterns bundle includes more than 18 free sewing patterns waiting for you to make this year. And I'll be adding more this year too.
Finished Size of the Diy Christmas Pillow
Now let's get down to sewing some beautiful festive home decor! This diy pillow will finish at 18" square, perfect for an 18" square pillow insert, and there is a 1" flange all around which will add some style. Classic!
Another option, if you don't care about the finished seams on the inside and want to make the most out of your yardage, you can forego the flange part - skip Step 10 and use the pillow for a 20" pillow insert. If you already have a different size pillow insert you'd like to use with this tutorial, measure it first.
Supplies for the Diy Christmas Pillow
To make the diy Christmas pillow sham like the one in this tutorial, you'll need:
- ½ yard of main fabric
- ½ yard of an accent fabric
- scraps of contrasting prints for applique
- scraps of thin interfacing like Vilene H200, for applique
- applique templates from the FREE Homemade Holidays Patterns Bundle
How To Make A Christmas Pillow
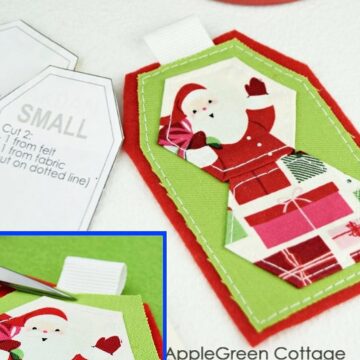
Let's start by getting the applique template for the small pieces:
Step 1 - Download The Free Templates
Join our mailing list and get the Free Homemade Holiday patterns BUNDLE emailed to you:
Print out page 10 with the 'Diy Bauble Christmas Ornaments'.
Step 2 - Cut the 4 Pillow Pieces
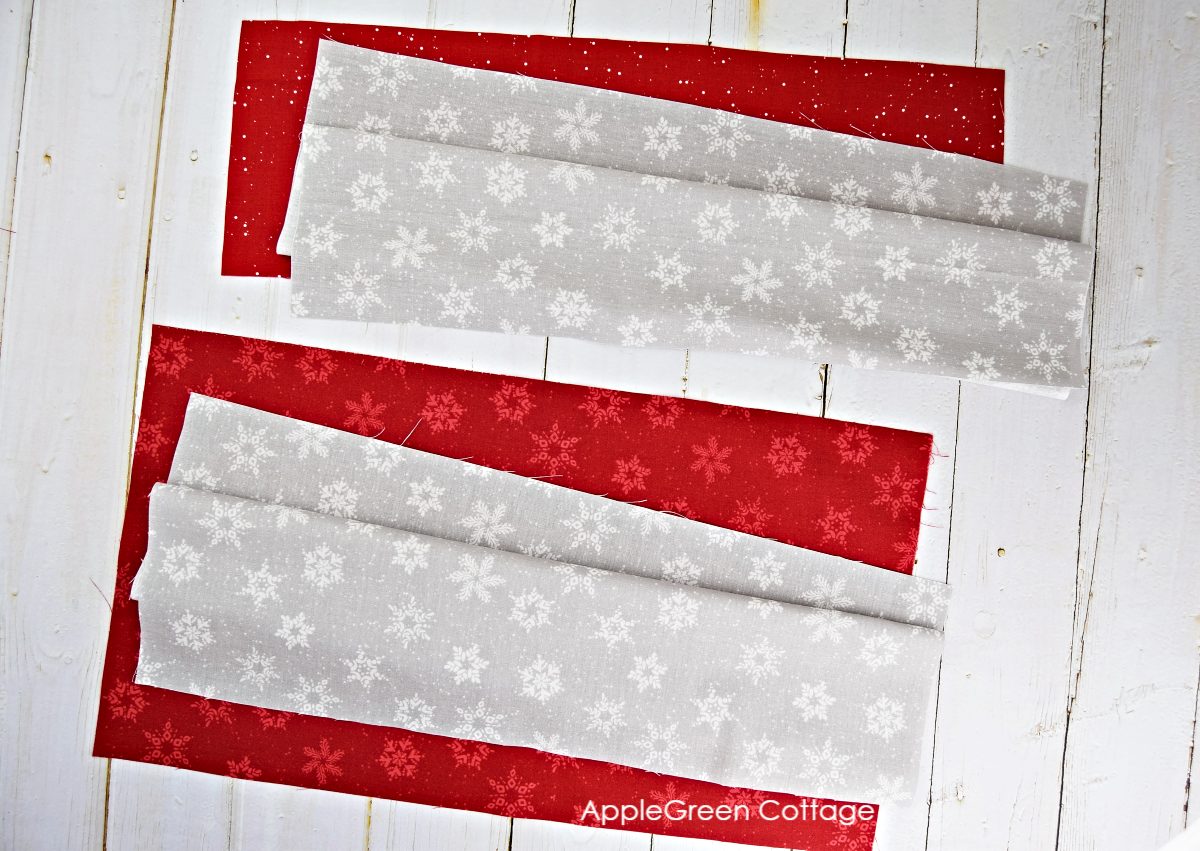
Cutting Directions
The measurements shown are width x height.
For the FRONT:
- cut 1 rectangle 21" x 14 ½" from the main fabric (Front Bottom) and
- 1 rectangle 21" x 7 ½" from an accent fabric (Front Top)
- quick ALTERNATIVE: scroll towards the end for more options (see single-color version)
For the BACK, cut
- 1 rectangle 21" x 14 ½" from the main fabric (Back Bottom) and
- one rectangle 21" x 11 ½" from an accent fabric (Back Top)
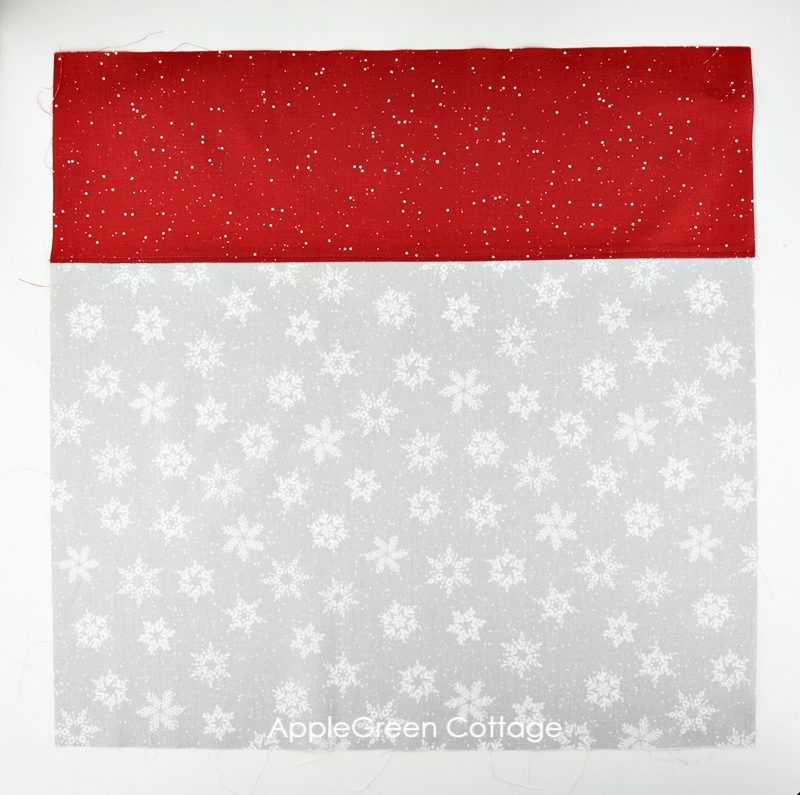
Step 3 - Piece the Front
We'll make a flat felled seam, so there will be no raw edge visible. I'll go quickly through the steps, if you're new to flat-felled seams, I've got a clear, tons-of-photos tutorial on flat felled seams.
So if you're new to sewing, here's a detailed how to sew a flat felled seam if you need it. Here it goes:
Firstly, place the two front pieces with right sides together along the 21" edge and sew them together using a ½" seam allowance.
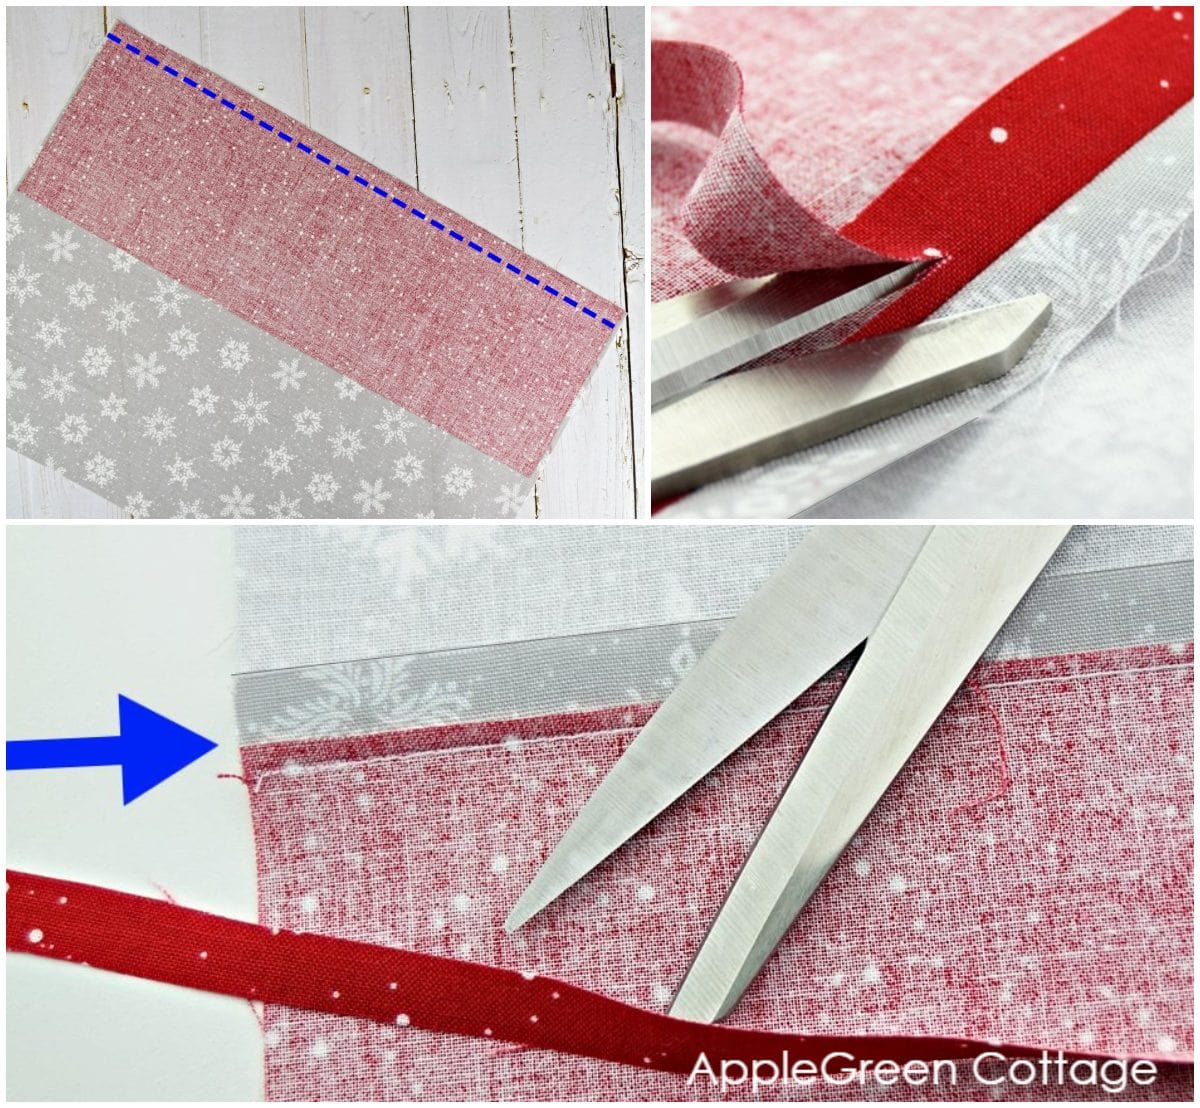
Then press both SA together to one side so the darker-fabric seam allowance is on top. Then trim the darker fabric SA to something between ¼" and ⅛".
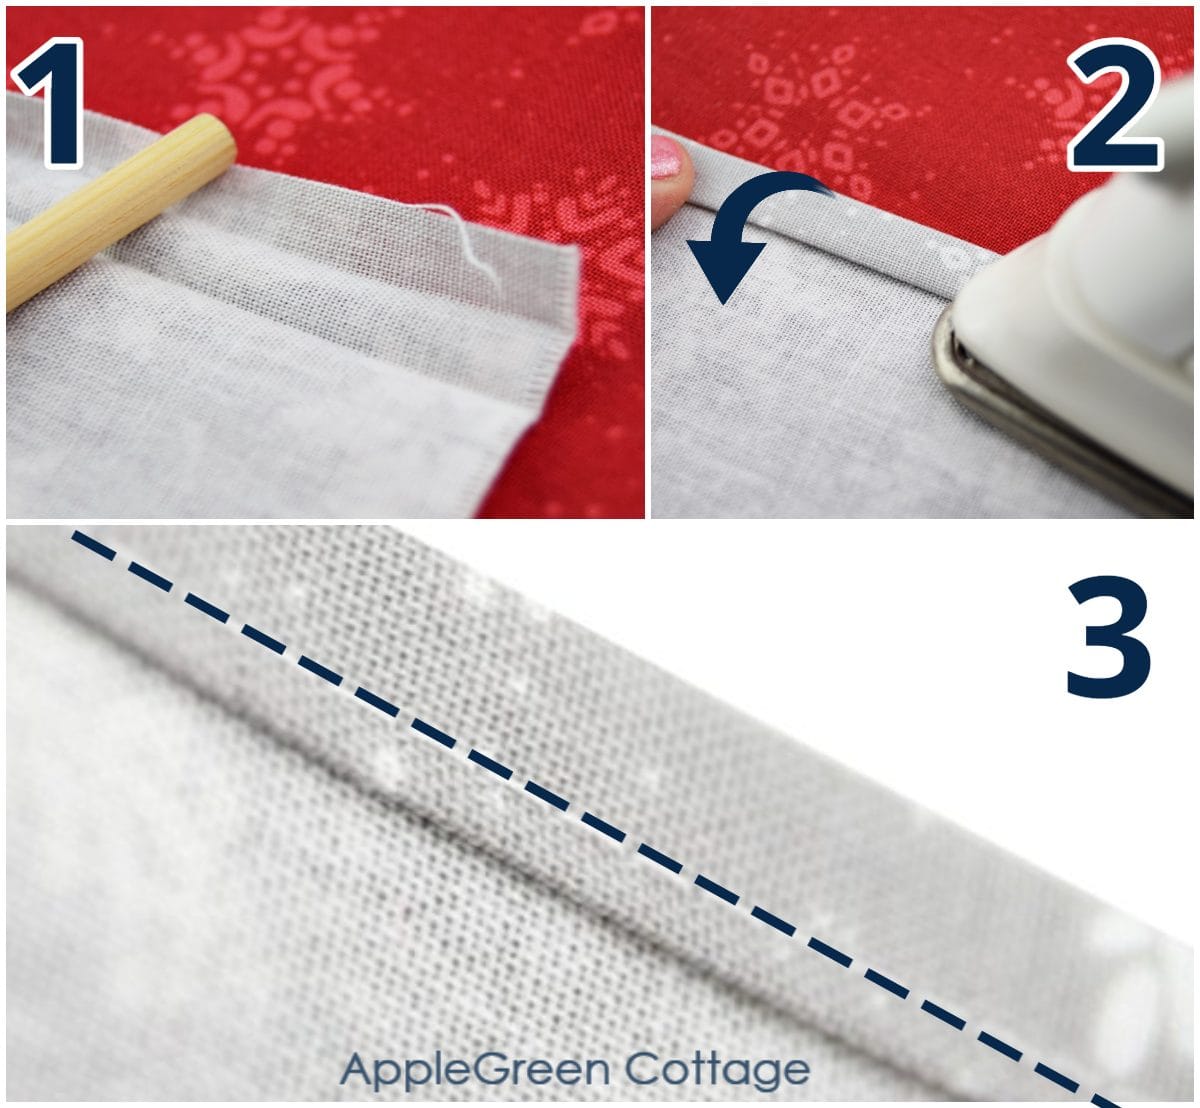
Now, time to fold the raw edges out of sight - see photo below:
Reach with your thumb under the wide seam allowance and fold it over the narrow one, so the raw edge meets the seam. Then fold the seam over so the raw edge is enclosed.
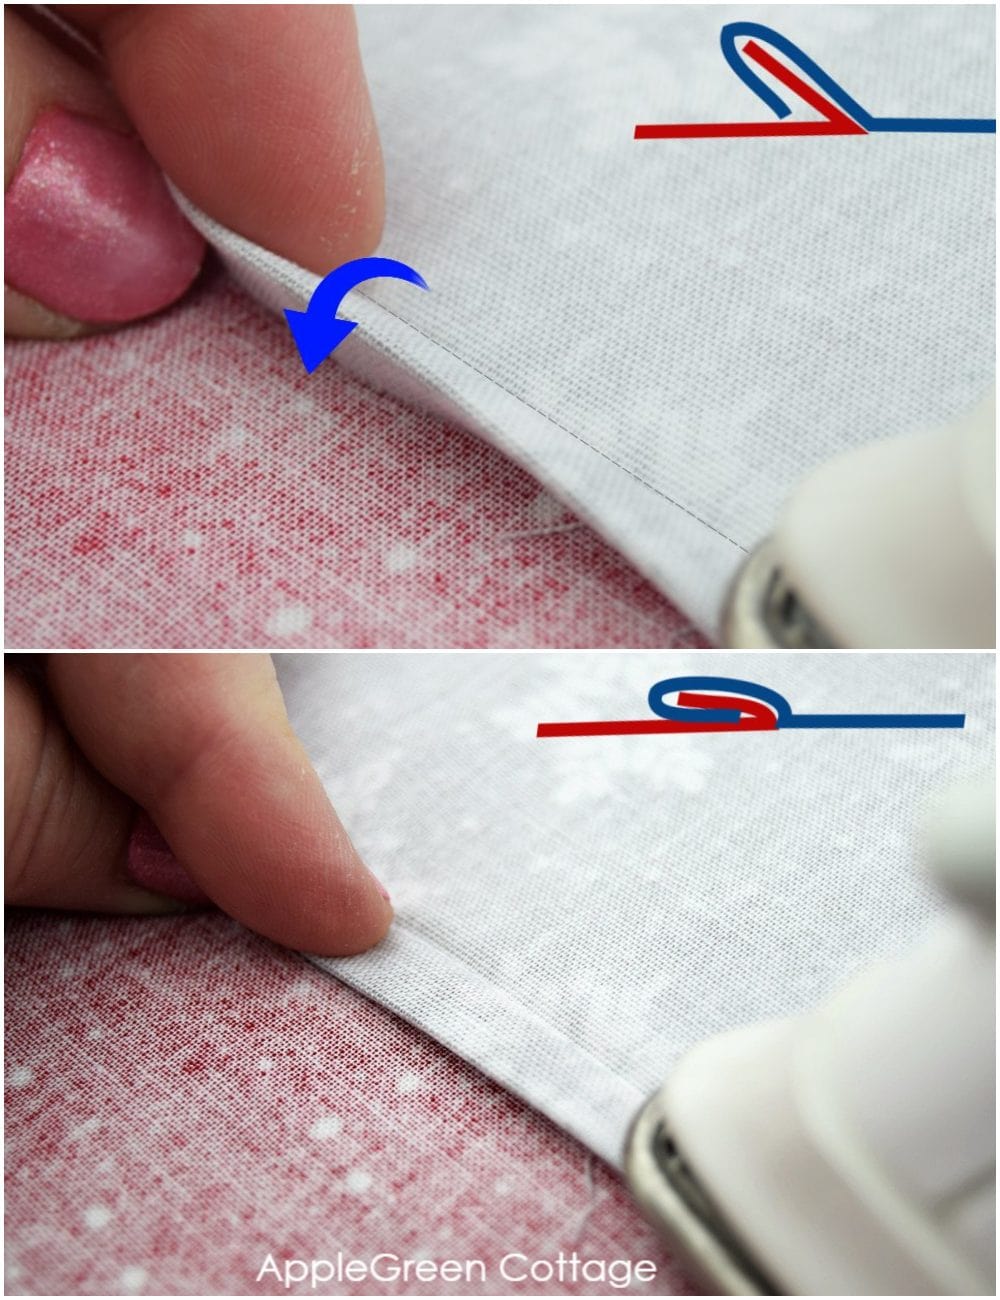
Last thing, press and topstitch the fold to hold it in place:
Once you've got this, say goodbye to all and any raw edges in your projects!
Step 5 - Add Applique
Now it's time to select your favorite applique design: watch the video slideshow above again - it will help you decide what applique layout you love most. I chose 2 baubles and one drop ornament for my applique, mid-size. You can mix up sizes, fabric prints, and designs - no limits!
Cut several baubles or finial designs from contrasting prints.
We'll create the applique pieces, using the turned edge technique.
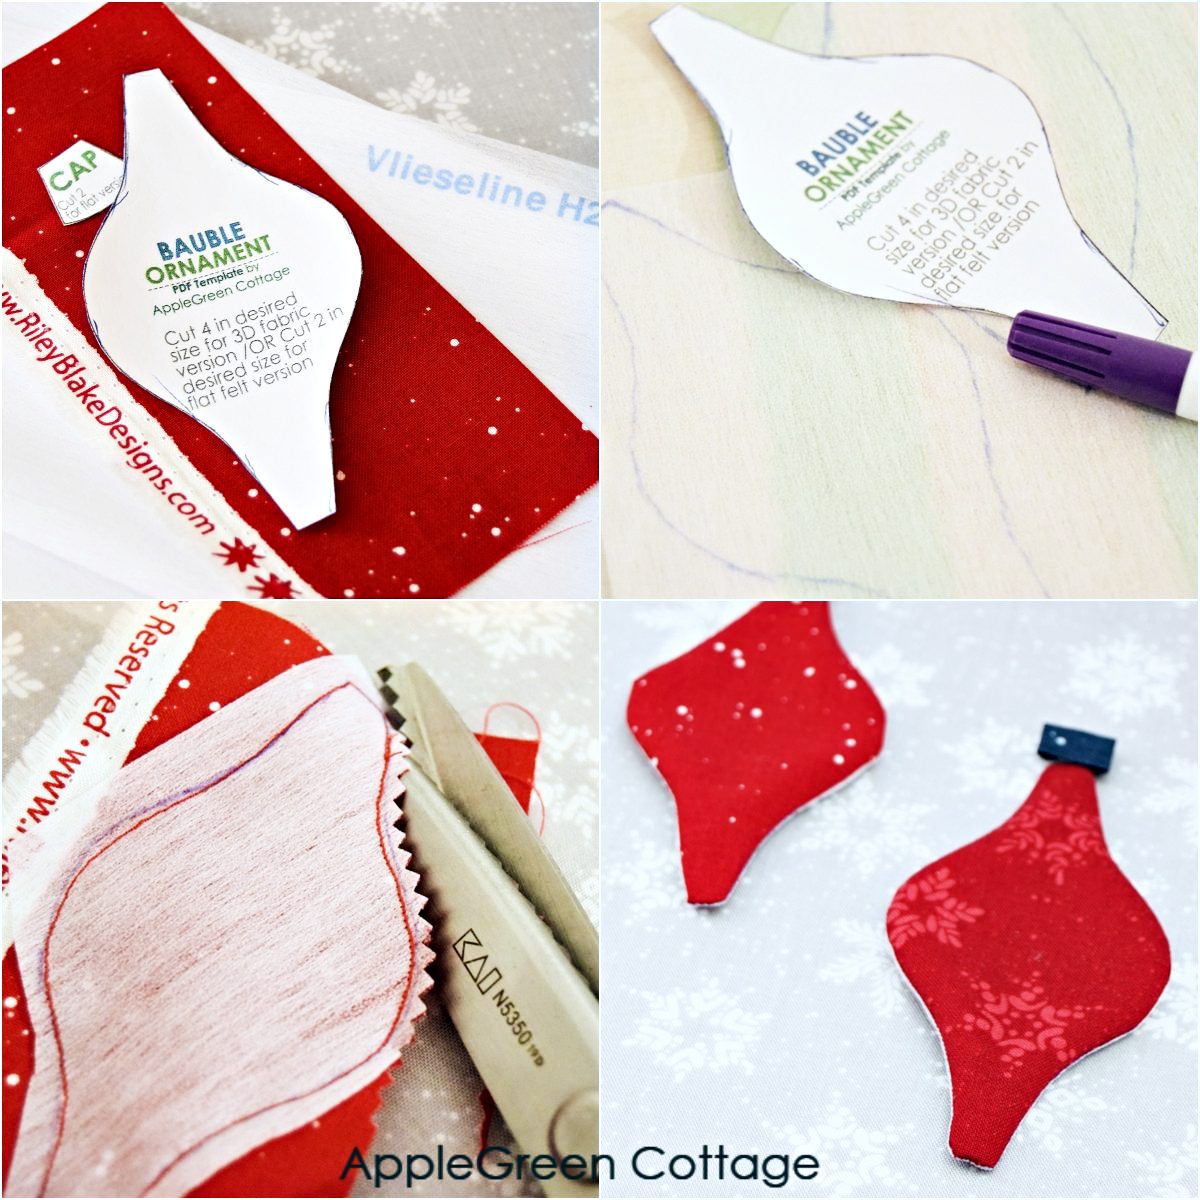
If you're new to applique, check out detailed turned-edge applique tutorial.
In short, I started by cutting out one piece of fabric and one piece from the thin interfacing (Vilene H200 here). I placed the right side of fabric and the sticky side of interfacing together, stitched around and turned through a hole ripped in the interfacing.
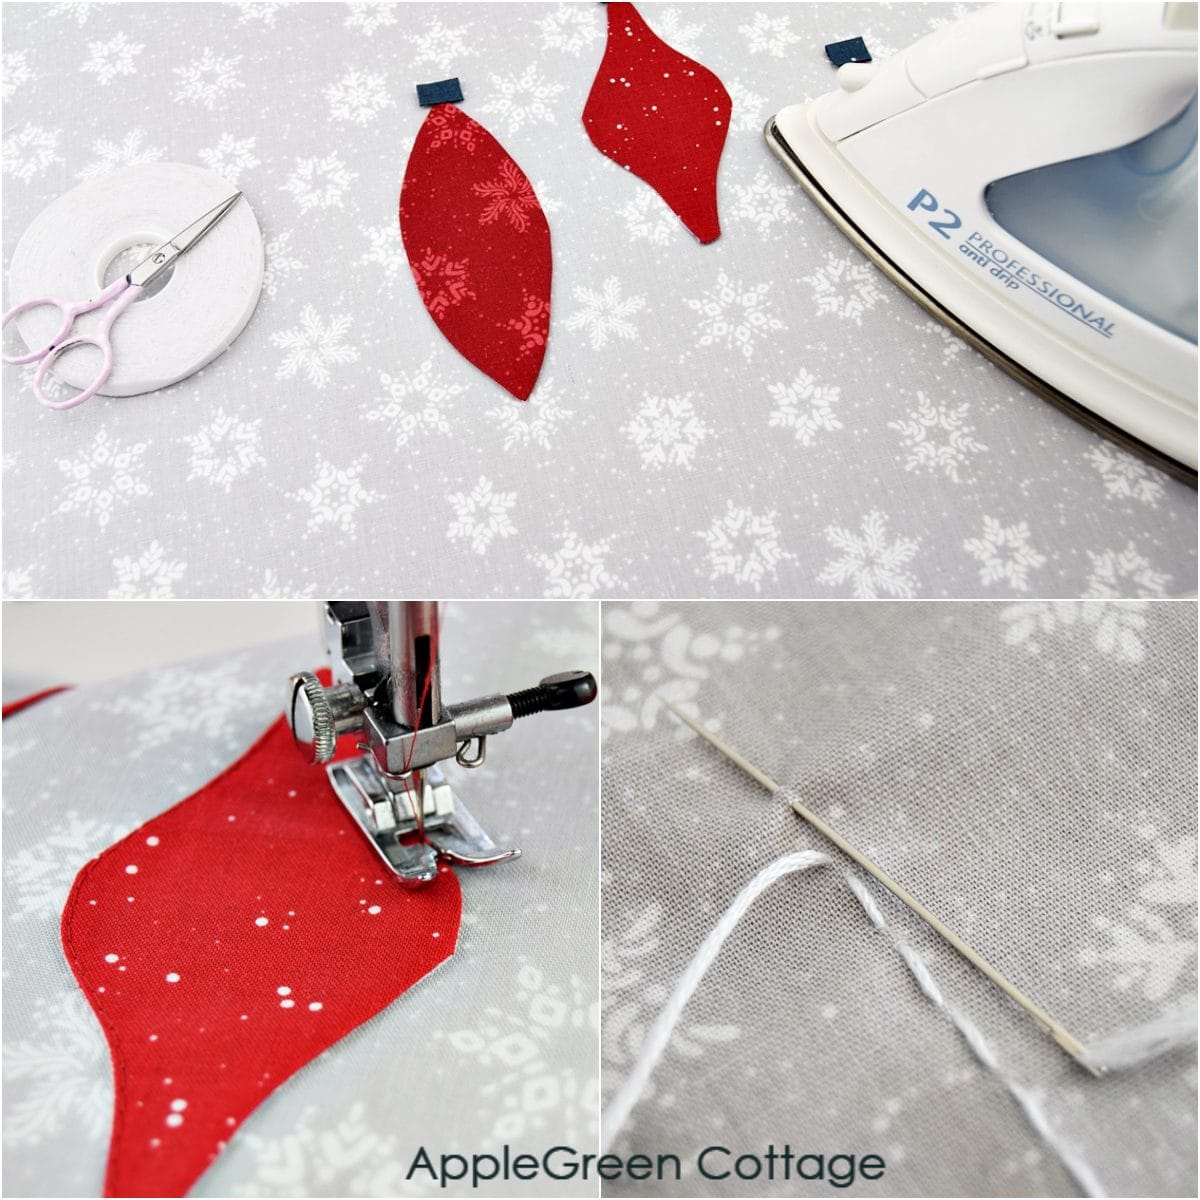
Place your applique pieces on the pillow front and press in place. Finally, topstitch around and optionally use embroidery thread to create the strings for your baubles. I used running stitch, the simplest and quickest one.
Step 6 - Hem the Back Pieces
We'll add a double hem to the BOTTOM of the Back Top piece, and to the TOP of the Back Bottom Piece.
You can do a double hem two ways. First one is by folding first ¼" under, and then again ¼", and stitching the hem close to the edge, encasing the raw edge. Or, check out an even easier way to sew a double hem.
Once you've hemmed the top of the Back Bottom piece, and the bottom of the Back Top piece, it's time to assemble the pillow.
Step 7 - Assemble The Pillow Pieces
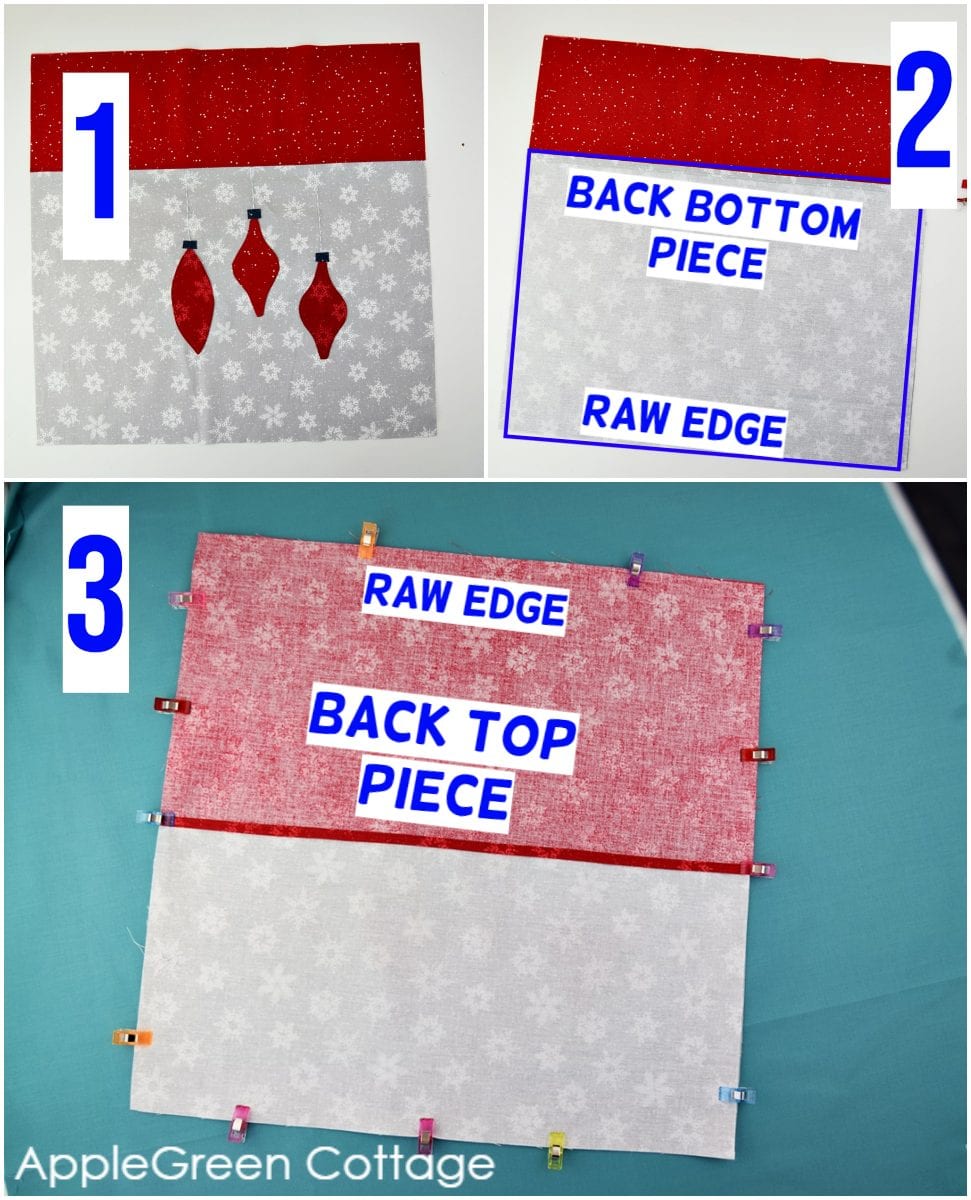
Place the front of the pillow with the right side up. On top of it, place the Back Bottom piece, with the bottom raw edges aligned. And finally, place the Back Top piece, aligning the raw edge with the top raw edge of the Front piece.
Step 8 - Sew The Pillow Together
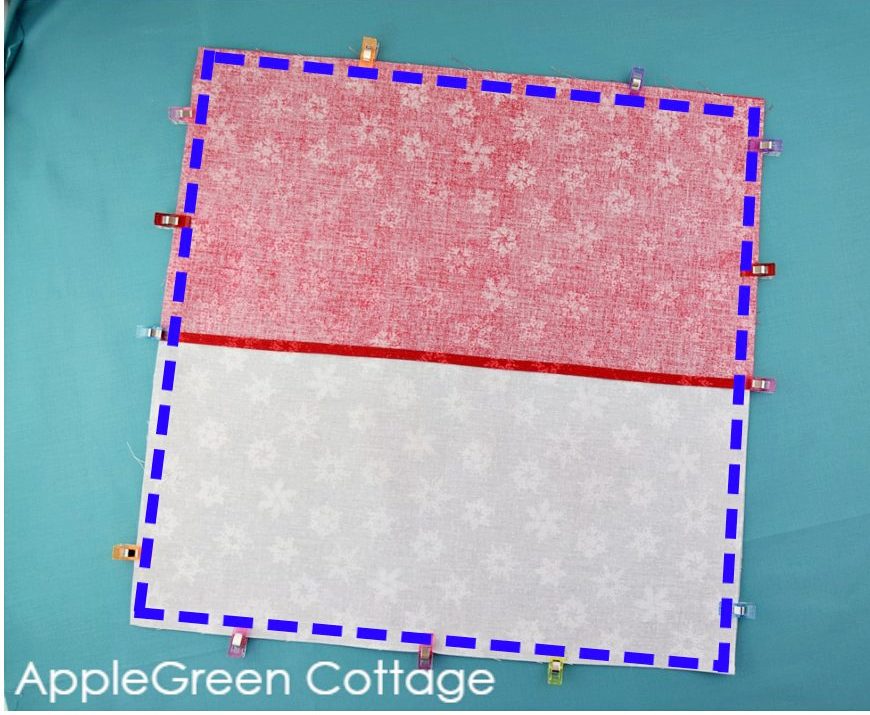
Sew around using a ½" seam allowance.
Step 9 - Turn Right Side Out
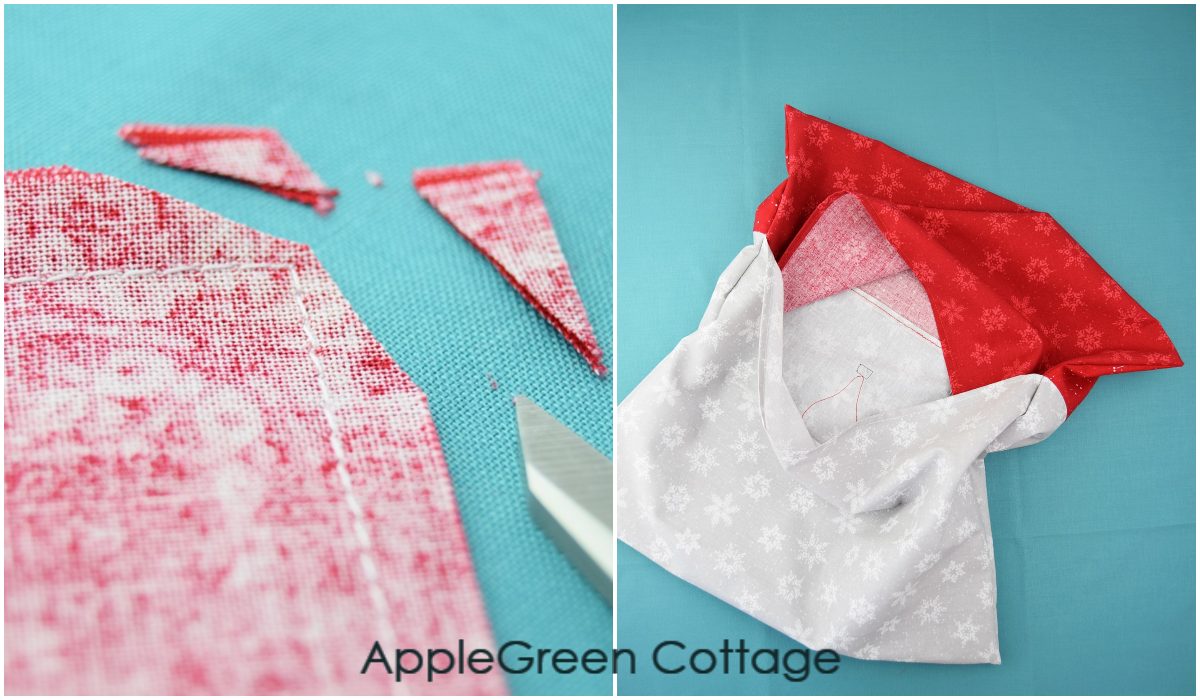
Trim corners to reduce bulk, making sure you don't cut into the stitching line, then turn right side out through the envelope opening on the back of the pillow sham.
Step 10 - Create a Pillow Flange

Press and make sure the edges are all aligned and there are no puckers. Topstitch around 1" away from the edge. This will encase the raw edge on the inside and give you a brand new diy Christmas pillow sham with a flange. Congrats!
More Design Options For Your Diy Christmas Pillow Sham
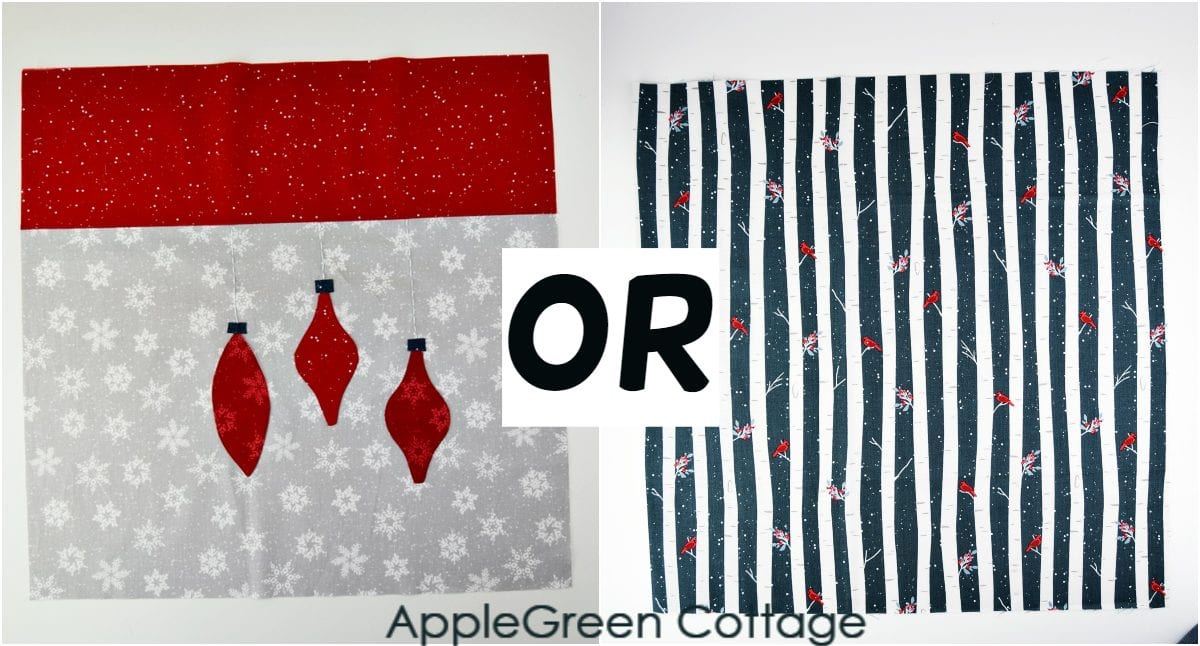
- basic option for the Front: you can make a simple, no applique diy pillow with some holiday-themed prints - beginner version! : Simply use a single 21" square of fabric for the front, no piecing needed.
- or a pieced-together, color-blocked Front
- or, like the one in the tutorial, color-blocked, appliqued diy Christmas pillow.
+The EASIEST Pillow Cover
Use matching fabric and create a few!
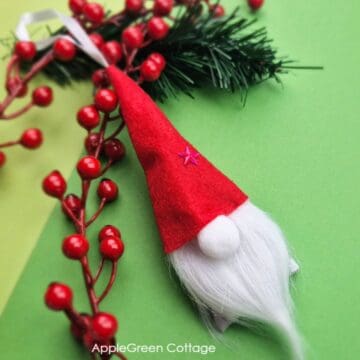
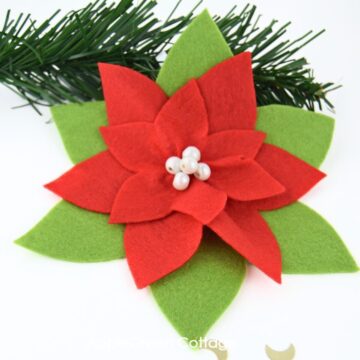
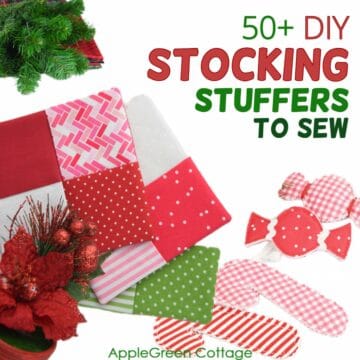
Related Holiday Projects
There are so many christmas ornaments to sew here at AppleGreen Cottage! Try these:
I'll be back soon with a new tutorial, make sure to follow or subscribe to the newsletter so you don't miss out on the new stuff!
Where can I get the free pattern?
Join our mailing list and get the template for free - and more, the entire (huge!) Homemade Holidays BUNDLE, with more than 18 templates to create your own cozy holiday decor:


Doll says
Well explained,will surely make