
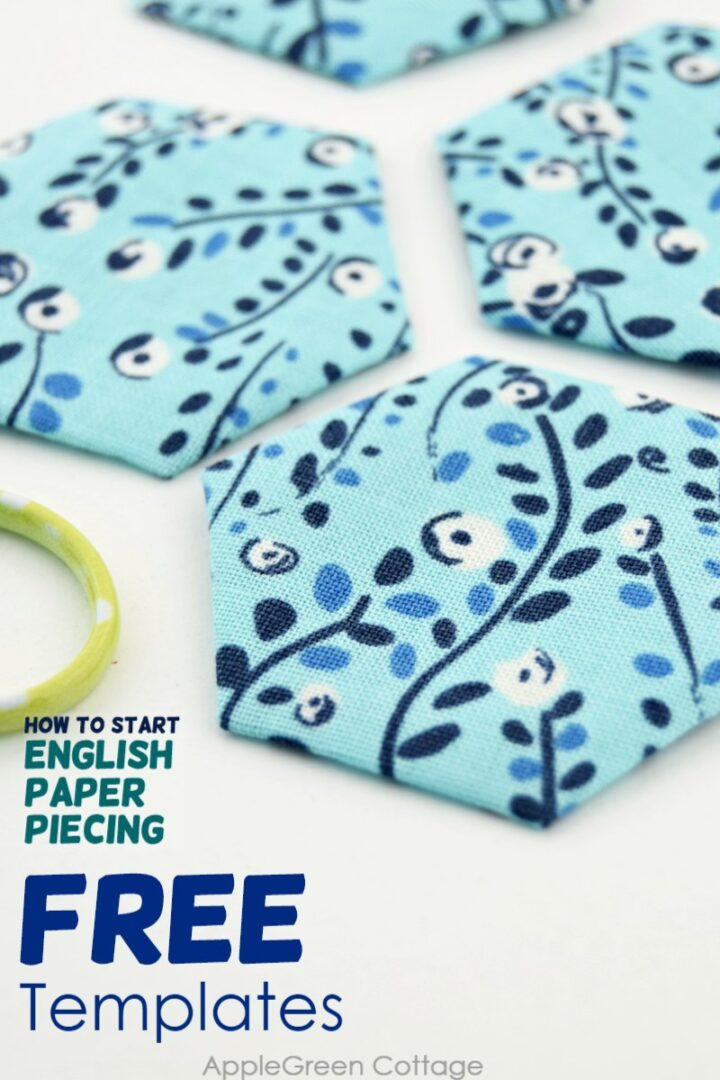
Use my free hexagon templates for English paper piecing and baste your first hexies. These free hexie templates are a must-have for your next EPP project!
See what is English paper piecing, how to baste hexies and how to use my printable free hexagon templates for epp. Here's an easy way to baste hexies - properly!
Here JUST for the EPP templates? → get them here.
What is English paper piecing
Simply put, this is a method of joining fabric pieces with the help of wrapping them around paper templates. Once you've wrapped the fabric around the shape, you handstitch these pieces together. Beautiful, and always unique!
See how to create hexagons for any English paper piecing project using my free hexie printable template - link is at the end of this tutorial.

Supplies to start an English paper piecing project
Epp projects are perfect scrap busters, so get out your scrap bin and mix and match your tiny scraps!
Scroll down to get your free printable PDF hexie templates.
- fabric and matching thread
- a needle
- small scissors
- glue stick
Once you've gotten used to basting hexies and then joining them, you'll probably want to get your hands on some English paper piecing patterns. I'm working on that!
There are several techniques to baste a hexie, and this is how I do it. this technique does not pierce the fabric and you can actually reuse your hexagon templates - which is always a bonus for me! You'll be able to get a lot more use out of your printed paper. But further down in this post I also show a different way to baste your hexies.
How To baste A Hexie
Let me first show you how easy it is to baste your hexies. Once you've started, you'll get faster and faster, and your hexies pile will grow quickly!
Step 1 - Download, Print and Cut the free Hexagon Templates
First, scroll down to the end of the post to download the template and cut fabric pieces for hexagons.
Scroll down to the bottom of this post - there are three-quarter inch and 1 inch hexagon templates. Starting with one inch hexies will be easier.

Once you've downloaded the file, save it to your computer, open in Adobe reader and print. A good option is to print on thin cardstock, but is not absolutely necessary. I use paper - and paper hexie templates CAN be reused too.
Step 2 - cut your fabric
Cut fabric hexagons at least ¼" larger all around than your card hexagons. I cut them more like ½" larger when working with 1" hexie templates.

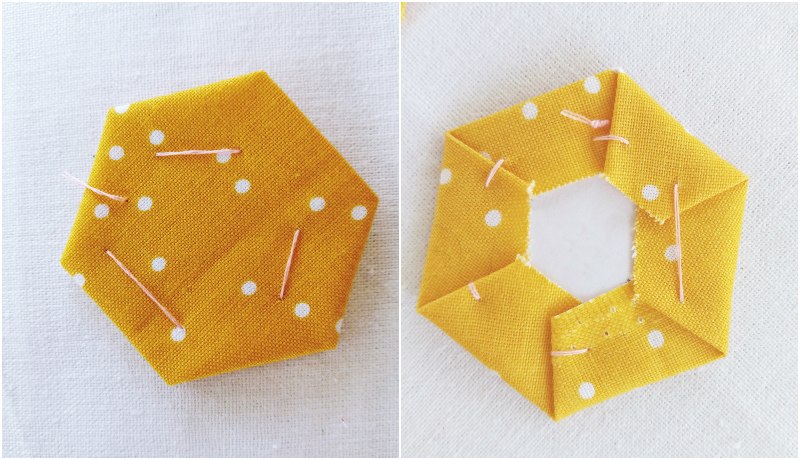
Step 3 - Tack your fabric to the template
Tack the backside of the fabric to the paper template, some people pin. I use school glue stick.
Step 4 - Start basting!
Thread your needle and make a knot, then:

Start folding the fabric: fold the fabric over the edge of your hexie template, one edge at a time. Using your fingers, keep the fold in place. Fold the fabric along the next edge, keeping the corners snug against the template. Take your needle and push it through the fabric layers at the corner, but stop when you get to the paper. Do not pierce the paper but instead, push the needle back up through the fabric, just a few millimeters away - This will catch the fold at the corner and stabilize it. NOTE: there is no special need for two threads - you can also use single thread.

Then fold the fabric over the next corner, and stitch through all the layers of fabric (and not the paper) and pull back up. The thread is holding that corner. Repeat till you get around.
After the last corner has been sewn, repeat the stitch and then guide the thread towards the center. Cut off the thread leaving a half-inch tail or so. Press the hexie flat.
This is another image to show you the 'path' of the thread. I hope this helps:

There Are Other Ways To Baste Hexies
There's another way to baste, by piercing the needle through the paper templates - but in this case, the paper is only used once. I've done that too, it goes a bit faster:
And if you use a fabric glue stick that holds immediately, you can even just glue baste these hexies to the template. As far as I know, this is the fastest way to baste hexagons for your English paper piecing project.
How to use fabric hexies?
There are many ways to sew these hexies together. And adorable effects when you fussy cut your fabric to match a special pattern.
To be honest, I have used them a lot in a non-traditional way, that is without hand stitching these hexies but rather using them individually as embellishment. These basted hexagons add such a lovely touch to any project! They can simply be sewn on a larger piece of fabric and then used to make a zipper case, or a similar project.
Also, I've been using hexies to make the pulls on my drawstring bags. This way, I just placed two hexies together with the back sides hidden, and machine stitched them to form a drawstring pull.
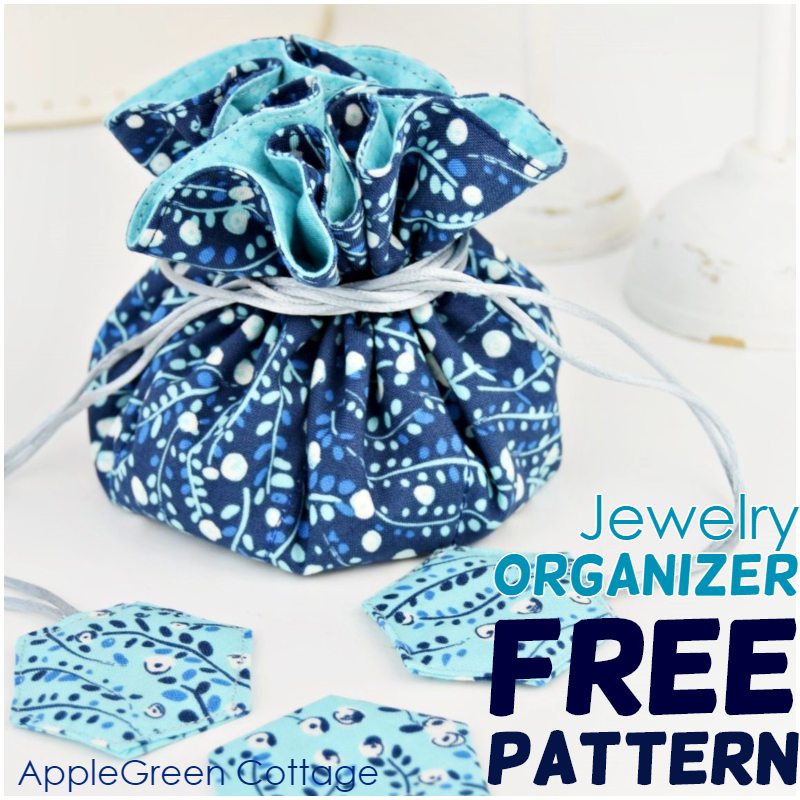
Super simple, but look what cute results! I also made diy gift bags with hexies. These projects are perfect if you just want to dip your toes into English paper piecing.
Sewing the Hexagons together
Now for real: the hexagons are joined together to form a quilt block. The proper way is to whipstitch your hexies together to form a larger pattern. I have yet to post a project here on the blog so there's no tutorial here yet, but have done quite a few already.
But basically, you start by placing two basted hexies with right sides together and all the edges aligned and push the tip of your needle through the fabric at the very corner of both hexies. You should only catch a few threads on each one, and no paper template:

Proceed slowly along the entire edge of the hexies, all stitches will remain on the backside and should barely be visible from the front. This takes a bit of practice, but you'll get faster and your stitches neater with every stitch:

Move onto the next edge once done, and again whipstitch along the full edge of the hexie. and continue until you've got all the hexagons joined. As mentioned, no special project here, but I'll get to it.
Once you've got your hexagons sewn together, press. I use a small diy pressing board for that, it saves me a lot of getting up, back and forth. See here how to make your own small pressing board. It's perfect to press hexies!
Make sure all the fabric edges are lying flat. Then you can remove the basting thread and the paper.
How to remove the paper piecing template
First, pull gently on the knotted end of the thread connecting the paper and the fabric. It should go out smoothly. Then take out the paper - my tiny scissors usually help me get the first edge out from under the fabric, then I just pull the paper gently out. Gently. 🙂 when I use the hexies for pulls or as applique, I can just leave the basting thread as is, and just pull the paper out. That is, if you basted as shown in the tutorial above. (option 1, not stitching through the paper):

Your creation is ready to get sewn onto a larger piece of fabric! More on that next time, let me know if it was clear so far. And of course, post your hexies and tag me with @applegreencottage and add #applegreencottage, so I can see your beautiful makes!
Just an idea, as one of your first projects, you can also just use three hexies to join, and then sew them as an applique to a larger piece - in this case, you'll need to place your hexie-patchwork motif on a piece of plain fabric. Pin then tack all around the edge. I've made a few zipper cases like that - such a sweet embellishment! Let me know if you'd like to see a step-by-step for that one!
Where Do I Get the Free Hexagon Templates To Print?
Join our mailing list and get the EPP templates emailed to you right away:
The printable file contains two pages: 1" hexagon templates on page 1 and ¾" hexagon templates on page 2.
One more note, just to make it clear: when I say 1" hexagons, that means one of the 6 edges of the hexagon measures 1" - and that means the width across the hexagon is twice that measurement i.e. 2"
Have fun designing your own epp projects using these free English paper piecing hexagon templates!
+ 1 FREE Hexie Tabletopper pattern!
More ideas: this is not epp, but a super popular hexie shaped tabletopper - our followers LOVE it!
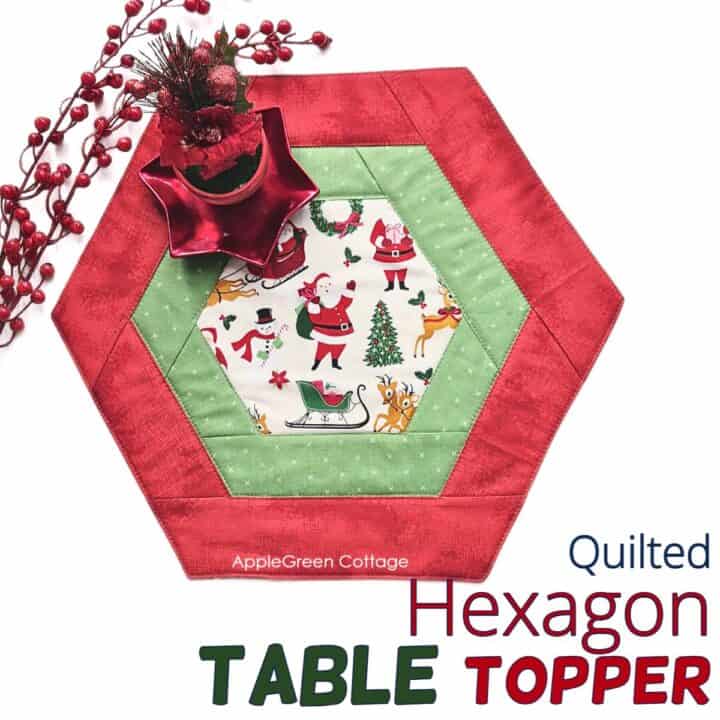
+Free Hexi Tabletopper Pattern
Use matching fabric and create this cute diy tabletopper for Christmas!
Want MORE Free Patterns?
Get email updates and never miss out on new patterns, printables, and tutorials:
Or …check out the NEA Small Crossbody Bag pattern in our shop. This bag skyrocketed to the top of our best-sellers in less than a week after it was released:


Leave a Reply