
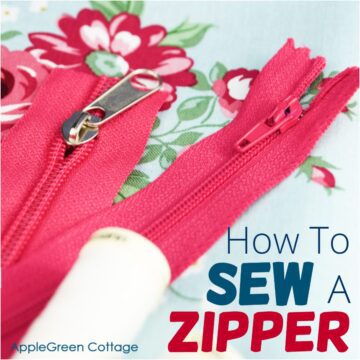
How to sew a zipper tab to reduce bulk on the side seams of any zipper pouch you make from now on. It's an easy how-to for beginners that will make your sewing better, easier, and your zipper pouch look so cute - check it out.
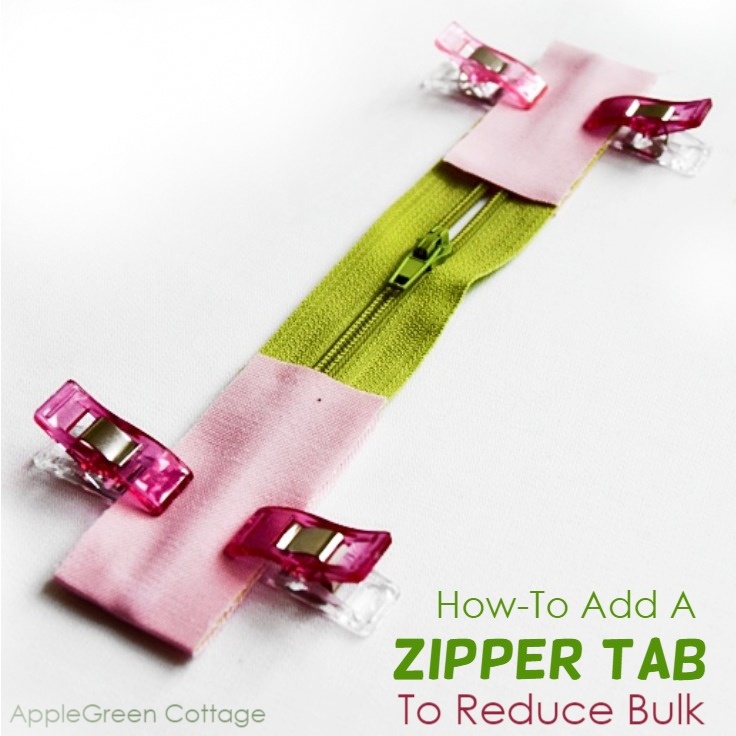
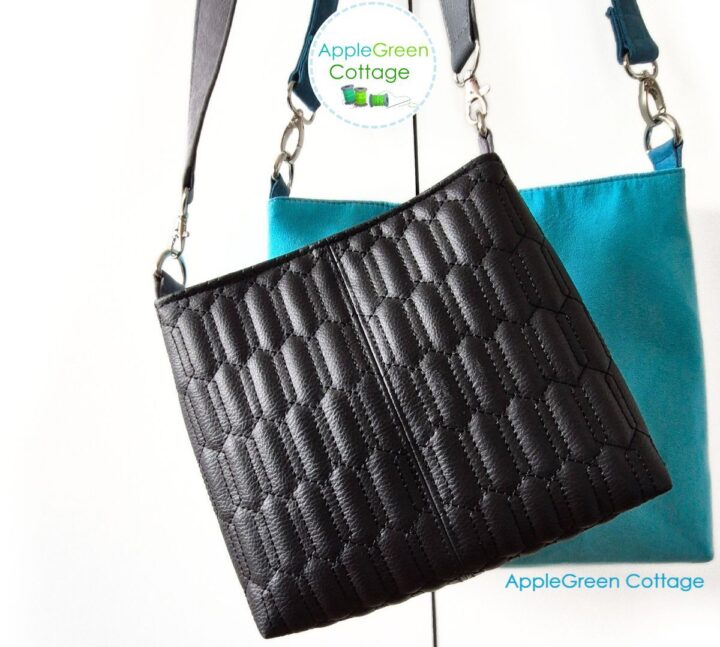
Table Of Contents
Why add zipper tabs
Zippers can feel tricky when the ends get thick and bulky - that's where seams can go wonky or the zipper end gets squished. And suddenly, your machine suddenly has a lot to chew through.

An easy fix? Add little fabric tabs to the zipper ends. They reduce bulk, make the pouch easier to sew, and give it a neater finish too. Beginner-friendly, I promise!
Supplies
- 2 pieces 4.5" x 1" (11.5cm x 2.5cm) fabric for zipper tabs
- a standard nylon coil zipper, (width 1" and min 7" useful length between stoppers)
- thread
- scissors or rotary cutter+cutting mat
- sewing machine
Shop my personal favorite sewing supplies on Amazon HERE.
Video Slideshow
First, for those of you who like video tutorials, I've made a video slide-show just to make it easier for you. Check it out:
How To Add Zipper Tabs - STEPS
Before you start, decide how long you want your finished zipper to be. I used a standard 7-inch nylon zipper, which works really well for many pouch sizes.
Part 1 - Shorten the zipper

Secure the ends by hand-stitching at ⅛ inch from the planned cut.

Then snip off the excess zipper. This means you'll also cut off the metal stoppers.ZIPPER LENGTH hint: Take into the acount that the tabs will extend the raw zipper length by 3 inch if you use the tabs as long as stated above (i.e. 4.5")
So if you cut the zipper to the 'raw', total, length of 7 inch, the total tabbed zipper will measure approx 10" (25cm). This is perfect if you'll be making a zipper pouch I'm about to show you in the coming weeks. (So save this tutorial for later, too!)
UPDATE: the zipper case tutorial is live, and there are tons more free patterns and tutorials on this site.
Part 2 - Prepare the Fabric Zipper Tabs

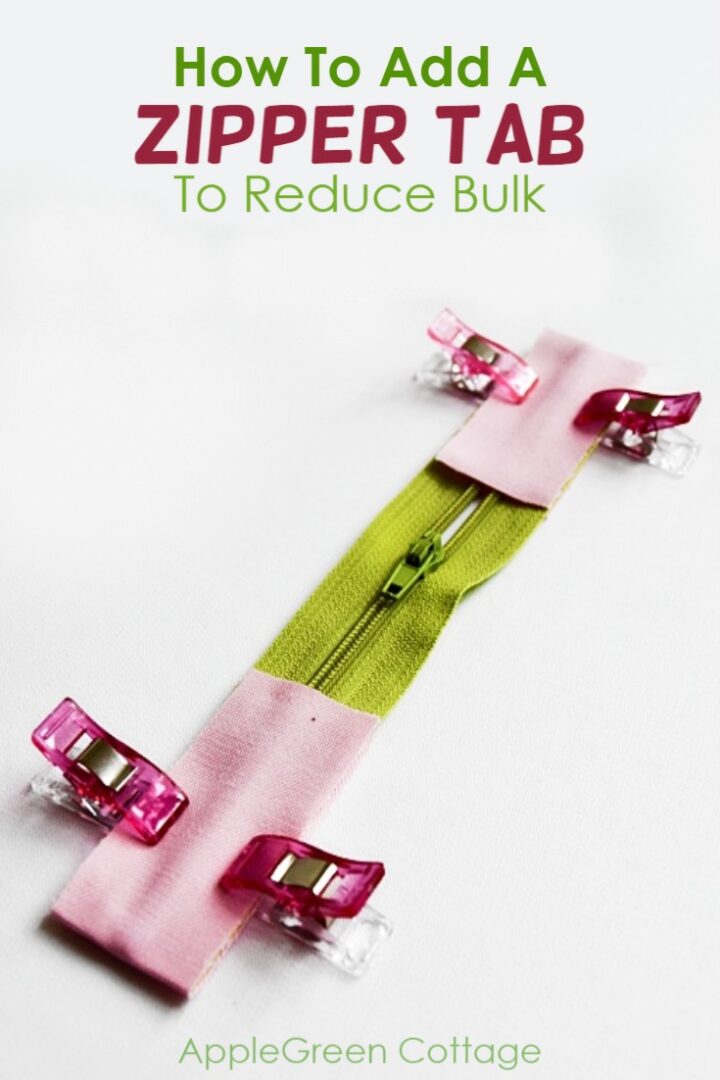
Fold each of the two fabric tabs in two and press RST (right side together).

Slide them on each end of the cut-off zipper.

Pin or use wonder clips to hold in place.
Part 3 - Attach the zipper tabs

Machine stitch using a ⅜ inch (=1cm) seam allowance.

Then fold the sewn pieces back as shown in the photo above and finger-press. Then topstitch using a SA of ⅛ or a bit wider, but no wider than ¼". You'll catch the zipper when topstitching.
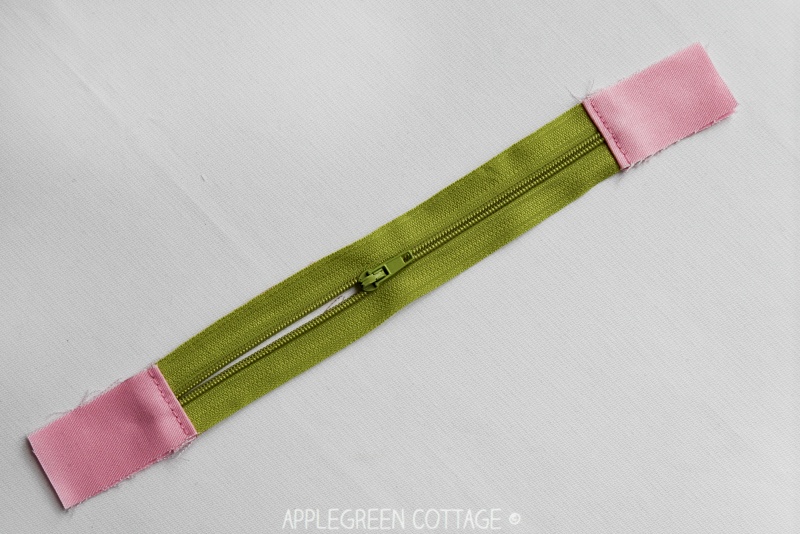
Repeat on the other side of the zipper. Done!
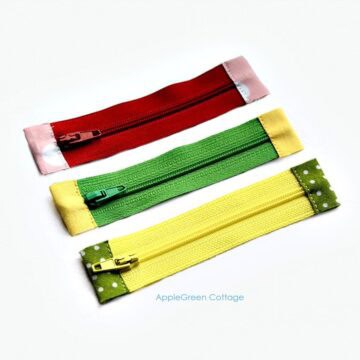
You've just tabbed your zipper, now you are ready to sew the zipper into a pouch. It will make it look nicer and more professional, but what I think is the most important - you won't need to fiddle with zipper teeth when sewing the sides, and this always means a lot less bulk and a clean look of the finished pouch. Just as if it were a normal zipper - just easier!
Part 4 - use the tabbed zipper in your project
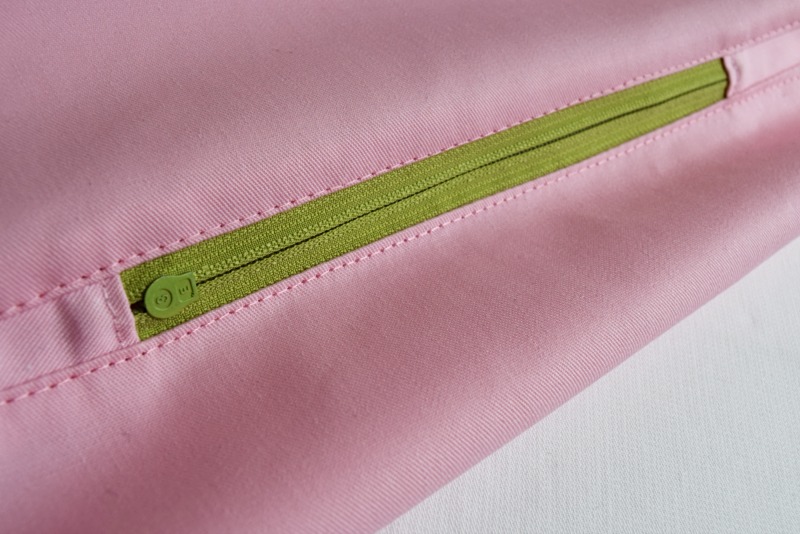
This is the back of a sewn-in zipper when tabbed. You've got tons of options to use your tabbed zipper in a project like this center zipper pouch tutorial, or jump straight into making a bag. My easy Nea bag pattern uses a tabbed zipper on the back, and it's a great beginner-friendly project:

Check out this popular NEA crossbody bag pattern in our shop. Super quick!
I love how tabs add a pop of color to any zipper pouch!
More Zipper Tips

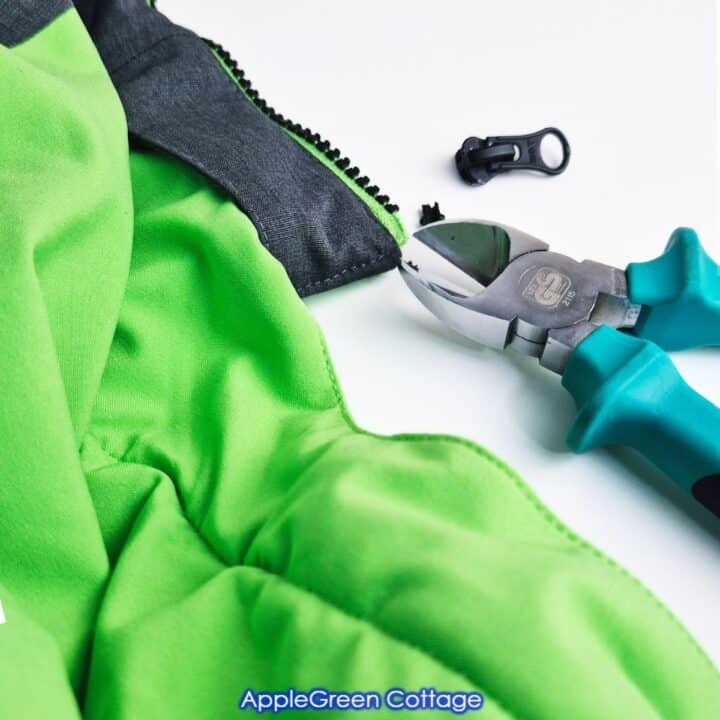
Need to replace a broken slider?
Want MORE Free Patterns?
Get email updates and never miss out on new patterns, printables, and tutorials:
Or …check out the NEA Small Crossbody Bag pattern in our shop. This bag skyrocketed to the top of our best-sellers in less than a week after it was released:


Marilyn says
Love your patterns and tutorials! Your instructions are clear, not overly wordy, and easy to follow. You do a great job. My sincere thanks and appreciation for all the information you share so generously.
Flora says
I have followed your instructions, but have a question. I am putting the tab zipper into the top of a pocket purse, not the side. When I sew sides together, how do I handle the tab areas? Thanks
Damjana says
Flora hi,
you can insert the zipper so it opens wide - feel free to follow this tutorial on AppleGreen Cottage blog: https://www.applegreencottage.com/cosmetic-bag-tutorial/
Damjana at AppleGreen Cottage says
Thank you.
Damjana at AppleGreen Cottage says
You're welcome!
Helena Fourie says
Thank you so much for this very useful tutorial. It looks very neat and worth trying out in the next bag or pouch project that needs a zipper
Damjana at AppleGreen Cottage says
Happy to see you liked it!
Marty says
I've wondered how to do this: thanks!
Damjana at AppleGreen Cottage says
I'm happy to see this tutorial has helped. Happy sewing!