
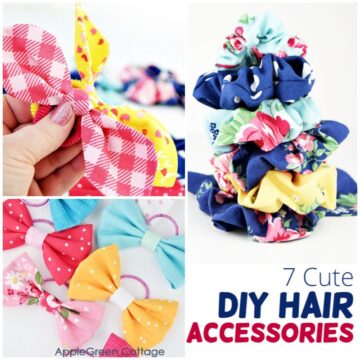
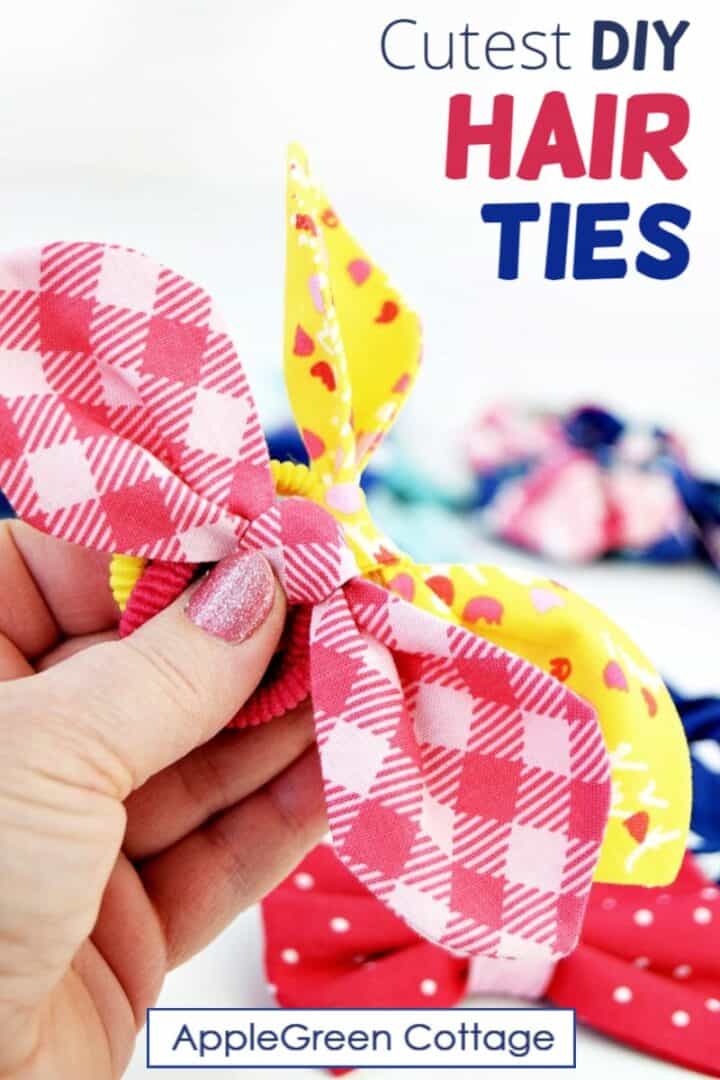
Aren't these diy hair ties just irresistibly cute! They are so easy to make and comfortable to wear. In these bright colors, a perfect diy springtime hair accessory!
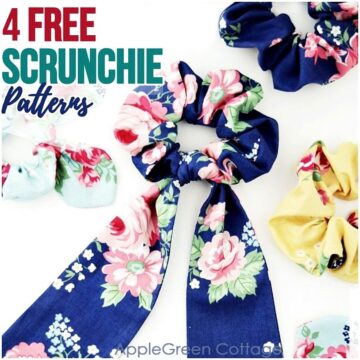
This tutorial will show you how to sew a bunch of knotted hair ties using my free knotted bow hair ties pattern. It's part of the free scrunchie pattern in the shop - scroll down to get the free pattern link!
If you're here for easy projects, feel free to check out my
- spring sewing projects
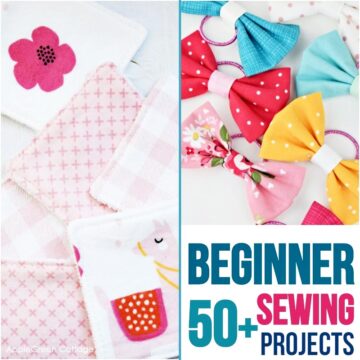
- best easy sewing projects
- or these diy hair bows
- or these cute tulle bows!
Table Of Contents
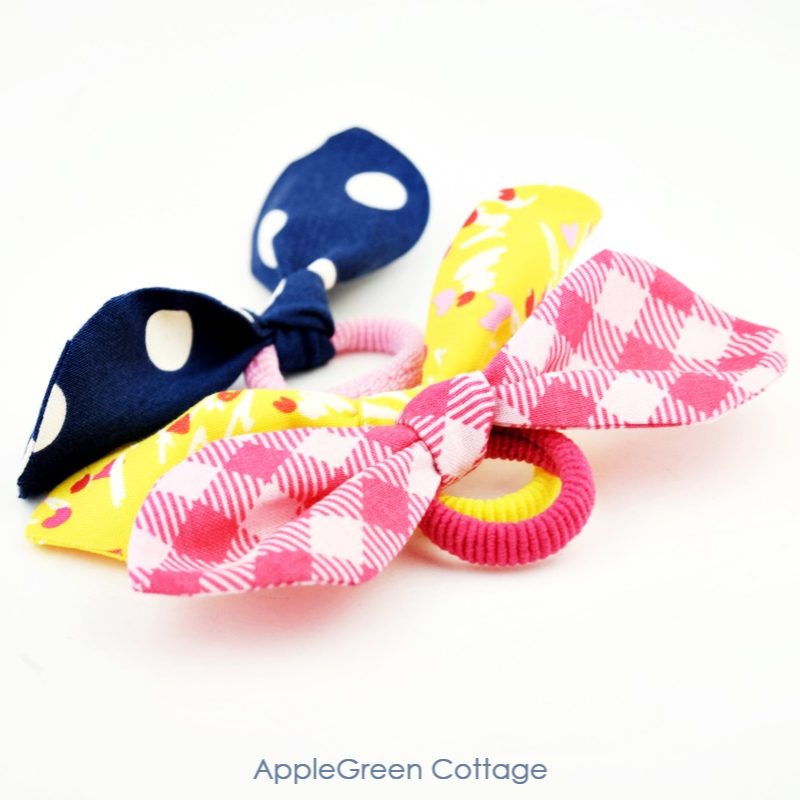
Want fun? See how to make hair ties with a diy knot bow. It's the perfect hair tie for ponytails! The free pattern is part of the free scrunchie pattern in the shop (no coupon needed, scroll to the bottom for the link)
It's perfect for topping off a high ponytail and for anybody who wants a bow but doesn't like headbands. (Oh, you want a headband too? - this free diy headband tutorial!)
Finished Size
The bow measures approximately 5" (12 cm) from tip to tip and is perfect for both adults and children. Good for a matching look with mommy & daughter too.
Supplies
This is what you need to sew a diy hair tie:
- fabric scraps
- hair elastic (my favs are these soft cotton hair ties or these Ouchless Hair elastics)
- a point turner or a chopstick for turning
- sewing machine or needle, thread, pins or sewing clips
- scissors or rotary cutter plus cutting mat (I use this one by Olfa)
- printable PDF template for the Mini Knot Bow piece - part of the FREE Scrunchie PDF, scroll to the end of this tutorial for the link.
How to Make Fabric Hair Ties
Use the free template for the Mini Knot Bow from my FREE Scrunchie Patterns pack ↓
Step 1 - Cut the pieces for the Mini knot bow
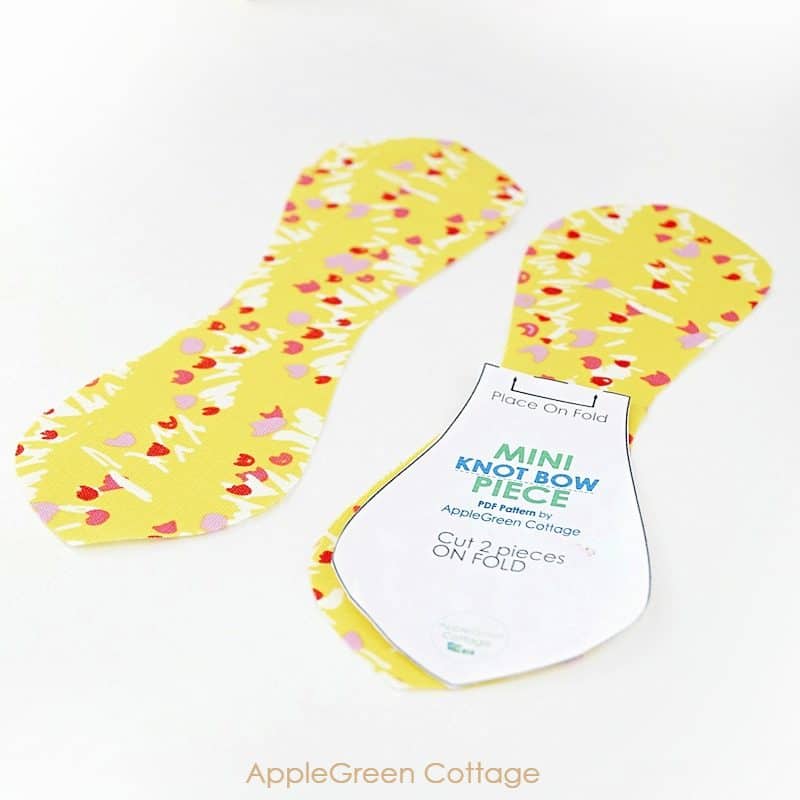
Use the free template (link below) to cut two pieces of the mini knot bow pieces.
Step 2 - Sewing Step

Place the two pieces with the right sides together and sew around with a ¼" (6 mm) seam allowance, leaving 2" (5 cm) unsewn somewhere in the middle of the piece.
Step 3 - Trim
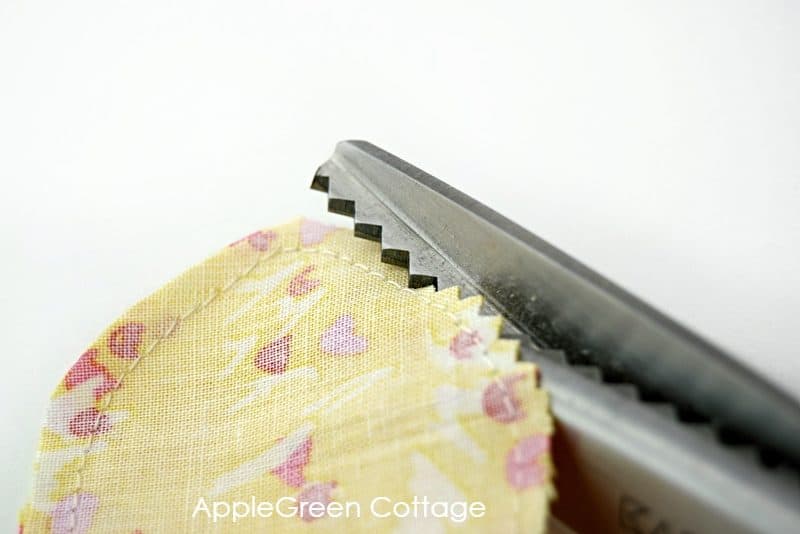
Once you've finished sewing, trim the seam allowance, not cutting into the seam. Feel free to either cut notches into the curved parts or use pinking shears. This will reduce the bulk.
Step 4 - turn right Side out
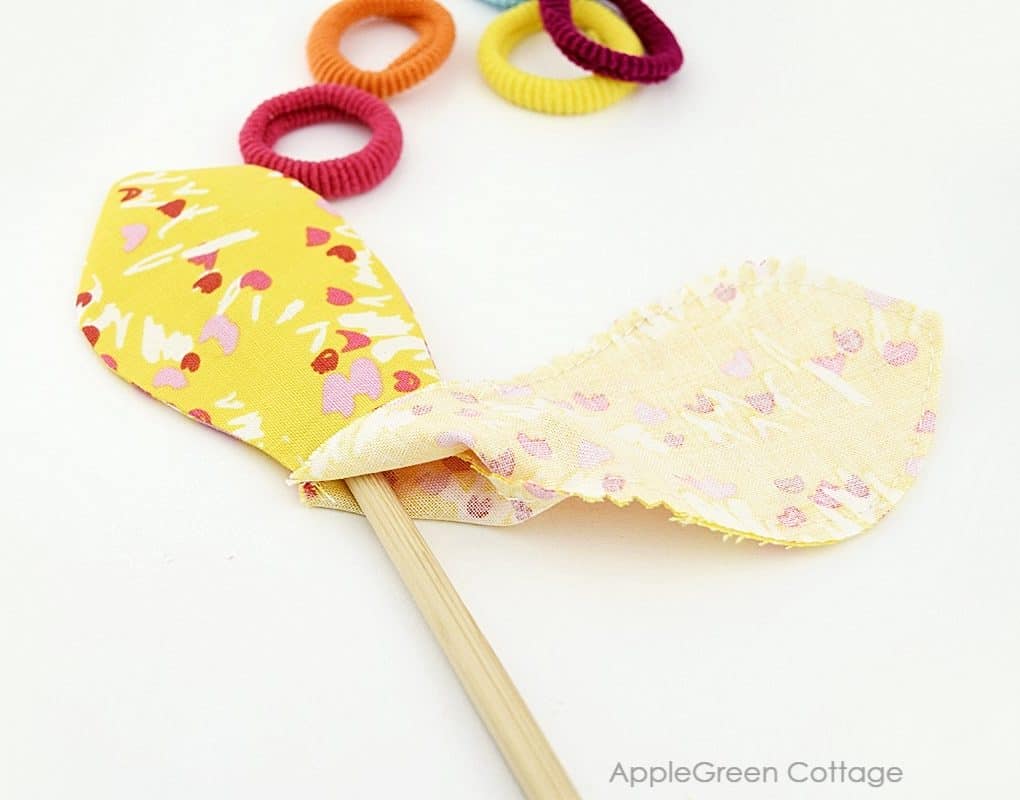
Turn the piece right side out, first one side and then the other. Fold the seam allowance on the opening towards the inside and press.
Step 5 - Close the Turning Opening
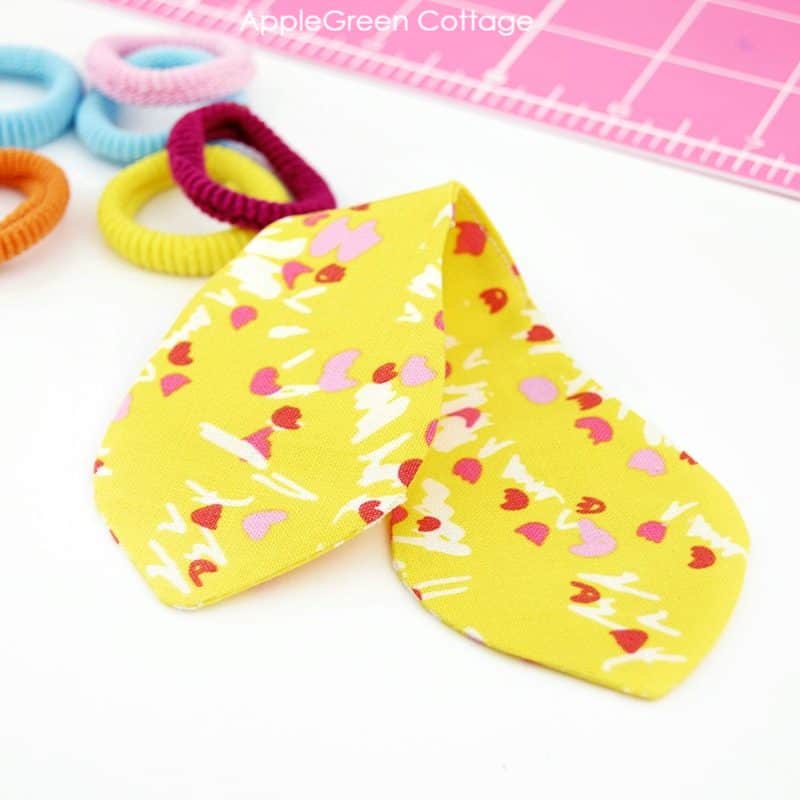
Stitch the opening closed using invisible stitching.
Step 6 - Attach to Elastic band
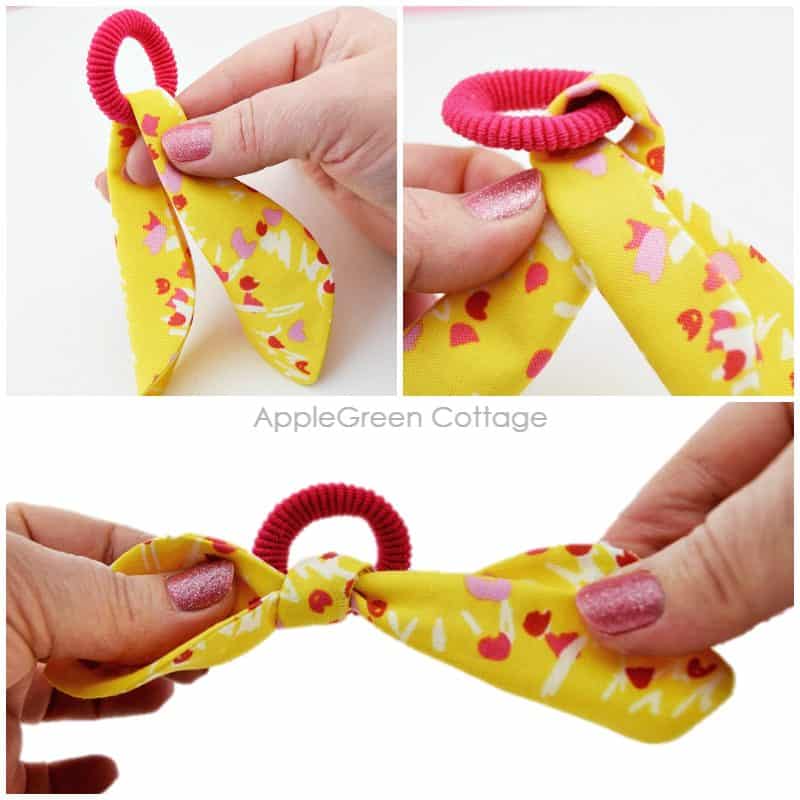
Finally, tie the finished piece onto the elastic band, making a simple knot. Congrats, you've made a beautiful, unique elastic hair tie to hold your hair in place. And all you needed was just a scrap of fabric and some thread. How cool is that!
More Ideas
As always, I'd love to see if you've made diy hair bands using this tutorial. Please post a picture to Instagram and tag me @applegreencottage or #applegreencottage - so I can take a look!
WANT MORE FREE TUTORIALS AND PATTERNS?
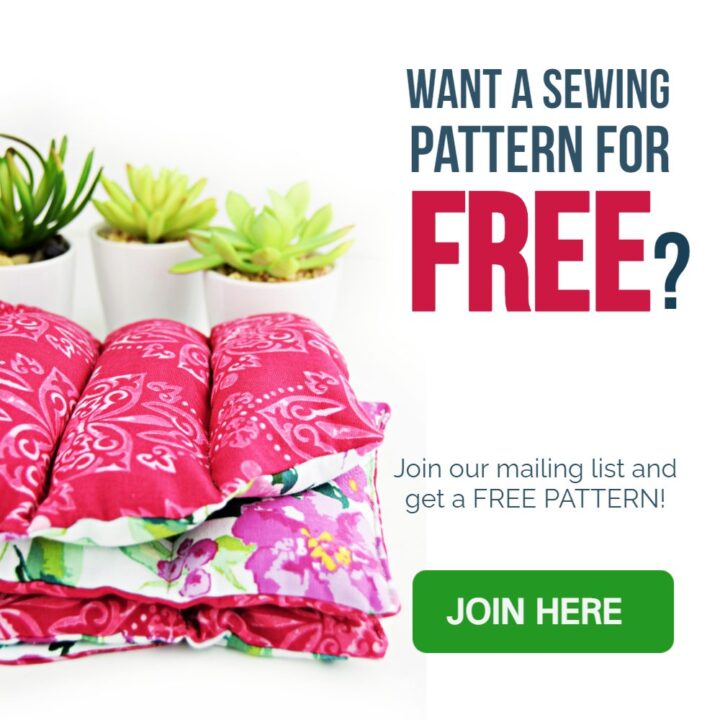
Get email updates and never miss out on new patterns, printables, and tutorials:
Or …check out the Mia Clutch pattern in our shop. One of my quickest and easiest pouch patterns, and it has a nice little folding hack you'll love!
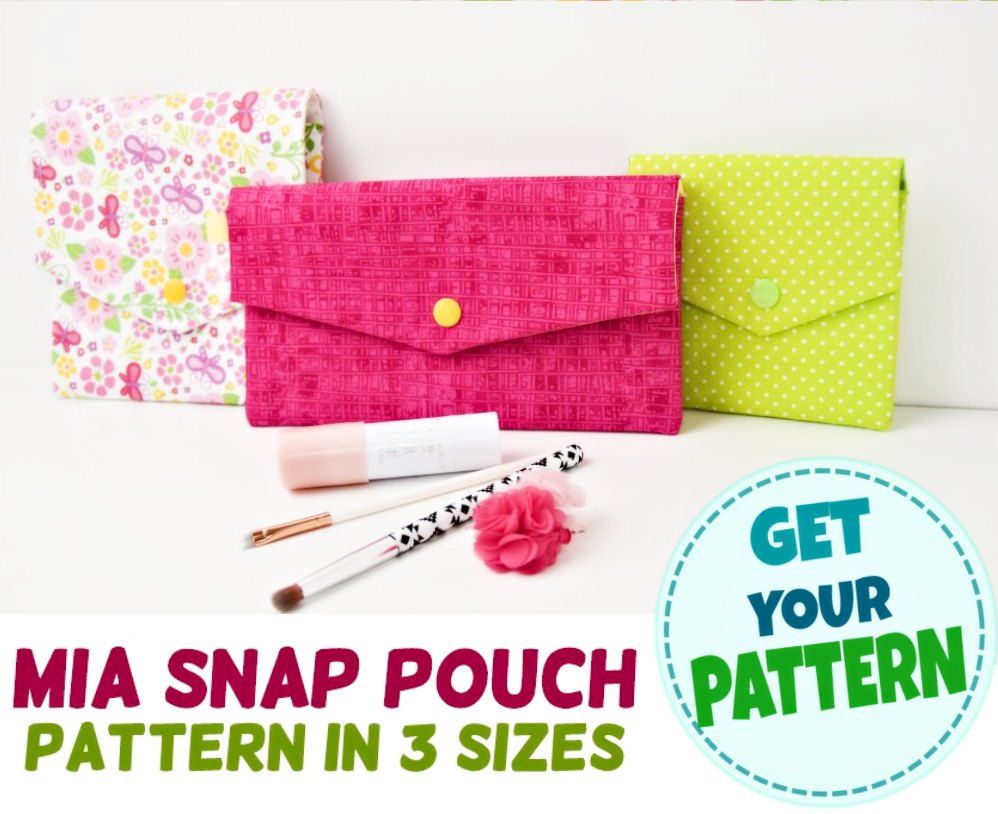
Beginner-friendly, no zippers at all.

Join the FREE 6-part email guide and make super easy diy GIFTS - each in 30 minutes or less! You'll love it!

Amanda Geldart says
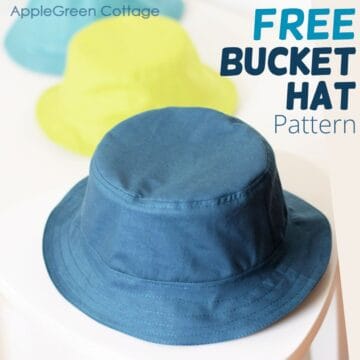
Do you perhaps have a pattern for a bucket hat - all sizes
Damjana Jakos says
Amanda yes! It's super popular - https://www.applegreencottage.com/tutorial-cute-bucket-hat/
Enjoy!
Marci says
How CUTE are these?! Our granddaughters love wearing braids. I better get busy making some of these darling bows! pinning and sharing on Facebook -Marci @ Stone Cottage Adventures