
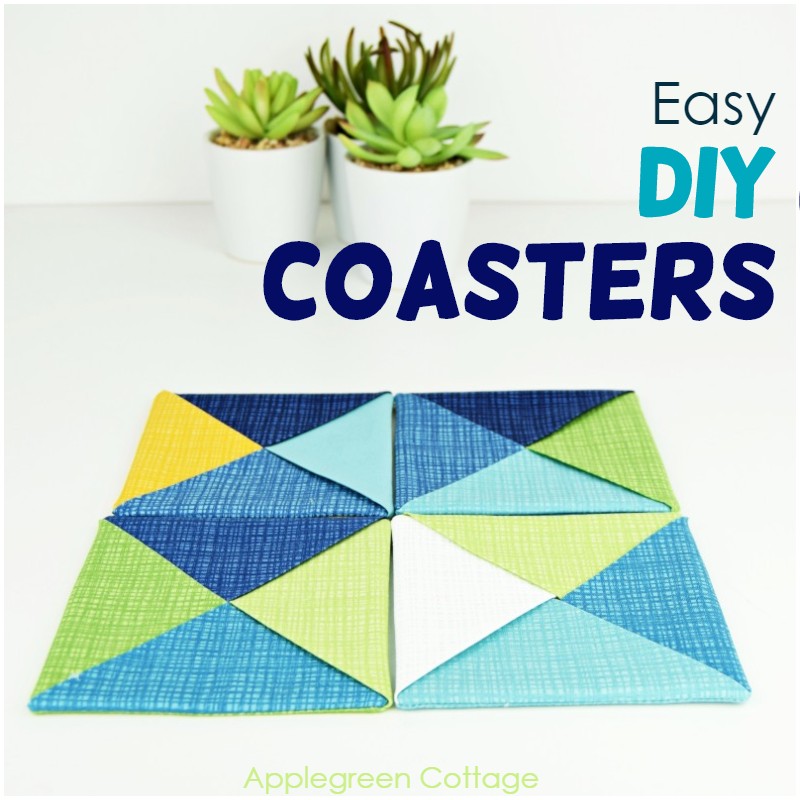
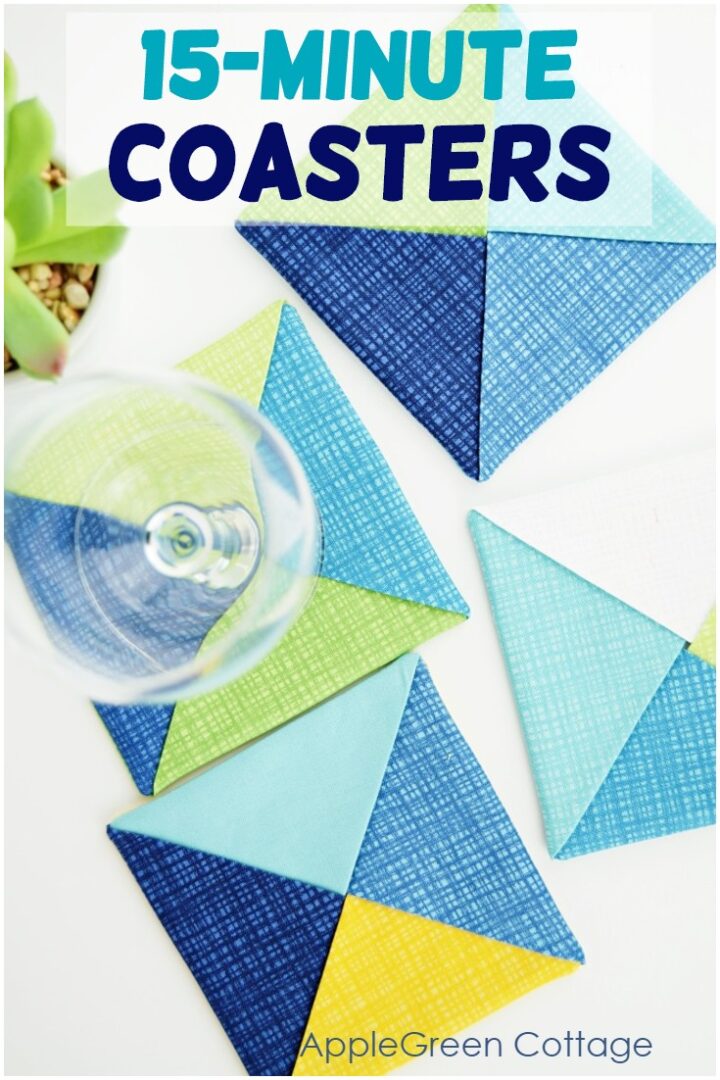
Make cool diy coasters using this easy tutorial. Plus a smart workaround to get this patchwork look - no piecing and no quilting involved!
I thought I could add a bit variety to these red and white square coasters from last year, to brighten up the kitchen area. After all, you can never have enough pretty coasters, right?
Want a printer-friendly option of the whole tutorial without ads? See the → optional PDF file.
Table Of Contents
Have you been hit by the spring-cleaning bug yet?
Instead of spring cleaning, I decided for some spring decorating. Don't know if it's wise, but it is so much more fun!
Diy Coasters - And A Little Hack
And even if I used the same technique to sew them as with a few before, these all look so much different.
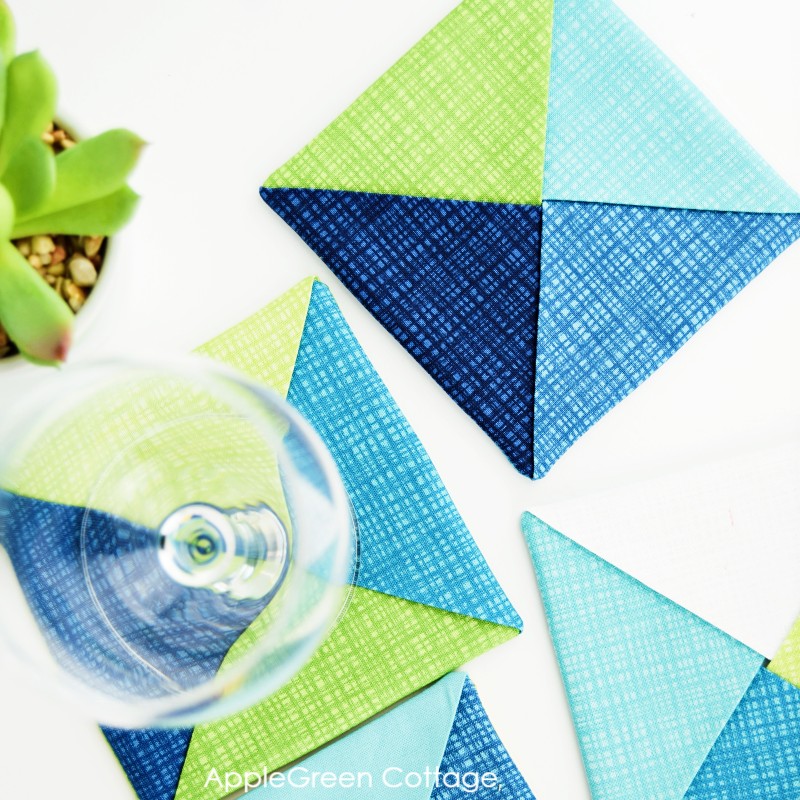
The finished coasters look like quarter-square triangle blocks. Only, there is no quilting. And no piecing triangles together. Easy!
A coaster like this one should take you no more than 15 minutes to make - including the cutting of fabric. Even Less if you make them in batches! And make sure to save some matching fabric to sew bowl cozies (super easy too!)
So, are you in?
Diy Coasters Tutorial
These diy coasters are such a fun thing to make for a present!
Supplies
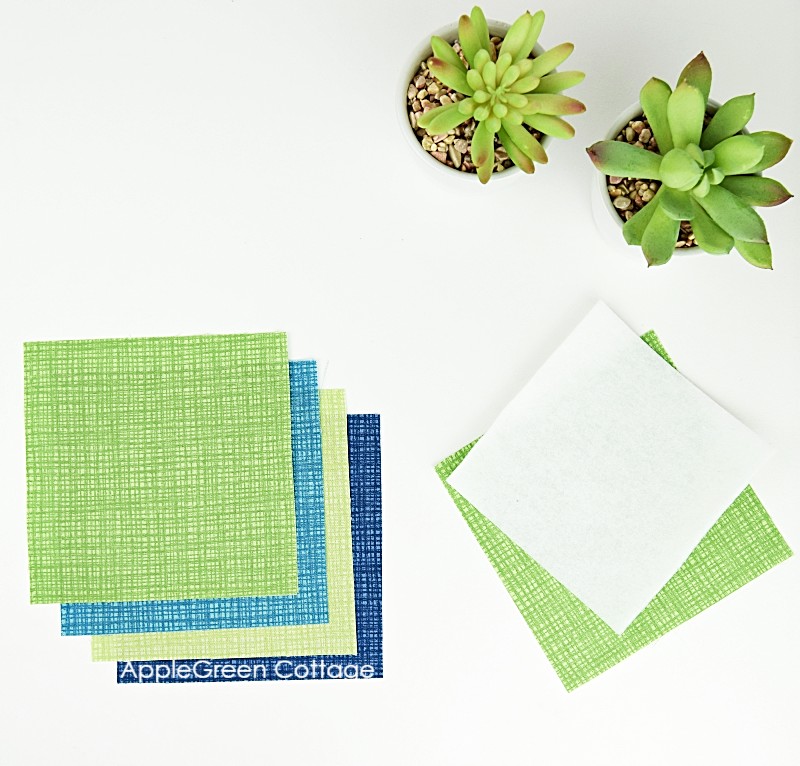
This is what you need to sew a single coaster:
- five 5" squares from quilting cotton (I used the Texture collection)
- one 4 ½" square from fusible fleece or one 5" square from batting
You can use scraps from your stash or use the project as an excuse to go fabric shopping. But first, decide on your color scheme - I chose to make them in the prettiest blue and green colors.
Steps To Make Your Coasters
Step 1 - Cut the squares
Cut the five fabric squares, and one slightly smaller piece from fusible fleece. If you use batting, keep it the same size as the fabric pieces.
Step 2 - Add Fusible Fleece
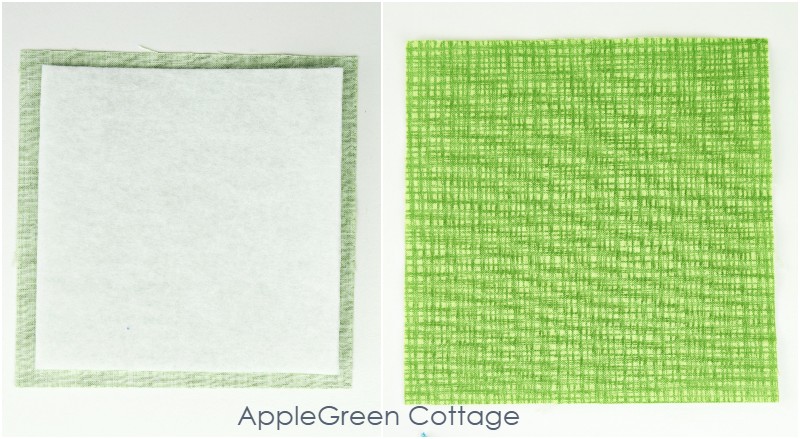
Fuse a piece of fusible fleece onto one of the pieces. It will become the back of the coaster.
Step 3 - Folding
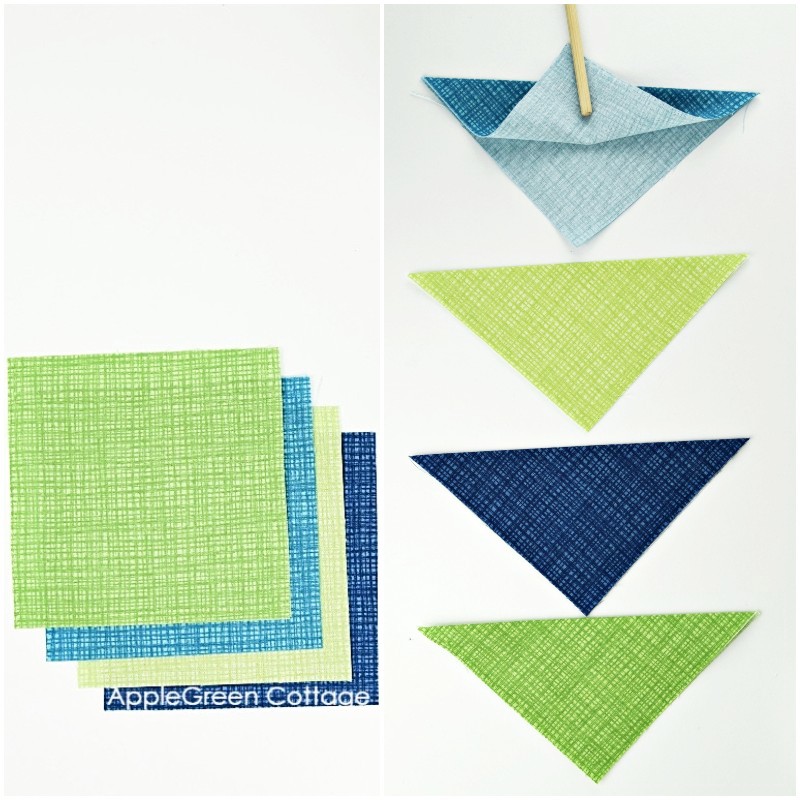
Fold all remaining four pieces diagonally with wrong sides together, so you get triangles. Press well.
Step 4 - Stack The triangles on the base square
With your bottom square right side up, layer the triangles onto the square covering it. See the image below.
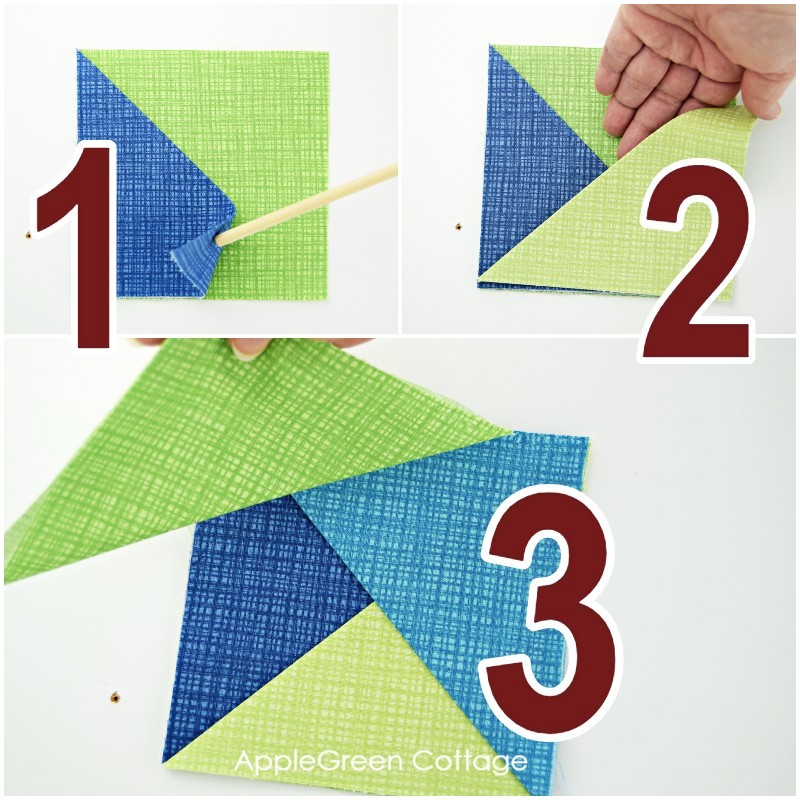
Bonus Tip: Go Counter-Clockwise!
It does not really matter in which direction you go when stacking them - clockwise or counterclockwise. But if you go counter-clockwise, it will be later EASIER TO SEW.
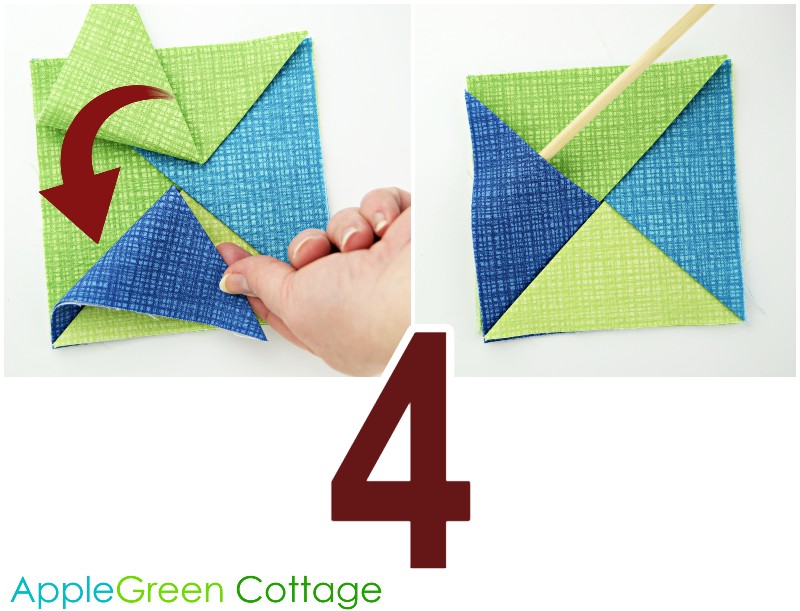
When placing down the fourth triangle (see #4 on the image above), lift the first piece (here dark blue) and tuck the last one under the first piece - they will overlap, just like the rest of the folded pieces.
Step 5 - Stitch Around
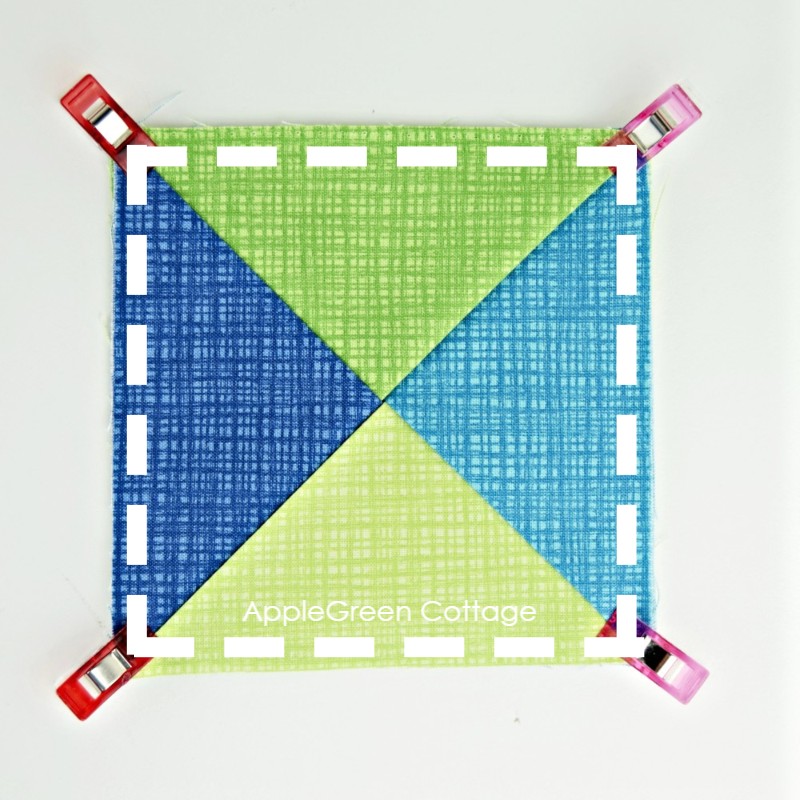
Clip or pin all the pieces in place, then sew along all four edges using a ¼″ (7 mm) seam allowance. NO need to leave a gap for turning!
Step 6 - Trim
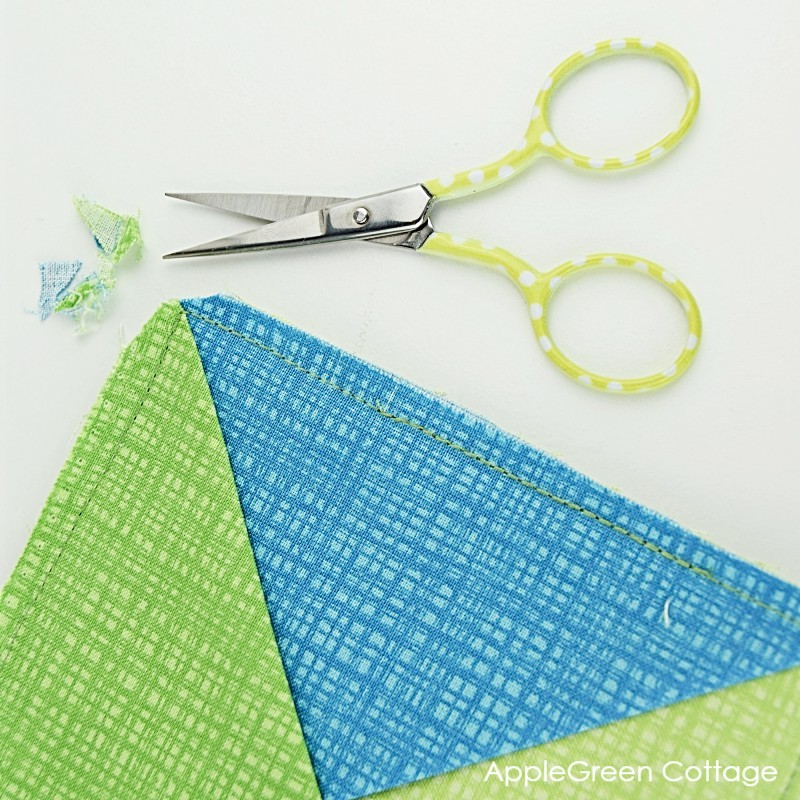
Trim the corners for easier turning, taking care not to clip into the seam.
Step 7 - Turn Right-Side out
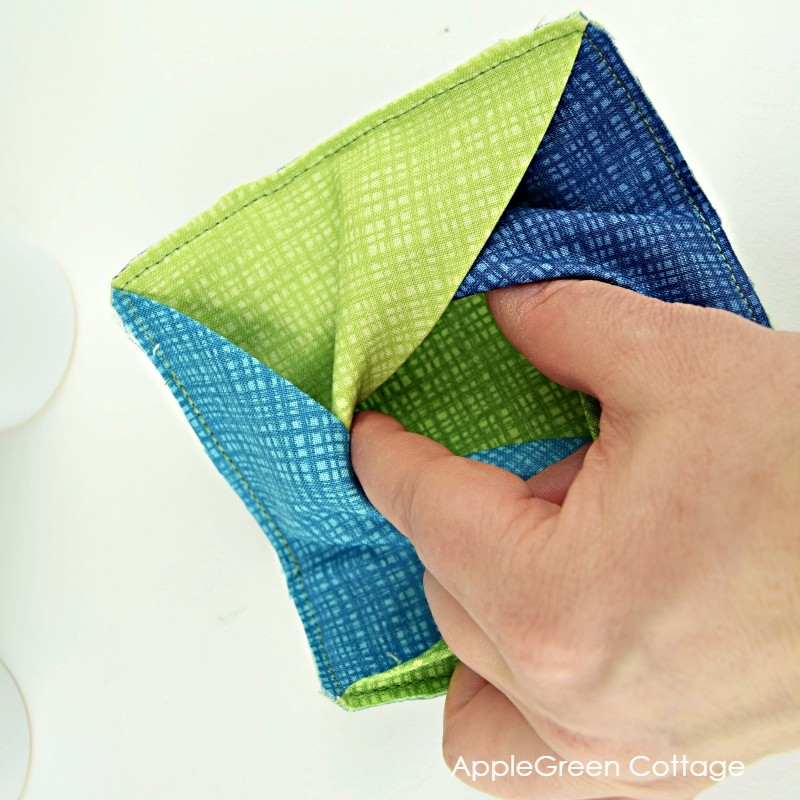
Turn the coaster right side out, reaching into the center between the triangles. Press and done!
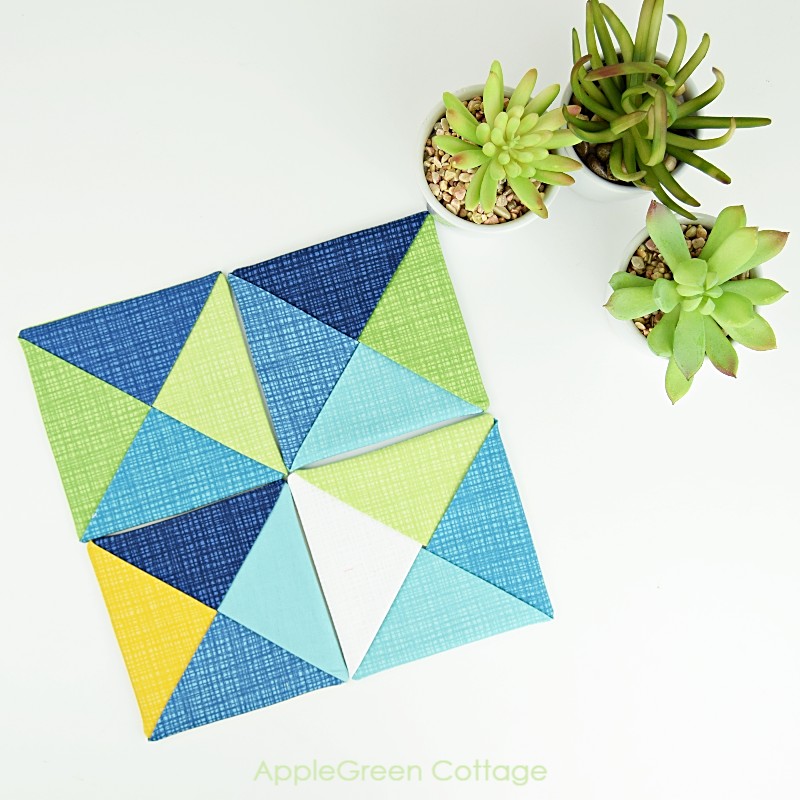
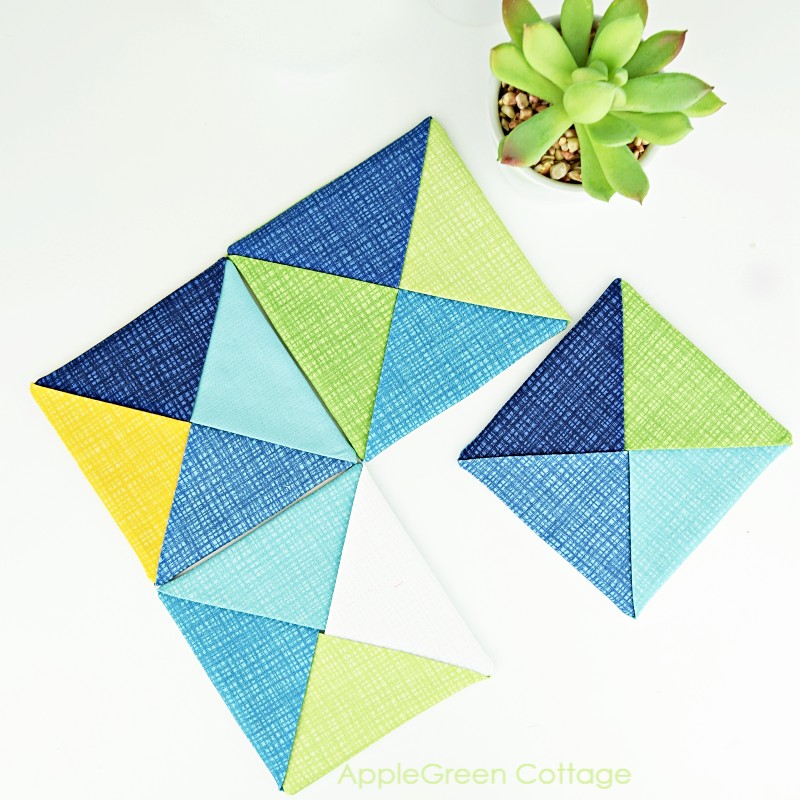
Now cut, sew, and repeat a few times. You'll end up with a beautiful set of diy coasters to keep or gift to someone special in your life.
Related projects
Love color mixing and matching? Check out these colorful projects:
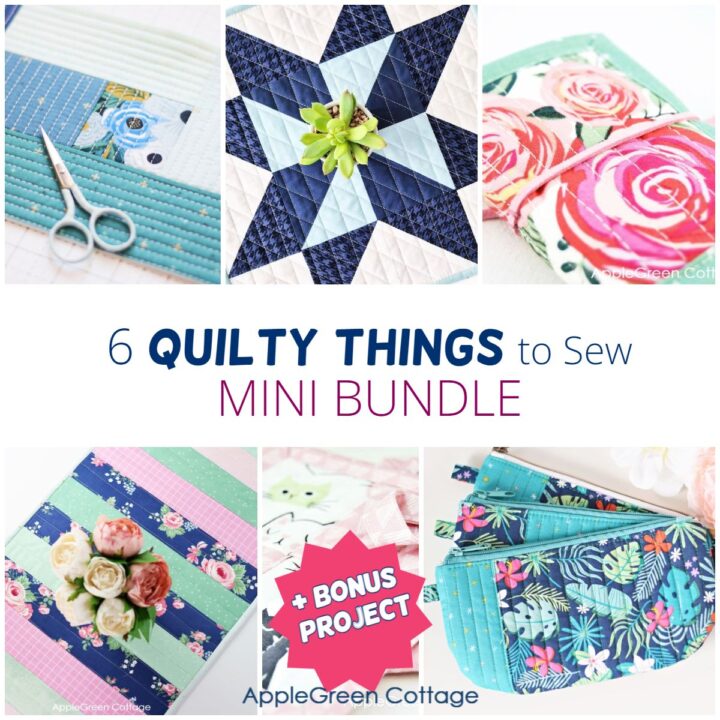
6 Quilty Ideas +BONUS
Love a quick quilty win? Don't miss THESE!
- sew pincushions - two are better than one!
- sew a fabric tray pattern
- The Easiest Diy Placemat To Sew
- and 50+ beginner sewing projects - a HUGE list of my best ideas!
Free Water Bottle Bag Pattern!
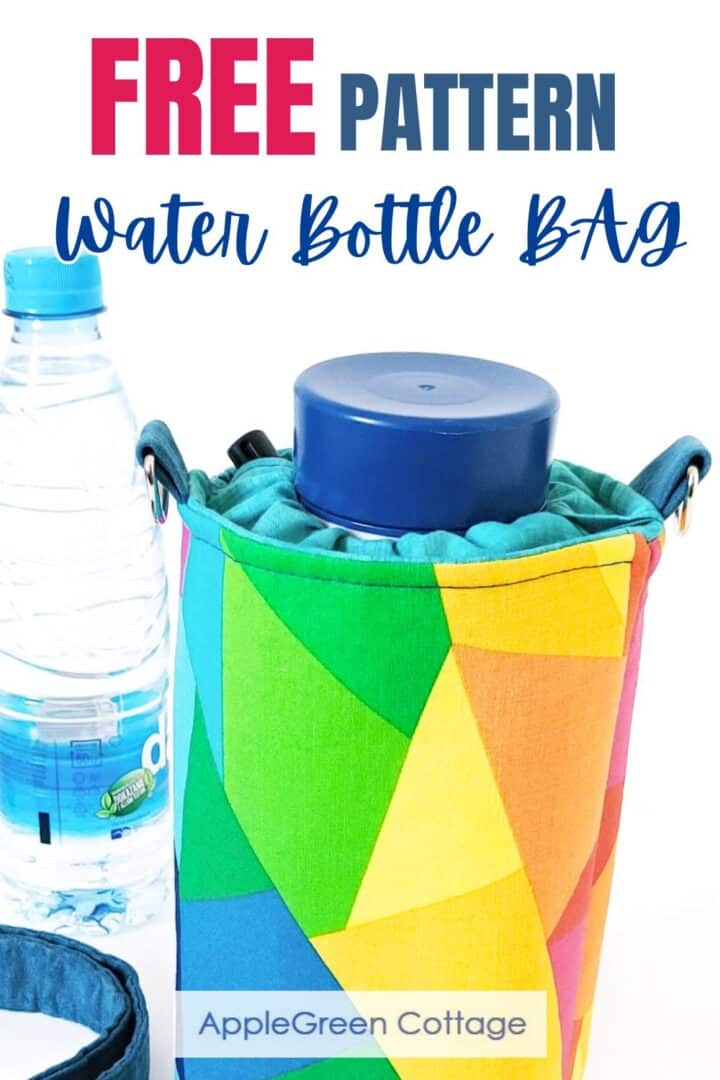
Sew your own water bottle bag for walking, hiking, and vacation!
Want More Free Patterns?
Get email updates and never miss out on new patterns, printables, and tutorials:
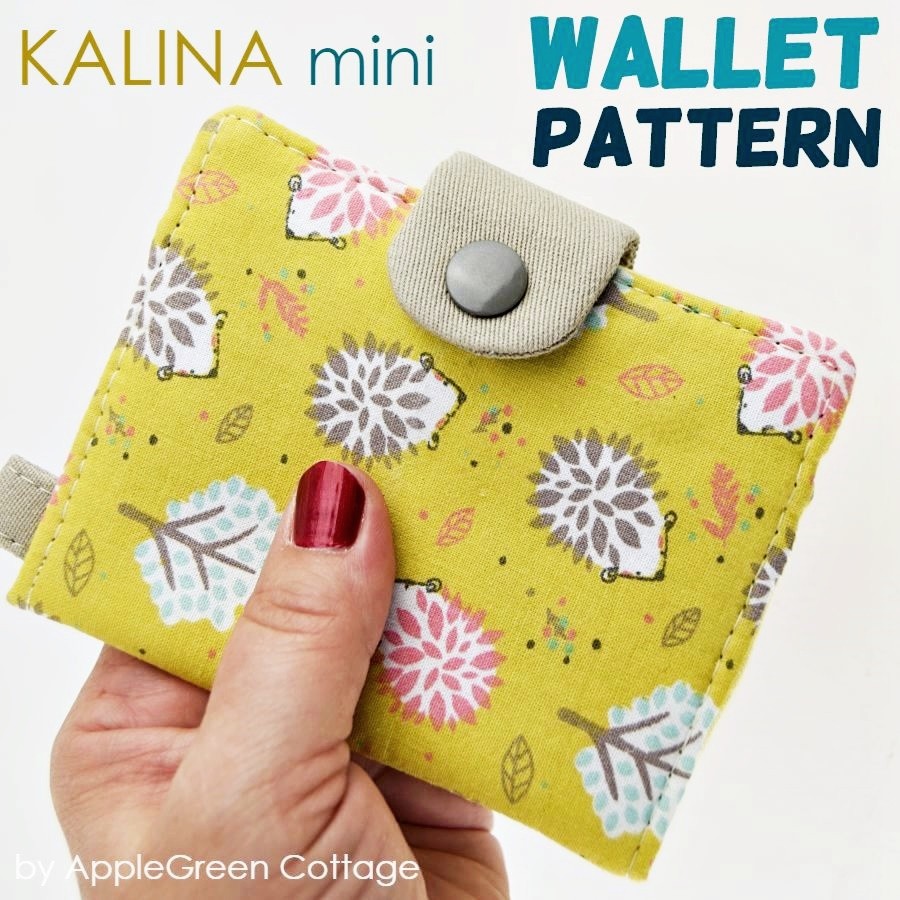
Or …check out this popular PDF pattern - the Kalina Mini Wallet in our shop. So practical!
Want a printable copy of the whole tutorial?
Prefer a full, ad-free and printer-optimized Printable Tutorial with both instructions AND images included? ↓↓

Less searching. More sewing.
Keep 100+ printable AGC tutorials ready to print, save, and sew anytime.


Victoria says
These are adorable! I’ve made the square coasters ( and still use them). I think I’ll make some more like this for my daughter and daughter-in-law. They both have recently purchased new homes. Thank you!
Damjana Jakos says
So glad my tutorial was helpful!
EDITH says
LOVE this idea! Is there a PDF that condenses it all into 1 page I can print out so that I can hang it up on my work board?
Damjana Jakos says
Edith hi,
a great idea, I'll put this tutorial on my to-do list to add to the Printable Bundle, hopefully soon! https://shop.applegreencottage.com/b/printable-tutorials-bundle
Annie says
I actually turned mine into a potholder and then topstitched around the edges once I had it turned right side out. I love it! Thank you!!
Rosemary B says
I found you from RBD blog
Oh gosh, these coasters are adorable.
Thank you for such inspiration and sharing.
I am so happy to find you!!!!
Damjana says
Rosemary hi,
thank you 🙂 <3
Dayna Barnes says
I absolutely love this--so cute and easy enough that I just taught them to my class of 9-year-old beginners. They loved them, too 🙂
Mary says
Hello. These coasters are really attractive. Is there something I can add inside to make them waterproof to the table below? Any recommendations?
Thanks for sharing your lovely patterns. 🙂
Damjana says
Mary hi,
a good question! I've always been just making sure the costers have a generous number of layers so they absorb as much as possible in case of a spill. But making them waterproof might be even smarter. Let me think - oh, here's an idea: what if you use a layer of PUL fabric in between, as an additional layer? Or simply cut the base square from it and use it without fusible fleece? Hope this helps.
Mary Jane Slesinski says
You can add a square of plastic cut from a plastic bag between the backing and the fleece layer before sewing the layers. I would use non-fusible fleece as you don't want to get an iron near the plastic layer. Also, use clips to hold the layers together, don't stick pins through the plastic.
Linda K says
The construction of these coasters is simply amazing, especially how you turn them RS out thru the folded fabric center. Thanks for sharing this tute!
Damjana says
Linda, I'm happy you like it!
Momo G says
Very nice! I love the colors and the ease because they make a quick gift possible as well as providing a very necessary set at home. A must make, just as soon as my new iron arrives. My cat pushed my old one off the cutting table and smashed it. The new one will hang up so he can’t get to it! 🙀😺
Damjana says
A good idea! 🙂
Linda K says
How well I know what damage our beloved cats can do. Sorry you had to buy a new iron -- on the bright side, maybe the new iron will be incentive to sew more 🙂
Carolyn Young says
You make everything look so easy. Thank you for sharing your creativity
Damjana says
Carolyn thank you! <3