
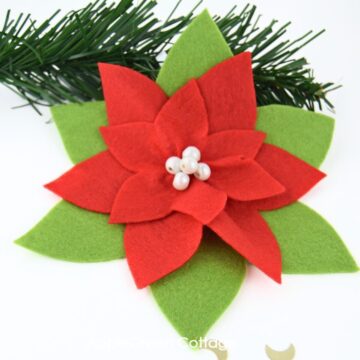
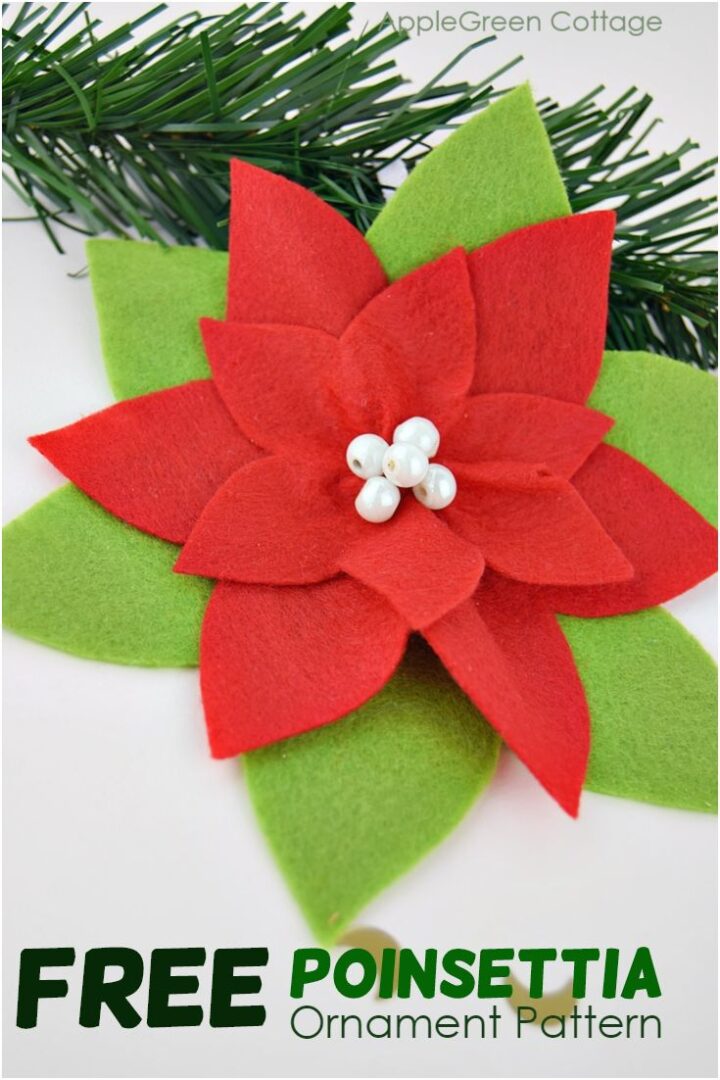
Use the free poinsettia pattern and the tutorial to make this classic poinsettia ornament for a traditional red and green holiday home decor. It only requires a few stitches (or none at all if you do a no-sew poinsettia!)
These beautiful DIY poinsettias go great together with these AMAZING finials, both are part of the free Homemade Holidays pattern Bundle. Scroll down to grab all 18 patterns for free!
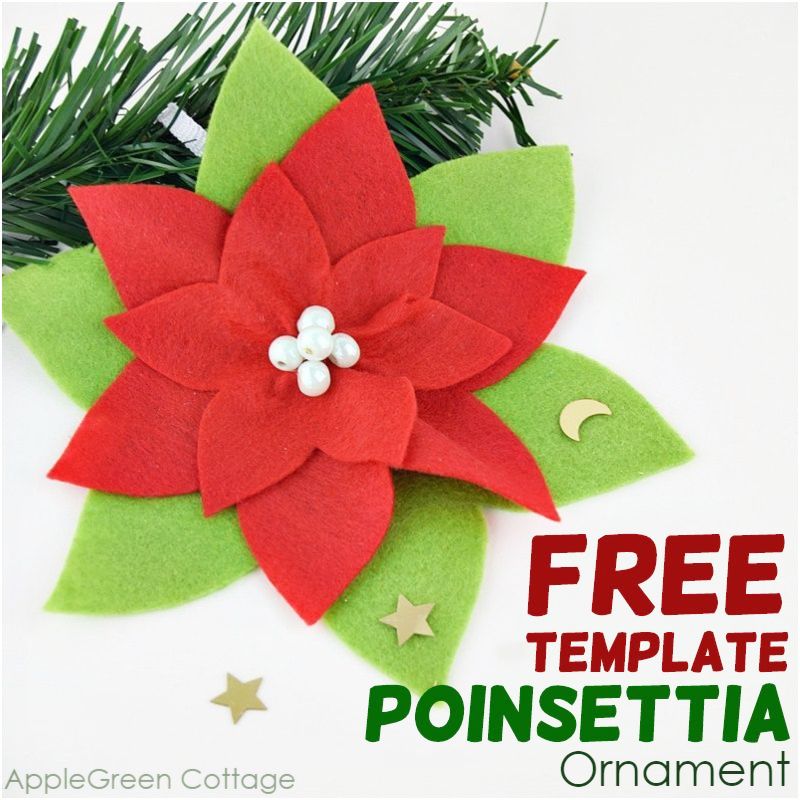
Table Of Contents
- HUGE Holiday Sewing Pattern BUNDLE - FREE!
- How to make poinsettia Christmas ornaments
- How To Make a Poinsettia Ornament VIDEO
- How To Use the Poinsettia Ornament Pattern
- Supplies To Make the Large Poinsettia Ornament
- How To Make Poinsettia Ornament TUTORIAL
- More Holiday Ornament Ideas
- Where can I get the free pattern?
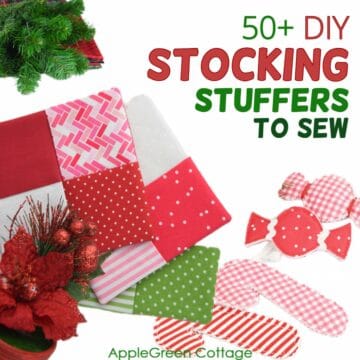
Do you love diy holiday decorations? Good! Because you've just bumped into an entire series of Homemade Holiday decorations - with FREE patterns. How cool's that!
HUGE Holiday Sewing Pattern BUNDLE - FREE!
17+ sewing patterns to craft your own, cozy holidays!
How to make poinsettia Christmas ornaments
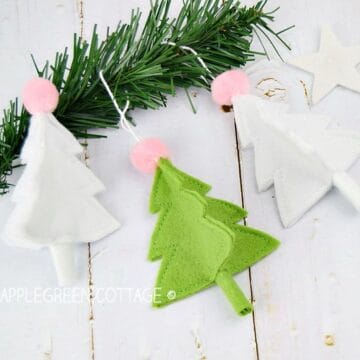
This large poinsettia ornament is great for decorating a classic holiday tree. The traditional red and green will give you a great starting point for your diy holiday decorations, and you can mix and match with our other ornament patterns, like this cute mitten ornament, these tiny tree ornaments, or the popular origami fabric ornament.
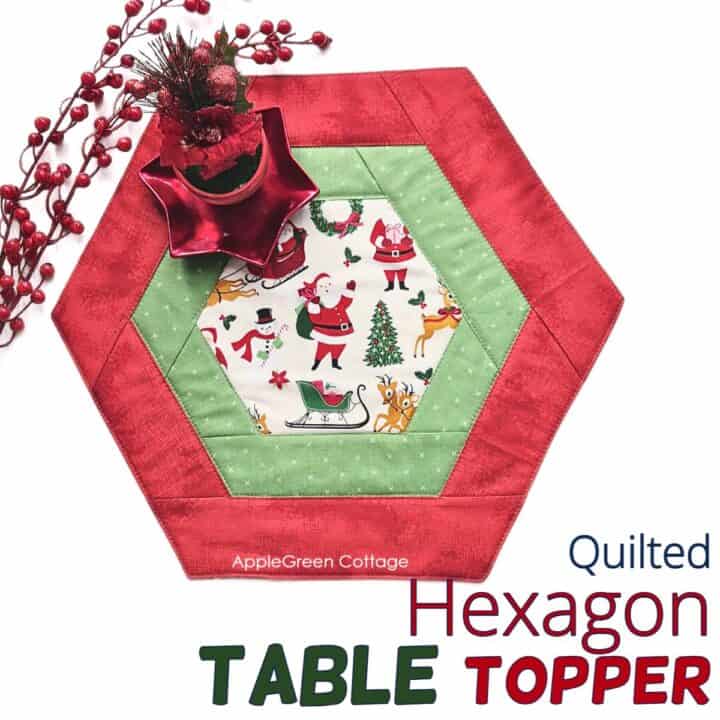
+Free Hexi Tabletopper Pattern
Use matching fabric and create this cute diy tabletopper for Christmas!
And it gets even better: you can use this ornament - no adjustments needed - as a table centerpiece. Just place a few of them on a tray and add a few spruce branches. Done! And you've got instant holiday room makeover if you stitch a few onto your pillow covers. Hello, my beautiful home!
How to make a no-sew poinsettia ornament?
I know some readers among you who would sometimes prefer a no-sew project, too. This is where I was thinking of you, folks! This easy poinsettia ornament requires just a few stitches - and if you'd like to skip those too, feel free to use the free poinsettia template with a hot glue gun instead of the needle and thread. Really, you can!
I seem to be no good with a glue gun (you don't want to see how messy I get with one!!!), so I'm not showing you a no-sew version. But there is hardly a better suitable holiday sewing project than this one. Go ahead!
And the rest of you, dear AppleGreen Cottage readers, get your needle and thread ready. Some felt cutting, then a few stitches and you're done! Deal? Let's go!
How To Make a Poinsettia Ornament VIDEO
First, check out this quick slideshow to get an overview of the project:
How To Use the Poinsettia Ornament Pattern
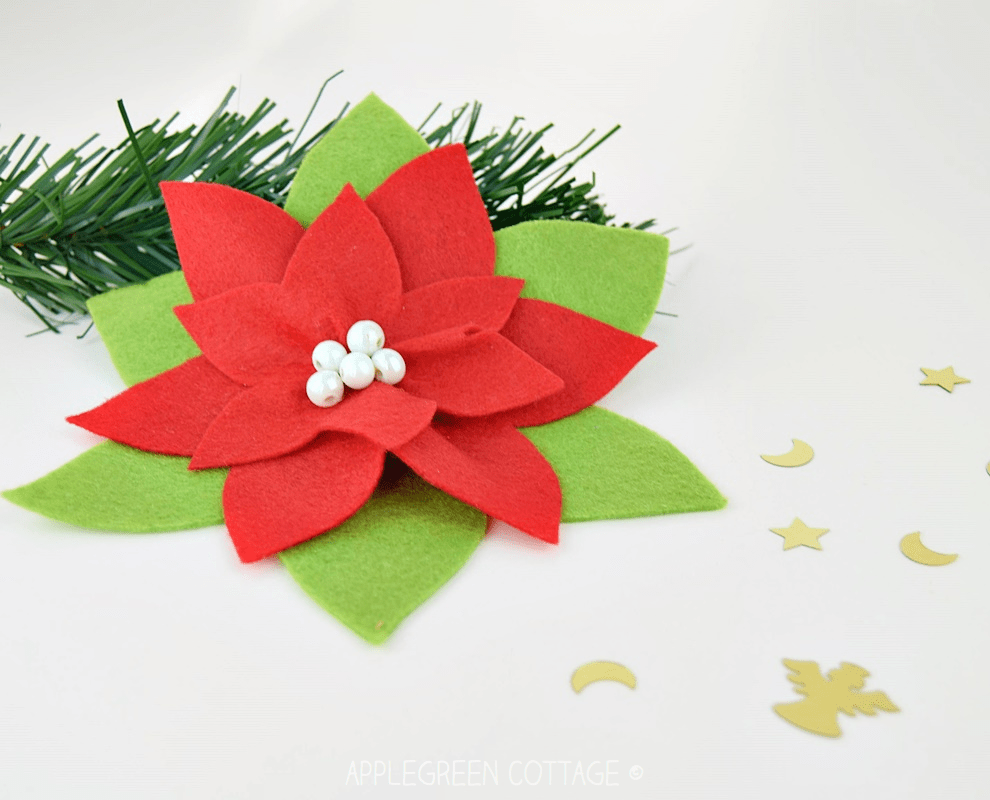
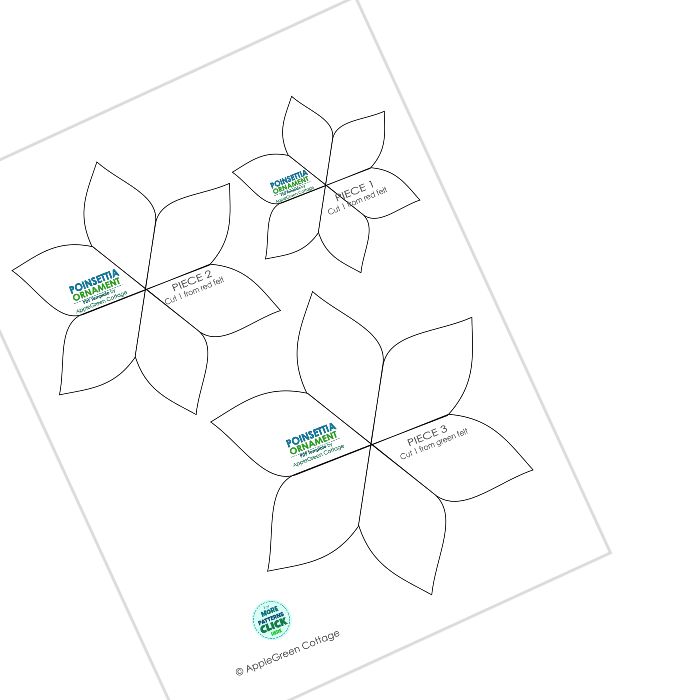
Poinsettias are often mistaken for flower petals because of their groupings and colors, but those are leaves. I designed the template so you don't need to cut out each individual leaf but rather a whole layer. Much quicker, trust me!
The free printable poinsettia template comes in 3 sizes for each layer, but you can either choose the small, medium or large only - each combo will give you a different poinsettia. I used all three sizes on one ornament - this is what I recommend when you make the poinsettia ornament for the first time.
Next come the supplies and you can also scroll down for a photo tutorial with step-by-step instructions. I've got you covered!
Supplies To Make the Large Poinsettia Ornament
- soft red felt and green felt - the green can be a bit stiffer if you like.
- a few white pearl beads (alternatively, a button or a pompom will do too)
- 6" - 8" ribbon for hanging
- matching thread, scissors, needle, or glue gun
- Free template - download and print page 19 from our Homemade Christmas Patterns Bundle:
How To Make Poinsettia Ornament TUTORIAL
In short, you'll only stitch all three layers together, and attach a few beads, done.
But since my diy poinsettias turn out much prettier when I make little creases in the center, I'll show you every individual step to make it clear and easy to follow. So here are the steps in super slow motion to ensure everybody can follow:
Step 1 - Print the template (page 12) from the FREE Holiday Bundle
Print out page 12 in the PDF file of the Homemade Holidays Pattern Bundle. It will look like this:
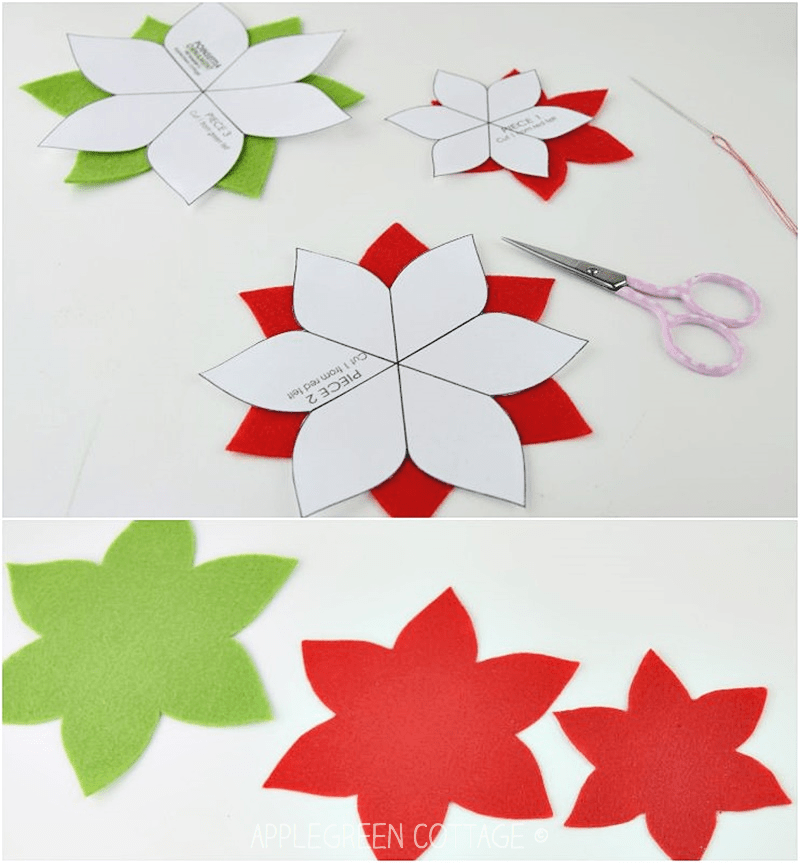
Step 2 - Cut the pieces
Using the templates, cut the smaller two pieces from red felt and the largest piece from green felt. The green felt can be a bit stiffer, as you won't be folding it at all.
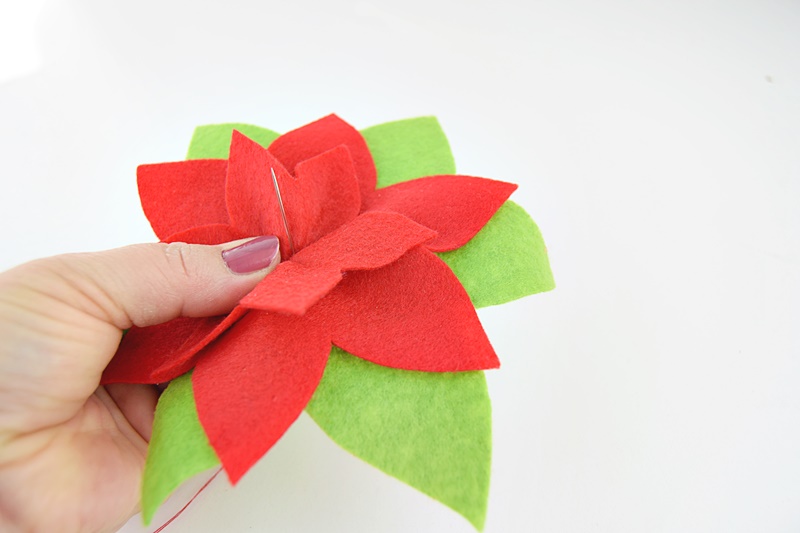
Step 3 - Prepare the smallest piece
Create a crease in the center so it WON'T lay flat. This is how I do it:
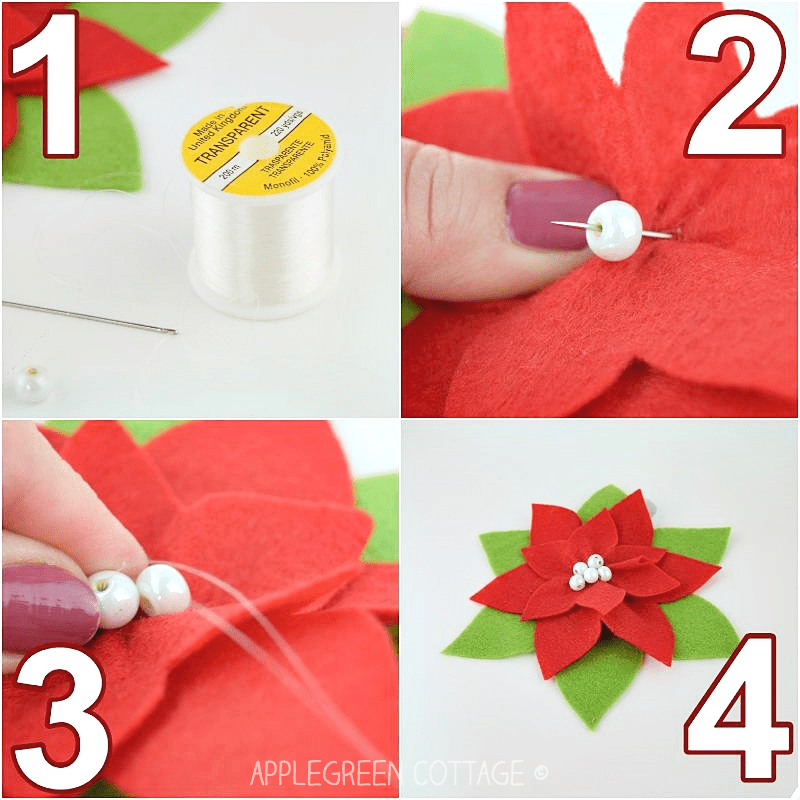
First, I fold the piece in half and stick the needle through the center, just ⅛ inch or 3mm from the edge (see 1). Tack the spot with a few stitches, then spread the piece and there will be a little crease left (see 2). Then fold at 90 degrees from the first fold. The fold won't be quite straight, no worries. Tack that part again like before (see 3). No problem if the piece won't look exactly as mine, the purpose is to prevent it from laying flat (see 4).
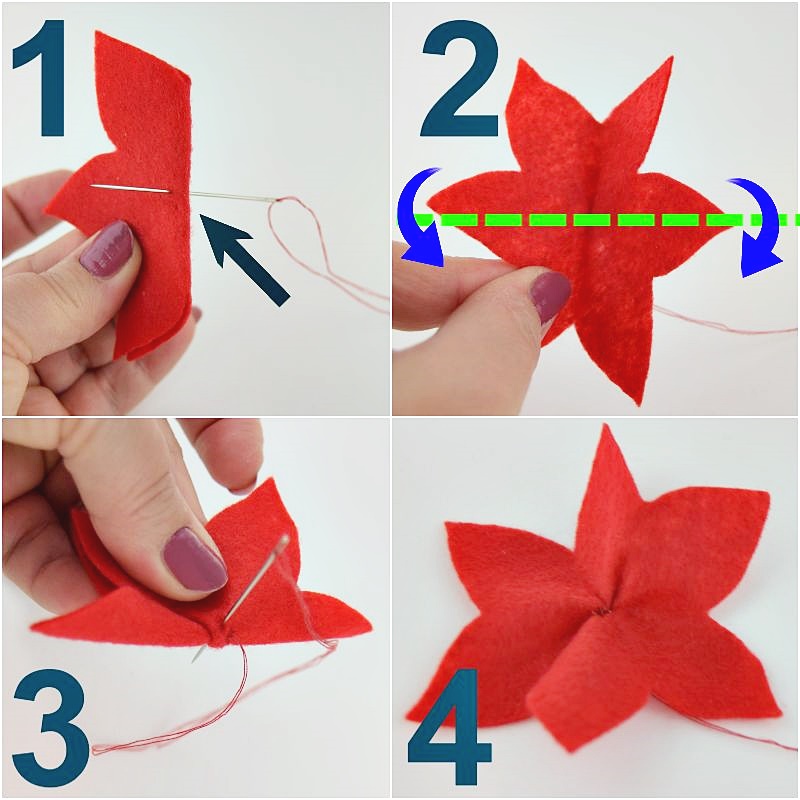
Crease is made in the center of the smallest piece.
Step 4 - Attach the middle piece
Stick the (still threaded) needle through the center of the second piece (see 1). Fold again, this time with the smallest piece inside the fold (see 2), and do a few stitches to create a crease. (see 3)
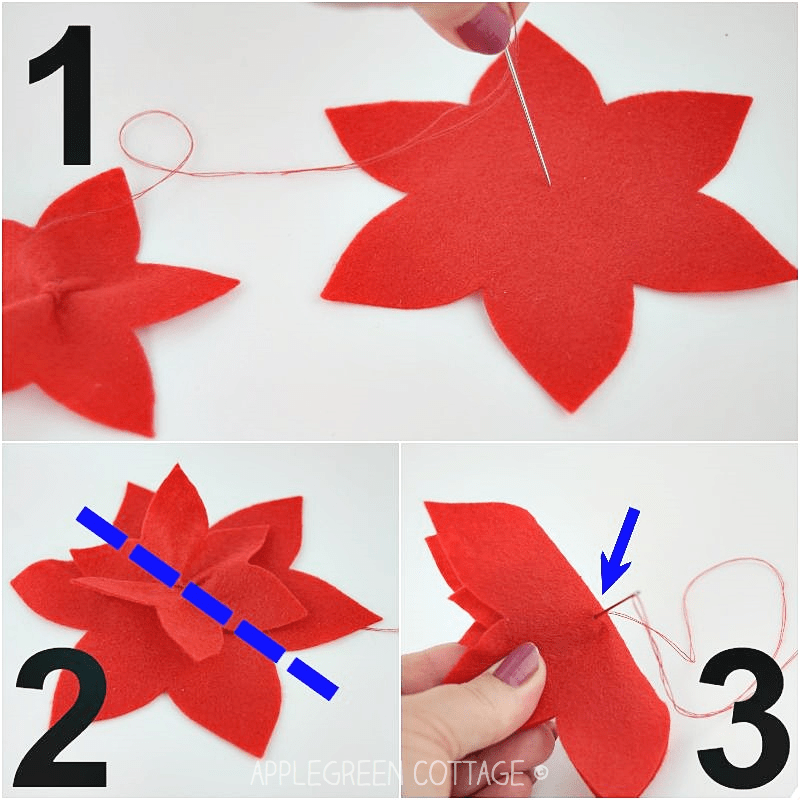
How to attach the second piece.
Step 5 - Attach the third, green piece
Add the third piece and finish off sewing by burying the thread somewhere between the layers. You'll notice that I leave the green part stay flat, no folding.
Step 6 - Add pearl beads to the center
To attach the pearl beads to the center, I usually use transparent polyester thread. You can either use regular thread or even glue them on - whatever works for you. The steps below are pretty much self-explanatory.
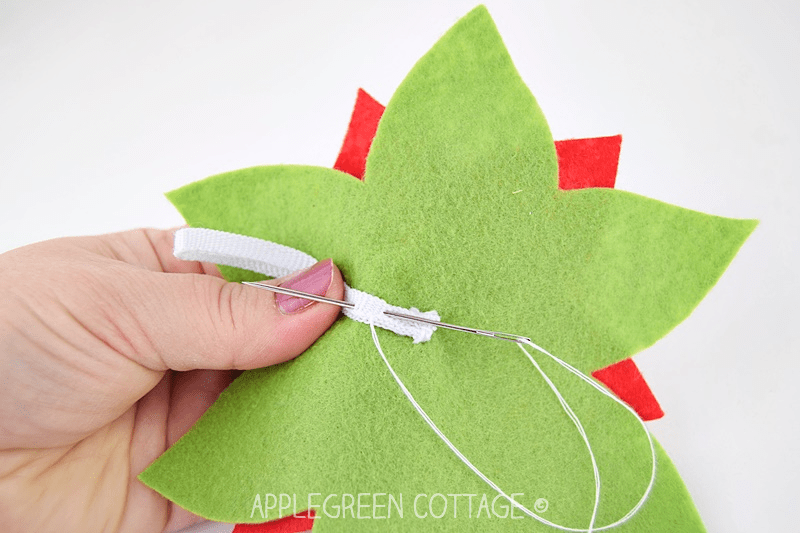
Step 7 - Add a short ribbon for hanging
Fold the 6-8 inch ribbon in half and attach the raw ends to the center - on the backside of the finished ornament.
The ribbon is short so it will be kept hidden behind the larger green 'leaves' - and when you hang it on your tree, it will fit snuggly.
Once you've made a few, make a few of these diy origami ornaments - a perfect combination of traditional Christmas colors!
More Holiday Ornament Ideas
If you're looking for more holiday tree ornament patterns, these are super popular right now:


I'll be back soon with even more new tutorials, make sure to join our mailing list - so you don't miss out on the new stuff!
Where can I get the free pattern?
Join our mailing list and get the template for free - and more, the entire (huge!) Homemade Holidays BUNDLE, with more than 18 templates to create your own cozy holiday decor:
Or …check out the gift bag pattern in 6 sizes in our shop - a super easy no-corner-boxing sewing project. Reusable gift bags for all your future gifts!


Leave a Reply