
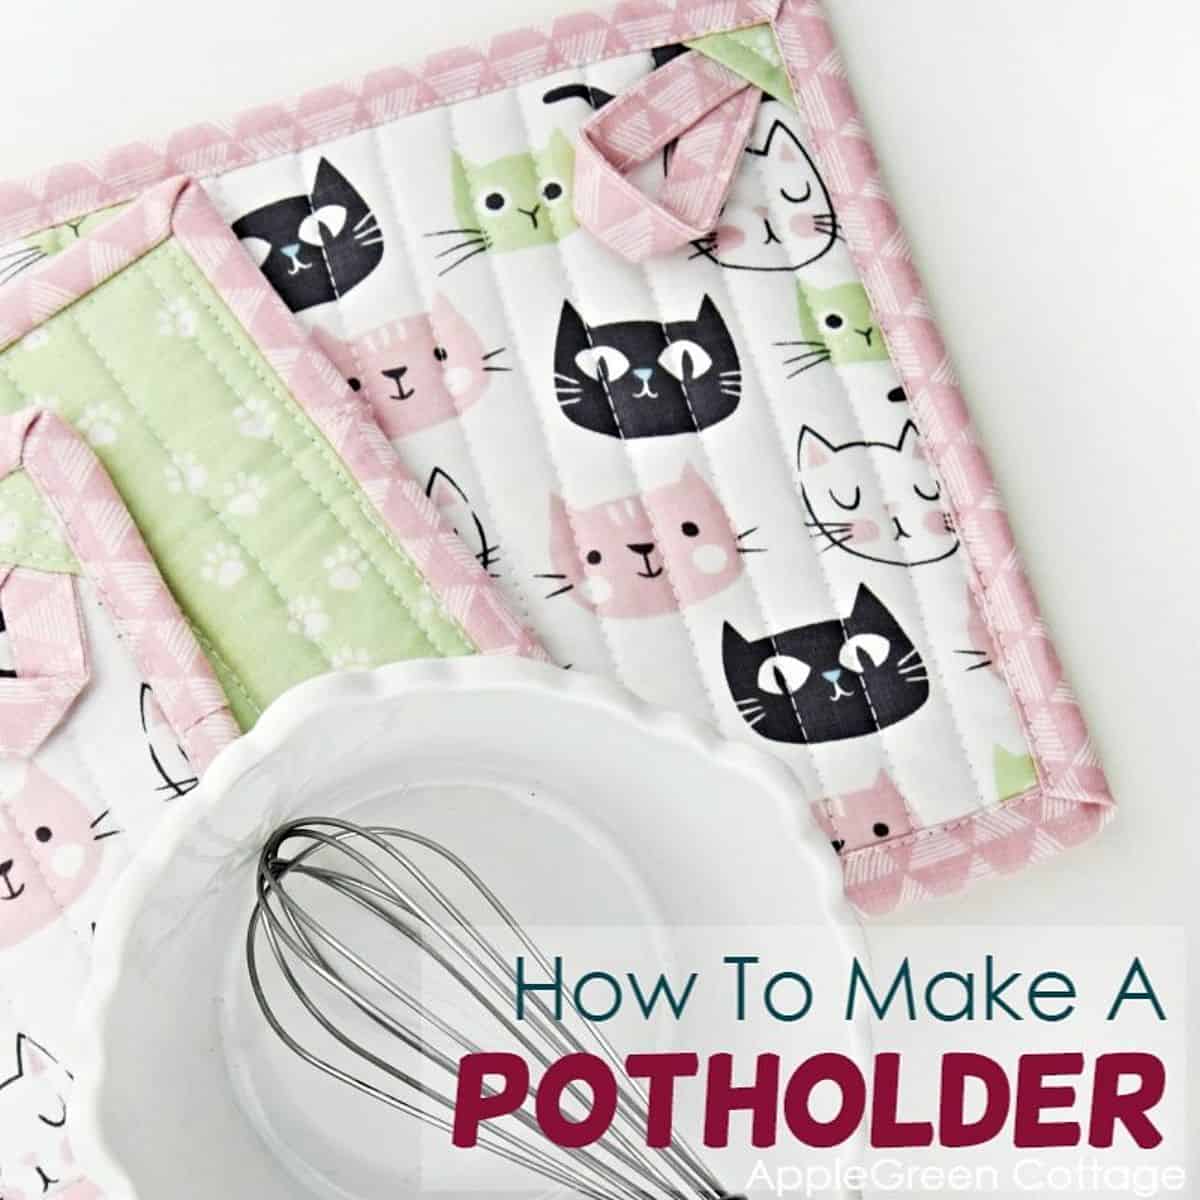
See how to make a potholder using my new potholder tutorial - scroll down how cute they look in a set with both a standard size and a mini version for the play kitchen - kids approved!

This tutorial is also part of Printable Tutorials BUNDLE
90+ PDF tutorials now, and growing!
Table Of Contents
Last month, I spilled coffee while pulling a mug from the microwave - because my old potholder was too flimsy and awkward. That's when I realized: I needed better ones.
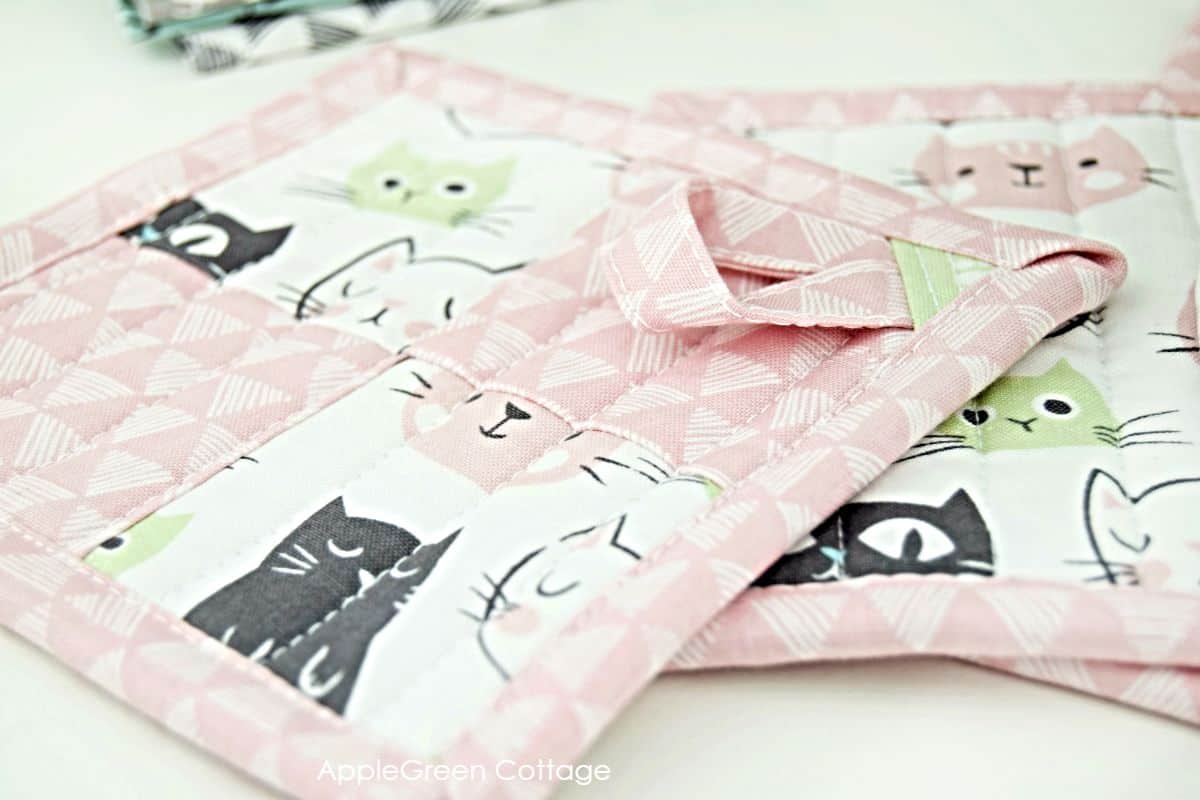
I stitched up these potholders in two sizes: a standard set for me, and tiny ones for my daughter's play kitchen. She loves them - honestly, I kinda do too. Both are super fun to make!
This pattern was so cute it even made it into my first MINI BUNDLE:
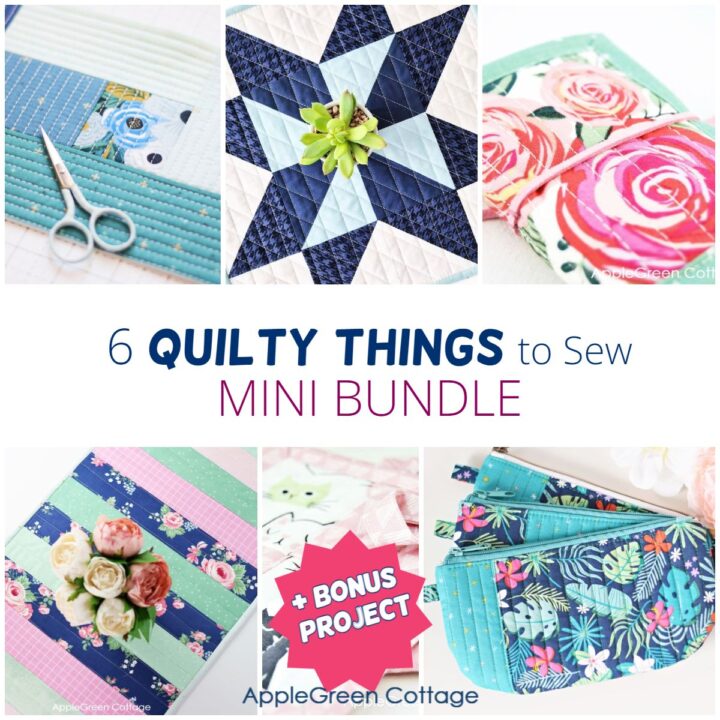
6 Quilty Ideas +BONUS
Love a quick quilty win? Don't miss THESE!
Quick, scrap-friendly, and now I can safely grab anything hot in style! (and while speaking of mini, go check out the best free baby quilting patterns!)
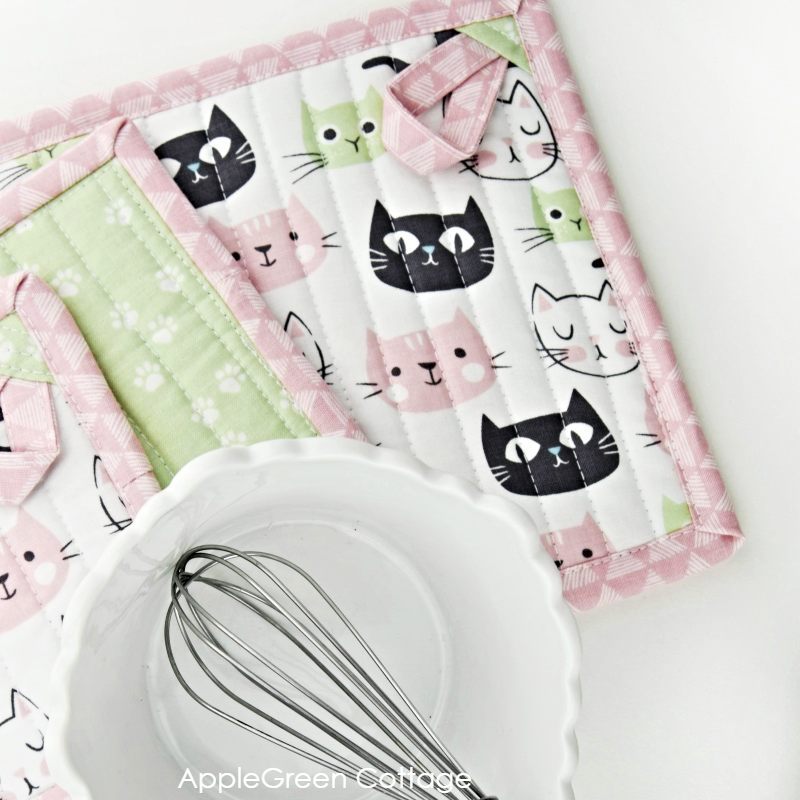
And since I was already cutting and sewing, I also snapped a few photos to make this tutorial for you. Actually, quite a lot of photos, as I couldn't resist these pretty cat-orable prints. (See what I did here? 🙂 Purrrfect! (Oh well, again!)
Finished Size
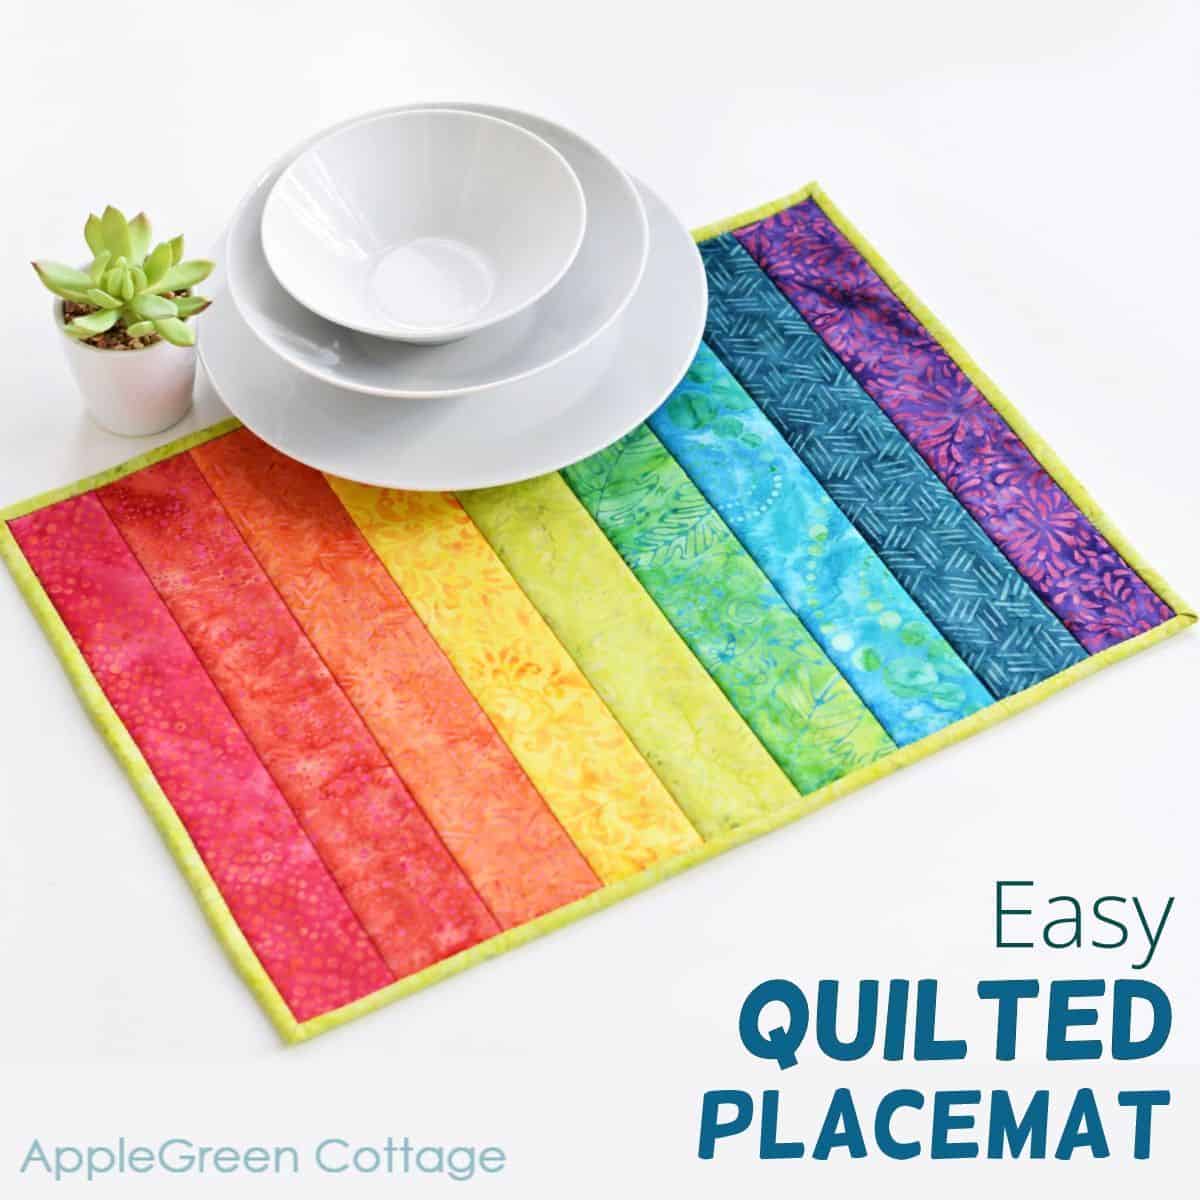
The finished size of my potholder is 7", and the mini potholder finishes at 5" square.
And if you like sewing for home, check out this microwave potato bag or this easy quilted oven mitt pattern too.
Supplies
Shop my personal favorite sewing supplies on Amazon HERE.
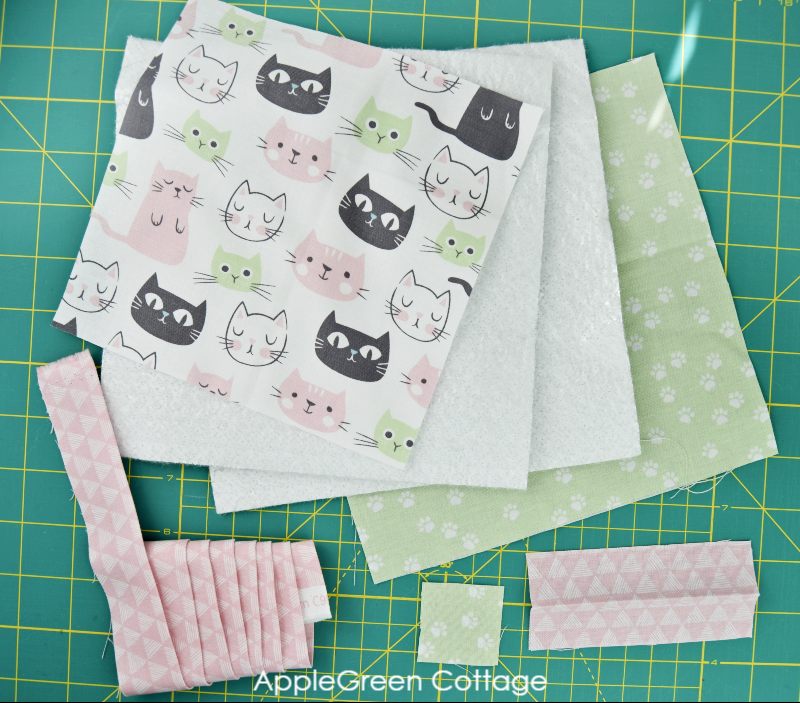
In total, you'll need a quarter yard of fabric (can be scraps), plus two 8-inch squares of insulating batting per potholder.
What Interfacing to Use for a Potholder
I used two layers of Insul-Bright to make your potholders extra heat-resistant. And to make them thicker. You can use 1 layer of Insul-Bright plus a layer of cotton batting. Also, you can use one single layer of thick cotton batting instead. Do not use polyester-based batting for potholders, as it will not block heat effectively. Read more about interfacing, including Insulating thermal batting, in this guide on interfacing.
Useful Notions, Tools, And Other Stuff
- Odif 505 for temporary spray-basting the layers. Ignore it if you don't have it, and use safety pins instead.
- walking foot, strongly recommended, for any quilting project
- sewing clips (or pins)
- fabric scissors
- ruler and rotary cutter
- disappearing ink marker
How To Make a Potholder - tutorial
Here's everything you need to do to make your own beautiful potholders. Binding tutorial included!
There are two sizes in this tutorial, as mentioned. One is the standard size for a 7" potholder, and the other one is the cute mini potholder sized at 5".
Step 1 - cut the fabric and insulating batting
NOTE: Measurements for the standard potholder size are given, and the mini version measurements are added in the brackets.
Cut from fabric:
- one 8 ½" square for the back (6 ½" for the mini version)
- one 7 ½ square for the front (5 ½" for the mini version) - or see below for a 4-block patchwork version
- 5" by 2" in main fabric for hanging loop
- 1 ½" square to cover the hanging loop
- binding: 30" long strip of 2 ½" binding
How to cut straight grain binding for this project: cut your strip along the grainline or crosswise, it does not matter as you need a straight-grain binding. No round corners and curves, so there is no need to cut it on the bias unless you want to, of course. (For bias binding, see this how to make bias binding tutorial.)
I cut mine at 2 ½ " from selvedge to selvedge to accommodate for the thickness due to 2 batting layers. You can get away with a slightly narrower binding, 2 ¼" should be fine too.
Cut from interfacing (Insul-Bright):
two pieces - 8 ½" square (6 ½" for the mini version)
OPTION - do you want a four-patch block on your potholder?
Want your potholder to have a nice four-patch block on the front? Use my tutorial for beginner quilters: how to make a four patch block.
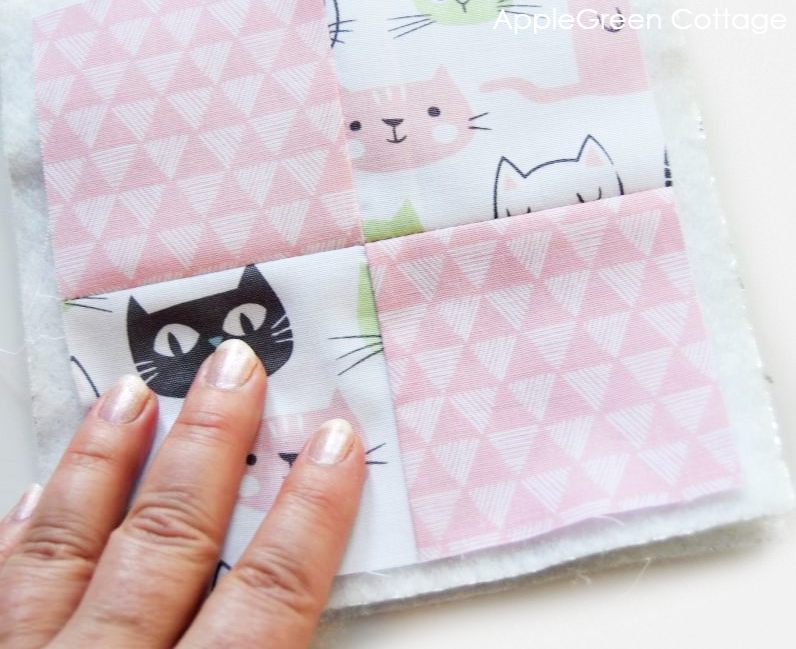
Please bear in mind that in this case, you'll need two different 8" squares in contrasting fabric - this will make two four-patch blocks. For the mini potholder, you'll need two 6" squares to make a 5 ½" raw front piece for the mini potholder.
Step 2 - Assemble Pieces
Lay your backing with the right side down, then place 2 layers of the insulating batting (or cotton batting) on top of that. Then, place the potholder top side with the right side up. Fix using safety pins or spray-baste the layers together. You can use Odif 505 to do so, for me this is the easiest way to prevent shifting.
Step 3 - Quilt the layers
I added some straight-line quilting to the potholder. Straight-line quilting is a relatively easy way to add structure to your potholder, even on a home machine. I sewed my first seam in the center, starting at the top and moving toward the bottom of the potholder. Sewing approximately half an inch apart, I worked my way out to one side, then to the other. The previous line of quilting was my placement guide.
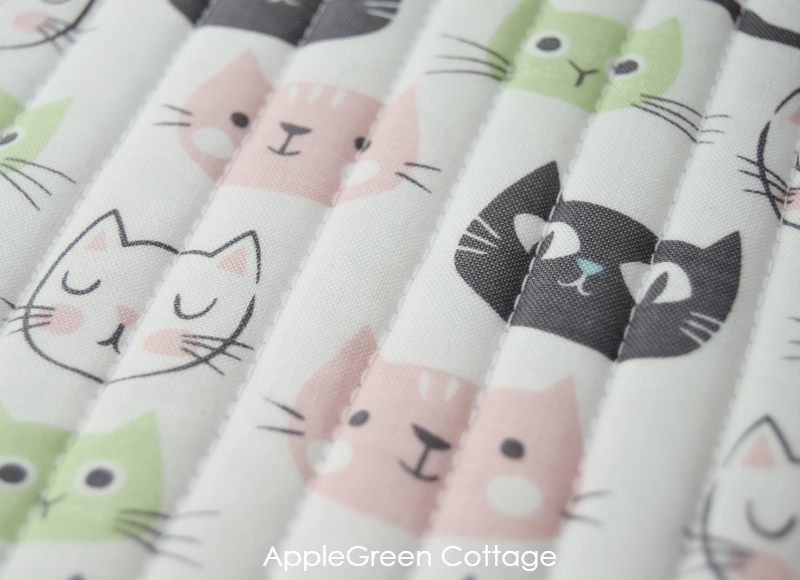
Bonus tip: For even quilting lines, you can either use a guide (mine came with the walking foot) or mark lines using a disappearing ink fabric marker. Draw a starting line in the center, top-to-bottom. Also, make sure to always start your lines on top and sew towards the bottom.
Step 4 - Square it up
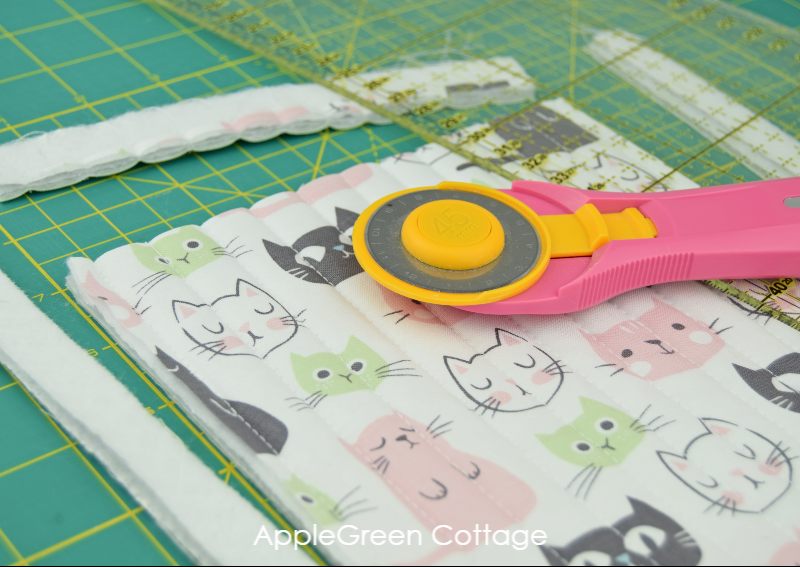
Trim off the excess batting and back fabric and make sure all the corners are at a 90-degree angle. You need a 7" by 7" square. (5" by 5" for the mini potholder) Using a ruler and a rotary cutter is the best way to go.
Once you've trimmed it to 7" (5") square, you'll need to attach the hanging loop and then bind the edges. Let's see how.
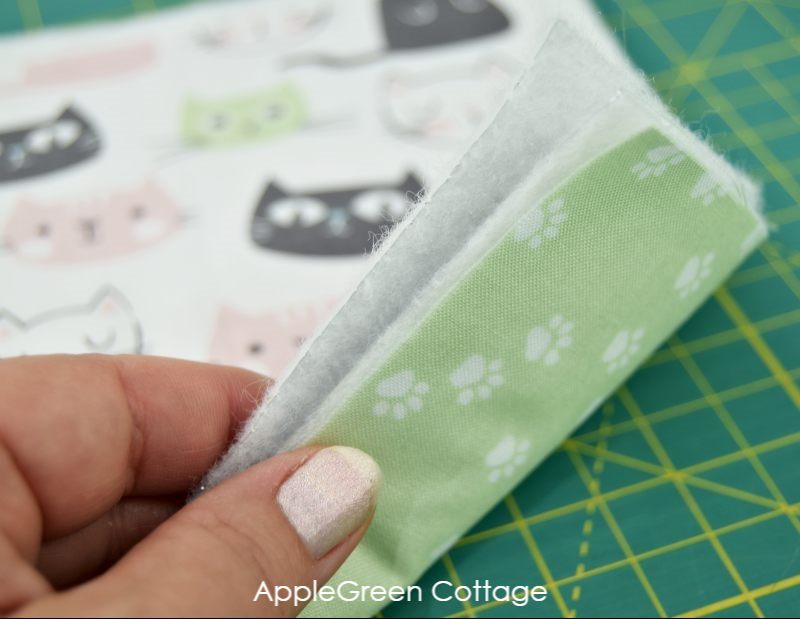
Make the hanging loop
Make the hanging loop or use a ribbon.
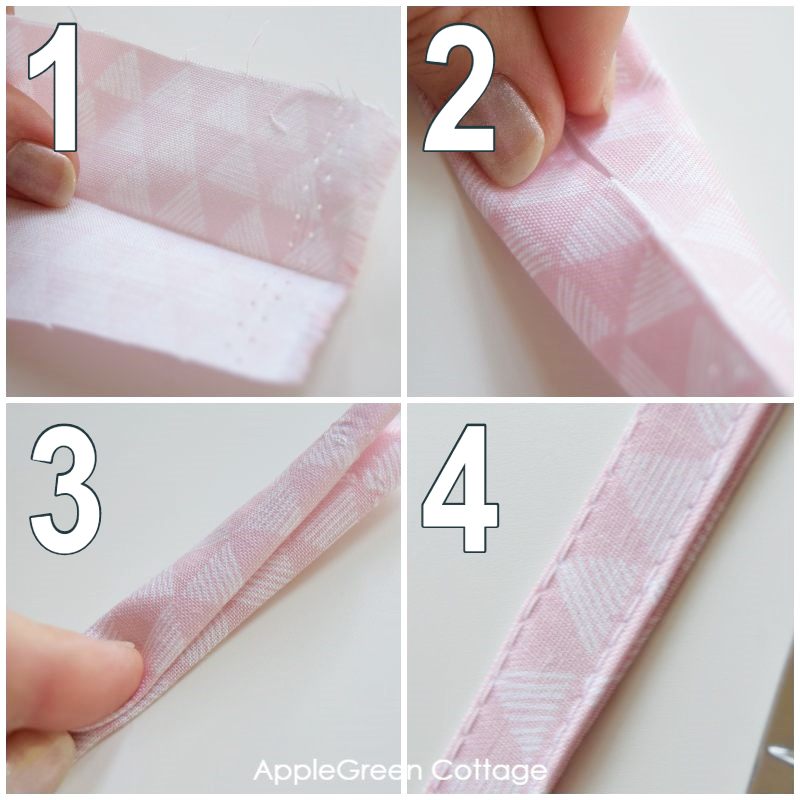
I prefer to make my own loop as it adds that finishing touch. This is how I sew it:
- use the 5 by 2-inch piece, fold it in half with the wrong sides together, and press. Open and
- fold the two long raw edges towards the center, then
- re-fold along the center fold. Press.
- Edgestitch along both long edges.
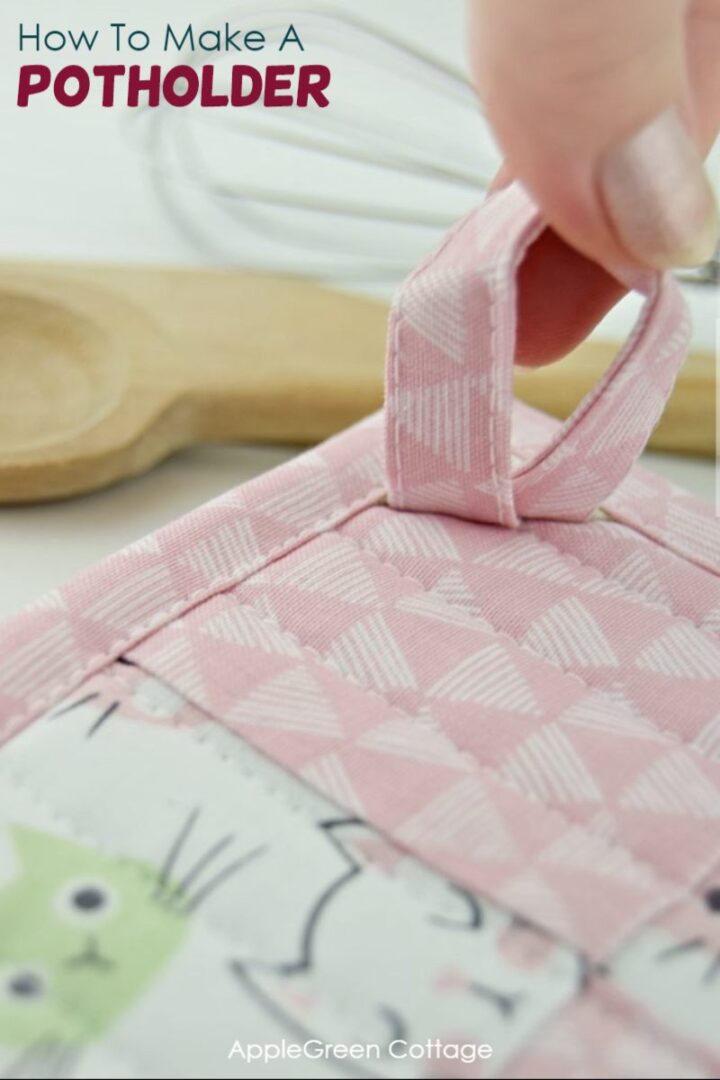
STEP - Attach The Hanging Loop
Fold your new loop in half. You'll sew it to the top right corner on the front of your potholder. Like this:
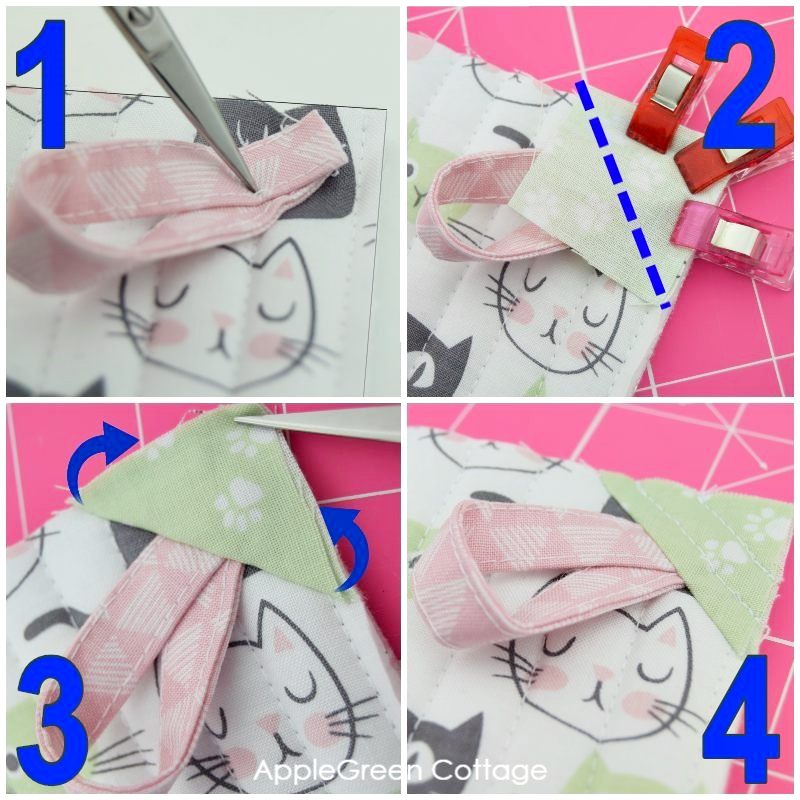
- Fold the loop in half then place it into the top right corner, with the raw ends directed towards the corner, but not quite touching it. See photo (1) above.
- Baste and cover with the 1 ½" square - the square should be the wrong side up and aligned with the corner of the main piece. Pin and sew across the diagonal, catching the hanging loop into the seam.
- Then fold the sewn square back along the sewn line and press. You get a triangle.
- Sew a few stitching lines along the edge to secure the hanging loop and add some structure to this bit of fabric. Loop done.
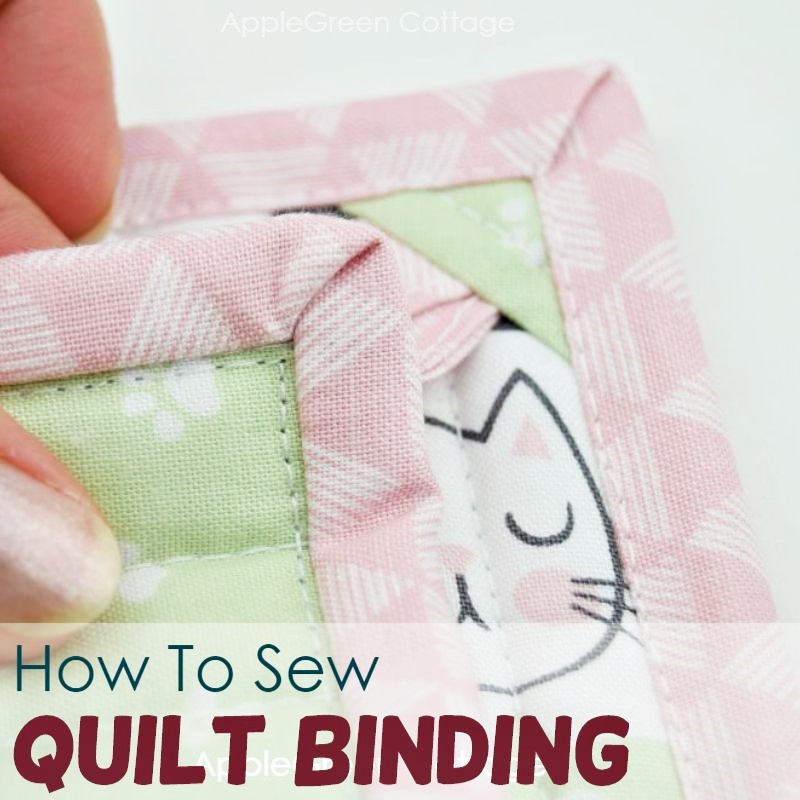
Bind The raw Edges of the potholder
Take your 30" long strip of 2 ½" binding and press it in half if you haven't yet. Then see here how to attach binding to the potholder.
See here how to bind a potholder, a quilt, a mug rug, anything actually.
This is your last step, and I've got a detailed how-to for you - that's just in case you haven't yet done anything like this - jump to this page to add binding to your potholder.
Also, feel free to use this must-see little binding hack, it will make it even easier to finish your project (and this is actually the ONLY hack I use with binding).
And your potholder is finished. Isn't it cute! Make a set, and you can add a few sizes. Now you can bake in style!
Related Posts:
6 Quilty Ideas +BONUS
Love a quick quilty win? Don't miss THESE!
Good To Know - Tips
The silver side of Insul-Bright is designed to reflect heat, so in short, it should be oriented toward the heat source for heat reflection. In other words:
-For items meant to reflect heat away - like oven mitts, potholders - I place the silver side facing outwards, towards the heat source.
-For items meant to retain heat inside - thermal covers and lunch bags - I place the silver side facing inwards, towards the object I want to keep warm.
There are several standard sizes for square potholders, anything ranging between 6" and 10", I currently use 7" and 8" potholders in my kitchen. And here and then, I might borrow the miniature 5" pot holders from my daughter's play kitchen to use them as mug rugs for my morning coffee. If she lets me!
Conclusion
These potholders are so convenient and easy to make. They are a great project for beginning sewers and make great gifts - lovely in sets with these diy soup bowl cozies, and maybe even this quilted cup sleeve pattern if your friends love coffee.
As always, I'd love to see if you've made a potholder using this tutorial. Please post a picture to Instagram and tag me @applegreencottage or #applegreencottage - so I can take a look!
Want A PDF Printable Version?
Do you want an ad-free, printable copy of this online tutorial? Get it in our shop. Or get the whole →BUNDLE!

Want MORE Free Patterns?
Get email updates and never miss out on new patterns, printables, and tutorials:
Or …check out the NEA Small Crossbody Bag pattern in our shop. This bag skyrocketed to the top of our best-sellers in less than a week after it was released:


Donna says
Good Morning! Great tutorial - thank you. When using the Insul-Bright, does it matter which way you layer it? Silver sides together - silver sides out?
Thanks and blessings, Donna
Damjana Jakos says
Donna hi,
a great question. That was exactly what I was wondering when I first used Insulbright! What I found out was that the silver side of Insul-Bright is designed to reflect heat. This is why - if you use a double layer of Insul Bright, place them with silver sides facing outwards. I hope that makes sense - Happy sewing!
Karol says
Great hanger idea! There is this phrase "Save this tutorial for later:" but I didn't see a link to click. What am I missing?
Thanks!
Damjana says
Karol,
great observation, thank you. I forgot to add the link to save the pin to Pinterest - you can use this one: https://www.pinterest.com/pin/526710118925866994/
xoxo, Damjana
hi says
hello! when making potholders with checkers, how did you prevent warping of the checkers if sewing in multiple columns so theyre perfectly neat?
i can cut the 4-square checkered cloth perfectly straight as per your instructions. but the second i sew in a straight line down, the fabric of the checkers gradually warped downwards with each column. multiplied by sewing several columns, they all drag the squares down into a diagonal slant, the checkers no longer aligning, and my square potholder is no longer square at all.
what do you advise?
Damjana says
HI,
that's a great question, and a common issue when quilting. I use Odif 505 so the layers stick together. No shifting. I hope this helps, Damjana
Kathleen Kingsbury says
I love your hanging loop method!! I get so frustrated with potholders that have loops sticking out of the corner. They always seem to poke into my cakes or cookies when I'm rotating baking pans. Thanks for the tip!
Maureen says
This is a great tutorial! I can't wait to make one. I love small projects like this that can be accomplished in an afternoon. I agree with Lorena, your method of attaching the hanging tab is clever:)
Damjana says
Thank you!
LORENA A BOUTIN says
I like the way you did the corner for the hanging tab. I am going to do this on my next potholder. The kitty fabric is really cute. I make the smaller potholders just for grabbing hot knobs on pot lids.
Damjana says
Lorena hi,
thank you! Yea, I felt kinda clever putting the loop into the corner, so it's out of the way when I don't need it 😀 Happy sewing,
Damjana