
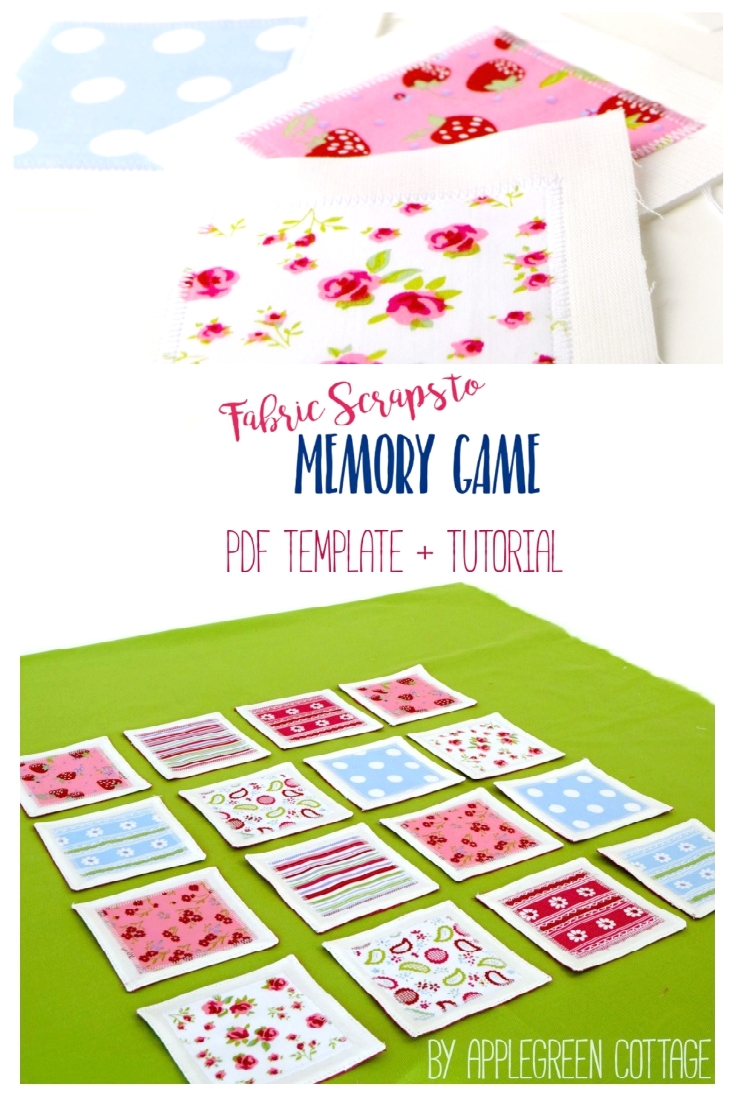
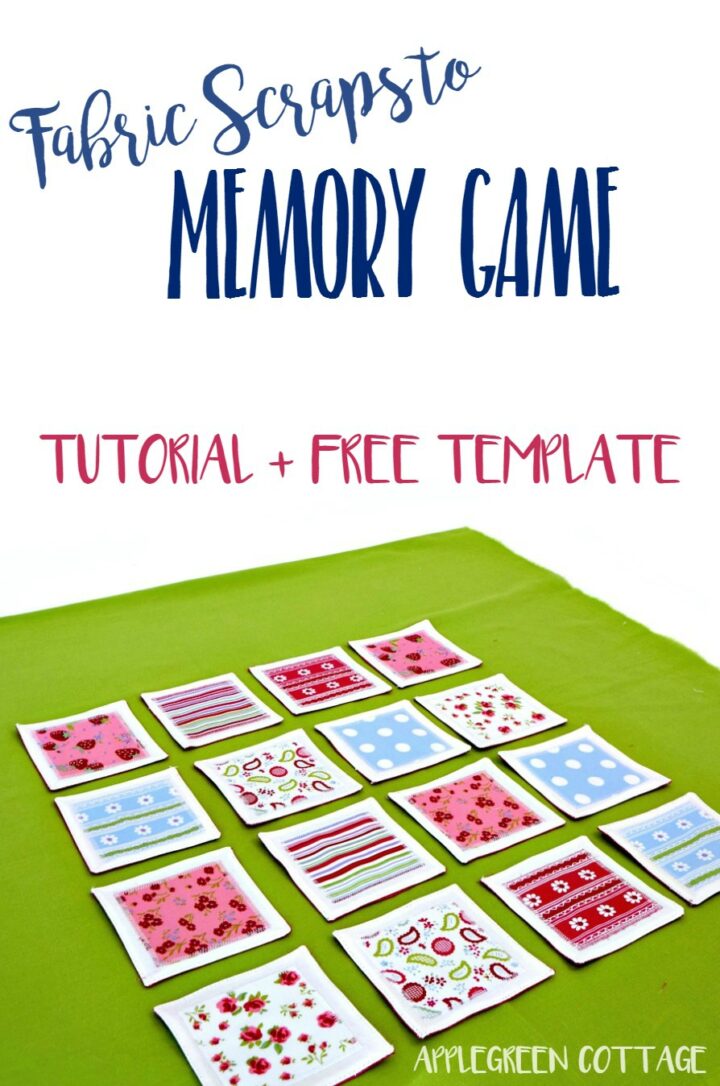
See how to make your own matching game using this easy fabric memory game sewing tutorial - make sure to get the free template too!
This fabric scraps memory game is easy to make, on a budget, and kids love it. So why not make one? It makes a great child's or adult's birthday gift, stocking stuffer, or a party favor. I love these pieces and I'm sure you'll like them too. Download the free template and make a set!

Do you want an ad-free, printable copy of this online tutorial? Get it in our shop. Or get the whole →BUNDLE!

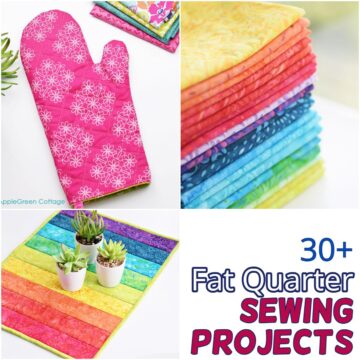
If you're here for diy kids toys, also check out
- this easy pencil case,
- diy softie toys, or
- the popular diy stacking toy that's perfect for a toddler.
This fabric memory game is so much fun! Grab the easy sewing tutorial and the free memory game printable template and make a set.
Table Of Contents
Fabric Memory Game
Board games are such a hit! Today, I'm helping you make your own set. It is close to zero cost, but it will make an amazingly cute and fun DIY birthday present for a kid or adult, depending on the fabric you choose.

Do you want to give them a try? In honesty, these pieces are so easy to sew! Squares and straight lines, there's nothing more to it!
Are you a beginner? Perfect, this is a great project for you! And there's even a free printable memory game template if you don't feel like measuring the pieces!

Supplies
- fabric scraps (scroll down to see a time-saving tip for fabric selection):
- thread
- the usual: sewing machine, scissors, possibly a rotary cutter with a cutting mat
Shop my personal favorite sewing supplies on Amazon HERE.
Cutting will go super quick if you use a rotary cutter. I used these with my project:
1. Rotary Cutter
2. quilting ruler (I have a metric one as I live in Europe)
3. This Olfa self-healing Cutting Mat
And here's one idea that will make your fabric selection super quick, especially if you're short on time. Use a cheater patchwork print. Here are my pieces:
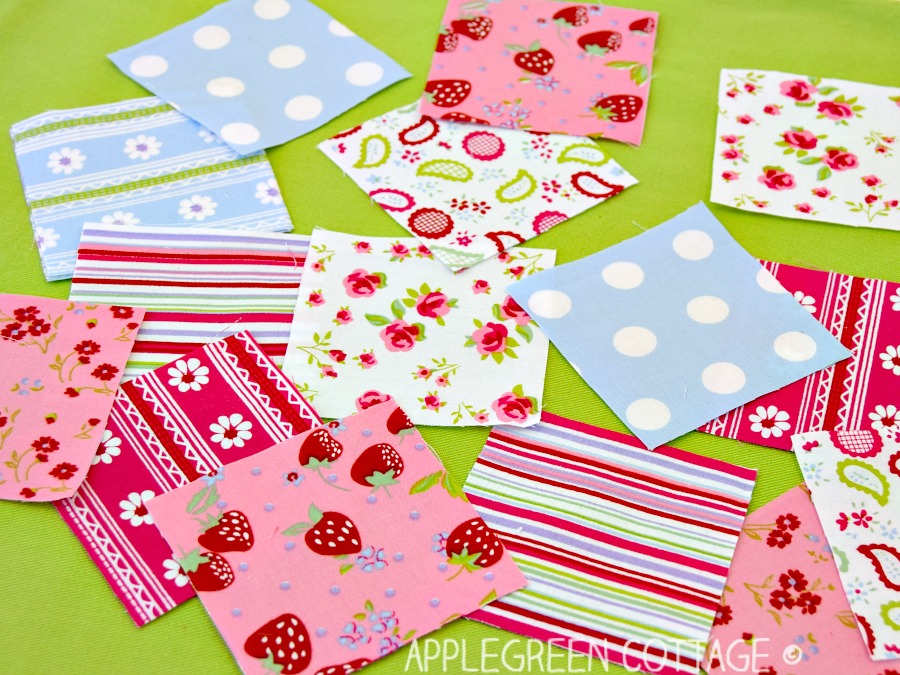
Yep, here's my lazy way to find matching scraps! I cut those lovely squares into individual pieces - as simple as that. Or, use a themed bundle like I did (and I used these lovely strawberries on my TRIA coin purse pattern too.)
If you already have in mind which child will get the fabric matching game, opt for prints that will interest them. Dinosaurs, cars, or dolls, birdies! And if you are making a gift, make sure to save a few scraps and make a diy fabric birthday card to go with the set.

It's all squares, easy! And for those who don't have a rotary cutter with a cutting mat, I've made a totally simple PDF template to eliminate any measuring work and make it super easy! - Scroll to Step 1 of the tutorial below for a free matching game sewing template.
You can print the template on cardboard to make it last longer.
Sewing Steps
First, here's a video slide show for those of you who prefer video how-tos. Check it out here:
Step 1 - Print the template and cut fabric
NOTE: This project is so simple that you don't necessarily need a template. It's all squares, easy! However, some readers of AppleGreen Cottage always prefer a template, so I added it.
Free Printable Memory Game Template
I've created a simple template that you can download for free. To download the FREE square card TEMPLATE, click the button below:
Do you want a printable copy of the WHOLE tutorial? → See it HERE or get it in the huge-value BUNDLE!
Cutting Directions
OR simply cut these fabric squares:
- backing (16 pieces of 4"x 4")
- white background on the front side (16 pieces of 4"x 4")
- fun prints (8 sets of 2 identical fun prints: each piece is 2.5"x 2.5")
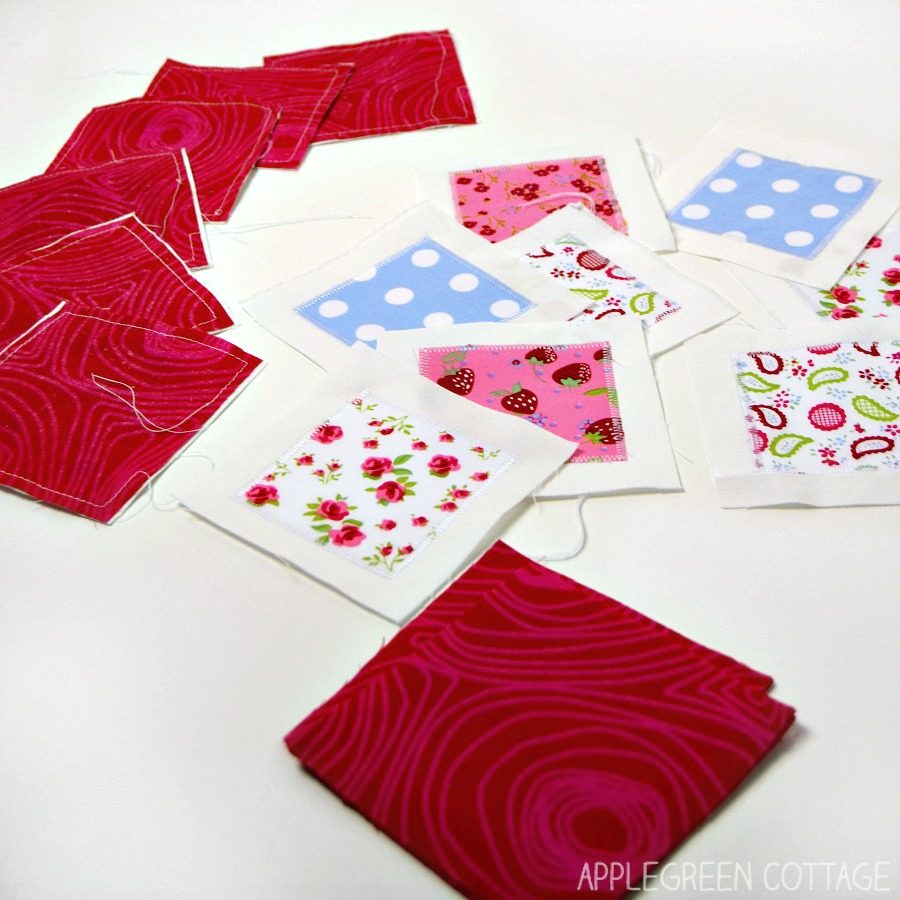
STEP 2 - ARRANGE PIECES INTO SETS
You'll need a set of three pieces of fabric to make one finished piece. In short, it will look like this:

- 1 backing (red)
- one front (background) white, preferably mid-weight
- 1 print cotton (smaller square)
And each time, you'll make two identical, matching pieces.
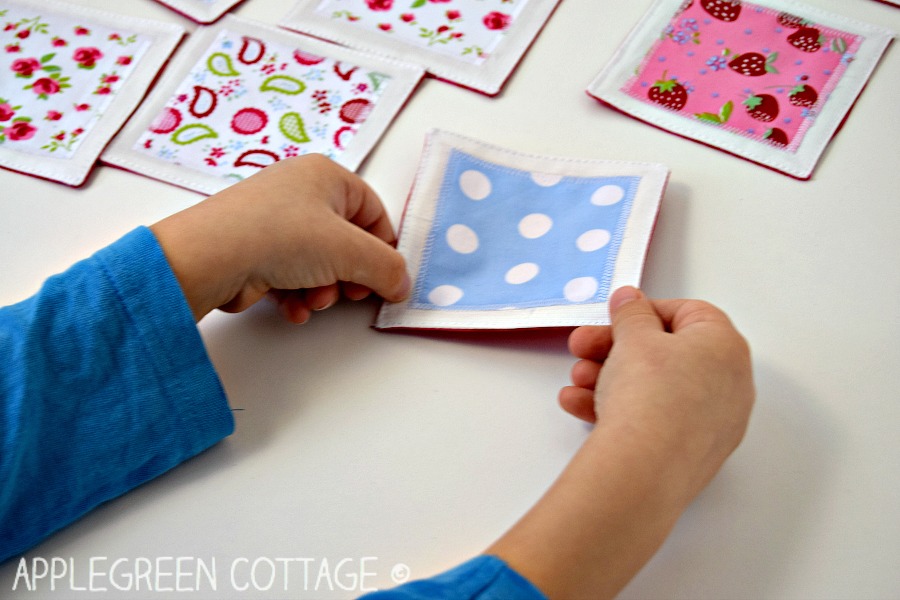
Step 3 - Design the card fronts
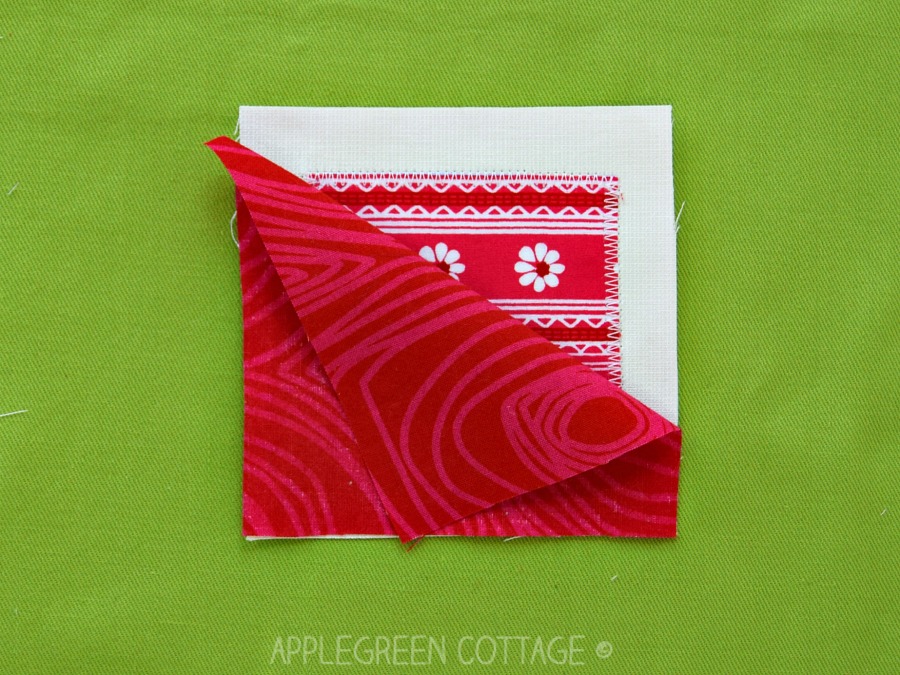
Let's start: place 1 piece of white background fabric on a flat surface, face-up. Center the small square of print cotton on it. Pin if you like, I didn't need to. The fabric layers didn't slide at all.

Sew around the small, centered fabric square to attach it to the white fabric, using a wide and quite dense zigzag stitch.
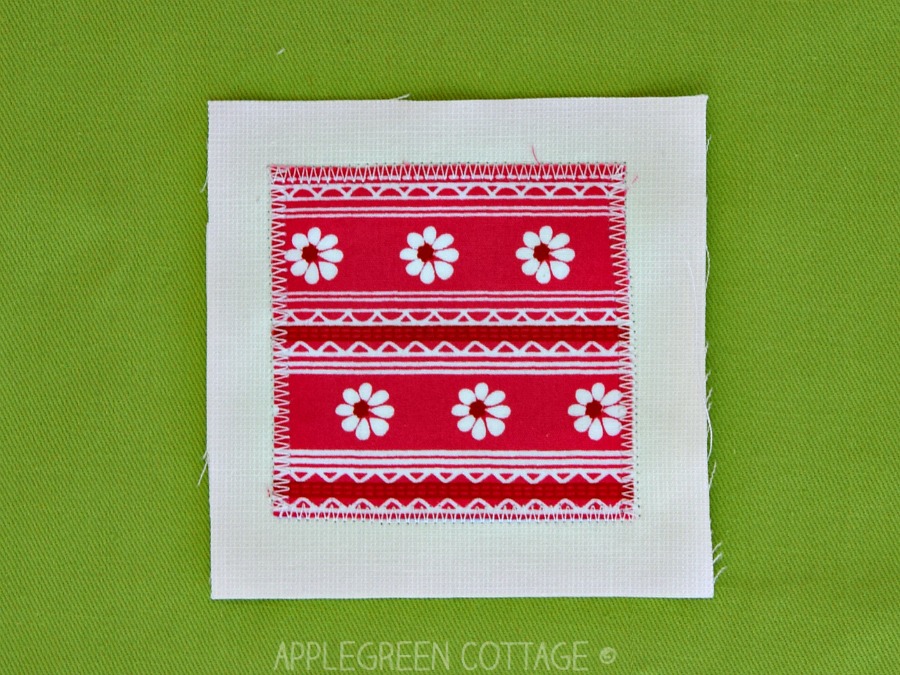
See these basic machine stitches if this is your first sewing project.
Go slowly, sew all the way around. At corners, just stop the machine, needle down, turn 90 degrees, then sew on.
Step 4 - Add the Backing
Place the front piece with the print right side up, and then the backing piece on it, so the right sides will be facing (=RST).
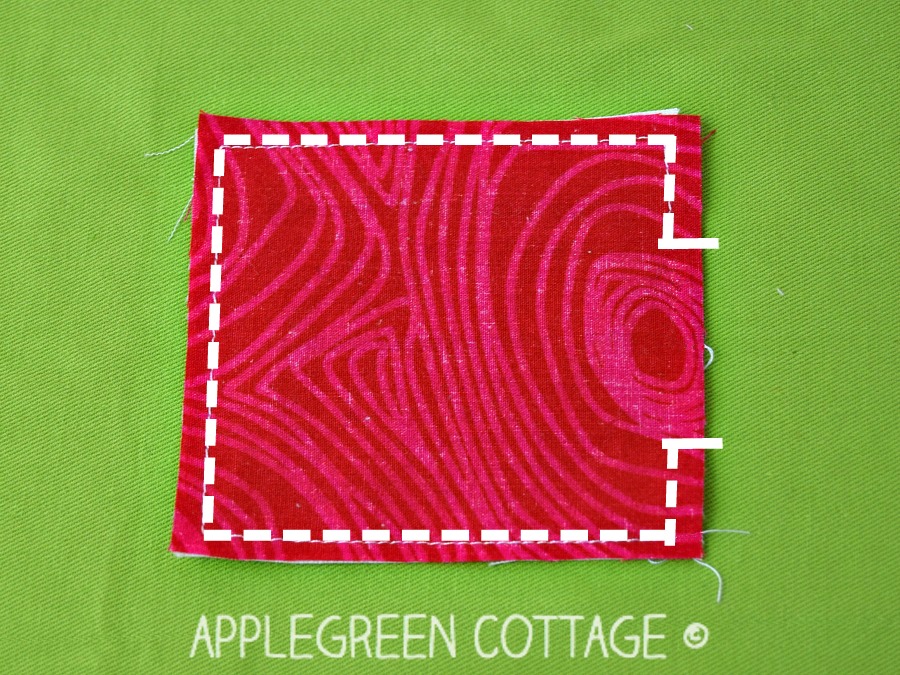
Sew around using a straight stitch, make sure to leave an opening for turning in the middle of one side.
Step 5 - Clip corners
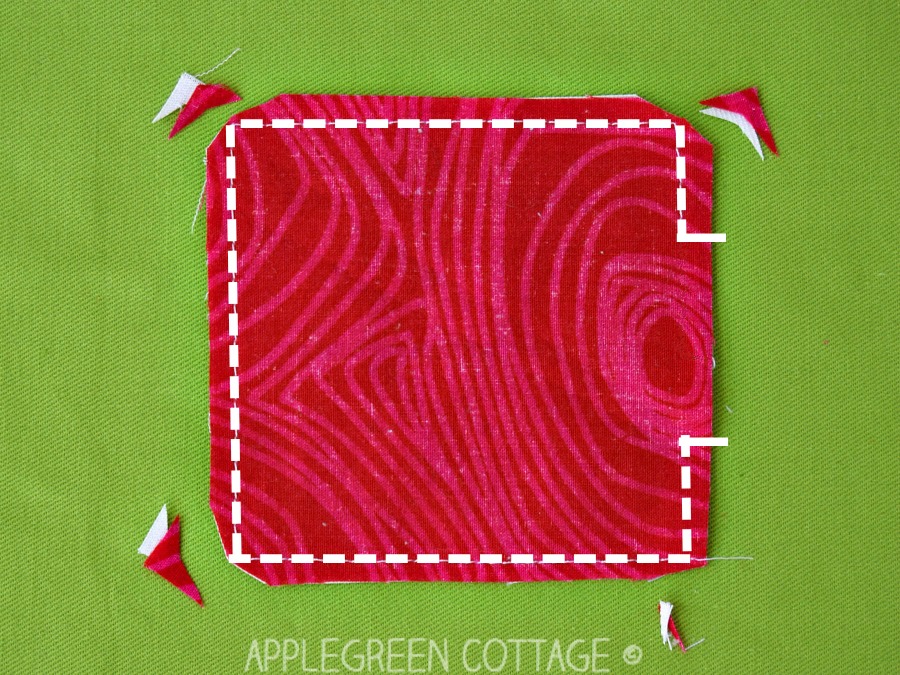
Clip the corners for a nice finish and to reduce the bulk.
Step 6 - Turn right side out
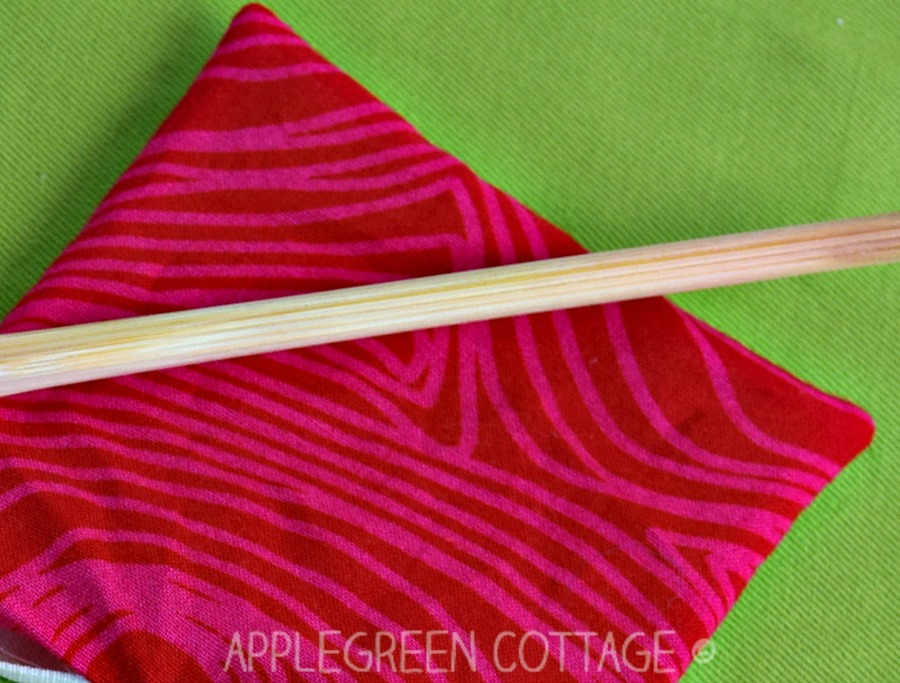
Turn right sides out. Push the tips out using a point turner tool or another non-sharp object like a knitting needle. I had a chopstick at hand, it did quite alright. Don't use anything sharp since it might make holes in your fabric.
Step 6- Press and edgestitch
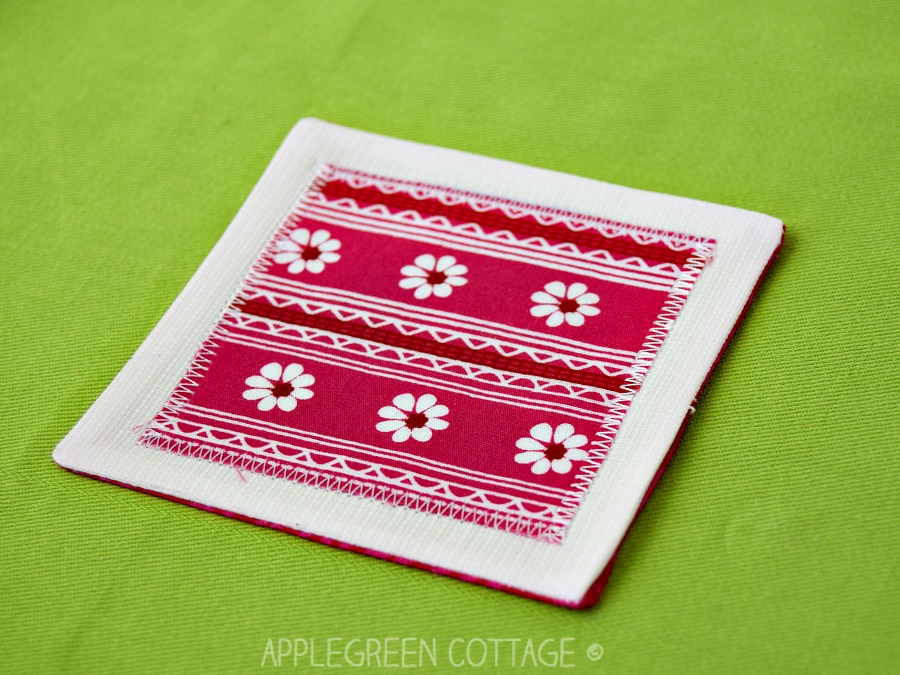
Press, then edgestitch around the 'card' to give it a more polished look, and to close the opening that had been left for turning.
Repeat for each piece, and you're done, You can make a larger set than the one I chose, of course. The finished size of each square will be a bit more than 3 inches.
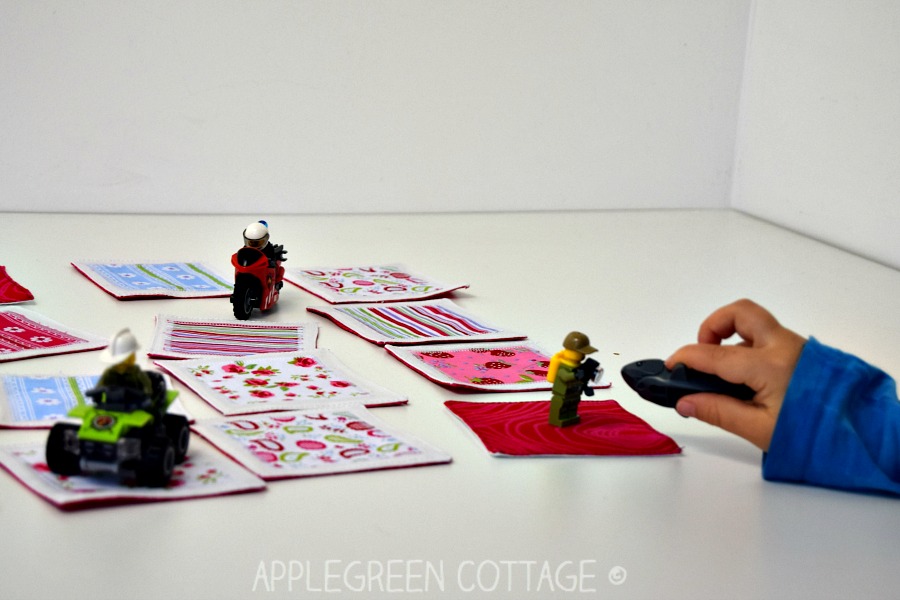
Playtime! Of course, we needed to try these out right away!
Why Are Memory Games Good?
Memory games are not just fun, they benefit the development of a child's brain too:
- it's an excellent fine motor skills exercise
- hand-eye coordination
- improve concentration
- train short-term memory
- increase attention to detail
- help toddlers grasp the object permanence
- if played with others, kids learn how to take turns (taking turns is a pretty hard concept to grasp if you're two years old!)
- and much more!
One thing more: this DIY toy is durable, unlike those cardboard matching games (I may have witnessed one paper-based memory game being totally taken apart and half-eaten by a toddler. Ooops! No more.)
How To Play Memory Game
How to play: you've got lots of options, depending on the development level of the child.
Match-Up Game.
Very suitable for small children. Set up a line of control cards (one card per each pair). The other piece of the pair is placed on a pile. The child takes a card from the pile and allocates it to the matching control card in the line, until all cards are matched.
Match Two Sets of Sorting Cards.
Single player, the child attempts to find a pair to each of the cards. can be played with all cards face-up, or face-down.
The Classic Memory Game.
1) Spread cards face-down on a flat surface so only the backing is visible.
2) Taking turns, flip two pieces over. If the cards match, the player keeps them and flips the next two over. If the cards don't match, they are turned face-down again and the next player takes his turn.
3) The person with the highest number of pairs is the winner.
Other Ways To Play With the Memory Game Cards
Imaginative play, welcome! The memory game pieces might at some point turn into something else, like landing pods or stepping stones for an entirely different game. Not part of the plan, but it was fun! My older kid was trying to explain the rules to me, but - alas - I either didn't grasp them or they kept changing too quickly for me.
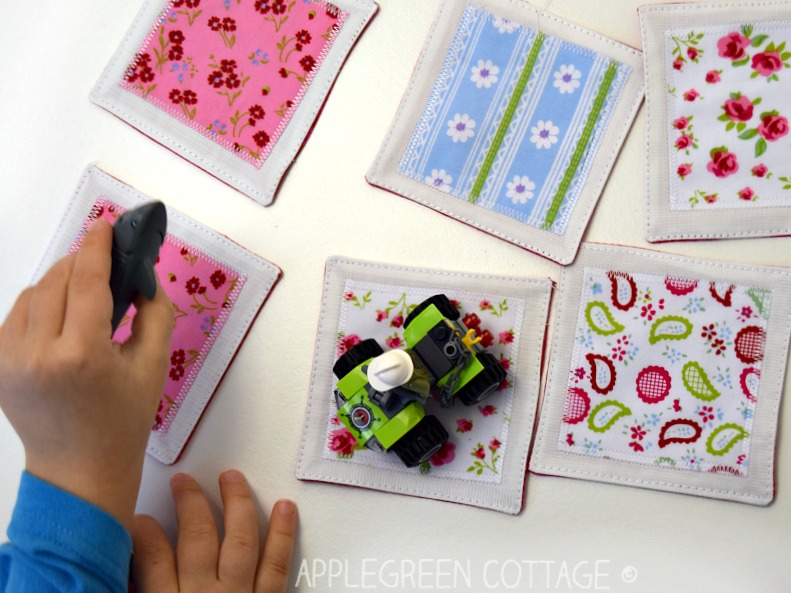
Yep, this might happen when you mix your love for floral fabric with the 4-yr old's love for Lego City bricks 🙂
Have fun making your own fabric memory game!
Pin For Later:
Want a printable copy of the whole tutorial?
Do you want an ad-free, printable copy of this online tutorial? Get it in our shop. Or get the whole →BUNDLE!
WANT MORE FREE TUTORIALS AND PATTERNS?
Get email updates and never miss out on new patterns, printables, and tutorials:

Or …check out the Mia Clutch pattern in our shop. One of my quickest and easiest pouch patterns, and it has a nice little folding hack you'll love!
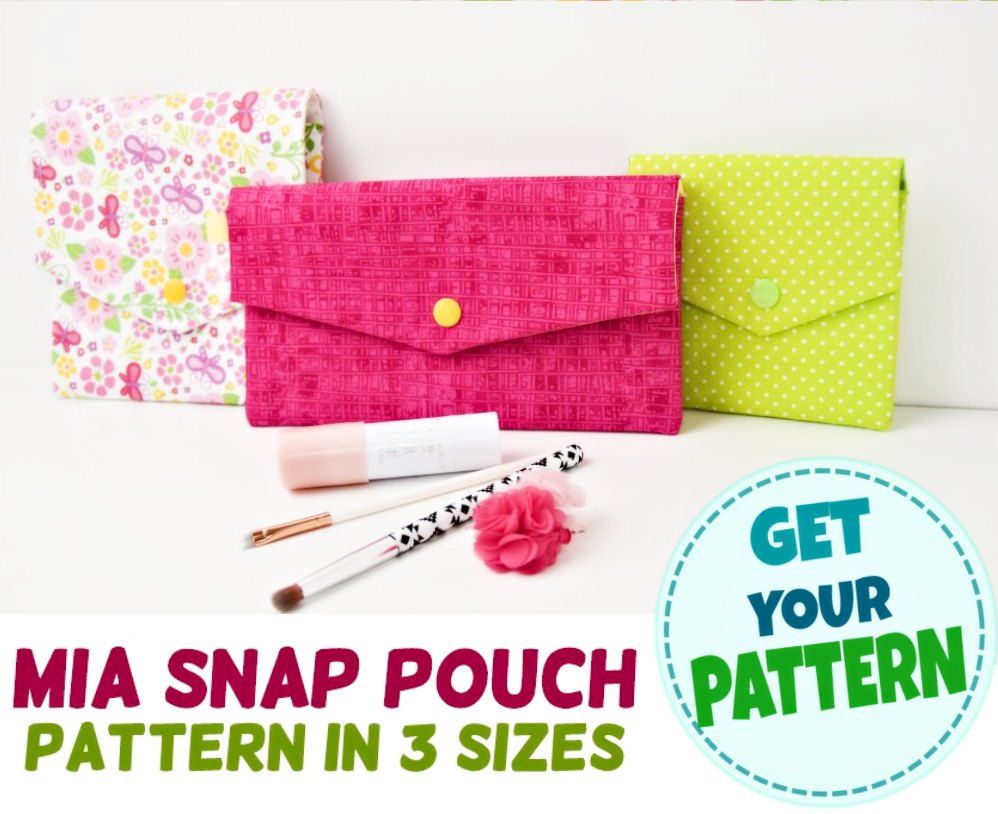
Beginner-friendly, no zippers at all.


Karen J says
This game would also be great for seniors with memory problems.
Lacey says
What is the ratio for making bigger 'cards'? I have some vintage ABC panel fabric I'd love to use, but the inner squares would be bigger than 2.5. More like 3.5. Is it the inner square plus 1.5" for the backing?
Barbra says
Thank you for this delightful fabric Memory Game free pattern and your written and visual tutorial directions. What a wonderful, useful, and hopefully passed-down game.
Damjana Jakos says
Barbra you're welcome!
Pat says
Jenny Doan showed a block where you take a larger square and a smaller square, place the larger square right side up and the smaller square right side up in the middle of the larger square. Fold the edges of the larger square over the smaller square and stitch with a 1/4" seam allowance. This encloses the raw edge of the smaller block. It's one of the MSQC tutorials but I don't recall the name.
Damjana Jakos says
Pat this is an excellent idea for anyone wanting to do a no-raw-edges set of memory game pieces. Thanks for sharing!
Laurie says
Well, this is just awesome and exactly what I needed for two grandchildren! So glad I found it! Funny how I never think of these things on my ow - not so funny, actually, but I have to SEE them! Thanks so much for this!
Sharon Tippitt says
I have made a set of the memory game. It was a lot of fun and I have been asked to make a set to sell. Have you ever sold one and if so what price did you put on it.
Marie Sykes says
As they accomplish the matching game ad a couple more pairs of cards!! Then in a bit add a couple more pairs of cards! Their brains will be growing more and more each time they go up a level!! have fun!!
Karen Lynn says
love this idea...I will make a matching bag/pouch to store them in...
Damjana says
Karen, a great idea. A set of this fidget toy in a diy bag would make a diy great gift for kids.
Aunt Mimi says
What a fun idea. This is perfect for my niece's 3 littles. Big sister & brothers can help them play. This is perfect for birthdays &/or Christmas. Thanks for sharing.
Shambavi says
Am planning to try this out asap. Love it.
Pam @Threading My Way says
Kids love memory games. They don't realise they are learning while playing. When my kids were young, I bought them lots of memory games - never thought to make one with scrap fabric. Clever idea! I've showcased your tutorial this weekend.