
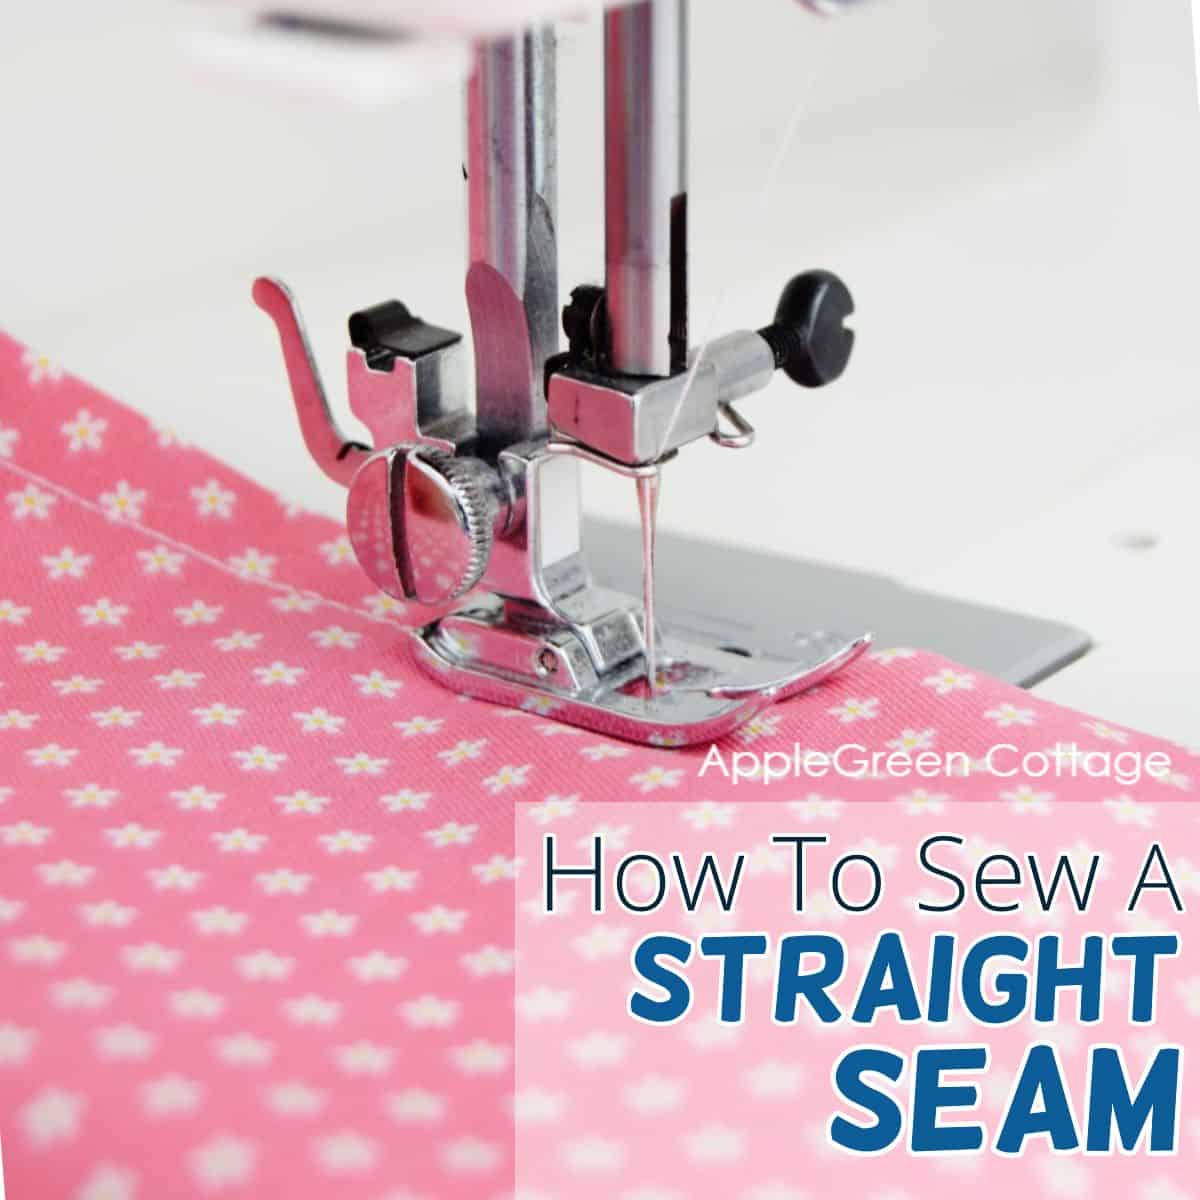
A novice sewer, looking to sew your first seam using your new or borrowed sewing machine? I can help! Let me show you how to sew a straight seam on your sewing machine, including our top 5 tips for sewing straight - things you must know if you sew.
This post contains affiliate links, at no cost to you. Thank you for your support.
Let's never forget where every single machine sewing project starts: with the first seam on a sewing machine. Today, we're showing you how to do just that.
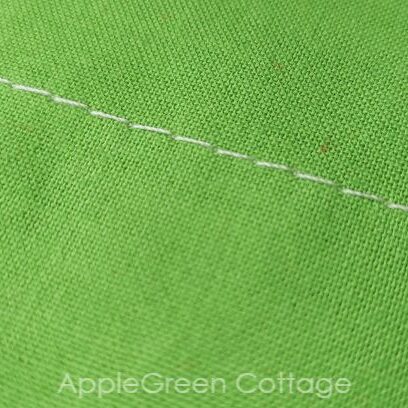
Straight stitch is the most widely used stitch on a sewing machine. We use it for basic stitching, basting, inserting zippers, topstitching, and more. Believe me, these are powerful. You can sew nearly everything just using a straight stitch!
Sewing a straight stitch - steps
Here are easy-to-follow steps to sew a seam using a straight stitch:
Step 1: Set up your machine
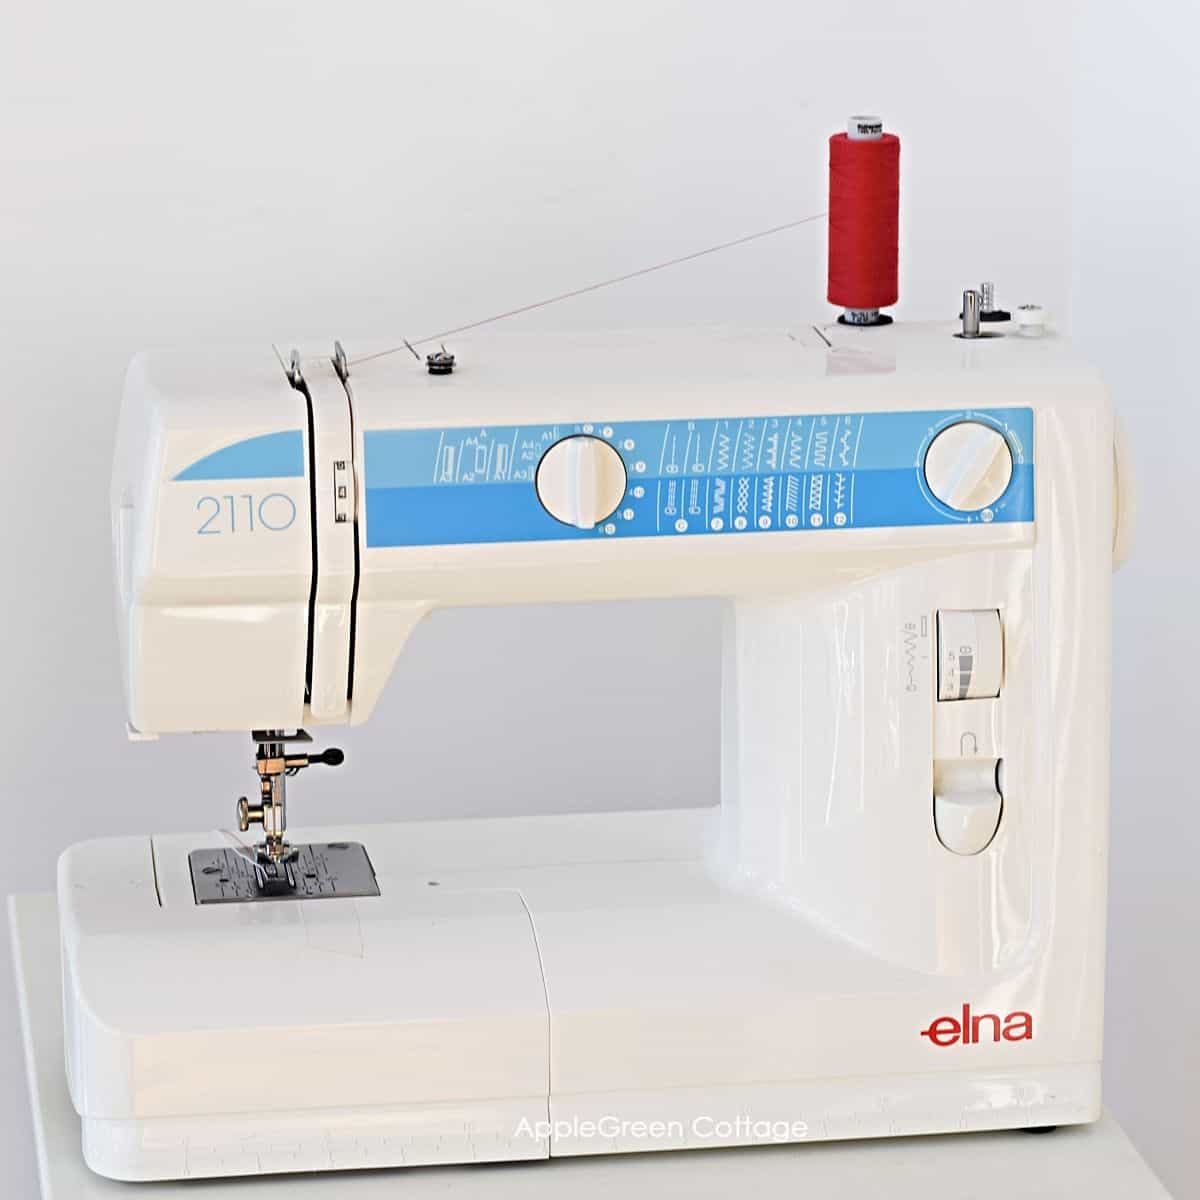
- Place your sewing machine on a table and plug it in.
- Turn it on.
- Make sure your machine is threaded: you'll need two - the top thread (one coming from the top thread spool) and the bobbin thread (the one coming out from the bobbin compartment under the sewing foot).
PRO TIP: Here's how to put thread into the sewing machine if yours is not threaded yet.
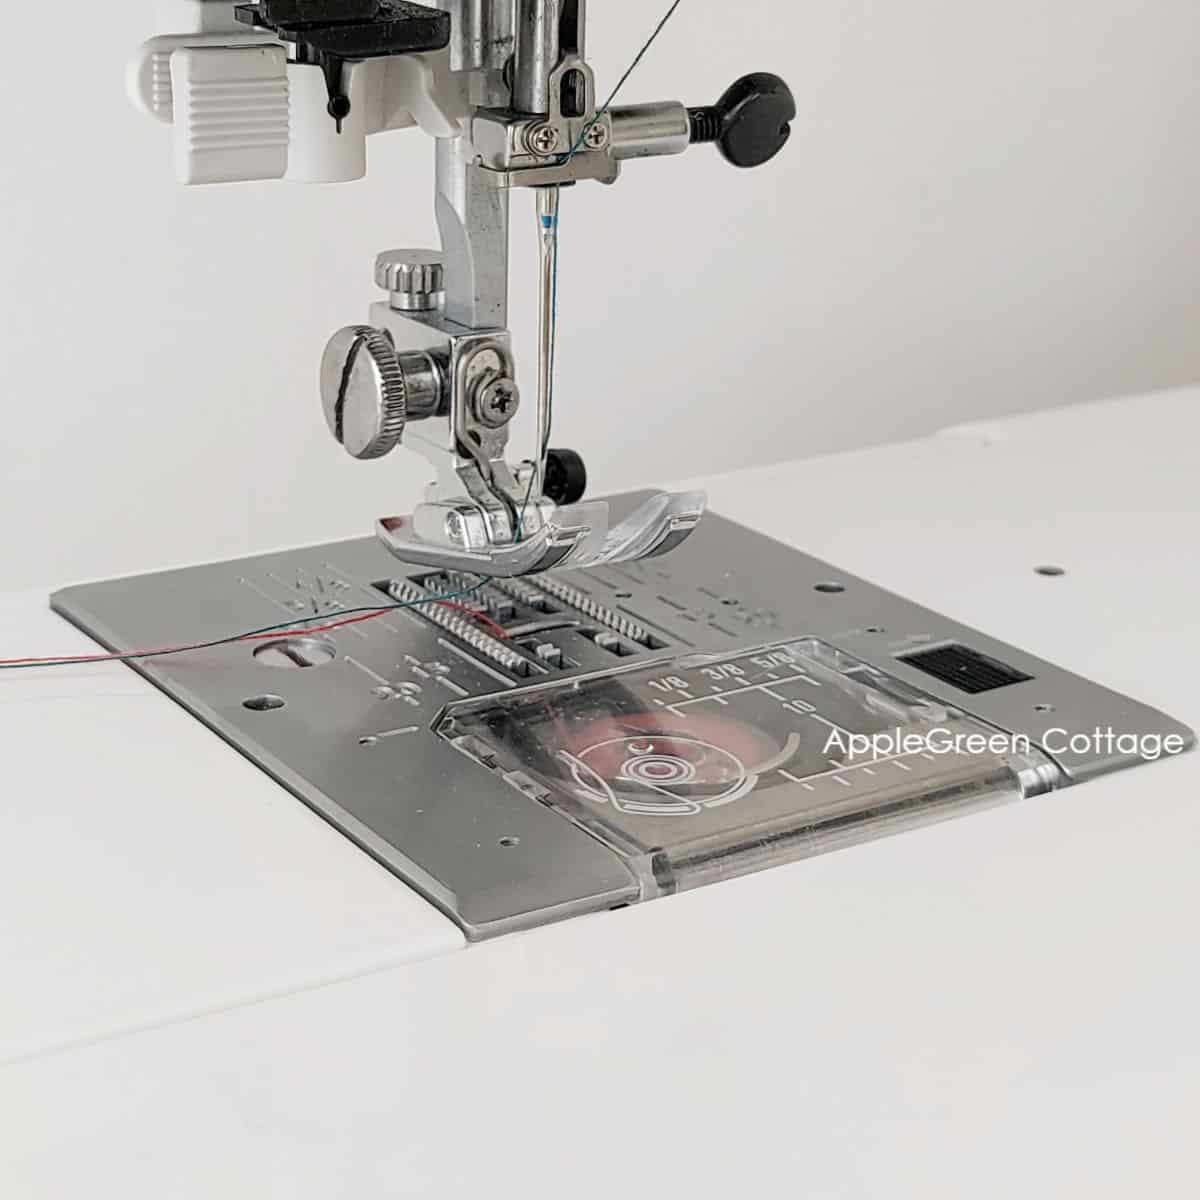
Step 2: Adjust the settings
- Set your machine to the straight stitch option.
- Adjust the stitch length dial to medium length - 3 mm is good for most fabrics.
- Turn the handwheel slightly towards you to bring the needle into the top position.
- Make sure the presser foot is raised.
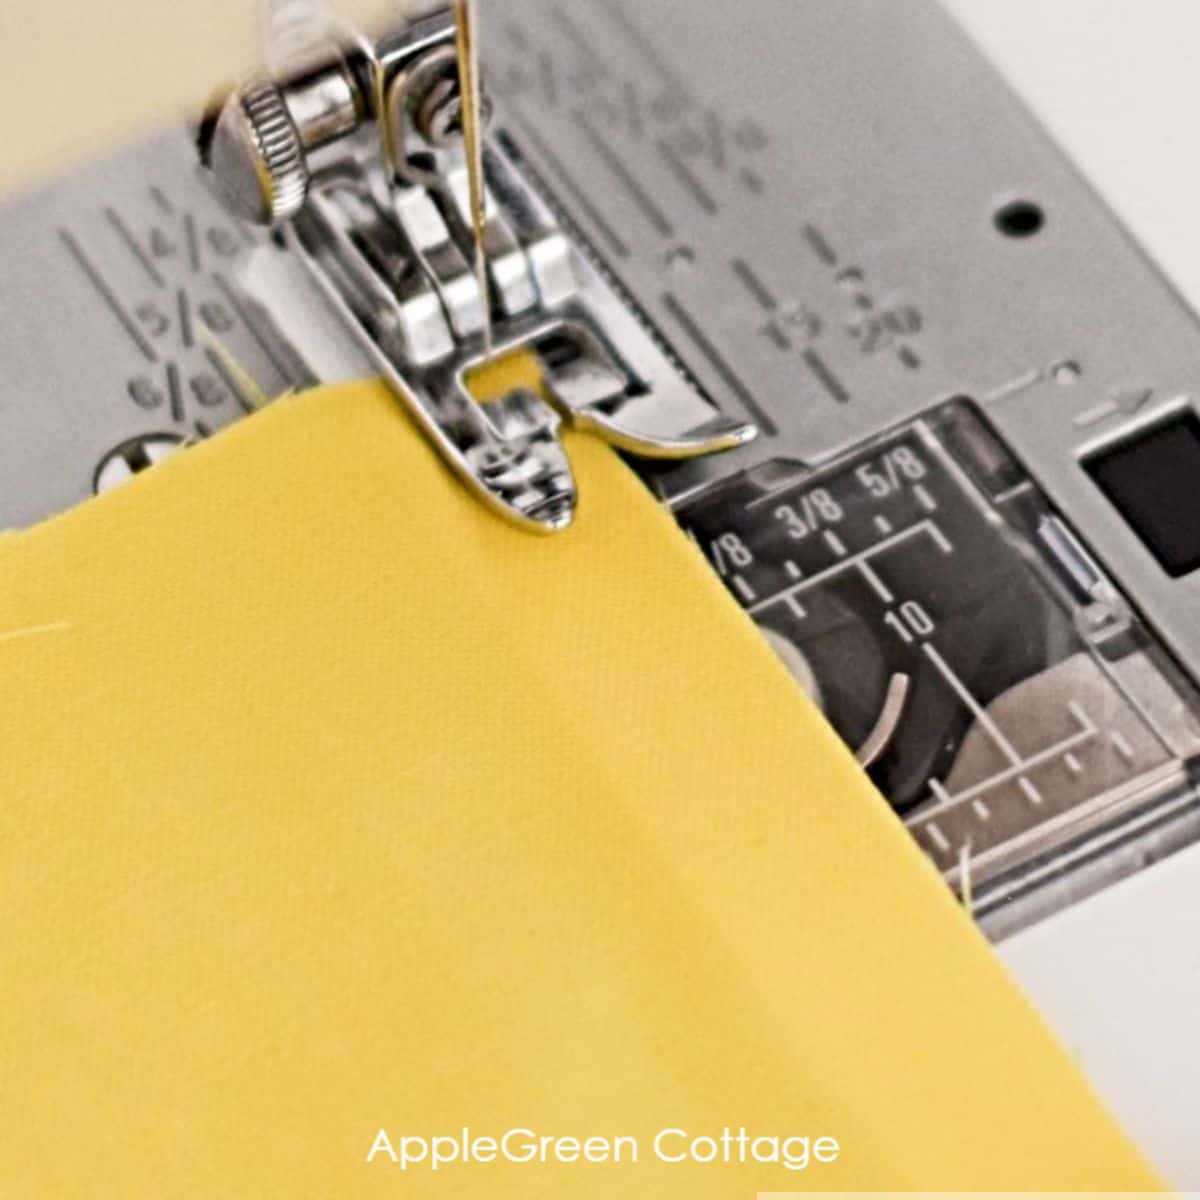
Step 3: Place the fabric
Place your fabric under the needle where you'd like to make your first line of stitches and lower the presser foot. This will keep the fabric in place as you sew.
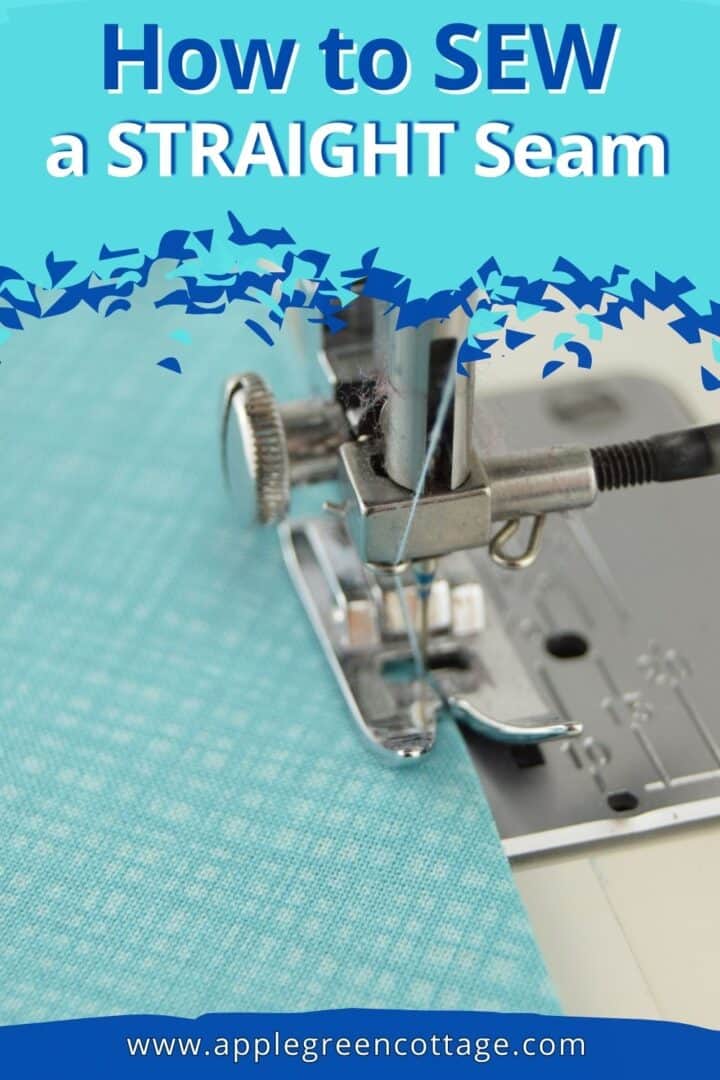
Step 4: Sew the straight stitch
- Gently press on the foot pedal to start sewing - gently! When you press the foot pedal, the needle will begin stitching. Your machine will automatically start pulling the fabric through to stitch it.
- Stitch 3-4 stitches forward, then push the backstitch button to backstitch a few stitches. It's also called tacking. This will secure the beginning of the seam.
- Continue sewing until you reach the end of the seam.
- When you reach the end of the seam, push the backstitch button to backstitch a few stitches. This will secure the thread.
Tip: Guide your fabric. While the fabric is fed through the machine, gently guide it with your hands to keep the fabric lined up with the seam allowance markings.
SEWING TIP
Love to sew but hate pins? 6 pin-free sewing tips you'll love: sewing without pins.
Step 5: Remove fabric from the sewing machine
- Lift the presser foot and bring the needle in the top position.
- To remove the fabric from the machine, slowly slide it away from the machine.
- Notice the thread (both top and bobbin thread) being slowly pulled from the machine as you are removing the fabric. Cut it off using scissors or the thread cutter (on the left side of your machine).
Congratulations, you have successfully sewn a straight stitch on your sewing machine! Remember to always practice and take your time when sewing to improve your skills. Also check out these learn-to-sew tutorials, too.
Tips For (Better) Sewing Straight Seams
You have set the machine to straight stitch. Did it all as instructed, but your sewing lines are still uneven, or crooked. You might ask yourself 'Why are my sewing lines not straight?'
What helps you to sew straight?
Stitching a straight line is a skill that comes with practice. Somewhat wobbly or crooked stitching lines are expected, we are not computers. My stitches are not perfect either, and I've been sewing for a long time. Having said that, I've learned a few shortcuts to make sewing straight easier.
So, here are my five super simple tips for sewing a straighter seam:
1 - Mark your seamline on the fabric
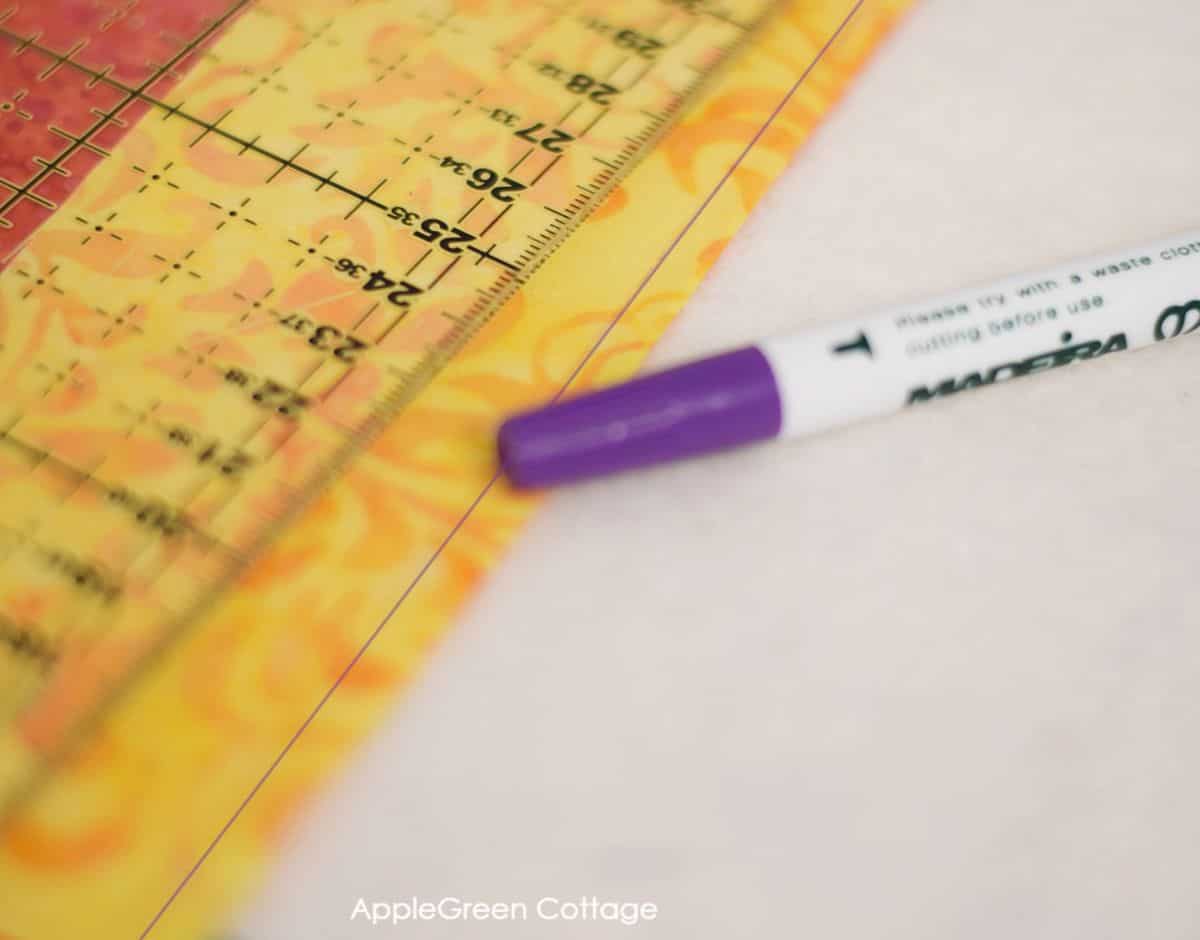
Use a ruler and a fabric marking pen (or tailor's chalk) to mark your seam line on the fabric. This will show you where to sew and help you keep the right seam allowance.
Don't want to make any marks on the fabric? Use the next tip instead:
2- Easy Seam Guide Hack
Use a rubber band around the needle plate on your sewing machine to make a seam allowance guide. Here's a video (if you don't see it, disable your ad blocker)
This is the easiest way to mark the seam allowance on your sewing machine, and it works on any machine, even my heavy duty domestic Janome. Nothing beats simple and easy!
3 - Or use masking tape instead
Got no rubber bands at hand? You surely have some masking tape. Place a strip of masking tape to the right of your presser foot, at the distance you need for your seam allowance.
There are several professional alternatives for that, too: you can purchase a magnetic seam guide, a metal piece that will stick to the needle plate on your sewing machine. And here's another handy straight-sewing tool, my quilting guide, this one came with my walking machine foot:
A quilting guide makes it easier to sew straight and to follow the previous seams, too. While I do not recommend it for sewing beginners, you can see how it works in this quilting tutorial. And yes, sometimes it feels like having a magic wand 🙂
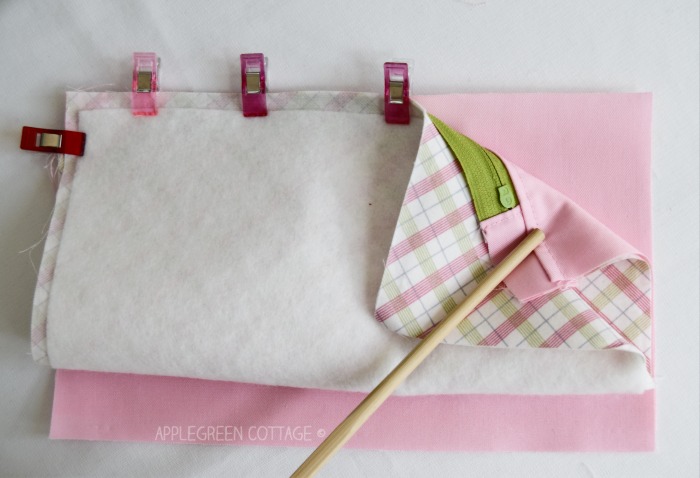
4 - Use Pins or Clips
Use straight pins to hold the fabric together. They will keep the fabric in place while you sew. But always make sure to remove the pins as you sew and avoid sewing over them, as this can break your needle. Pins are a must-have in other situations too, like here: how to pin pattern to fabric.
Sewing clips are my favorite alternative to straight pins. I use them like everywhere, they work like a charm!
5 - Sew Slowly
Sew slowly when starting out. It helps you control the fabric and keep your stitches straight. This means you just gently press on the foot pedal - this will give you a better feel for the machine, and you'll be able to focus on keeping your stitches straight.
And last but not least, practice on scraps of fabric: use some scrap fabric and practice sewing straight lines without worrying about making mistakes. Don't get discouraged if your first few attempts aren't perfect. Keep practicing and you'll get better over time!
Conclusion
After you've learned how to sew a straight line on a sewing machine, feel free to check out how to sew corners, or other basic sewing machine stitches - or see more of the basic sewing series:
WANT MORE FREE TUTORIALS AND PATTERNS?
Get email updates and never miss out on new patterns, printables, and tutorials:

Or …check out the Mia Clutch pattern in our shop. One of my quickest and easiest pouch patterns, and it has a nice little folding hack you'll love!
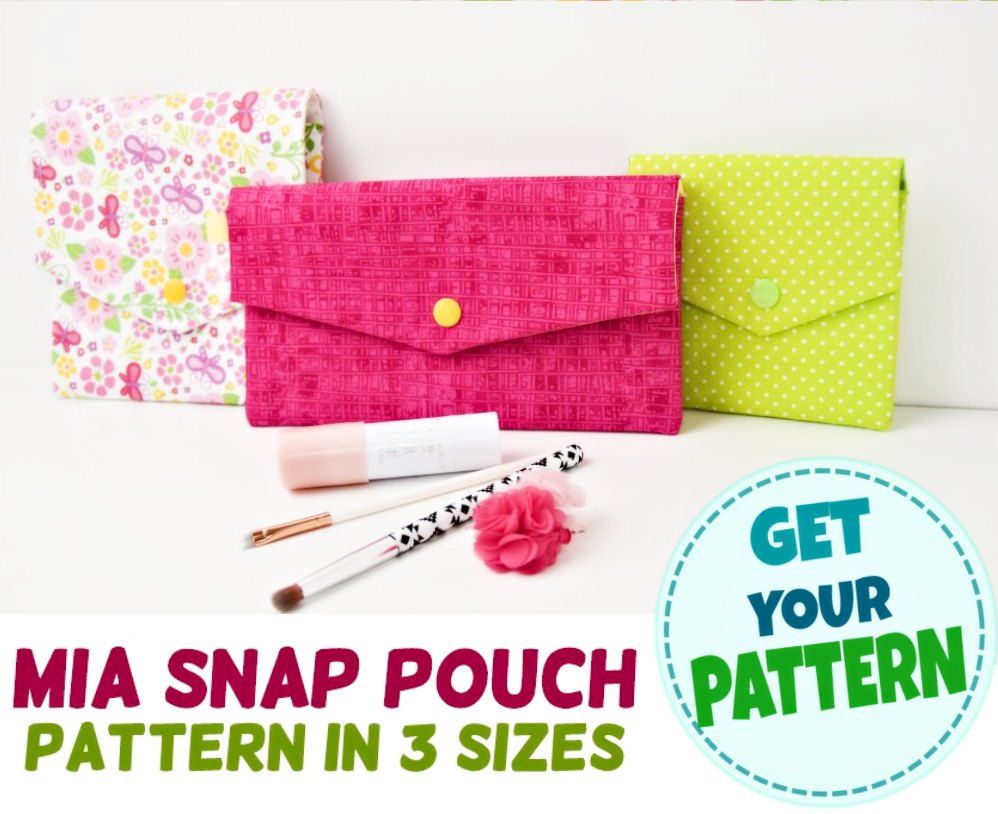
Beginner-friendly, no zippers at all.


Leave a Reply