

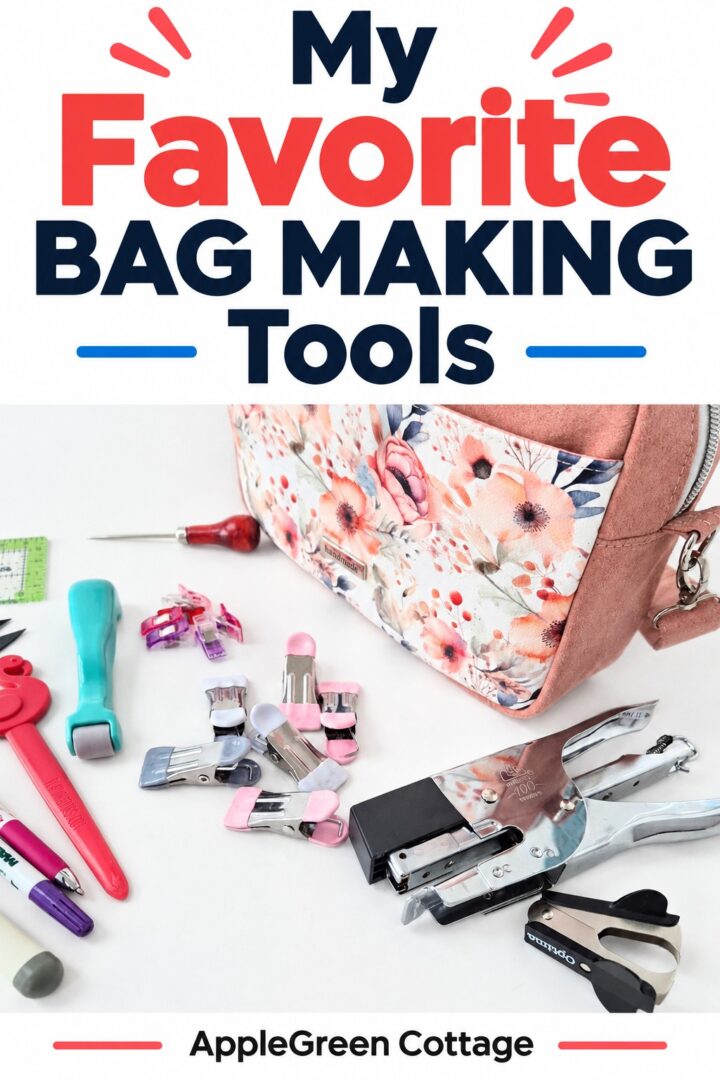
Here are my favorite bag making tools - from everyday sewing essentials to clever little lifesavers I wouldn't want to sew bags without!
I've grouped everything to make it easy to find what you need - whether you're sewing your first tote or tackling thicker fabrics, zippers, and bulky seams. New to bagmaking? I'll show you what you really need and what can wait. A seasoned bagmaker? I've got some handy extras for you, too!
New to bagmaking?
If you're new to this wonderful bagmaking world, check out all my bagmaking tutorials, or browse my beginner-friendly bag sewing patterns - there are lots of easy bags to choose from. Or better yet, THIS:
Table Of Contents
1- Bagmaking Tools I Can't Sew Without
OK, I'm gonna start with the two that are brilliant, easy to get, and I cannot live without. Ridiculously cheap but make the most difference!
Sewing Clips
I don't know how others feel but I can never work without these sewing clips:
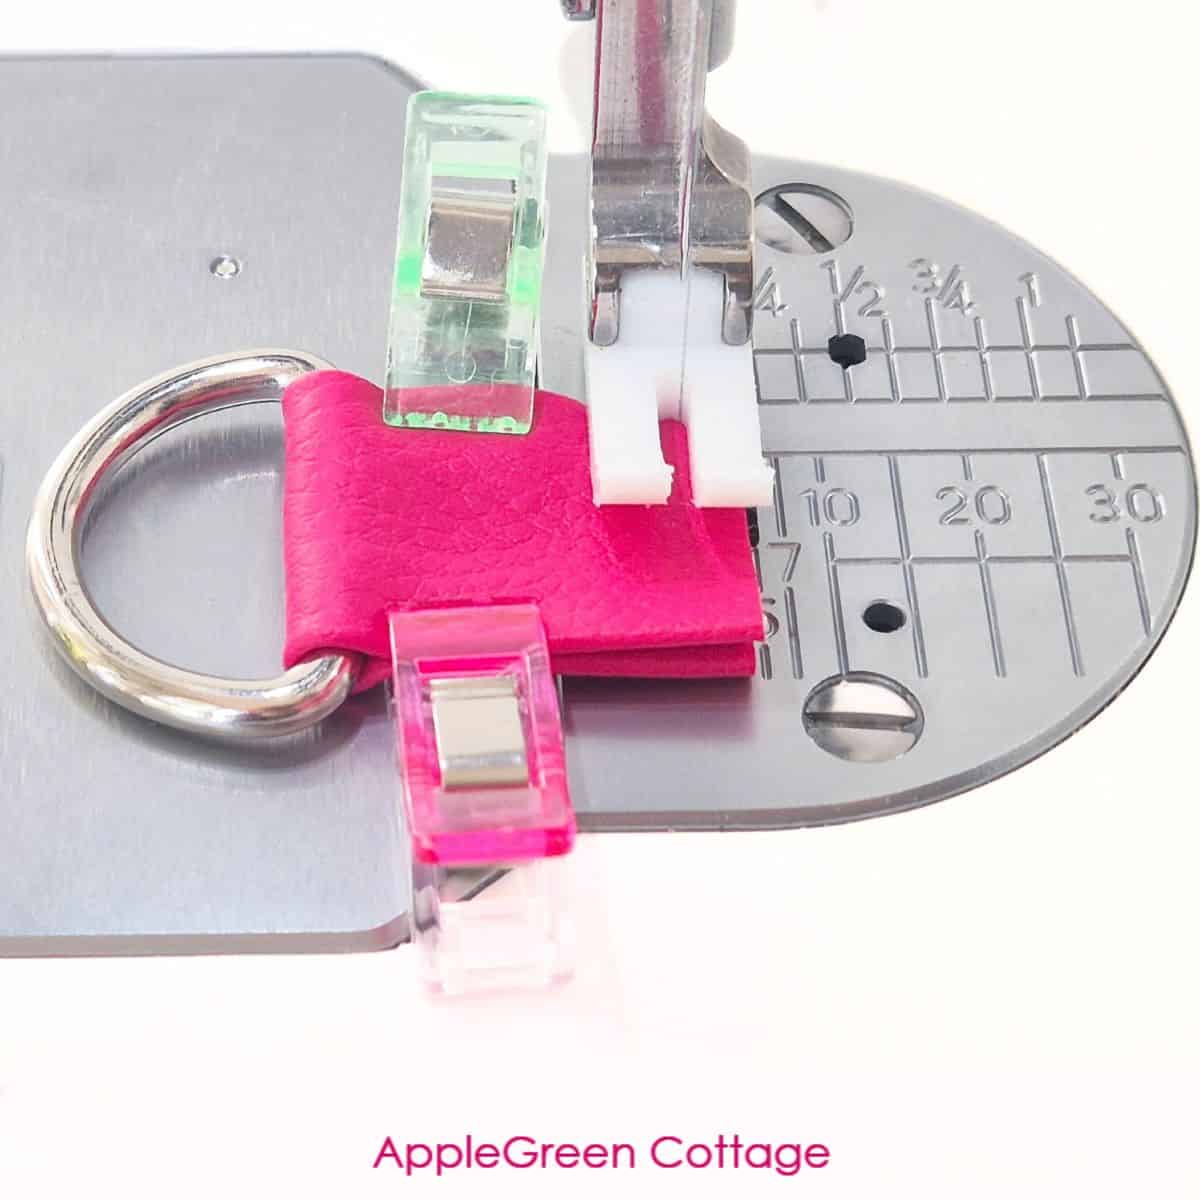
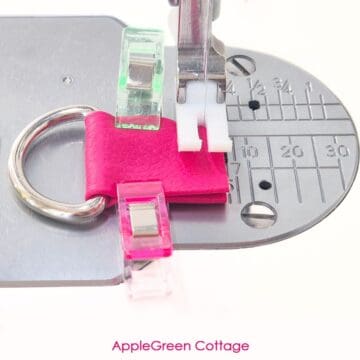
I use sewing clips all the time, especially for thicker layers, straps, vinyl, and faux leather. They hold everything in place without leaving pin holes.
And I recently I got me these new, sturdier clips for bagmaking for thicker, stiffer materials - strong grip, comfortable to use, and no slipping:
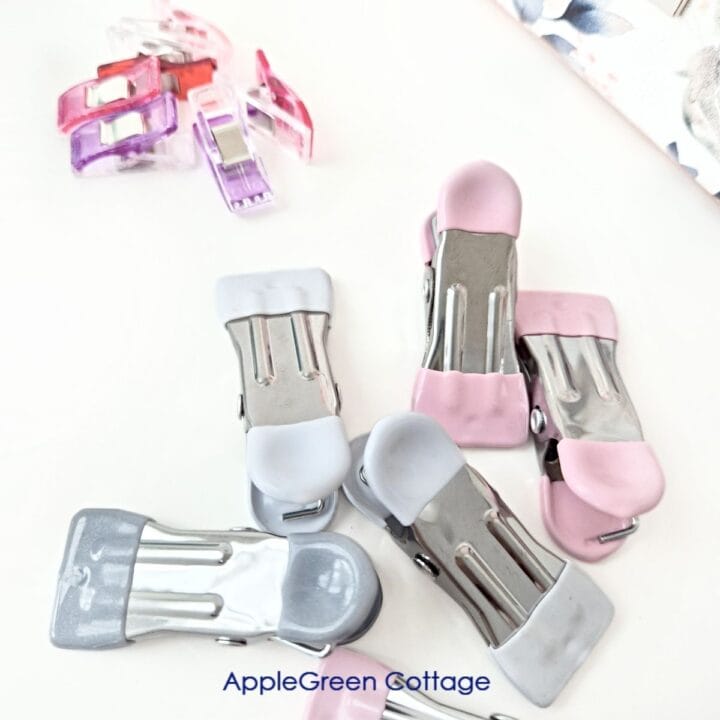
Sturdy Bagmaking Clips I love
Double-Sided Sewing Tape

Narrow sewing tape is brilliant for zippers, straps, faux leather, and small pieces that need to stay put. Just use tape made for sewing, not regular double-sided tape.
Larger NeedleS
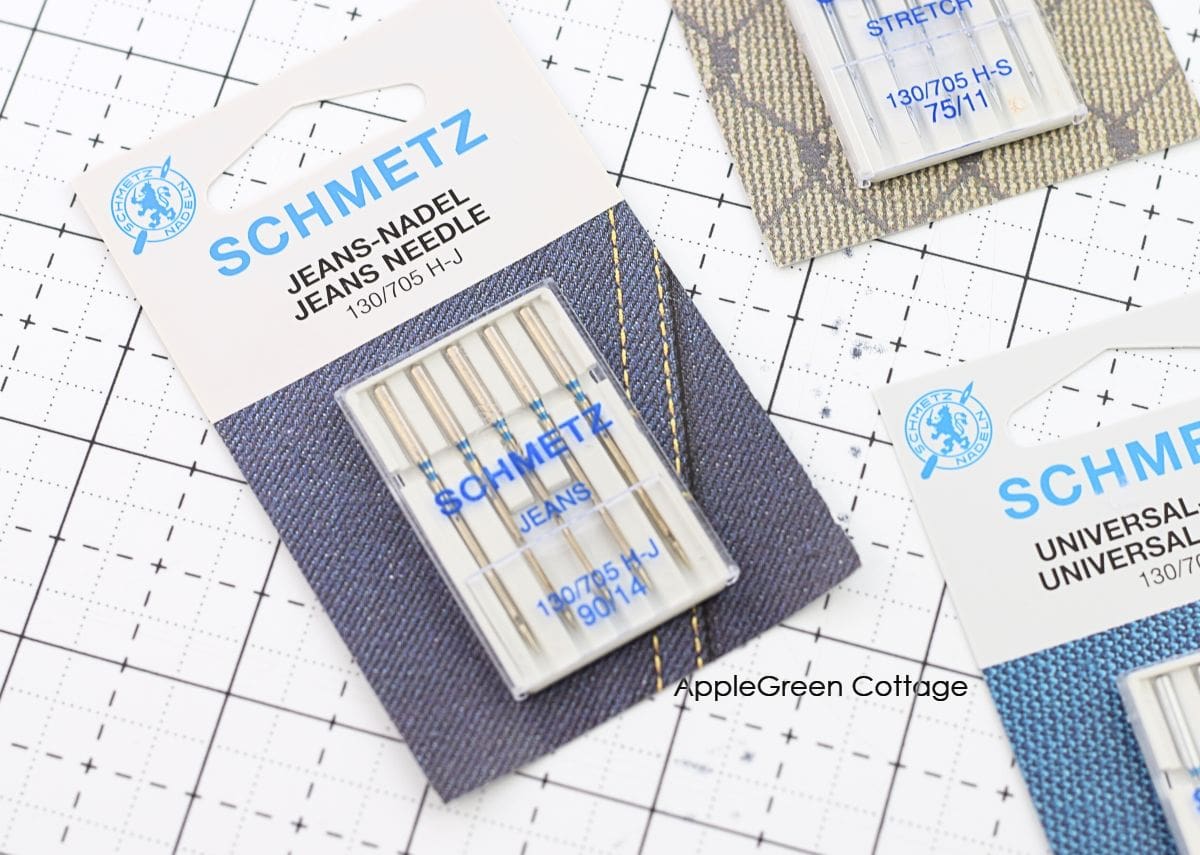
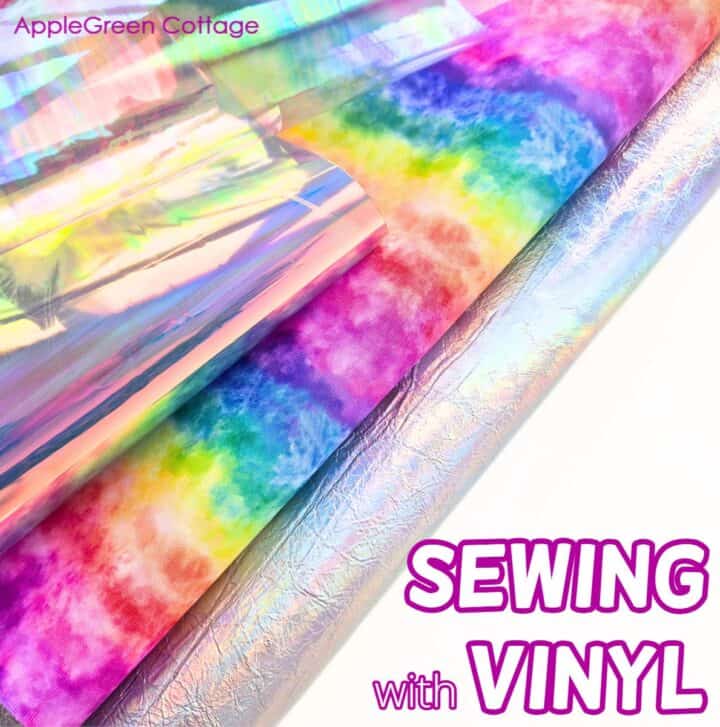
A larger needle helps thicker thread pass through vinyl without shredding and cuts down on skipped stitches. Many bagmakers like Microtex (sharp) or Jeans/Denim Schmetz needles for vinyl/faux leather. I use the latter; 90/14 Schmetz denim needle is my favorite brand and size for bagmaking.
Teflon Foot
Sewing wiht vinyl and faux? This foot will be a life-saver! It keeps your topstitching tidy and uniform - especially when you're still getting a grip on how to sew vinyl. Some faux leathers can be sticky too, some not. This one was in the middle:
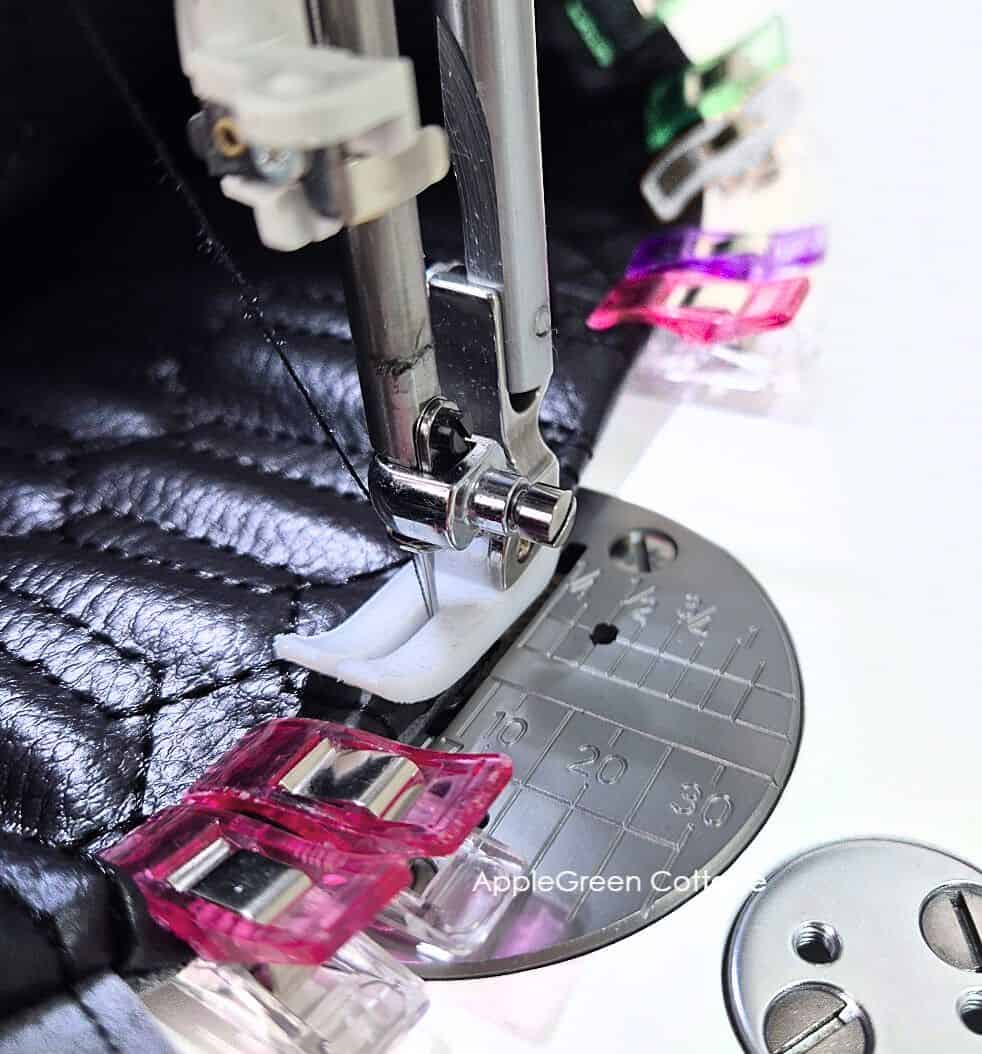
This is my Lumera pattern, and just for fun, I made the smallest version with a foam-backed, quilted faux leather - on my Janome HD9.
A Teflon foot helps sticky materials like vinyl and faux leather glide under the presser foot. On some domestic machines, a walking foot can work even better.
What Sewing machine?
One question I get all the time: Do I need a special machine for bagmaking? Nope! You can sew plenty of bags on a regular domestic machine - especially with patterns designed to keep bulk manageable. Start with the machine you have! Sew a few totes (try my free Market Tote pattern). If you already have a sturdier machine, it's ok but not necessary. Here are some heavy-duty home sewing machines I've compared.
But, once you know you love bagmaking? Go straight for THIS one! ↓↓
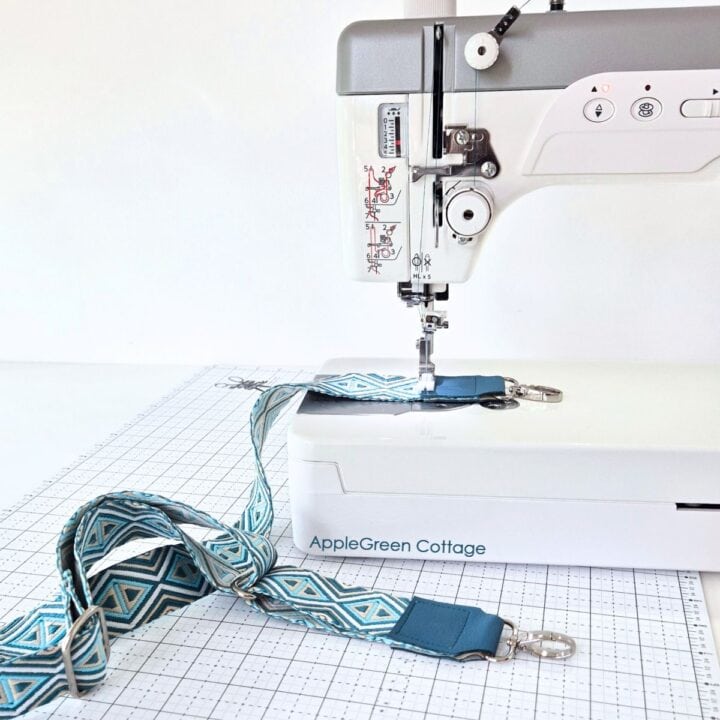
Is Janome HD9 for you?
The pros, cons & must-knows.
Next, two funny little tools I always keep on my bagmaking worktable!
2- Everyday Sewing Tools You Already Have
Iron and ironing board
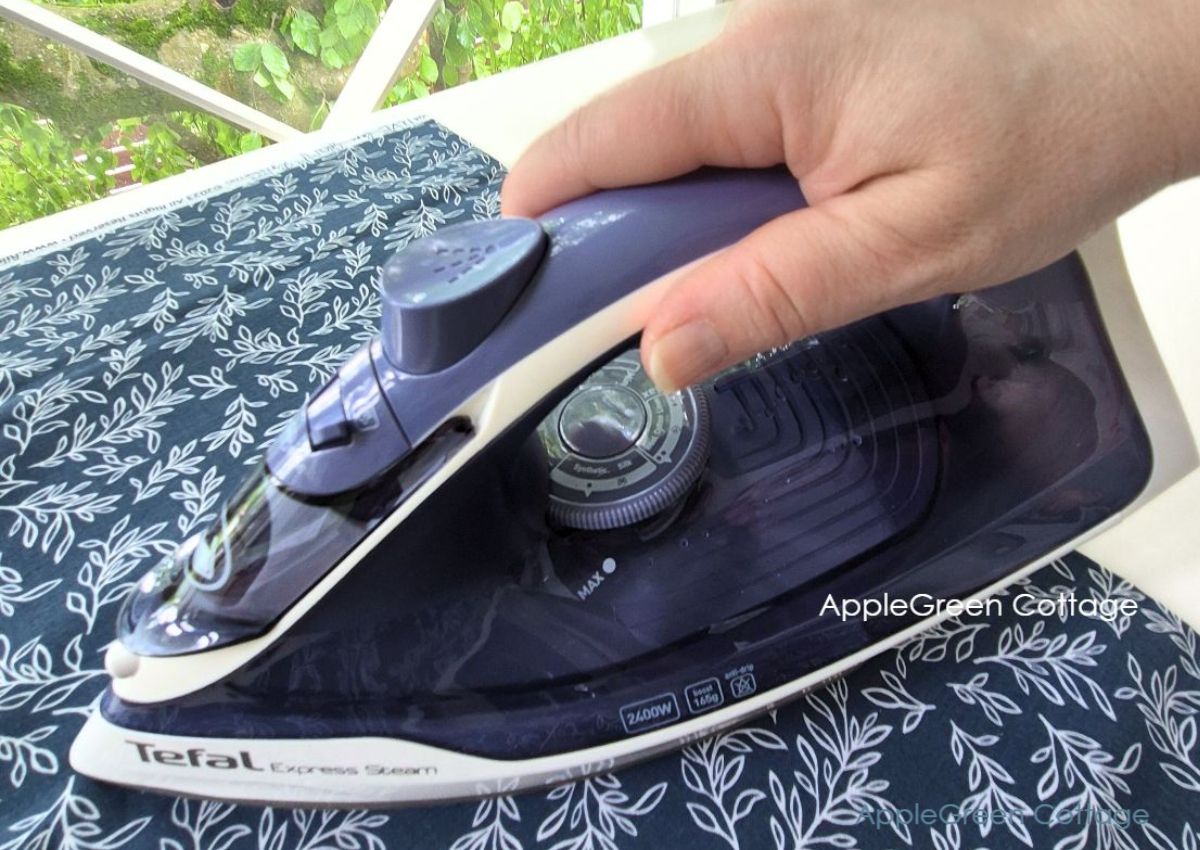
Pressing makes a huge difference in bagmaking! A regular ironing board and a household iron is all you need. I've used this budget-friendly T-Fal for years. Here's a similar T-Fal steam iron - with a handy retractable cord!
Short on space? Make a small pressing mat.
Rotary Cutter and a Cutting Mat
A 45 mm rotary cutter and self-healing cutting mat are excellent tools for cutting straight lines and curves with precision. I love my Olfa cutters; just keep a few replacement blades handy so you always get a clean cut.
TOP TIP: Get a few good replacement blades for your rotary cutter (Amazon) when shopping for your rotary cutter.
Acrylic Ruler
This 6" x 24" ruler is one of the most useful sizes for bagmaking - perfect for straps, pockets, interfacing, and rectangular panels. I also have a small square set that is perfect to square up scrap pieces of fabric - that's a lovely 'extra' to have - it's in the nice-to-have section below.
Related Posts

Fabric scissors
Sharp fabric scissors are a must for cutting quilt blocks and trimming seams. Look for comfy grips and precise blades, and use your pair just for fabric. These popular Fiskars classics will do the job just perfectly. For top precision with small cuts, get these Westcott small scissors.
Seam ripper
Every quilter needs a seam ripper to fix mistakes quickly. Here's my favorite:

Look for M/L size for this 'Cindy's Seam Ripper' on Amazon.
3- Clever Little Tools for Bagmaking
Once you've made a bag or two, you'll start noticing where a small tool could save you a lot of frustration. These aren't essentials for your very first bag - but they're some of the bagmaking tools I find especially useful. A few clever tools for tricky bagmaking steps:
Zipper Jig
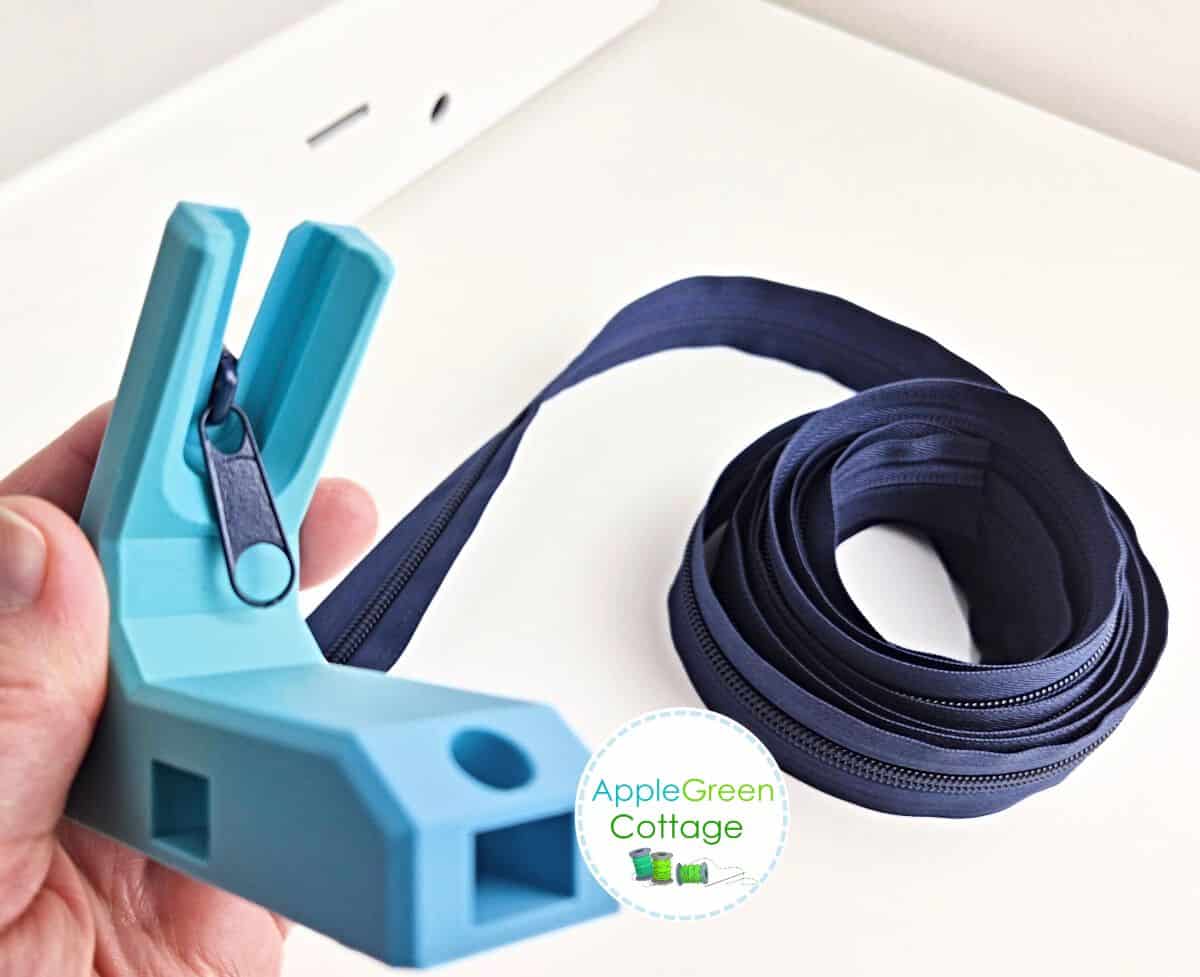
If you use zipper tape by the yard, my zipper jig makes adding sliders much easier. Not essential - but very useful once zipper bags become a regular thing.
Hump Jumper
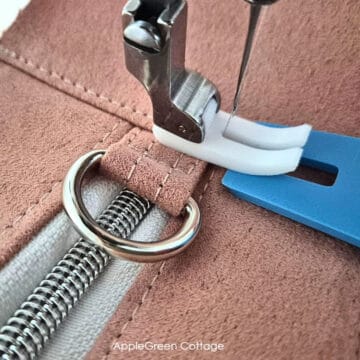
A hump jumper keeps the presser foot level when you sew over bulky seams, helping prevent tiny or skipped stitches. I use it all the time!
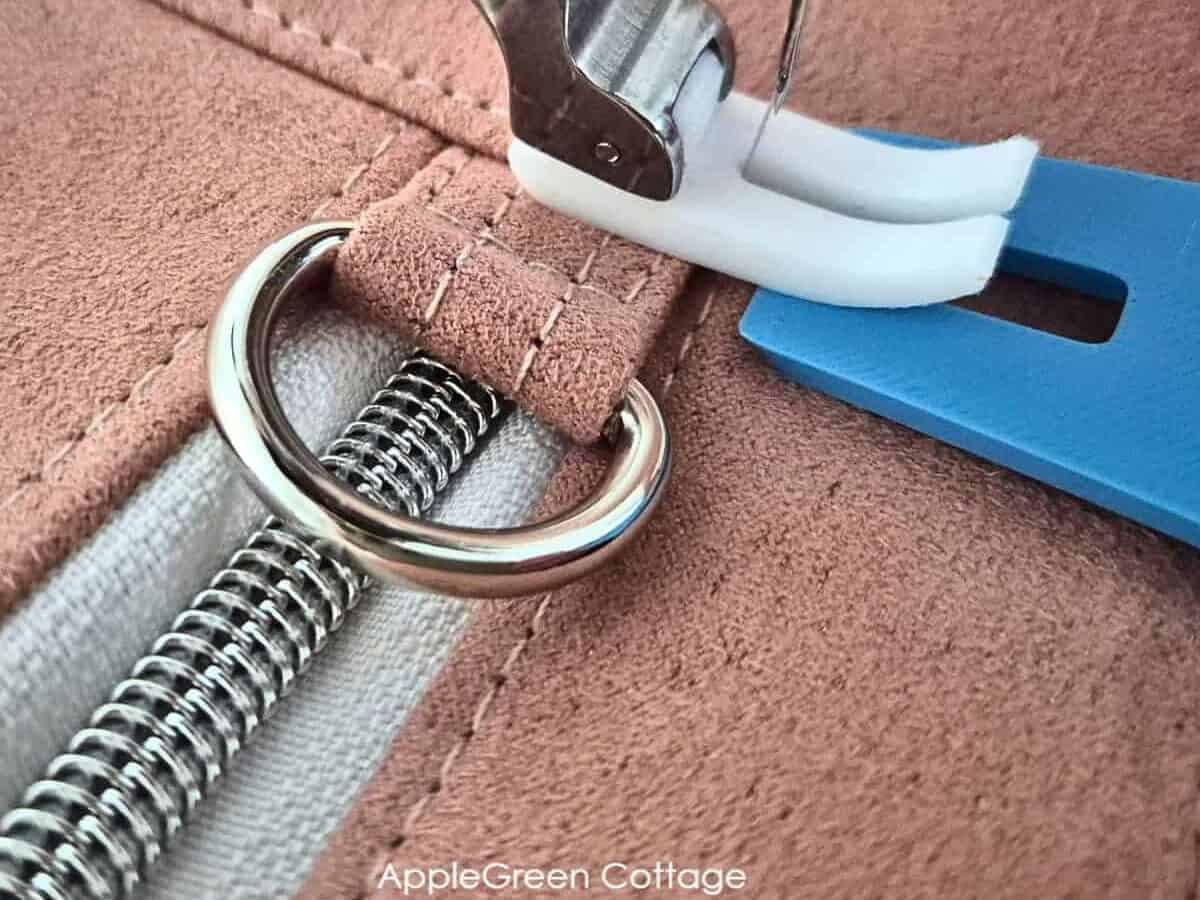
I had mine 3D printed, but you can buy yours if you want to. Such a handy, inexpensive tool - see more about it in the tutorial on how to reduce bulk when sewing bags.
Awl - Stilletto
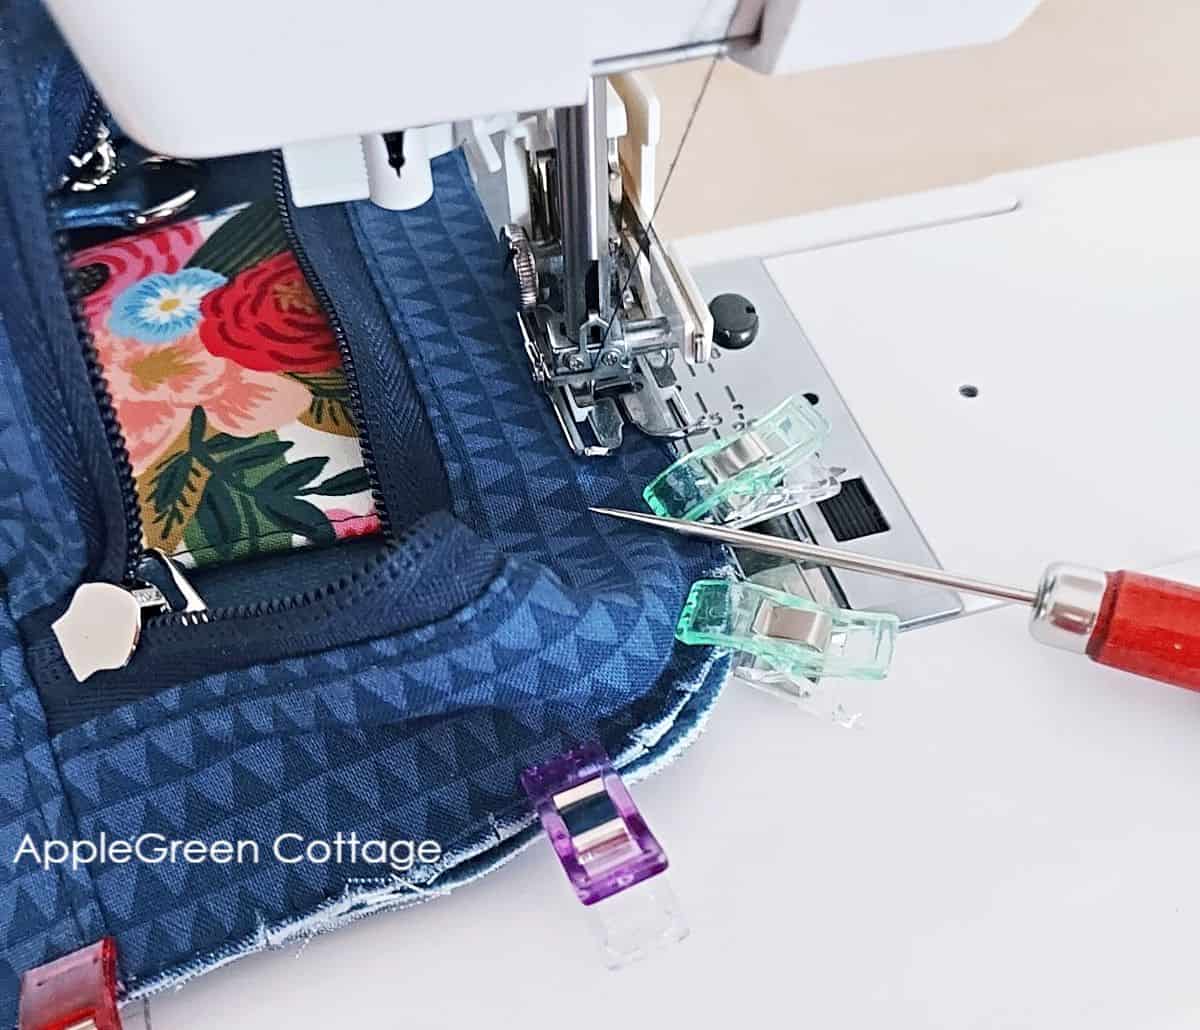
TIP: A simple awl, or a stiletto is very helpful for keeping layers in place as you sew, without getting your fingers too close to the needle. (here: sewing the gusset on the MetroLoop Sling bag)
A Stapler!
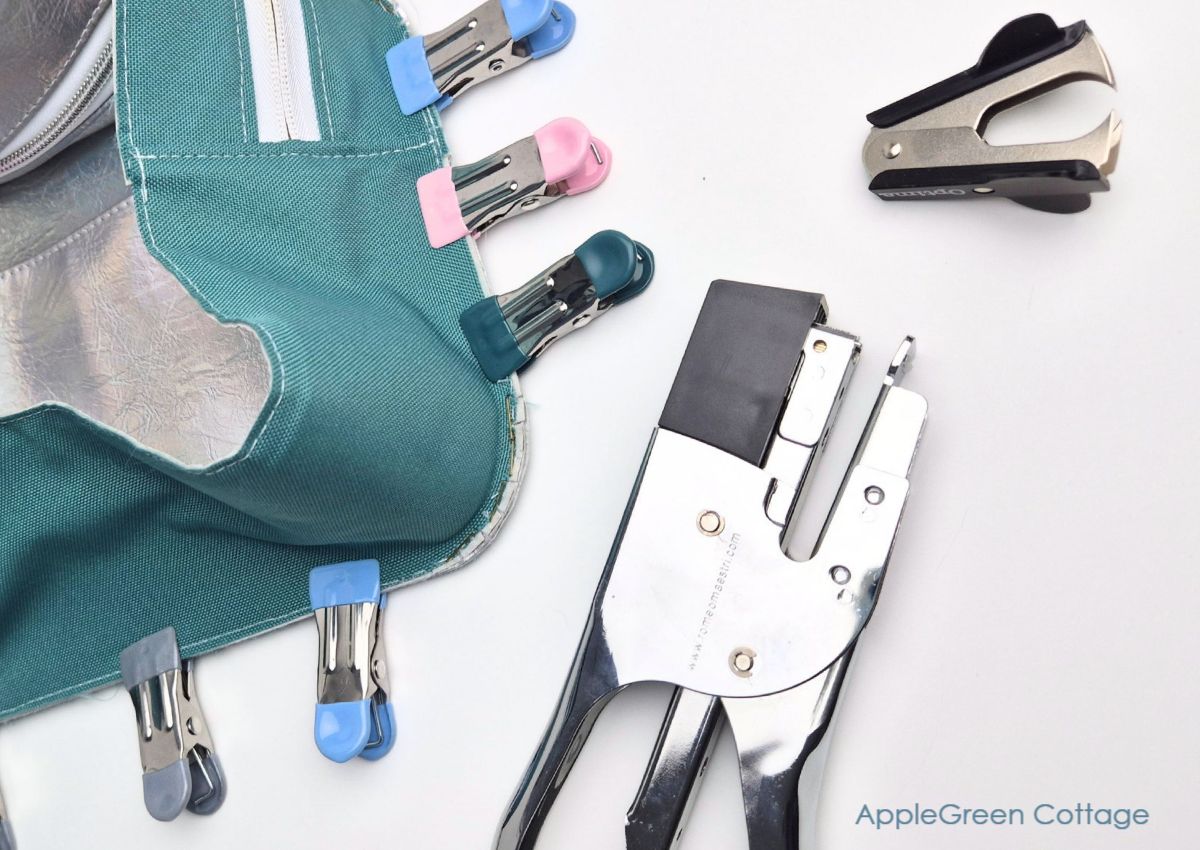
Working with thick vinyl or stiff bagmaking materials? A stapler can be a lifesaver when sewing a gusset like this one on the CEETY Bag! Staple right at the outer edge of the fabric, where the material ends, to hold the layers together. Sew as usual, then trim away the staples with the excess seam allowance - or use a staple remover (Amazon) like the one in the photo.
Important: Always, always keep the staples as far away from the seamline as possible, to prevent hitting them with the needle! Staple right at the edge of your material.
A Hairdryer!
When sewing with vinyls, turning can be a bit of a pain. Add gentle heat and your vinyl will soften - tadaa! Way easier to turn your finished bag!
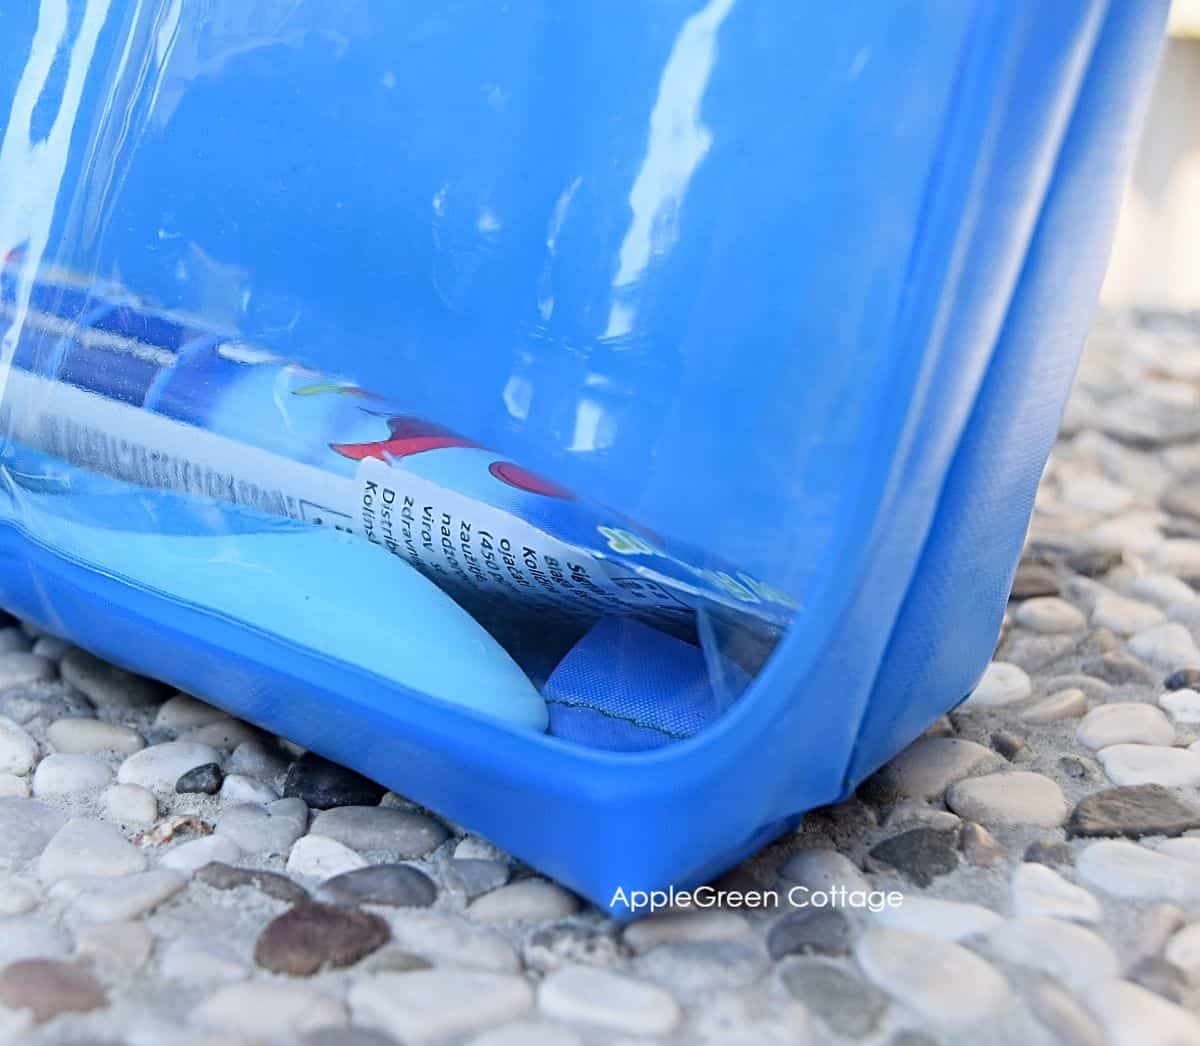
A quick pass with a hairdryer warms vinyl just enough to make it more pliable. It helps with turning bags right-side out and smoothing seams flat. A hairdryer is a life-saver for me when sewing with transparent vinyl like this toiletry pouch tutorial ↓
Point turner
My favorite tool for turning the bag right side out? This adorable flamingo point turner. Thin enough to fit the corners and does not poke any holes into my finished bags. Or use a chapstick, as simple as that!
Erasable Fabric Marker
You'll find them under the Dritz, Clover, Singer brands - all reliable and good. Erasable fabric markers come as heat-erasable pens, water erasable markers, and air-erasable markers. (I only use Friction pen outside the seam allowance - in a cold environment, like in a car in the winter, the lines would reappear!)
Special Rulers
While you probably know the Stripology ruler set, my personal favorites are the Cute Cuts sets by Lori Holt. Amazing for squaring up my quilt blocks, and probably my most-used is the 6 ½" Trim-It. Good alternatives: Omnigrip (get it on Amazon)
Small embroidery scissors
Small embroidery scissors keep your work neat and tidy. They make it easy to trim threads precisely without damaging your fabric. Get a pair of small snips at Amazon or your local store.
Tailor's Clapper
It's the perfect tool to flatten seams when folded! Here's mine:

My Quilter's Clapper (Thank you Santa!) makes a huge (huge!) difference for when I use cotton on my bags: these recessed zipper panels get super flat! (here: sewing the recessed zipper panel on my Sirina Bag)
A seam rollER
For all the vinyls, faux, and for waterproof canvas - when you can't press the seam, you can roll it flat! If your fabrics don't like heat, use a seam roller instead. These little tools are so handy when you're working with waterproof canvas or waxed canvas!
4- Bagmaking Supplies - Fabric, Thread and Interfacing
Last but not least, let me mention not just tools, but also these: fabric, thread, and stabilizers/interfacing.
Interfacing And Stabilizers
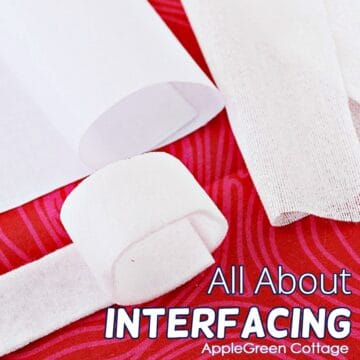
Interfacing gives your bag support and structure. Buy only what your current pattern calls for - don't grab just everything. → See my Beginner's Guide to Interfacing
Interfacing changes everything. Too soft, and the bag may feel floppy. Too heavy, and the seams may become bulky or hard to sew.
The right combination depends on the bag, the fabric, the shape you want, and the parts you are stabilizing.
PolyEster thread
By all means, polyester thread because it holds up well to everyday use. A few good neutral colors are plenty to get started. The grey-ish ones work with everything! Start with those neutrals and work from there. (I also use up a lot of teal, but that's because of my color choices.)
Heavier Thread for topstitching
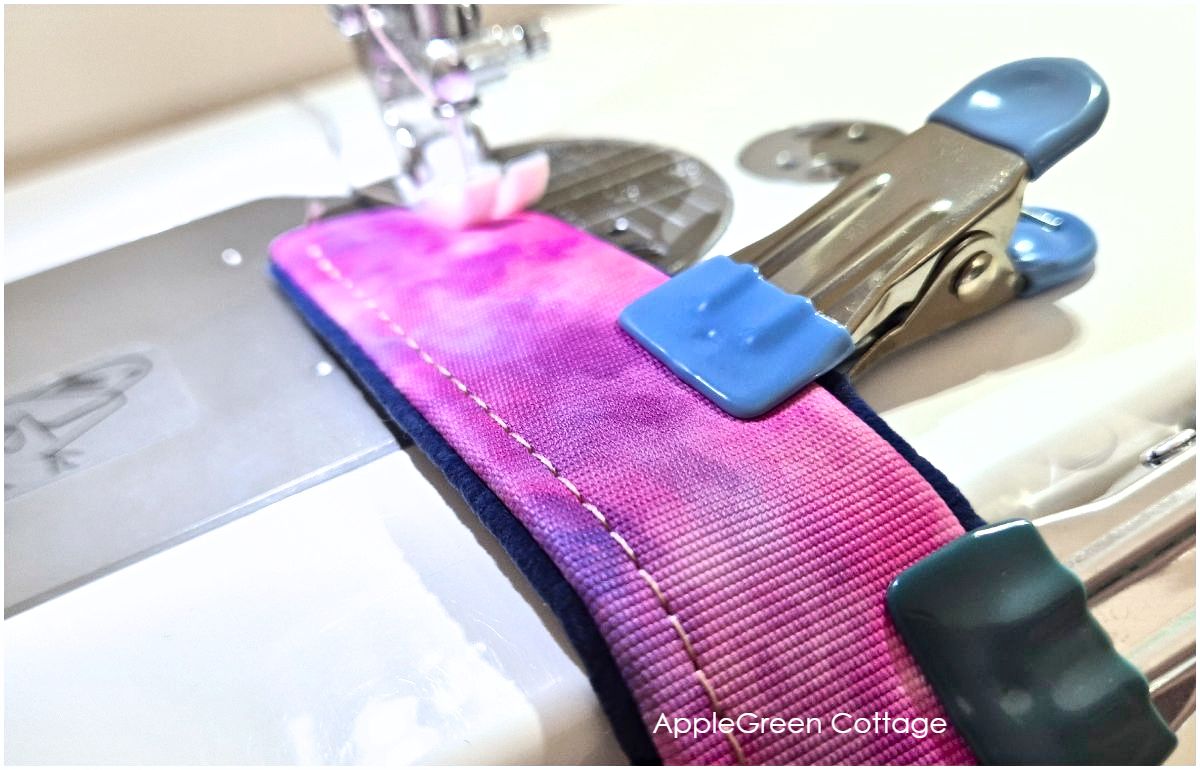
Want to make your topstitching neater? Use heavier thread (e.g., tex 45) and set your stitch length of 4 to 5 - these two together look particularly elegant. See the difference in the photo above? (here: sewing Avela Tote handles)
What About Fabric?
There isn't one single best fabric for bagmaking. Cotton, canvas, denim, vinyl, faux leather, cork, and more can all work depending on the pattern.→ What Fabric to Use For Bagmaking?
My Top 7 TIPS!
My Amazon Favorites
When I use a product I love, and Amazon has it, I add it to my personal Favorites collection on Amazon, like some fabric collection I love, a tool, or my new sewing machine.
And you can see it when you visit my Amazon storefront.

So you can see what I love sewing with!
Free Email Course - Make Better Bags!
If you are into bagmaking, make sure to check out my other bagmaking materials guide and tips that will make sewing bags easier, and even more enjoyable. Or join our free bagmaking email guide - super popular right now!
Leave a Reply