
Struggling to sew thick bag layers? Before you blame the machine, check my top tips on how to sew thick layers in bagmaking.
These simple bagmaking tips will help with bulky seams, needles, thread, stitch length, interfacing, and cleaner topstitching. Because thick layers are easier when a few small details work together - I learned that by trial and error! Well, error mostly 🙂
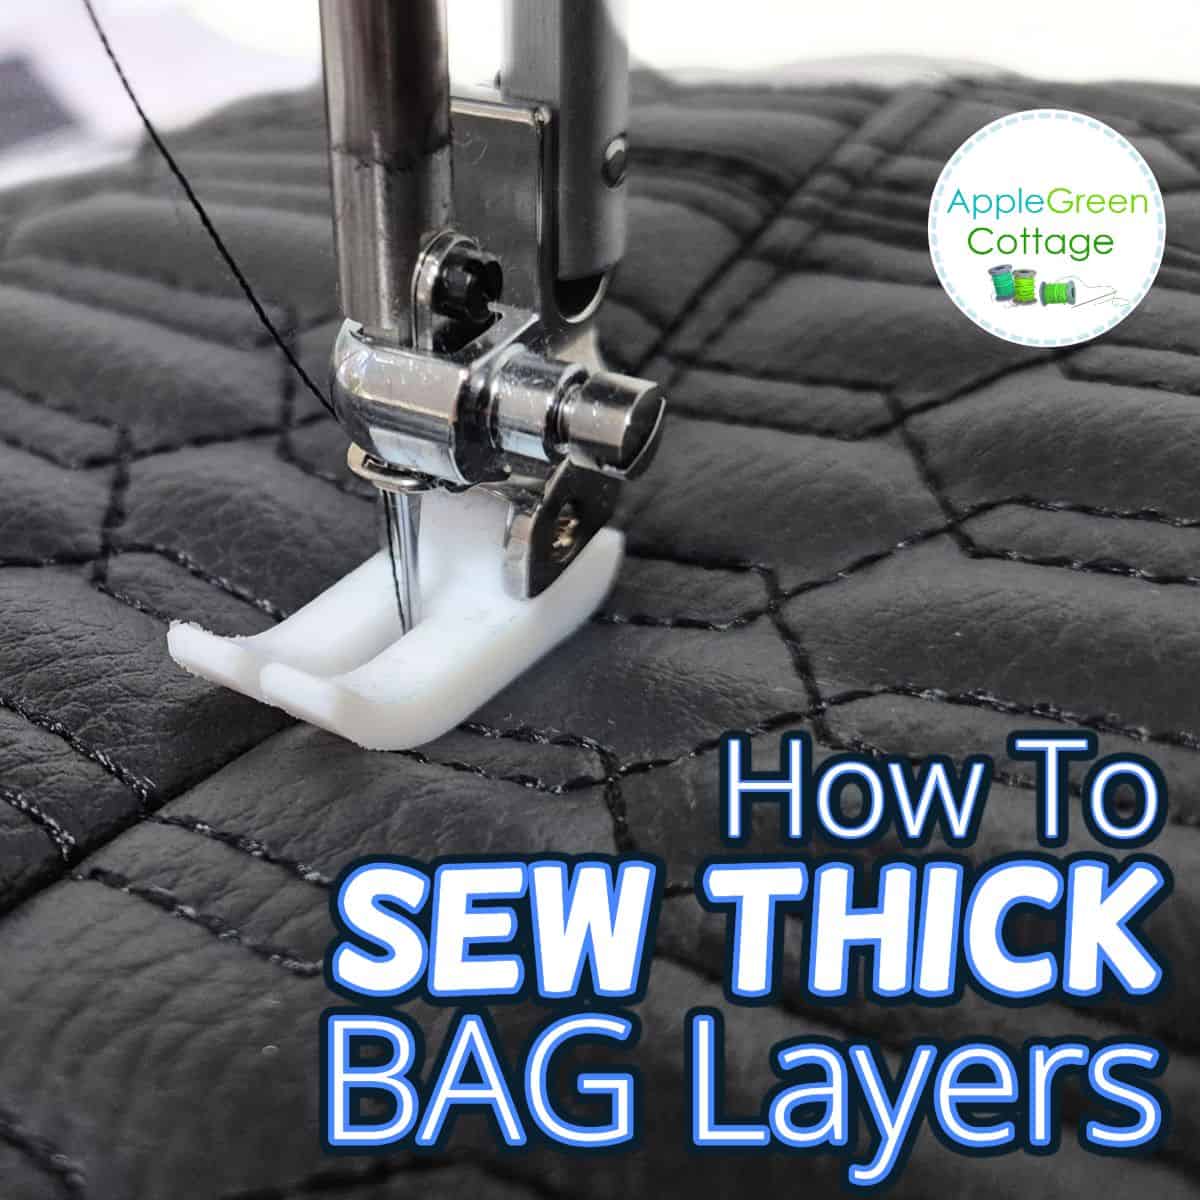
Table Of Contents
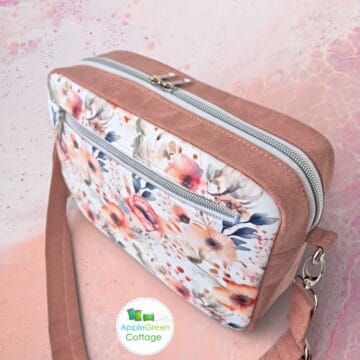
The Small Purse That Packs a Punch!
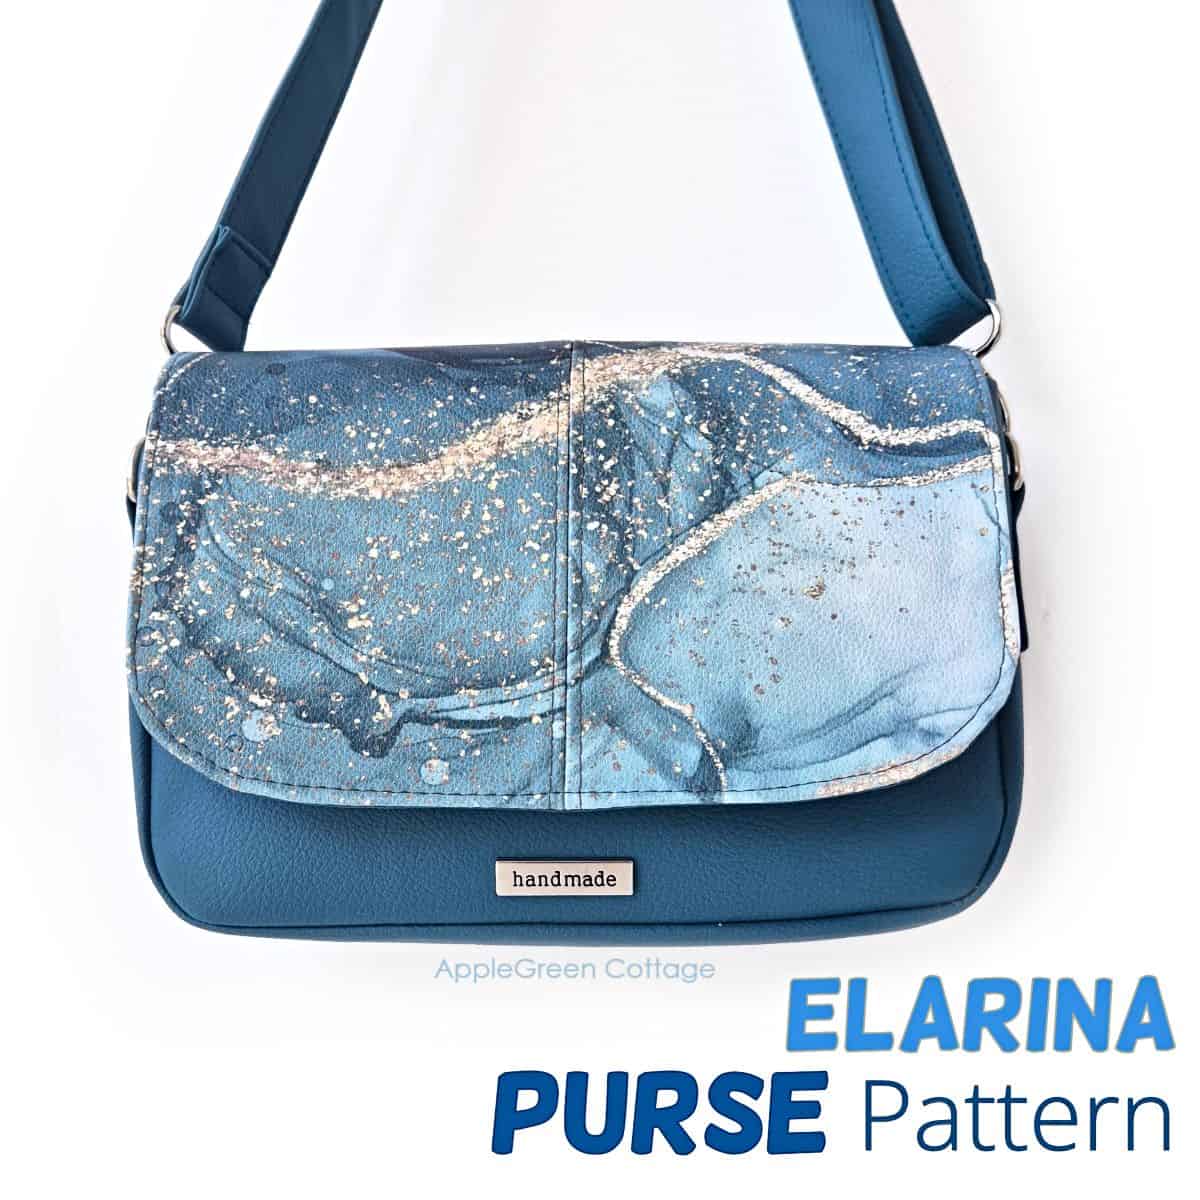
Check out this pretty Elarina Purse pattern in our shop - small bag, big style! 👜
People often ask what sewing machine I use for bagmaking - especially when sewing through thick layers, foam, interfacing, cork, canvas, or several seams at once.
And yes, your sewing machine matters. But the truth?
A lot of bagmaking success comes from the small things you do before and during sewing. The little details matter more than most people think.
10 Tips For Sewing Thick Bag Layers
1 - Use the right needle
Change the needle, for starters. For thicker bag layers, a universal needle may not be enough: after a frustrating row of skipped stitches, I swapped in a bigger needle - and suddenly everything worked. Since then, I always keep a pack of 90/14 Schmetz denim needles handy.
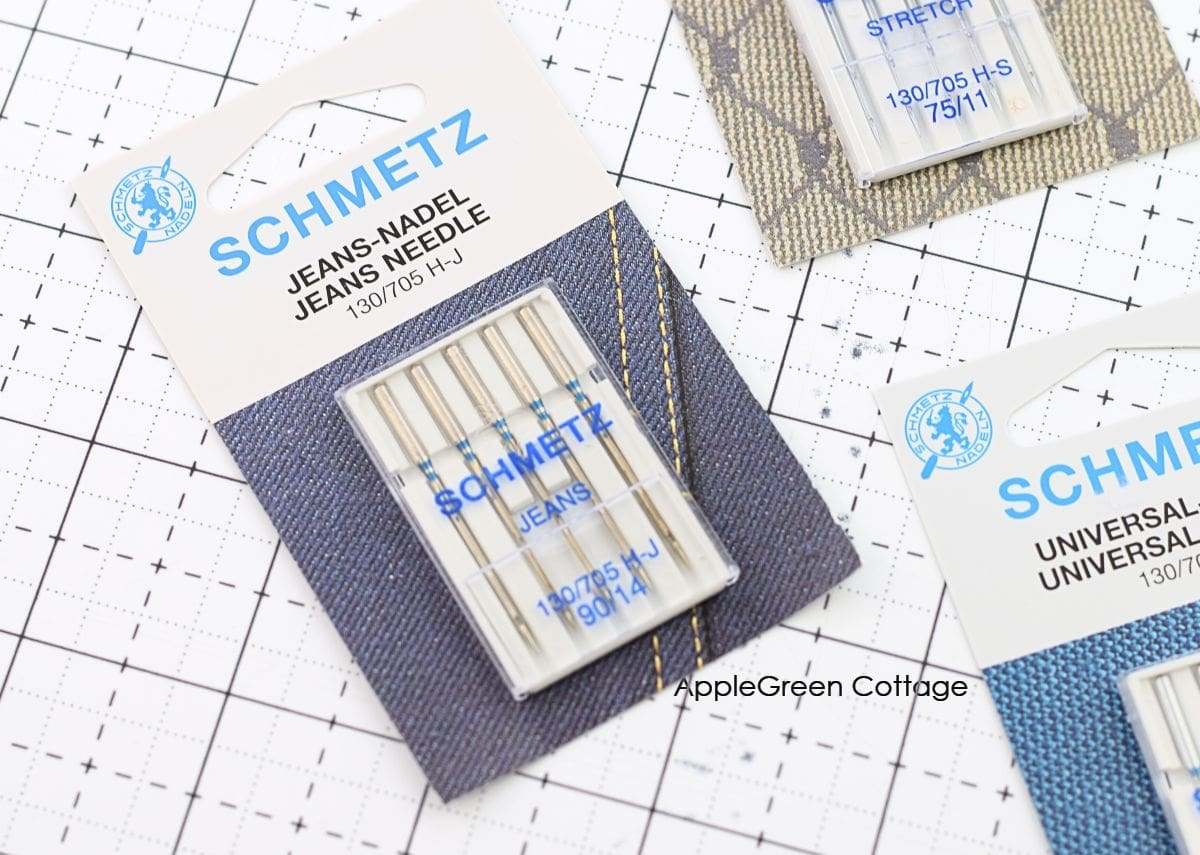
90/14 Schmetz denim needle is my favorite brand and size for bagmaking on my two domestic machines. (Different needles on my Janome HD9 though.)
2 - Use strong thread
Always use polyester thread, not 100% cotton, because poly helps a lot with strength. I usually prefer polyester thread that's just a bit over the regular thickness.
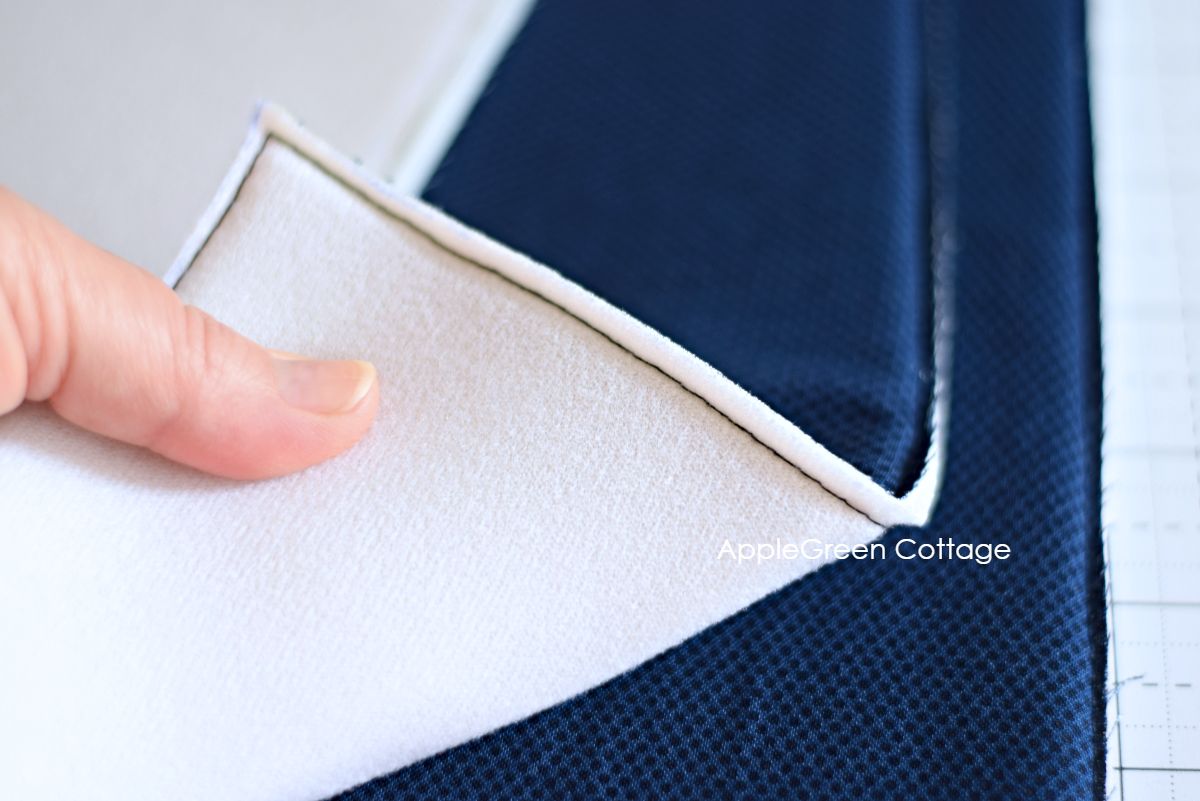
3 - Reduce bulk before you sew
Thick seams are much easier to handle if you trim, grade, or press them first. A few minutes here can save a lot of struggle at the machine. On fusibles, you'll want to cut smaller than the full pieces, and on sew-oin foam, you'll want to trim the seam allowance right after basting (See more on sewing with foam.)
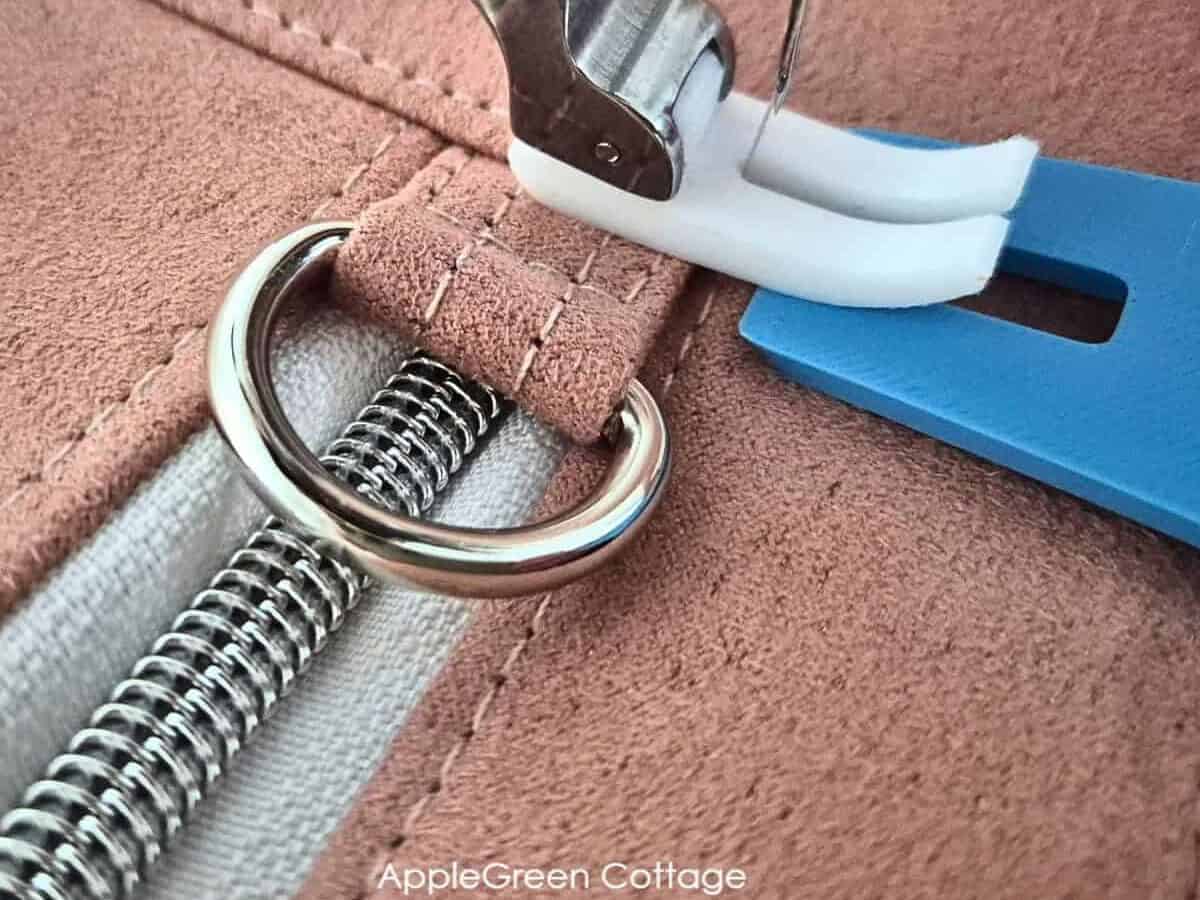
4 - Go slowly and use a hump jumper
When the layers get thick, speed is not your friend. Sew slowly. Let the machine move the fabric. Don't pull the layers through - when sewing over bulky humps, use a hump jumper. Such a handy tool - see more about it in the how to reduce bulk tutorial.
5 - Lengthen the stitch for topstitching
I use the longest stitch length my machine allows. Why? The longer stitches look way prettier! And it just might help the machine move more smoothly over bulky areas.
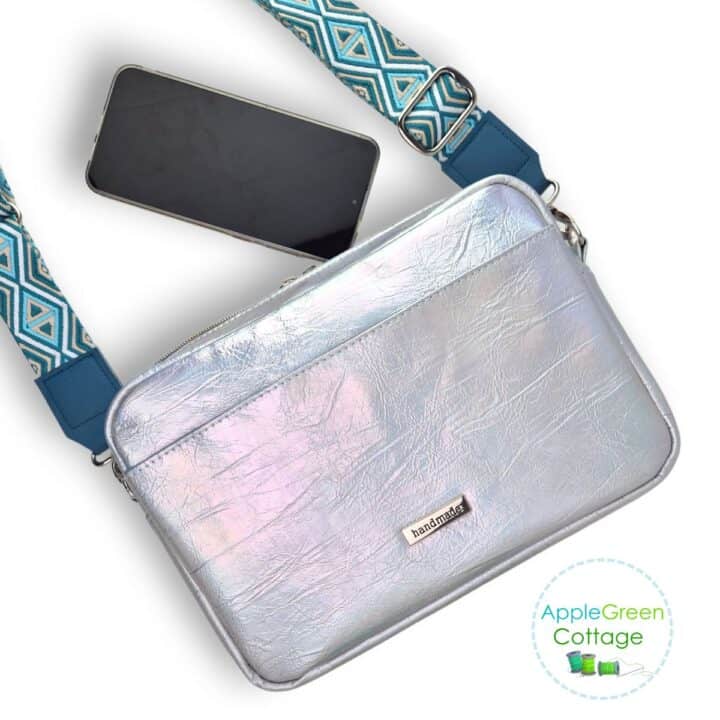
Sew this Crossbody Bag!
6 - Help sticky fabrics feed better
If you are sewing cork, vinyl, laminated cotton, or another sticky surface, a Teflon foot, roller foot, or walking foot can help the layers move under the presser foot more easily.
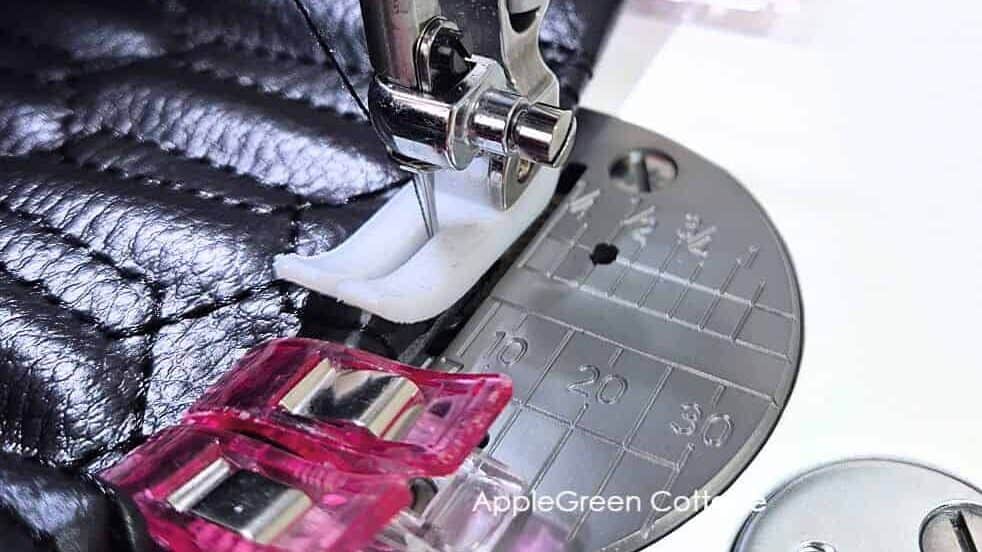
This is my Lumera pattern, and just for fun, I made the smallest version with a foam-backed, quilted faux leather - on my Janome HD9. Working with sticky vinyl? See my top 7 tips for sewing with vinyl.
7 - Choose interfacing carefully
Interfacing changes everything. Too soft, and the bag may feel floppy. Too heavy, and the seams may become bulky or hard to sew.
The right combination depends on the bag, the fabric, the shape you want, and the parts you are stabilizing.
Free Quick-Start CHEAT-SHEET
Want help choosing the right interfacing before you cut into your good fabric? Get my Quick-Start CHEAT-SHEET to help you choose the right interfacing for your first few bags:
Want to go deeper?
Not sure which interfacing to use?
My Bagmaker's Interfacing Guide helps you choose what to use where - so your bags turn out cleaner, sturdier, and closer to the look you wanted.


Leave a Reply