
Does your sewing machine skip stitches or hesitate when it reaches the strap connectors on a bag? You're not alone! Bag layers build up quickly - faux leather, thick fabric, interfacing - and the strap connectors are often the first place your machine pushes back.
Good news: you can avoid most of that thickness. See how to reduce bulk in bagmaking.
Whether you sew cotton, canvas, or faux leather, these low-bulk connectors will help your bags look more polished, last longer, and sew up with far less stress. Let's make your next bag easier right from the start.

I'll show you tips and workarounds to sew bags, topstitch, and create bag strap connectors that do not result in excessive bulk.
Below are the exact connector methods I use in my Lumera, Sirina, and Elarina bag patterns - tested, tweaked, and approved by my brilliant pattern tester team. These tricks keep the layers manageable, the topstitching smooth, and your machine much happier.
Table Of Contents
- Why Bulk Happens in Bagmaking
- How to make a non-bulky strap connector - 3 Ways
- Option 1 - No-Bulk sewn-in strap connectors
- Option 2 - Strap Connectors on a Gusset Bag
- Option 3 - Top connectors hack on a bag wallet
- Option 4 - Strap Connectors with One Visible End
- Option 5 - Standard Bag Strap Connectors
- More Tips to Reduce Bulk in Bag Seams
- Use A Hump Jumper!
- Test Sewing through Layers on Scraps
- More Bagmaking Ideas
- Conclusion
- +7 FREE Templates!
First, I'll show you three simple ways to make non-bulky strap connectors that look professional and keep your domestic machine happy. Then, I'll add more bagmaking tips for less bulk.
Why Bulk Happens in Bagmaking
Bulk shows up fast in bagmaking. Topstitching, side seams, and layered edges can build thickness quickly, and domestic machines often struggle at those spots.
Strap connectors are one of the biggest culprits. They sit right where several layers meet - seams, foam or fleece, stabilizers, vinyl, canvas, and topstitching all stack together. Even with careful cutting and interfacing, those small tabs can become surprisingly thick.
On a domestic machine, that sudden bump can tilt the presser foot and lead to skipped stitches or even broken needles. (I wrote a few tips on sewing with thick fabrics.)
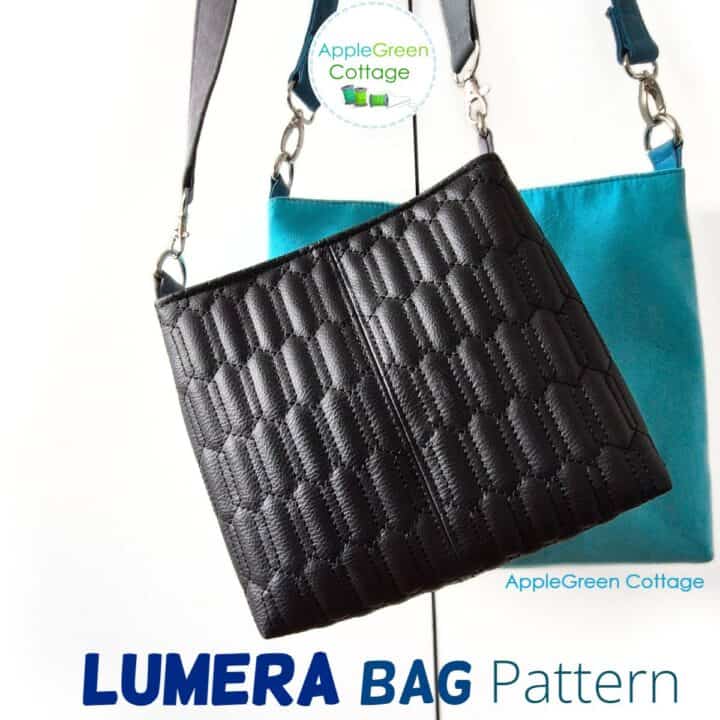
That's why I love connector methods that reduce thickness exactly where it matters most. Less bulk for your machine, same strength for your bag. I built them into my bag patterns, especially the latest, Lumera bag pattern, which is directly designed with less bulk in mind.
How to make a non-bulky strap connector - 3 Ways
Supplies
Before you start, check what type of material you're working with - cotton, faux leather, canvas, or vinyl - because that affects how much bulk you'll need to manage. Then, gather your supplies below
- 2 D-rings (I mostly use 1" inner width)
- scrap pieces of faux leather
- optionally, woven interfacing for reinforcement if very thin material is used
- the usual: thread, needle, scissors, DST, clisp, and a sewing machine
- helpful: a hump jumper (on Amazon)
Shop my personal favorite sewing supplies on Amazon HERE.
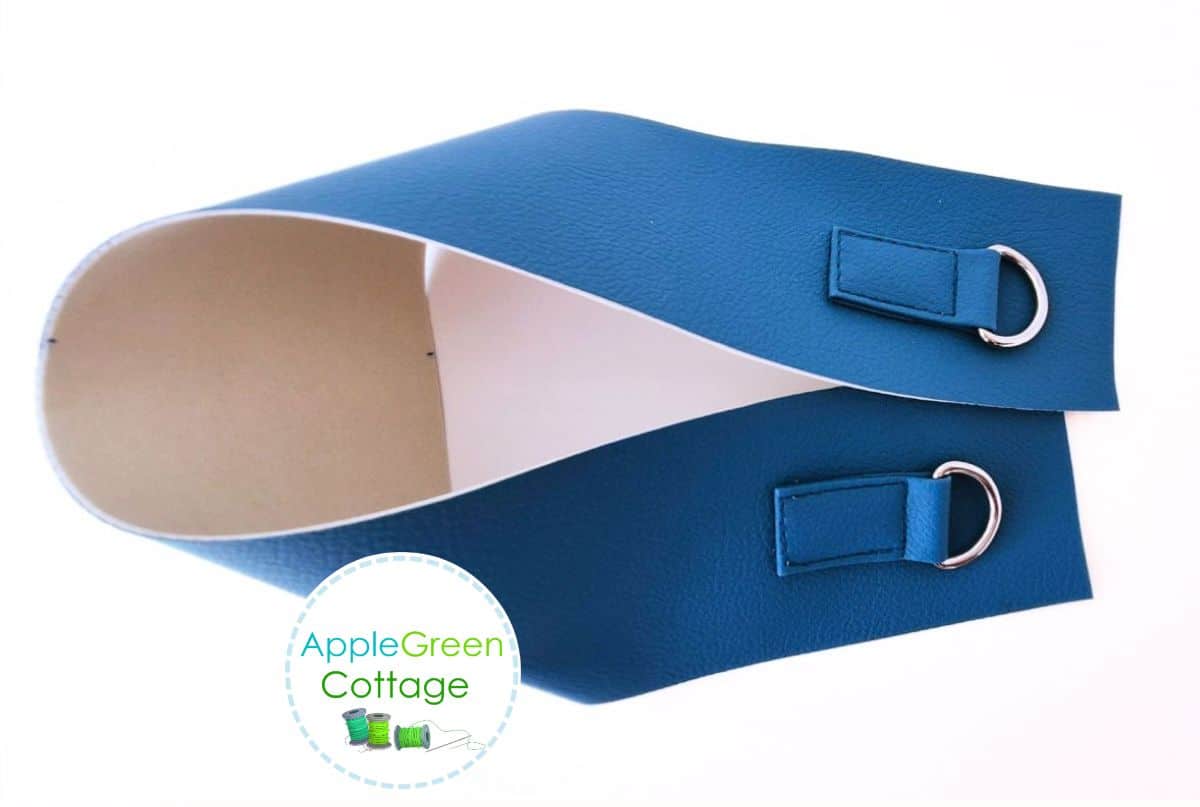
Option 1 - No-Bulk sewn-in strap connectors
Here are the steps to make less bulky strap connectors on the bag sides when the strap connectors are sewn into the top seam on each side of teh bag. This position is a classic one, but can pose a bulk issue.
This is a clever workaround we decided to use when testing the Lumera bag.
I offered this as one of the two options with my Lumera bag pattern.
→ Use it with the LUMERA Bag pattern!
Love tips on reducing bulk? See how to sew a no-bulk purse strap that looks elegant in faux leather combined with any other material you like. So many creative options!
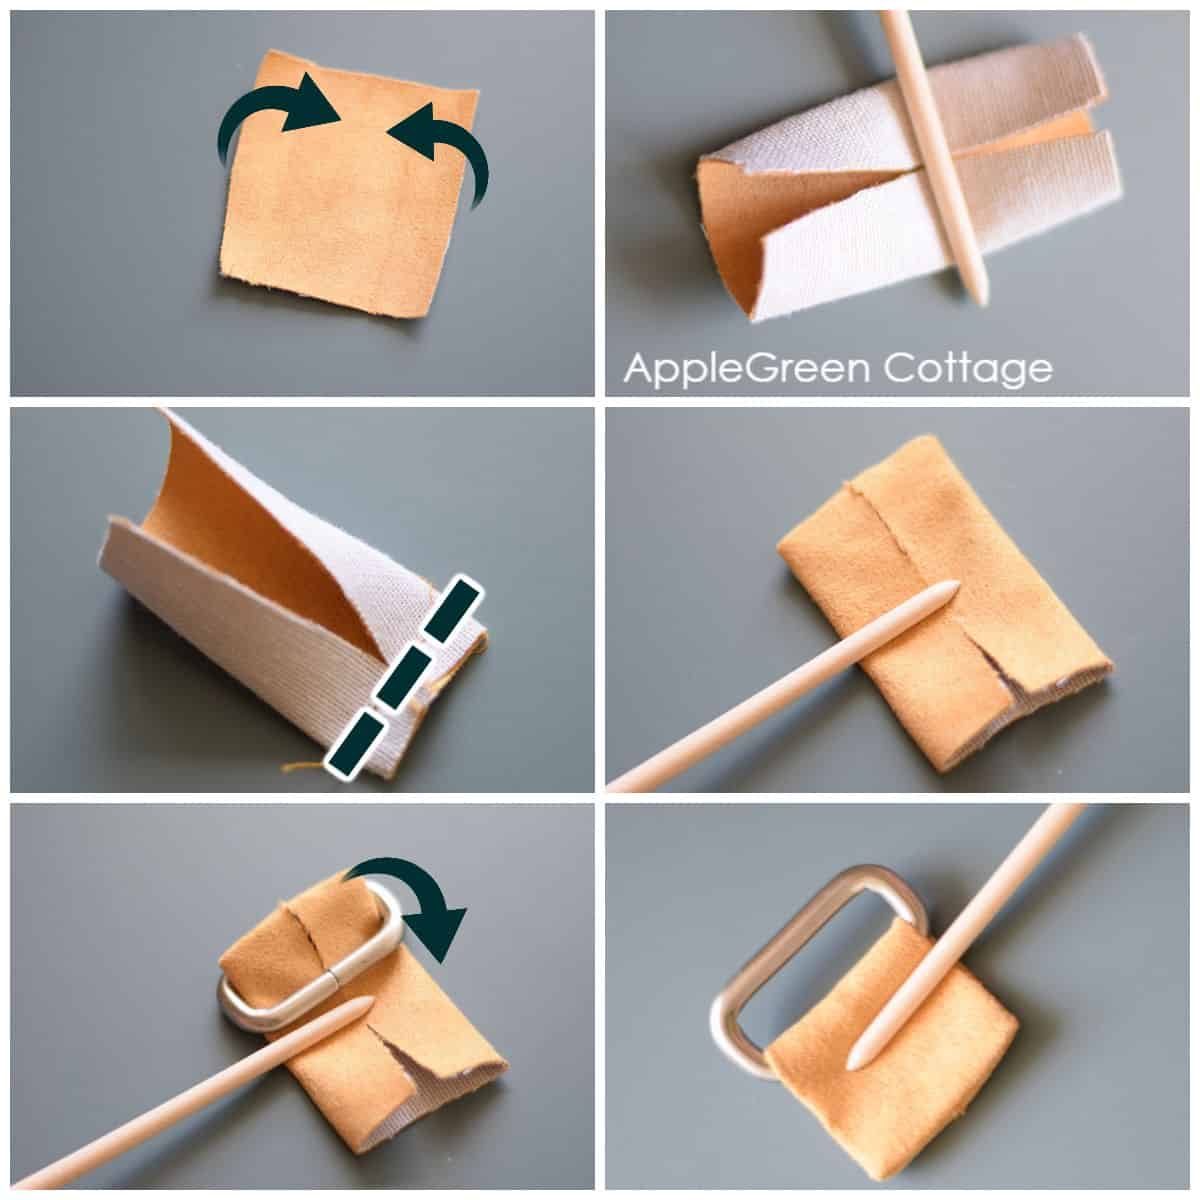
Step 1 - Cut Your Strap Connector Piece
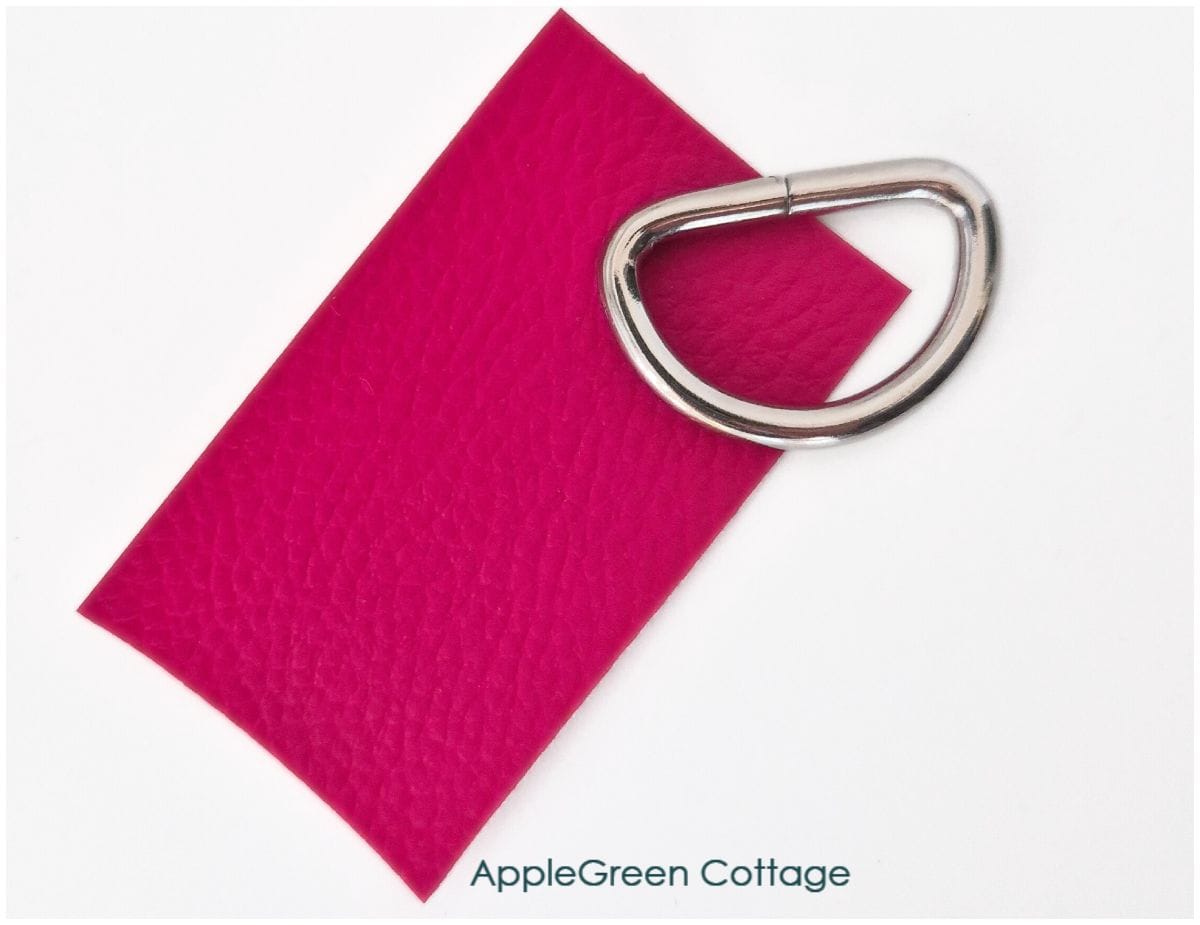
You'll need two STRAP CONNECTOR pieces measuring 1 ½" wide by 2" long.
Step 2 -Add DST
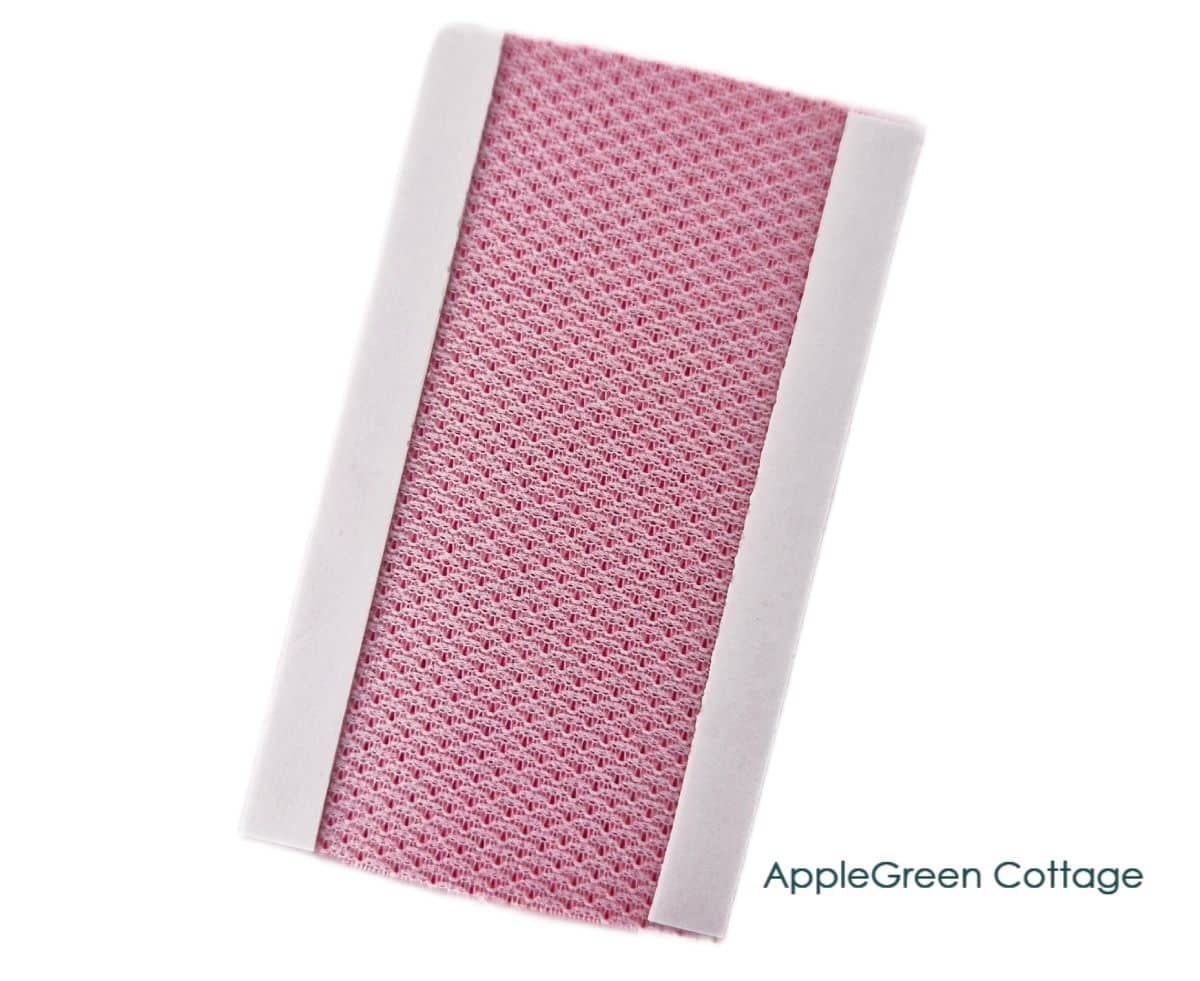
Add narrow double-sided tape along the two long edges.
Step 3 - Fold Under
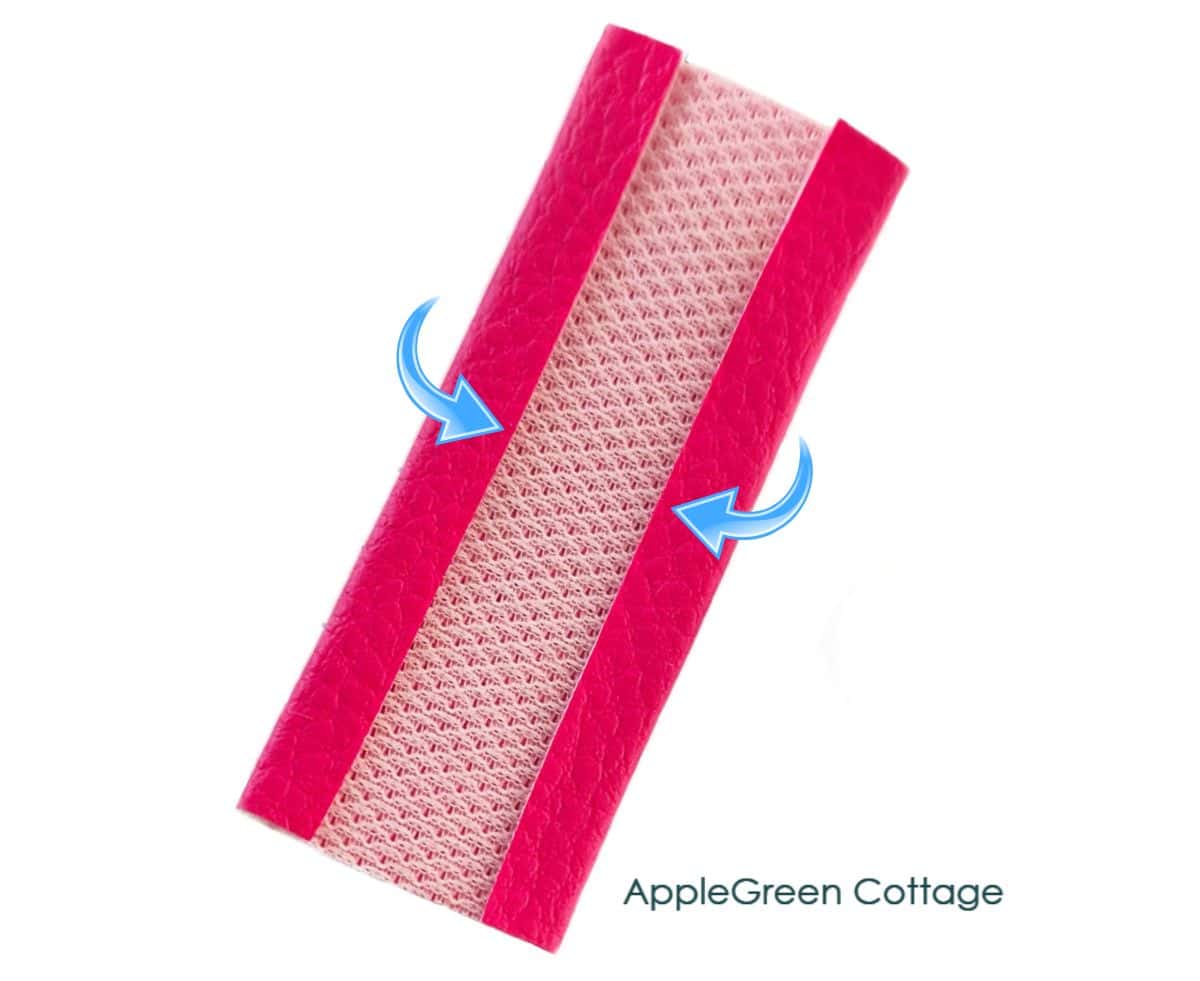
Turn under the two long edges by just ¼" (6 mm) each, creating a strap connector with a width of 1" (25mm).
Step 4 - Add D-Ring
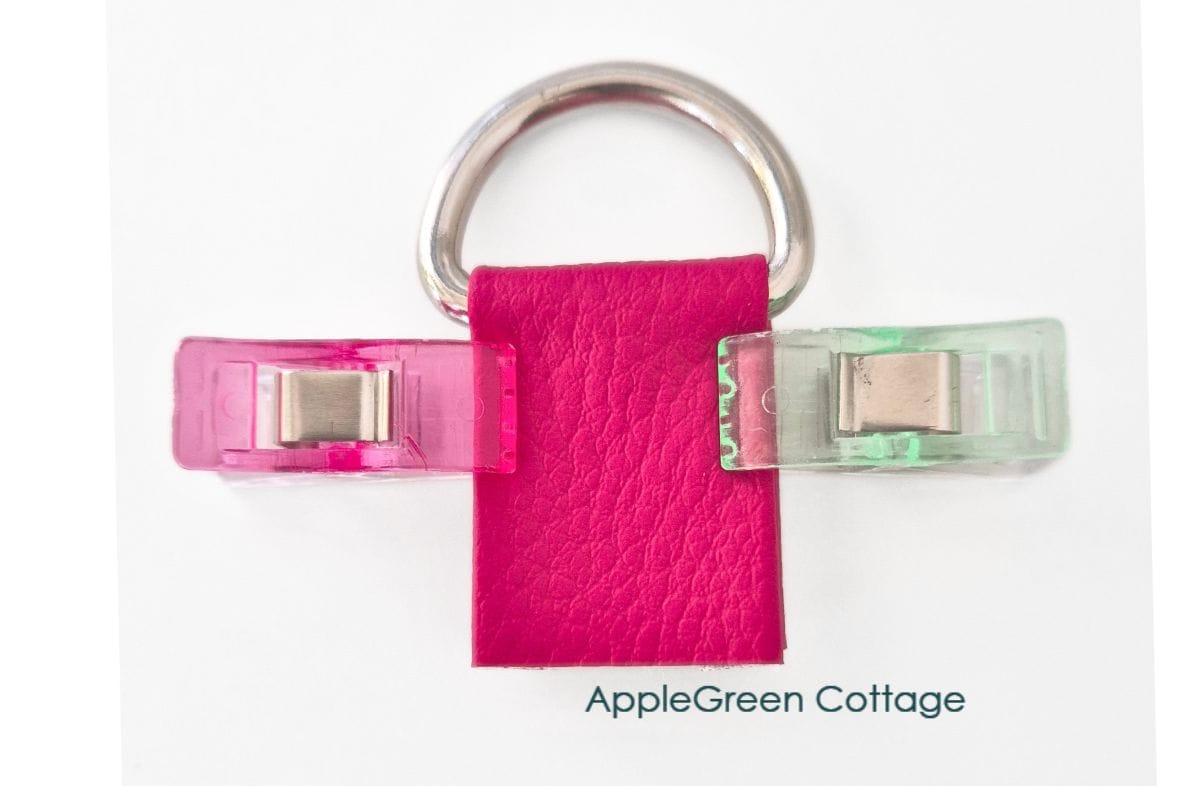
Slide on the D-ring and fold in half, bringing the ends together. This will hide the raw edges.
Step 5 - Sew in place

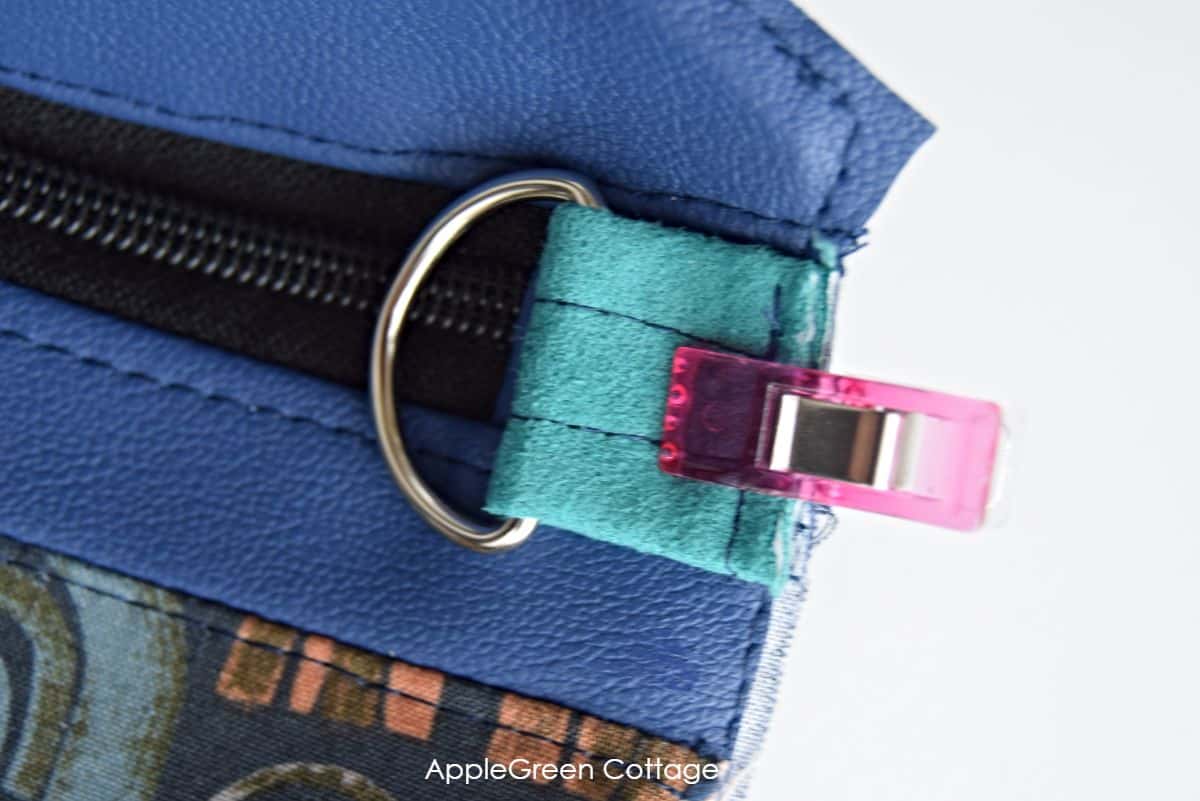
Topstitch a rectangle starting at the bottom raw edge, continuing from the bottom to the D-ring, across, and back down again. That will keep the raw edges hidden and the D-ring fixed.
Topstitching Tips
A zipper foot can be helpful to stitch closer to the D-ring. I use a narrow, ¼" machine foot on my Janome HD9 (a teflon one in the photo above), and a zipper foot on my other, Janome HD 1800. There are also vinyl zipper feet available, I have them but don't use as much.
Step 6 - Make the second strap connector
Repeat to make the second strap connector.
Here's a closeup of the strap connector. See how we trimmed bulk from the middle portion? Exctly the spot where the side connectors meet the bulky side seam on the bag!
When is this bag strap tip most useful?
When you have a domestic machine that cannot handle too much bulk. See here which sewing machines I have and use: a heavy-duty Janome HD9, and a domestic sewing machine. All AppleGreen Cottage patterns are designed to be sewn on home sewing machines too.
→ Want to see this technique in action?
Try it on the Lumera Bag Pattern - it's beginner-friendly, beautiful, and already includes this low-bulk option!
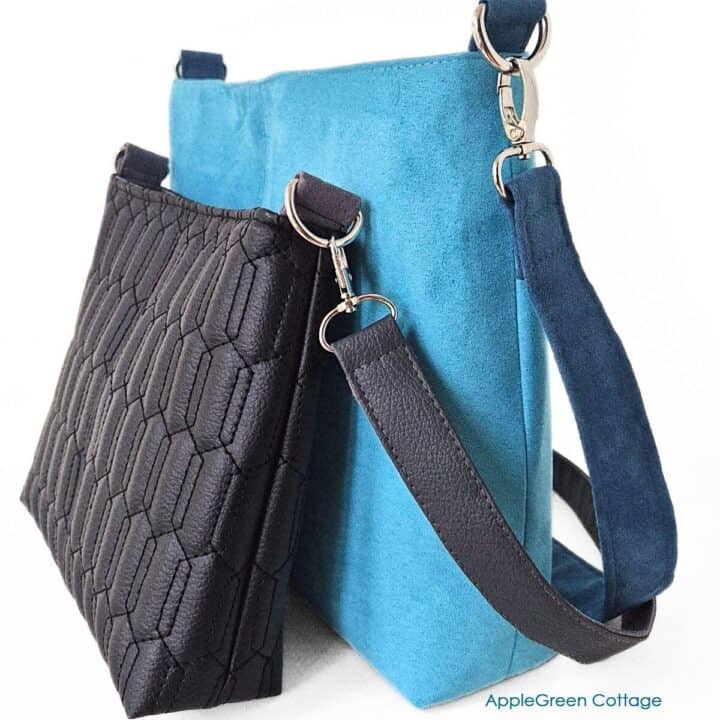
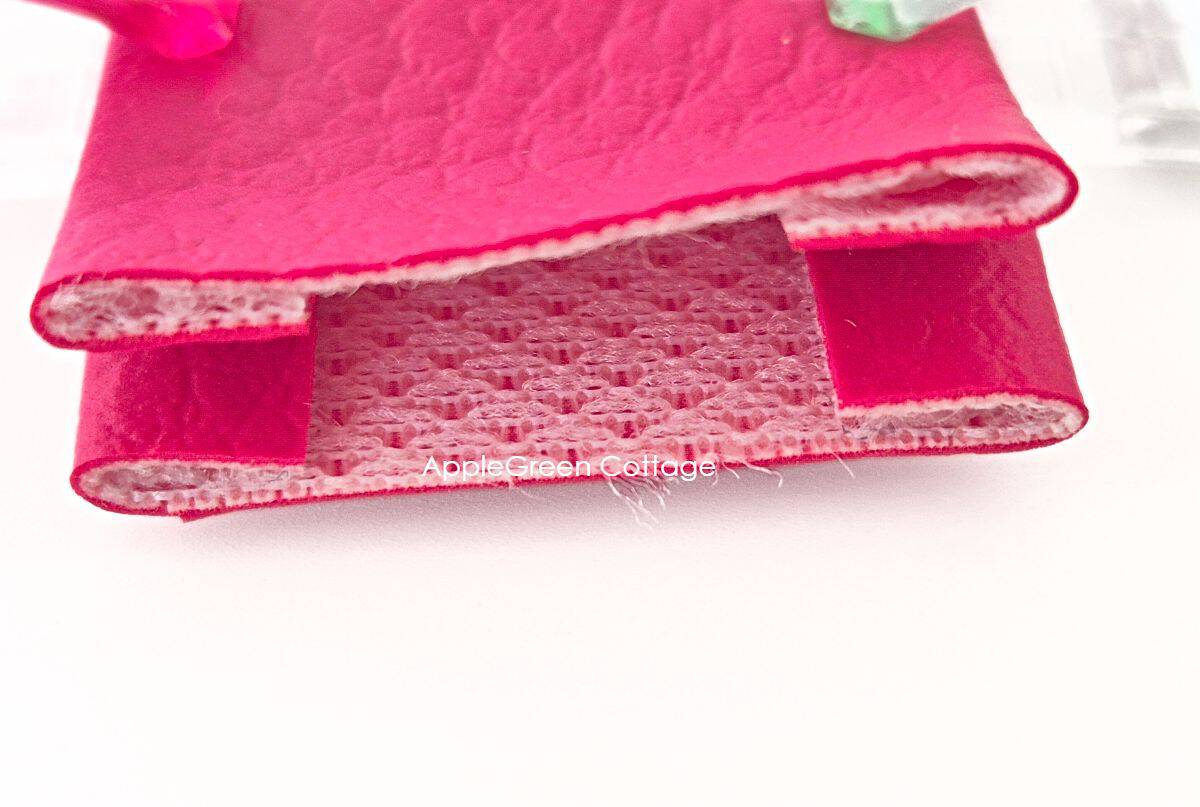
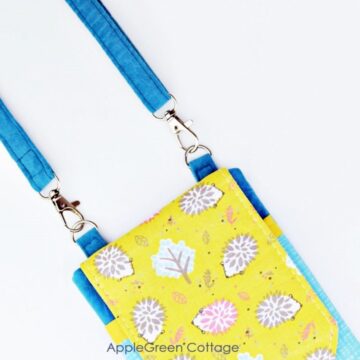
Option 2 - Strap Connectors on a Gusset Bag
In addition to that, here's a good way of creating bag connectors for gusset bags like the Elarina Bag pattern:
Instead of sewing bulky ends together, tuck the raw edges neatly underneath so they meet in the middle - creating a clean, invisible join. It's such a sleek, low-bulk solution on a bag with a gusset - and it looks so professional!
TIP: you need to cut your connectors slightly longer than usual for this method (don't worry - it's already built into the Elarina pattern!)
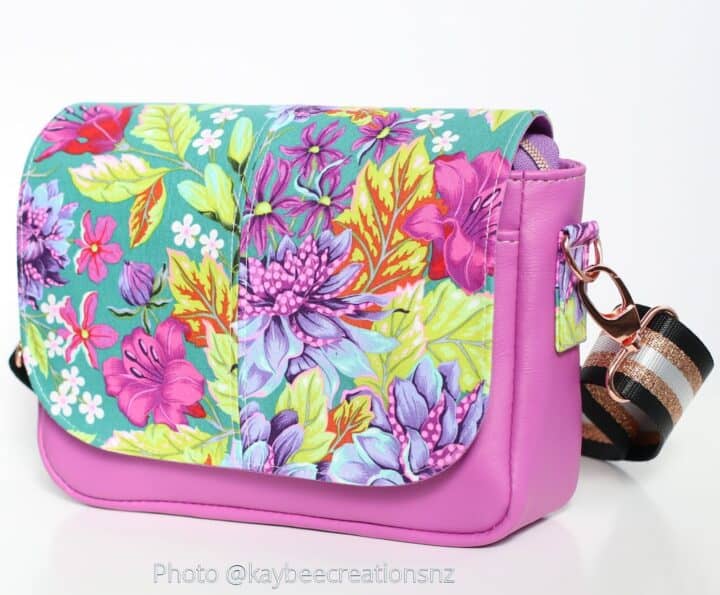
'A petite but mighty crossbody!'
tester bag by Karen @kaybeecreationsnz, ELARINA pattern
Option 3 - Top connectors hack on a bag wallet
Another tiny hack comes from my Enya wallet bag pattern - isn't it cute?
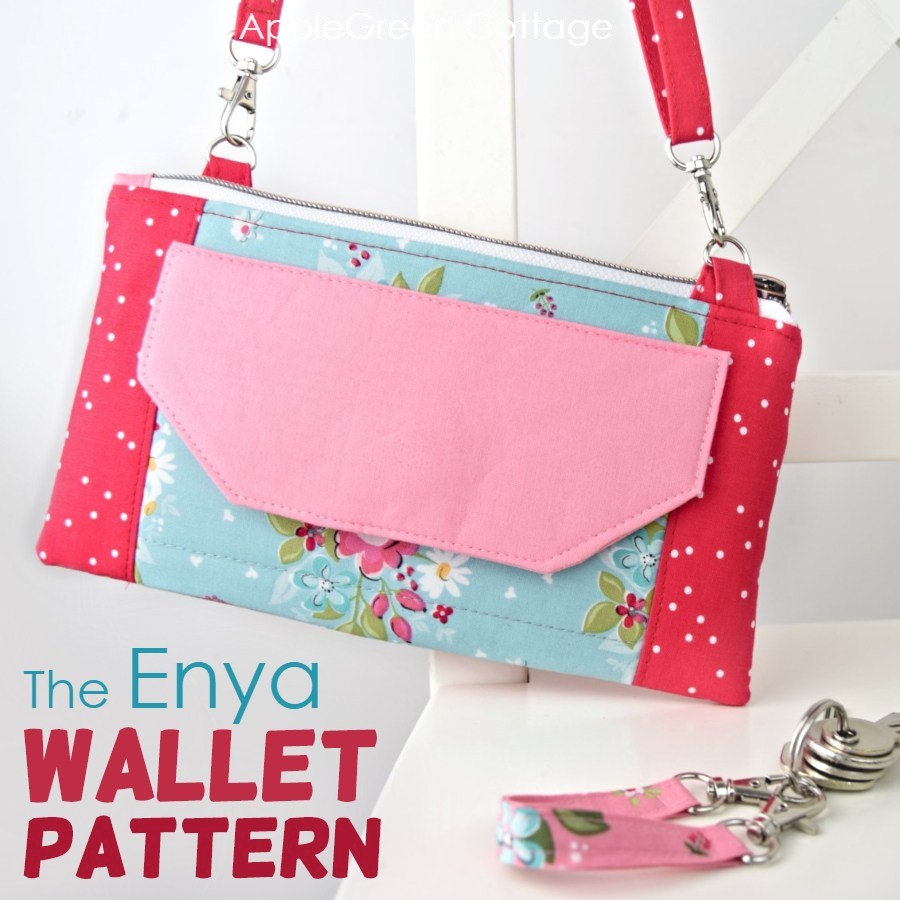
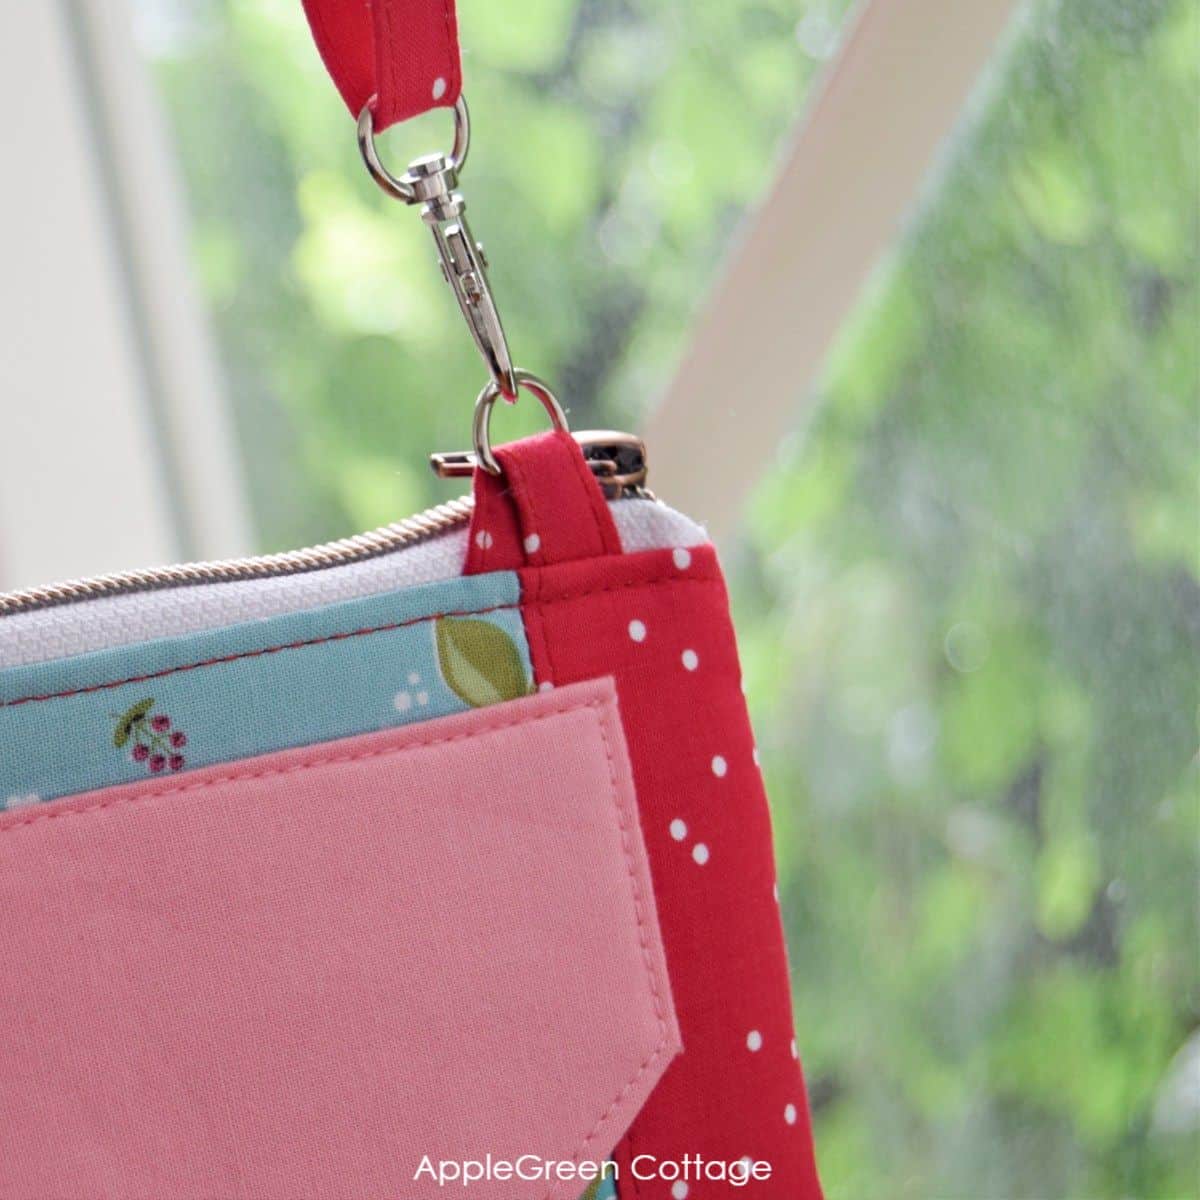
While testing the pattern, Trudy noticed she could reduce the bulk near the top zipper by sliding the connector edges apart a little. Genius, right? We included that straight into the pattern instructions! (pattern includes 2 options)
The photo below shows it best. You may need to adjust the strap position slightly, depending on the seam placement of the bag you're making - but it's a fantastic little trick, built in right into the Enya pattern!
Option 4 - Strap Connectors with One Visible End
And this might be helpful for many other bag patterns - those with connectors that get added towards the end. This is how I solved a tricky spot with the Teya Crossbody Bag - the strap connectors have one visible end here:

You will need two 2 ½" (6.4 cm) pieces cut from Main Fabric, interfaced if you used quilting weight cotton.
- Place the tab piece right side UP.
- Fold up two edges so the fabric is right sides together and edges meet in the center.
- Stitch over ONE short end using a ⅜" (1 cm) seam allowance.
- Trim the corners to reduce bulk, turn right side out and press or finger-press.
- Slide on the D-ring.
- Fold the finished end over the unfinished end and baste or tape to keep folded.
Repeat to make the second tab. It's way easier to understand once you see these step-by-step photos:
Your strap connectors are finished. Attach them to the exterior of your bag according to your pattern instructions - voila!
Option 5 - Standard Bag Strap Connectors
Last but not least, just so you get everything in one place, here's a standard way to make strap connectors - one you have most probably used for years.
If you want to see how I usually create create bag strap connectors, here's another tutorial on how to sew strap anchors the usual way - works great with vinyl that's not too thick, and best with quilting cotton. My first bags were all-quilting-cotton, yours too?
More Tips to Reduce Bulk in Bag Seams
There are several additional ways to solve the bulky topstitching issues on bags. A few of them include:
- Trim the seam allowance more at the connectors (but not the connectors themselves - they need to carry the weight)
- Skip topstitching over the connectors if your machine struggles (thank you Moira!)
- Use lighter interfacing (like fleece instead of foam) if the bulk is too much
- Flatten thick seams: Give bulky layers a few firm taps with a mallet before sewing.
- Skip the topstitch: you can sometimes omit topstitching bulky layers and use rivets instead for a clean finish.
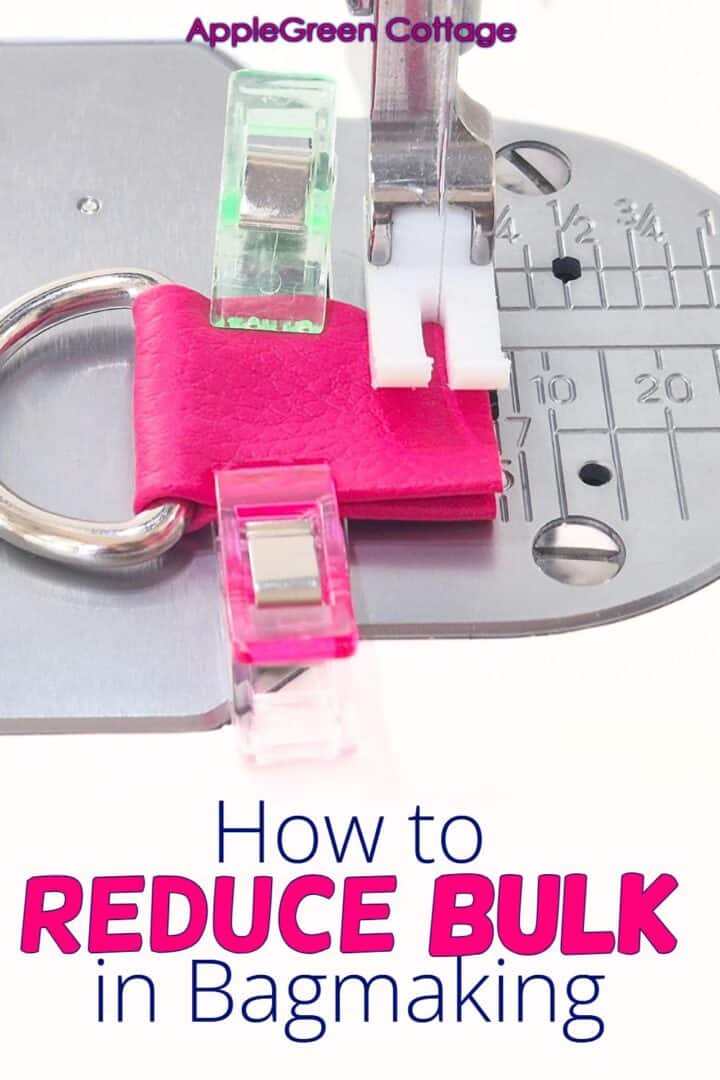
Use A Hump Jumper!
TOP TIP: Use a hump jumper when sewing over bulky sections! This is a handy sewing machine leveling tool (see it on Amazon) that helps the presser foot stay level over thick seams.
How it helps: it helps your presser foot glide smoothly over bulky seams - no skipped stitches or broken needles. It's also called Jean-a-ma-jig.
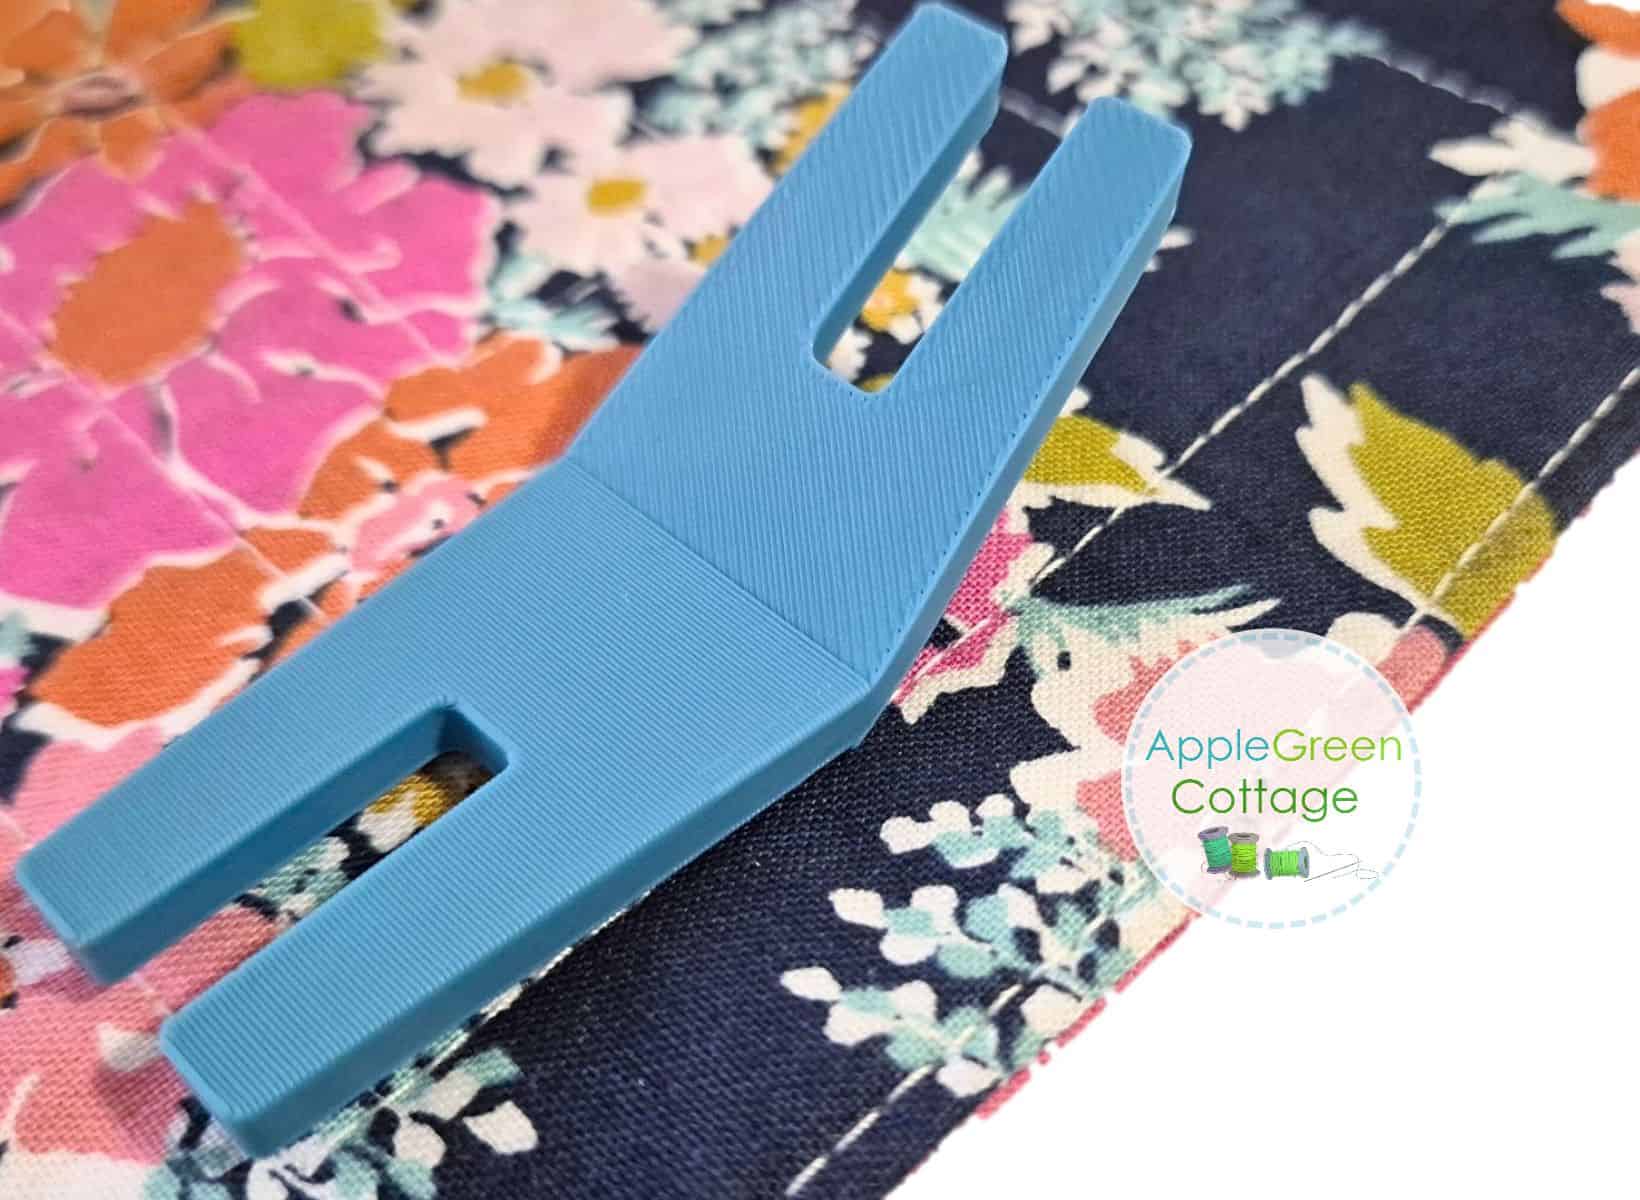
I'll admit, I've been using a thousand-times-stitched-and-folded scrap of faux leather as my DIY version for years. But we finally made a proper one on our 3D printer - and it works beautifully. If you sew bags, it's so good to have a hump jumper in your toolkit!
How to Use Hump Jumper
- Sew right up to the bulky spot.
- Stop with the needle down.
- Lift the presser foot.
- Place the hump jumper under the back of the foot.
- Lower the foot and continue sewing.
- TIP: If needed, move it to the front once you're over the ridge.
Test Sewing through Layers on Scraps
TIP: Always test bulky seams on scraps before sewing the real bag. Even a small adjustment in stitch length or presser foot pressure can make a big difference in how your machine handles faux leather or foam interfacing.
This is what I do when designing my bag patterns: use a scrap piece of the vinyl I use, fold it 8-times or even more, depending on what I'm about to sew, and see if it's still doable on a domestic machine. If not, I look for tweaks and tricks until I get the layers to the level that's good for a domestic sewing machine too (one of my secrets in designing: it's much more trial and error, and repetition than one would think, haha!)
How To Prevent Stabilizers From Adding Bulk?
Mostly, you'll need to get them out of your seam allowances, but there are differences depending on the stabilizer types. Want more about It? Grab the free cheatsheet - or do a deep-dive with the full Interfacing Guide PDF in our shop:
Want to go deeper?
Something else that works for you? Please comment below - new bagmaking tips are always welcome!
More Bagmaking Ideas
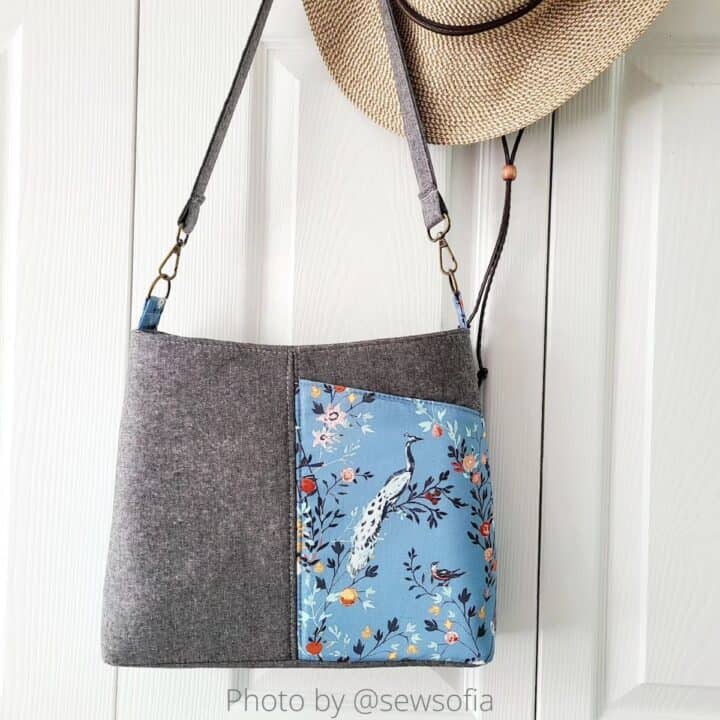
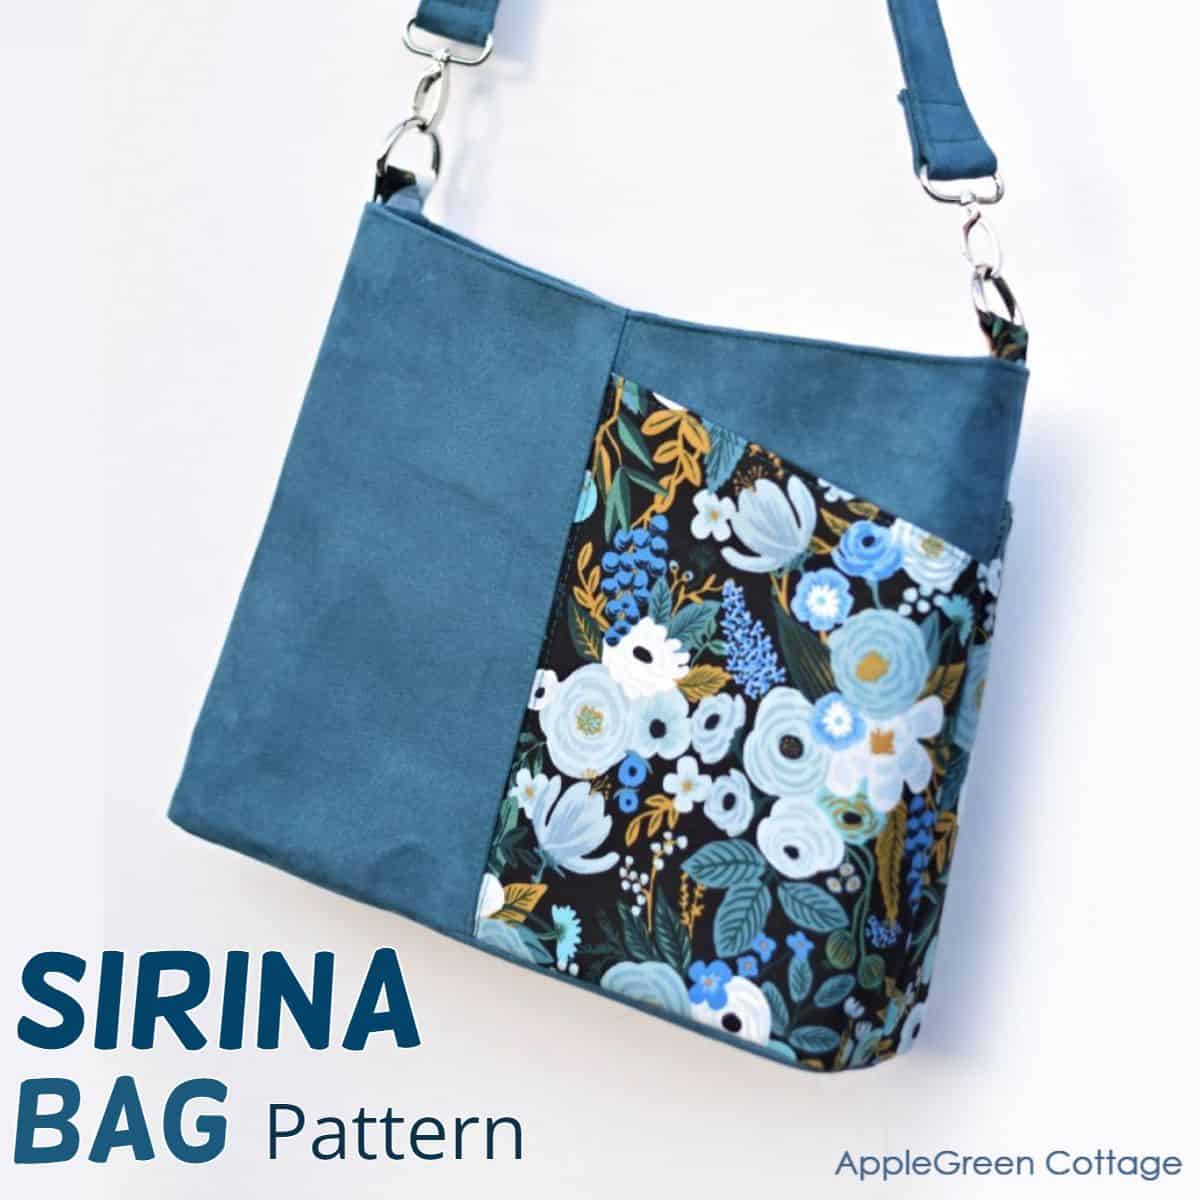
'I really loved making this bag, soooo many clever techniques brought it all together! Damjana you have thought of every little detail which enabled me to sew this on my domestic machine. ..I love the angled front pocket and the stylish shape, it exudes elegance!'
Louise at @sewsofia, about the SIRINA pattern
The Small Purse That Packs a Punch!
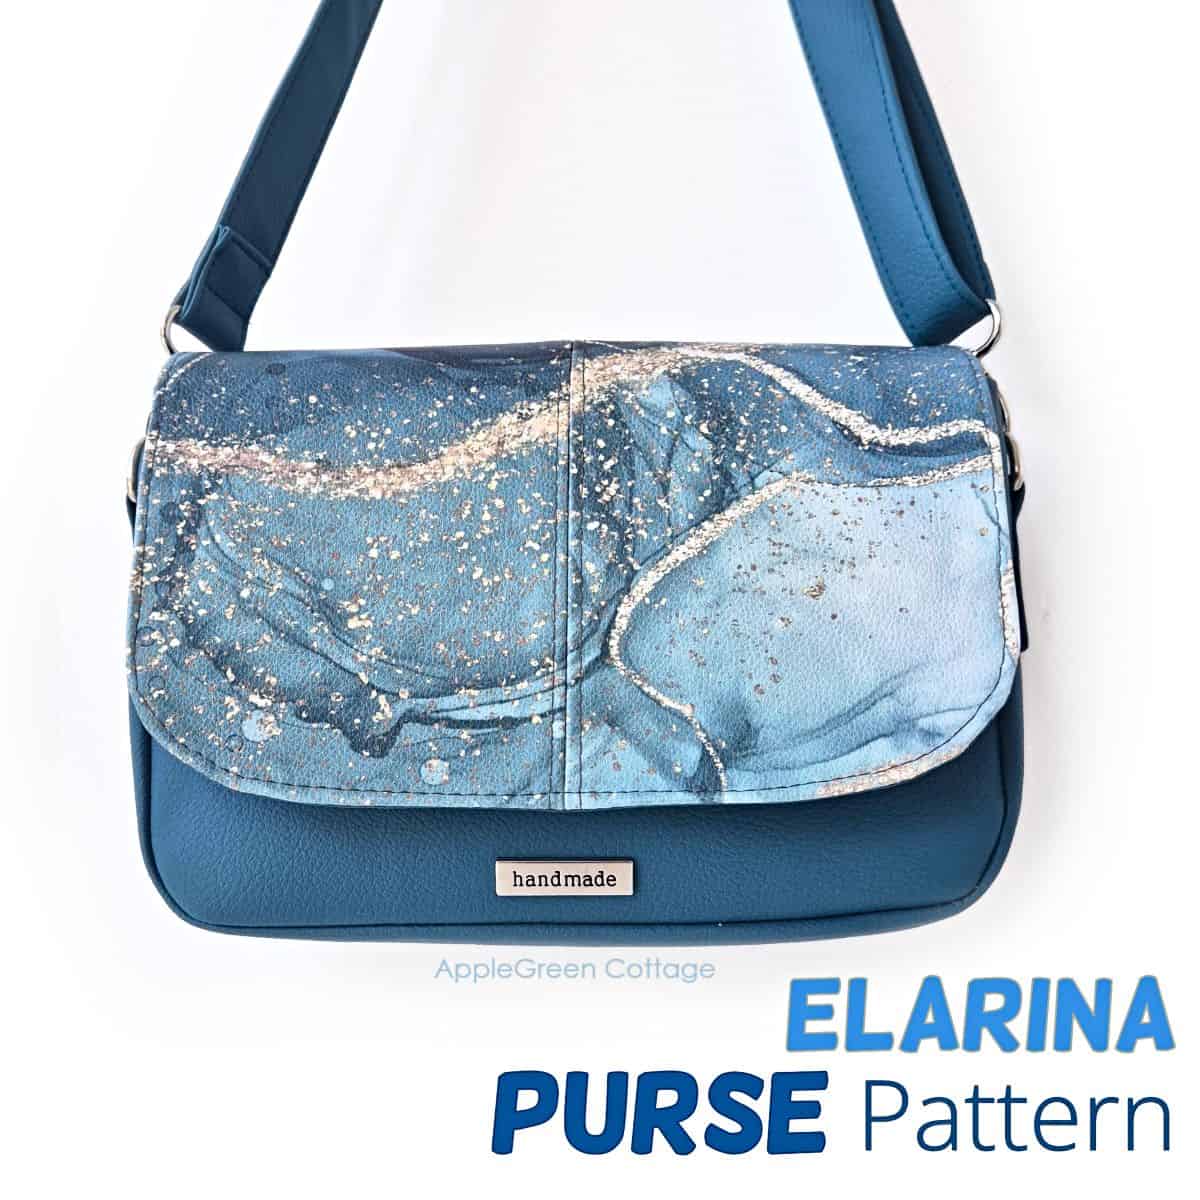
Check out this pretty Elarina Purse pattern in our shop - small bag, big style! 👜
- How To Make An Adjustable Strap - For Any Bag!
- How To Attach a Side-Release Buckle to a Bag
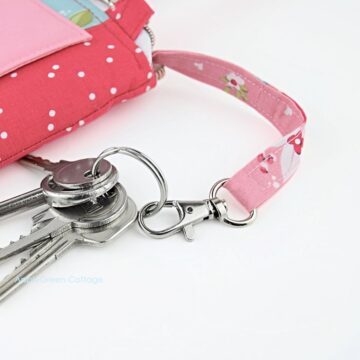
- How To Make a Keyholder For A Bag
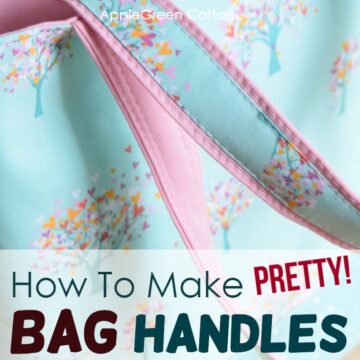
- Diy Purse Handles - Better And Prettier!
Conclusion
And that's it - a few tips and workarounds to reduce the bulk in bagmaking, especially around the top edges. Still sturdy, no raw edges, but always with an eye towards teh ease of sewing. Hopefully, this post makes it easier for you to sew beautiful handmade bags - stress-free.
Happy sewing - and enjoy your next bag!
Want to explore more bag strap tutorials? I've got plenty! Check out my tutorials on how to thread strap adjuster buckle or how to make bag handles. Or grab these strap connector templates:

+7 FREE Templates!
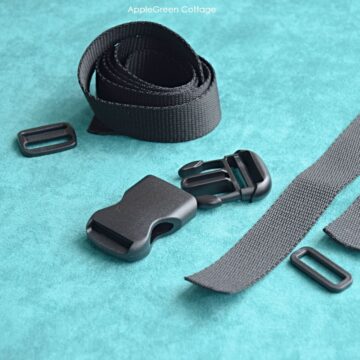
Make a trendy DIY webbing strap with strap connectors:
Or check out the classic SIRINA Shoulder Handbag pattern in our shop. Ample space, pockets inside and outside, two closure options, and a beautiful feature front pocket - for your favorite fabric print!


Nadine Baughman says
This is the second messenger bag that I have completed. Absolutely love the detailed instructions and extra tips! Made me look like a pro! I wish I attach photos.
Damjana Jakos says
Nadine hi, feel free to join our small but friendly FB group at https://www.facebook.com/groups/AppleGreenCottage/ - I'd love to see your make! xoxo, Damjana