
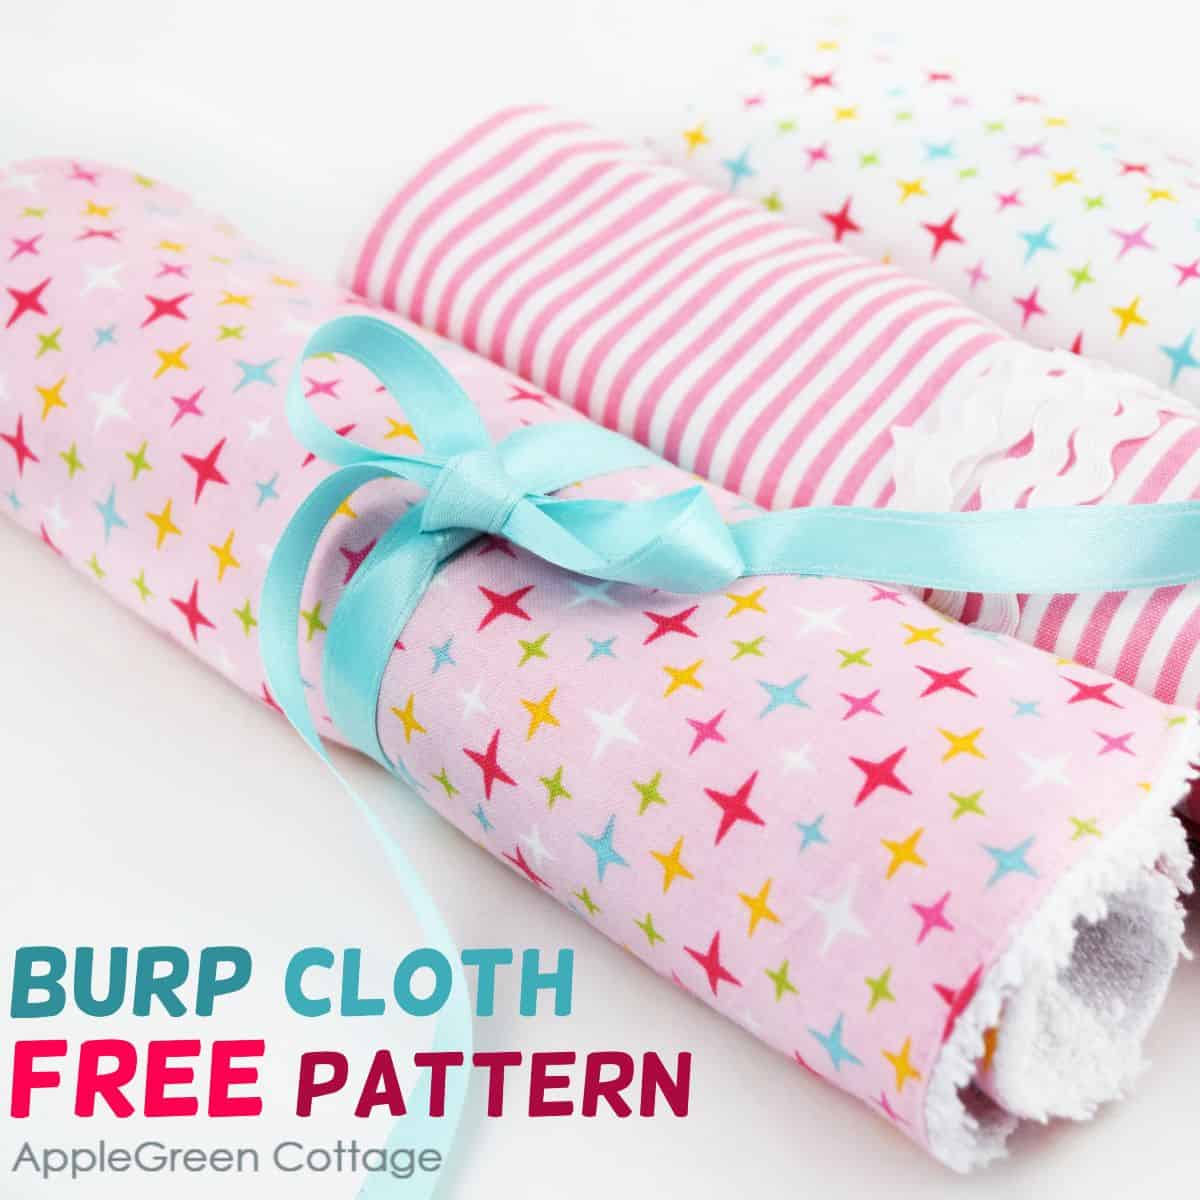
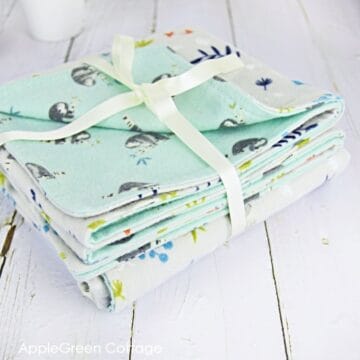
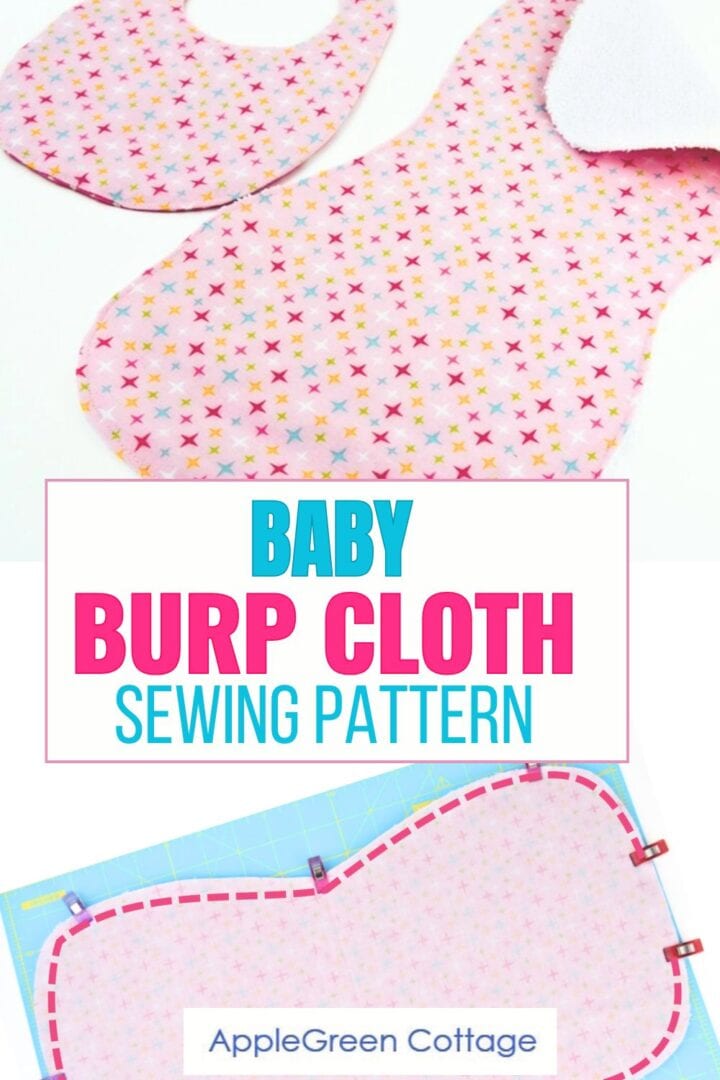
Sew a few adorable and practical burp cloths using this burp cloth pattern - it's free for all my subscribers, and an easy and quick sew! Grab the free sewing pattern (or ALL of my baby sewing patterns - see the list below!), follow the tutorial below, and sew a bunch of cute diy burp cloths, for all the babies in your life.
Want a printer-friendly option of the whole tutorial+pattern without ads? See the → optional PDF file in our shop.
This post is part of the BABY SEWING PATTERNS series on this blog. See more here:
Join the FREE 6-part email guide and sew the CUTEST things for a baby - the EASY way! You'll get my best baby sewing ideas by email.
Table Of Contents
But first, make sure to get the burp cloth template here. Now, let's first see how to make the perfect baby burp cloths.
Easy Baby Burp Cloth Pattern To sew
With a new baby in the family, you can never have too many burp cloths! These are easy and quick beginner sewing projects, especially with a free printable template like this one - use it and make a set of burp cloths as a perfect baby welcoming gift.
Mix and match cute baby fabric prints, or even use your scraps. I might need to do just that for the next batch of burp cloths, my scrap fabric bin is getting full. And this is one of the best projects for patchwork.
A set of these adorable and practical burp cloths and bibs for the baby, and an Ultimate Diaper Clutch for the mom (pattern here) will make the perfect handmade gift every new mom would love to have.
First, for those of you who like video, I've made a slide show to get the feeling of how easy it is to sew one.
What is the best size for a burp cloth?
In a pinch, any size will do. But in order to cover the entire area over your shoulder, a burp cloth should have some length - I feel comfortable with anything longer than 15". As for the width, around 10" will be enough. If you are using a significantly wider burp cloth, you can fold it in half so it does not slide off your shoulder.
Having said that, I also love being practical: my burp cloth template is the size that will yield 2 burp cloths per fat quarter of cotton. This means that this baby burp cloth project is fat-quarter friendly.
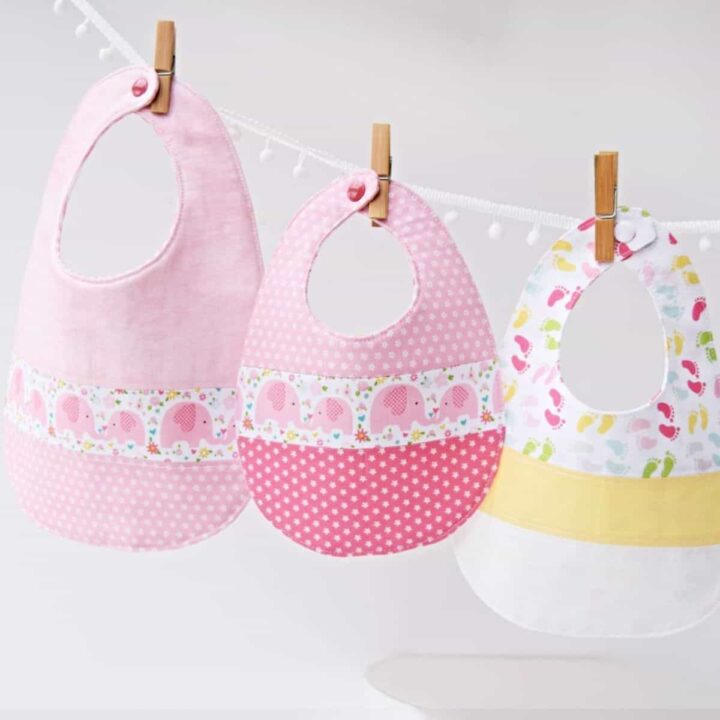
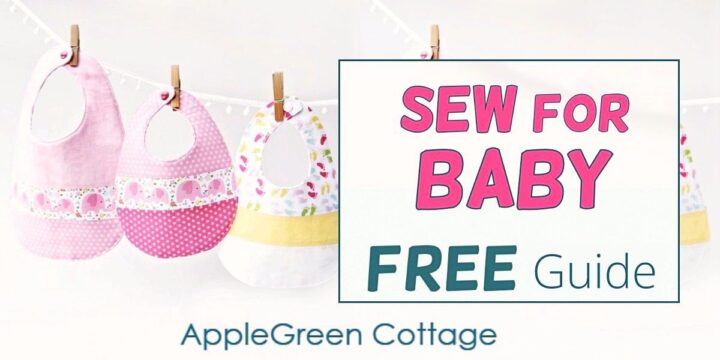
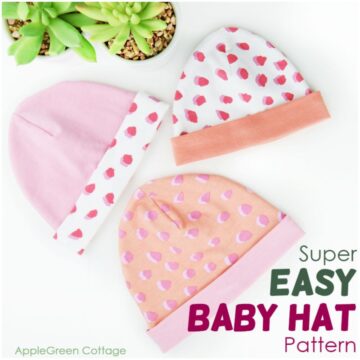
+1 Freebie: Baby Bib
Make a set with our free baby bib pattern in 3 sizes:
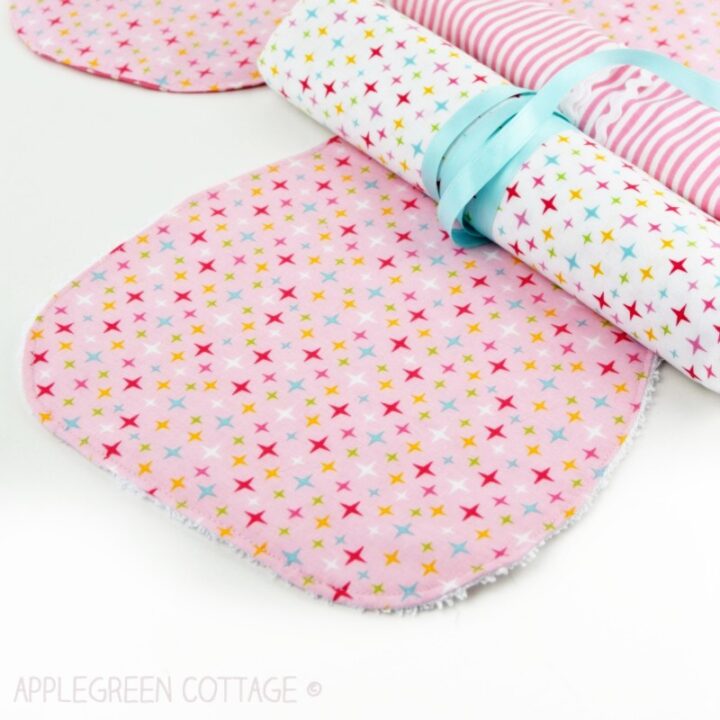
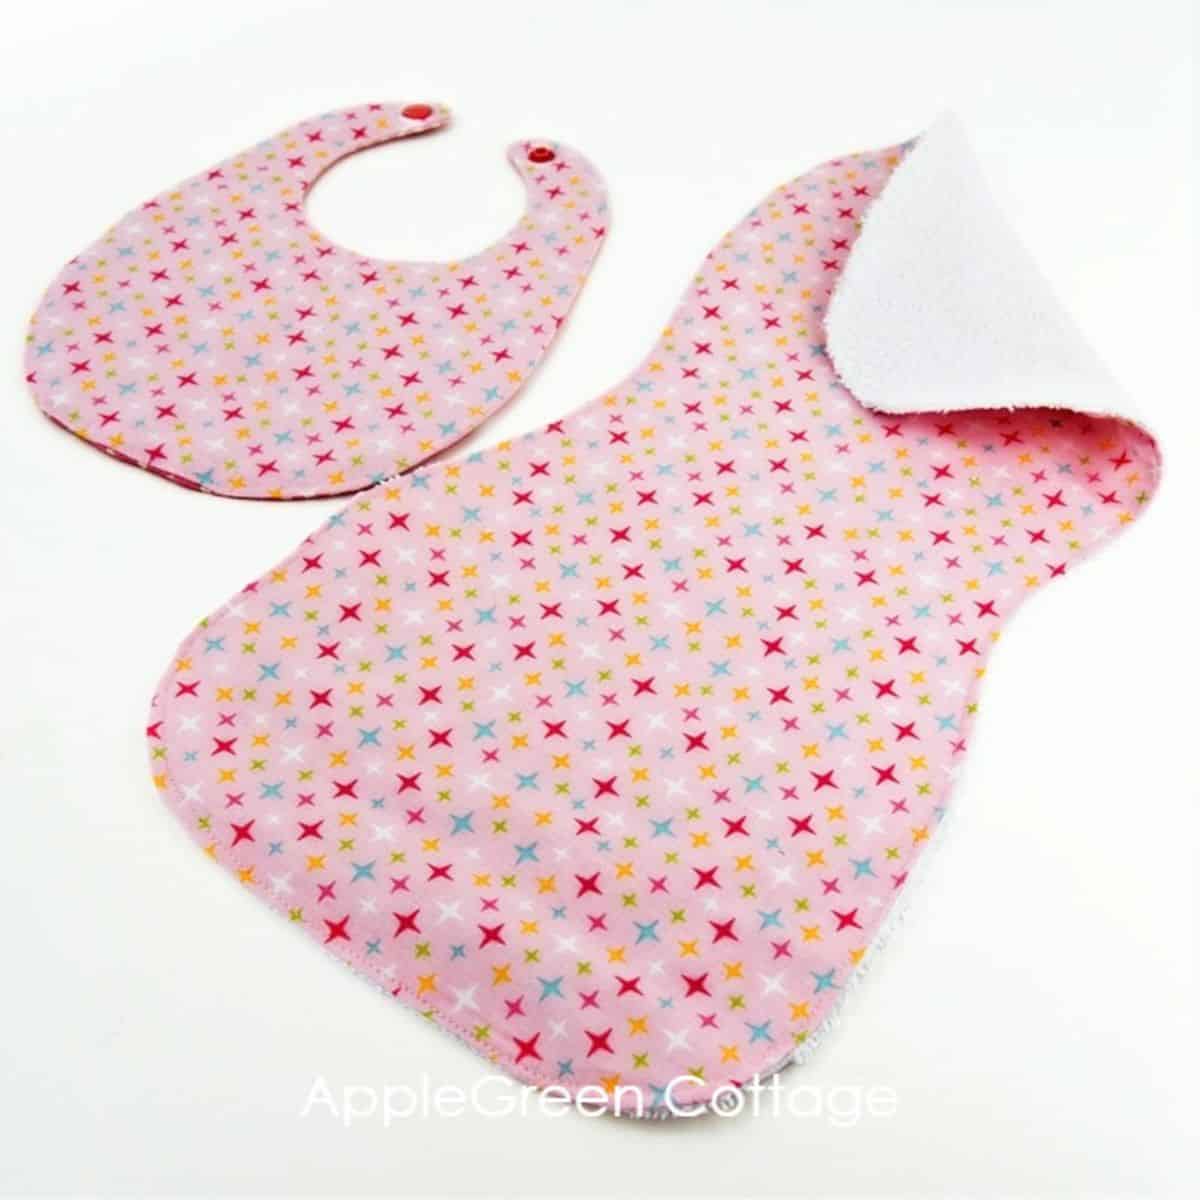
Finished Size of the diy Burp cloth
17" length x 9" width (43 x 23 cm)

What Are The Best Materials to Make a Burp Cloth?
A note on the materials used: as the bottom layer, I recommended terry cloth because it's very absorbent. Check out the towels department in your shop and you might get better off getting those than purchasing fabric by the yard. (just sayin') Other options: chenille, jersey, flannel, even minky! Anything absorbent.
Supplies
- Fabric requirements: 18" x 11" (46x28cm) of cotton, flannel, or double gauze
- same dim. of terry cloth
- sewing machine or needle, pins or sewing clips,
- iron, scissors, or rotary cutter plus cutting mat (I use this one by Olfa)
- burp cloth pattern.
Burp Cloth Tutorial
Step 1 - Get the Free Pattern and Print it out
Get the free burp cloth template emailed to you when you join our mailing list using this link:
Want a printer-friendly option of the whole tutorial+pattern without ads? See the → optional PDF file in our shop.
Download the pattern file to a desktop, open it in ADOBE READER, and print at 100% size on paper or cardstock. (I recommend not printing directly from a browser window or from mobile, it could cause issues.)
Step 2 - Cut the fabric
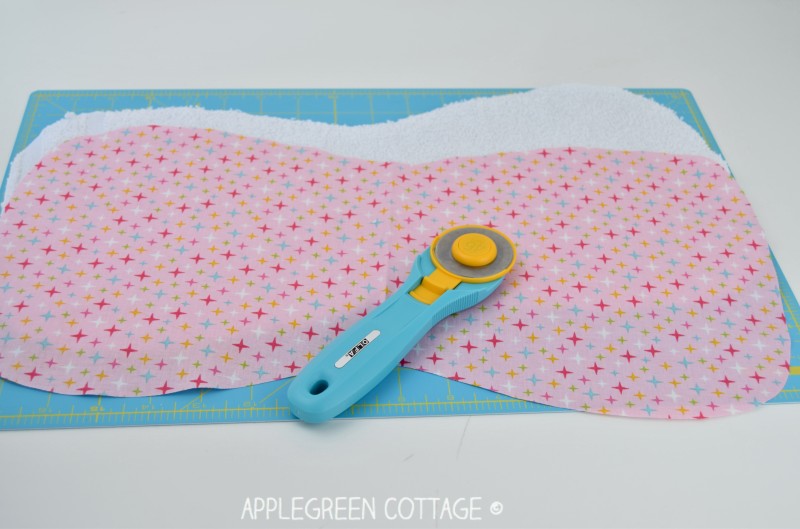
Once you've printed it out, use the template to cut 2 pieces, one from cotton, flannel, or double gauze, and the other one from terry cloth for maximum absorbance. Make sure to cut on fold, as marked on the pattern: first fold the fabric in half, then line up the edge of the pattern where it says 'Place-on Fold' on the fabric fold, then cut.
Step 3 - Stack The Layers
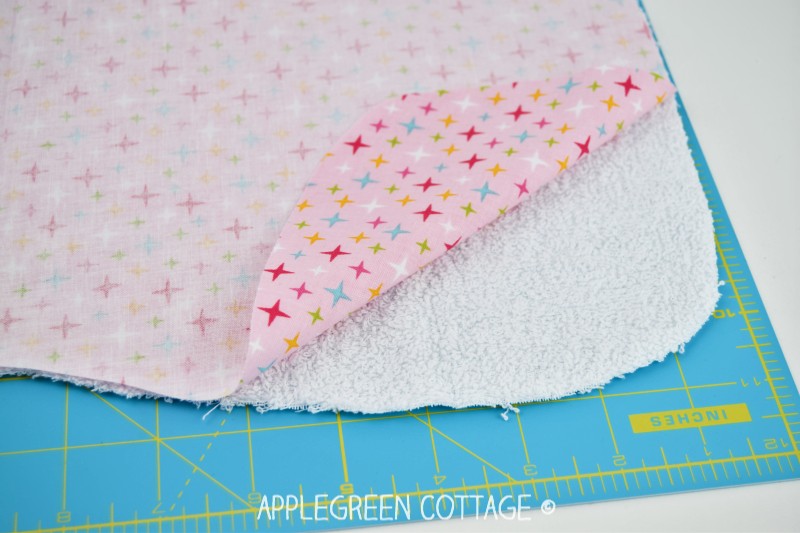
Place the terry cloth on a flat surface, then the other piece, cotton fabric facing down (So the pieces will be right sides together).
Step 4 - Sew the Layers Together
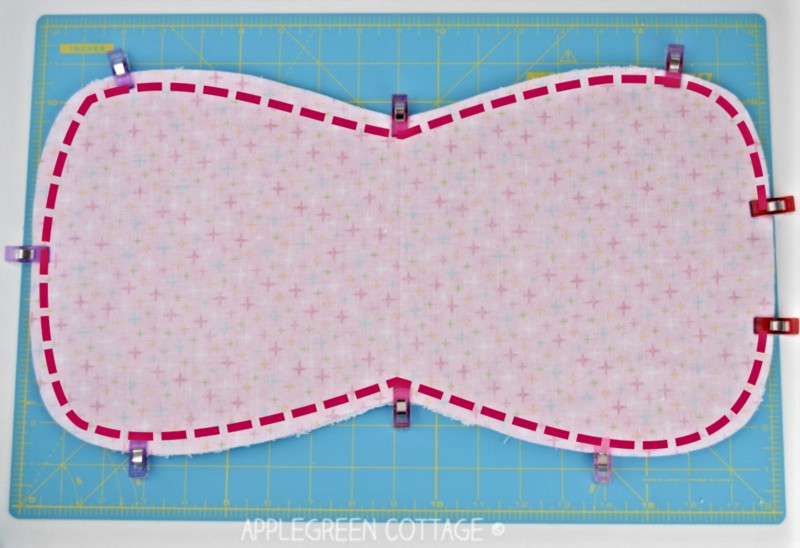
Stitch around using a ⅜" or 1 cm seam allowance. Make sure to leave a 3" (7cm) gap at the bottom, for turning. See the gap on the right side of the image. Go slowly and use a short stitch length, it will make sewing curves a breeze.
Step 5 - Trim Excess Terry Cloth
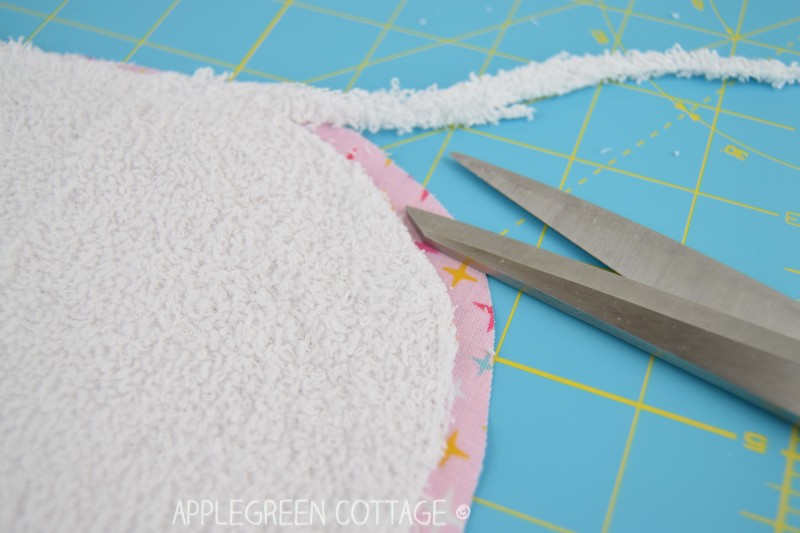
Trim down the terry cloth layer to something like ¼" (0.7cm) to reduce bulk. Do not go less than ⅛" (3mm) to retain seam stability. Also, do not trim down the seam allowance of the 3" part that has not yet been sewn.
Step 6 - Trim the Seam Allowance
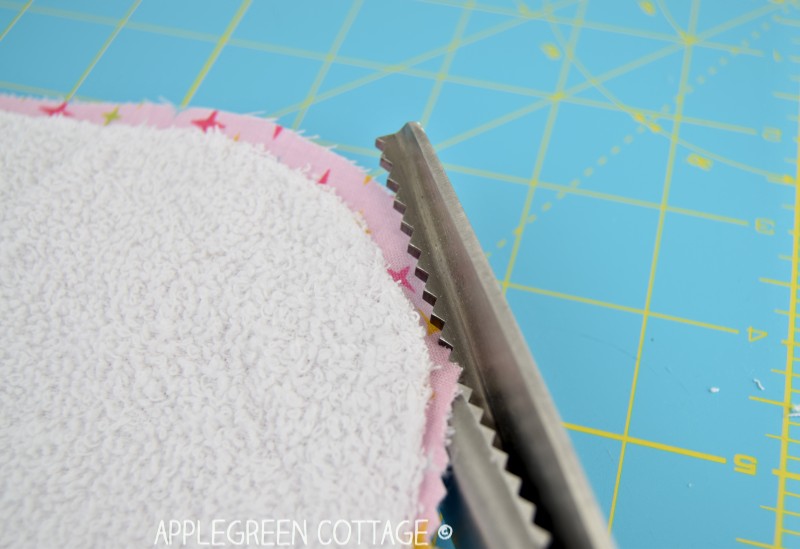
After that, trim the seam allowance on the fabric, using pinking shears (or your regular scissors), taking care not to snip into any stitches. Again, do not trim down the seam allowance of the 3" part that has not yet been sewn.
NOTE: if you just want to quickly trim both layers on the seam allowance at once, you can, of course.
Step 7 - Turn Right Side Out
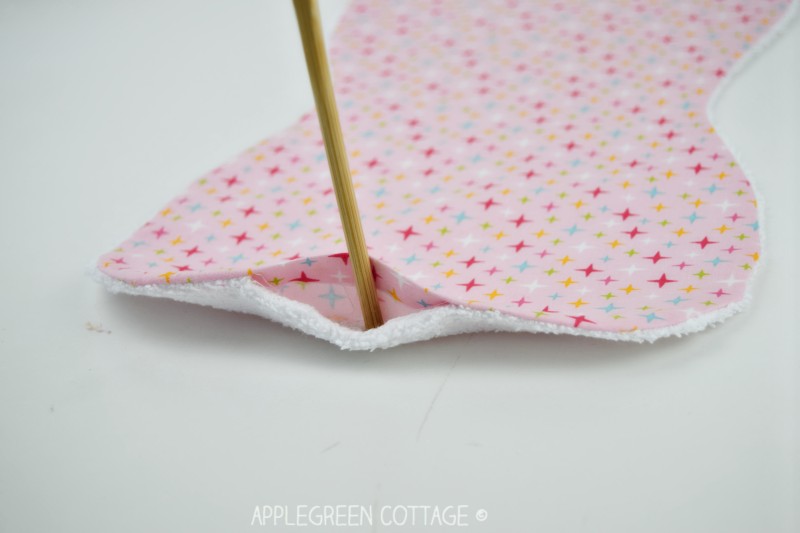
Turn right side out, using a point turner or a non-sharp object like a chopstick or a knitting needle.
Bury the thread ends when topstitching. Here's a popular how-to that can help you with neat seam finishing: How To Finish Seam The Neat Way
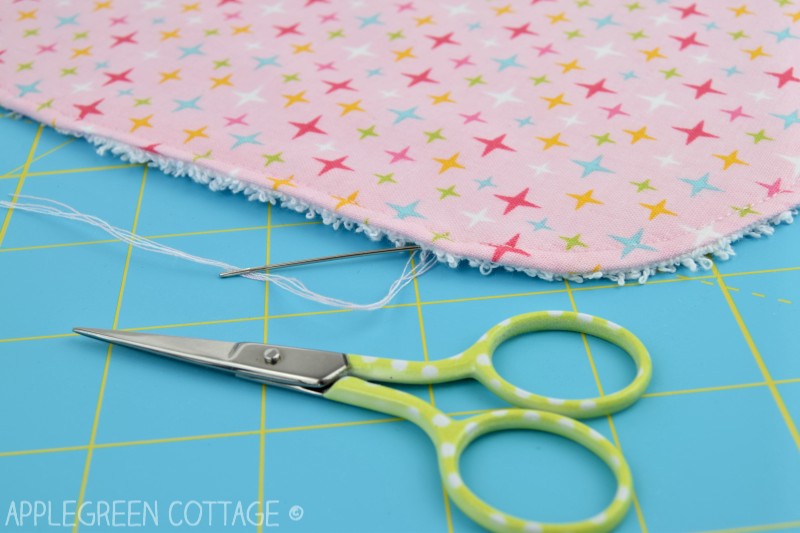
Step 8 - Press And Topstitch
Press well, especially the opening. Topstitch around the burp cloth, also closing the gap.

Done! I hope this makes it super easy for you to sew a load of burp cloths, either for your own or your friends' babies. Enjoy! Also, make sure to get a coordinating free bandana bib pattern, a free baby sized earwarmer headband.

'It is such a great pattern and comes together quickly!' Michele at @handmade_barnswallow
Popular Questions Answered
Also, here and there, I get a question or two about this particular pattern from readers of the AppleGreen Cottage blog. I'll use this section to answer your questions:
While a simple cloth, folded a few times and thrown over your shoulder would do just great, you wanted to know what the best shape is: and it's this one, the hourglass-shaped burp cloth. It sits nicely on your shoulder, and it does not slip as easily. Another thing is - when I had my babies, I did not like using rectangle burp cloths - because I didn't like the fabric bunching around my neck. My rounded burp cloth template solved this issue nicely.
My readers love this type of rounded burp cloth template, and I'm so glad I can help you all make the best-shaped burp cloths out there. Ask new parents, and they will agree!
Of course, you can! It's a soft, absorbent, wonderful material for burp cloths. You can get it in a variety of patterns and colors, no longer just the tartan 🙂 But there is one thing you need to be careful about when sewing flannel burp cloths - always prewash your flannel, as it will shrink- a lot. Must-see tips about sewing flannel here.
Absolutely, I always did. It's a good idea to prewash any new fabric items before they come in contact with your baby's delicate skin.
Ask any new parent: never. First, think about how many times a day (and night) a baby needs to eat - and now this might just be the number of clean burp cloths you need to be stacked somewhere close by. In addition to all those waiting for the washer, and ones in the dryer. With a baby in your home, it might truly feel like you can never have enough burp cloths.
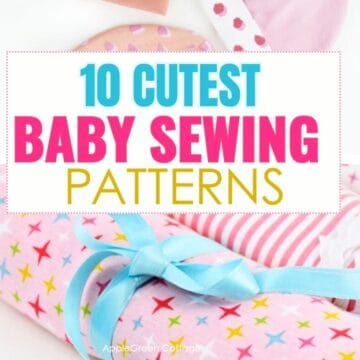
Want more baby sewing patterns?
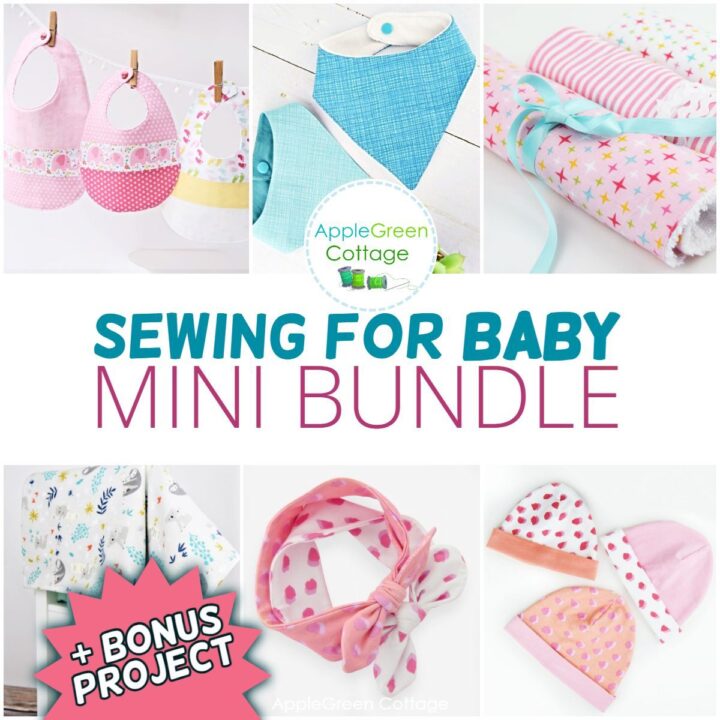
6 BABY Patterns + BONUS
Love sewing for babies? See THIS!
Make sure to grab ALL of the free baby sewing patterns on this site:
Want A Printable Copy of the Whole Tutorial?
Want a printer-friendly option of the whole tutorial+pattern without ads? See the → optional PDF file in our shop.

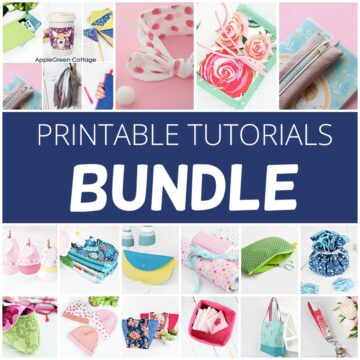
This tutorial is also part of Printable Tutorials BUNDLE
90+ PDF tutorials now, and growing!
Also check out our shop for the Ultimate Diaper Clutch Pattern and sew a thoughtful gift for new moms - a perfect baby shower gift:
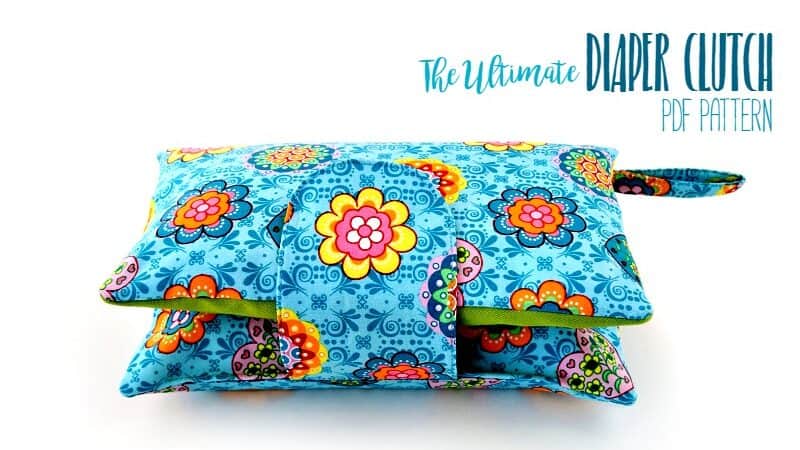
'So pleased with my first Diaper Clutch Bag! Made for a very special friend about to have a little girl, she was delighted with it!' - Heather at @crafted_by_heather
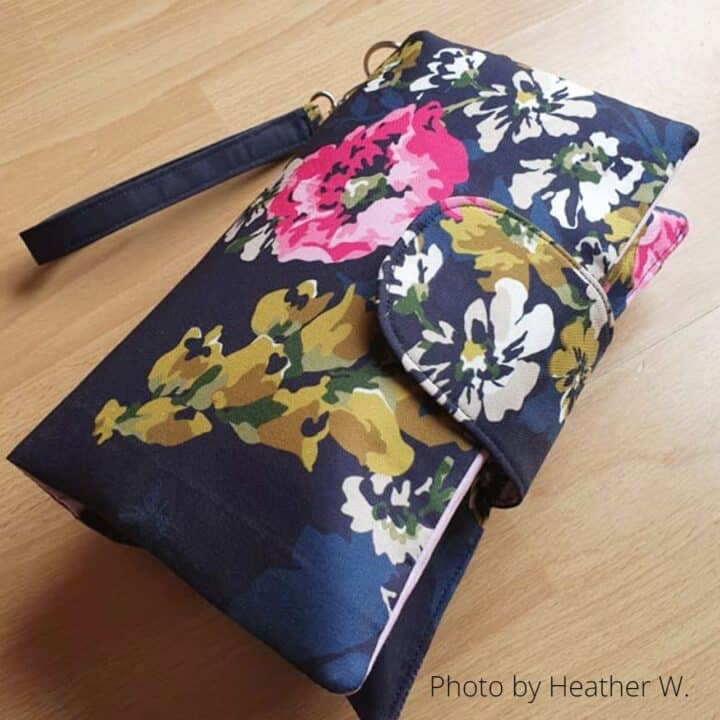
Ultimate Diaper Clutch pattern
'Thank you Damjana for this great versatile pattern!' - Helene C.
Ultimate Diaper Clutch pattern


CJ says
GREAT PATTERN! Made a few for a friend and they were very well received. Thanks!
Jane Hess says
I usually put a layer of batting between the flannel, which makes the burp cloth more absorbent. The flannel has been prewashed but the batting might shrink a little.