
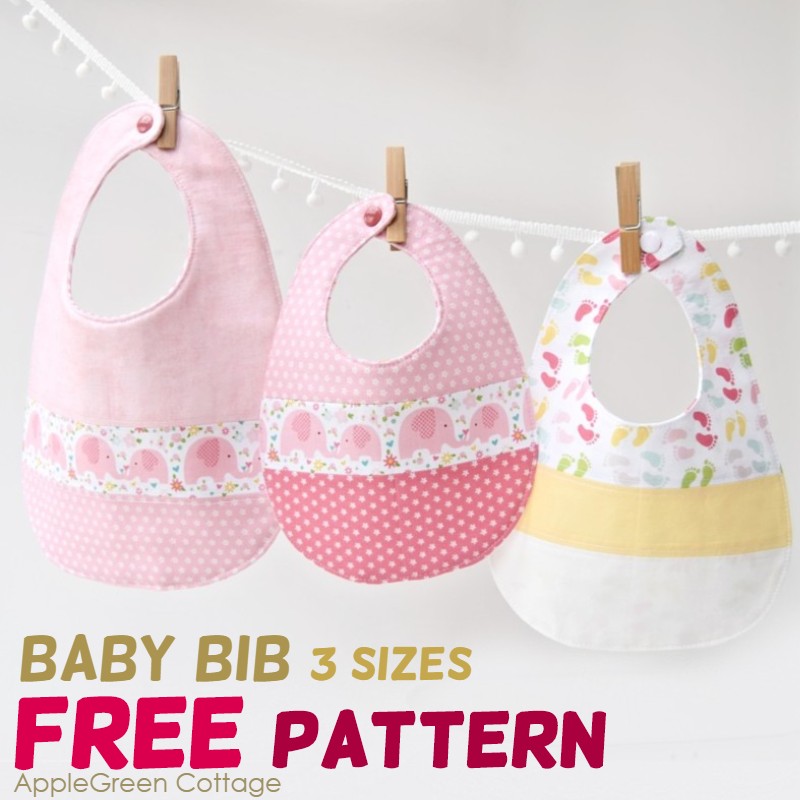
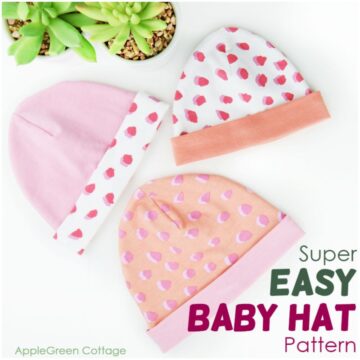
This free baby bib pattern is one of my most popular, and for good reason! It's quick, beginner-friendly, and comes in 3 sizes - perfect for newborns, drooly toddlers, and every messy moment in between.
Whip up a bunch and pair them with my Ultimate Diaper Clutch for a handmade set that every new mom will love. - Bonus: Get my top tips to make them extra absorbent!
Prefer an ad-free printer-friendly option of the whole tutorial+pattern? See the → optional PDF file in our shop.
Are you looking for the best ideas to sew for baby? Check out my FREE baby sewing course!
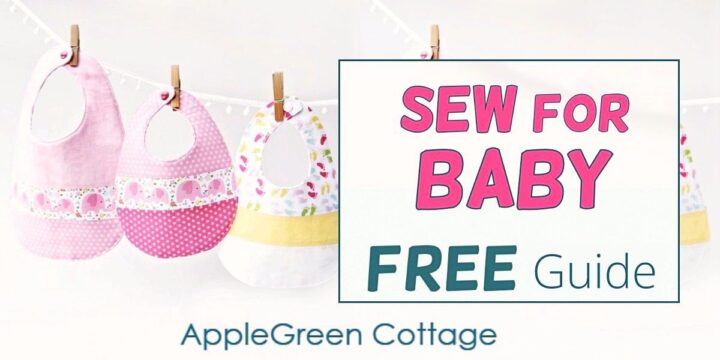
Join the FREE 6-part email guide and sew the CUTEST things for a baby - the EASY way! You'll get my best baby sewing ideas by email.
Why You'll Love this Baby Bib Pattern
- Perfect shape & Practical - A must-have for everyday use.
- 3 Free Sizes - Comes in three free sizes to fit newborns up to 4-year-olds.
- Quick & Easy to Sew - simple and beginner-friendly.
- Perfect for Gifting - Handmade baby essentials are always a hit!
TIP: If you're sewing them as a gift, start with the free newborn bib pattern size and make a few in larger sizes too - that would make the perfect gift set!

I designed these for my own babies - and they're still one of my favorites. 😊
Now you too, can sew a perfectly shaped, compliment-worthy bib that's great for drooly babies, messy toddlers, or a sweet baby shower gift.
Baby Bib Sewing VIDEO
First, for those of you who like video tutorials, I've made a video slide-show to get the feeling of how easy it is to sew one:
What is the Finished Size of these baby bibs?
Width x Length:
- Newborn bib size (Small, 0-3 months) 7" x 9 ½" (18 x 24 cm)
- Baby bib size (Medium, 3-12 months) 8" x 10 ½" (20 x 27 cm)
- Toddler bib size (Large, 1-4 years) 9 ½" x 12 ½" (24 x 32 cm)
Neck Opening (circumference): Newborn Size 9 ½" (24 cm), Baby (Medium) 11" (28 cm), Toddler (Large) 12" (31 cm)
What size baby bib does my baby need?
If you are not sure what size baby bib your newborn needs, it's always better to go one size up. You can add a second kam snap to the back, so there are two sizing options in one single baby bib. How cool is that!
Supplies
Shop my personal favorite sewing supplies on Amazon HERE.
- A fat quarter of quilting fabric (I used a few pieces from Lori Whitlock's Sweet Baby Girl collection.)
- Fat eighth of terry cloth: 14" x 11" (36cm x 28cm) /alternative: sew-in batting, interfacing
- A set of KAM snaps or metallic snaps or Velcro tape
- sewing machine or needle, pins or sewing clips,
- iron, scissors, or rotary cutter plus cutting mat (I use this one by Olfa)
- baby bib pattern
Baby Bib Sewing Steps
Let's sew! This project uses a ⅜" (1 cm) seam allowance, except for optional piecing, which is ¼" (6 mm).
Step 1 - Get the Free Baby Bib Pattern
Join our mailing list and get the baby bib pattern emailed to you:
Prefer an ad-free printer-friendly option of the whole tutorial+pattern? See the → optional PDF file in our shop.
Print the pattern onto a piece of cardboard or paper.
Step 2 - Select the size and options
Decide on the size you need. When in doubt, choose the larger size.
Decide on whether you'll be making a simple bib or a pieced version. See 2 options in the photo below.

Step 3 - Optional Piecing
If you want your bib front pieced like I did mine (see the piece above?), you'll first cut three pieces of fabric and stitch them together using a ¼" seam allowance (0.6 cm).

To make it super easy for you, I did all the measuring and here are the dimensions:
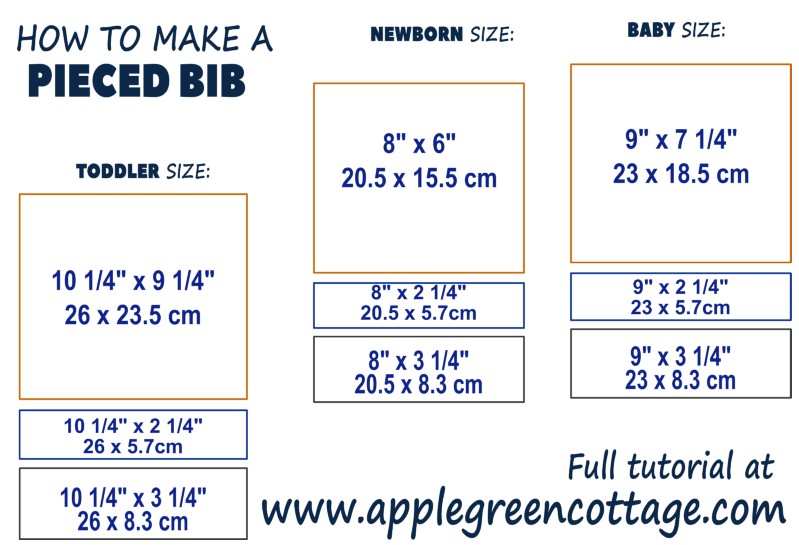
Sew the three pieces together using a ¼" (6 mm) seam allowance. Press the seams open.
You'll get these pieced rectangles, depending on the bib size you did piecing for:

Step 4 - Cut The Baby Bib Pieces And Interfacing
Then use the template to cut 2 pieces from fabric and 1 from interfacing, interlining, or best a layer of terry cloth for maximum absorbance.
Bonus tips - What Interfacing to use for baby bibs?
Now, a few words on absorbance and a suggestion for extra-drooly babies: use terry cloth as an interlining layer. Here's an image to show you options and from left to right, it's terry cloth, then thin woven fusible interfacing and batting. They are all good, but terry cloth will always be the preferred choice for me when sewing bibs.

Step 5- Layer The bib pieces
Place the terry cloth on a flat surface, then one piece of fabric right-side-up, and the other piece of fabric facing down (So the fabric will be RST, right sides together). Like this:

Step 6 - Sewing the bib
Stitch around using a ⅜" or 1 cm seam allowance. Make sure to leave a 3" (7cm) gap at the bottom, for turning. Go slowly and use a short stitch length, it will make sewing curves a breeze.

Step 7 - Trim Off Bulk On the Seam
Trim down the terry cloth layer close to the stitching line to reduce bulk. Like this:
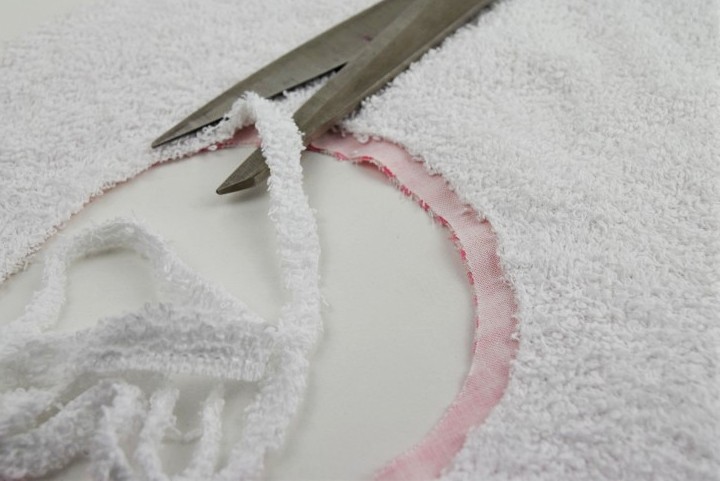
Also, trim and notch the seam allowance on the fabric, using pinking shears, taking care not to snip into any stitches. I use my tiny and cute (and sharp!) polka-dot scissors to cut tiny V-shaped notches into the curved edge portions. One thing to remember: do not trim down the seam allowance of the 3" part that has not yet been sewn.

Step 8 - Turn the Bib Right Side Out And Close the Gap
Turn right side out, using a point turner or a non-sharp object like a chopstick or a knitting needle.

Press well, especially the opening. Topstitch around the bib, also closing the gap.
Step 9 - Add Kam snaps or Other Type of Bib Closure

Last step: add KAM snaps - I made a tutorial for you if you're new to KAM snaps! Alternatively, add a button and a buttonhole - but it's not as quick.
I hope this free infant bib pattern makes it super easy for you to sew a load of baby bibs, either for your own or your friends' babies. Start with the free newborn bib pattern size and make a few larger sizes too - that would make the perfect gift set. Enjoy!
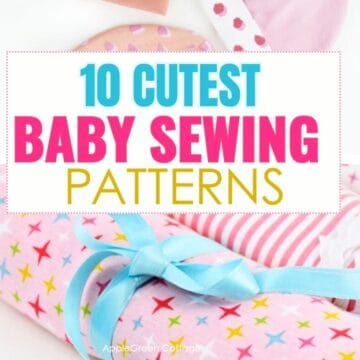
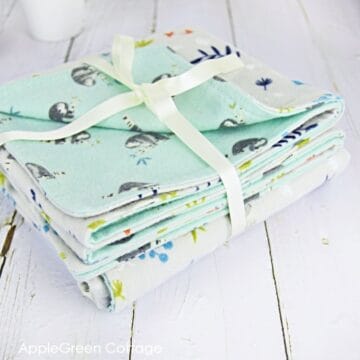
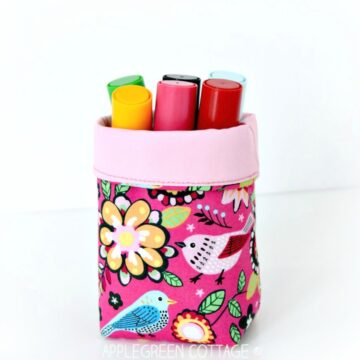
Want more baby sewing patterns?
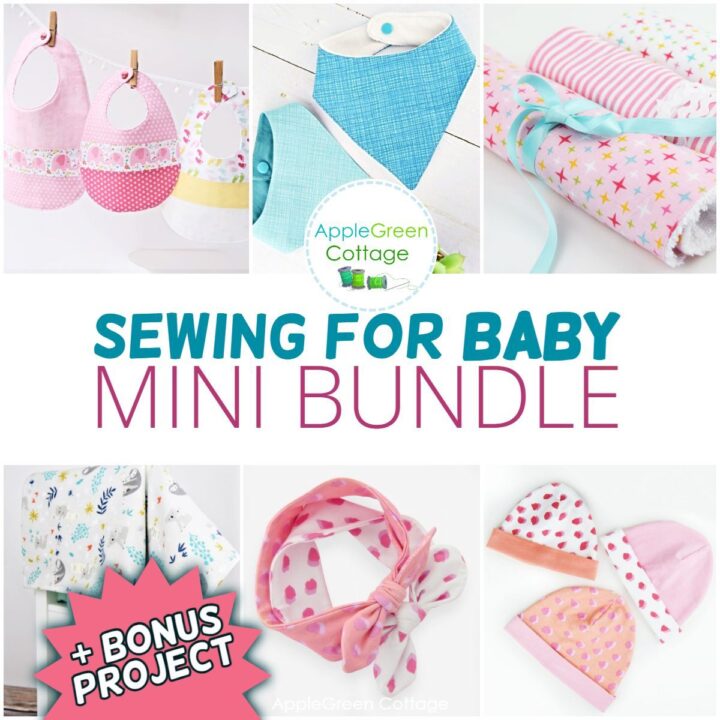
6 BABY Patterns + BONUS
Love sewing for babies? See THIS!

'It is such a great pattern and comes together quickly!' Michele at @handmade_barnswallow
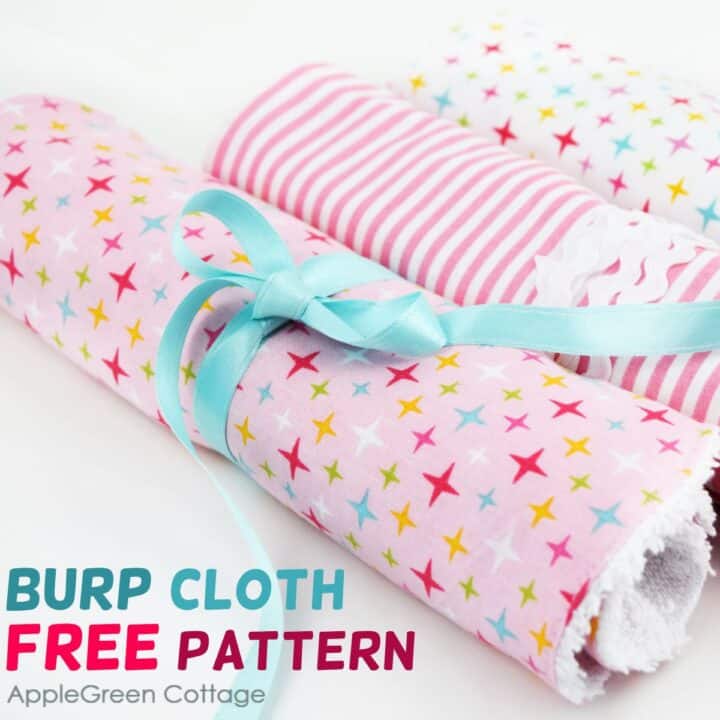
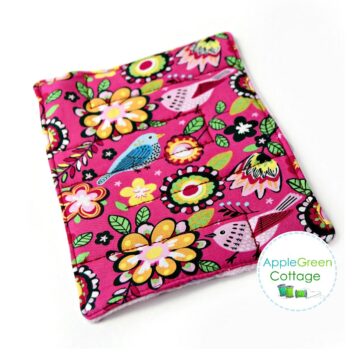
+1 Freebie: Burp Cloth
Make a set with our free burp cloth pattern in 3 sizes:
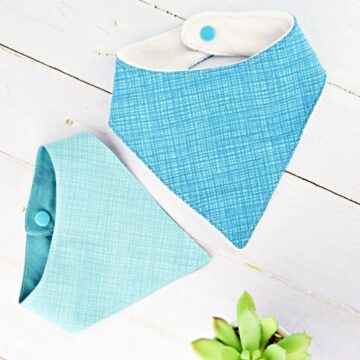
Also, make sure to get a coordinating free bandana bib pattern, or a free baby headband pattern. Now use up your stash making lots more. If you share your bibs on Instagram, make sure you tag #applegreencottage so I can find them and see!
Want a printable copy of the whole tutorial?
Prefer a full, ad-free and printer-optimized Printable Tutorial with both instructions AND pattern included? ↓↓

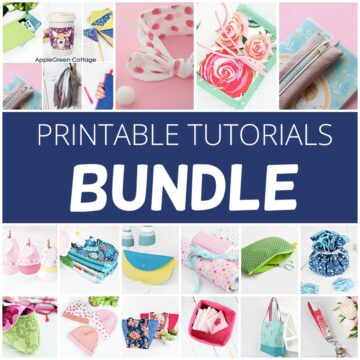
This tutorial is also part of Printable Tutorials BUNDLE
90+ PDF tutorials now, and growing!
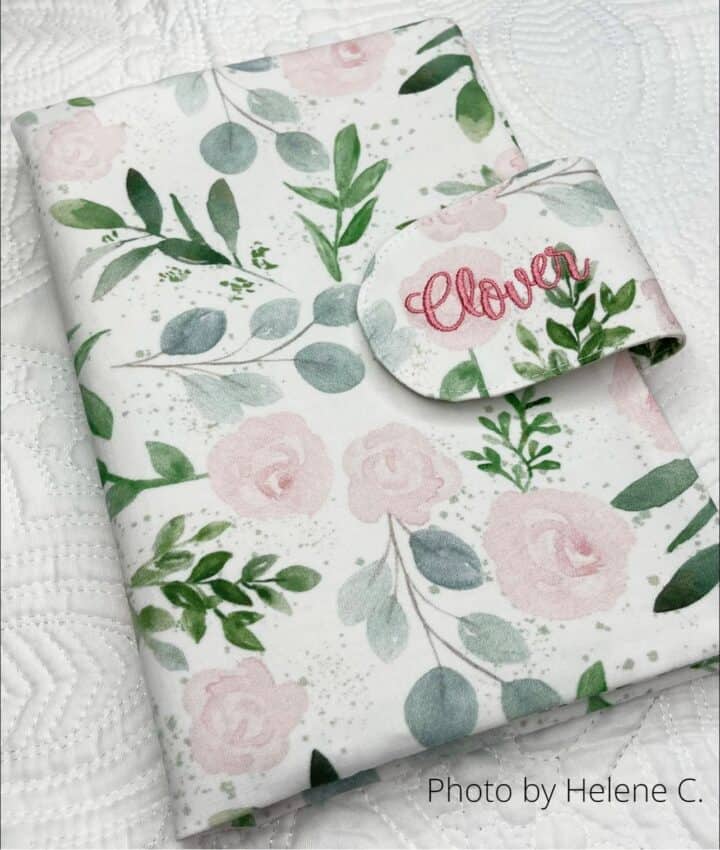
Or check out this popular pattern in our shop: Ultimate Diaper Clutch - a perfect baby welcoming gift every new mom would love to get:
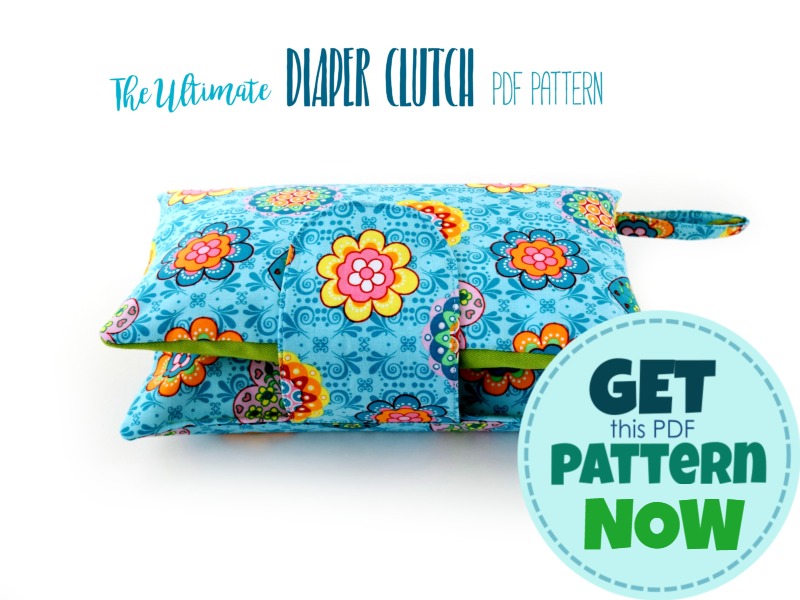
'So pleased with my first Diaper Clutch Bag! Made for a very special friend about to have a little girl, she was delighted with it!' - Heather at @crafted_by_heather
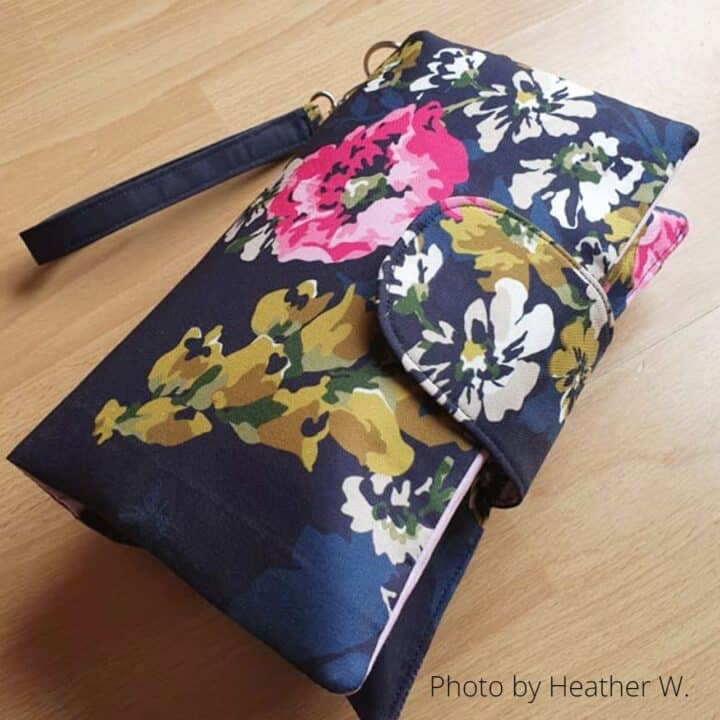
Ultimate Diaper Clutch pattern
'Thank you Damjana for this great versatile pattern!' - Helene C.
Ultimate Diaper Clutch pattern


Tutorial Fan says
Love this tutorial; thanks for sharing the clear steps!
Nina says
Hello from Ontario, I completely love your bibs and can't wait to start sewing them. A question though, I have some flannel scraps. Would this be OK to use ore should I stick to cotton?
Damjana says
Nina hi, flannel works great! Just make sure to prewash the flannel as it shrinks a lot. Happy sewing!
Nina says
👏👏 so excited thanks
Suzan says
Hi,
Just printed out your patterns today and made a NB and Baby. The neck opening measurements I’m confused with. Can you tell me how you’re measuring so I can understand. Measuring across the neck opening of the newborn without snapping yet I measure 3&1/2”. I’m not sure how your measuring to get 9&1/2”
Please advise.
Thank you so much.
Damjana Jakos says
Suzan hi, thank you for reaching out. The measurements for the neck opening are actually the circumference of the neck opening, not just the width across. So, for the newborn size, it should measure 9 ½" (24 cm) around the neck, not flat across. The same applies for the Baby (Medium) size at 11" (28 cm) and the Toddler (Large) size at 12" (31 cm).
I hope that clears things up! Let me know if you have any more questions. 😊
Julie Jacks says
These are the cutest bibs. I made my first one. I'm having a problem with the towel shedding all over me and the floor. I'm thinking next time I will use flannel for the middle piece. I'm going to stick with it, though. The next bib should go a lot faster.
Em says
Hello ! Great pattern I am very excited to try it. I am just curious, could you make the bibs with terry toweling on the bottom and one cotton fabric layer on top? Or do you recommend the double layer of cotton on top and terry toweling lining (3 layers?) Kindest, Em
Kenda Tucker says
I haven't sewed in many years and this pattern and burb cloth were perfect to start with. So easy to do and my sewing skills are coming back after 20 years of not sewing. Thank you for sharing these patterns. My niece is having twins and I have a couple of other family members pregnant I'll be making lots of these sets for them.
Esther Ward says
Thank you so much for sharing such a delightful pattern. I appreciate it very much x
Sandra Browning says
Mary was asking for an easier way to turn the bibs right side out. I have found that using a chop stick from our local Chinese restaurant is greatly helpful in turning them right side out. The chop stick is less likely to push through the fabric and it gets into small crannies pretty well.
Damjana says
Sandra hi,
a great idea, thank you.
Mary says
I loved making these bibs. The only part is turning them right side out. Do you have an easier way.
Damjana says
Mary
thank you. Well as for turning, I've seen a few bibs where the layers were just sewn together and the raw edges were serged or zigzaged, so no turning. But those will not last as bibs always get a lot of laundering, and personally I prefer clean edges, and absolutely no chance for loose threads around a baby's neck. But with practice, even turning a bib right-side out will become easy, especially after you've made a few. Happy sewing,
Damjana
Canadiansewist says
Thanks for this pattern! I ended up securing the bibs with a button instead of snaps and it worked out well! I accidentally used 5/8ths seam allowances rather than 3/8ths but they still turned out fine! This was the perfect project to do with scraps from a baby quilt I'm making. Love it. 🙂
Kim says
Hi do we see on the line or do we sew 3/8 from the line of the bib (in other words is the seam allowance allowed in pattern pieces already
Damjana says
Kim,
a great question: yes, the seam allowance is already included in the pattern. happy sewing,
Lisa Forshey says
Hi! Love your baby bib pattern, but my finished bib is not the same measurements as yours.
Lisa 🙂
Damjana says
Lisa hi,
thanks for using my pattern. First thing that comes to mind is - did you use the 3/8" (1 cm) seam allowance when sewing the bib layers together? And secondly, did your printer print the pattern at 100% size (no scaling)? Hope this helps, xoxo,
Damjana
Diane Pakler says
I love your bib pattern! I can't wait to get started on making several. What size Kam Snaps do you use on the bibs? Thanks so much!
Damjana says
Diane
thanks. I always use size 20 (T5) - see here why: https://www.applegreencottage.com/how-to-install-kam-snaps/
Paula says
I was looking for some easier(I'm still learning) sewing projects online and came across your site which has some beautiful projects, I can't wait to start sewing!! Thank you!
Damjana says
Paula hi,
so happy to hear that, thank you. Happy sewing,
Deb E says
Love that there are three sizes, and since I'm in the middle of making a baby quilt for a soon to be born little one, she'll enjoy those bibs! Thanks so much! Deb E / CA
Damjana says
Deb,
I'm so glad to hear that! Happy sewing,