
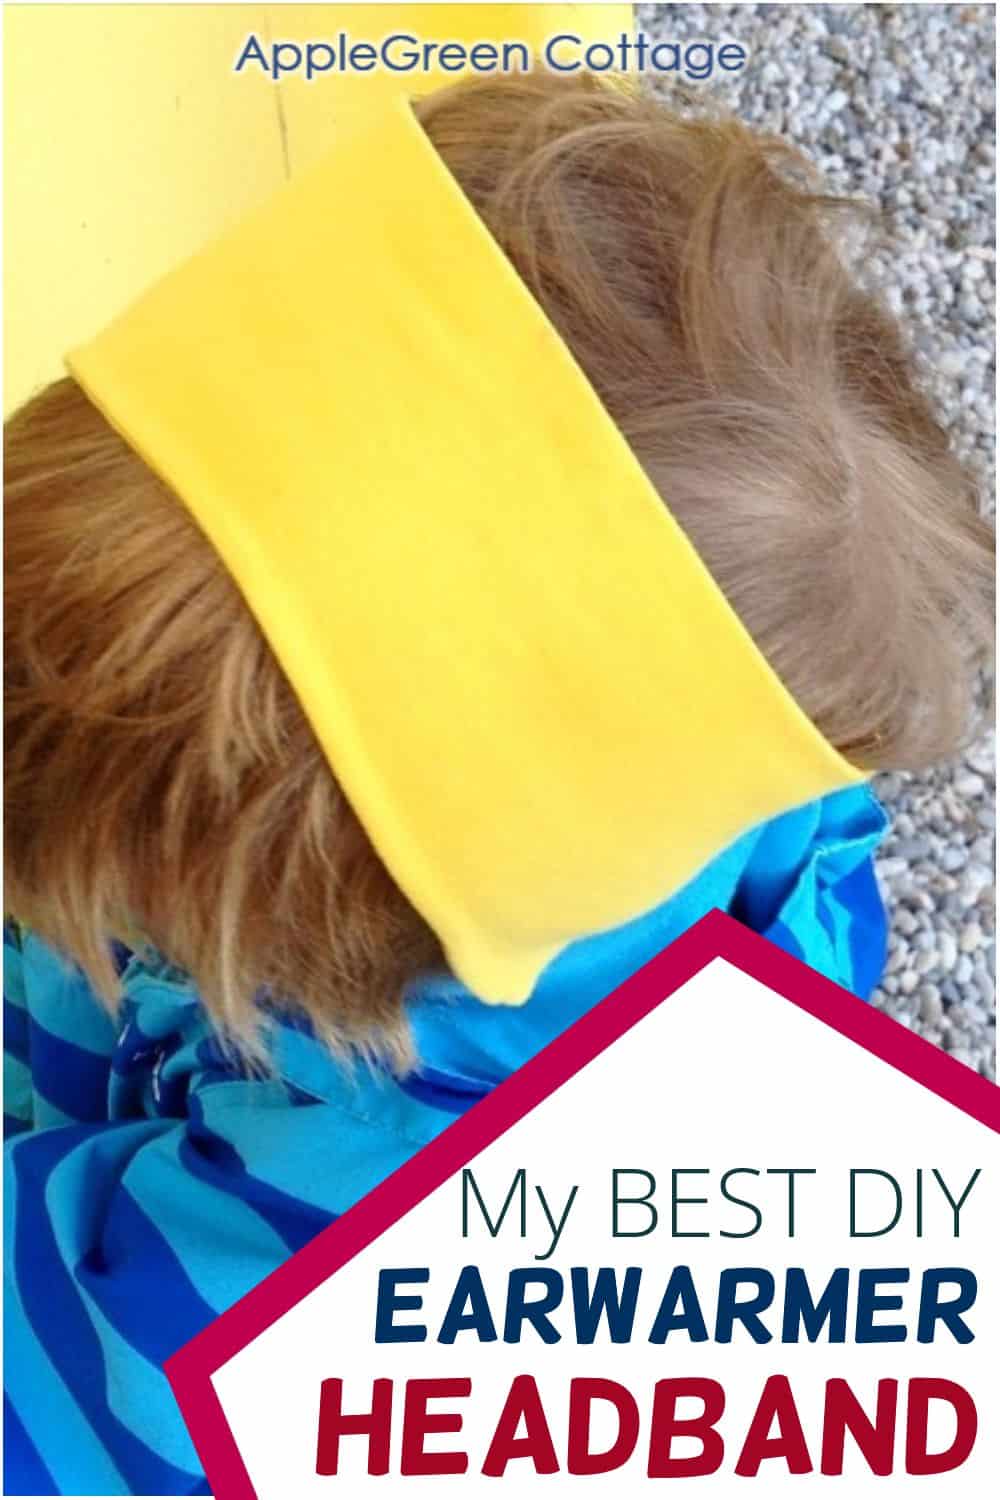
Make an ear warming headband using this easy ear warmer headband pattern. This is my best diy earwarmer: one that actually stays in place, protects my ears in the wind, and is so comfortable. A perfect fall accessory you can make in a really short time. Did I mention it's a beginner sewing project? Easy and fun!
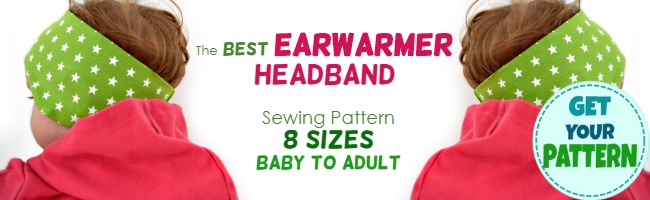
There is a PDF sewing pattern available in 8 sizes in our shop, or you can get the 3 smallest sizes for free when you join our free mailing list here.
If you've never sewn with knits before, this is the perfect place to start. The earwarmer headband tutorial includes detailed, beginner-friendly instructions with lots of step-by-step photos. Also, you get several bonus tips to make it even easier. No serger? No problem. Tips for sewing with a regular sewing machine included!
 are free to download for email subscribers. This perfect headband pdf pattern will add a pop of color to your kids' fall wardrobe AND let them stay WARM outdoors this fall.")
This post includes affiliate links. Thanks for your support! If you like making accessories, you'll love these free projects, too:
- How To Make a Scrunchie
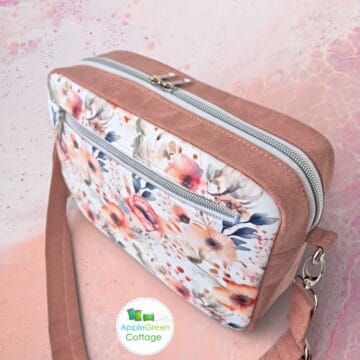
- Mini Pouch - Free Pattern
- These Easy Diy HAIR BOWS (Video too!)
Ear Warmer Headband
Would you like to add a pop of color to your kids' fall wardrobe and let them stay warm outdoors this fall? Or do you want your perfect, no-fail running earwarmer so you can go jogging in any weather? You've found your perfect accessory: this ear warmer headband pattern!
 are free to download for email subscribers. This perfect headband pdf pattern will add a pop of color to your kids' fall wardrobe AND let them stay WARM outdoors this fall.")
I'll tell you why I love these ear warmer headbands. And here's why you'll love them too:
Ear Warmer Headband Pattern Features
- PERFECT FOR transitions between seasons: They're wide enough to actually protect the head from wind (but don't make the kid sweat like those winter fleece ones!)
- Ear flaps fully cover the ears (but don't obstruct the kid's eyes!)
- Stays in place (no slipping during the play!)
- Easy and inexpensive to make.
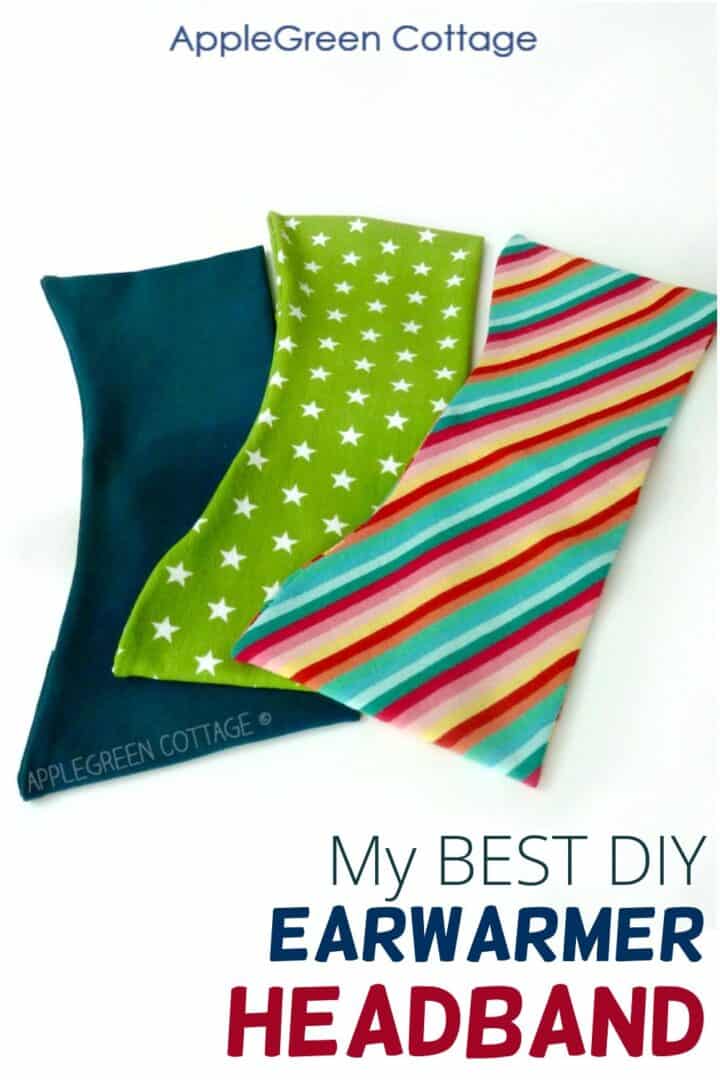
- A great scrap buster!
- Make a great and easy homemade gift!
Now, are you in? Let's make an earwarmer headband together!
Supplies
You'll need:
- a 24"by 11" piece of cotton blend jersey
- sewing thread (here I used a thicker, contrasting thread to make it easier for you to follow the tutorial)
- sewing machine
- ballpoint needle (A must for sewing knits.)
- iron
- scissors
- pins
- pattern (make or get one - get the smallest 3 sizes (baby-1 yr) for free when you join AppleGreen Cottage newsletter HERE)
I used a 5.8 oz weight jersey for this tutorial, it's a 95% cotton + 5% spandex blend. It has a moderate stretch. You can use your fabric scraps, this is a great scrap-buster project.
Headband Sizing
The full pattern in the shop comes in 8 sizes (baby to adult), ranging from 15" to 23"
You'll notice that the sizes are a bit larger than the regular headband sizes. This is due to a wider, ear-covering form that will stretch less than the thinner variations of headbands we usually see in the market.
Earwarmer Pattern
There is a PDF sewing pattern available in 8 sizes in our shop - but wait! You can get the 3 smallest sizes for free when you join our free newsletter here.
Need A larger Size?
If you need larger sizes, the Earwarmer Headband PDF Pattern with tutorial is available in our shop. It's not free, but with the additional sizes up to adult sizes (total 8 sizes), you should be covered for life.
It comes in 6 kids + 2 adults sizes (total 8 sizes), complete with instructions and sewing tips. You can check it out here if you like:
Want more baby sewing patterns?
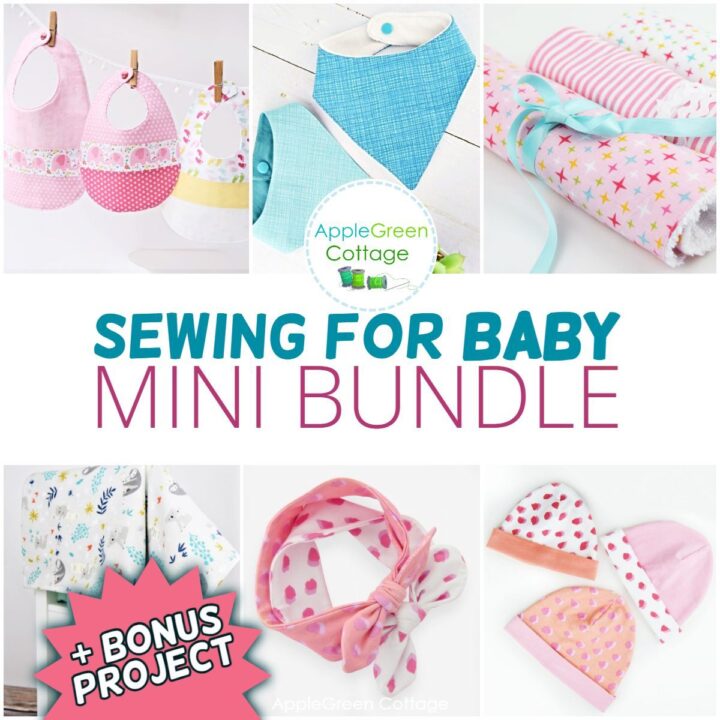
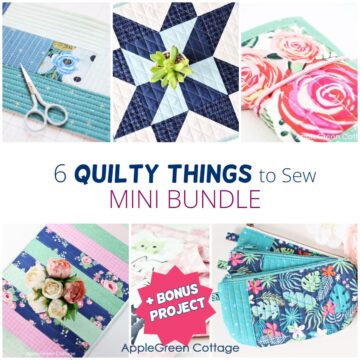
6 BABY Patterns + BONUS
Love sewing for babies? See THIS!
DIY Earwarmer Headband TUTORIAL
And here's a video slide-show for those of you who prefer video how-tos. (and all the separate steps are added below) Check it out here:
To make it even easier for you, the how-to is split into three sections. Makes it even easier to follow!
A) The Perfect TEMPLATE
You can make your own ear warmer headband pattern or choose one of my patterns to make your project really fast!
You can:
a) Get your pattern in 3 smallest sizes (3 months - 1 yr) when you join our mailing list.
b) OR, if you need a larger size, order the complete, 8-size pattern in the pattern shop. It's not free, but with the additional 5 sizes (baby+toddler+kid-teen+adult), you could use it for everybody in your family.
c) OR, you can draw your own template: wrap a piece of your fabric around the kid's head and add the 0.5 cm for seam allowance. You'll also need to add ear flaps, which may be a bit tricky - you need to catch the right position (exactly covering the ear area, not too far back or close to the front.) You might need a bit of a try-and-test approach. I'd suggest this only if you've got enough time and fabrics for a second/third try.
TIP: No matter how you start, always measure your child's head to be sure you are making the correct size

B) CUTTING the Fabric
1) Draw or download your ear warmer headband pattern.
2) Lay the piece of jersey on a flat surface, right side up (=facing you), with the stretch running side to side. Usually, this means that you'll see the tiny ribs running vertically.

Stretch direction is VERY IMPORTANT here!
3) Fold your jersey twice:

- First, grab the right edge and fold it in half. Now you've got the fold on the right side and the jersey right-sides-together.
- Second, grab the folded upper edge of the fabric and fold it in half by placing it onto the bottom edge. Now you've got four layers of jersey nicely stacked.
4) Place the ear warmer headband pattern over the four layers. Please make sure that one corner of the template (marked by a red dot!) is placed on the 4-fold corner of the jersey! Add a ¼" seam allowance on two sides (as marked in the template.) Then cut.

TIP: Always measure your child's head to be sure you are making the correct size.
5) Unfold the cut fabric once so you get this double-layered piece (i.e. folded only once):
 are free to download for email subscribers. This perfect headband pdf pattern will add a pop of color to your kids' fall wardrobe AND let them stay WARM outdoors this fall.")
C) SEWING ear warmer headband pattern
1) Now you've got the piece of jersey folded once, right-sides-together (face-to-face) along the long line. Start sewing approximately 2 inches (5 cm) from the edge and stop at least 2 inches before the end. Seam allowance: ¼"
 are free to download for email subscribers. This perfect headband pdf pattern will add a pop of color to your kids' fall wardrobe AND let them stay WARM outdoors this fall.")
(The seam in this photo is a bit wavy because I used my regular foot. If you've got a walking foot, use it, the seam will look nicer!)
2) Secure stitch, then trim any excess fabric on the curved part (this way you'll reduce bulk and the curved part will look nicer.). Then turn the sewn piece right side out. Press.
 are free to download for email subscribers. This perfect headband pdf pattern will add a pop of color to your kids' fall wardrobe AND let them stay WARM outdoors this fall.")
3) Now pin the short ends of the headband, right-sides-together, like this:
 are free to download for email subscribers. This perfect headband pdf pattern will add a pop of color to your kids' fall wardrobe AND let them stay WARM outdoors this fall.")
4) Sew them together using a ¼" seam allowance, backstitch as needed to secure.
 are free to download for email subscribers. This perfect headband pdf pattern will add a pop of color to your kids' fall wardrobe AND let them stay WARM outdoors this fall.")
5) Tuck the sewn part back to form a tube-like headband. Press. Now you'll be able to finish the missing part (2 inch + 2 inch) of the horizontal seam: topstitch over these 4 inches (zigzagging, remember!) Or, even better, use a ladder stitch if you have time to stitch it by hand.
 are free to download for email subscribers. This perfect headband pdf pattern will add a pop of color to your kids' fall wardrobe AND let them stay WARM outdoors this fall.")
6) Done! You've just made a perfect headband for a kid.
 are free to download for email subscribers. This perfect headband pdf pattern will add a pop of color to your kids' fall wardrobe AND let them stay WARM outdoors this fall.")
Your ear warmer headband is finished.
 are free to download for email subscribers. This perfect headband pdf pattern will add a pop of color to your kids' fall wardrobe AND let them stay WARM outdoors this fall.")
And if you're not ready to start working with jersey yet, fear not. Just select the fabric and wait a bit. In one of my next posts, I'm throwing in several sewing tips for beginners, and above all: TWO basic things that REALLY matter when sewing with knits. Like, really important. They can save your project. And make you totally confident with cutting up and sewing your jersey piece. Actually, you'll just want to sew more of these headbands. Get your fabrics ready, subscribe to get access to your free template, and pin this tutorial for later.
Pin For Later:
 are free to download for email subscribers. This perfect headband pdf pattern will add a pop of color to your kids' fall wardrobe AND let them stay WARM outdoors this fall.")
Happy sewing!


Ingrid Aragón says
Hi!
I was wondering if you could help me figure out how to download the ear warmer pattern? My e-mail is already signed up for the newsletter...
Damjana at AppleGreen Cottage says
Hi Ingrid,thanks for reaching out - I'll be happy to send it over to you directly if you let me know your email address :)Damjana
Anonymous says
Last fall I purchased your baby to adult size ear warmer headband pattern. I made one for each of the 7 grandchildren (age 4 to 10) in a super soft minky, they absolutely them and wear them daily, also wear them under their winter hat which rarely covers the ears completely or rides up, exposing the bottom part of their ears when playing. This pattern suits our Canadian winter just perfectly and goes great into spring.
I love mine too. Reason? I don't like hats because my hair is always either in a pony tail or bun, but need the ears and forehead covered during the winter.
Damjana at AppleGreen Cottage says
Yes!
Thank you so much for your kind words, you've just made my day! The best possible way to utilize this tutorial - making tons of headbands, for all your loved ones. You must be doing a lot of sewing with that many grandchildren. A lucky bunch of kids, having a cool grandma like you, making new things, and that such soft ones. xoxo,
Anonymous says
Damjana, I get your e-mail and come to your site & can't get the patterns because it says sign-up again. what can
I do to get the patterns to open for me?
Damjana at AppleGreen Cottage says
Hi,when you complete the sign-up, you'll get the confirmation email with your free pattern into your inbox. Is it possible that you have not yet completed the signup, or your email with the freebie landed in spam folder?HOW TO SIGN UP (and get the freebie):(1) you first enter your EMAIL to sign up, then (2) check your email inbox (and spam folder) to CONFIRM the signup, then(3) you automatically get your free PATTERN delivered into your INBOXLet me know how it goes. If you still need help, drop me an email and I'll be happy to do it for you.
Cucicucicoo: Eco Crafting & Sewing says
This is adorable and looks super snuggly! 🙂 Lisa
sandy says
Thank you for the free pattern! I'm really excited about this pattern! Since I haven't worked much with jersey, I'm going to practice with some of my husband's old ripped up t-shirts. 😀
Damjana at AppleGreen Cottage says
Hi sandy, that's a great start 😉 Happy sewing!
Anonymous says
So glad I found you early this morning. My adult son & I have become friends with his (pediatric) neurosurgeon because of repeat (100's) visits. I've been looking for something easy to make for his little patients. Being cared for by him guarantees at least one "bad hear day" and I've been looking for something to make that he can carry in pocket to give patients. Am so jazzed about your patterns! Imagine this ear warmer and a matching bandanna bib for the younger ones and just the ear warmer for the older patients . . . Just to disguise his "handiwork." Thank you, thank you, thank you! Inexpensive and functional. Hmm.
Damjana at AppleGreen Cottage says
Thank you, anonymous. Your message means a ton. All the best to you and your family,
Anonymous says
Hi! Love these headbands....could I make it with fleece thick fabric....hope to hear from you....
Damjana at AppleGreen Cottage says
Hi,a good question! Yes, you can make them in fleece, but in this case, I'd advise you to add more seam allowance and you need to count with more bulk when sewing. Let me know how it goes!
Pam @Threading My Way says
Perfect for your cool weather, Damjana, and a great way to use up scraps of fabric.
Follower says
I've signed up today to receive the earwarmer pattern and it does not show up in my email.
Damjana at AppleGreen Cottage says
Dear (Follower), have you checked your spam folder, maybe it's there? (I've received tons of thanks messages from readers who subscribed, so I'm sure the file gets downloaded properly.) Or, I will gladly send it to you directly by email if you let me know your email. Have a great day,