
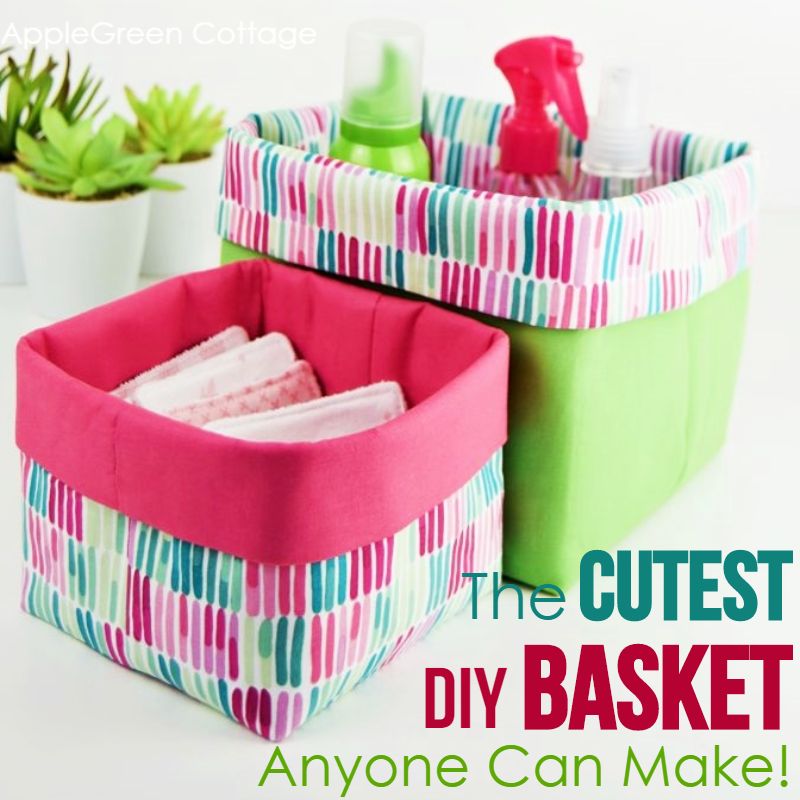
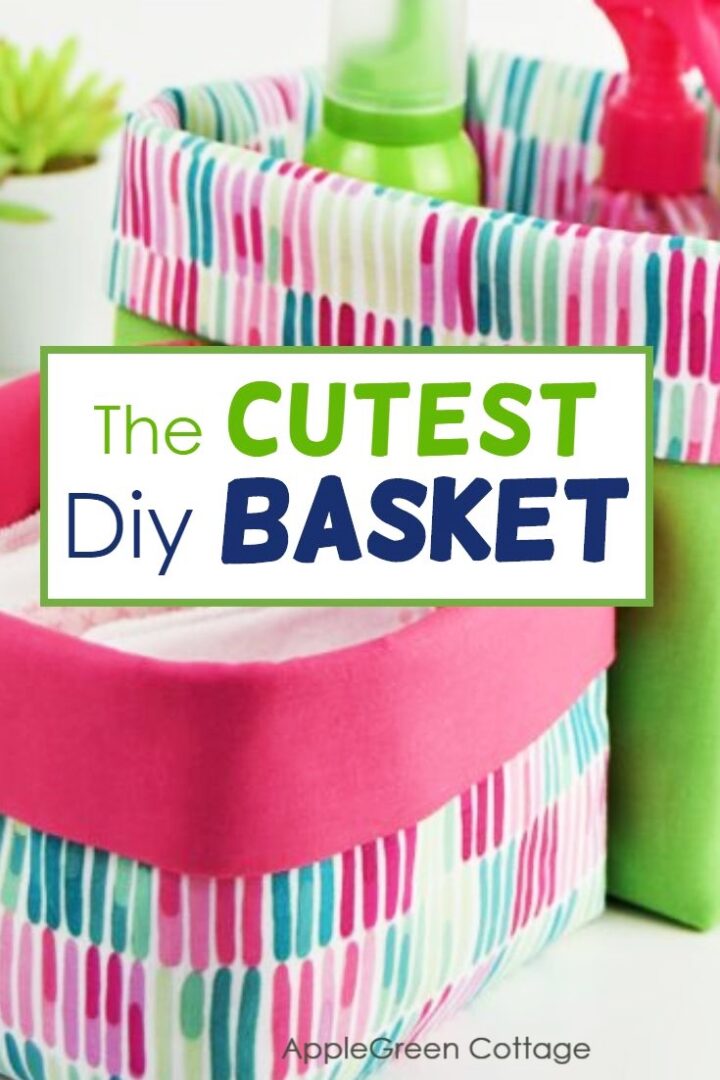
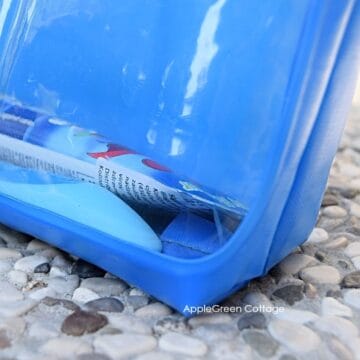
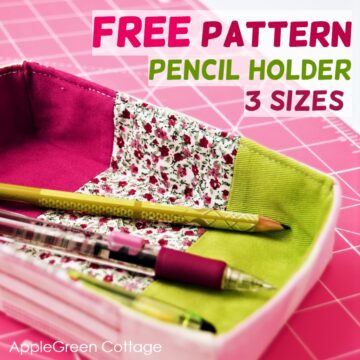
See how to sew a fabric basket with a fold-over top you can use for just everything. This free fabric basket pattern comes in three adorable sizes, and it's as cute as it is practical!
I included both a printable PDF pattern as well as cutting instructions if you don't want to print a thing. Win for all!
Handmade fabric storage baskets are perfect for organizing any room. Use them for spring cleaning, sewing supplies, toys, nursery items, bathroom essentials, and more. Pretty and practical, they keep your space tidy and neatly organized. Win-win!
Prefer an ad-free printer-friendly option of the whole tutorial+pattern? See the → optional PDF file in our shop.

This tutorial is also part of Printable Tutorials BUNDLE
90+ PDF tutorials now, and growing!
Table Of Contents
Use this tutorial to sew a basket to turn an easy project into a super-duper-completely-easy one. Want to try it out? Let me show you how to make fabric baskets so quick and easy you'll never want to do it any other way!
Why You'll Love These Baskets
A few of my favorite features of these baskets:
- they are firm,
- their measurements can be easily adjusted to the size you need.
- And - nesting! Make all sizes, they can be nested! You'll love to see the smaller or larger baskets nest together!
Simple, easy, and quick - they make a perfect beginner project. Promise.
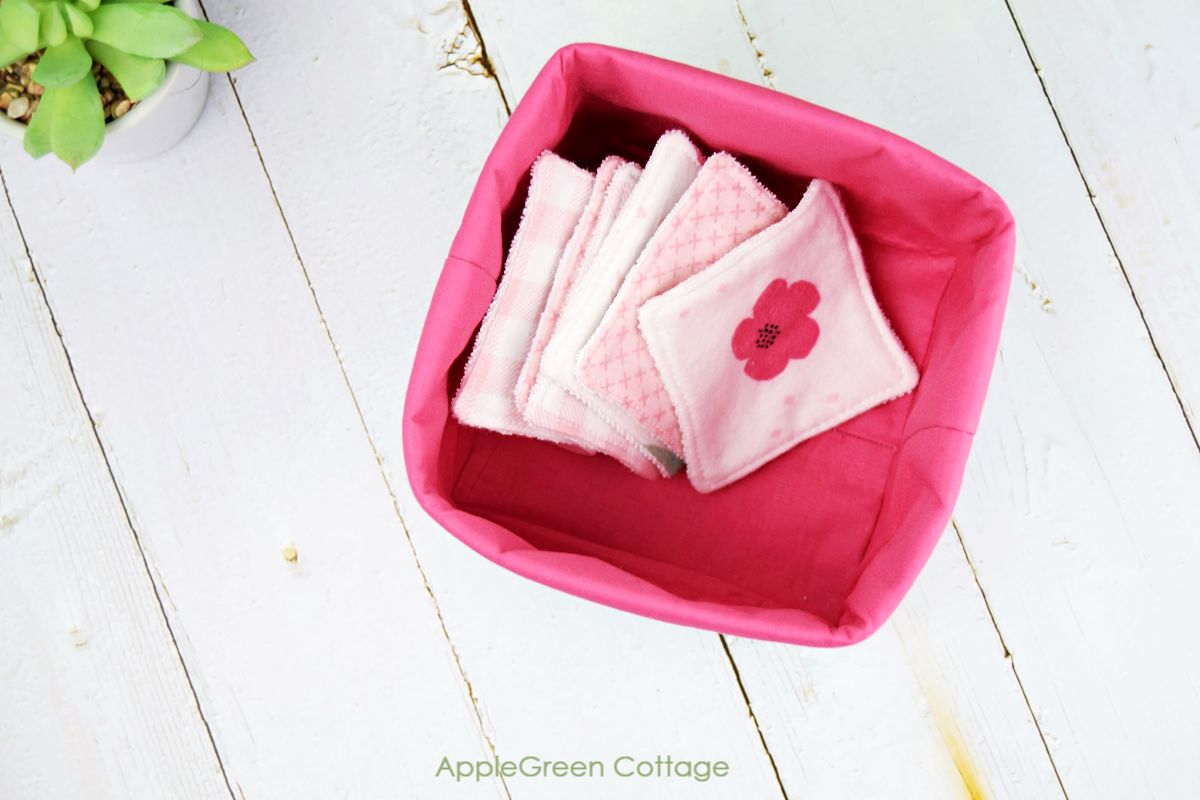
The smaller size can store your reusable face wash pads if you like. (See how to make fabric makeup remover pads here) Or, you can use matching fabric to sew a bunch of other pretty things for your home. Feel free to join my popular SewPretty HOME series - it's free:

Join the FREE 7-part email course and make 6 beautiful items for your home! You'll love it!
Video
Let's get sewing. And I've even got a video for you. Just sit back and relax. Then scroll down for measurements - or see step by step photo tutorial too.
3 Finished Sizes
- Small basket: 5" wide by 5 ½" tall
- Medium basket: 7" wide by 7 ½" tall
- Large basket: 10 ½" wide by 12" tall

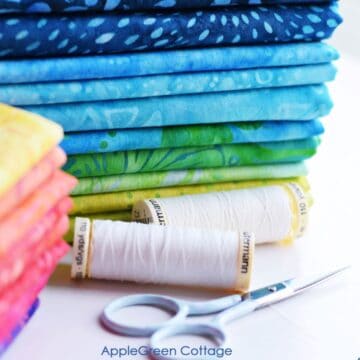
To make the smallest version, you'll need 2 fat quarters of fabric (half yard). To make the largest one, you'll need 4 fat quarters or 1 yard. Now, let's sew!
Step-By-Step Instructions - TUTORIAL
The seam allowance for this project is ½" inch (1.3cm).
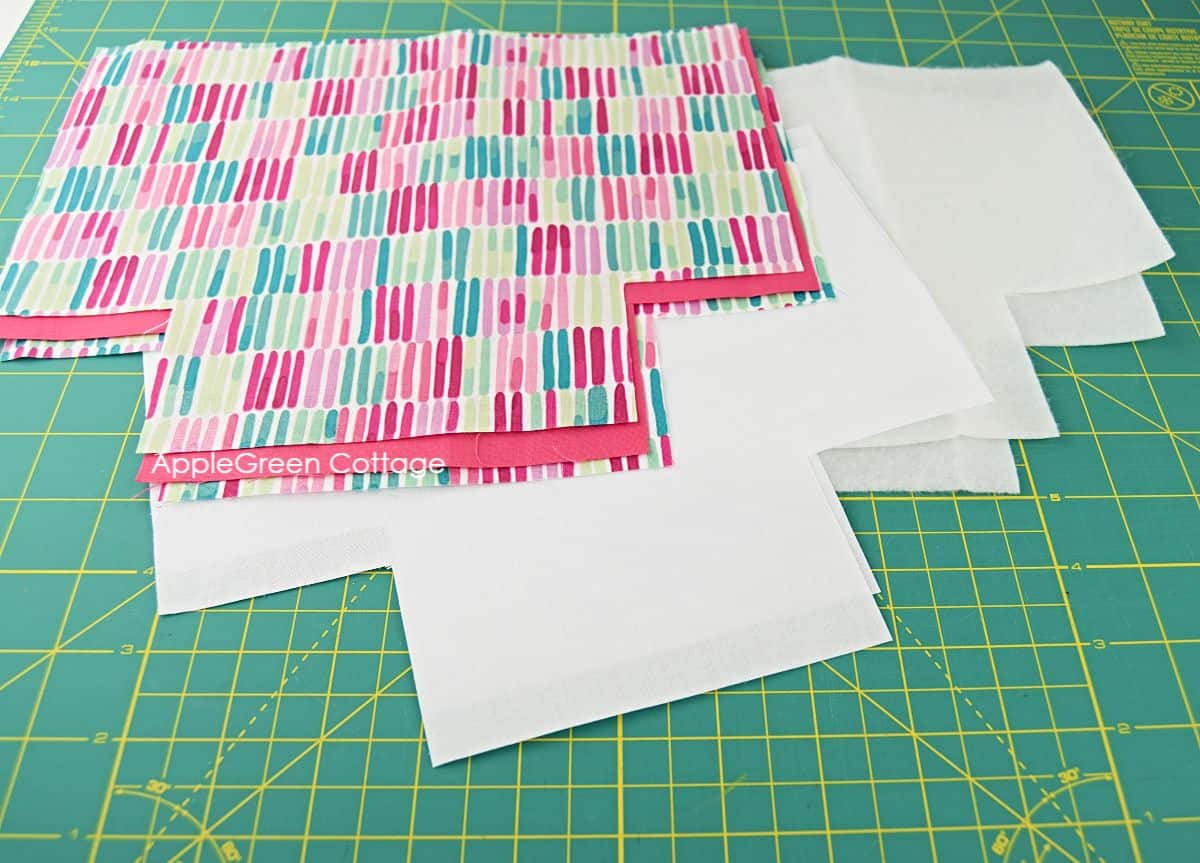
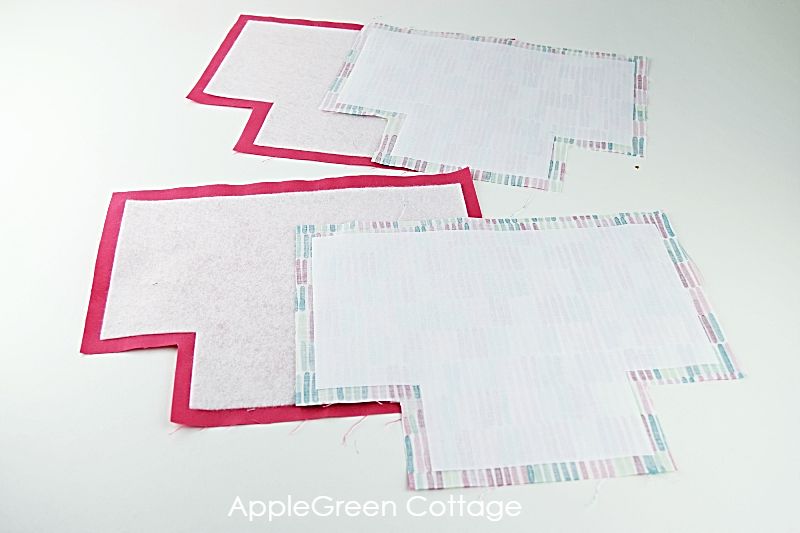
Step 1 - Cut the Fabric and Interfacing
You have 2 options: either grab the printable fabric basket sewing pattern PDF (Option A) or use the cutting instructions without printing anything (Option B).
Free Pattern and Cutting Instructions
Option A - Use the Free PDF pattern
Join our mailing list and get the free nesting baskets pattern emailed to you:
Once you have your PDF pattern printed, select your desired basket size and cut:
- 2 pieces from Exterior fabric in the desired size
- 2 pieces from Lining fabric in the desired size
- 2 pieces from Fusible fleece (cut on the seam allowance - the piece will be smaller by an inch in length and width)
- 2 pieces from stiff FUSIBLE interfacing (cut on the seam allowance - the piece will be smaller by an inch in length and width)
OPTION B - Cut Fabric Without a PDF Pattern
If you don't like printing or don't have access to a printer, here's an alternative.
| For | CUTTING DIMENSIONS for fabric | CUTTING DIMENSIONS for interfacing |
|---|---|---|
| Small Size | 11" by 9" | 10" by 8" |
| Medium Size | 15" by 12" | 14" by 11" |
| Large Size | 22" by 18" | 21" by 17" |
- cut 2 rectangles from Exterior fabric in the desired size
- cut 2 rectangles from Lining fabric in the desired size (here pink solid)
- cut 2 rectangles from Fusible fleece (these are smaller by an inch in length AND width)
- cut 2 rectangles from stiff FUSIBLE interfacing (these are smaller by an inch in length AND width)

Cut Corners for Basket bottom
You'll need to cut the bottom corners now. (The pattern pieces already have this done for you, so skip to the next step if you're using the printable basket sewing pattern.)
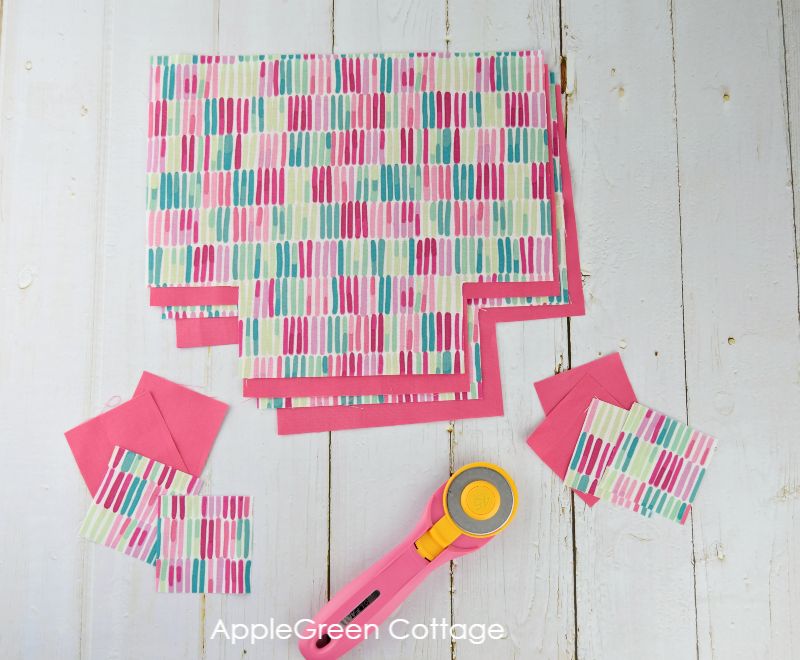
Cut 2 corners from the bottom of each of the 4 fabric pieces: place them horizontally and cut a square from each lower corner. See the chart below to find your dimensions.
Corner Cutting Chart:
| For Size: | Cut Square From Bottom Corners: |
| Small | 2 ½" by 2 ½" |
| Medium | 3 ½" by 3 ½" |
| Large | 5 ¼" by 5 ¼" |

Do the same with your fusible interfacing and fusible fleece pieces - cut the corners to the same dimensions, even though these (interfacing) pieces are each one inch smaller.
To SUM UP: By now, you've cut fabric, fusible fleece, and stiff fusible interfacing, using the chart or the free pattern. Interfacing and fleece pieces are smaller by one inch to keep the seams clean. Done that? Great!
Step 3 - Apply Fusible Fleece and Stiff Interfacing
Press fusible fleece to the back of Lining pieces and fuse stiff interfacing to Exterior pieces. In this tutorial, the prints here are my Exterior and the solids are my Lining.
TOP TIP: I keep my diy ironing board close by, to make pressing my small projects a breeze. I don't even need to get up to press, as it's a handy tabletop version.
Step 4 - Sew the Basket Top Edge

Using a ½" seam allowance, sew the top of Lining and Exterior. You'll make two sets. Press the seam open (do not press directly over fusible fleece, it doesn't take direct heat well):

Step 5 - Assemble The Basket

Place the pieces together with the right sides of the Lining facing each other, and the right sides of the Exterior pieces facing each other.
Again using a ½" seam allowance, stitch the sides, the top, and the bottom, leaving out the corner areas. Also, leave a few inches unsewn in the bottom of the Lining (notice the two green arrows)
Step 6 - Box the Corners
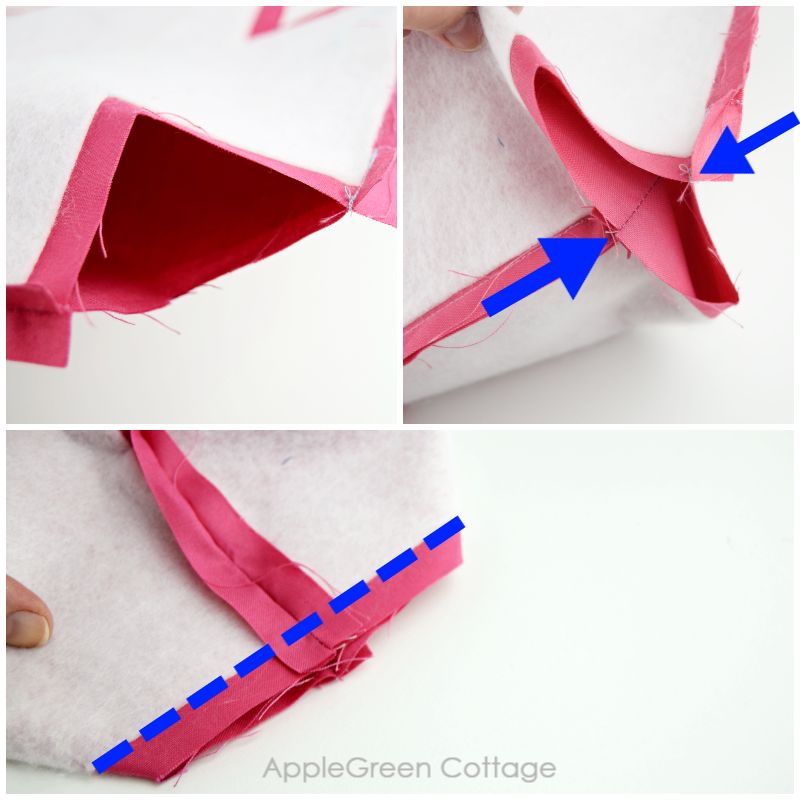
Now you'll need to box all four corners that are still open. Fold the corner flat matching up the two side seams. The side seams should lie directly one over the other (notice the two arrows).
Then stitch over the (blue) line using the same ½" seam allowance. Backstitch at the beginning and end of the seam to reinforce it.
Step 7 - Turn Right Side Out

Once you've got all 4 corners boxed, turn the whole thing right side out through the opening you left in the lining bottom. You just need to stitch the opening closed and...
Step 8 - Press

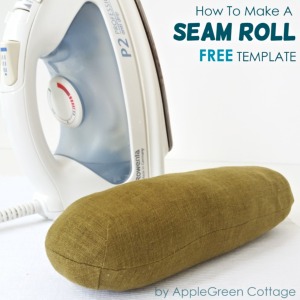
Press well to achieve that neat look. I love to use my DIY sleeve roll - it makes pressing bags and pouches a piece of cake, every single time! You can use my FREE TEMPLATE to make one for yourself.
Bonus Tips for sewing baskets
If you don't have fusible fleece, you can use batting. Inexpensive craft felt is another option, but only if you don't plan to wash the basket. Craft felt doesn't hold up well in the wash.
When using non-fusible interfacing, cut the interfacing to the same size as the fabric. Do not cut it smaller, as the instructions above suggest.
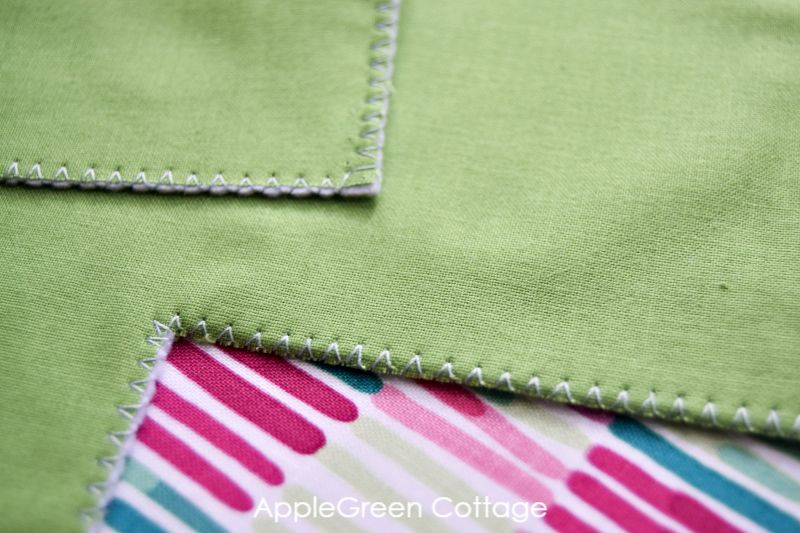
I usually use a zigzag stitch to baste it to the fabric. Later, after sewing the item together, I trim some from the seam allowance to reduce bulk. I used batting to make the large basket:
Remember: the stiffer the interfacing, the stronger the basket. You (almost) never want a slouchy basket!
Also, this interfacing guide for beginners will make your (interfacing-related) sewing life so much easier! And your baskets prettier:
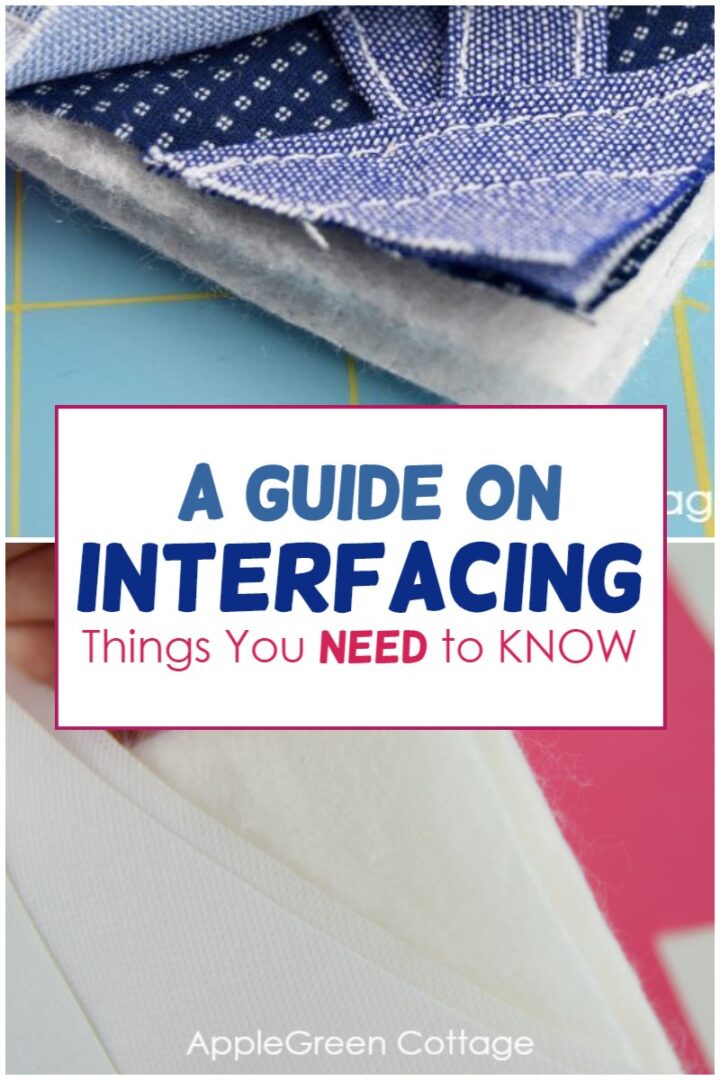
Need more info on interfacing? Visit my easy Interfacing Guide For Beginners.
Super useful for all your future projects, I promise!
Using washable interfacing or interlining, like cotton batting, can help improve items that you wash frequently. For example, this is beneficial for a bread basket. The mid-sized basket would truly make a stunning breadbasket for the holiday table, what do you think?
Or, you can sew several beautiful fabric pumpkins and put them in a basket. This creates perfect fall decor!
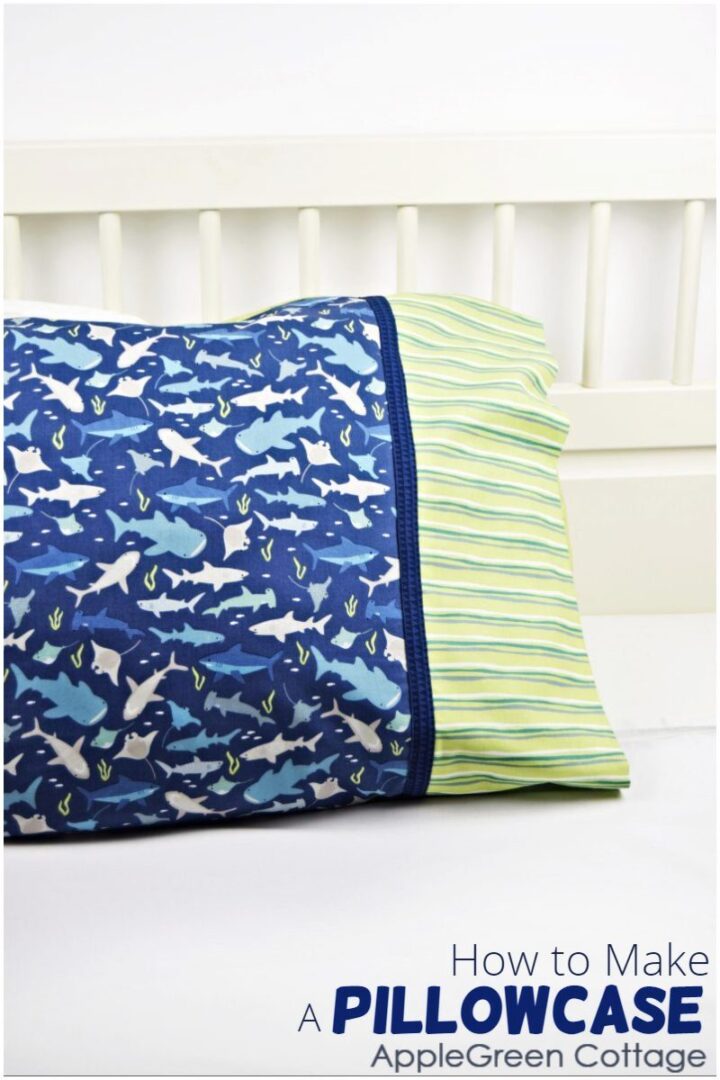
+Make THIS Pillowcase Too!
More Tips
To make a fabric basket stiff and sturdy when sewing, it's essential to use the right type of interfacing or stabilizer. Some examples include fusible foam stabilizers, like Pellon Flex-Foam, which add structure and cushioning to your fabric, helping the basket stand upright. Another option is to use multiple layers of interfacing for extra stiffness. I've found that combining midweight interfacing with fusible fleece works well for larger baskets. You can also add quilt batting for softness or combine it with stiff interfacing to create a quilted, cushioned effect that still holds its shape.
Remember: the stiffer the interfacing, the stronger the basket. You (almost) never want a slouchy basket! Here are a few examples of
high-loft fusible fleece: Vilene® H640, Pellon® 973F, Pellon® Thermolam, Legacy 971; low-loft fusible fleece (for smaller sizes): Vilene® H630, Pellon® 987F, or Legacy® 987F; stiff interfacing: Vilene® S 320, H250, or Pellon Craft Fuse, Pellon Décor Bond. Need more info on interfacing? Visit my easy Interfacing Guide For Beginners
Cut the interfacing to the same size as the fabric when using non-fusible interfacing. Do not cut it smaller, it needs to be the same size as the fabric pieces (see instructions above).
I usually use a zigzag stitch to baste it to the fabric. Later, after sewing the item together, I trim some from the seam allowance to reduce bulk. I used batting to make the large basket:
When sewing with quilting cotton, you might experience creases on the exterior after applying stiff interfacing. This is what I do: I fuse a layer of lightweight interfacing (like Pellon® SF101 Shape Flex, Vilene® G700) to the fabric before applying the heavy-weight, to prevent creases.
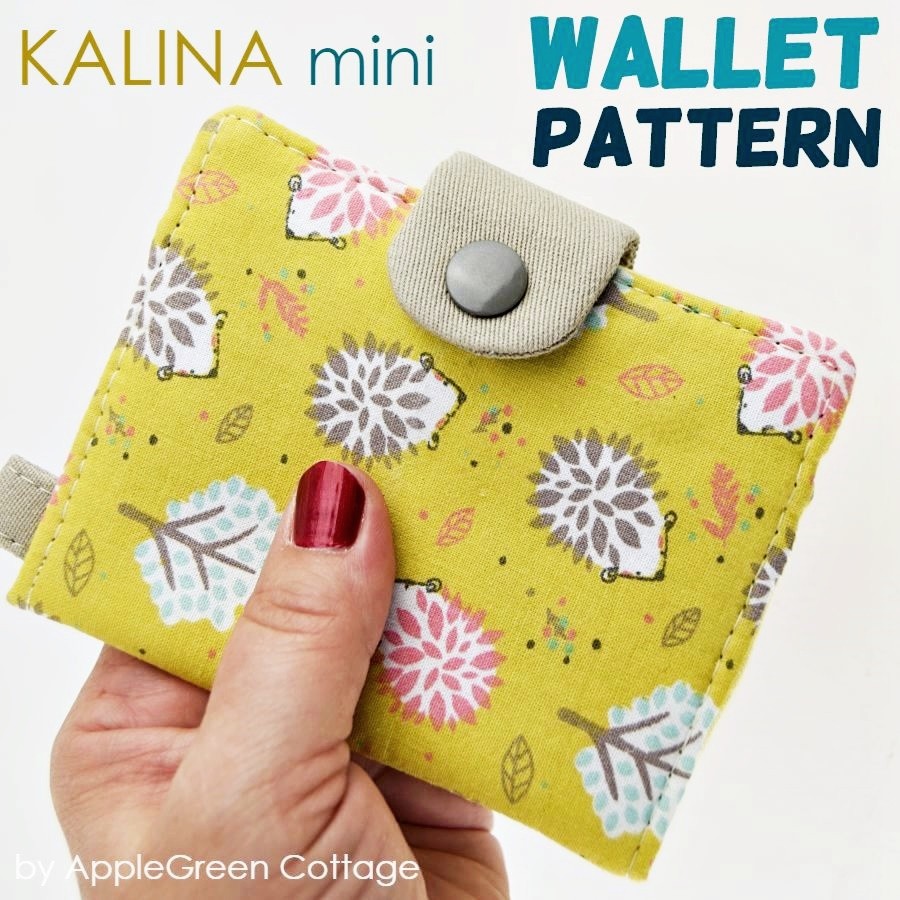
If you like baskets and home storage, you might love the ALLina pattern from my pattern shop too:

How did you like this fabric basket tutorial?
If you enjoyed this tutorial, share it, like it, or tell your friends about it. Or save it for later to Pinterest using this link, so you've got it ready whenever you want to make a lovely basket.
WANT A PRINTABLE COPY OF THE WHOLE TUTORIAL?
Do you want an ad-free, printable copy of this online tutorial? Get it in our shop. Or get the whole →BUNDLE!

This tutorial is also part of Printable Tutorials BUNDLE
90+ PDF tutorials now, and growing!
Want More Free Patterns?
Get email updates and never miss out on new patterns, printables, and tutorials:
Or …check out this popular PDF pattern - the Kalina Mini Wallet in our shop. So practical!

Margie says
Easy to follow instructions. I only had enough interfacing for the outside, the basket still held up well. I wish I could post a pic. Thank you for the pattern!
Lucie says
Can you use a knit fabric such as jersey for the lining if you use a good fusible interfacing with it?
Damjana Jakos says
Lucie hi,
yes you can, and the interfacing (like SF101) will limit the stretch. But as a rule, the best solution is using woven fabric for sewing these baskets. I hope this helps,
LeAnn says
Hello friend. Your tutorial was outstanding. Detailed and organized. I can’t wait to try it. LeAnn
Laurie says
So, I'm kinda confused. I watched the video and everything and at the end of the tutorial after you turn the basket right side out and press the lining it shows the lining totally inside the basket. How do you get the cute little cuff of lining on the outside of the basket? Oh, wait!! Do you just fold down the top of the basket? Duh? But how do you make it look so nice and neat? Do you tack down the fold or anything?
Damjana says
Laurie hi, a great observation, yes I simply fold the top of the basket down - this makes it not just prettier but also strengthens the top rim. My only secret to make that cuff look neat is pressing - and pressing well. It always works! Enjoy,
Emma says
So many cute projects you share with us. Thank you!!
Kathy says
These are adorable! If you are using directional fabric, which way should you cut?
Thank you!
Damjana Jakos says
Kathy hi, in this case the lining should be cut upside-down. The exterior fabric, normally. I hope this helps, Damjana
monica says
lovely baskets!!! I understood there is a video, where can I find it please.
thank you for sharing!
Monica
Damjana says
Monica hi,
the video is here, in the post, scroll down to the Heading Sew A Basket VIDEO. Enjoy!
Susan says
I don't see a link to the Video either under the heading Video or in the sewing area instructions.
Damjana Jakos says
Susan hi, if you don't see the video, turn off your ad blocker, it should solve the issue.
M Robertshaw says
Question
I’ll have to purchase some fusible fleece online. Which product would,you recommended? I’ve never used it before.
Damjana says
Marion hi,
one of my absolute favorites is the Vilene H 640, but it can depend on what you are sewing. Feel free to take a look at a few interfacing products compared here - beginner-friendly notes, scroll down to the "Fusible Fleece" tips. Enjoy,
Damjana
Kelly says
Can you use flannel to make these?? I'm very excited to give it a try. Thanks for the great tutorial!
Damjana says
Kelly hi,
sure you can sew flannel baskets too! Just make sure you prewash your flannel as it will shrink more than quilting cotton. And feel free to take a look at this flannel sewing guide:
Enjoy!
Damjana
Kerry says
Just finished my first basket. Slightly adjusted the measurements but it still looks just as good. I might have to make some more and fill with toiletries as Christmas presents 🙂
Damjana says
Kerry hi, I'm glad my tutorial helped you make your diy gifts! Happy holidays,
Damjana
Diana says
What is the beautiful fabric that you used for the basket?
Damjana says
Diana hi,
and thanks for asking, the fabric I use in this tutorial is from the Hampton Garden collection, soo pretty! The fabric designer is Lila Tueller. When she makes something, it's gorgeous, so I'm always on the lookout for her new collections. Happy sewing!
Damjana
Delia Vogel says
I love these baskets. So pretty and useful.
Damjana says
Thank you, Delia.
Rosemary B says
Thank you for sharing these patterns, Damjana.
I have made a basket like these some years ago, with this fold over. They are very stable and nice.
Thank you for the tutorial. I think I will make many more now because I have fabric that I just want to use up.
Then I can give baskets to friends I love
Thank you dear friend
Damjana says
Dear Rosemary,
so kind of you, thank you.
xoxo,
Damjana
Kelly says
Can you tell me what number or brand of stiff fusible interfacing you use?
Thanks!
Damjana says
Kelly hi,
I did not us a branded stiff interfacing here, it was a bit stiffer than Wovenfuse 2, close to Vilene S320 (but without the dots), enarly as stiff as Pellon Decor Bond. Our local fabric shop also carries fusible canvas which is not a thing online, but is basically a layer of canvas backed by a glue layer. You can simply use buckram with some Odif 606 (which is a permanent glue spray) I'm not sure if it helps, but should provide some guidance.
Kelly says
OH MY GOSH!!! I made this basket twice. First it was the small one. I used an upcycled pillowcase from thrift. I always make a tester so I can get the mistakes out. I made the medium one for my pastor to put his treats in at church. I used fabric remnants. I can see getting really good at these baskets. Thank you for this tutorial. Your directions are easy to see. But one thing is that although I perfectly cut and measure the fabrics, they never line up. Is there something I'm doing incorrectly? And I'm not sure also if you stitch on top of the interfacing or right next to it? I never have enough fabric to gather for the corners.
Damjana says
Kelly hi,
a great idea to use fabric remnants and upcycled fabric for the baskets - this way, you can make a lot of them at basically zero price. Regarding the fabric pieces not lining up, it's hard to say without seeing any image - but the first thing that comes to mind is maybe to check if you used the seam allowances as instructed, or are they different? I generally sew next to the interfacing layer when it's cut on the seam allowance - really close to it. With every new sewn basket, these will get better looking. But bottom line, enjoy the process. Damjana