
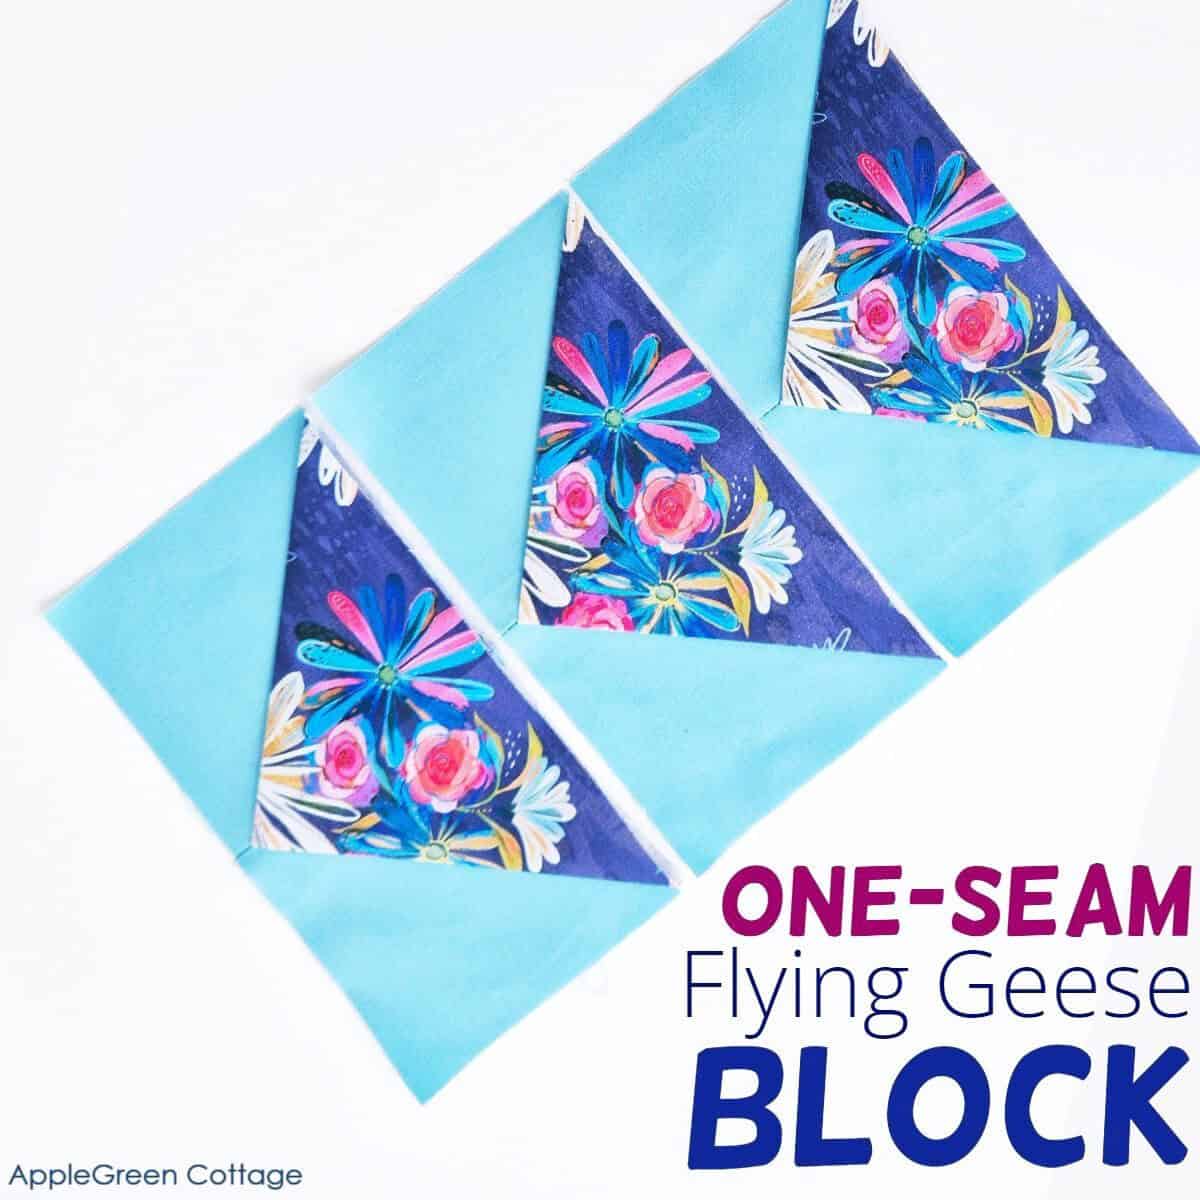
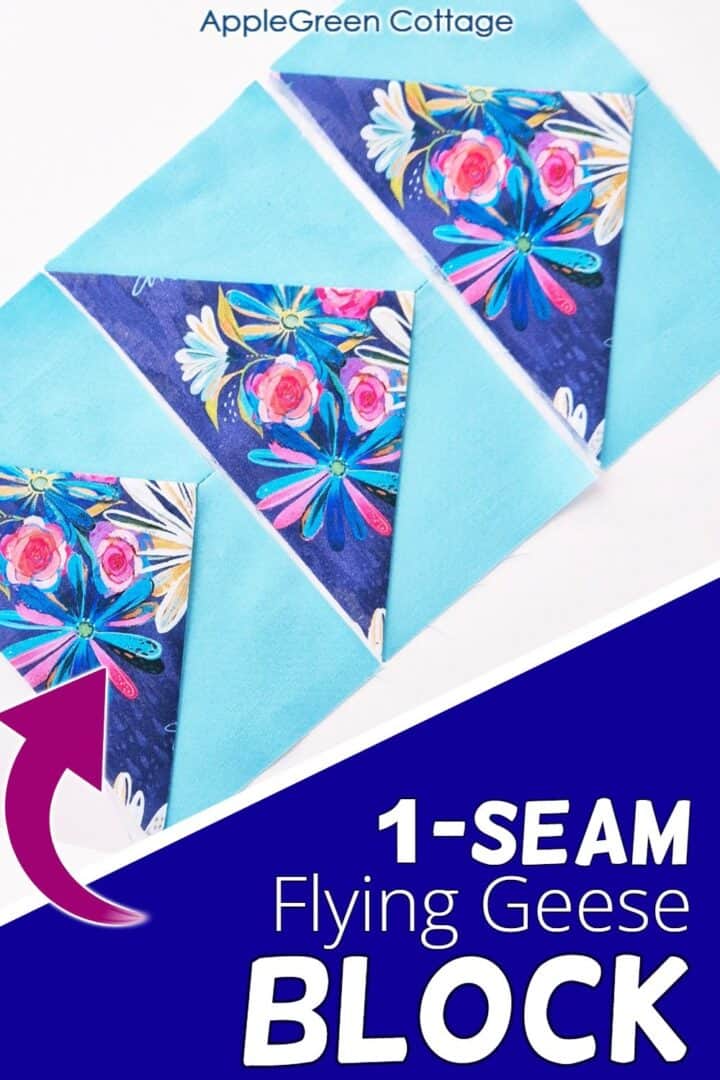
Learn the easiest way to make flying geese quilt blocks with the one-seam flying geese method! Plus, get the free flying geese Cheat Sheet! ↓
Looking for an easy way to make a one-seam flying geese quilt block? This pretty quilt block gets a fun twist with a simple method that adds texture and dimension to your project.
While it's not the traditional way (and there are so many 'correct' methods out there!), this technique creates a layered design that makes your geese pop, adding depth and interest to your finished piece. Read on to see how it's done!
This tutorial has been converted to an optional PDF that's optimized for printing. →Get it HERE.
Table Of Contents

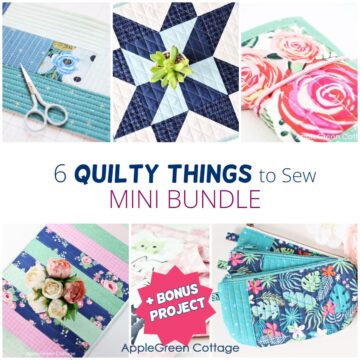
This tutorial is also part of Printable Tutorials BUNDLE
100 PDF tutorials now, and growing!
What Is Special About this Block?
For one, it's an easy way to create a flying geese block - with just one seam. But this is not the only reason I love this flying geese hack!
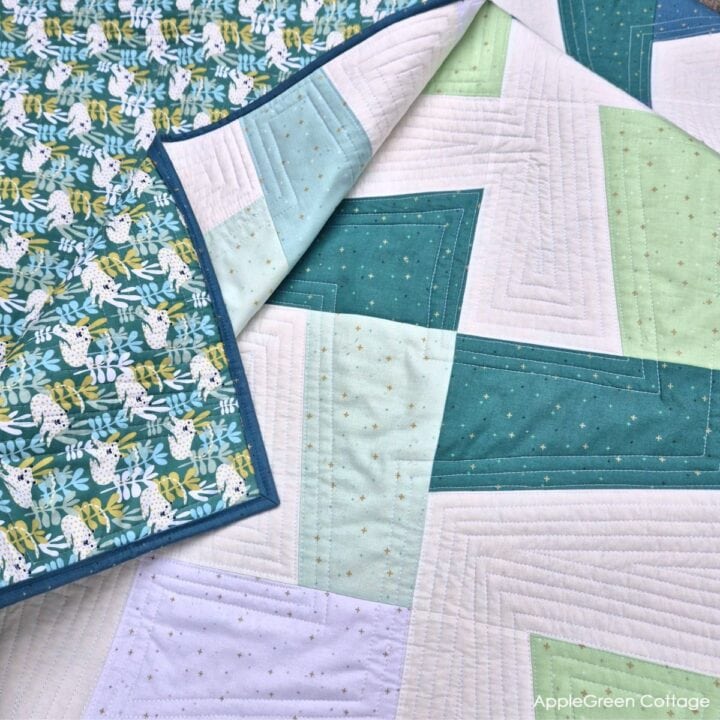
This one-seam flying geese block gives your a slight raised effect, which makes the extra layers stand out beautifully when quilted, adding interest and depth to your finished piece.
And, since this is a folded geese unit, it gives you two nice little pockets - which you can leave open or topstitch to close. So many projects you can use ti on!
I also love it on bag flaps, where you always want some extra layers and dimension. And layers give it an added stability.
Finished Sizes CHEAT-SHEET!
The unfinished flying geese block in this tutorial measures 6 ½" by 3 ½".
Want a different size? Get our Cheat Sheet →here to create all sorts of different sizes of flying gees blocks!
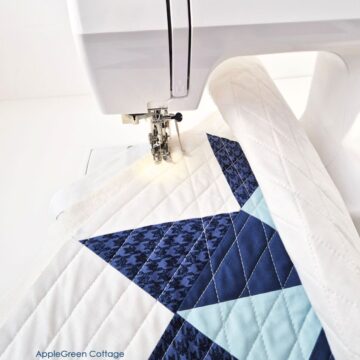
Sewing Video
Prefer watching over reading? Sit back, relax, and watch the video I made for you. Then scroll down for measurements - or see step-by-step instructions too.
Supplies
Shop my personal favorite sewing supplies on Amazon HERE.
- quilting fabric: 1 rectangle (main) and 2 squares (background)
- a rotary cutter, mat, and a ruler (I use this set!)
- the usual: sewing machine, thread, iron, pressing board (←I DIYed mine!)
- the free Cheat Sheet to choose your desired size
How To Make the One-Seam Flying Geese Block
Step 1 - Get the Free Cheat Sheet to choose your SIZE
Join our mailing list and get the Cheat-Sheet emailed to you:
Do you want a printable copy of the WHOLE tutorial? → See it HERE or get it in the huge-value BUNDLE!
Step 1 - Cut 3 fabric pieces
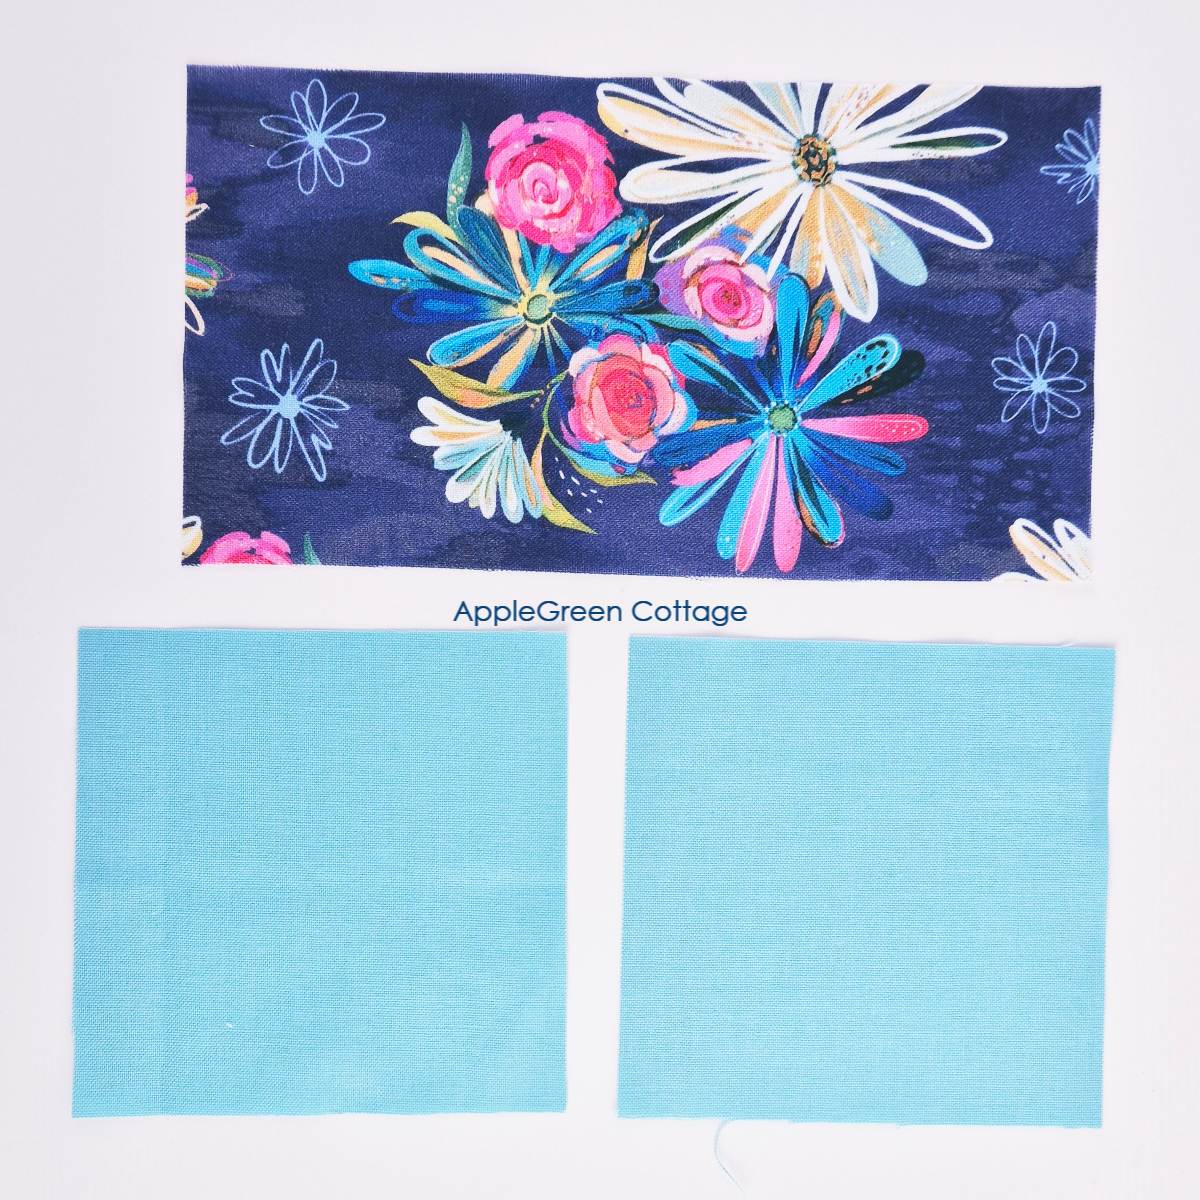
From the main fabric, cut one rectangle. From the background fabric, cut two identical squares.
I used the size that gives you a 6 ½" by 3 ½" unfinished flying geese block. My rectangle is 6 ½" by 3 ½", and the squares are 3 ½". Get the Cheat Sheet to use any other size.
Step 2 - Fold the Rectangle
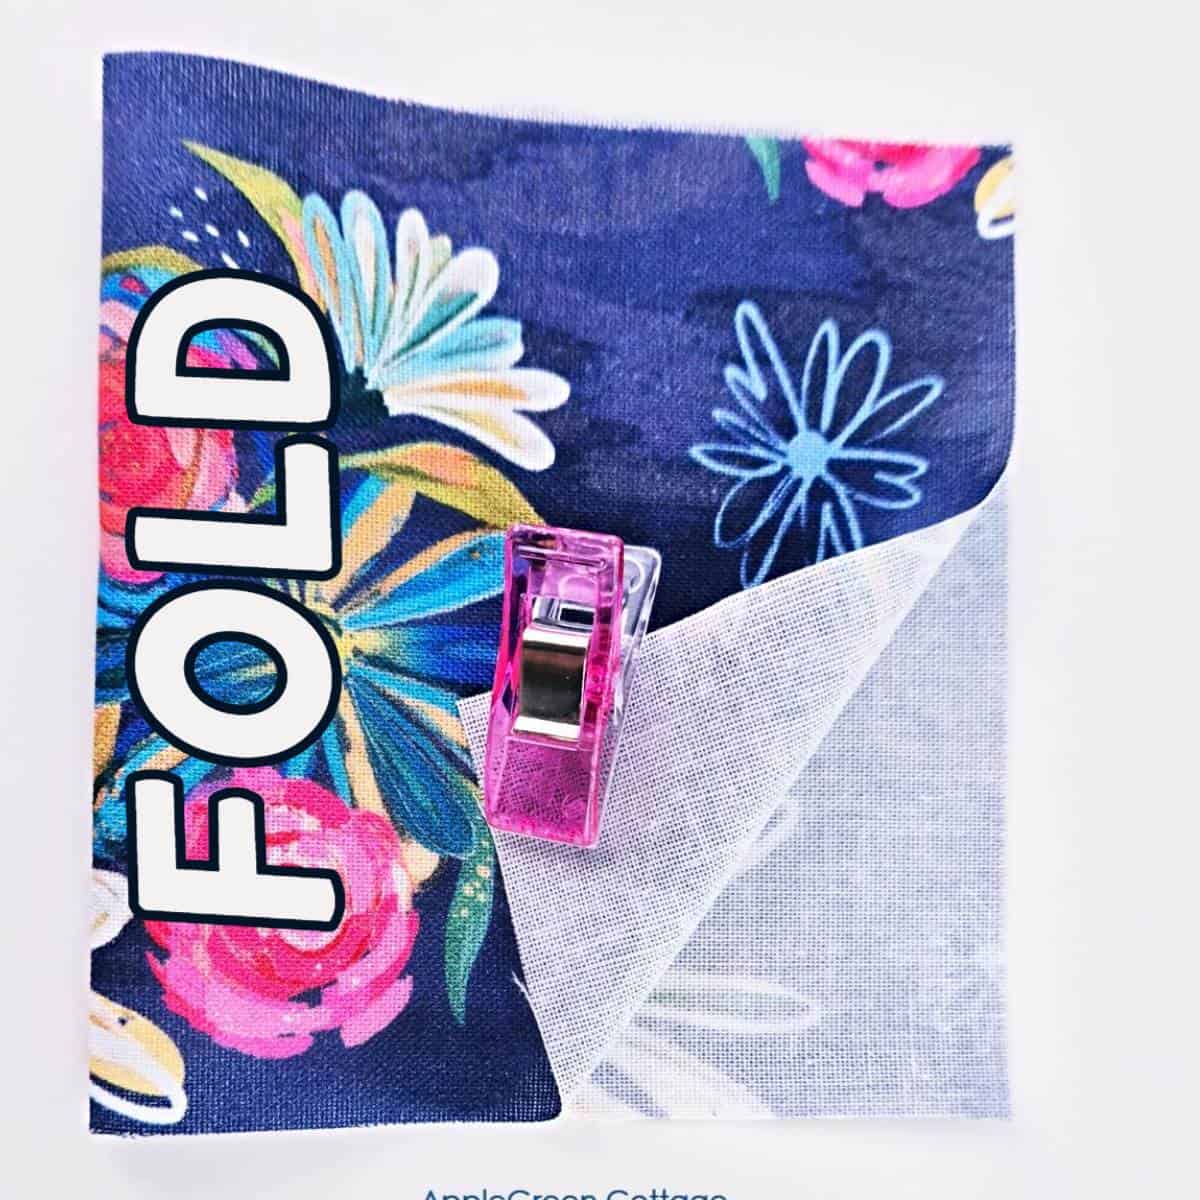
Fold the rectangle in half with the wrong sides together.
Step 3 - Stack the Pieces

Place one square with the right side up, then the folded rectangle on top of it, with all the raw edges aligned. Cover with the other square (face-down).
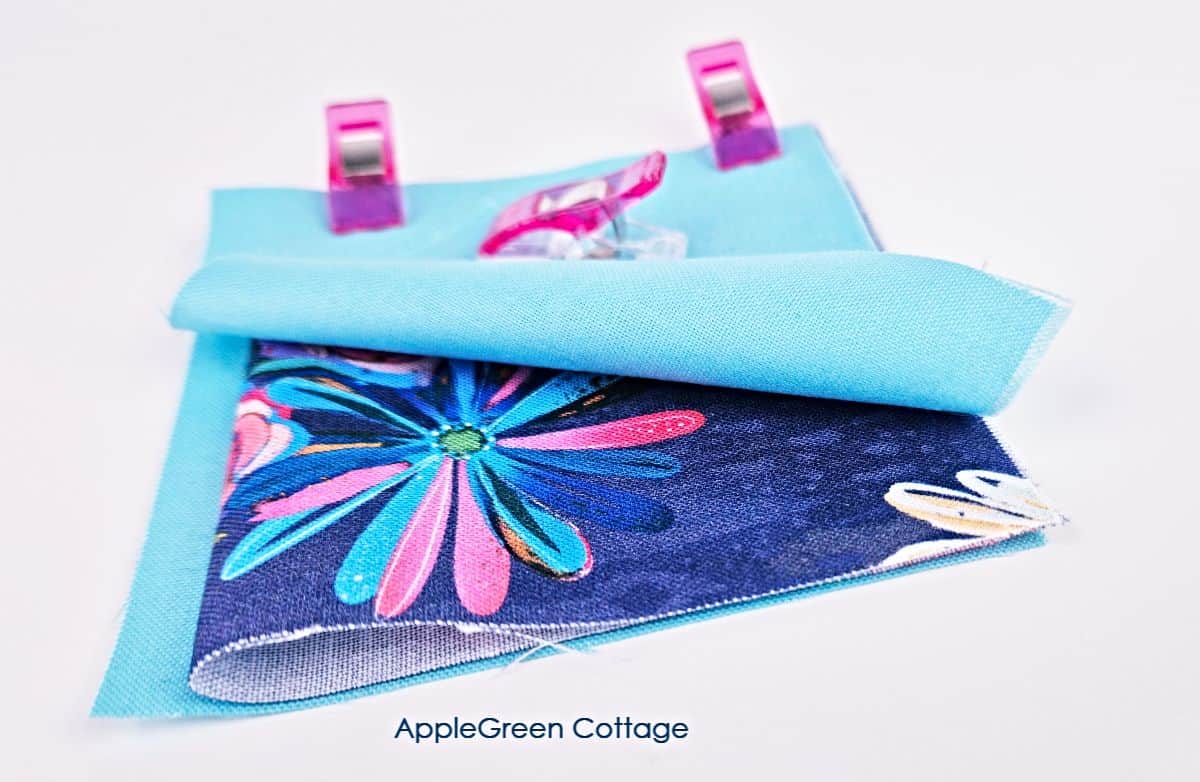
The folded rectangle is now sandwiched between the squares.
Step 4 - Make the 1 Seam
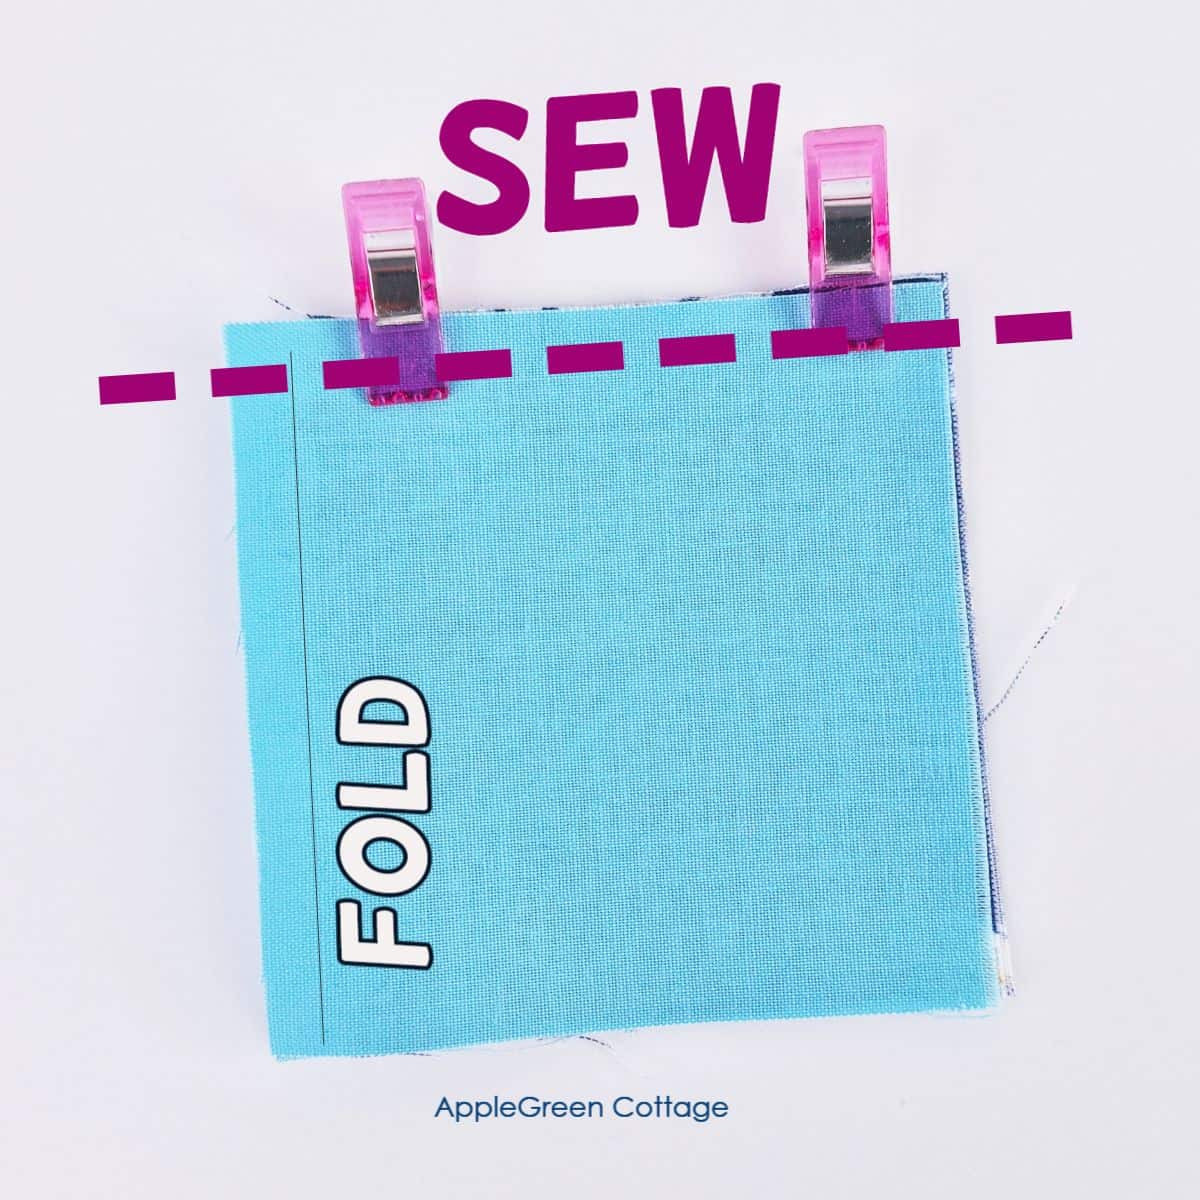
Stitch along the side marked in the photo. Use a ¼" seam allowance to sew along the marked edge.
Top Tip
Make sure you stitch the correct edge - the seam needs to be perpendicular to the fabric fold, - and use the exact 1 4 inch seam allowance.
Step 5 - Unfold and Press
First, turn your sewn block to the back and press the seam allowance open.

That tiny v-notch will be out of your way when sewing the blocks together, how nice is this! Now it's time for the front to shine - flip the block over:
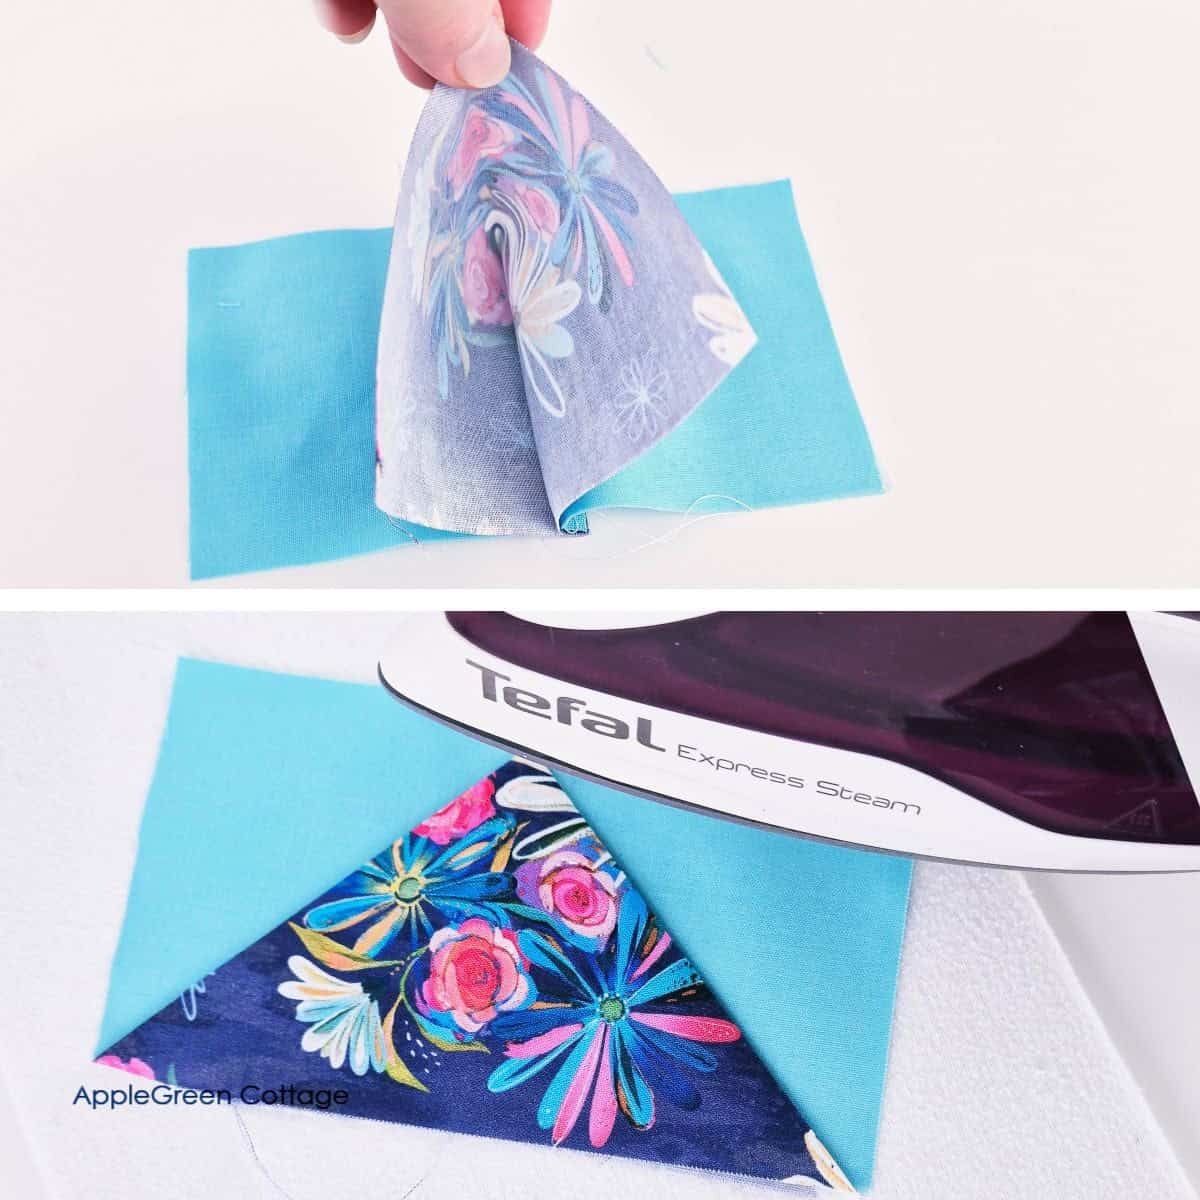
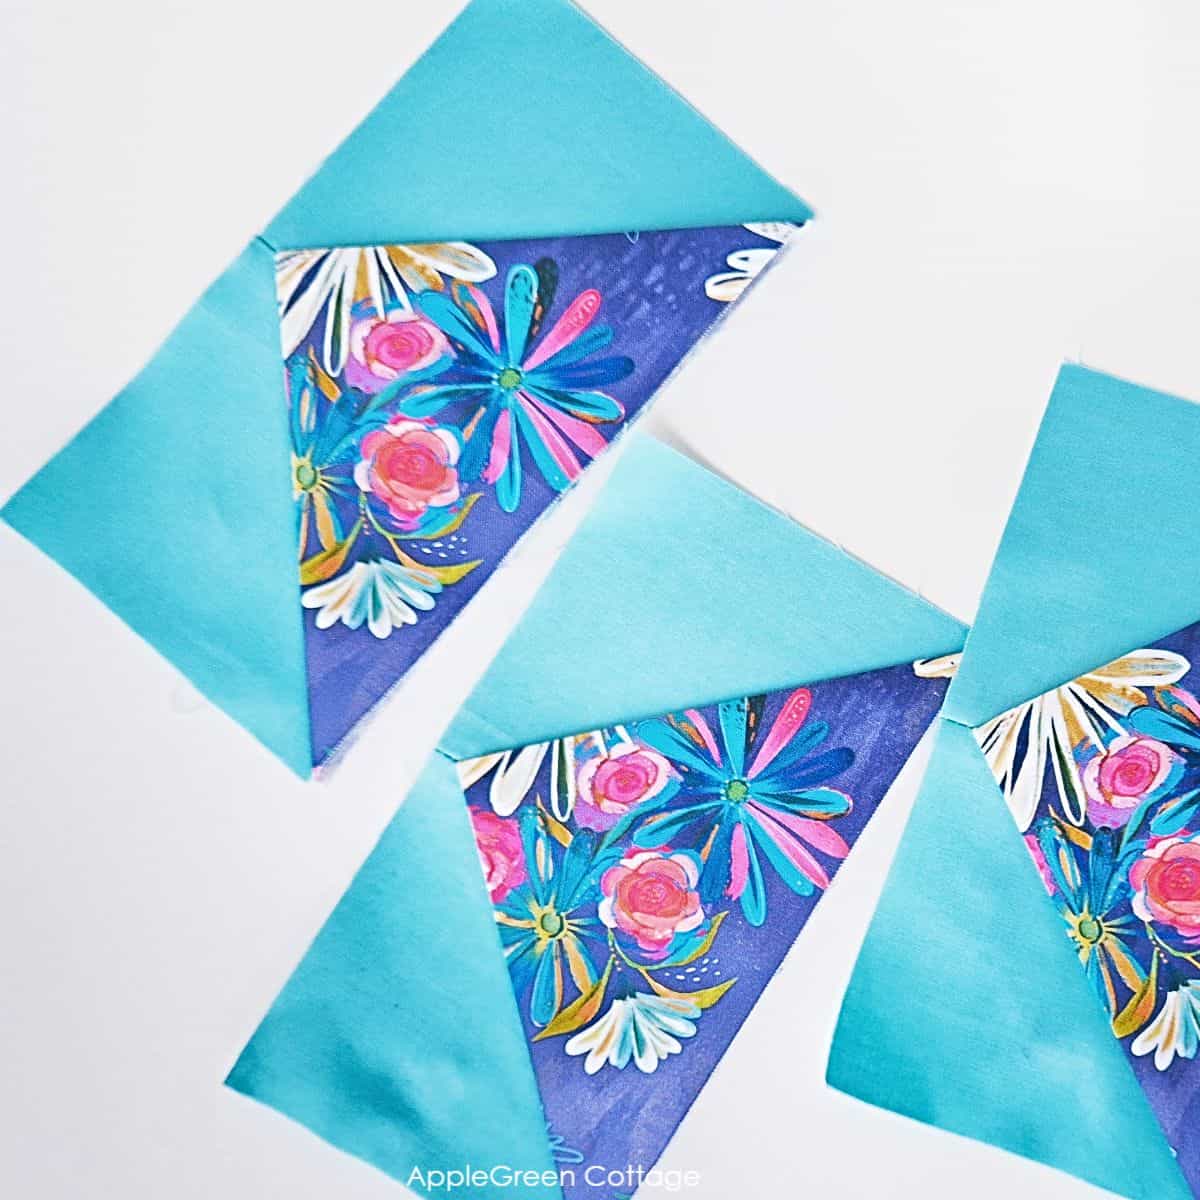
Unfold your piece and align the lower corners of the rectangle with the lower corners of the squares. Align the fold crease with the center seam.
Press and - tadaa! Doesn't it look lovely!
Please note that this method will leave you with nice little pockets behind the main fabric. If you don't want the pockets, you can topstitch along the 'geese' fabric.
+Free Machine Cover Pattern!
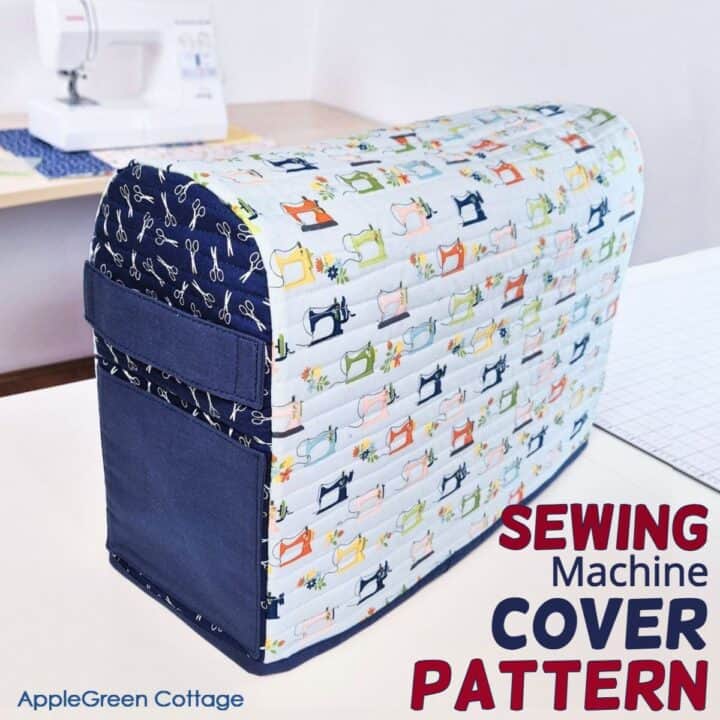
Make a sewing machine cover!
3 sizes for all your machines!
Popular Questions
Now, as promised, a list of popular questions answered for your convenience:
A technique that creates a flying geese unit using a single seam, resulting in a dimensional block with fewer seams.
Traditional methods involve multiple seams and cutting, while the one-seam method simplifies the process and adds a 3D effect.
It's versatile but may not be ideal for designs requiring a flat surface, due to its dimensional nature.
The dimensional "pockets" can collect dust, and the folded edges may require careful handling to maintain shape. If you don't want the pockets, you can topstitch along the 'geese' fabric to close them before assembling the blocks into a quilt.
Related Posts
Randomize Quilt Pattern
Love modern quilts but want something simple - and NO tricky points to match? →THIS.
Looking for other projects like this? Try these:


Conclusion
If you enjoyed this flying geese hack tutorial, share it, like it, or tell your friends about it. Or post a photo to Instagram and tag me @applegreencottage or #applegreencottage - so I can take a look!
Want a printable copy of the whole tutorial?
Do you want an ad-free, printable copy of this online tutorial? Get it in our shop. Or get the whole →BUNDLE!

This tutorial is also part of Printable Tutorials BUNDLE
100 PDF tutorials now, and growing!
And if you want to create even more, check out all the free sewing patterns here at AppleGreen Cottage. Or visit our new FREE sewing-for-home email series:

Join the FREE 7-part email course and make 6 beautiful items for your home! You'll love it!

Leave a Reply