
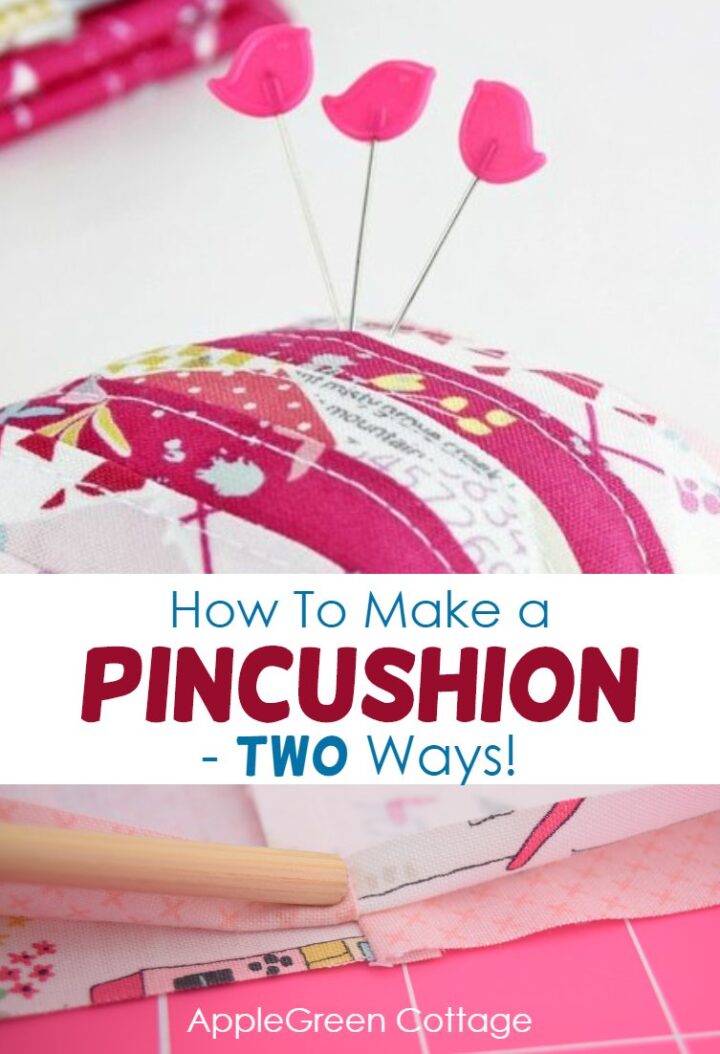
See how to make a pincushion using this tutorial with an easy pincushion pattern. Actually two tutorials for two different diy pincushions - both easy and so cute!

This post contains affiliate links. Thanks for your support. If you like sewing for your home, check out these popular patterns too:
- Pretty Diy Coasters (So quick to make!)
- this diy throw pillow cover - Easiest Ever!
- Or check out this popular SewPretty HOME series:

Join the FREE 7-part email course and make 6 beautiful items for your home! You'll love it!
New year, new things to make! I spent much of the first month in the year organizing and planning. And I made several more mini storage baskets to tame clutter on my sewing table (where does all that stuff come from?!)
Also, I couldn't help but notice my old pincushion was all dusty and well, I decided it needed a cute replacement. These pretty prints looked like the perfect opportunity to make a new one. So I ended up with two. Just because you can never have enough pincushions, right? 🙂 Also, it makes a perfect set with this tiny diy sewing case. I'm in love with the gorgeous print, take a look!

This cute little four-patch block turned into my pincushion No 1. Love these cute houses and the bicycle is absolutely adorable! These come from Minki Kim's latest collection, Moments. I just had to have them, and the folks at Riley Blake Designs were so kind to send them to me even before they hit the stores. Thank you! (Oh and just wait till you see something I plan to make out of the hexie prints!)
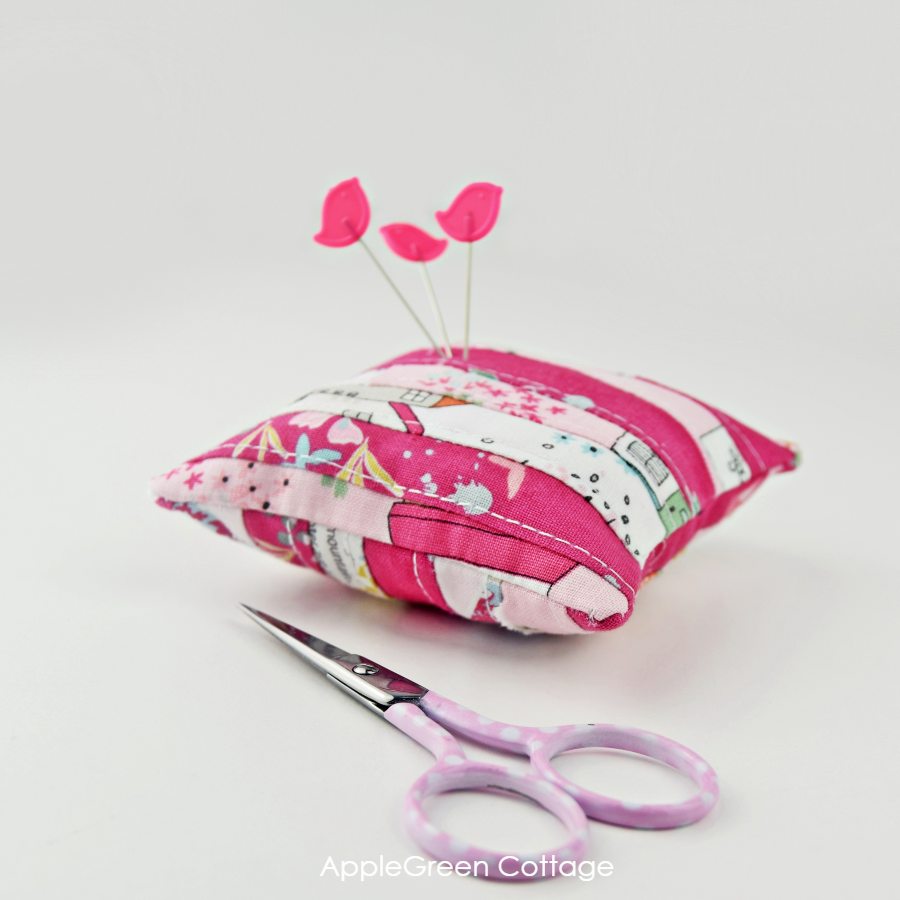
And this is the other one, a travel size, and made totally differently than the first diy pin cushion. Scroll down to see which tutorial fits your needs better - I had so much fun with both!
Pincushion sizes
But first, let me help you decide on which one will be a better fit for your sewing space: the finished sizes are different, the larger one is a generous 4 ¼" (10cm) square and the second, strip pieced one is a 3 ½" (9cm) square. It's a great travel size for my sewing case. I'm so taking it with me on the next family trip!
First, I'll show you how I made the larger one and then the strip pieced one.
The Four-Patch Pincushion
Supplies to sew a four patch Pincushion
- four squares of quilting cotton the size of 3 ½" (8.9cm) - I used the pretty prints from the new Moments collection by Minki Kim for Riley Blake Designs.
- stuffing (see my note below)
- matching thread
- sewing machine, iron, pins or sewing clips, scissors
Note on pincushion stuffing
There are many options out there, including fabric scraps (eco- and budget-friendly), fine steel wool, crushed walnut shells, sawdust like in seam rools, or lavender mixed with something heavier (smells good!), I've even seen rice and fleece scraps. I simply used some poly-fill and added a few tiny fabric scraps to make it more compact.
Good tools to have:
- rotary cutter
- quilting ruler,
- self-healing cutting mat (I have 5 of them, all these by Olfa)
How To Make A Pincushion - tutorial
STEP 1 - CUT YOUR FABRIC
Cut two 3 ½" (9cm) squares from one print and 2 from a different print to achieve a contrasting effect. Arrange the pieces so the same prints only touch at the center.
If using a directional print like I did, make sure that the images will be running from the center towards the outside edges. See the two blue arrows:

Step 2 - Make a four-patch Block
Once you've cut your squares, you'll need to stitch them into a block. I'm slicing the how-to in substeps to make it clearer for you:
- First, stack the squares so you get two pairs facing RST, right-sides-together (see 1 below)
- Sew each pair together using a ¼" (7mm) seam allowance (see 2) and press both seams towards the darker fabric print (here, baby pink).
- Now place the two (new) pieces RST and sew them together using the same ¼" seam allowance (see 4). But while doing that, make sure to nest the seams - see the next detailed photo further down to see what I mean.

Detail on nesting the seams: when placing the pieces together, make sure to have the previous seams perfectly aligned. (This is the only secret to perfectly matching four-patch blocks, any project you ever do.) Check out the photo below and you'll see what I mean even if you've never sewn before:

Or, if you plan to make more than one pincushion, you'll need more of these blocks. In this case, use this smart and fast method for two four-patch blocks in one go:
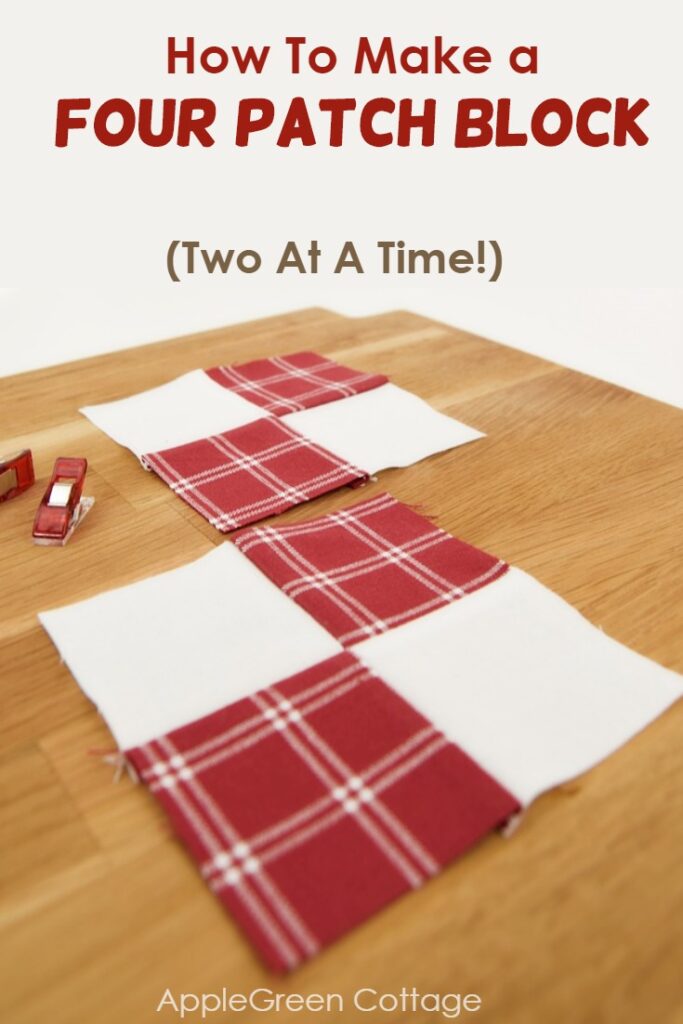
See how to make two four-patch blocks in one go (the quickest way I know!)
This is the four-patch block you have now:

Step 3 - Side Seams
Spread, press and then refold back since you need to close that square shape into a pincushion. these are the substeps:
- Using the same quarter inch seam allowance, stitch the sides. (see image #1 below)
- Then pull up the only remaining unsewn side(see image #2 below) and
- spread apart, so the points that were previously the widest apart will meet at the center (see image #3 below)
- Pin (#4)

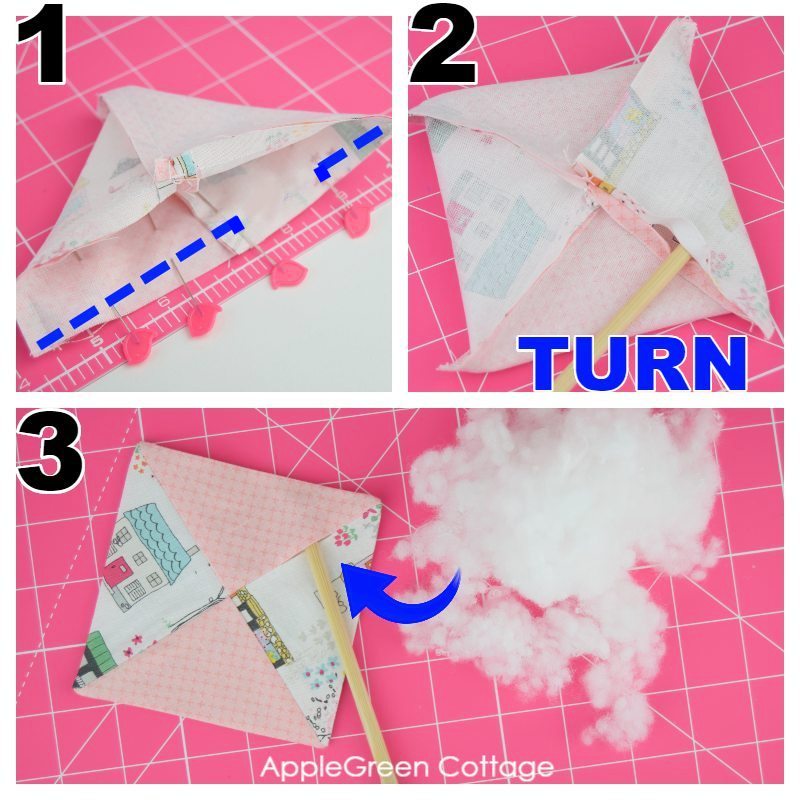
Step 4 - Add the 3rd Dimension to a Flat Form
Sew the last of the sides on the pincushion (image #1 below), making sure to leave a small opening for turning. I left an inch only. Then turn right side out, press and add your preferred stuffing (see image #3)
Step 5 - the Final stitches
Hand-stitch the gap closed, finished!

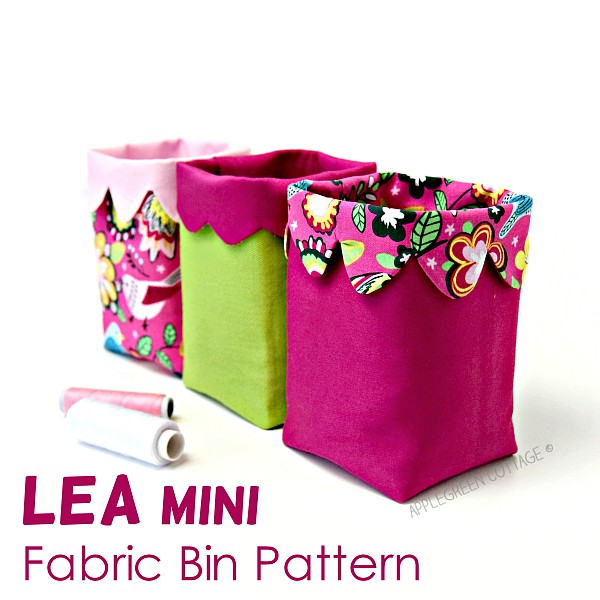
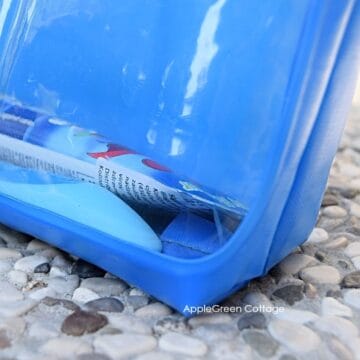
If you like sewing for home, check out this cute mini bin pattern in our shop.
- A perfect thread catcher bin!
Diy Pincushion Version 2 - strip pieced pincushion
Supplies:
- two squares of white muslin fabric the size of 4" (10 cm) - I used a few other prints from the same Moments collection. (That fuchsia floral!)
- stuffing (see my note on pincushion stuffing above)
- matching thread
- sewing machine, iron, pins or sewing clips, scissors
How To Make a Strip Pieced Pincushion
Step 1 - Make a Strip-Pieced Block
First, cut a few narrow long strips from the fabric you want to mix and match. My strips were ¾" wide (1.9 cm), and I cut them into 4" lengths.
Instead just strip-piecing them together, I used foundation piecing on muslin, as it gives the block more stability. You can also paper-piece them, of course.
Once I had my pieces cut, I placed the first strip right-side-up on the muslin square, the edges need to be aligned. You can use a wider strip here, as some of it will disappear into the seam allowance later when assembling the pin cushion.
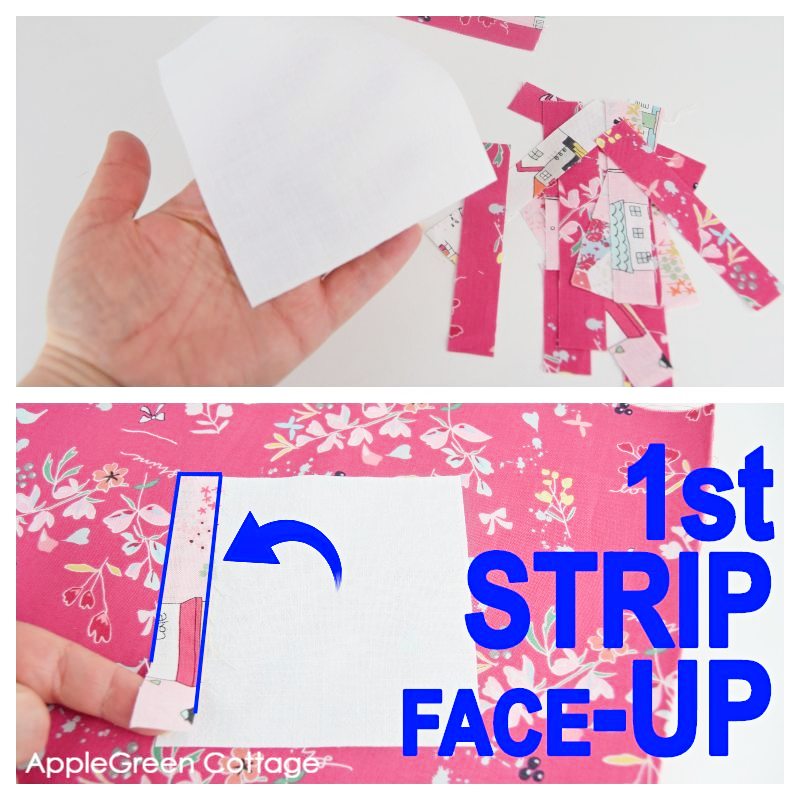
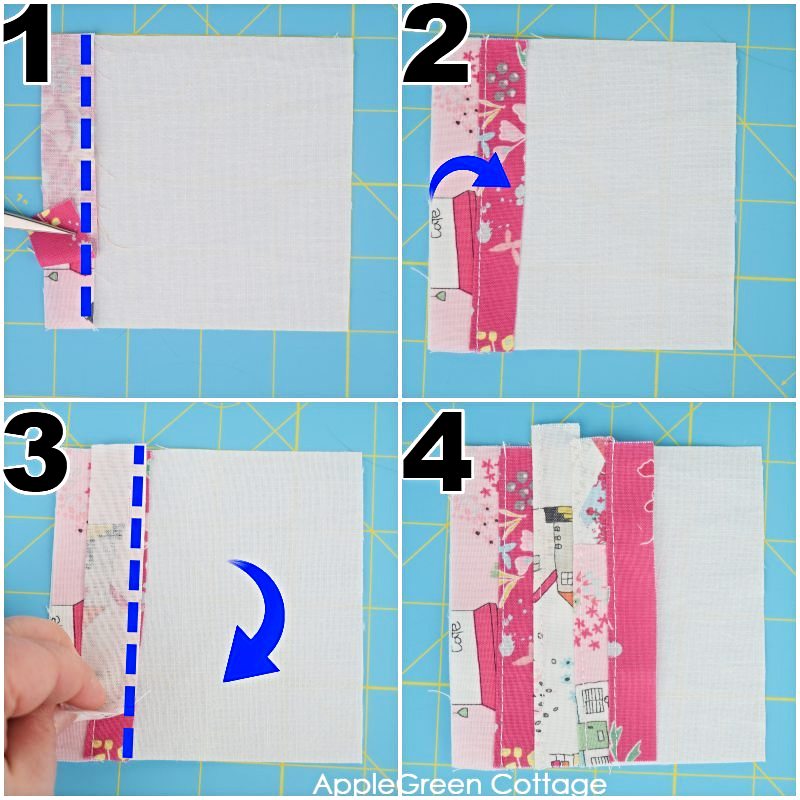
- After I got my first strip up, I covered it by a second strip, this one facing down. (see image #1 below) I stitched both strips onto the muslin using a small seam allowance, just a bit over ⅛" (3 mm).
- Open the pieces, press, and topstitch along the original seam. (see image #2 below)
- Place the next strip along the raw edge of the previous strip, stitch, open, press and topstitch. (see image #3)
- Repeat placing and stitching strips (image #4) until you've covered the entire muslin square.
You'll end up with a block like this one. Make another one, this one will go faster. After that, square up the blocks to remove any bits of excess fabric on the edges.
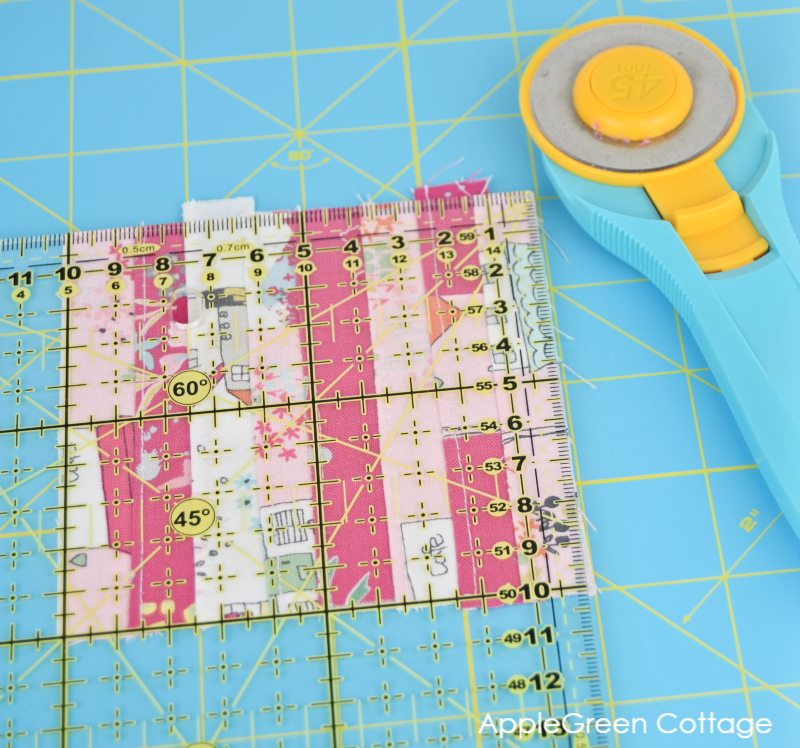
(And yes, you got that right - my ruler is metric, it makes it easy to switch between centimeters and inches for my tutorials 🙂
Part 2 - stitch the two blocks together
So, by now you've got two blocks ready. Now we'll assemble them into a pincushion:
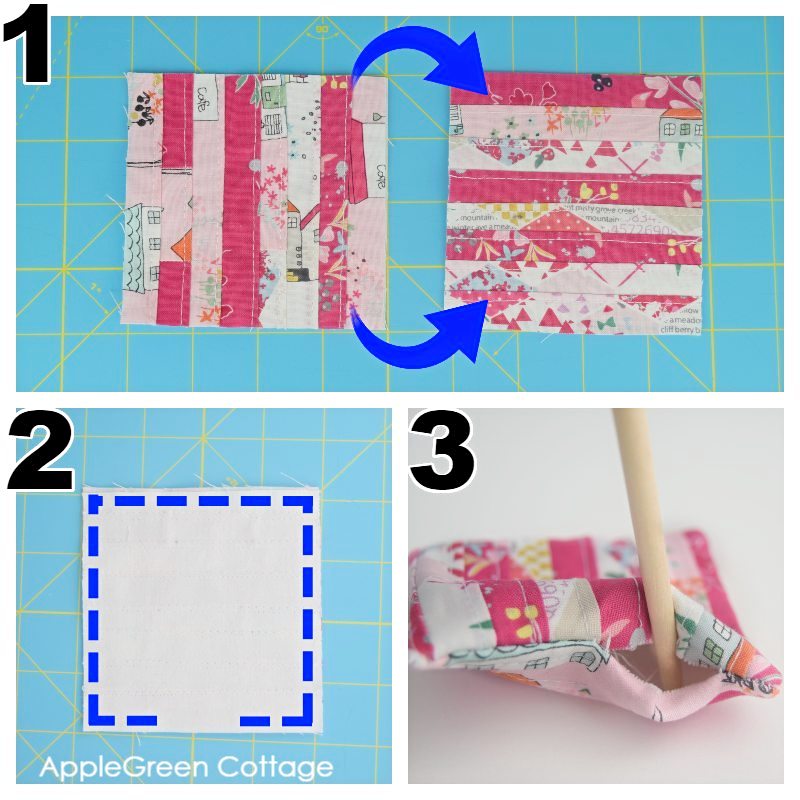
- Image #1 below: Place the blocks face-up, then rotate one by 90 degrees - so you'll have one block with horizontal stripes and the other one with vertical. This way, you'll reduce bulk in the seam allowance (feels like a smart move, doesn't it!) - Only then, stack them right-sides-together,
- Image #2 below: you're ready to sew. Stitch around the square using a ¼" (0.7 cm) seam allowance and make sure to leave an opening for turning.
- Clip corners for easier turning (here's a corner clipping tip if you need one) and turn right-side-out (image #3 below)
- Press (no photo).
Hand-stitch the opening closed. I love sewing a ladder stitch to invisibly close the opening - done!

Feel free to save the project to Pinterest for next time you want to sew a quick and cute thing - use this LINK or image below:

If you like sewing for your home, check out these popular projects too:
- This diy envelope pillowcase (Easy To Sew + BEAUTIFUL!!)
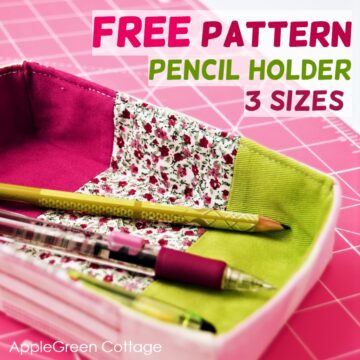
- Trinket Tray And Pencil Holder - Free Pattern
Sewing For HOME? THIS!
Get the LEA Mini Bin pattern in our shop.

Pat says
Thanks so much for the pattern and instructions for the little pincushion! We are going on a trip soon and I was getting ready to make one, but was going to "shrink" the pattern of the first one. This is so much better!
Darlene Shapiro says
I really like this idea of a pin cushion and i will definitely have to make one. Thank you very much for this tutorial.