
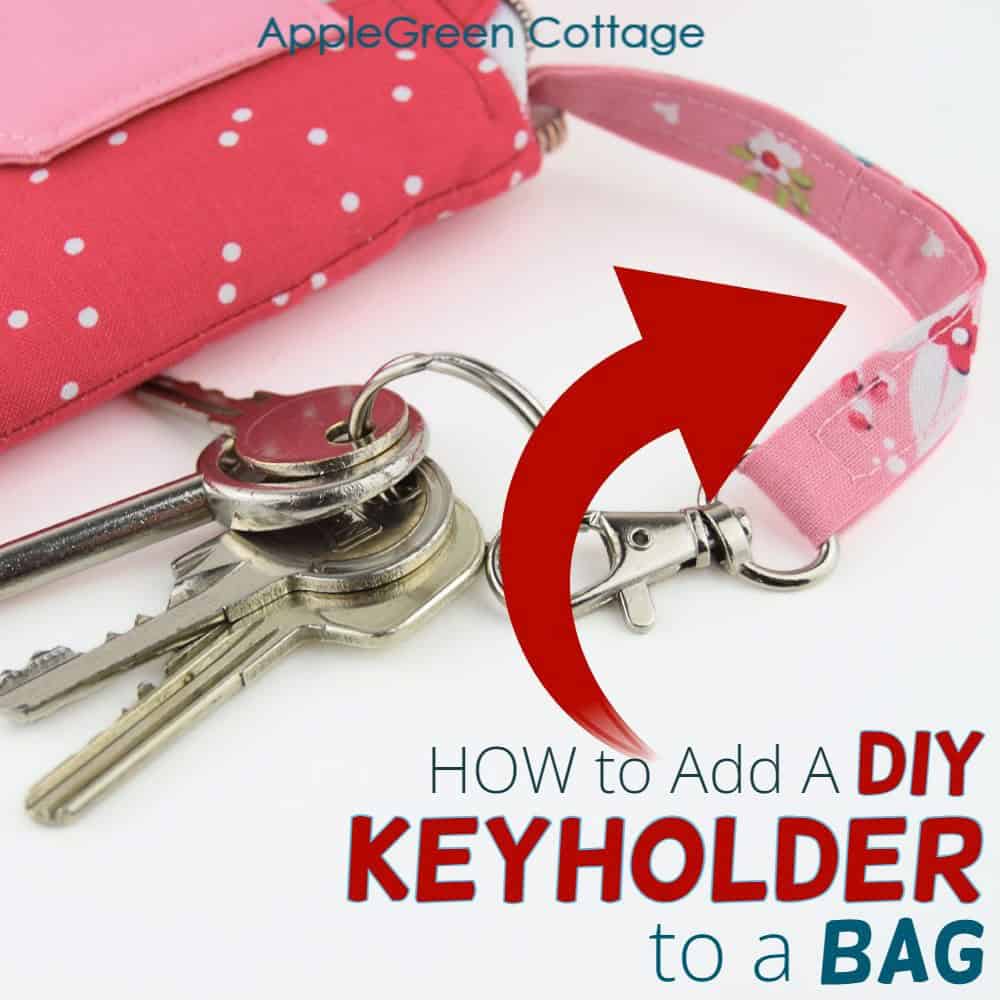
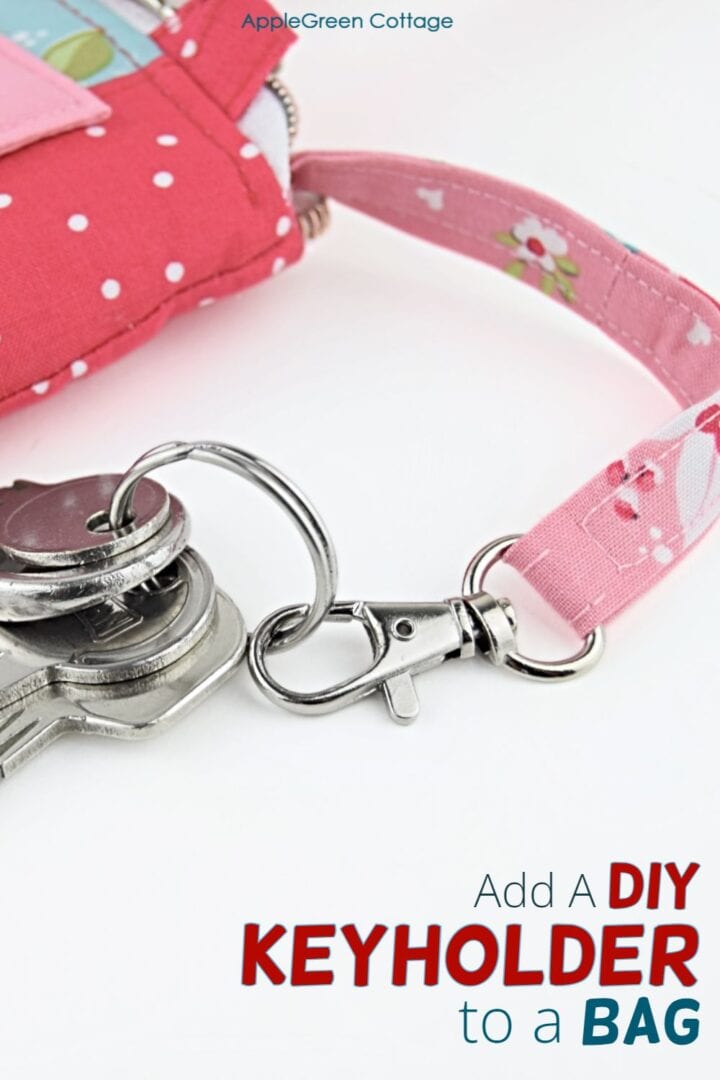
Do your keys love to hide at the very bottom of your bag - usually under everything else? Yep, mine too. That's why I love adding a simple detachable keyholder to my handmade bags. It clips in for safety, unclips when you need it, and makes finding your keys so much easier.
This little trick is especially neat in the Enya Wallet Bag sewing pattern - one of the most loved bags in my shop - but you can add it to any bag you're making.
Want a printable copy of the whole tutorial?
Prefer a full, ad-free and printer-optimized Printable Tutorial with instructions, images AND templates included? ↓↓
Table Of Contents
Why Your Bag Needs a Keyholder
I find these keyholders especially helpful in bigger bags, where keys tend to disappear into what feels like a black hole. Here's why they're such a favorite:
- No more fishing around forever - you know exactly where your keys are.
- Safe and secure - they stay clipped inside.
- Easy - pop the keys back in, and they're out of the way but still attached.
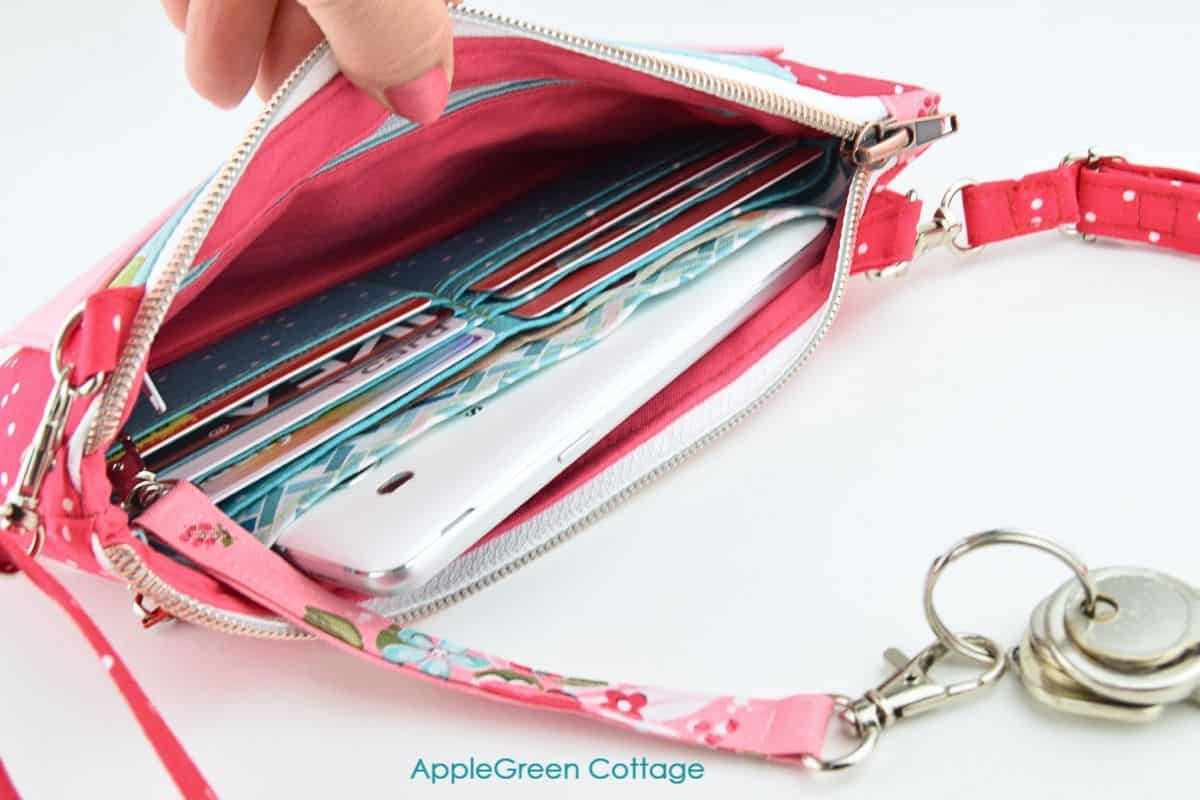
Simple, right? But oh so practical. Even in a small wallet bag - keeps things organized!
You'll find it inside the Enya Wallet Bag pattern ↑↓
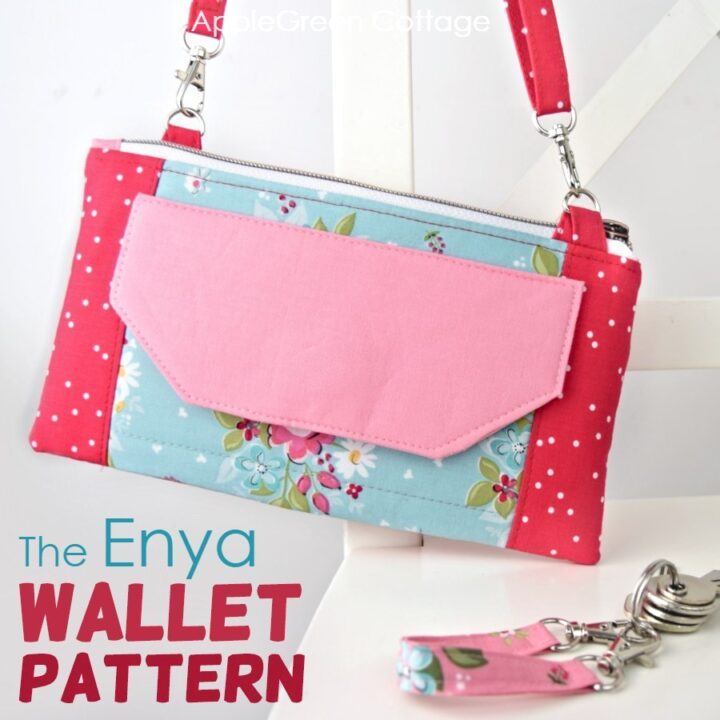
→ It's included in the ENYA Wallet Bag pattern!
Want to try a different kind of keyholder? I've got you covered - here's how to make a keyfob tutorial, too.
Finished Size:
Mine ended up 5" long, which is perfect for my small wallet bag. It's easy to adjust: first measure how long you'd like your keyholder to be - if your bag is small, then 11" is enough. For any larger size, make it twice that long.
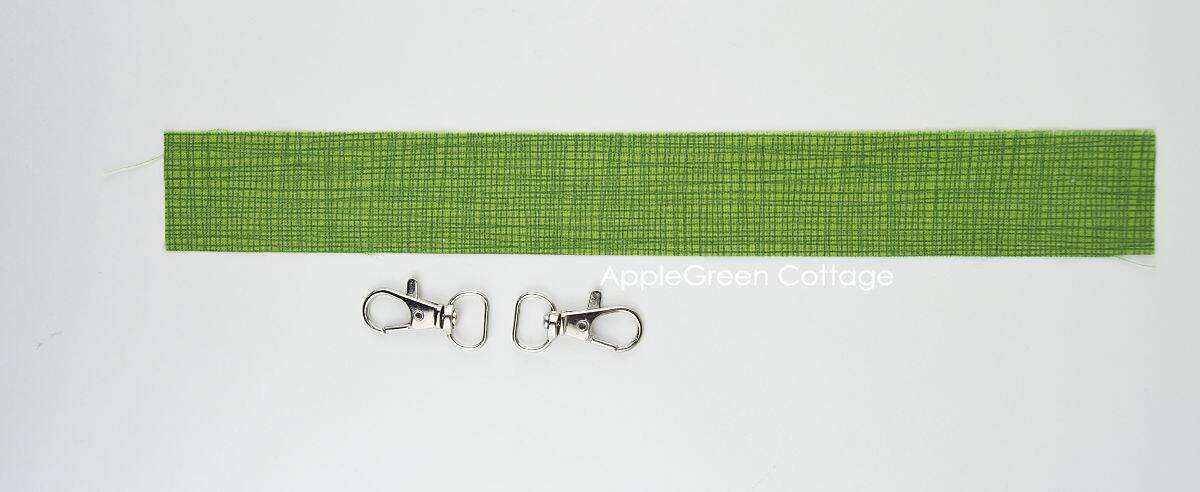
Supplies
- 2 swivel clasps (I used ½" inner width)
- a strip of fabric approximately twice the desired strap length
- a D-ring to make an anchor tab and a 2 x 2" fabric
- optionally, woven interfacing for reinforcement
- the usual: thread, needle, scissors, iron, and a sewing machine
Shop my personal favorite sewing supplies on Amazon HERE.
How To Make a Detachable Key Holder - STEPS
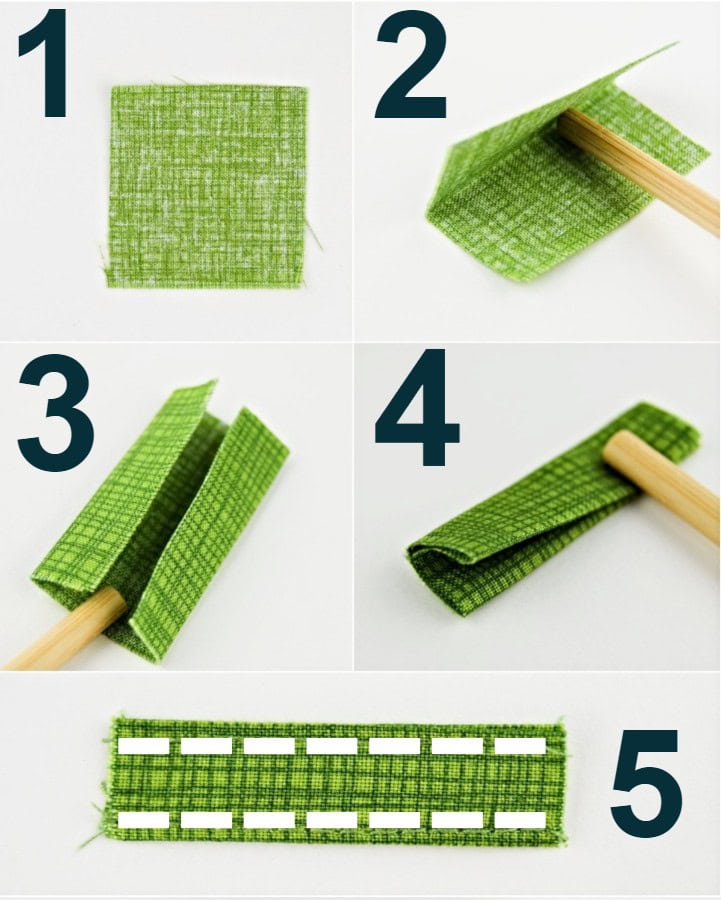
Step 1 - Cut fabric
Measure how long you'd like your keyholder to be - if your bag is small, then 11" is enough. For any larger size, make it twice that long.
Cut a 1 ¼" x 11" piece from your fabric (this is for the half-inch wide hooks.) If you have a wider swivel hook, cut your piece the width of the swivel hook plus ¾" for turning the raw edges under.
Feel free to interface it using lightweight interfacing, or even heavier interfacing, but keep in mind how much your machine can handle. (See here which sewing machines I have and use: heavy-duty Janome HD9, and a domestic sewing machine)
Step 2 - Fold fabric
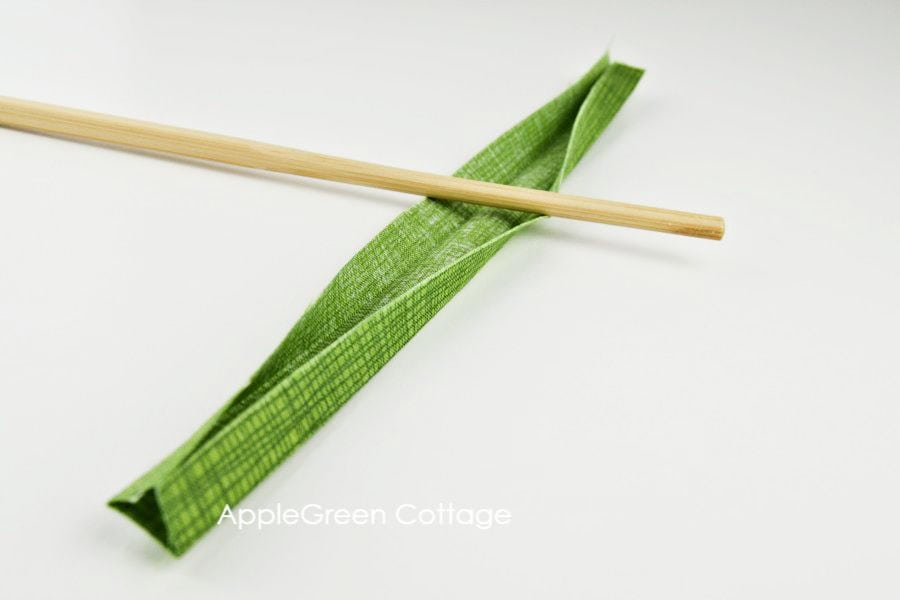
Fold under the ⅜" seam allowance along both edges of the keyholder strap piece - you'll be folding towards the back side of the fabric. Press.
Step 3 - Add the swivel clasps
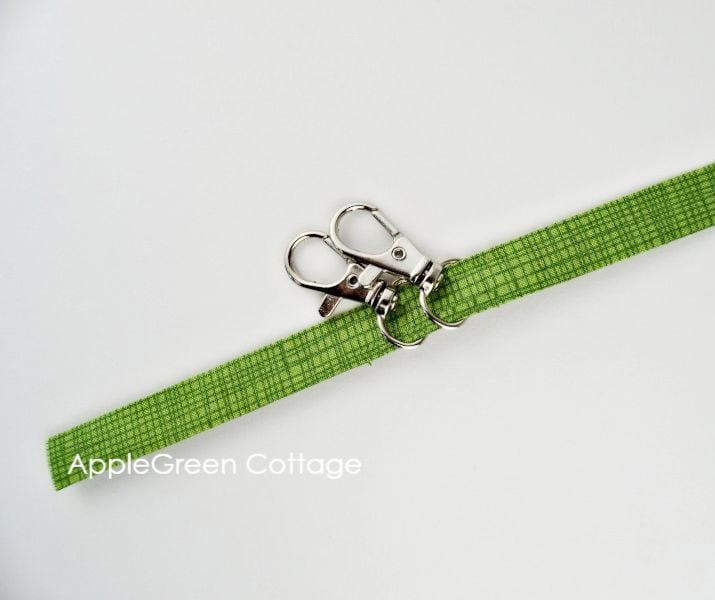
Slide on the two swivel clasps.
Step 4 - Sew a loop
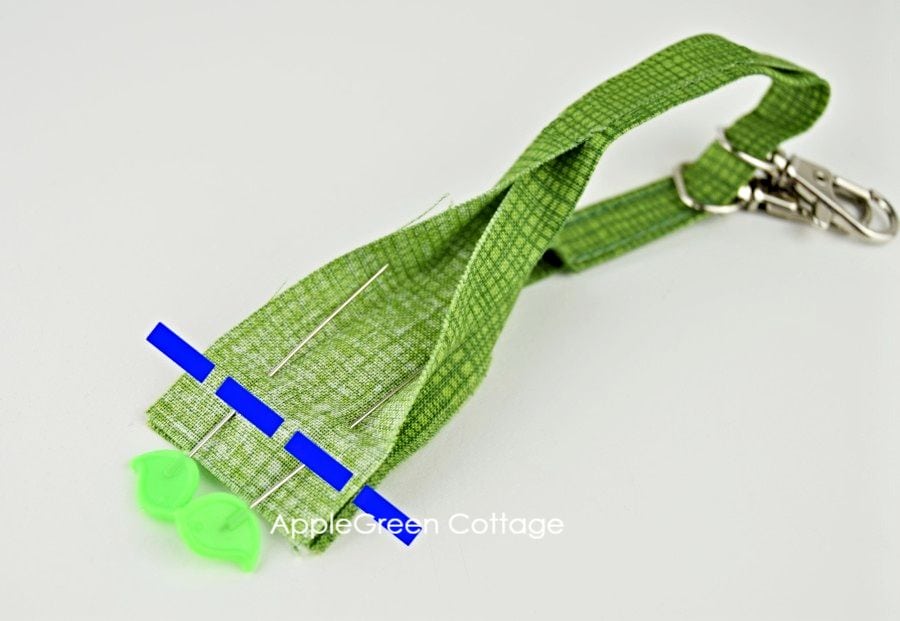
Open out the ends of strap and pin them right-sides-together. (Make sure you do not twist the strap piece!) Stitch using a ⅜" (1cm) seam allowance. Press the seam open. Your strap forms one continuous loop now.
Step 5 - Refold and press flat

Then fold the sewn pieces back as shown in the photo on the right and press flat. Position the two swivel clips so that each will be on one end of the strap.
Step 6 - Topstitch
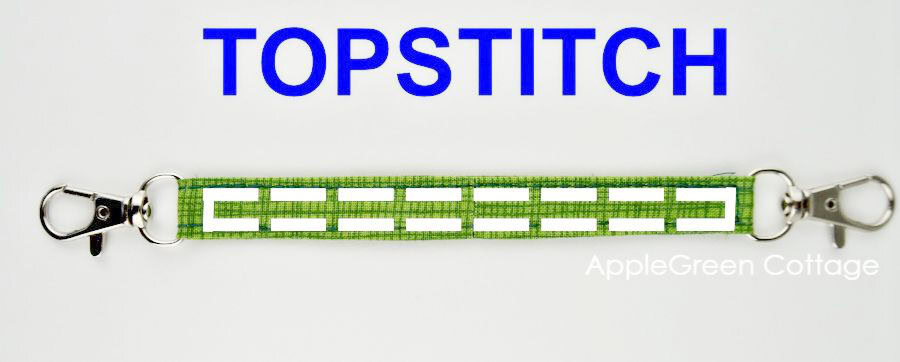
With all the raw edges hidden, topstitch using a ⅛" (0.3 cm) seam allowance. When you reach the swivel clasp, pivot and stitch as close as your sewing machine foot allows.
Done! Now you'll just need to hook the keys to one side, and the for the other side, we'll create an anchor tab - that one goes into your bag.
Step 7 - Make an attachment ring tab - anchor
To make the anchor tab for the detachable keyholder strap, do this:
- Get a scrap piece the size of 2" by 2" (5x5 cm) and place it with the wrong-side-up.
- Fold in half. Press, then open again.
- Fold the upper edge to the center crease and do the same with the lower edge.
- Fold again along the original center and press.
- Then topstitch along the long edges.
6. Fold the finished anchor tab in half. Press and slide on the D-ring.

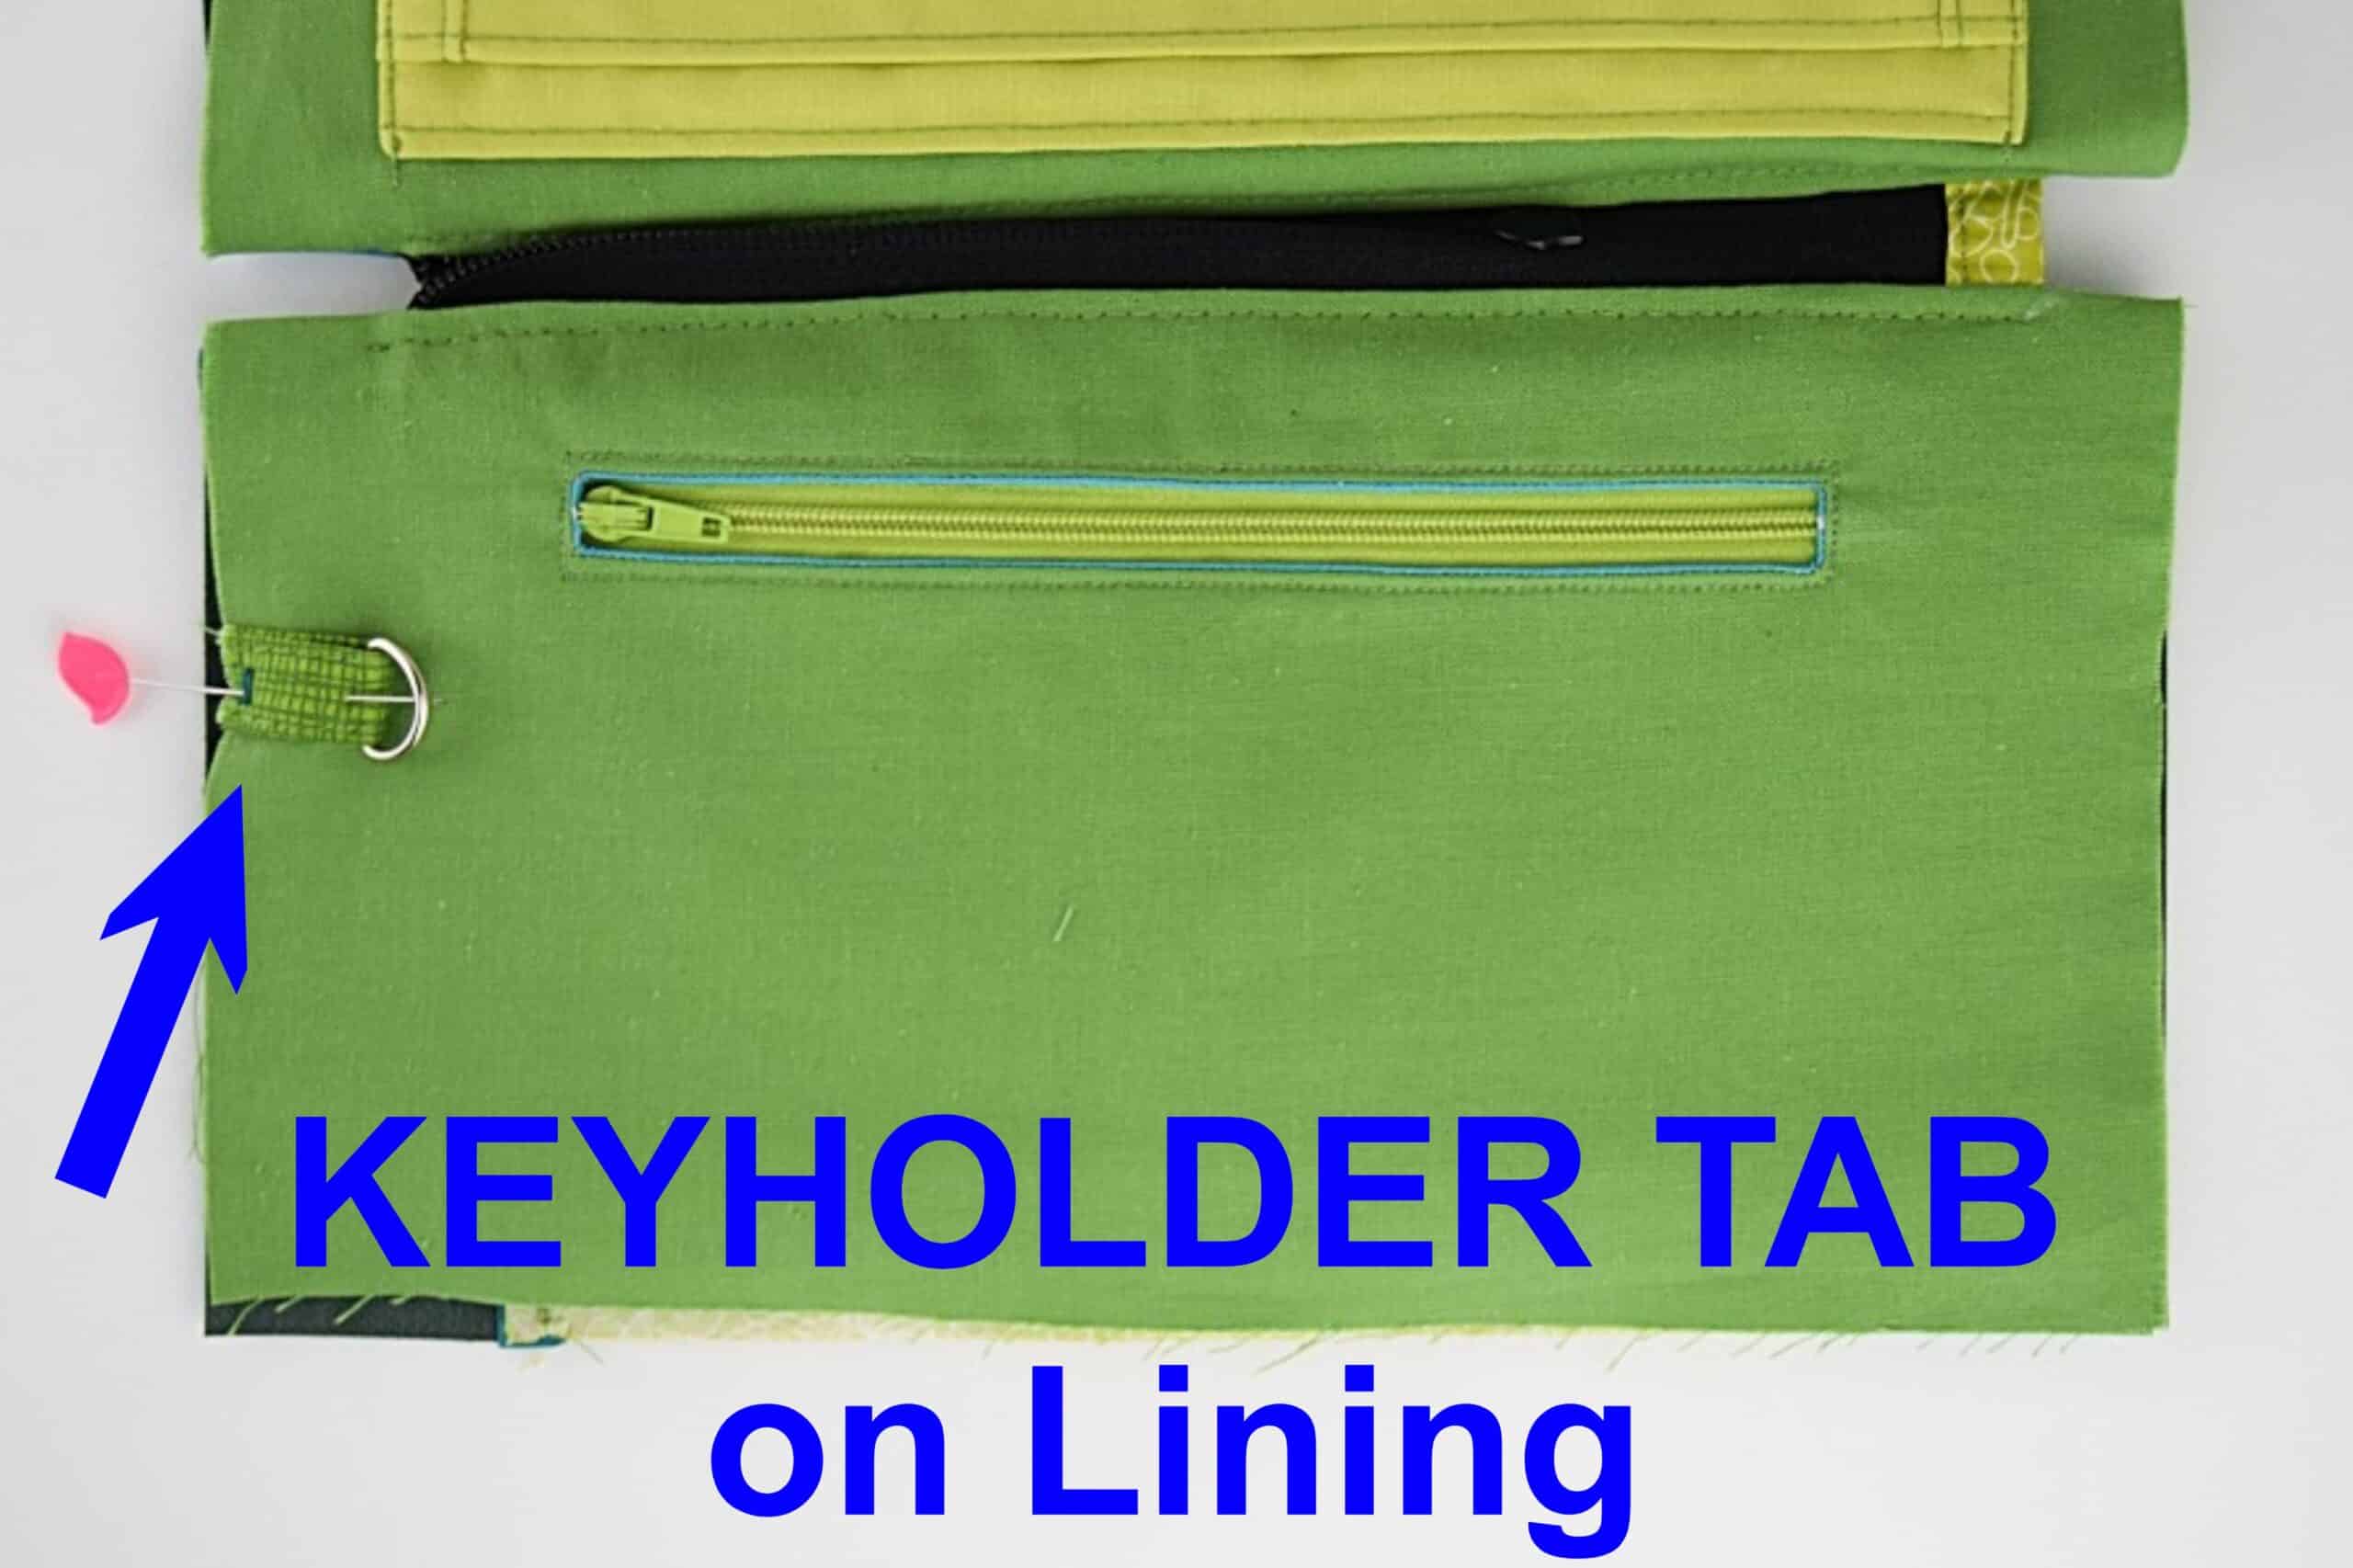
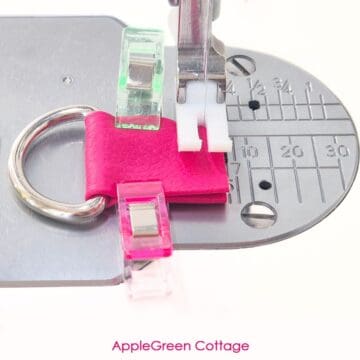
Step 8 - Baste to bag lining
Baste the folded anchor piece to one side edge of your bag lining before sewing the lining together:
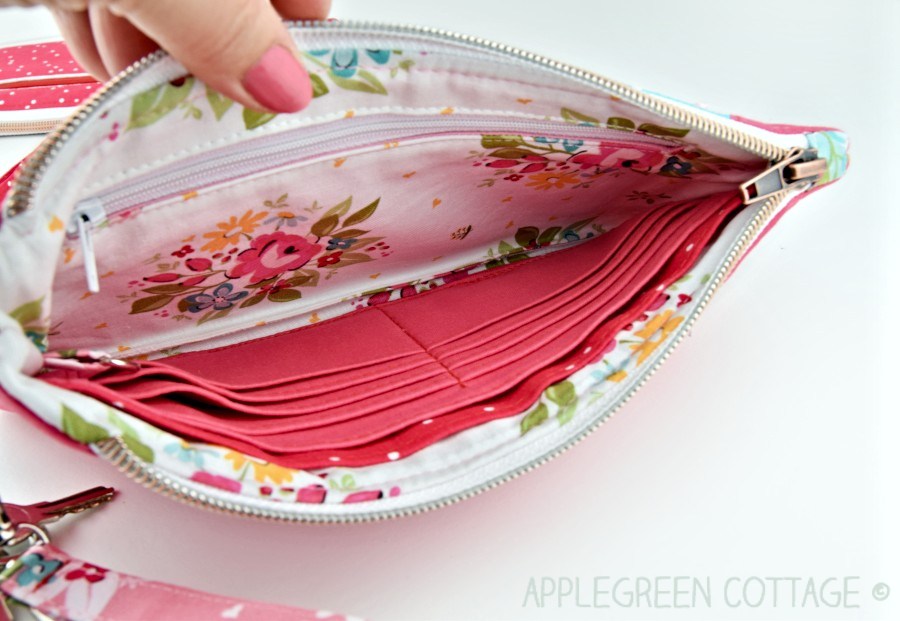
Once your bag is completed, just clip the keyholder to the D-ring, and you'll have this:

TIP: How to add the attachment ring to a finished bag?
If your bag has no attachment ring, it's still easy to add one. Create a d-ring tab like above, and sew it on the edge of the lining inside the bag, somewhere close to a side seam where the stitches won't be visible on the outside.
If you can't find such a spot, simply sew it to the side of a slip pocket, or an inside care tag.
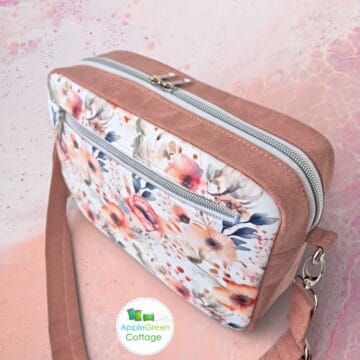
Or …check out the popular Enya Wallet Bag in our shop - use it as a crossbody, clutch, or regular wallet, it has everything a big bag has!

More Bagmaking Ideas
The Small Purse That Packs a Punch!
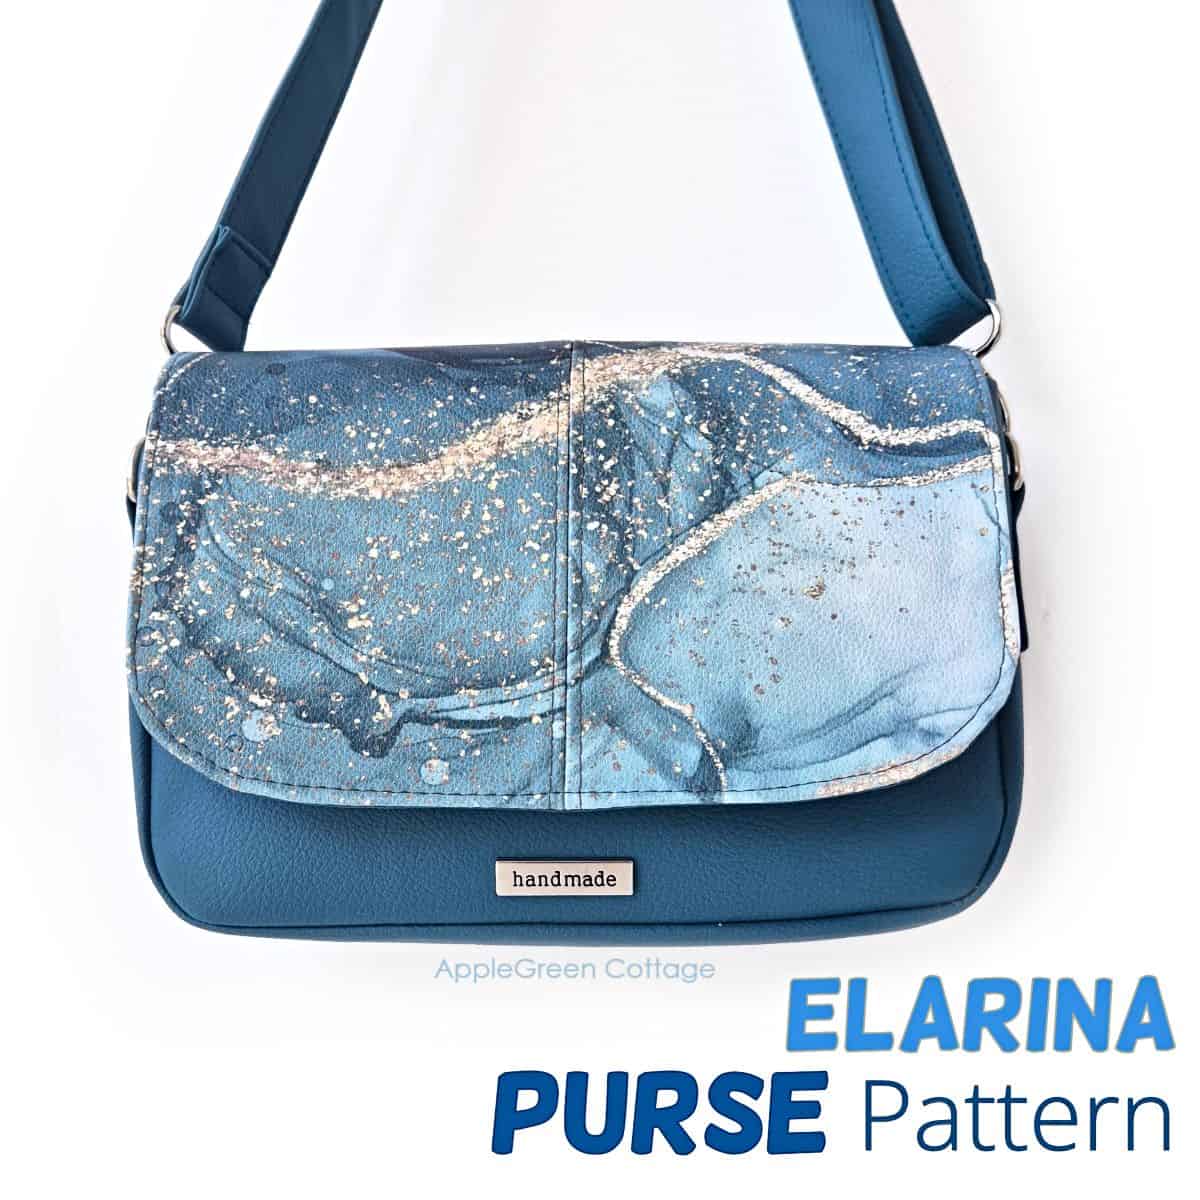
Check out this pretty Elarina Purse pattern in our shop - small bag, big style! 👜
- Sewing thick Bag Layers? Try These 7 Simple Fixes
- How To Sew Bags With Foam Stabilizers
- Interfacing In Sewing - Tips For Beginners and Pros
- Decovil Light vs Decovil Heavy - Which One To Use?


Conclusion
That's all it takes to make your handmade bags a little more user-friendly. This detachable keyholder is quick to sew and makes everyday life so much smoother.
Want to see it in action? You'll find it inside the Enya Wallet Bag pattern - and it's one of the little details that makes that bag such a hit.
Happy sewing - and may your keys never again play hide and seek at the bottom of your bag!
Want to learn more about bag strap options? Take a look at my popular tutorial on how to thread strap adjuster buckle, or how to make bag handles.
Want a printable copy of the whole tutorial?
Prefer a full, ad-free and printer-optimized Printable Tutorial with instructions, images AND templates included? ↓↓

This tutorial is also part of Printable Tutorials BUNDLE
100 PDF tutorials now, and growing!


Leave a Reply