
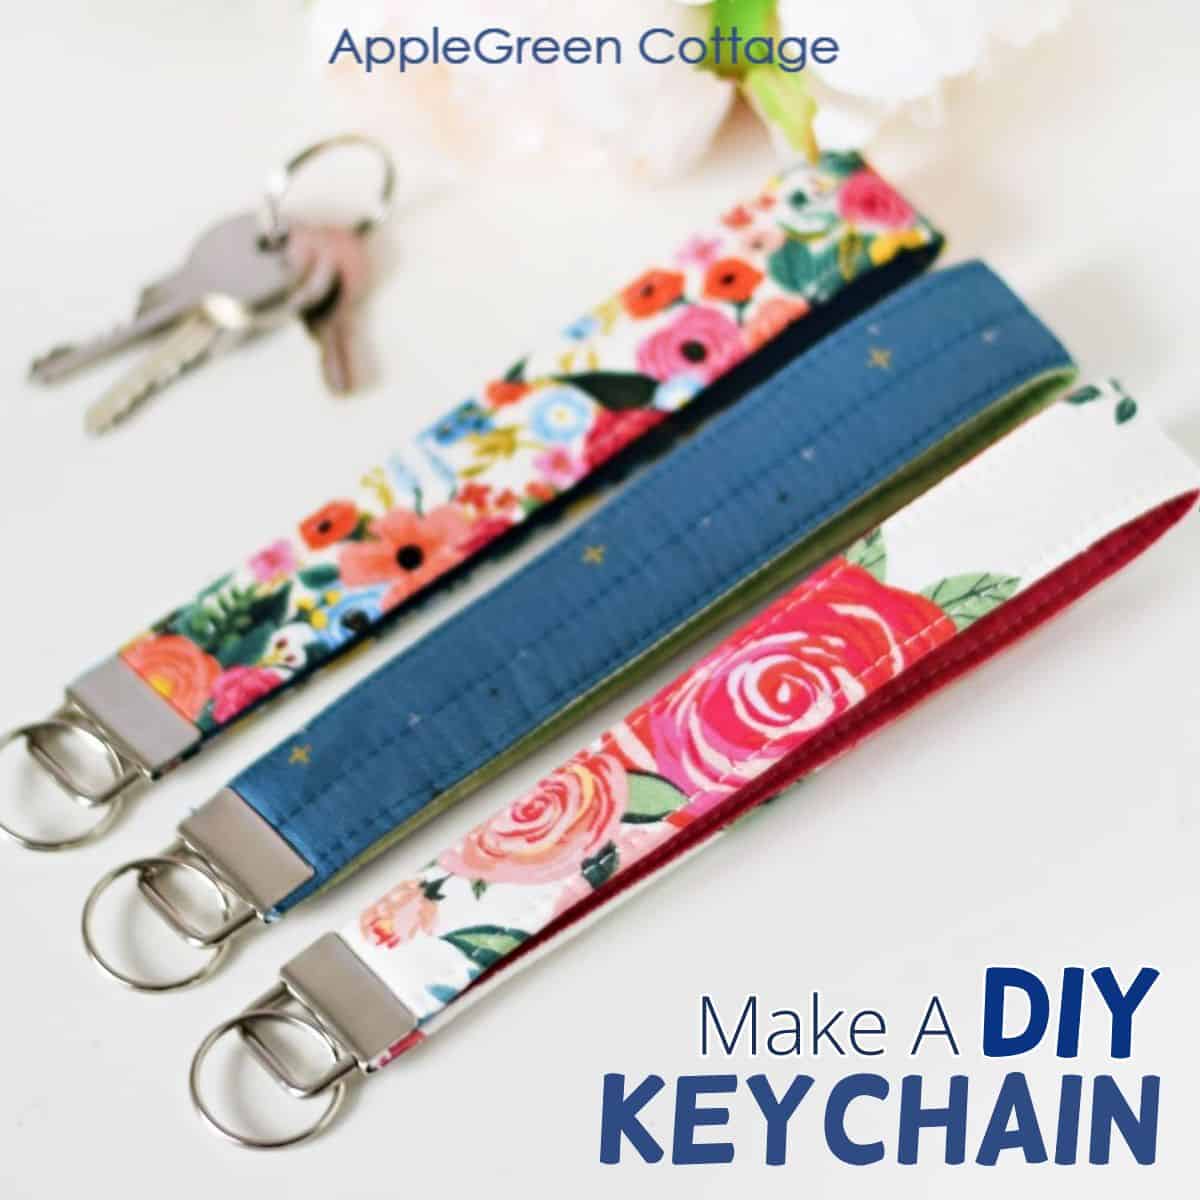
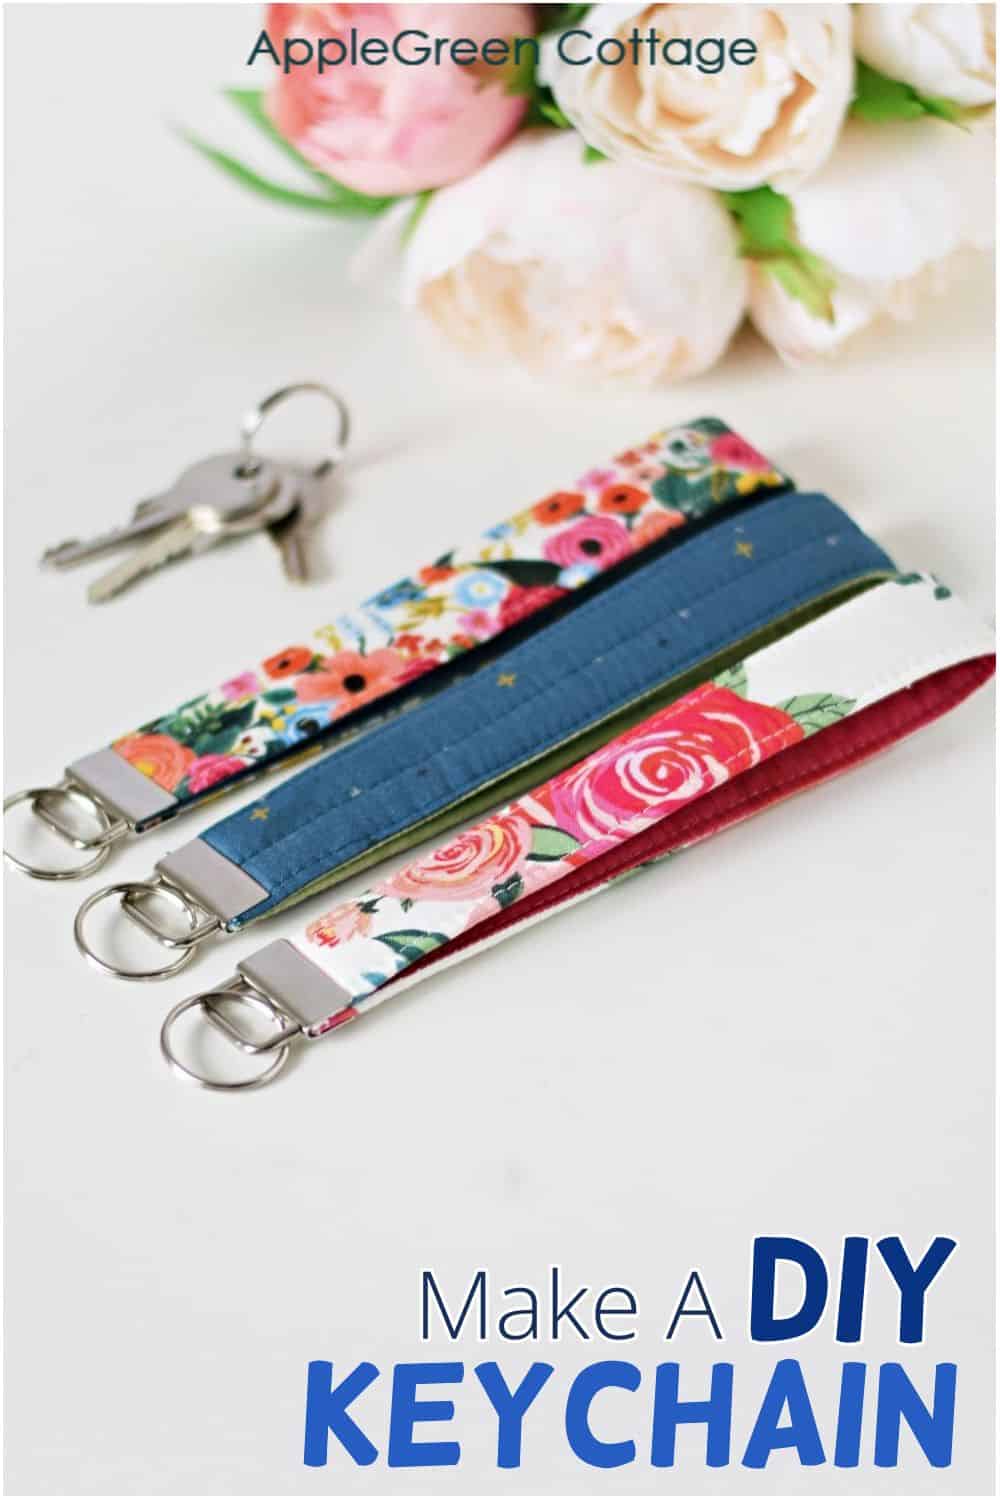
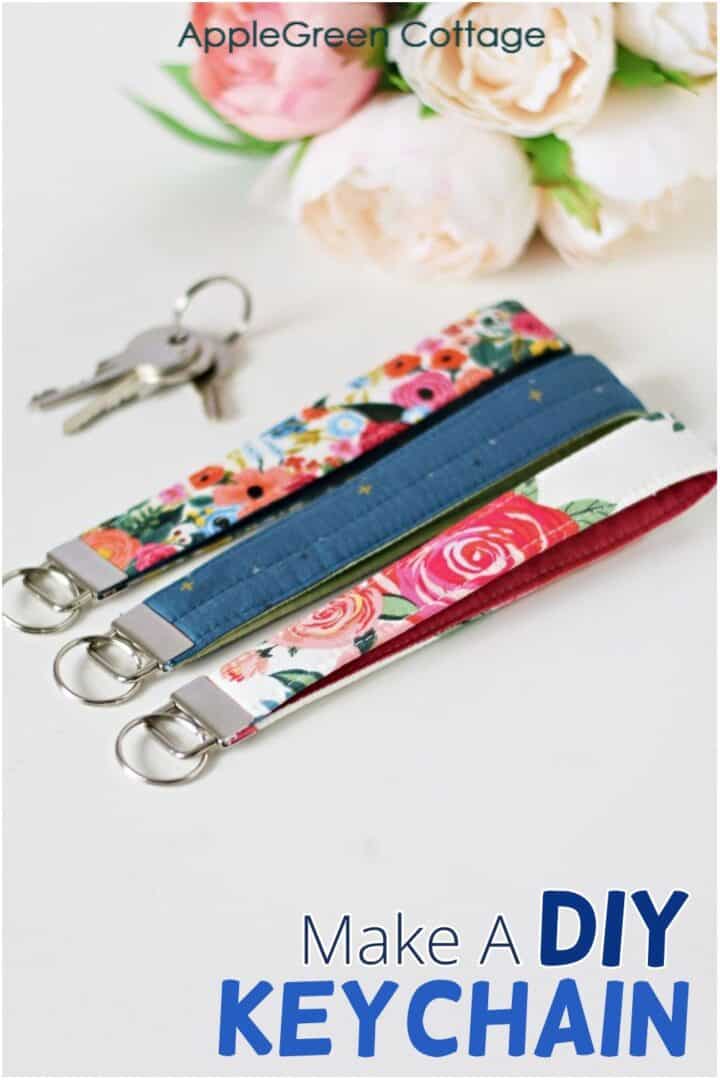
Never lose your keys again with this easy fabric keychain. No more tedious searching for keys in your bag - this easy diy keychain will put a stop to losing your keys, ever again.
I love this diy keychain because it makes my keys so much easier to find. Or you can use it as a wrist strap with these bag patterns.
Want a printer-friendly option of the whole tutorial without ads? See the → optional PDF file.

This tutorial is also part of Printable Tutorials BUNDLE
100 PDF tutorials now, and growing!
Table Of Contents
- How To Make Fabric Keychains
- What is the finished size of this diy keychain
- Supplies and Tools
- How to Make Fabric Keychain Tutorial
- How do you use a hardware key fob?
- How to make sure the key fob hardware doesn't come off?
- What tools to use to make a diy keychain and alternatives to key fob pliers
- Alternatives to key fob hardware
- WANT A PRINTABLE COPY OF THE WHOLE TUTORIAL?
- WANT MORE FREE TUTORIALS AND PATTERNS?
Key fobs and diy keychains make a great personalized gift for friends, family, and teachers. Also, they are a great way to use up your fabric scraps. And when each of the family members has their own key fob in a different color or print, they will always toss theirs into their bags (not mine, accidentally!)
If you're here for easy projects, check out my SewEASY homemade gifts series - it's free:

Join the FREE 6-part email guide and make super easy diy GIFTS - each in 30 minutes or less! You'll love it!
How To Make Fabric Keychains
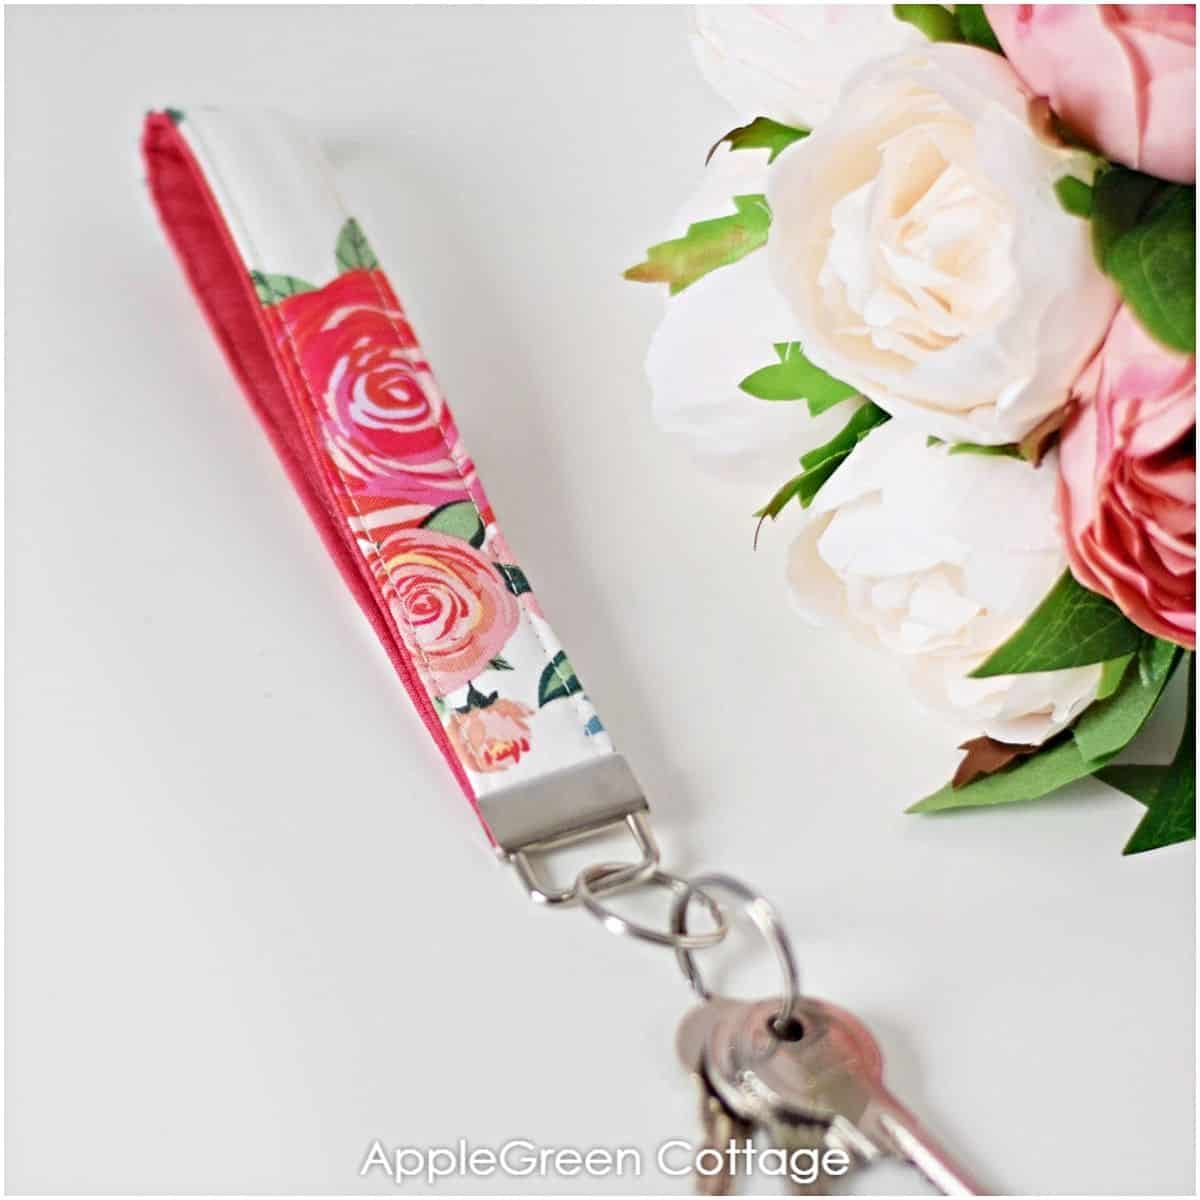
See how to make a keychain: this diy wrist strap keychain fits comfortably over your wrist, keeping your hands free and your keys close to hand.
And the best part: you can sew it in less than half an hour, with fabric scraps! (and you know I love scrap-busting projects, like these diy bows!)
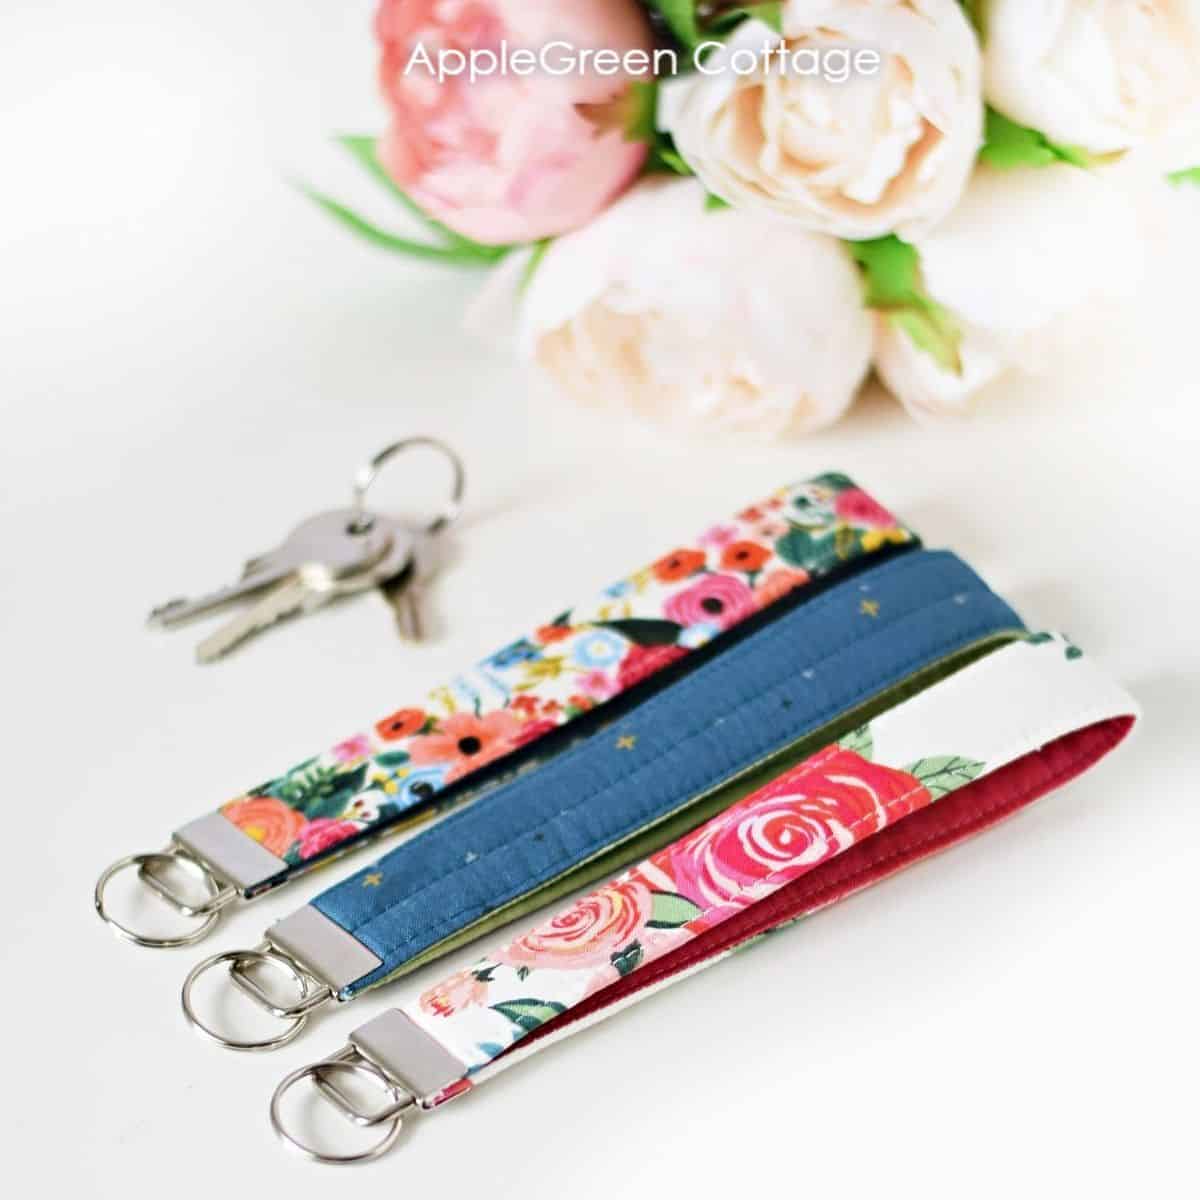
This diy wrist strap keychain would make a wonderful stocking filler, birthday or occasion gift or even a little treat for yourself. (I kept the top one for myself :D)
What is the finished size of this diy keychain
- Length of wristlet including hardware: 8"
- Length of wristlet loop (excluding hardware): 6 ½" (fits comfortably over most wrists)
Supplies and Tools
Shop my personal favorite sewing supplies on Amazon HERE.
- fabric scraps, two pieces 2" by 14" (36 x 5 cm)
- 1 piece of fusible fleece, same size
- Key fob hardware and key ring (low-cost on Amazon here)
- optional: key fob pliers or alternatively, standard pliers with a piece of thick layer of masking tape or felt to prevent scratches (more tips below)
- pins or sewing clips
- the usual: sewing machine, matching thread
This tutorial will also show you how to use and attach the 1" (2.5 cm) keyfob hardware. Spoiler alert: super easy to use - and it's really inexpensive on amazon! I also made a few tests to see what alternatives to keyfob pliers tool work best, see it the end of the tutorial.
What interfacing to use for a fabric cuff keychain
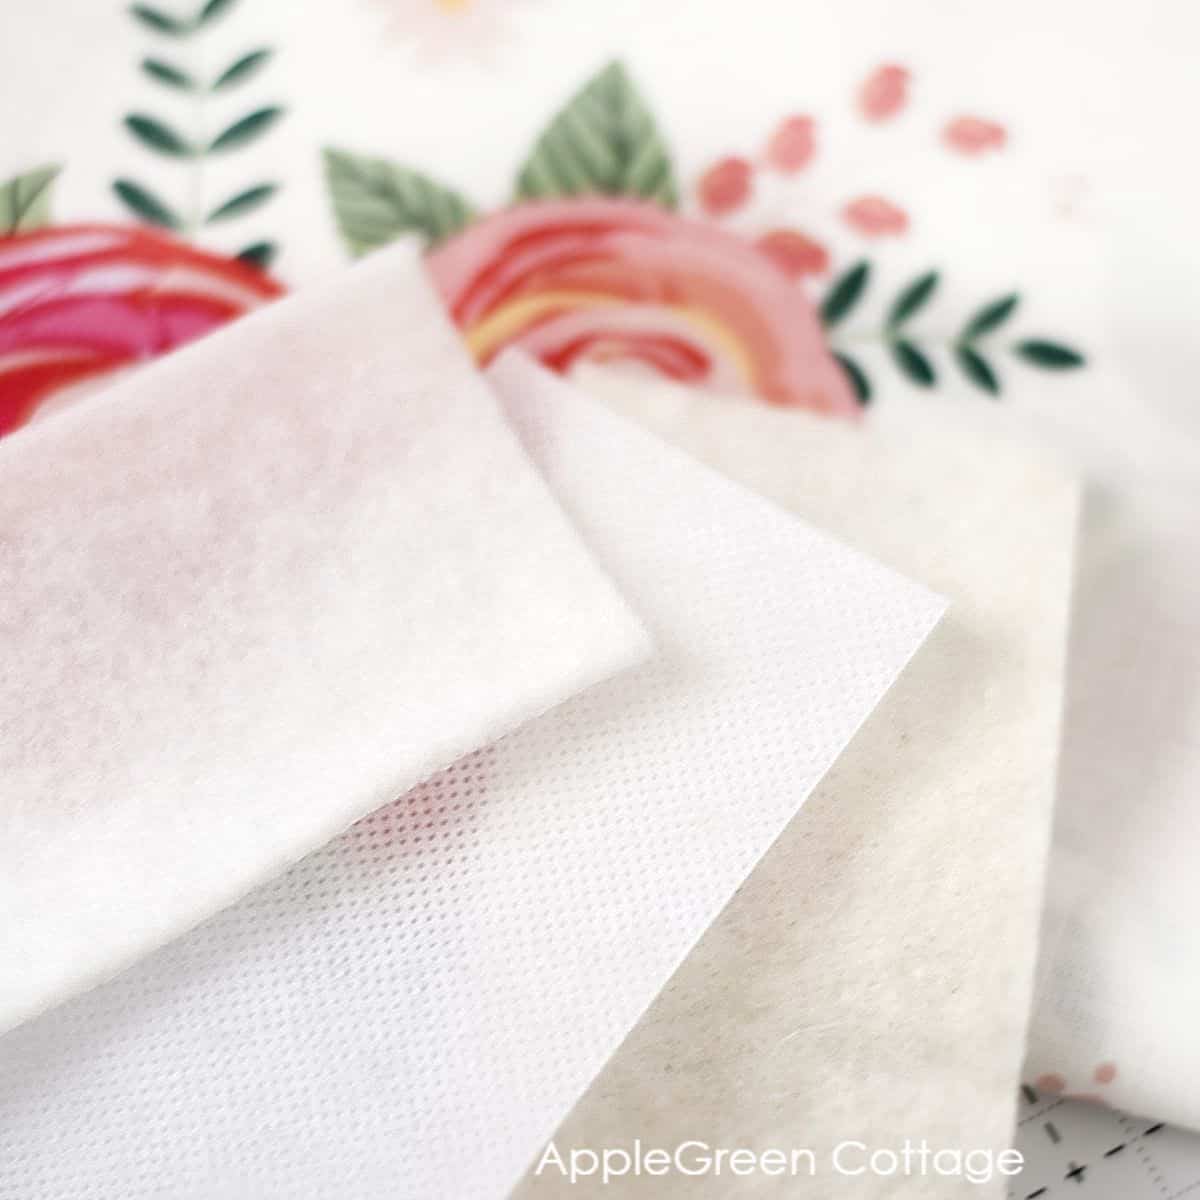
Many options out there, my favorite is fusible fleece, but there are two alternatives I like just as much: I used batting with the blue fabric keychain and stiff but thin Vilene interfacing S320 with the beautiful Wildwood Petite Gardenparty print from Rifle Paper Co I bought on Etsy in this awesome shop.
How to Make Fabric Keychain Tutorial
This project uses a ¼" (6 mm) seam allowance.
Step 1 - Cutting Directions
Put simply, cut twice the finished width (or, twice the hardware width). My hardware was 1", so I cut all pieces 2" wide.
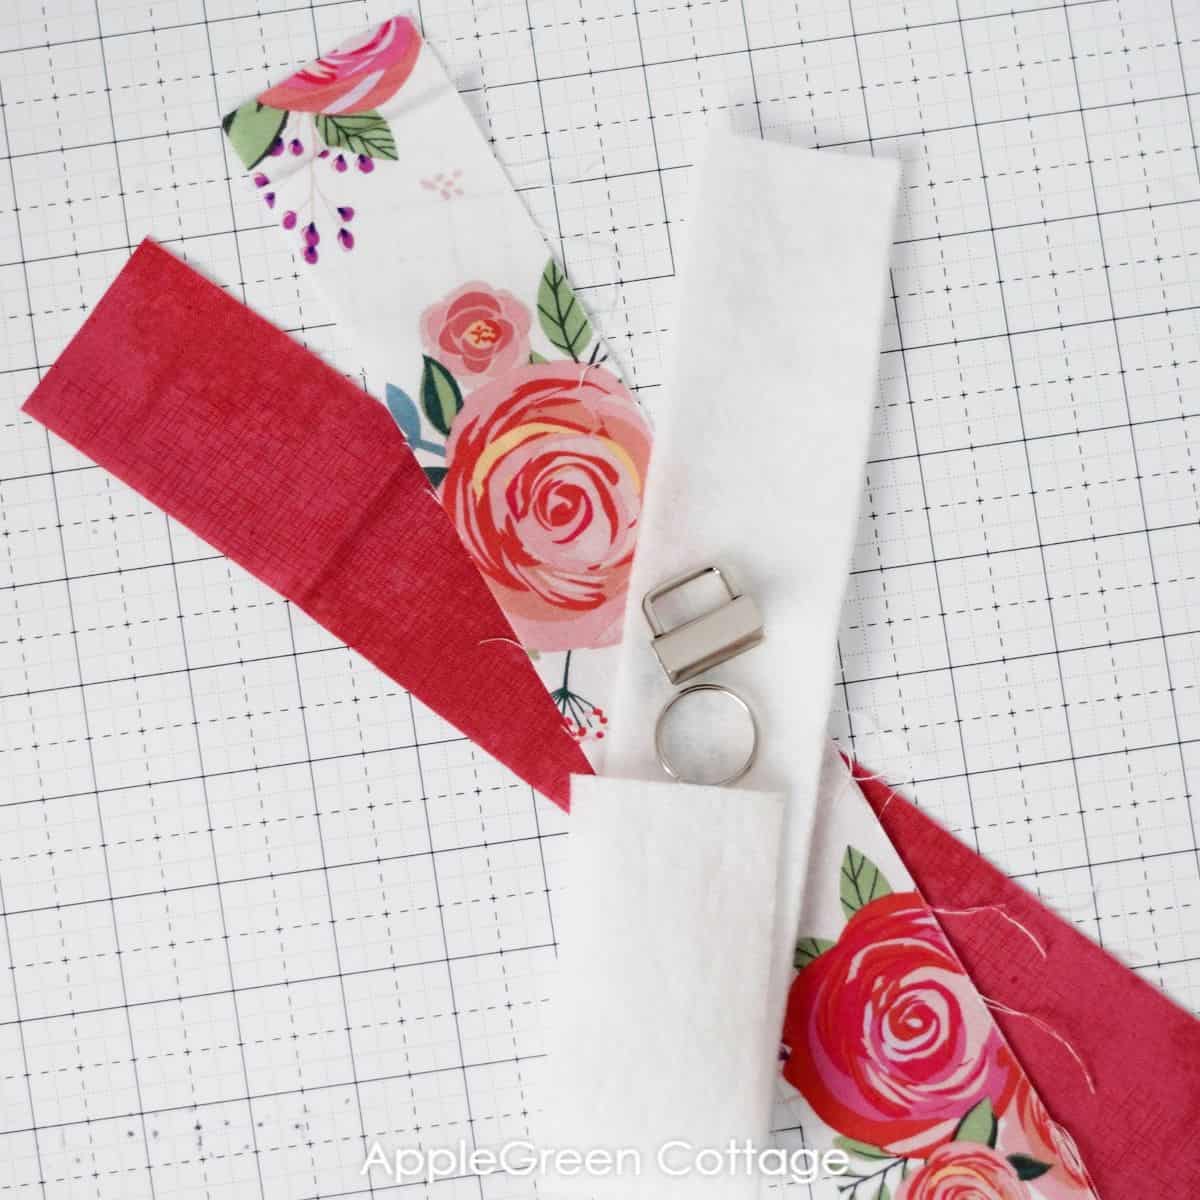
From fabric, cut
- two strips 2" x 14" from contrasting prints
From interfacing or fusible fleece, cut:
- one strip 2" x 14" of fusible fleece for stability and body
Step 2 - Sew The Fabric Pieces Together
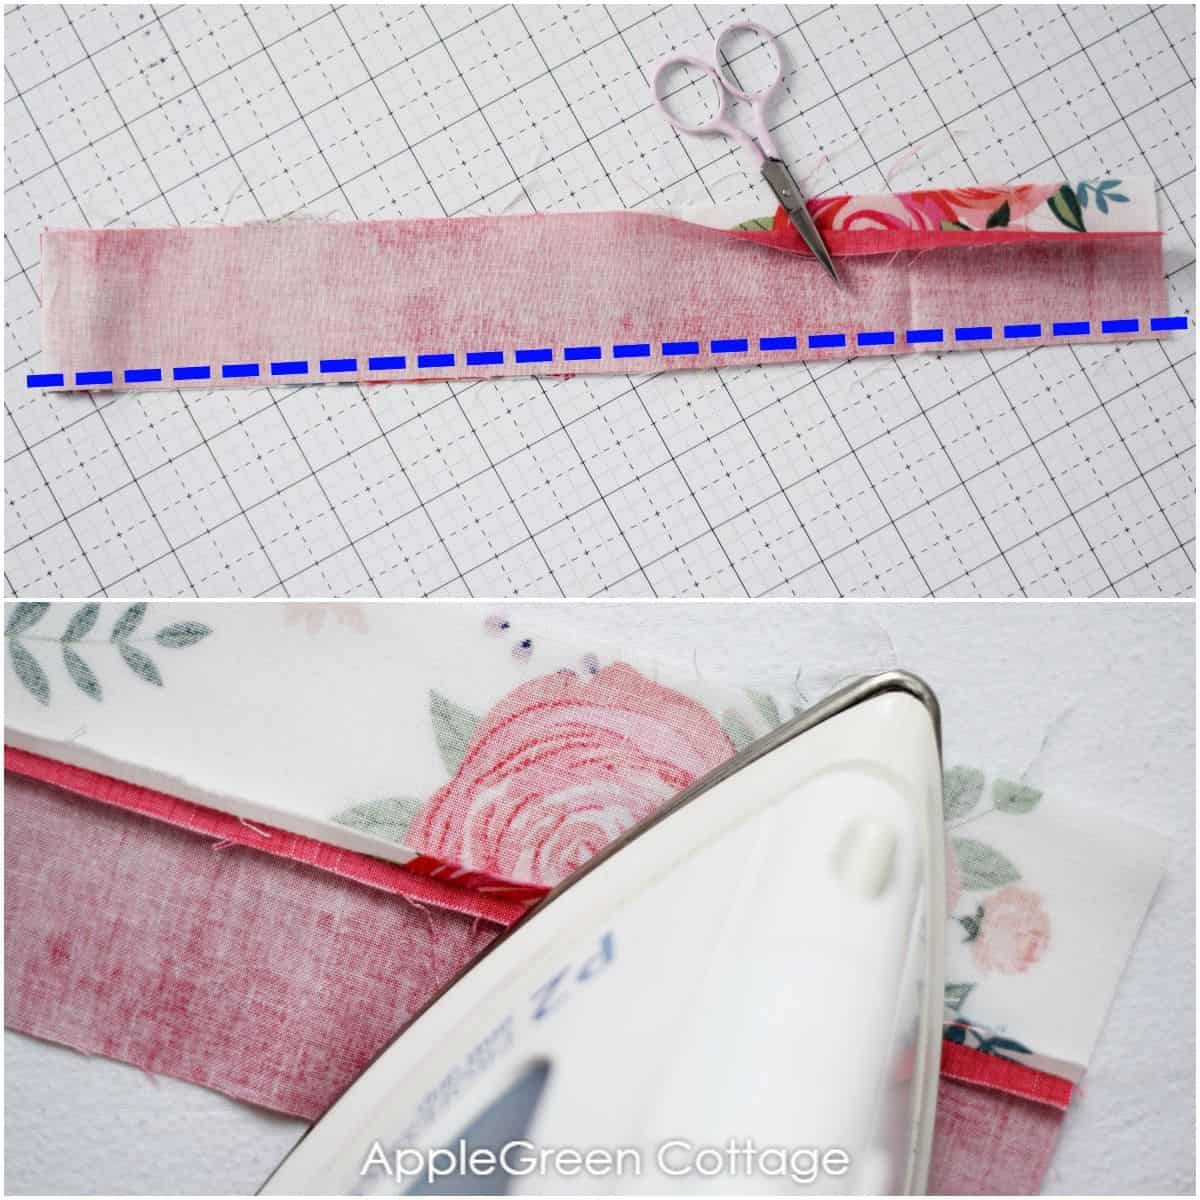
Place the two fabric pieces with the right sides together and sew along one long edge using a ¼" (6 mm) seam allowance. Press the seam alowance open.
Step 3 - Apply Interfacing or Fusible Fleece
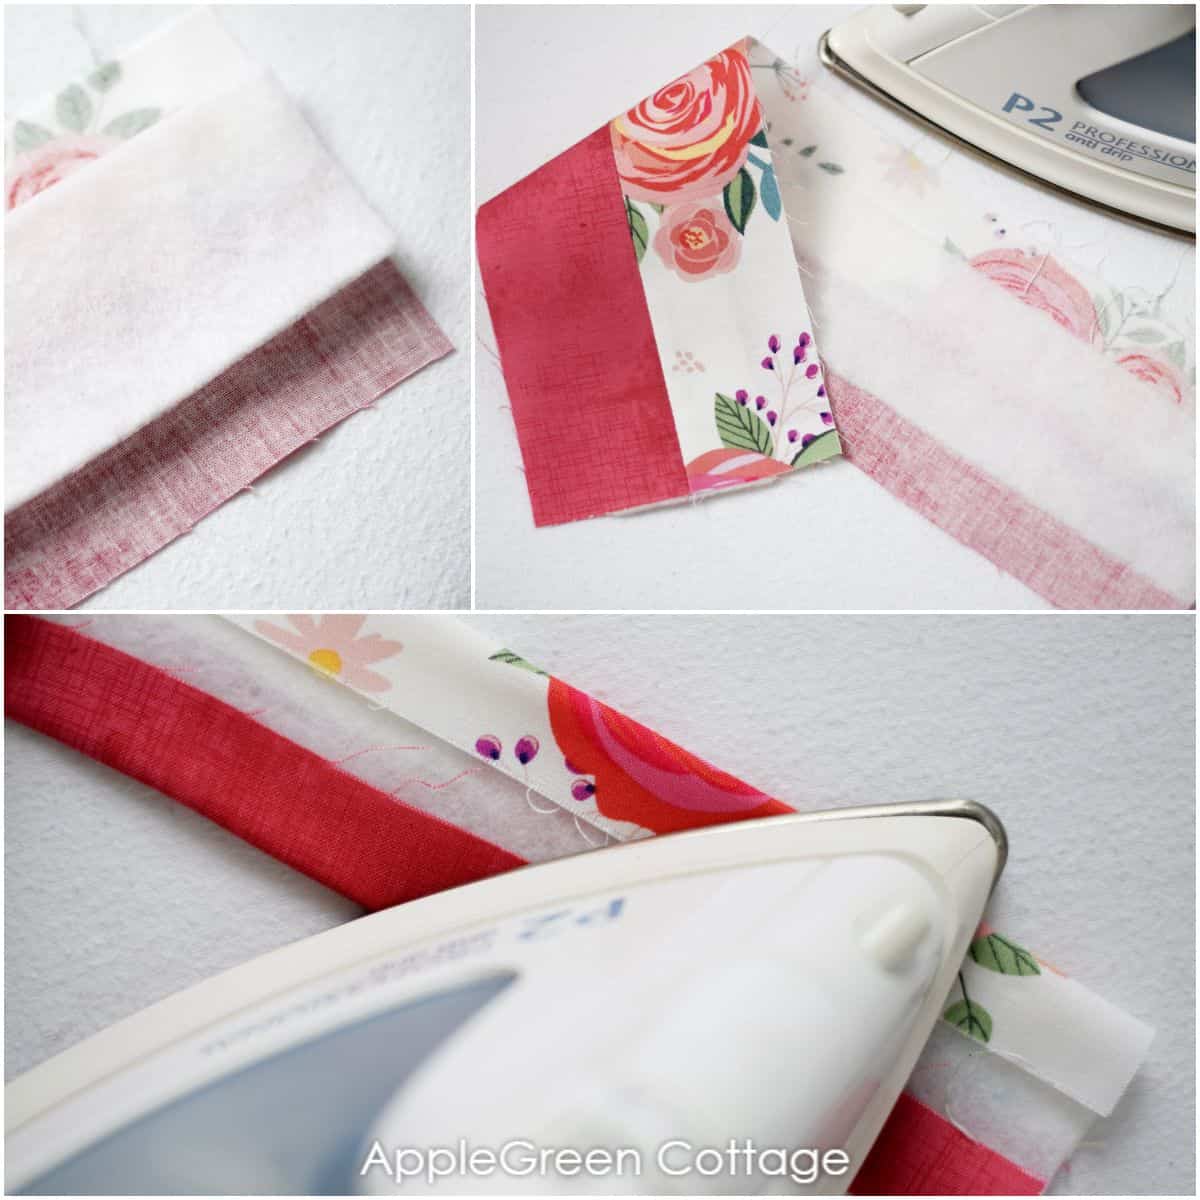
- Center your fusible fleece piece on the fabric.
- Following the manufacturer's instructions, apply fusible fleece to the fabric.
- Fold both raw edges under, towards the center (the portion that is not covered by fusible fleece).
Step 4 - Topstitch Around
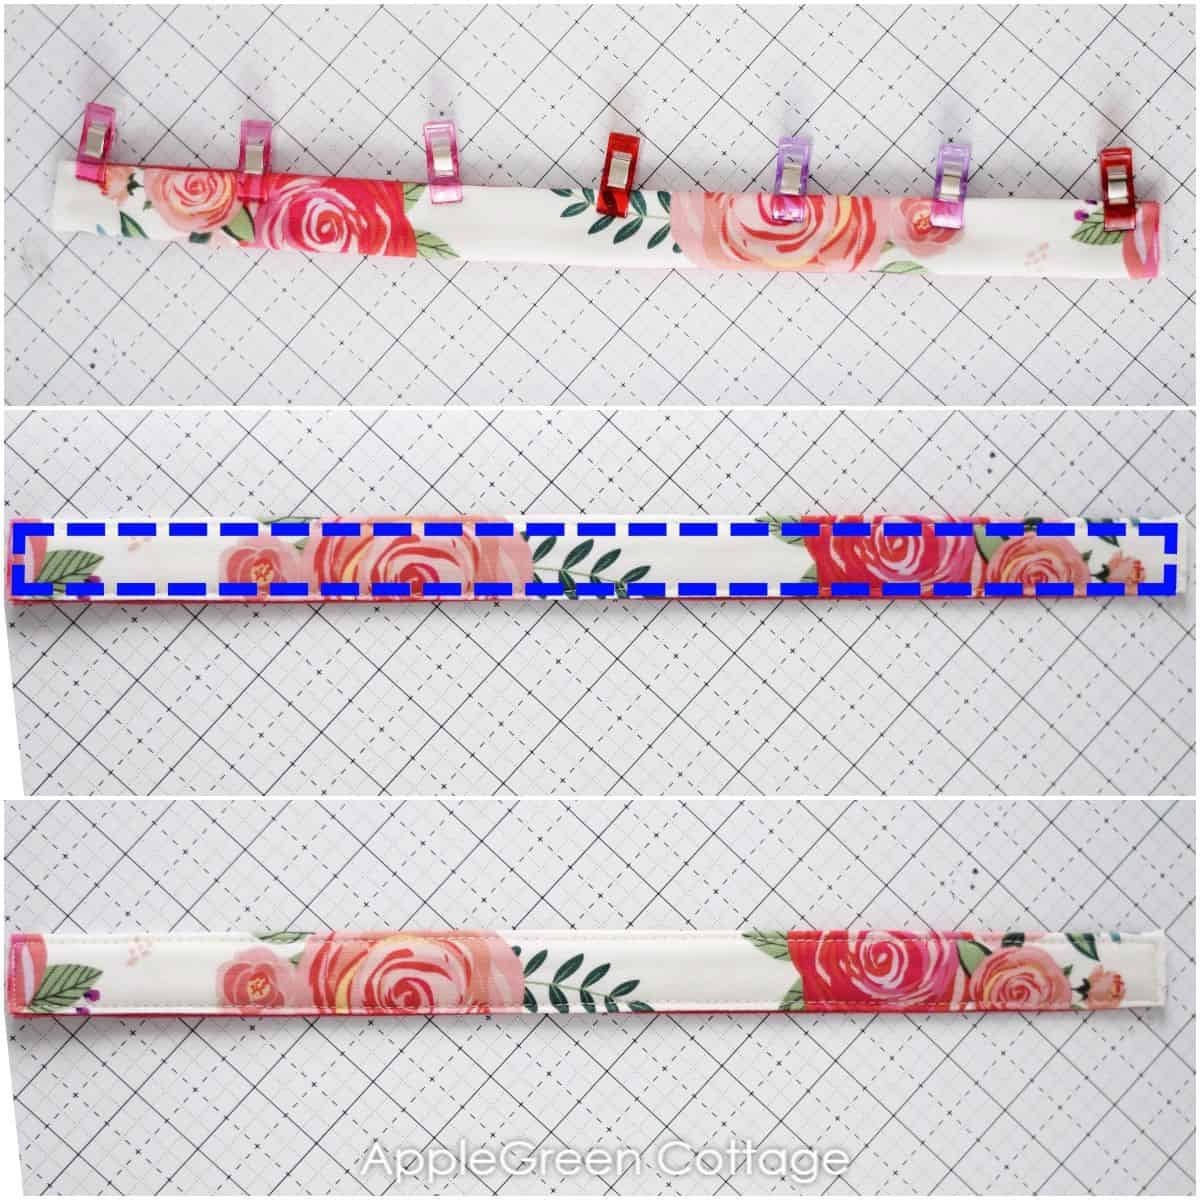
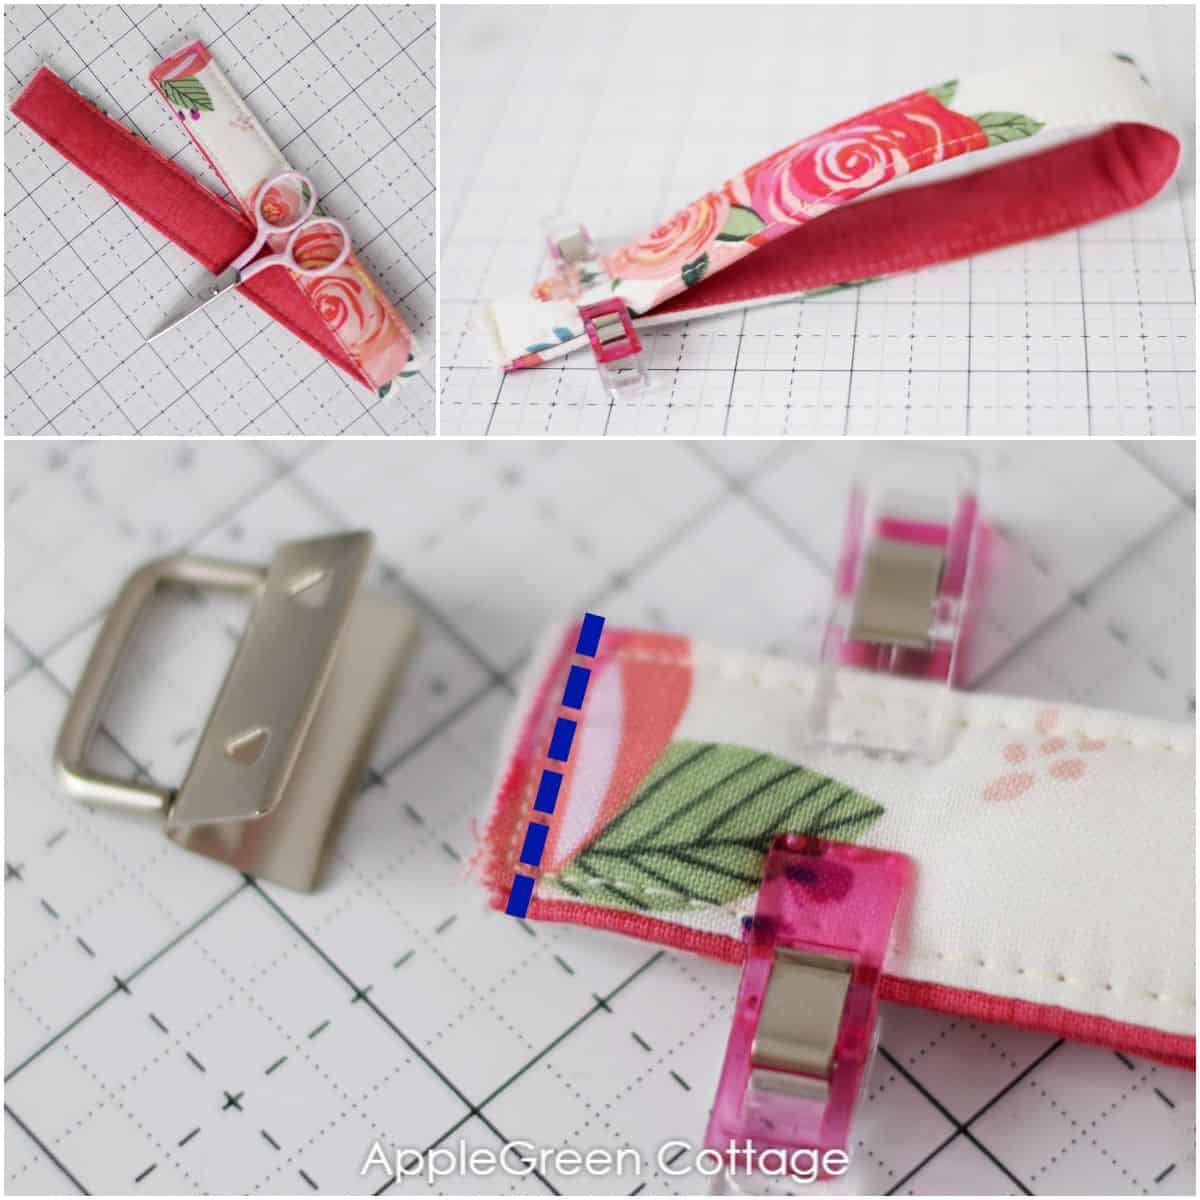
- Time to fold the strap into the final position, so fold again and press from both sides. Fix in place using sewing clips or pins.
- Once you've folded the entire strap, topstitch along the two long edges with a ⅛" (3 mm) seam allowance, using a long stitch length. For topstitching I usually use 3.5 to 4 mm stitch length, that's metric for something between 7 and 6 stitches per inch.
Optional: play with stitches, you can add several rows. Just to show you options, I interfaced one fabric keychain using batting, and I stitched three lines for better stability. So cushy!

Step 5 - Fold In Half And Baste
Fold the strap in half, trim any stray threads if needed, and baste along the edge - you can also use a zigzag stitch if you feel like. Your diy keychain will be finished once you attach the keyfob hardware in the next step - it's simple:
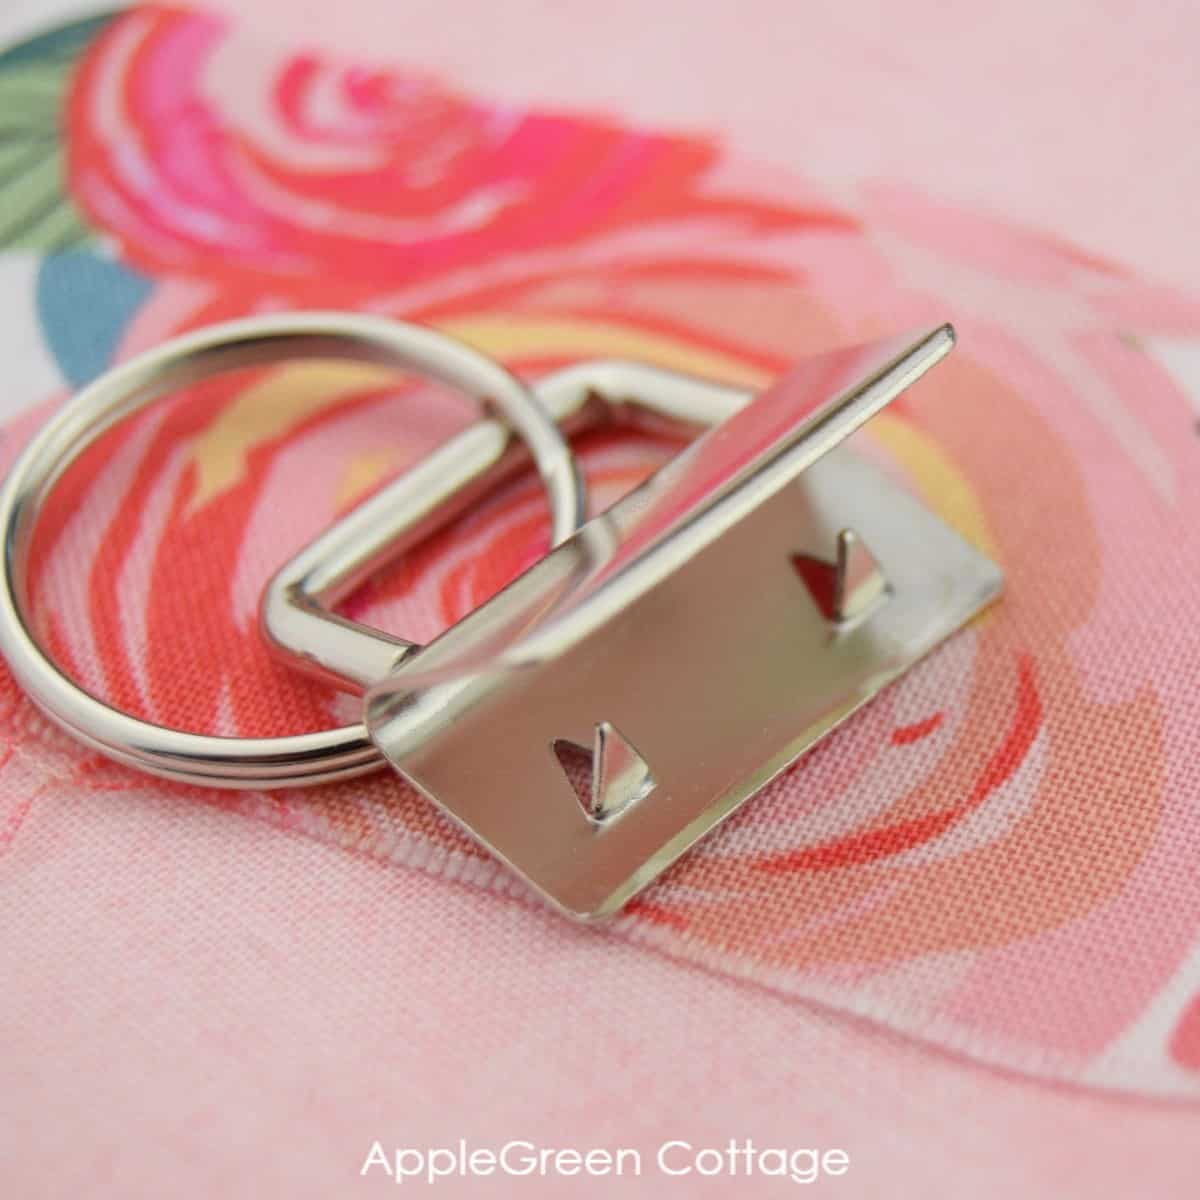
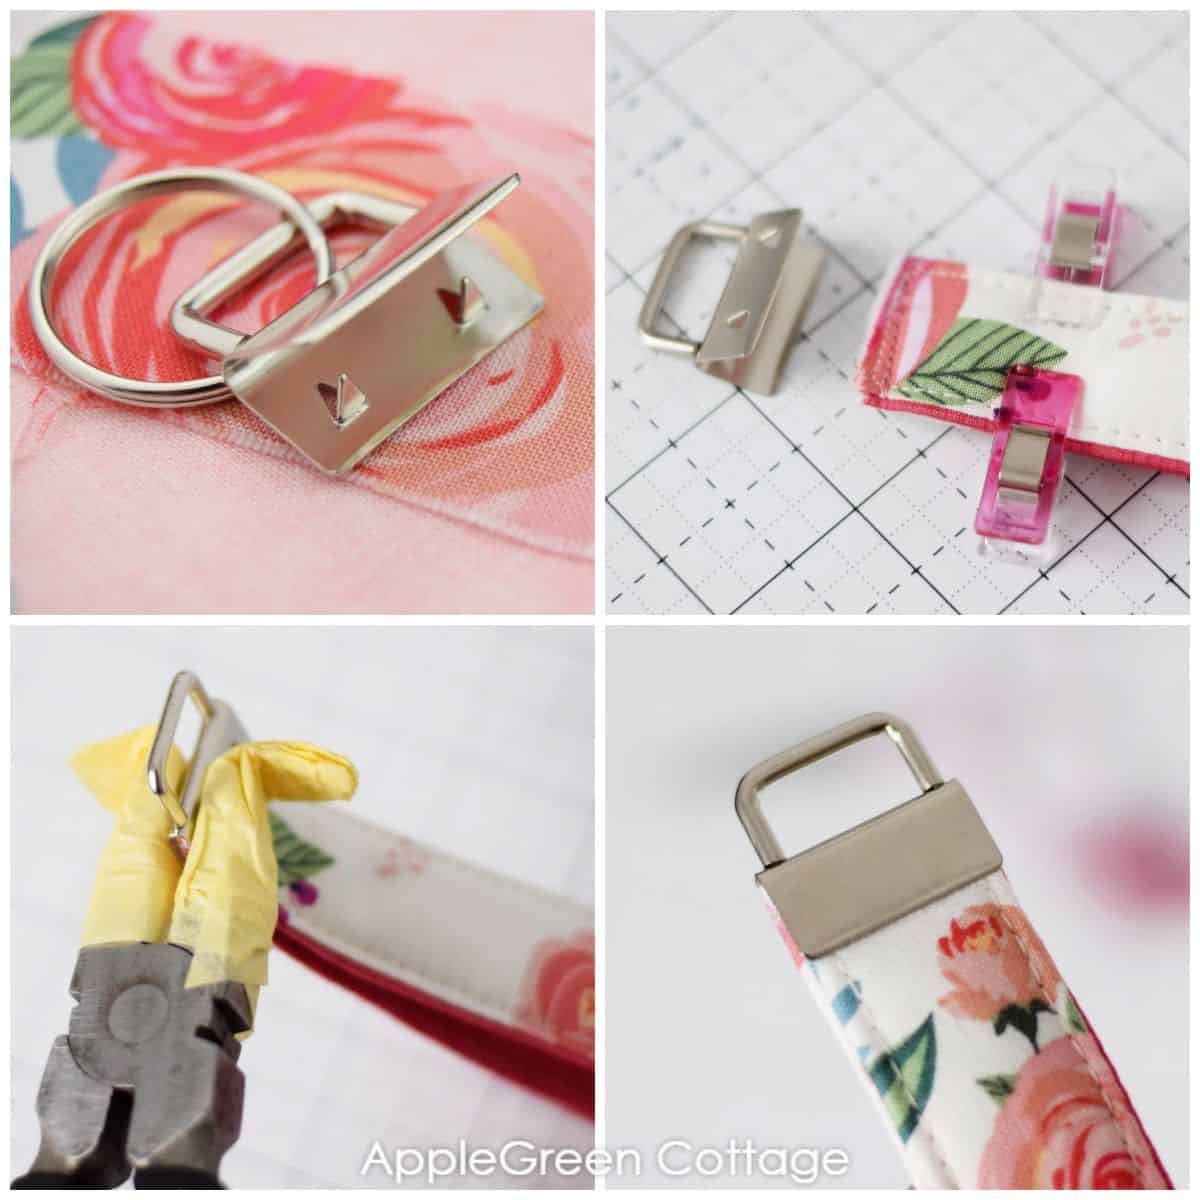
Step 6 - Attach the Keyfob Hardware
This is the metal clamp piece you'll use to attach to fabric: notice the clamp, the teeth on the inside? You'll simply need to squeeze it - clamp it down to flatten, with the wrist strap end tucked inside:
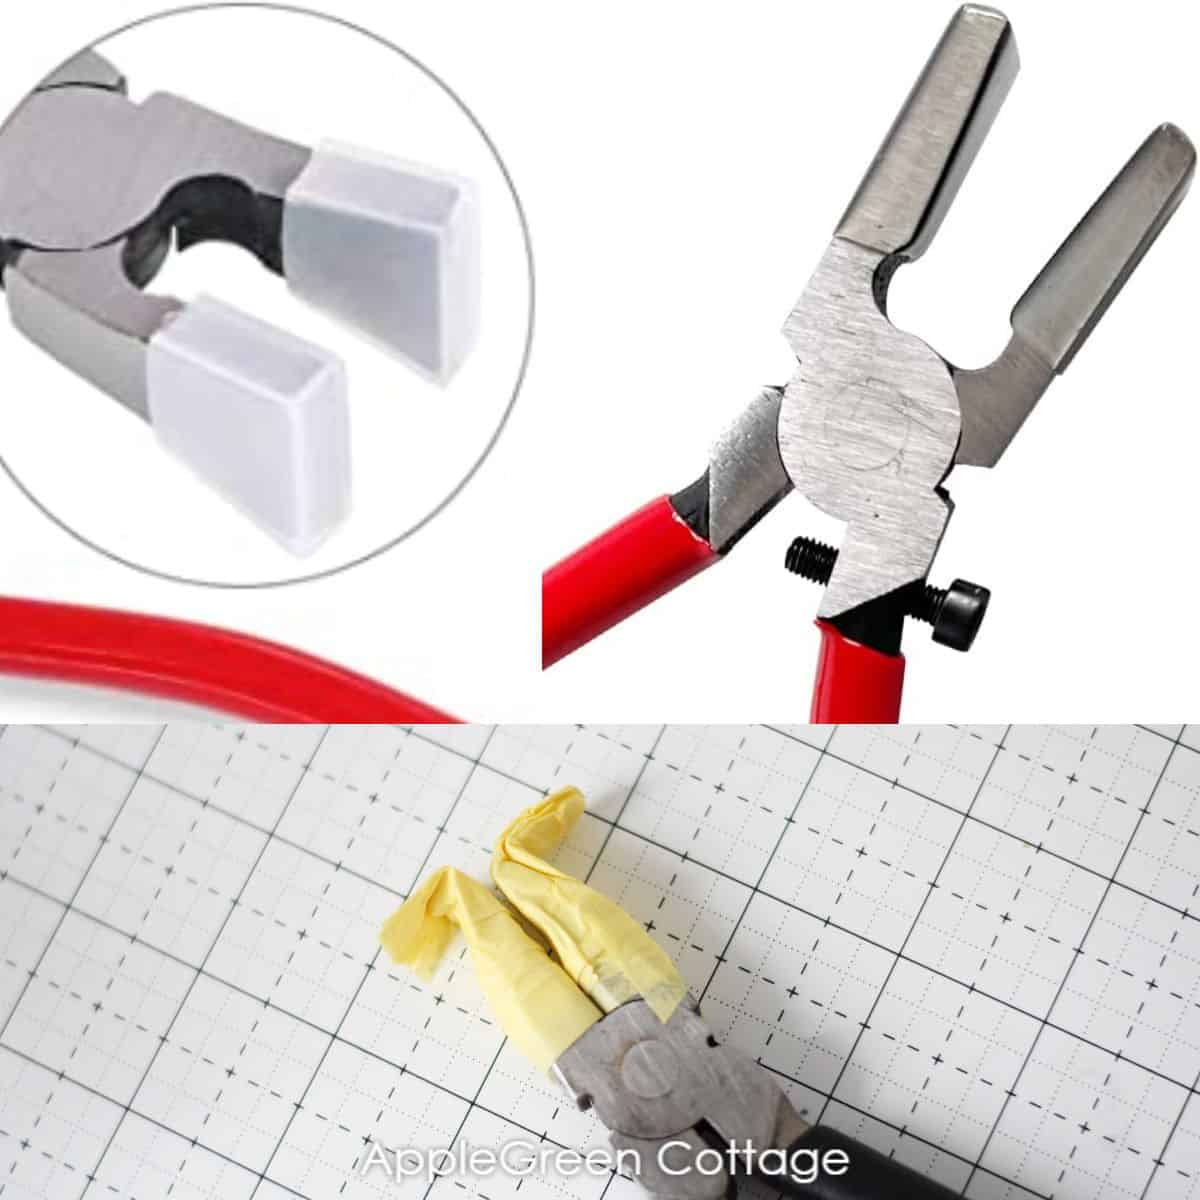
What tools do I need to attach key fob hardware?
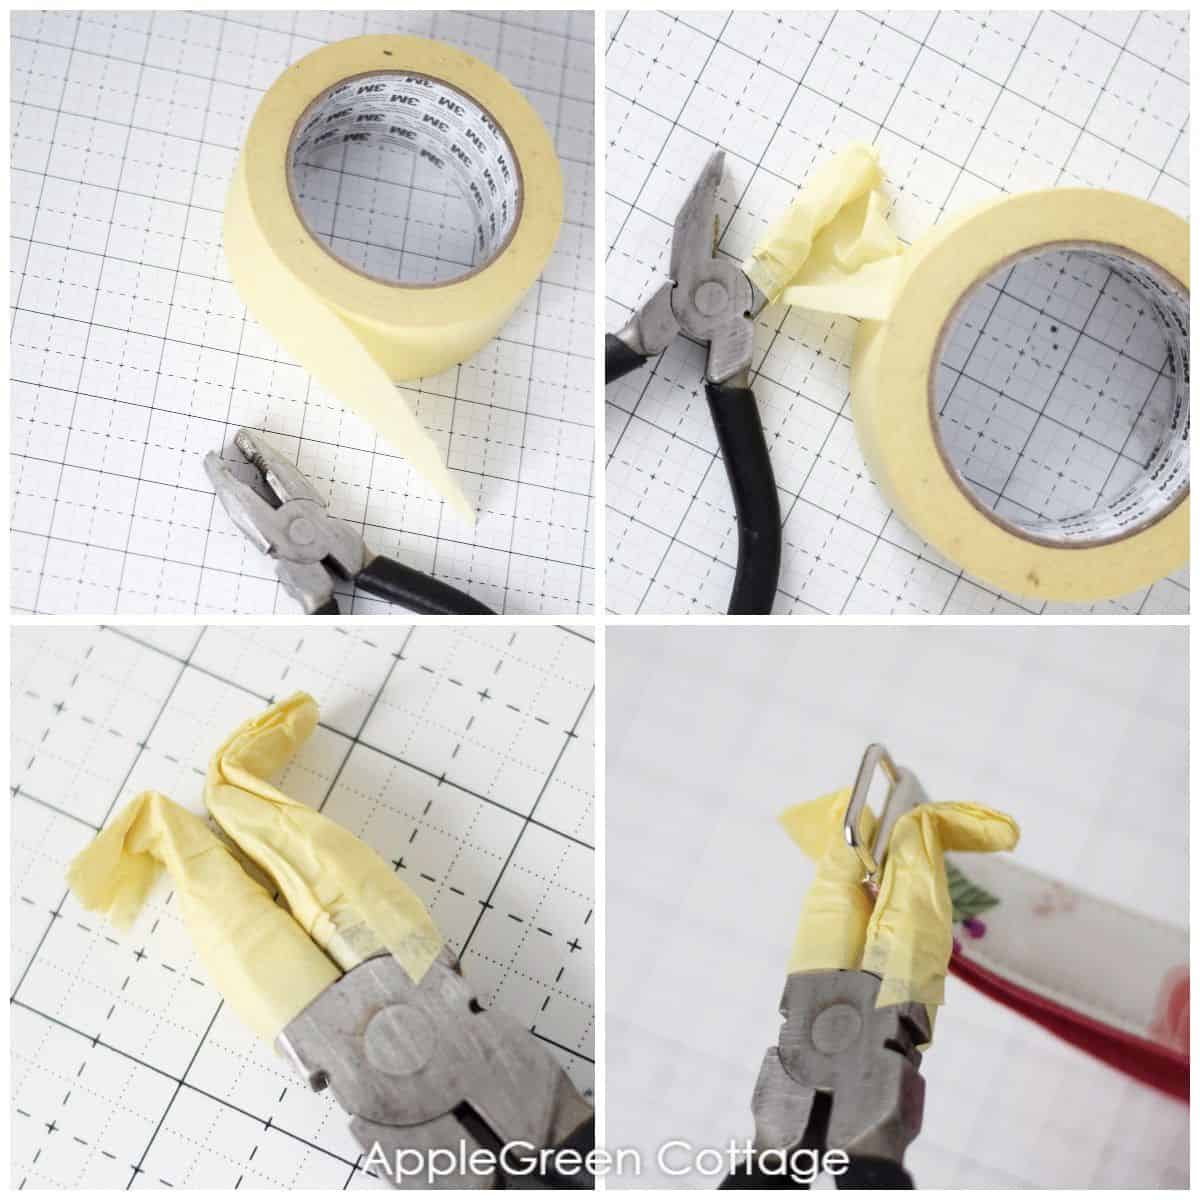
To attach a keyfob, you can use special keyfob pliers - but I've got a workaround for you, so you don't necessarily need to run shopping for those. I made a few tests (see tips at the end of the tutorial) to see what alternatives work best, but let me show what worked best for me. I simply used standard pliers, and wrapped masking tape generously around the teeth, to prevent scratches:
NOTE: When attaching hardware using standard pliers, press carefully, from the side, to prevent denting. If I'm careful enough - that means pressing with caution from the side - no dents show on the hardware.
Now, this is how to install the keyfob hardware:
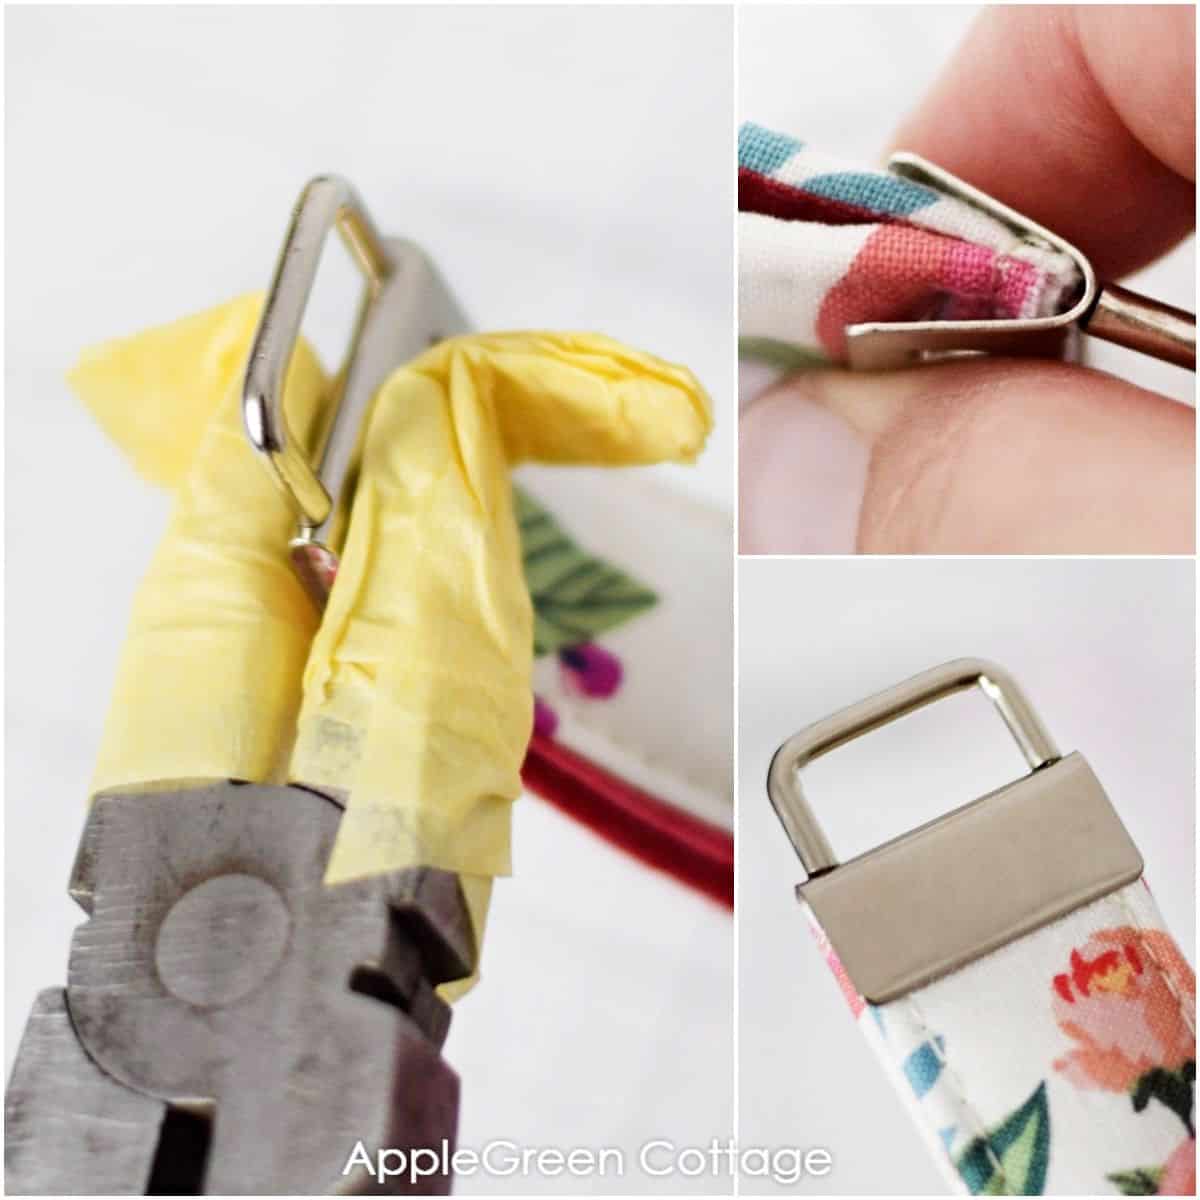
- Insert the raw fabric ends into the clamp piece. Make sure to center the fabric.
- Lightly squeeze the hardware from both sides, so the metal tips on the hardware penetrate the fabric, fixing it in place.
- Take a second look to check if everything is aligned, then squeeze closed, firmly.
Add the keyring and your keys, and you've come to the end of this how to make a keychain tutorial. I hope you liked it.
At this point, you can add more embellishments and personalize your own keychain even further: tassels, beads, diy felt flowers, charms, cording, wooden beads - your choice!
A handmade keyfob like this one makes a great stocking stuffer for the holiday season, be it christmas or valentines day, a handy teacher's gift, or a gift for a person who has everything.
How do you use a hardware key fob?
It's very useful and versatile: you can clip these to lunchboxes, on bags, school backpacks, turn a regular zipper pocket into a wristlet, attach it to a pull tab on a basket like this one and immediately you get a hanging bin you can use in numerous ways (yay to new diy camping gear!)
How to make sure the key fob hardware doesn't come off?
When you use very thick materials, like vinyl, or several layers of faux leather, the teeth of the clamp do not penetrate all layers. It means that when you pull on the keychain, it could come off. Nobody wants that.
One possible solution is to use very strong glue before you clamp the piece down. Example e6000 glue. Add it to the flat inside of the hardware, then clamp the fabric ends in. Wipe off any residue, then let the keychain sit for a day until the glue stabilizes and dries. It will provide additional security to prevent popping it off.
What tools to use to make a diy keychain and alternatives to key fob pliers
To attach a keyfob, you can use special keyfob pliers - but with some caution, you can use standard pliers you most surely already have at hand.
If you use standard pliers, you'll need to take care of two things: it shouldn't scratch the metal surface of the keyfob hardware, and you should use them with caution so you don't make dents into the flat surface.
To prevent scratches, wrap tape on the plier jaws - masking tape does great!
Preventing dents: I made a few tests with standard pliers and some items I found in the household. I searched out some flat and stable pieces and taped them to the plier's jaws - like
- wooden biscuit joint pieces
- flat plastic pieces
- very stiff cardboard, and
- two flat wooden puzzle pieces. Creative, right? 🙂
Taping wooden biscuit joints on the standard pliers jaws turned out my favorite of all homemade 'inserts':

But with practice, I just started using pliers with a lot of masking tape wrapped around the jaws, without any inserts. If I'm careful enough and press with caution from the side, no dents show on the hardware:
Alternatives to key fob hardware
If you prefer not to use the keyfob hardware, you can use the always-so-handy swivel clasp. When using swivel clasps like these you can attach the keychain to any purse or bag too.
However, the sewing of a swivel clasp wrist strap will be a little different - see the wrist strap tutorial here. And you'll love this tutorial on how to make a keyholder - detachable on both ends!
I hope this tutorial has inspired you to learn how to make your own keychains at home. As always, I'd love to see if you've made diy key chains using this tutorial. Please post a picture to Instagram and tag me @applegreencottage or #applegreencottage - so I can take a look!
WANT A PRINTABLE COPY OF THE WHOLE TUTORIAL?
Want a printer-friendly option of the whole tutorial without ads? Get the → optional PDF file in our shop.
This tutorial is also part of Printable Tutorials BUNDLE
100 PDF tutorials now, and growing!
WANT MORE FREE TUTORIALS AND PATTERNS?
Get email updates and never miss out on new patterns, printables, and tutorials:
Or …check out my latest PDF pattern in the shop - the SILA Duo Zipper Bag pattern. Two patterns in one, see more here:


Barbara Abolafia says
Just to let you know I received your email. Thanks for your wonderful patterns and tutorials.
Judy G says
I went through some trial-and-error when I started using keyfob hardware. I finally bought a small amount of tubing at the local hardware store. I made sure that diameter of tubing fit my pliers. Now those pliers, with their tubing-covered teeth, stay in the drawer, with the key fob hardware.
Damjana says
An excellent idea!