
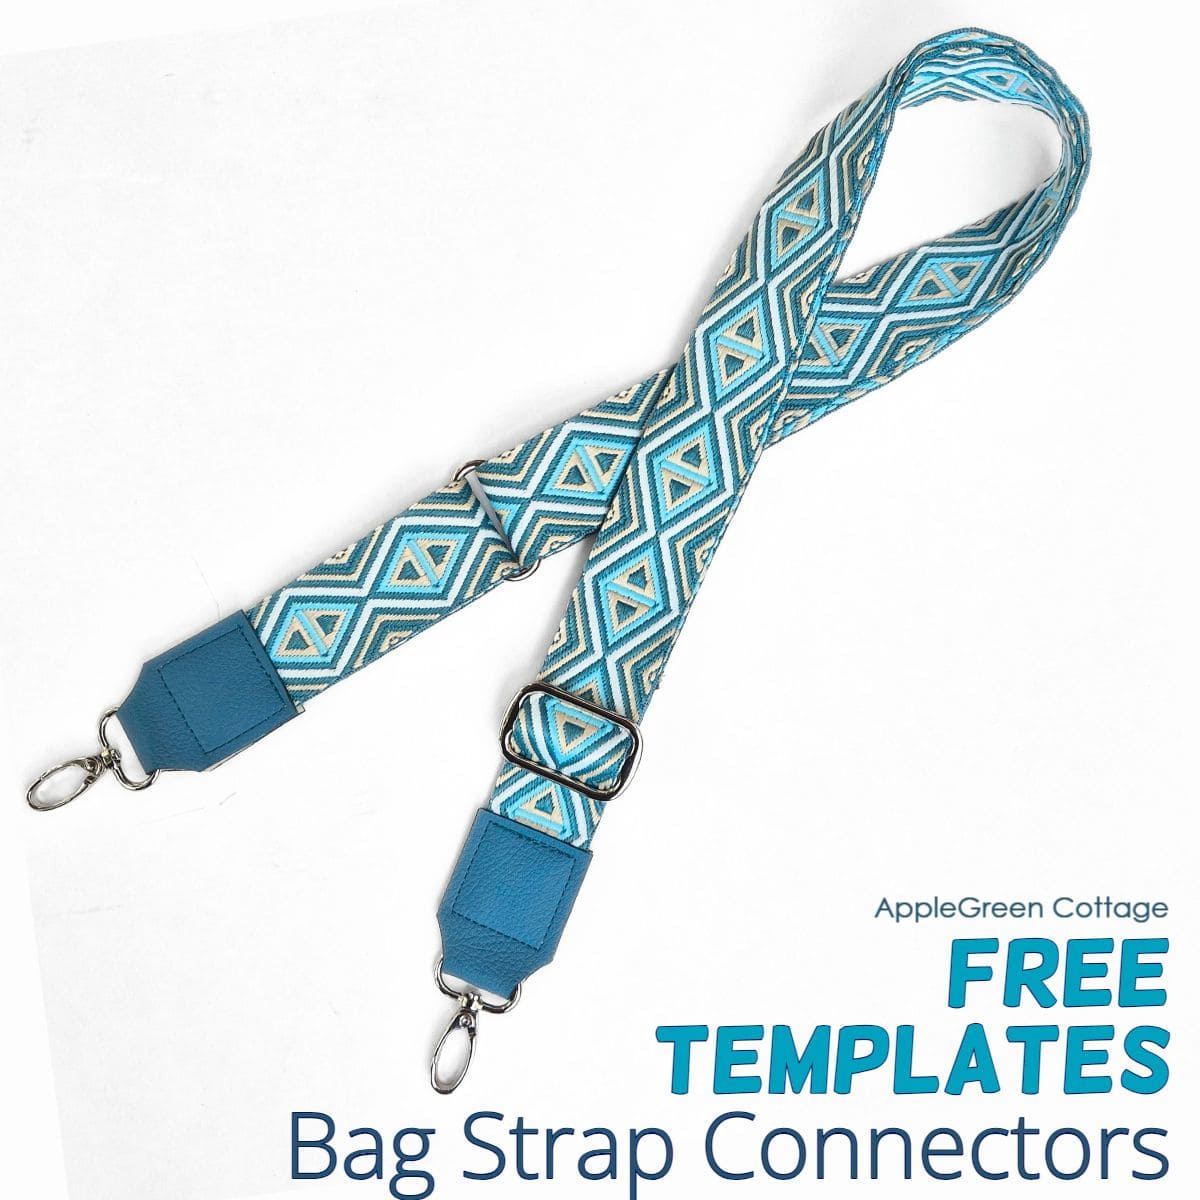
See how to make an adjustable webbing strap with faux leather strap connectors and add a trending look to your handmade bags. Video tutorial included - grab the 7 free printable connector template PDFs below!
These wide, soft straps are everywhere right now - and with my free template, you can sew your own in under an hour.
Want a printable copy of the whole tutorial?
Prefer a full, ad-free and printer-optimized Printable Tutorial with instructions, images AND templates included? ↓↓
Table Of Contents
Why Are Wide Webbing Straps So Popular Right Now?
They're comfy, eye-catching, and so quick to sew - no wonder bag makers love them! These trendy straps add a bold, modern touch to handmade bags, and the faux leather ends give them that pro look.
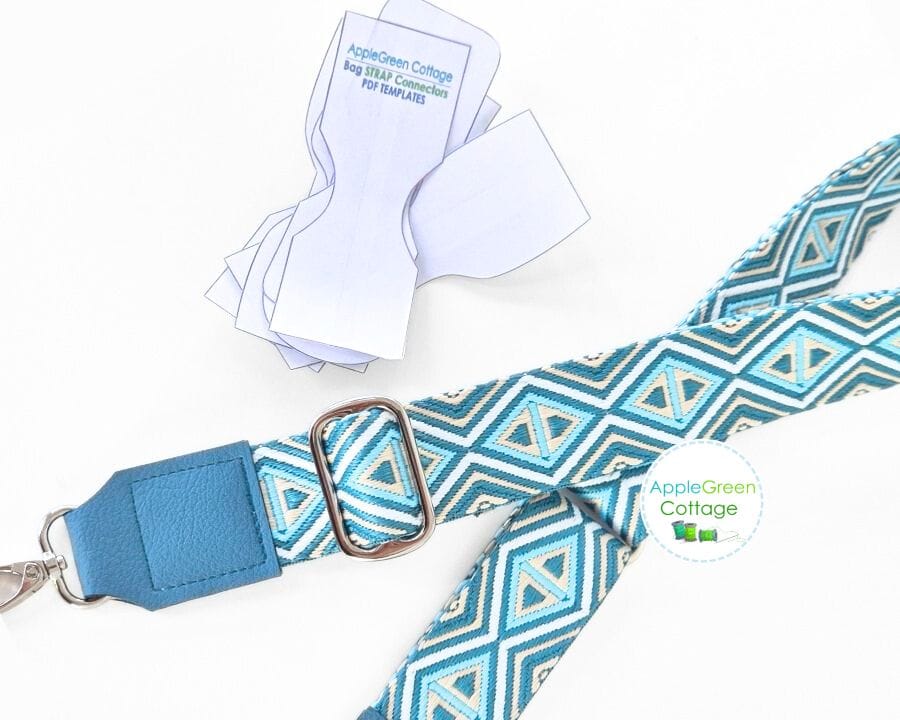
PRO TIP: Many bagmakers include them as a bonus strap with their bags - and customers love it. It adds value, and yes, you can charge more! (Interchangeable straps? Yes, please!)
Want to try a different kind of bag strap? I've got you covered - here's how to make adjustable straps without webbing, too.
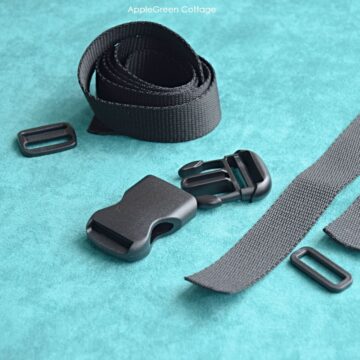
Supplies
- 60-70" of 1 ½" wide webbing (I chose 60")
- two scraps of faux leather or a different type of durable material that can hold weight
- optionally, scraps of Decovil Light for reinforcement (see video for details)
- bag hardware: (one) 1 ½" adjustable strap slider, (one) 1 ½" rectangle ring,
- (two) 1" swivel clasps
- double-sided tape or fabric glue
- optional: two double-cap rivets + tools for setting them
- free template in 7 designs
Shop my personal favorite sewing supplies on Amazon HERE.
Video
This video will show you how I create wide bag strap with 1 ½" webbing and my free strap end template.
Finished Size
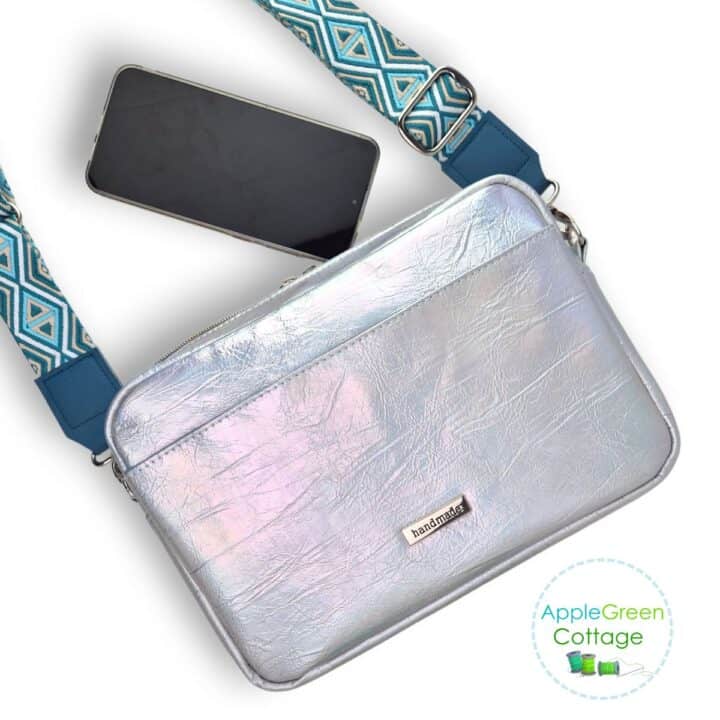
The strap I made in this tutorial (using a total of 60" webbing) finishes at the adjustable length of 35"-55".
Sew this Crossbody Bag!
Step-by-Step Instructions
Step 1 - Get the Free Strap Connectors Template
Join our mailing list and get the 7 free bag connector templates emailed to you:
Do you want a printable copy of the WHOLE tutorial? → See it HERE or get it in the huge-value BUNDLE!
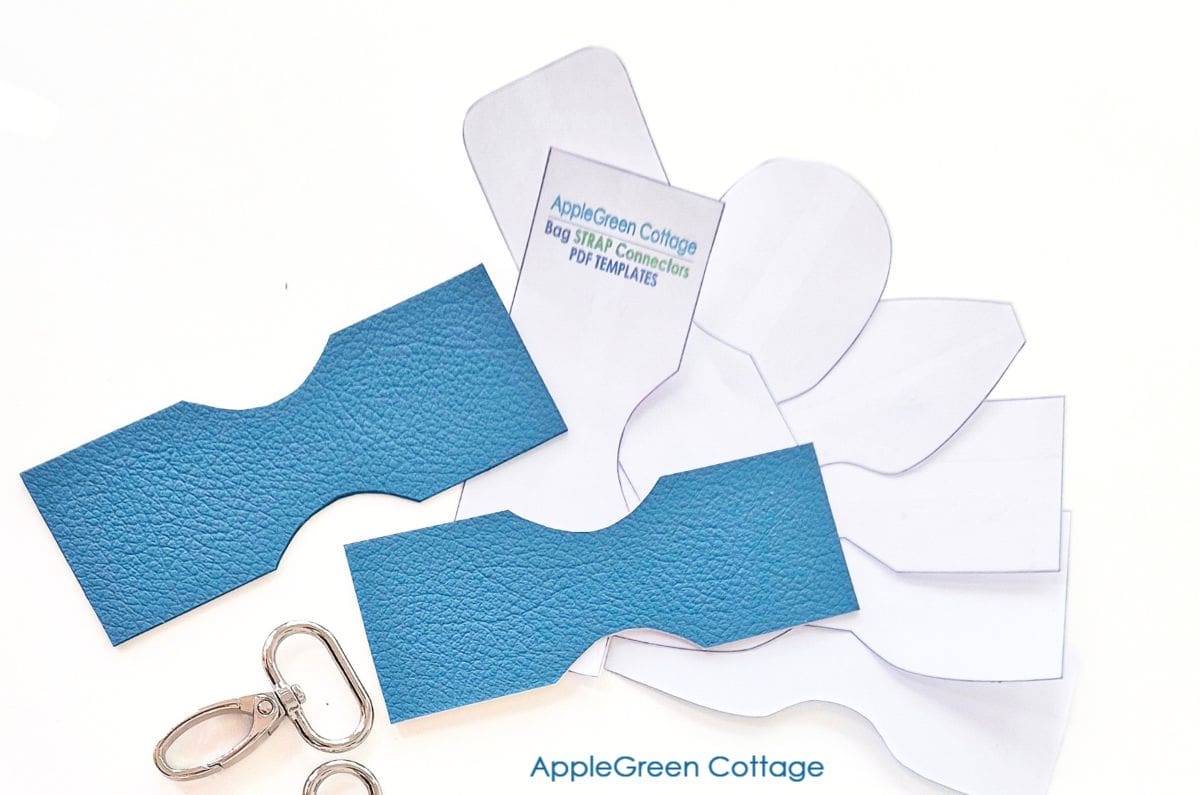
Step 2 - Cut 2 Pieces
Using one of the strap end templates, cut 2 pieces out of faux leather, cork, vinyl, canvas, or some other durable material that your machine can handle. (See here which sewing machines I have and use: heavy-duty Janome HD9, and a domestic sewing machine)
PRO TIP: If your faux leather is too thin, you can fuse a narrow half-inch strip of Decovil Light to the back of the two connectors, keeping it out of the seam area. (see videlo for details)
Step 3 - Prepare your webbing

Cut your webbing into two pieces: one at 10", one at 50-60". Melt the raw edges or add Fray Check to seal the ends, so they don't unravel.
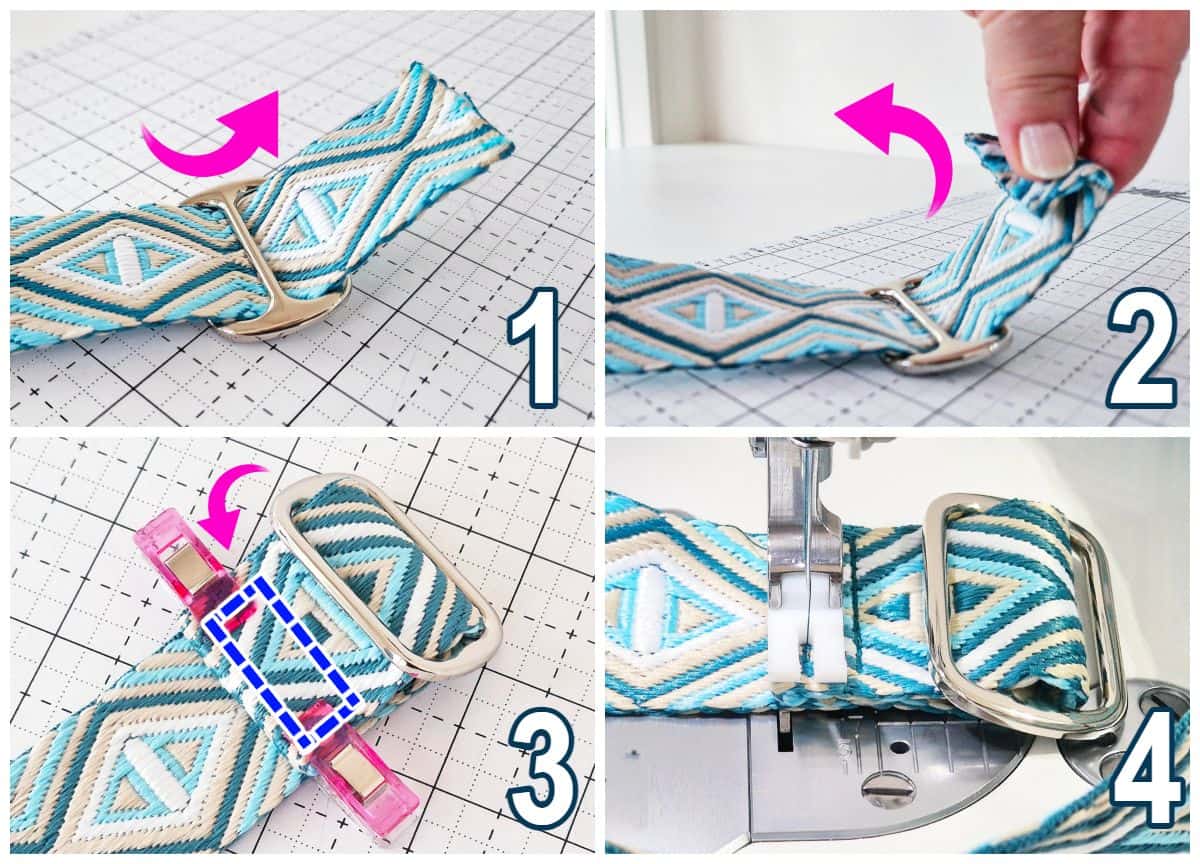
Step 4 - Attach the rectangle ring

Take the 10" piece and slide the 1½" rectangle ring onto it. Fold the webbing in half so the raw ends meet, and sew them together with a straight stitch or a small rectangle for strength.
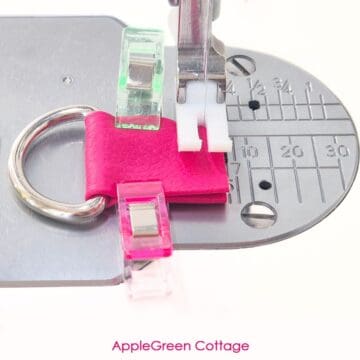
Step 5 - Add the swivel clasp

- Add a few strips of DST (double-sided tape) on the connector areas, keeping them out of the seam area.
- Slide a 1" swivel clasp onto one strap connector - position it so it sits in the center narrow section.
- Attach the strap connector piece: sandwich the raw end of the webbing into the leather strap end. Make sure it sits deep enough to be secure, but not into the narrow center area.
- Sew around the edge of the connector using a ⅛" seam allowance, catching both the strap and the connector layers. Set this short piece aside.
TOP TIP: If using a home machine, use a denim or microtex needle and a longer stitch length. Go slowly. And see our free bagmaking guide - packed with good tips!
Step 6 - Prepare the adjustable end
- Take the 50" webbing piece. (If your strap has a front and a back side, the back side should be up.) Feed the end of the strap through the slider around the middle bar.
- Pull the end of the webbing through the slider by 2 or 3": fold back the raw end and ...
- ...fold back again and clip to secure in place.
- Stitch it in place: sew a rectangle over the strap end to secure it.
OPTION: You can set two rivets through the faux leather and webbing to secure.
Step 7 - Connect both strap parts
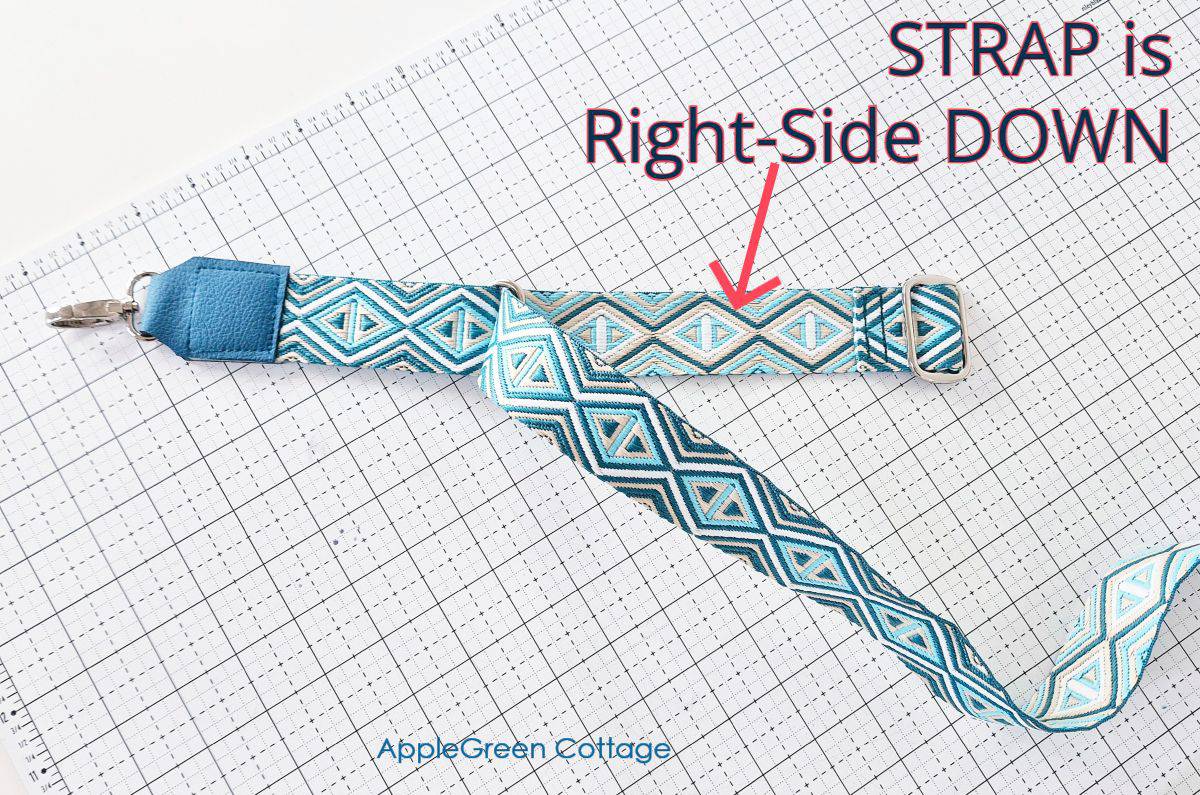
Place the long strap with the right side down. Slide the free end of the long strap through the rectangle ring on the short piece.
Step 8 - Thread back through the slider
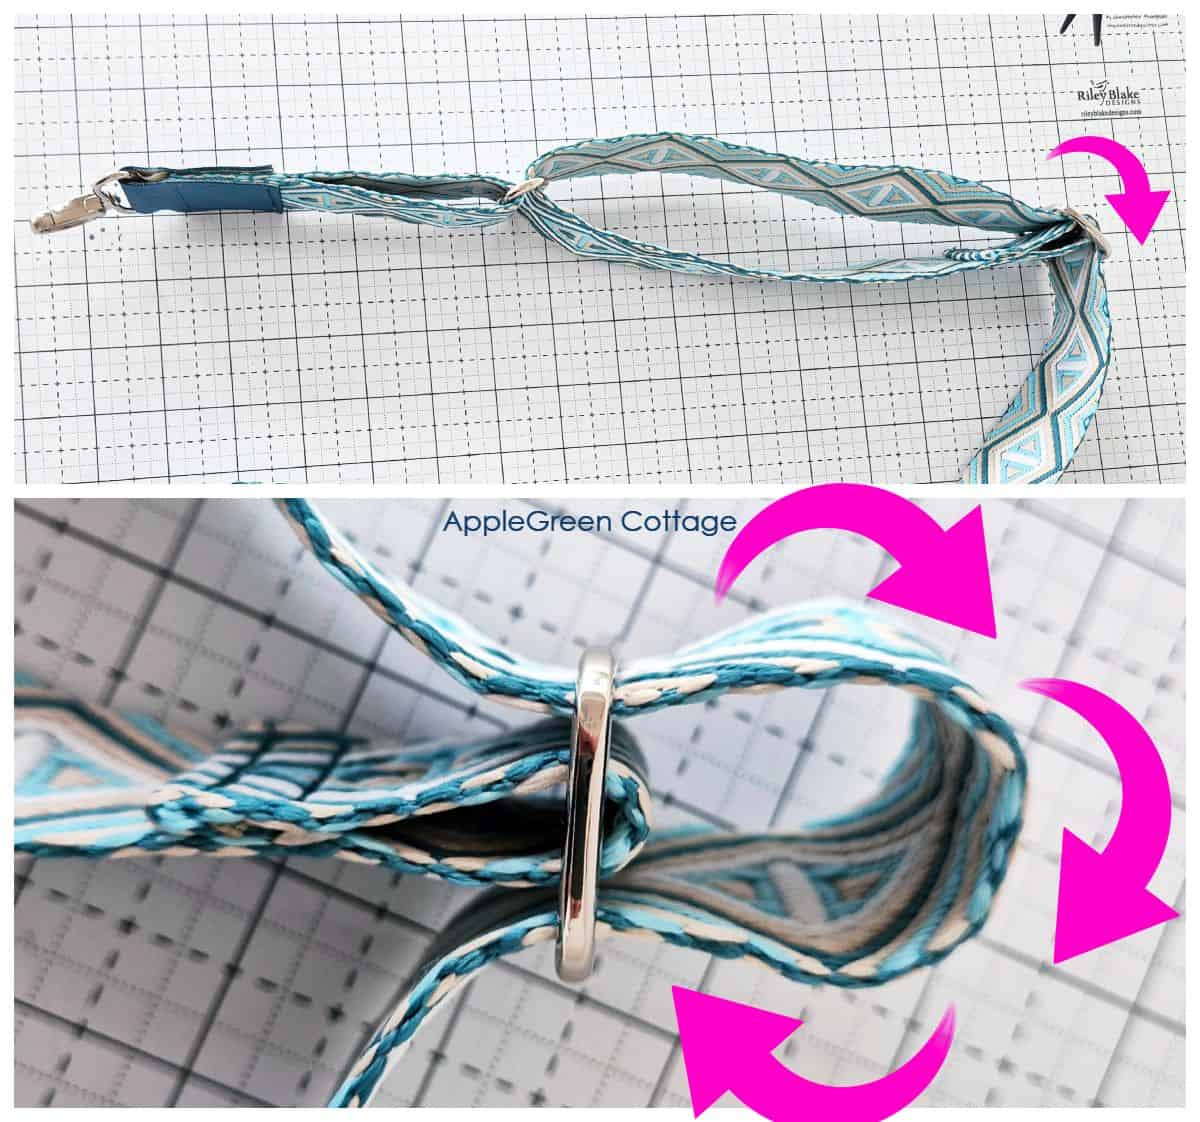
Now thread the long end through the adjustable slider again: up, over the center bar, and back down - going over the stitched part.
Step 9 - Attach the second swivel clasp
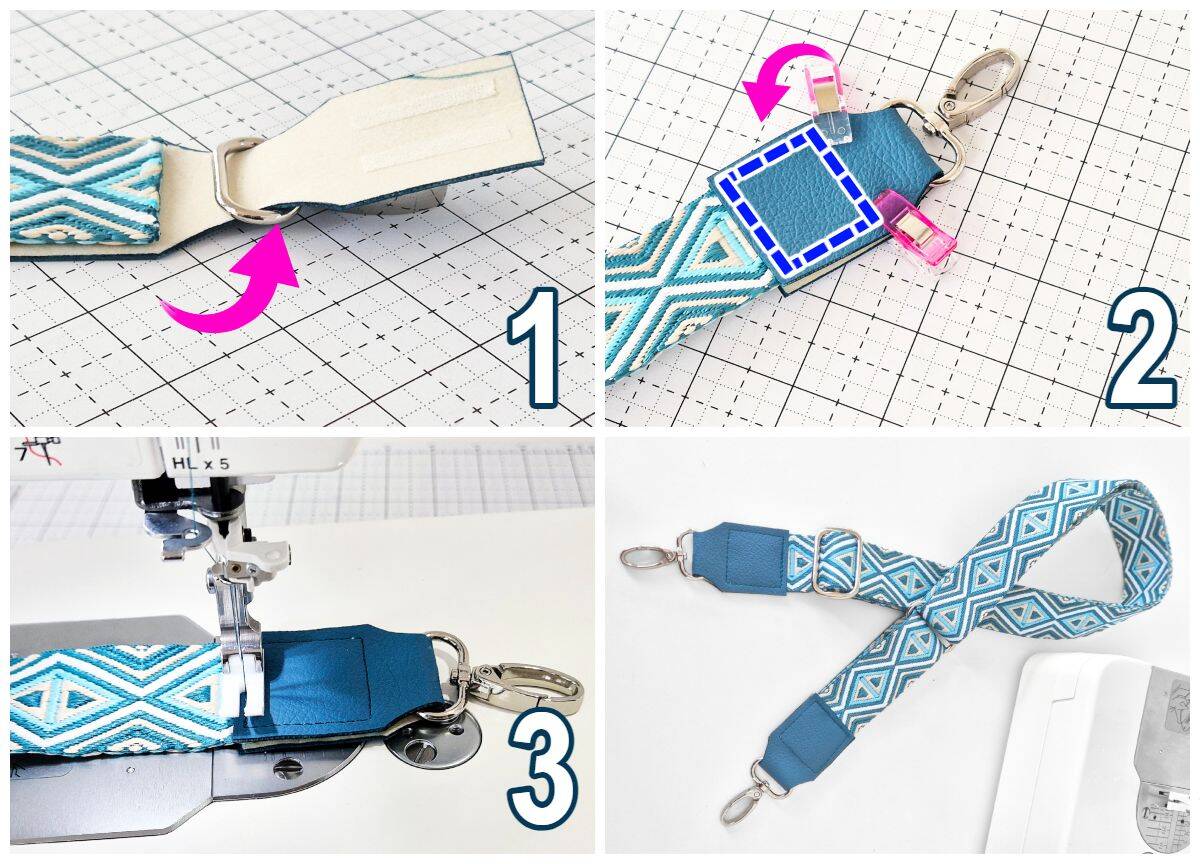
Repeat steps on the free end of the long strap to add the second leather strap end and clasp:
- Stick DST (double-sided tape) on the connector, away from the seam area.
- Slide the swivel clasp onto the connector, centering it in the narrow part.
- Sandwich the webbing end inside the strap connector.
- Sew around the edge with a ⅛" seam, securing all layers.
Tip: How To Finish Raw Faux-Leather Edges
To give your faux-leather strap ends a clean finish, simply color the raw edge with a permanent marker that won't bleed onto the front (Sharpie works great!). For an extra polished look, use edge kote - but for quick projects, the marker trick does the job beautifully.

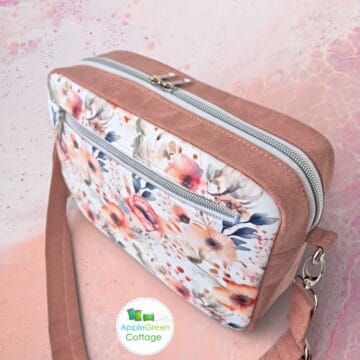
This is how Vicki used one of the 7 free connector designs with her Lumera bag:
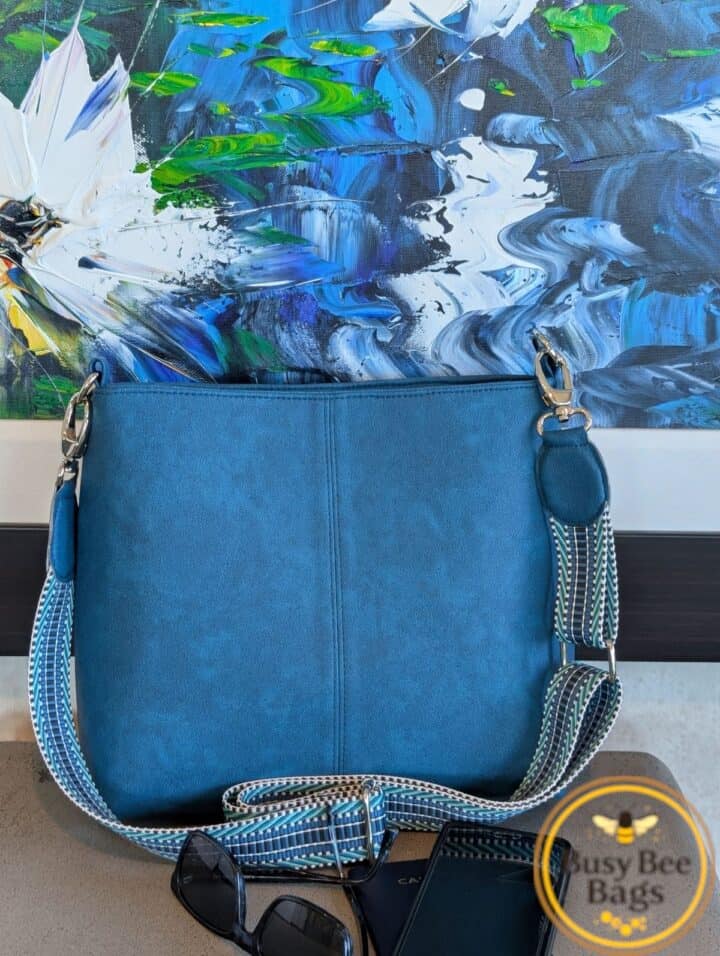
LUMERA Bag -quick & beautiful!
Vicki's rich blue Lumera Bag turned out stunning - ready to make yours?💙
More Questions
I always trace it first on the back of the faux leather, then use a rotary cutter to cut around the main shape. Then finish the fine curves with small sharp scissors if needed. This works for me, but it took a few misshaped tries first 🙂
More Bag Strap Tutorials
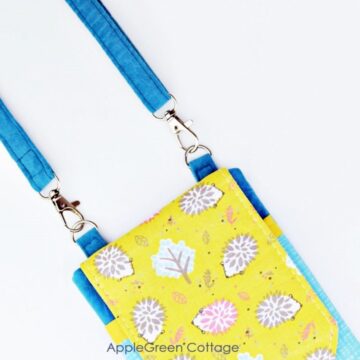
Are you curious which is the other new way I'm creating straps? New tutorial for an elegant, no-bulk diy purse strap here.
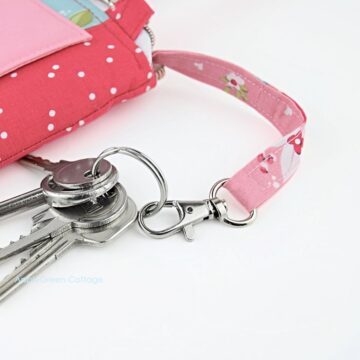

The Small Purse That Packs a Punch!
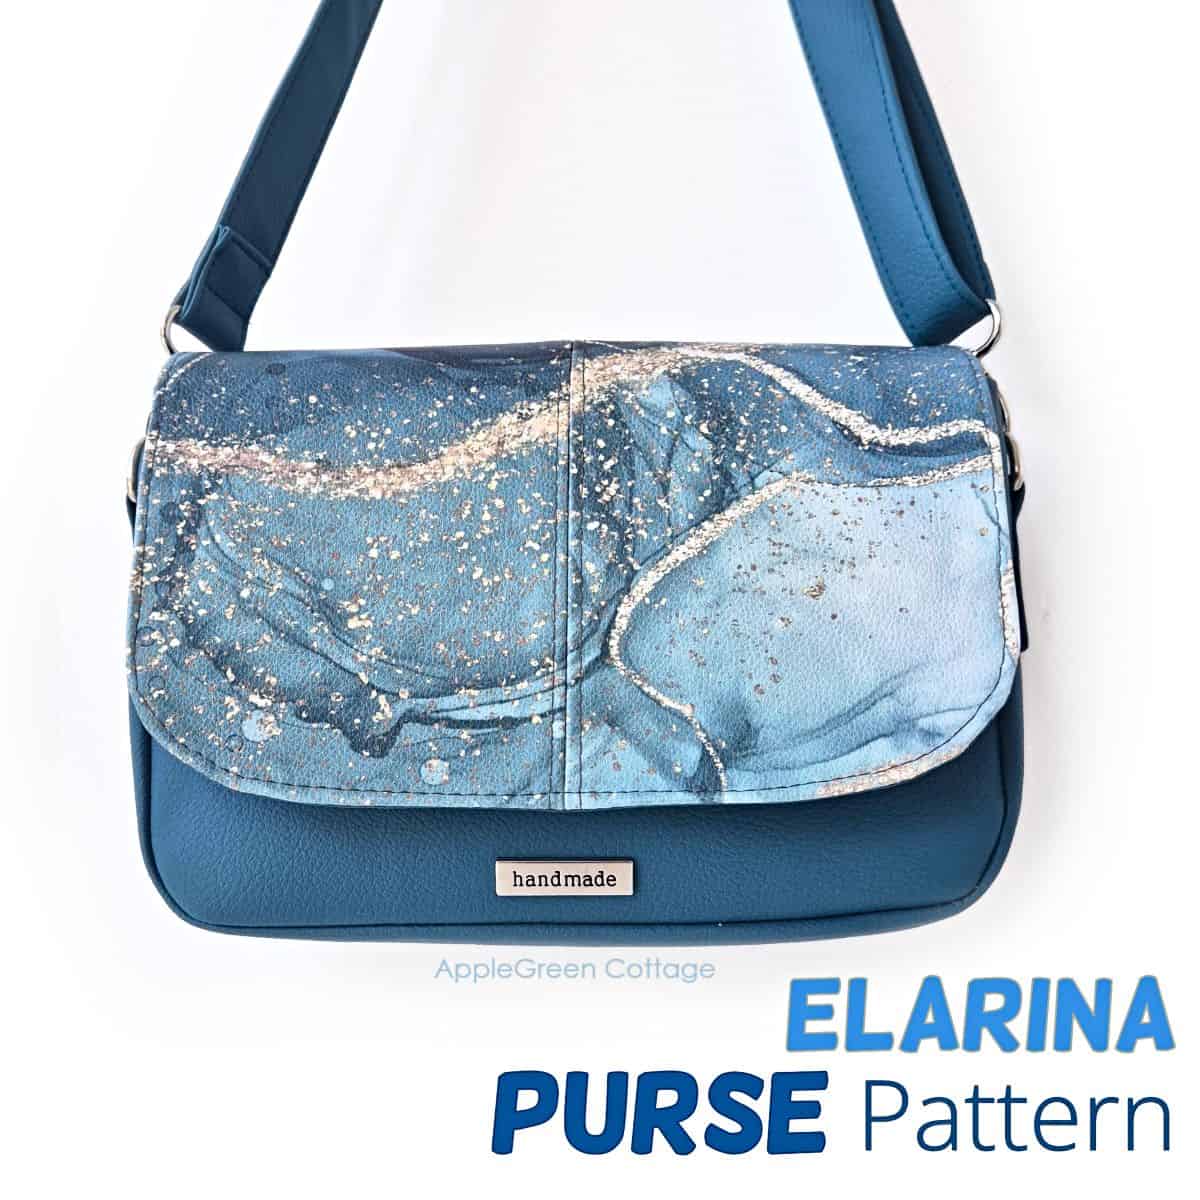
Check out this pretty Elarina Purse pattern in our shop - small bag, big style! 👜
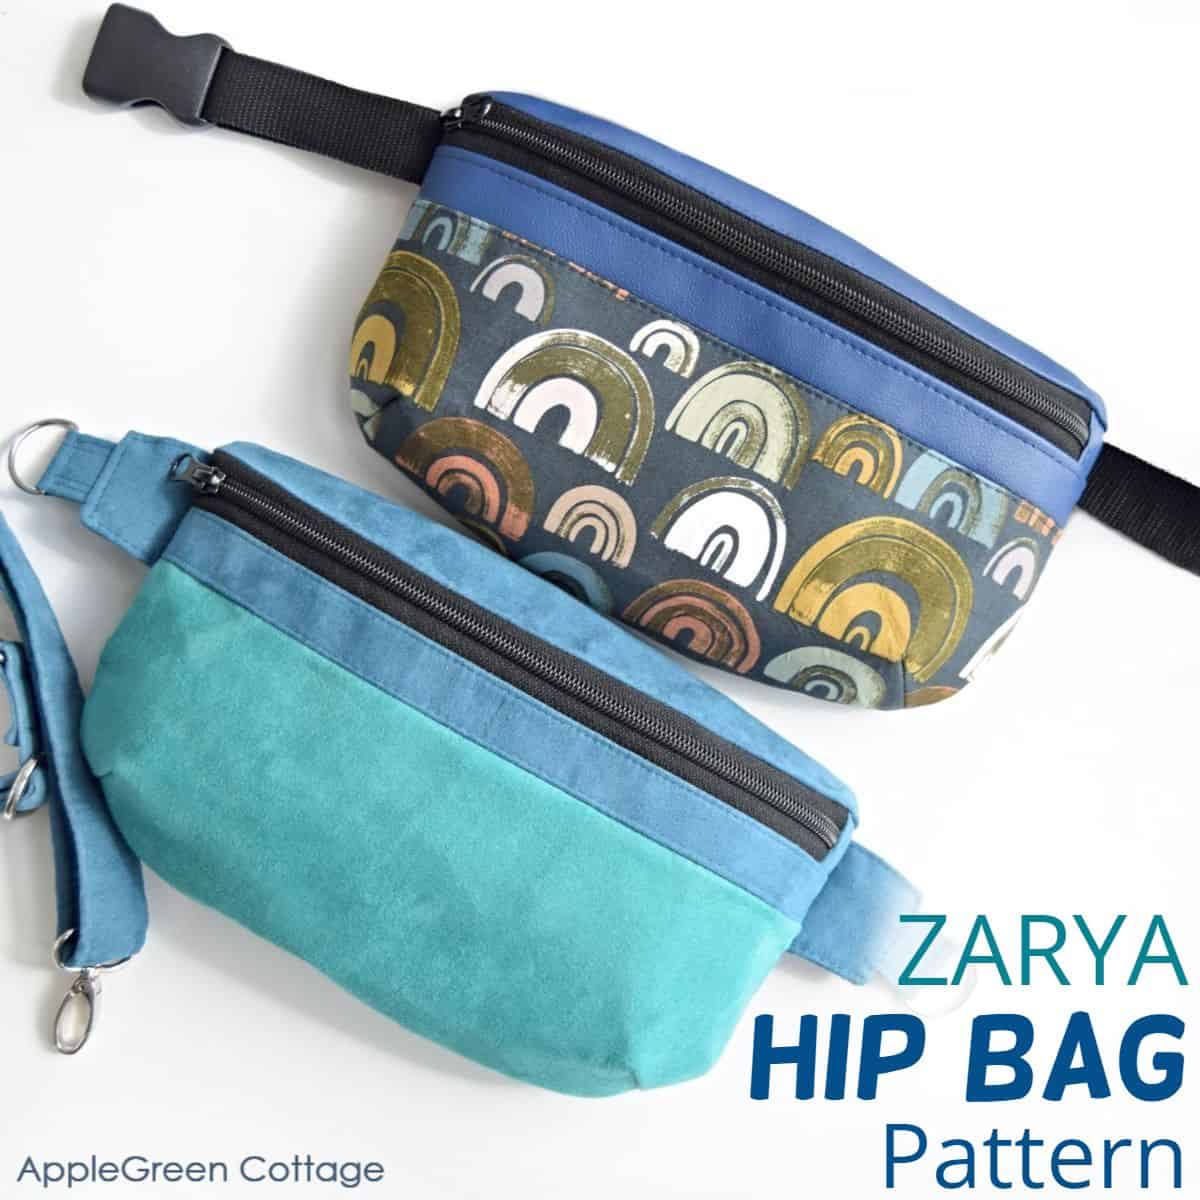
Check out the trending ZARYA Hip Bag pattern in our shop - perfect for carrying all your essentials - hands-free!
- Sewing thick Bag Layers? Try These 7 Simple Fixes
- How To Sew Bags With Foam Stabilizers
- Interfacing In Sewing - Tips For Beginners and Pros
- Decovil Light vs Decovil Heavy - Which One To Use?


Conclusion
That's it - you're done! I hope you've enjoyed the tutorial and the video on how to add a diy strap connector to a bag strap. You now have a strong, adjustable strap with a clean leather finish that's perfect for your handmade handbags.
These DIY connector tabs give your bags that custom, boutique look - and trust me, people notice the details. Can't wait to see what you'll sew next!

Want to learn more about bag strap options? Take a look at my popular tutorial on how to thread strap adjuster buckle, or how to make bag handles.
Want a printable copy of the whole tutorial?
Prefer a full, ad-free and printer-optimized Printable Tutorial with instructions, images AND templates included? ↓↓

This tutorial is also part of Printable Tutorials BUNDLE
100 PDF tutorials now, and growing!


Leave a Reply