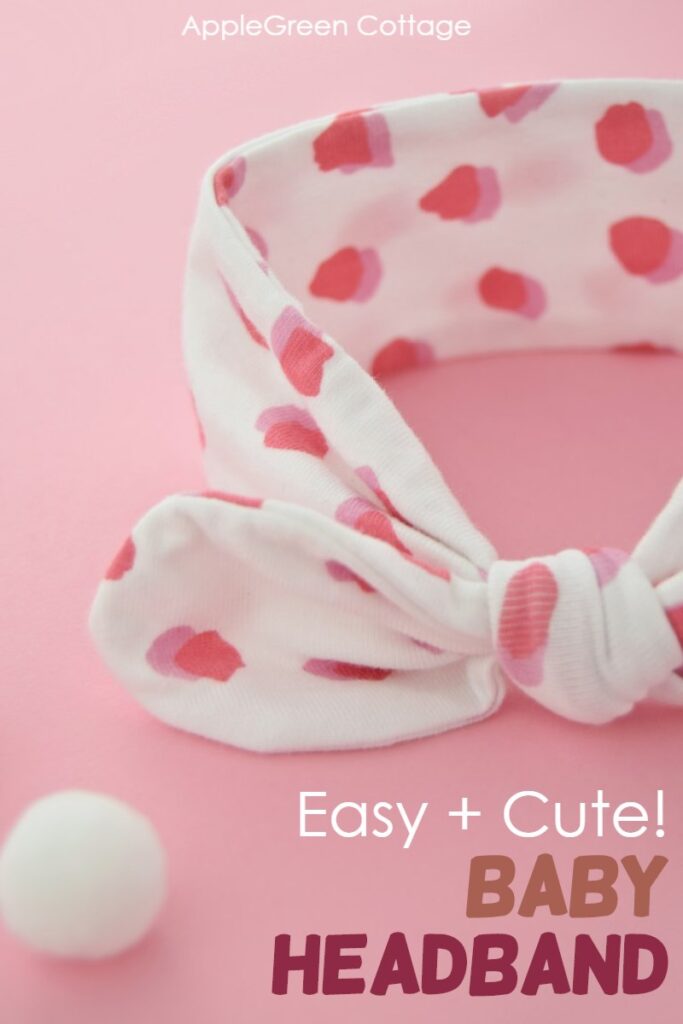
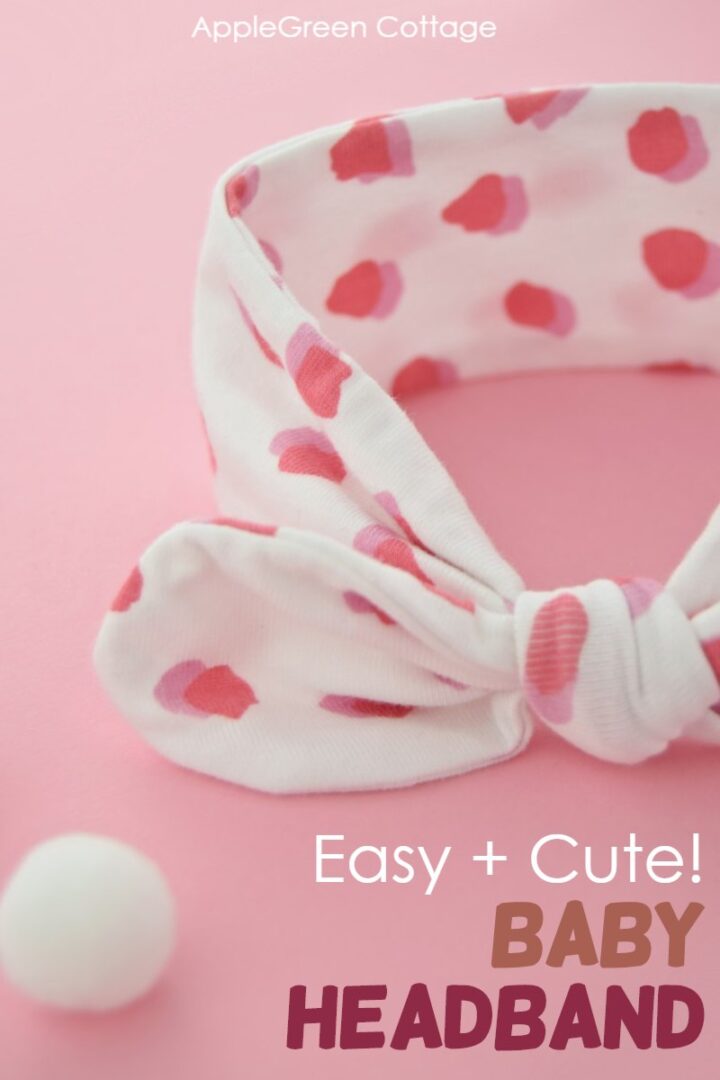
Make an easy diy baby headband using this tutorial. This type of baby headbands is my favorite because you can easily adjust the size. Choose among 3 sizes and make a fashionable baby accessory in minutes!
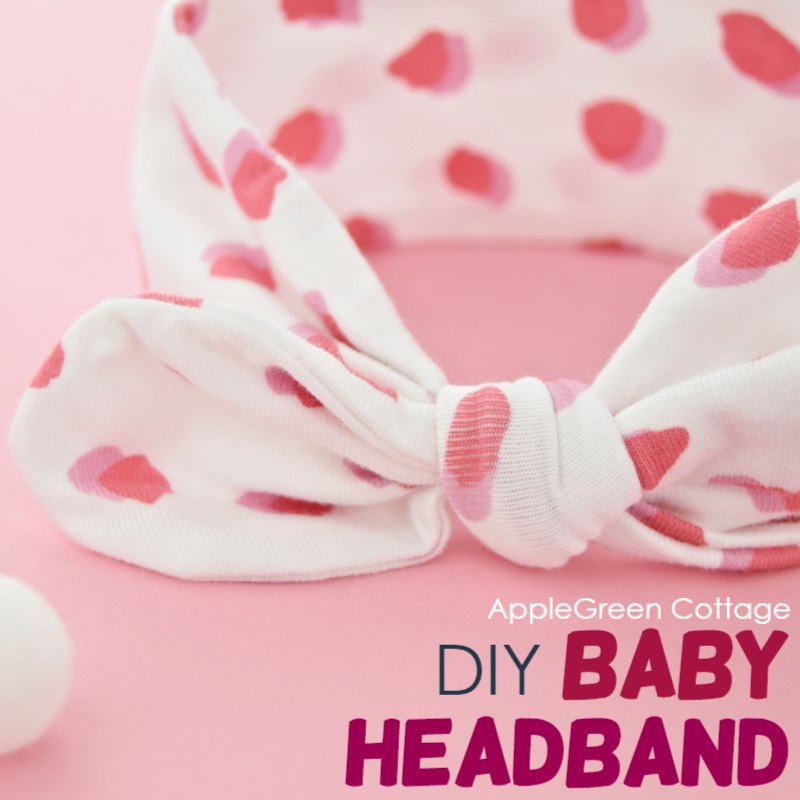
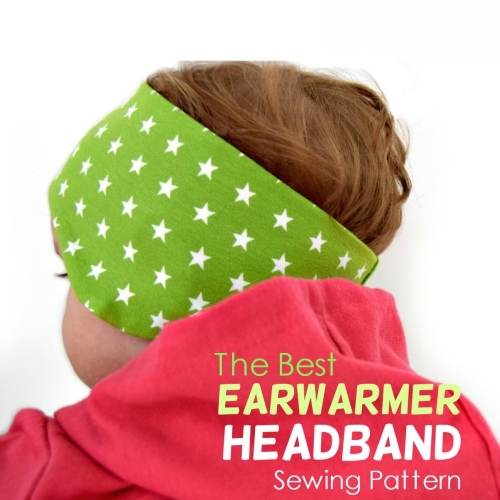
Do you like cute diy headbands? Make sure to check out my popular earwarmer pattern in my shop too - it comes in 8 sizes from baby to adult!
Do you want an ad-free, printable copy of this online tutorial? Find it here for just $3. You won’t need to access the internet every time you want to make it. ------ Or get the BUNDLE with ALL the Printable Tutorials - current and future ones!
This diy headband for a baby is easy to sew!
If you've never sewn with jersey before, this is a good project to start. I'll be right here with you, showing you how to make a baby headband that's easy, quick, and adorable!
No serger? Easy solution! You can sew this baby knot headband with your home sewing machine or serger.
No time to sew now? Save this project for later to Pinterest using this link or the image below:
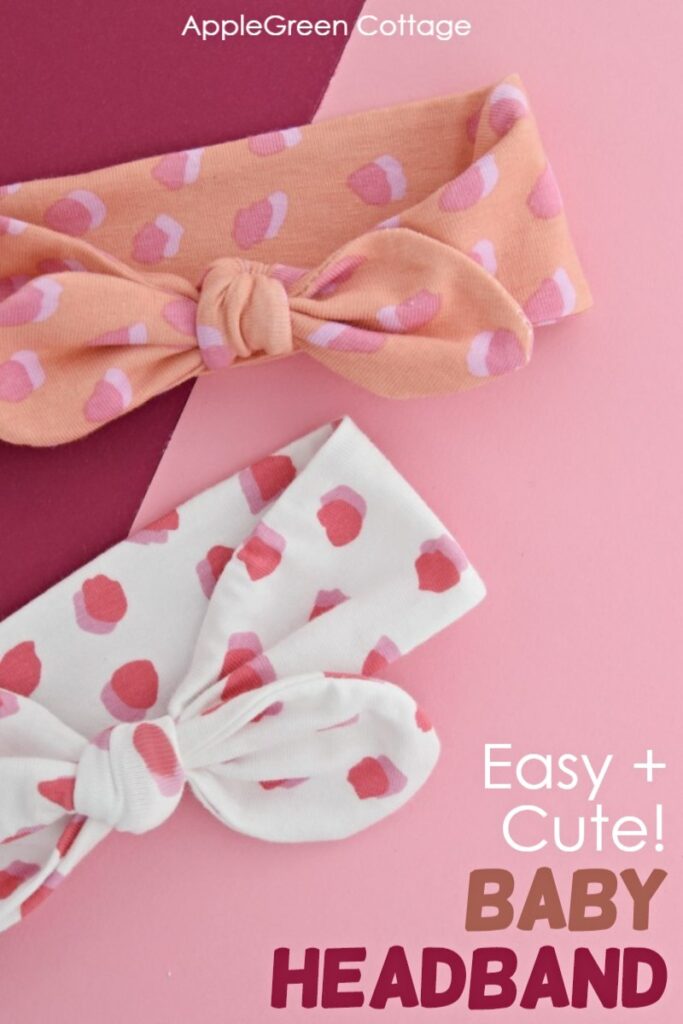
Supplies to sew a Diy baby headband
- jersey, knit fabric: 22" x 5" (56 x 12 cm) for the smallest size, 26" x 5" (66 x 12 cm) for the largest size
- coordinating sewing thread
- sewing machine (or serger)
- ballpoint needle, iron, scissors, pins
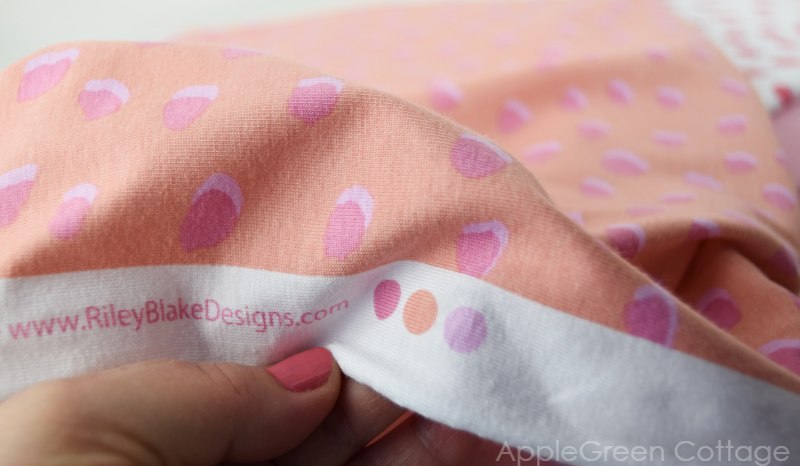
This diy baby headband project is designed for knits, ideally for mid-weight jersey. I used one with a 50% 4-way stretch, it’s a 95% cotton + 5% spandex blend. If you're new to sewing with jersey, check out these tips on sewing with stretch fabric. Must-know!
So smooth and comfortable - it's the latest collection by Mimi G Style, my daughter called it 'Spotty' - and she wants me to make a skirt and leggings with it. Might just happen, as the print is both girly and modern. And if I'm lucky and the day is just right, I'll take a few snapshots and make sure to write down the dimensions to post here on the blog. Would you want a tutorial for a knit skirt or leggings - any of these? Let me know!
Oh, and also, jersey is also great to make basic scrunchies - so comfy! (Or use my new scrunchie pattern - 4 designs, all FREE!) - oh, or these sweet and simple hair ties!
One more thing, you will want to prewash your jersey before you sew because it will shrink.
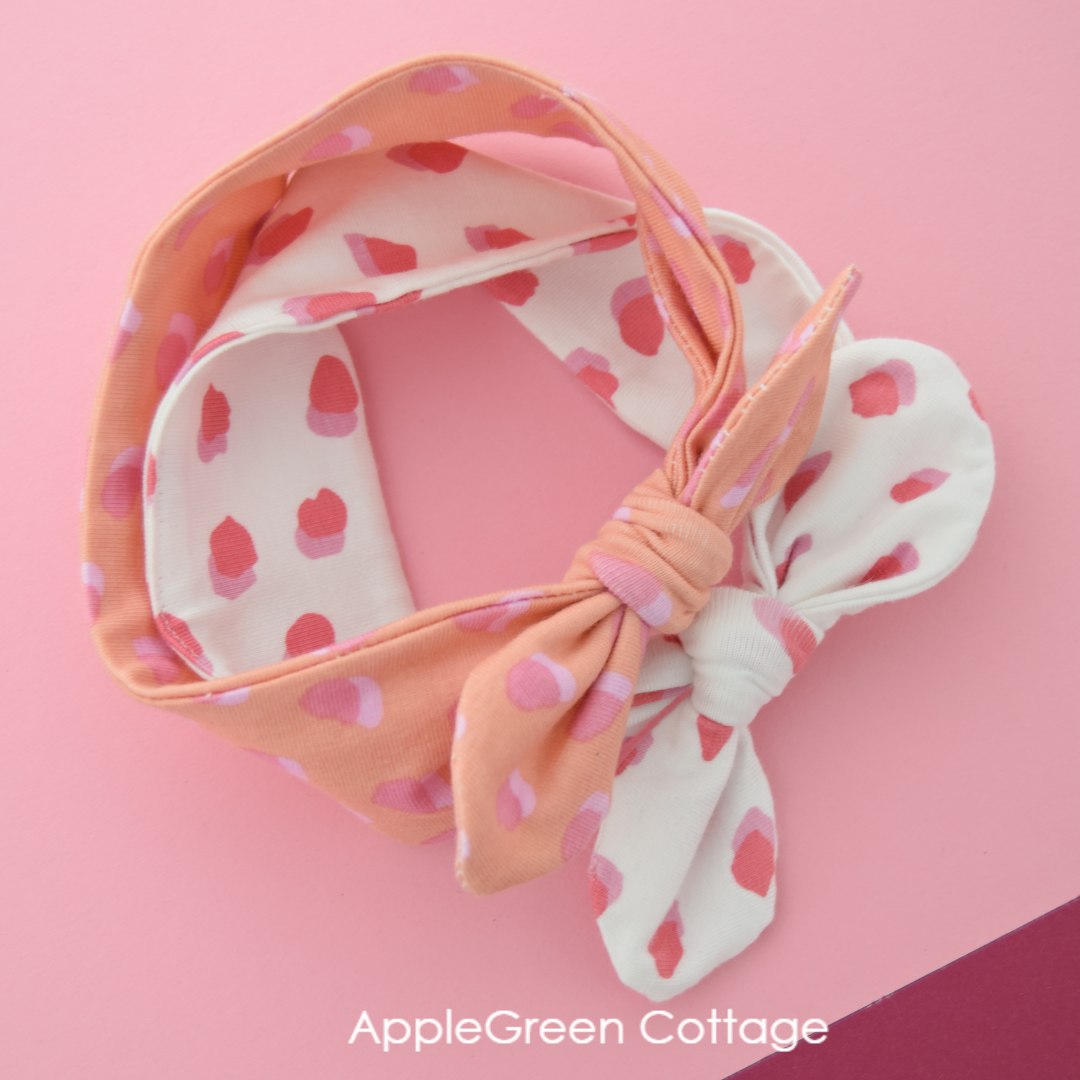
Cutting dimensions for diy baby headband:
- cut (2 pieces) 22" x 2 ½" for Small size baby headband (56 x 6 cm)
- (2 pieces) 24" x 2 ½" for Medium size baby headband (61 x 6 cm)
- cut (2 pieces) 26" x 2 ½" for Large size baby headband (66 x 6 cm)
What are the finished sizes of These Knot baby Headbands?
| SIZE | Headband Size Unstretched | Approx. age |
|---|---|---|
| Baby Small | 14-15" (35-38 cm) | newborn |
| Baby Medium | 16-17" (40-44 cm) | 6 months |
| Baby Large | 19-20" (48-51 cm) | 1 year |
If possible, measure your baby's head circumference first to make sure the size fits. You can always adjust this type of baby headband when tying the knot, and this is why I prefer these headbands for babies to other, fixed designs.
Also, the fit will depend on the stretch of the knit you are using. Err on the larger side. I used a 50% - 4-way stretch knit, which is a pretty much forgiving material, and easy to work with.
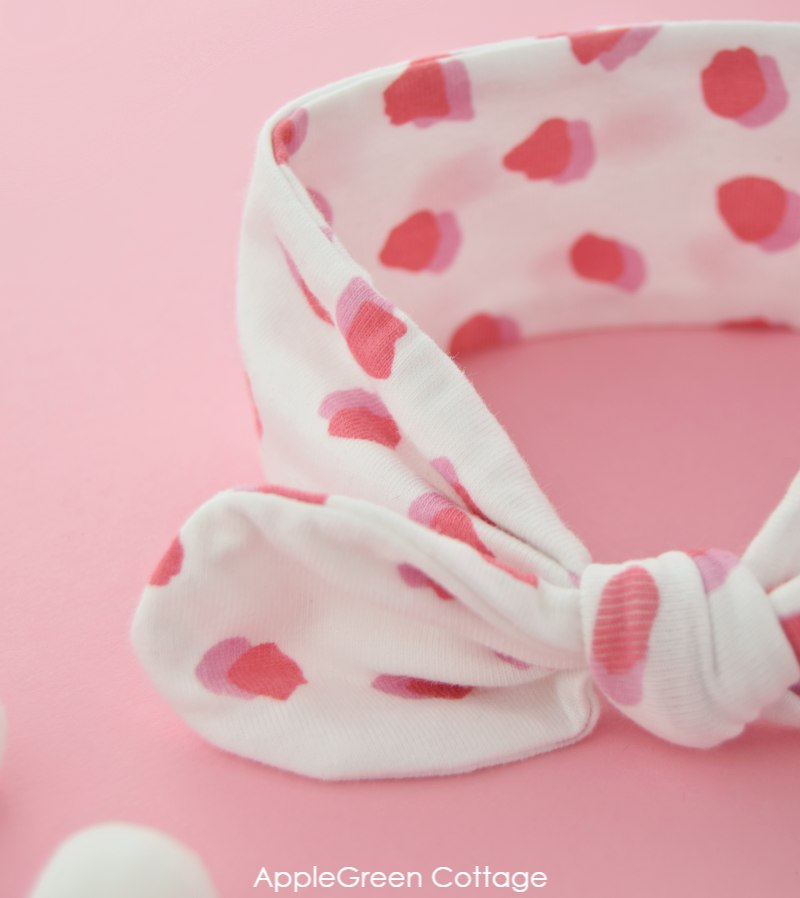
How To Make A Headband For A Baby
So, how do you make a fabric baby headband? I'm giving you all the steps you need, below. But first, simply decide on the size you want.
Step 1 - Cut the fabric and trim the ends
Fold your jersey piece so the right sides are facing. This way, you'll have your two strips ready to stitch immediately you've cut them - cutting both at once: so you'll cut 2 pieces 22"/or 24"/or 26" by 2 ½" (same width for all sizes)
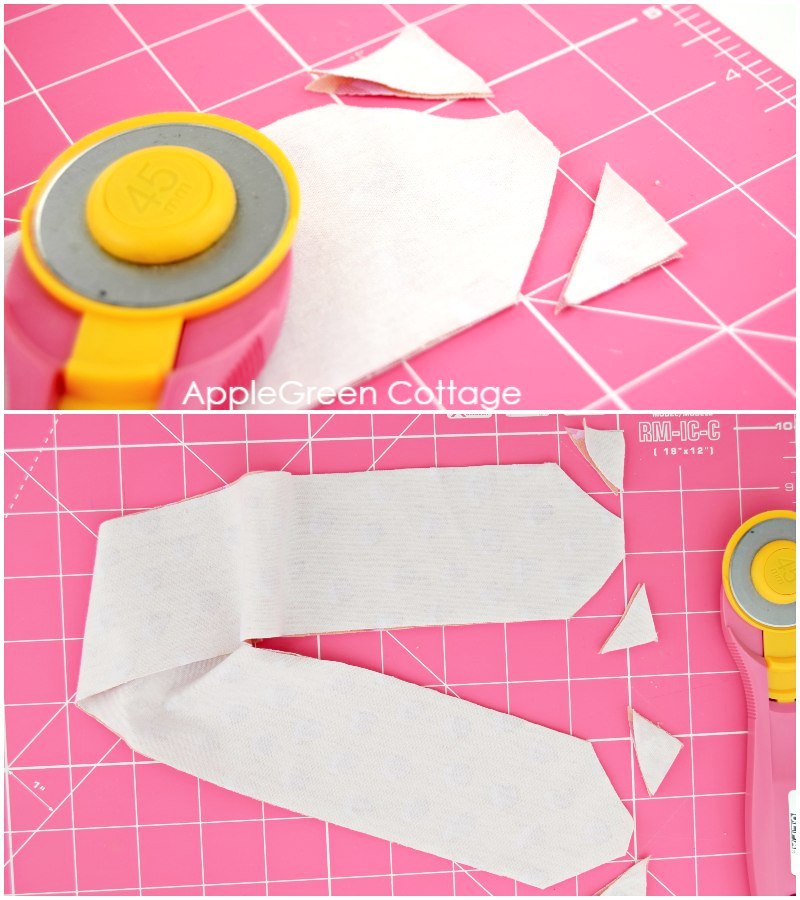
On each end, cut off a 1" by 1" triangle to form pointy ends. I find this the easiest way to prevent too much bulk on the headband ends once it's on the baby's head. Also, this is the simplest way for me to end up with nice rounded and slightly pointed ends for the knot on the headband - it always works great for me!
Step 2 - Sew The Diy baby headband Strips together
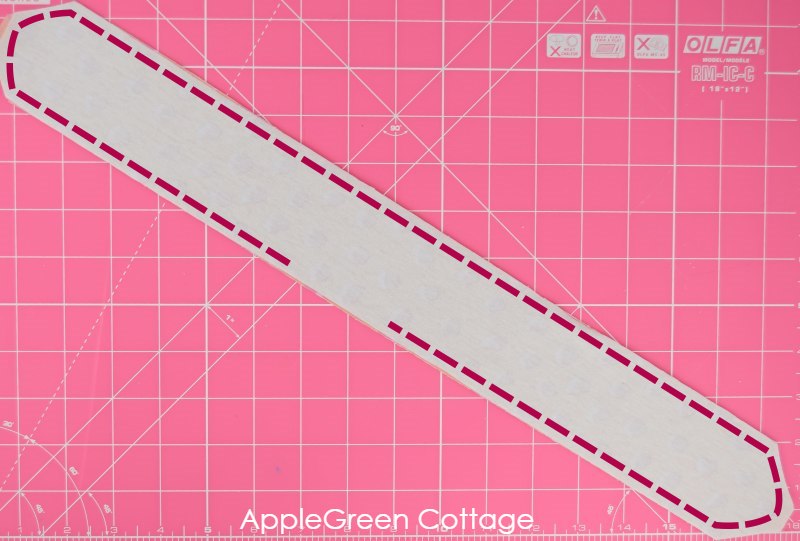
Place the pieces with the right sides together and sew around, leaving a few inches on one of the two long edges unsewn for turning. You don't need to sew straight lines at the ends - it's easier when you just go for a little curve when sewing the headband ends.
IMPORTANT: use a stretch stitch on your sewing machine, a narrow zig-zag is just fine! My machine settings were set at stitch width 3, and stitch length 2.
Step 3 - Clip corners
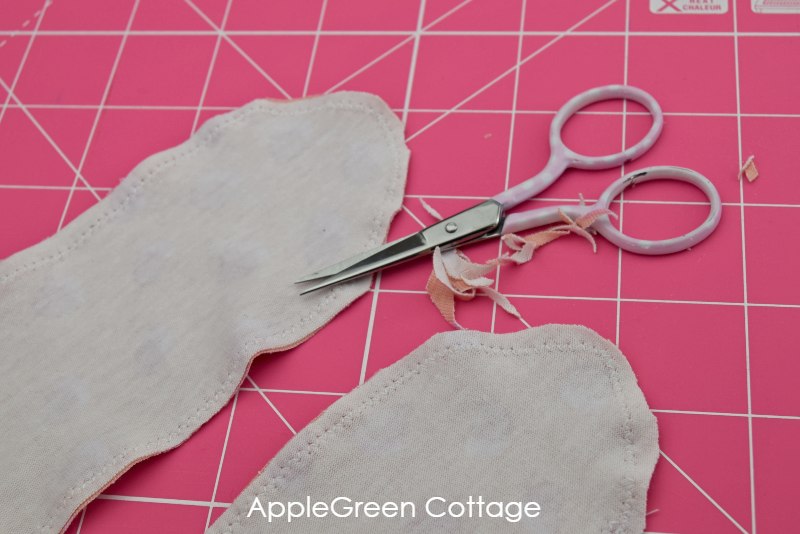
Trim the corners, removing any bulk from the seam allowance. This will make your project neater once turned.
Step 4 - Turn and stitch the opening closed
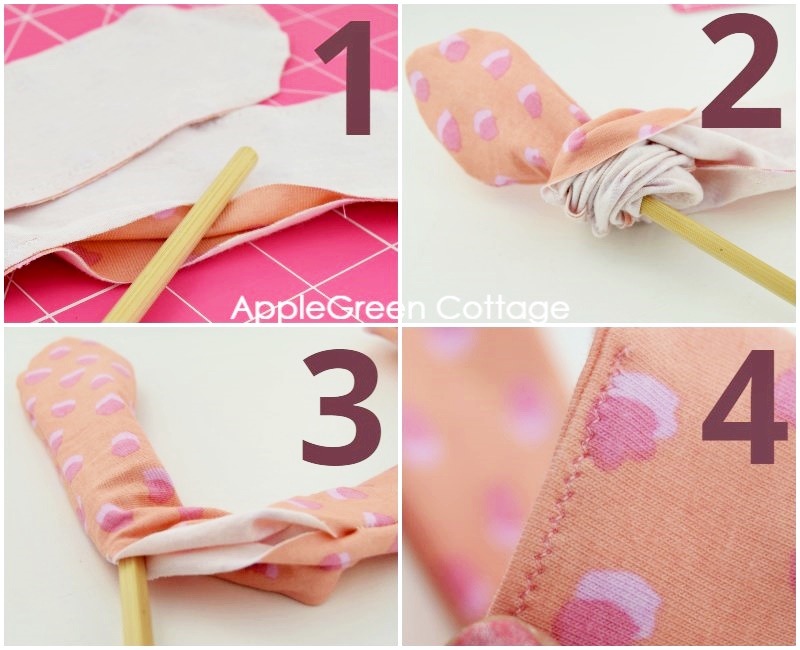
Turn your headband right-side-out through the opening (1) - first, push out one side (2) and when it's turned, do the same with the other 'tail' (3). Then use a short and narrow zigzag stitch to sew the opening close. You can also hand-stitch - in this case, ladder stitch always turns out the best!
Step 5 -press
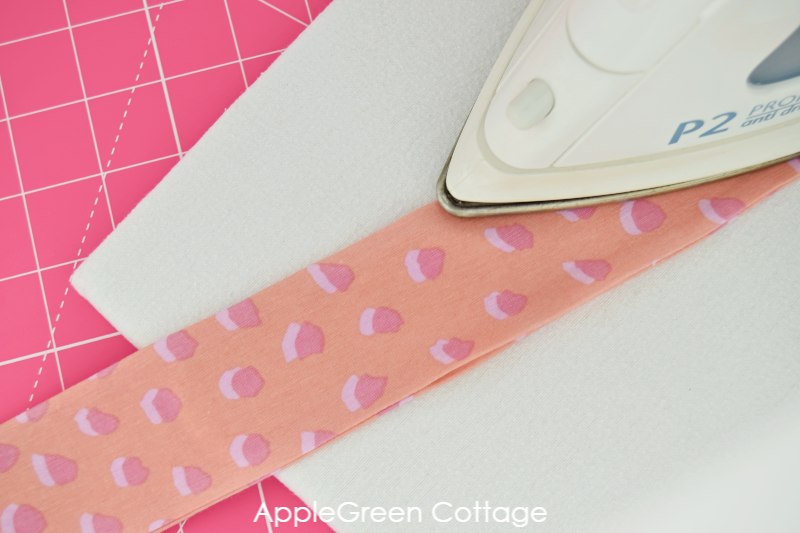
Now, give your headband a final press so the baby headband will be nice and flat.
Step 6 Make a double knot
Tie into a double knot, like this:
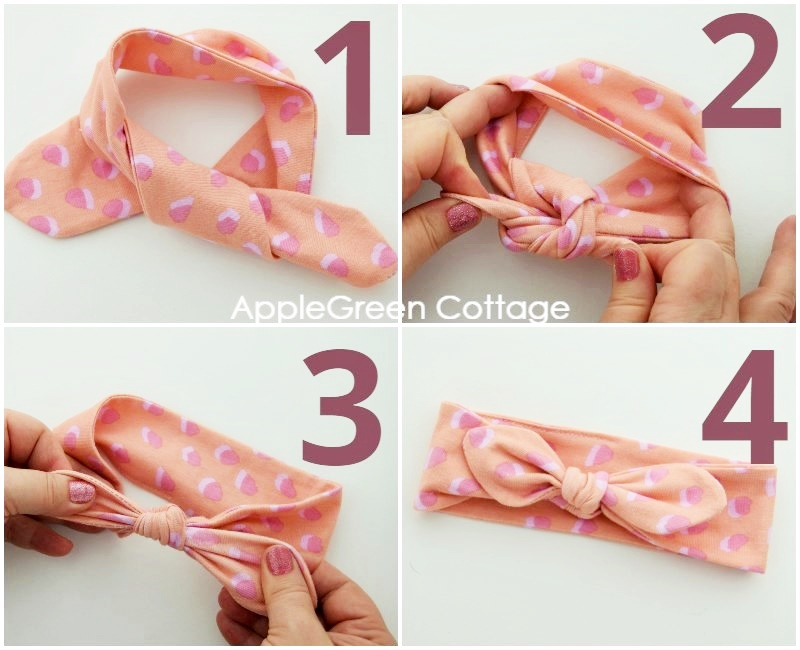
If you have your baby somewhere close and awake, first model the head band against the baby's head and tie only then, so you know the knot is 100% at the right place. But you can always untie and adjust.
Why these Diy Baby Headbands Are great in Sets with Earwarmers!
I loved how quick these baby accessories are to sew. What a lovely gift for a new baby!
I tested how they work in pairs, and in sets. So I made two additional earwarmers using this pattern from my shop. Which turned out to be an excellent idea for when the weather turns a bit windy - just switch the headband for the earwarmer, ta-daa!
Ever since, I always mix and match baby headbands with my popular earwarmers.
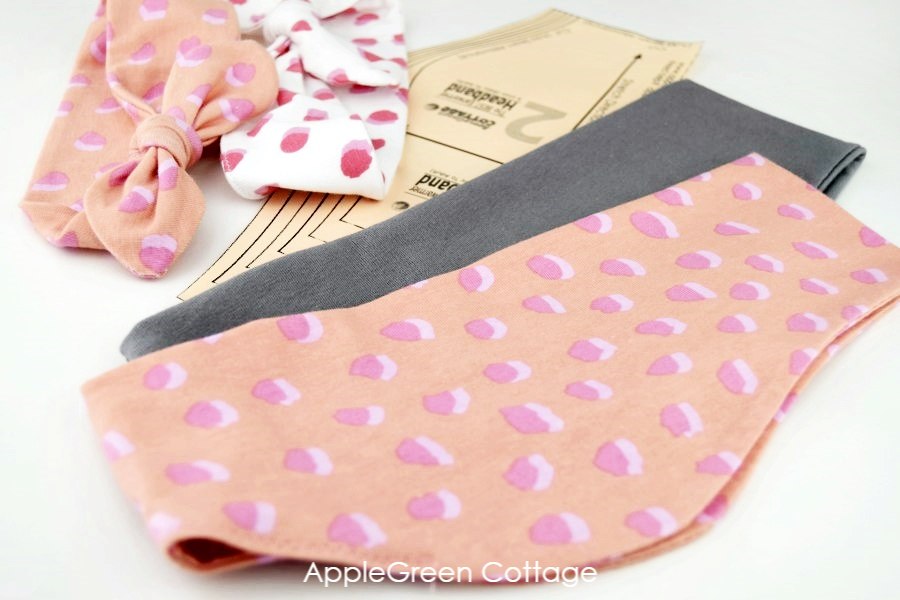
It's so handy to have both baby headbands AND earwarmers in a matching set. So you can switch them as needed - this combo turned out great!
Save this project for later, so you can make your own baby headband with a bow any time you wish:
This post is part of the BABY SEWING PATTERNS series on this blog. And if you're new to sewing, start with this how to sew guide, or take a look at the main list of easy sewing patterns for beginners. All free!
Check out more baby sewing patterns - all free:
- this super popular Baby BIB in 3 Sizes
- this Stay-Put Baby Scarf tutorial (Smart!)
- this cute Baby Burp Cloth free pattern
- the easiest Baby Blanket Pattern
- Updated 2-sized free bandana bib pattern
WANT MORE FREE TUTORIALS AND GOODIES?
Get email updates and never miss out on new patterns, printables, and tutorials:
Or …check out the Earwarmer Headband pattern in 8 Sizes in our shop:

Susan
I love being a part of this "sew easy" group.
Thank you for the detailed information as well as the photos which help me a lot.
Damjana
Susan hi,
thank you, enjoy!
Helen Scalabrino
At last I’ve found a reliable pattern and sizes. My little granddaughter lives in Kent, England and can’t wait to get started on these beautiful headbands.
Thank you so much
Helen, Cape Town
Karly
Hi there!
For deciding on size for a baby, should the finished sizes you list match the baby's head circumference, or should it be a little bit smaller so it fits snugger??
Thanks!
Damjana
Karly hi,
better not smaller. I always make it just a bit bigger, not smaller, because babies grow fast. Hope this helps,
KB
What is seam allowance?
Damjana
KB hi,
A seam allowance is an area between the edge of the fabric and the stitching line on two pieces of fabric that are stitched together. I think you'll find these sewing terms useful: https://www.applegreencottage.com/sewing-glossary-for-beginners/
Happy sewing, Damjana
Sue
Good easy to understand instructions
Damjana
Sue thank you!