
Air dry clay Christmas decorations are a fun and simple crafting project for both kids and adults. This versatile, inexpensive material is perfect for nearly any craft, especially making unique Christmas tree ornaments, as well as cute diy Christmas cards.
Creating homemade decorations adds extra holiday joy to your festivities!

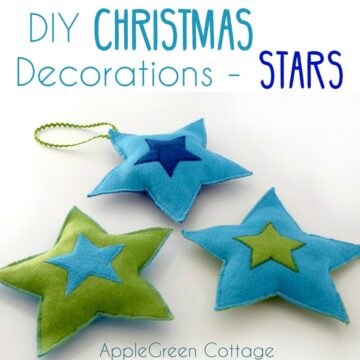
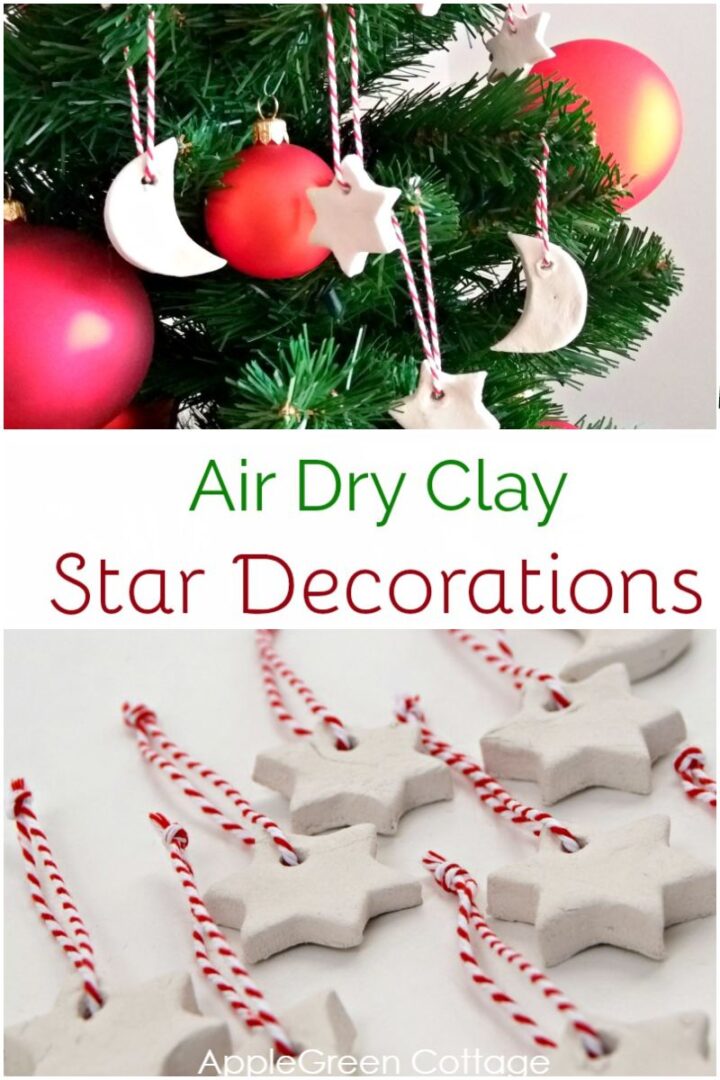
Air Dry Clay Christmas Decorations
These clay stars would also make adorable DIY gift tags on your Christmas presents!

Since our kids made the ornaments, they have a charming, rustic look - not as smooth and polished as machine-made ones, but that's what I love about them! If you prefer a smoother finish, you can gently smooth them when the clay is wet or sand any rough edges once they're dry.
There are as many options as there are crafting enthusiasts: emboss, paint, stamp, or sprinkle them with glitter. Make them tiny or large, add ribbons or twigs-the possibilities are endless!
Here's a simple version that's perfect for even the youngest crafters to enjoy this Christmas. Take a look:
Supplies

- DAS Air Hardening Modelling Clay (air drying clay)
- a rolling pin
- star shaped cookie cutter
- ribbon or twine
Air Dry Clay Star Decorations Tutorial
1. Open your package of air drying clay - you only need a portion of it, better work in small chunks to avoid drying it too quickly.
2. Knead the clay a bit to soften it, then pull out your rolling pin and roll it out evenly to about 5mm thick.

3. Using your chosen cookie cutter cut out your clay shapes.

4. Carefully peel away any excess clay. Carefully wrap any leftover clay in a plastic bag, so it doesn't dry and you can use it next time, for another crafting project.

Make a hole in each star for hanging. We simply used a toothpick, but if you'd like the holes to appear even and clean, use a special crafting punch tool.
5. Leave to dry for a day at least. We left it for 2 days, just to be sure, as the clay might take a bit longer to dry if thick. The thicker the clay, the longer it will take to dry.

6. When dry, you can paint it using simply watercolors, or, if you want to make sure there's no paint residue, use acrylic paint. I loved the natural white so much I decided to leave the ornaments white.

7. Thread on a piece of ribbon and hang on your Christmas tree. Or give as a cute DIY Christmas present. Or use them as gift tags!


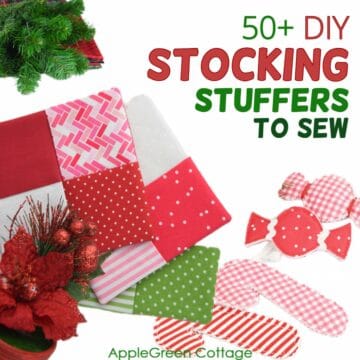
And if you haven't yet done your gift wrapping, you'll probably need gift bags - you have no idea how easy it is to DIY them! If you'd like to make your own (reusable and easy) gift bags out of fabric, check out this sewing project:

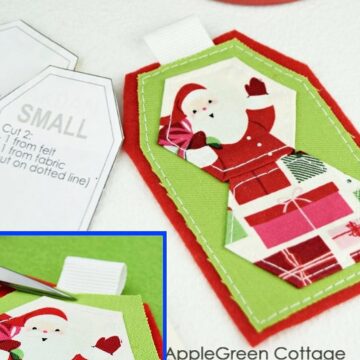
Christmas Gift Bag Sewing Pattern
Why not make your own, beautiful DIY gift bags? It's easy and quick - and the boxed corners are made the EASY way! (The best sewing hack ever!)This gift bag pattern comes in 6 variations, perfect to hold all your Christmas gifts. The PDF pattern has detailed step-by-step instructions with lots of photos, tips and a Sew-to-Sell license.
I can't wait to see what you make! Merry Christmas!
Related Holiday Ideas
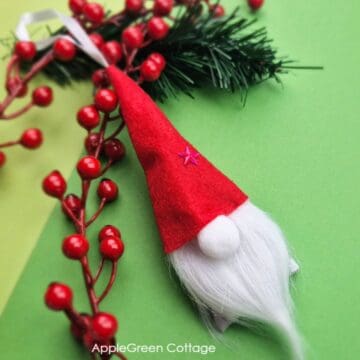
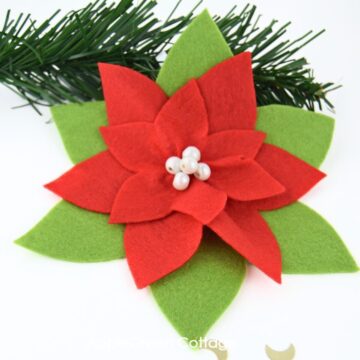
There are so many Christmas ornaments to sew here at AppleGreen Cottage! Try these:
Or check out our gift to all AppleGReen Cottage followers: this huge, free Homemade Holidays Sewing Patterns Bundle:
HUGE Holiday Sewing Pattern BUNDLE - FREE!
17+ sewing patterns to craft your own, cozy holidays!


Leave a Reply