
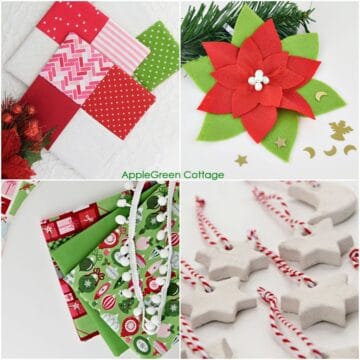
Love this time of the year - let's make Christmas tree decorations! If you are looking for some inspiration, check out this easy-sew tutorial for cone-shaped Christmas tree ornaments you can make this Christmas, in addition to a few other Christmas ornament tutorials available here.
Totally easy, and they come with a free PDF template!

These cute and simple fabric ornaments are not only easy to make but also add a unique and cozy flair to your tree. These are great shape for small kids to hold and hang on the Christmas tree. Plus, they're not breakable, making them perfect for homes with kids.
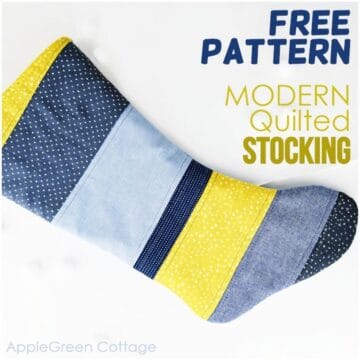
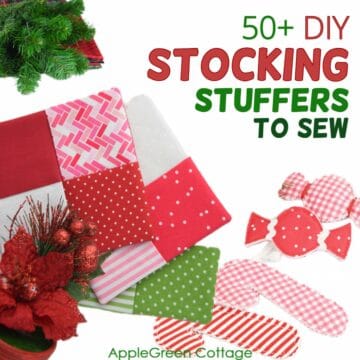
While sewing, you can also sew a few matching DIY Santa sacks to put under the tree, or even a matching quilted tree skirt. Or mix and match them with our other DIY fabric ornaments.
DIY Cone-Shaped Christmas Ornaments
Handmade Christmas ornaments are great, simple sewing projects for beginners. Learning how to make them does not have to be difficult or time-consuming - and these fabric Christmas ornaments are easy and quick to make. Hope you'll enjoy making them!

Plus, you can use any fabric scraps you have to sew them. They are perfect for using up leftover fabric scraps from other Christmas sewing projects!
Supplies
- fabric (solids or prints, anything cute)
- grosgrain ribbon
- matching thread
- sewing machine
- iron
- pins
- scissors (or rotary cutter)
- a free template. It is the Bunting Banner template, available in the reversible bunting banner sewing tutorial.
Cone-Shaped Christmas Ornaments Tutorial
Now, to the tutorial. It's so simple, you'll see!

PART ONE: TWO STRAIGHT STITCHES
1) Get the printable template in this banner sewing tutorial. Print it out and use it to cut out 2 pieces of fabric for each cone-shaped Christmas ornament.

2) Put the two pieces right sides together.

3) Sew along the 2 long sides. Leave the top part of the triangle open. Then trim off excess fabric at the tip of the triangle to make the point of the cone-shaped ornament really nice (But be careful NOT to cut into the seam line!)
Then press flat for easier turning.

4) Turn right side out. Push out the tip of the triangle using a point turner tool (or simply a knitting needle, chopstick or something similar). Then press to get perfect form.

PART TWO: STUFF + CLOSE.
5) Add soft toy stuffing. Make sure to push some of it all the way to the tip of the cone. (You can use a chopstick for that.)

6) Handstitching: baste-stitch the entire way around the opening

7) Slowly pull and tighten the seam.

8) Insert the ribbon into the narrow opening and, still using the same sewing thread, sew it in. A few stitches to secure the seam and that's it.

9) Done!

These plush hanging softies are the perfect way to add some color to your tree without any risk of breakage and mess. Especially if you have a little child at home. Unbreakable, they can even double as toys!

A cute beginner sewing project and totally inexpensive - you'll only need a few scraps of fabric. A great scrap buster! Hope you'll like them as much as we did!
Related Project Ideas
There are so many christmas ornaments to sew here at AppleGreen Cottage! Try some of these:


HUGE Holiday Sewing Pattern BUNDLE - FREE!

17+ sewing patterns to craft your own, cozy holidays!


Leave a Reply