
Ever had that December 1st moment when you realize the advent calendar still isn't done?
I've been there! My kids wanted a "real" one with little treasures, not store-bought chocolate (which they finish too fast, haha!).
This year, I finally made it!
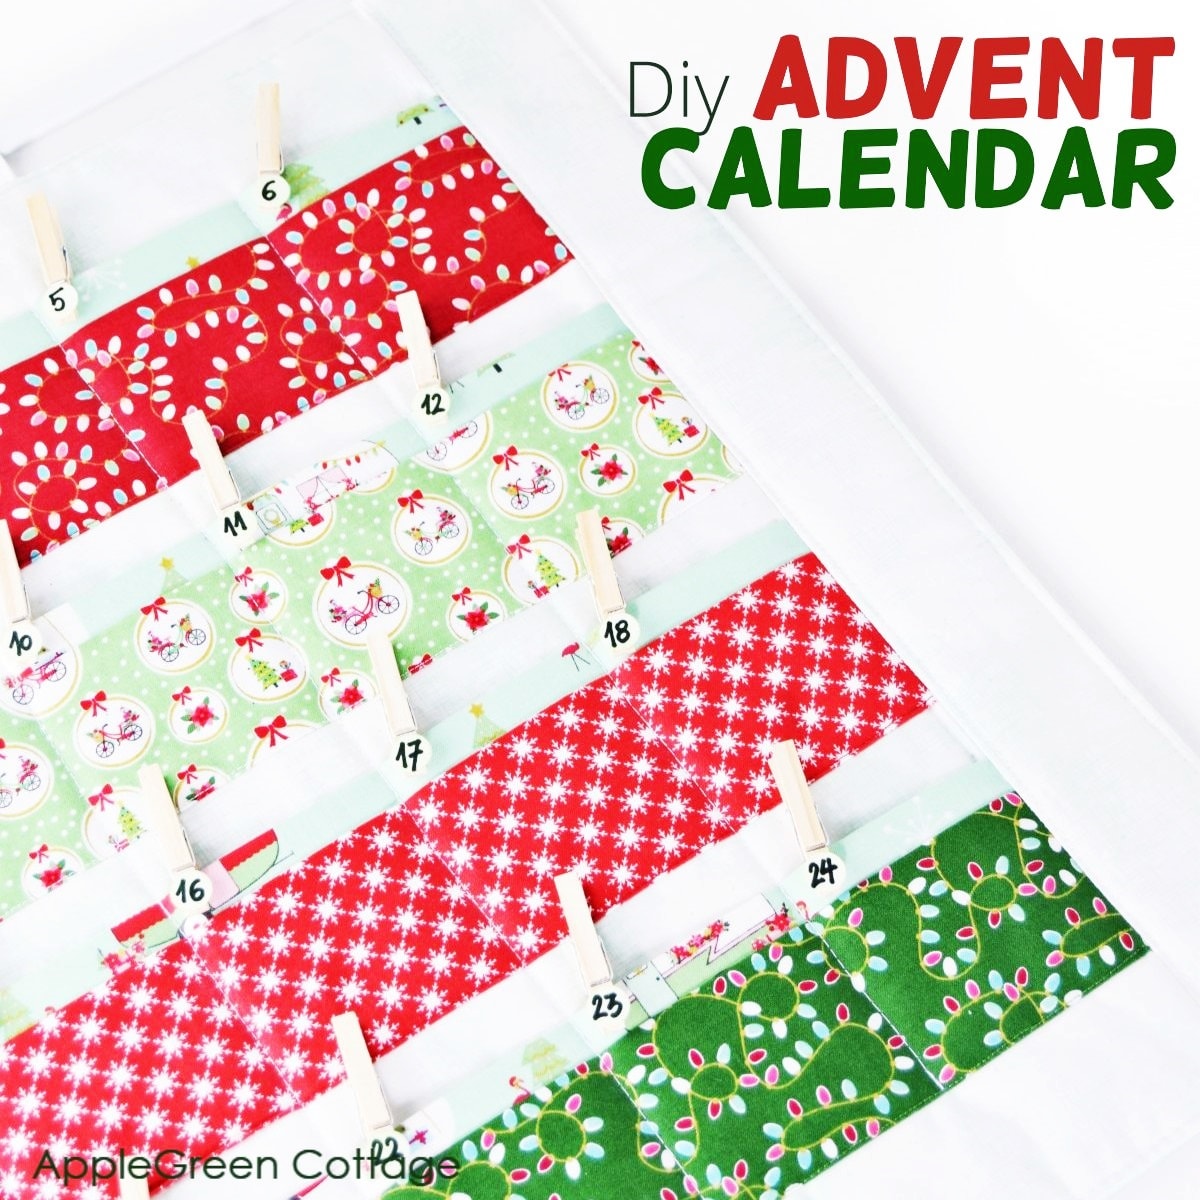
I created a fabric advent calendar tutorial because I want YOU to sew it too! It's quick, easy, and perfect!
Do you want an ad-free, printable copy of this online tutorial? Get it in our shop. Or get the whole →BUNDLE!

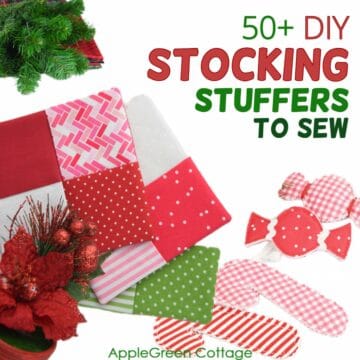
Are you ready to make some festive memories this holiday season? Start by making your own diy countdown-to-Christmas, using this easy advent calendar sewing pattern. Also, check out my favorite things to sew for Christmas HERE, or get my three-in-one Christmas stocking pattern!
Why This Advent Calendar
This reusable advent calendar is easy to sew and always turns out beautiful. And the special pocket edges will keep your Christmas countdown calendar in great shape!
I hear you asking: What can I put in a homemade Advent calendar? You can use this cute Christmas countdown for mini treats like chocolates, cookies, candy, small Legos, toy cars, animal figures, and even dice for a DnD fan (check out my dice bag pattern!). All these are great to count down the days till Christmas.
Also, make sure to download the free printable numbers to add when you're sewing advent calendar.
Real pockets, real little treasure spaces for kids. Actually, I might stuff them full with little trinkets, some diy gifts, and some chocolate, and little bits of treasure hunt tasks. Oh the options are limitless! In short, now you can sew your own advent calendar. No need to buy an advent calendar this year.
What is the size of this fabric advent calendar?
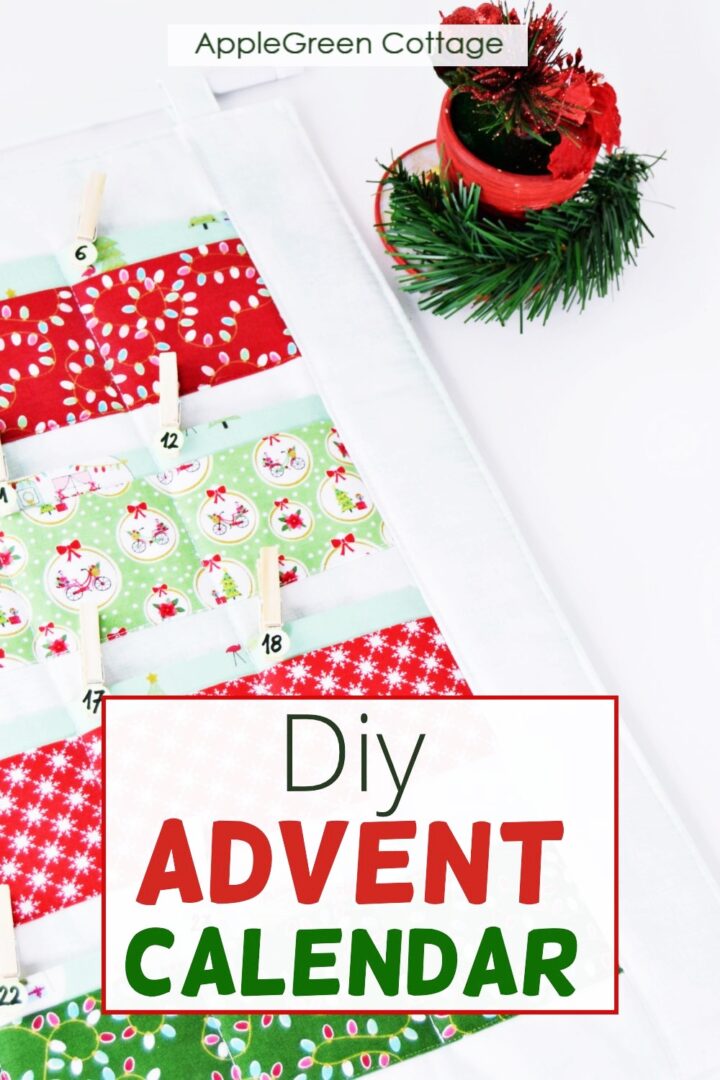
The finished size of this diy fabric advent calendar pattern is 22" wide by 20" tall, and each of the 24 pockets is 3" by 3" size. The pockets are flat.
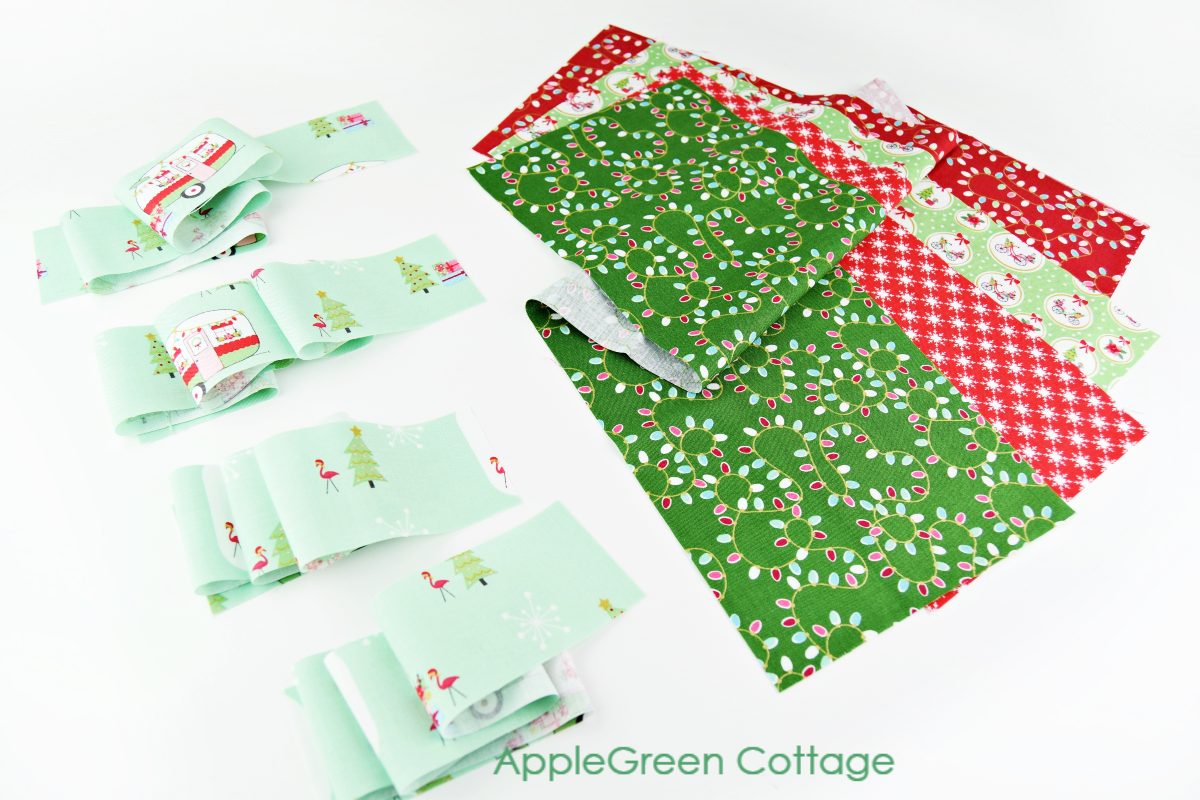
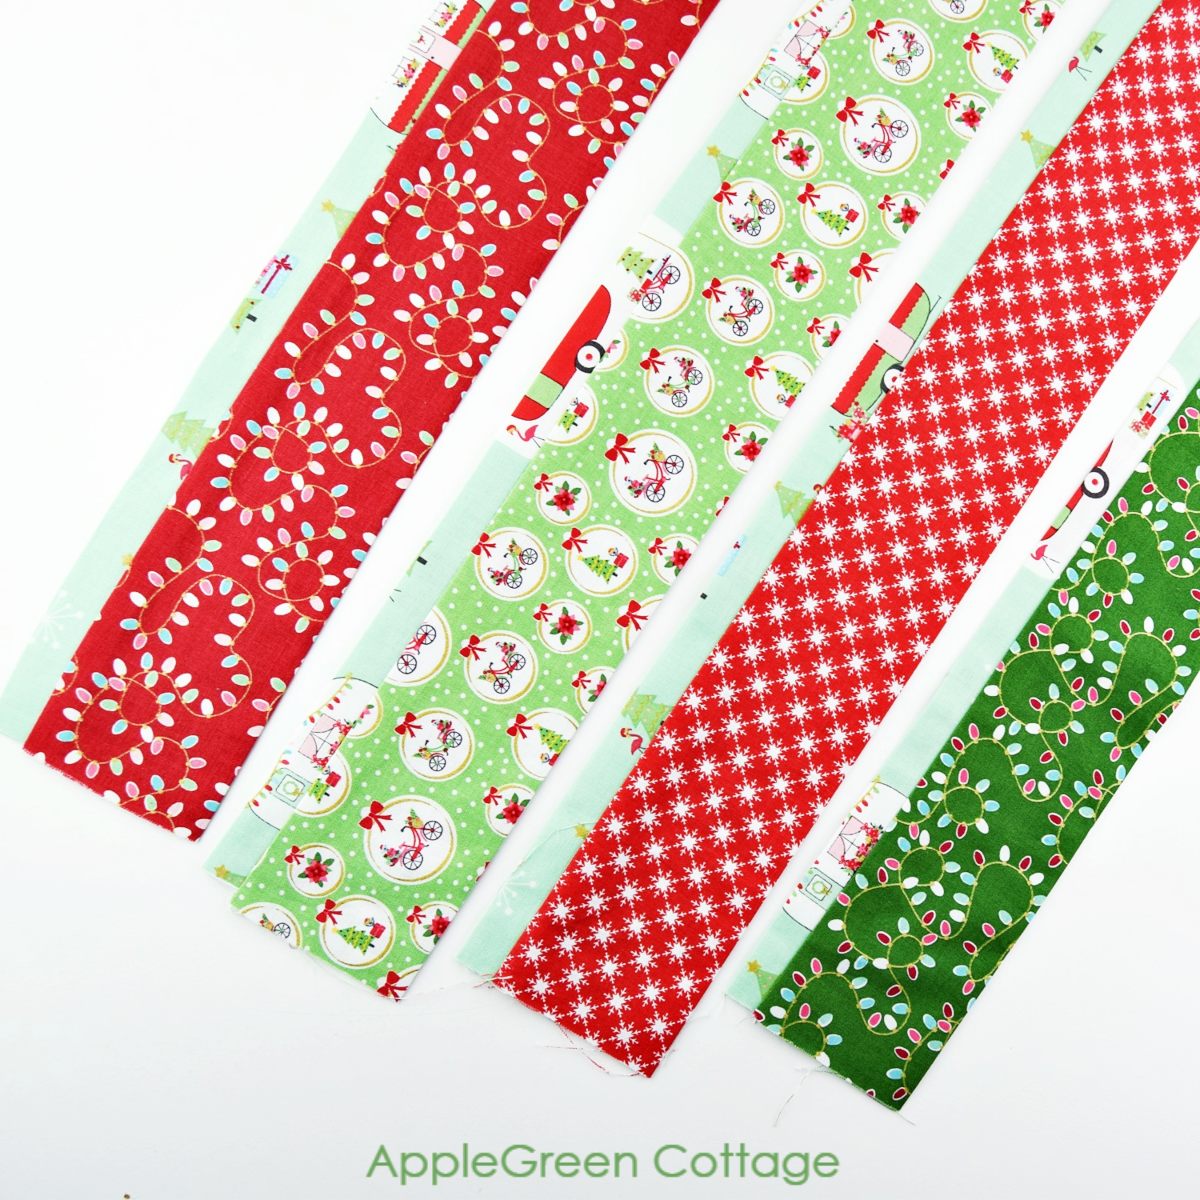
Scroll down for cutting directions that will show you how to cut pieces to make your own advent calendar from yardage. I used the new Christmas Adventures collection designed by Bev of The Flamingo Toes for Riley Blake Designs. Loved this beautiful fabric. The green bicycles are my absolute favorites!

Get it done ahead of time, and you'll be looking forward to when the advent can start. This tutorial is pretty easy to use, let's gather the supplies:
Supplies To Make a Diy Fabric Advent Calendar
- half a yard of quilting cotton, you can use scraps
- a good fat quarter of fusible fleece or batting
- a dowel for hanging your homemade advent calendar,
- mini clothspins, stickers or alternative numbers (think felt, wooden plates, see below for more ideas and a free numbers printable )
I used the low-loft Vilene H630 for this tutorial, feel free to use anything from fleece, thin to thick interfacing, or batting. You can't miss!
Cutting Directions
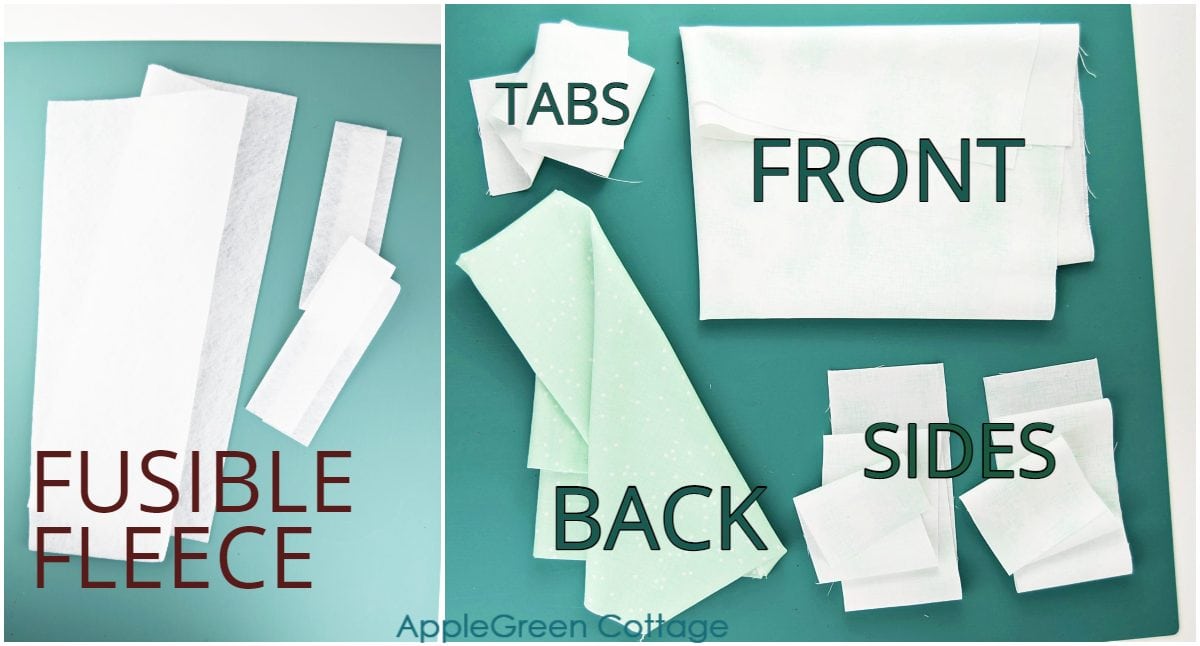
For main piece (here white and sweet mint), cut
- 1 front piece 19" wide by 20" tall (plus a piece of fusible fleece 18" by 19")
- 2 side pieces 3" wide by 20" tall (plus 2 pieces of fusible fleece 2" by 19")
- 1 back piece 23" wide by 20" tall (can be muslin, here: sweet mint )
- a 12" by 3" rectangle for hanging tabs
For pockets, cut
- 4 stripes 19" wide by 2" tall (all in one accent fabric print)
- 4 pieces 19" wide by 6" tall in different accent prints
How To Make Your Own Advent Calendar -STEPS
Time to learn the steps for making your own reusable advent calendar! In this tutorial, we'll use a ½" seam allowance.
Step 1 - Cut And Interface Pieces
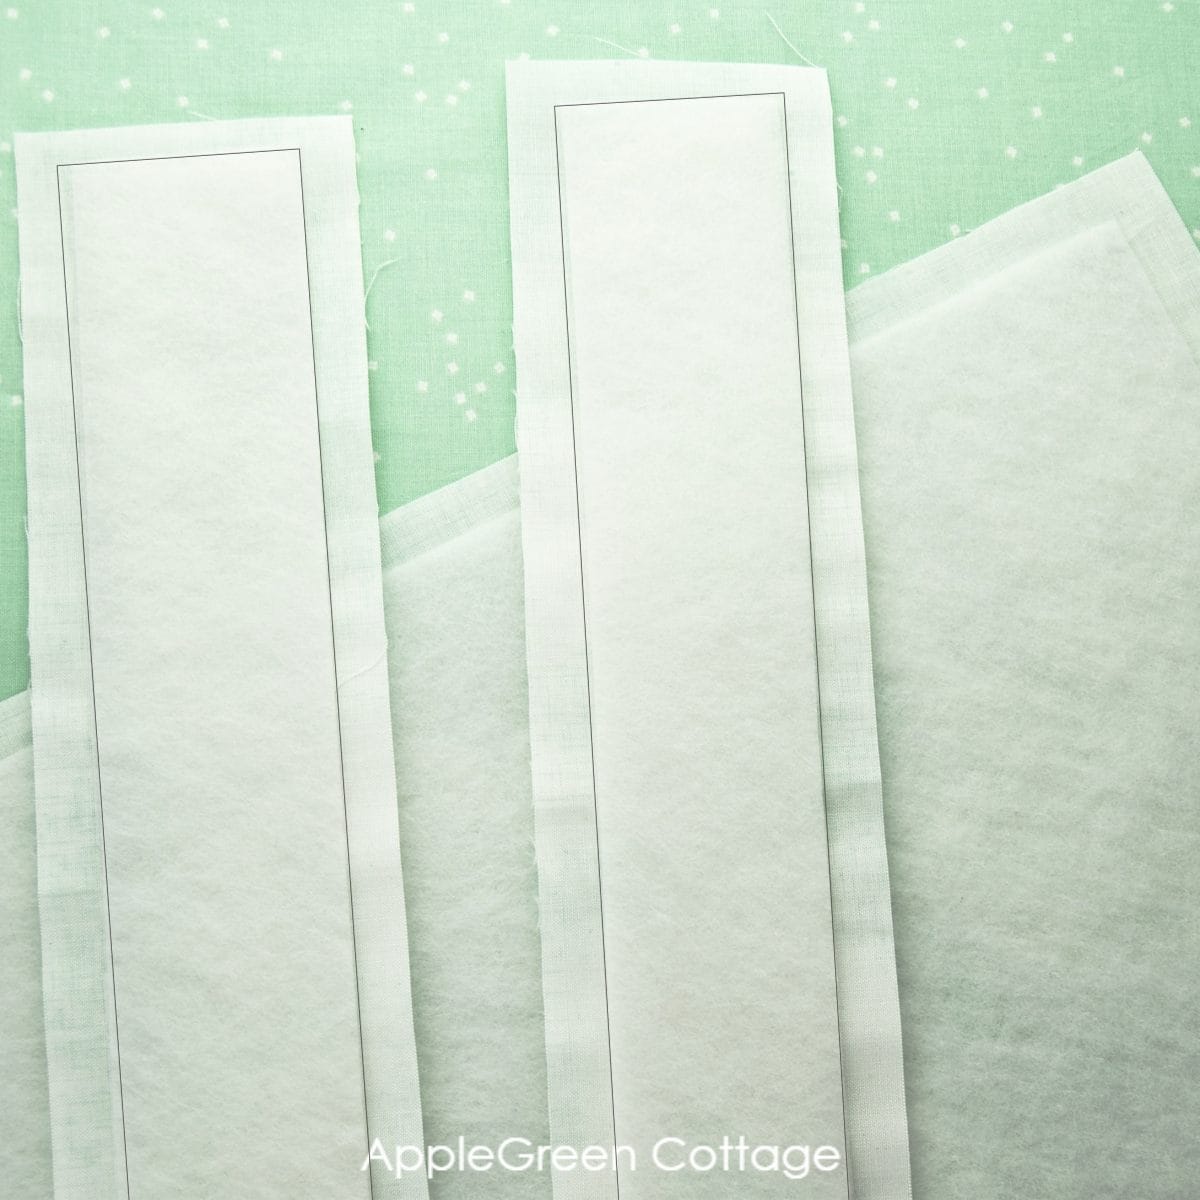
Attach fusible fleece to main front piece and the two side pieces. The fusible fleece will not cover the seam allowance.
Step 2 - Make Pocket Sleeves
To make one pocket sleeve, you'll need one pocket piece (19" wide by 6" tall) and one accent stripe (19" wide by 2" tall).
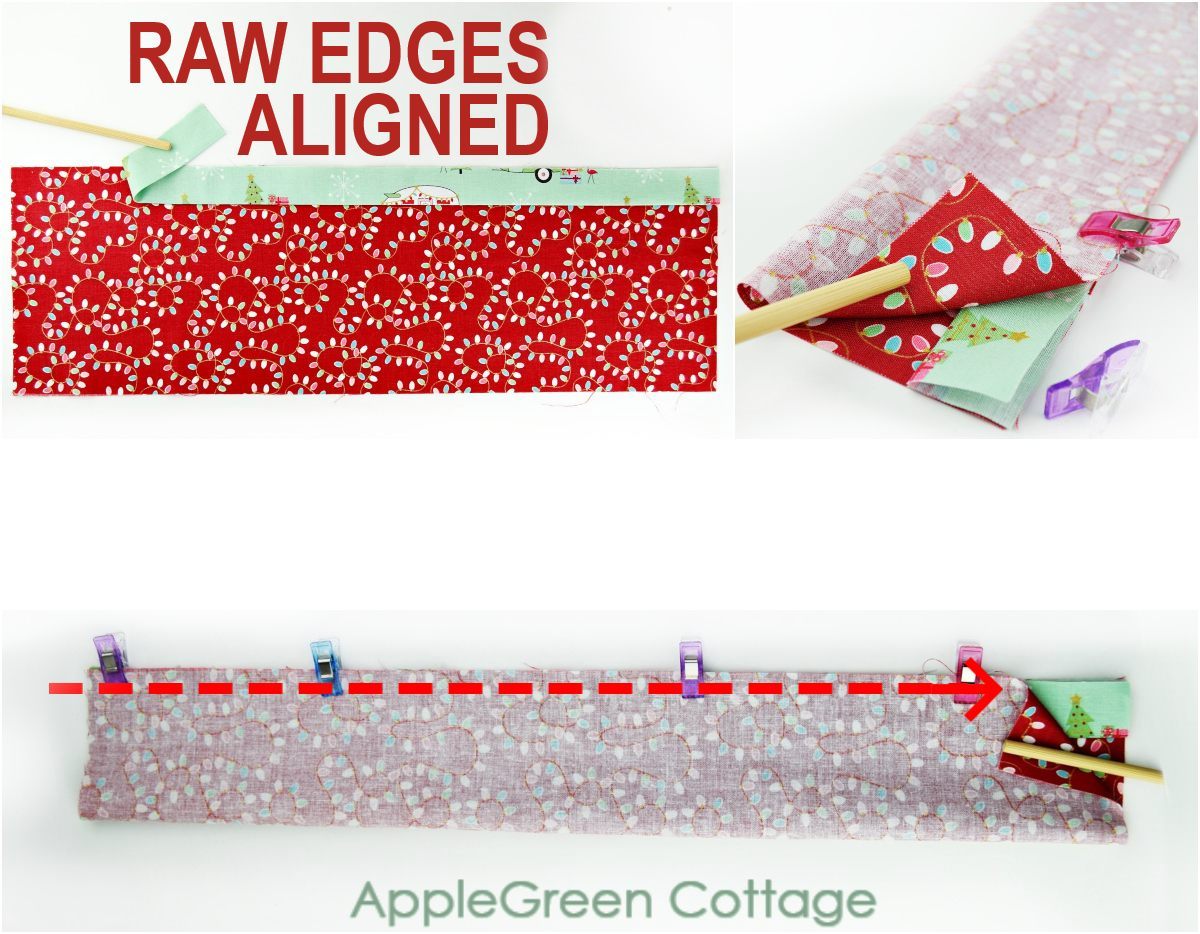
Fold the accent stripe lengthwise with wrong sides together. Place the pocket sleeve with right side facing down, and align the accent stripe along one long edge of the pocket sleeve. The raw edges will be aligned, the fold on the accent will be directed towards the center of the pocket sleeve.
Fold other free edge of the pocket upwards and stitch all 4 layers together using a ½" seam allowance. Turn right side out and press.
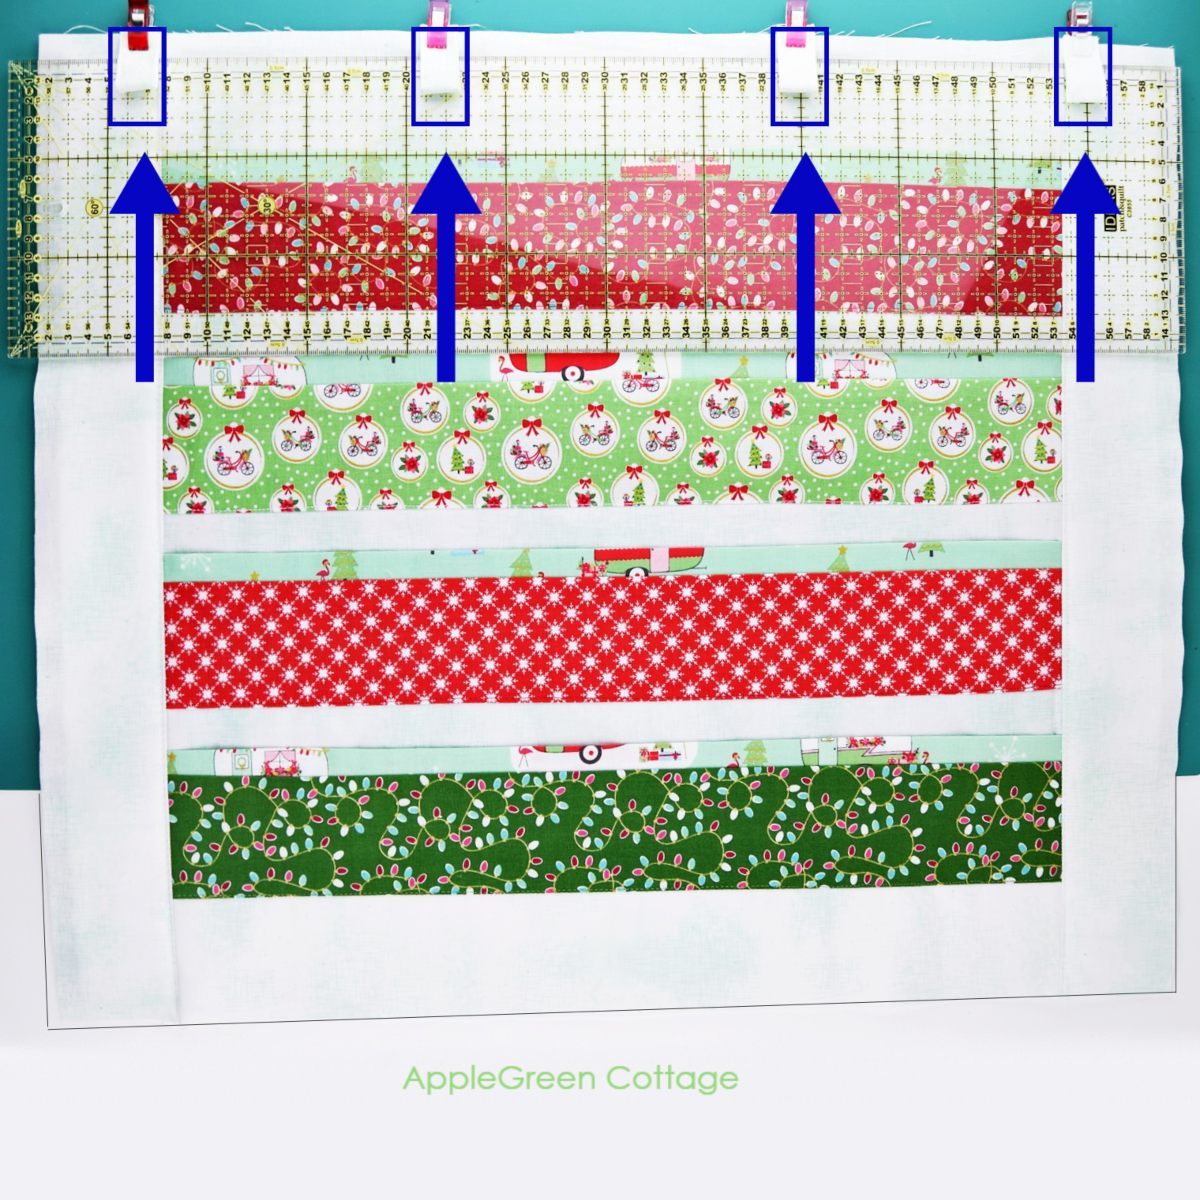
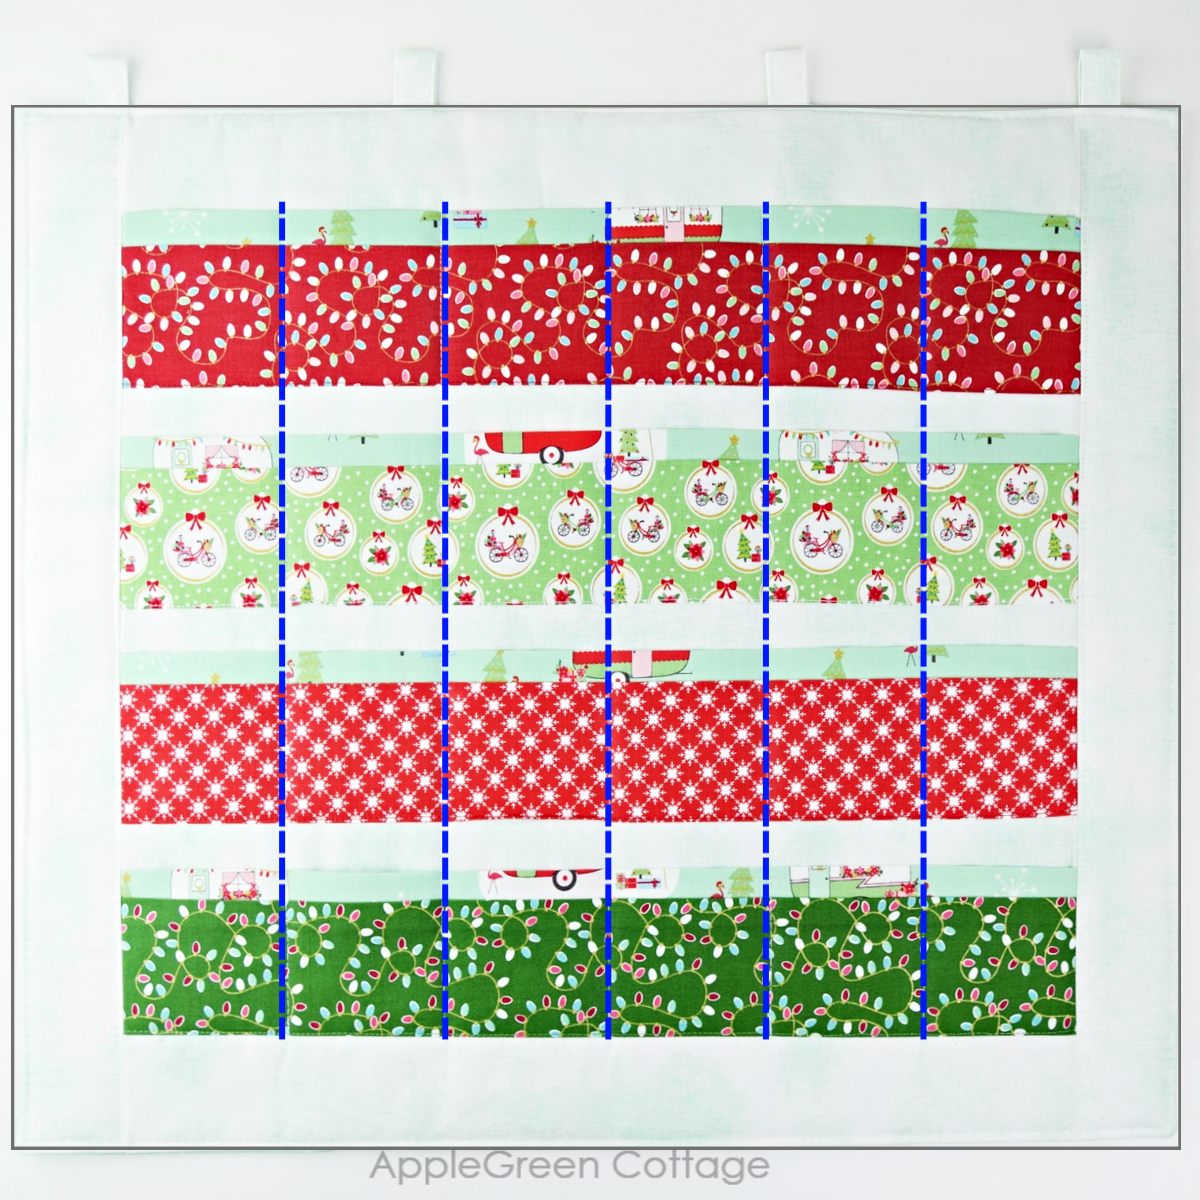
Step 3 - Attach Pockets
Now place the main front piece on a flat surface, make sure the 19" is the WIDTH, so both the pocket sleeves and the front main piece will have the same width.
now place the top pocket at 2 ½" from top, and the bottom pocket at 2 ½" from the very bottom edge of the main fabric.
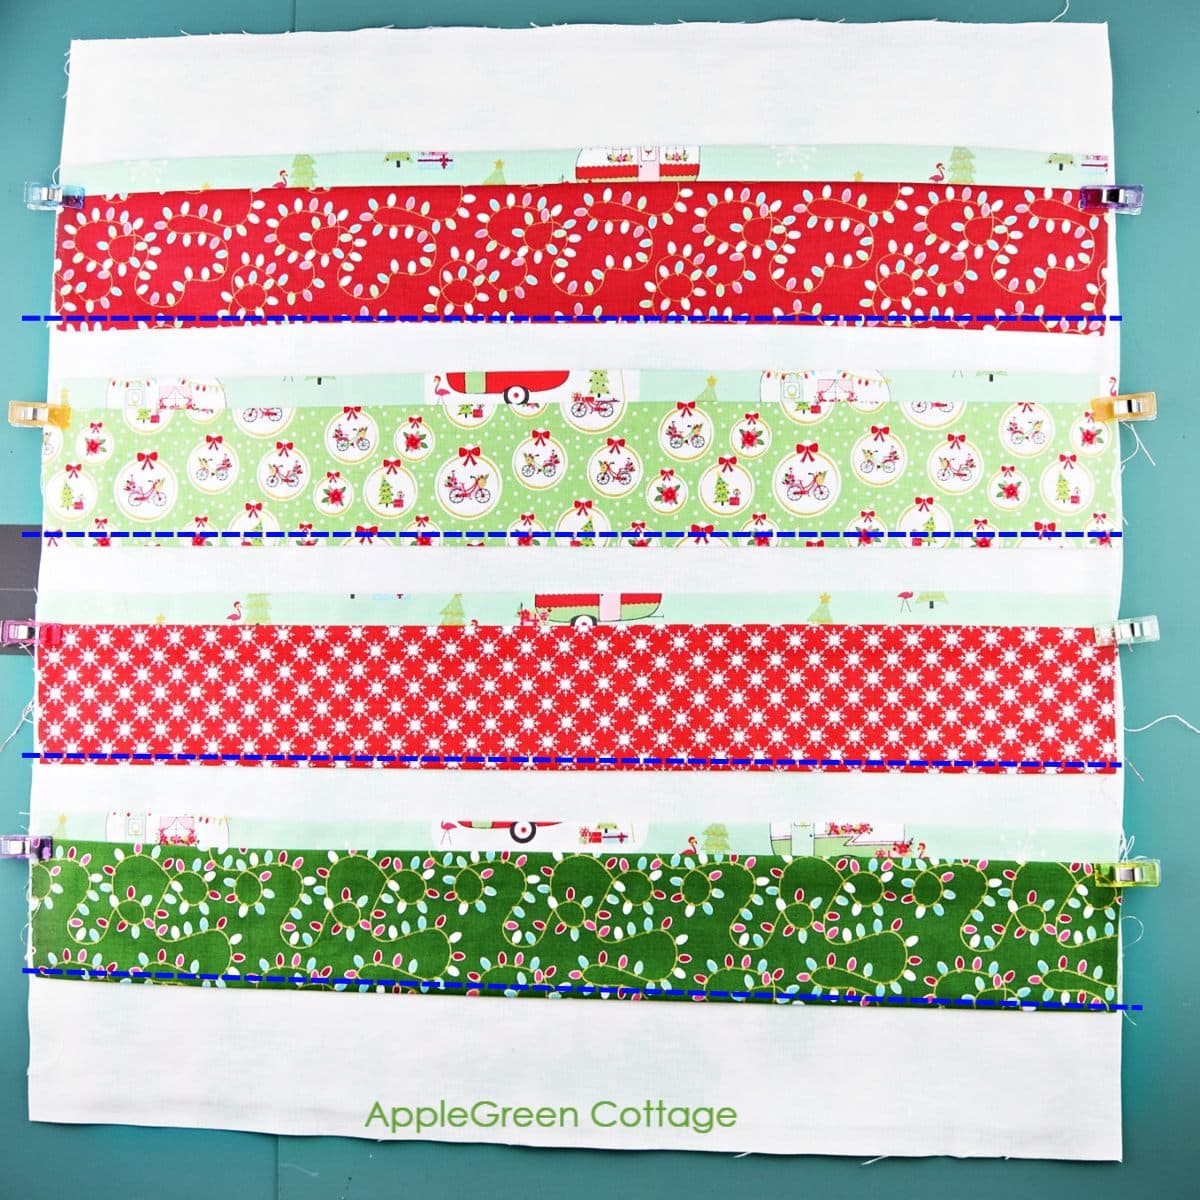
The remaining two pocket sleeves come to the middle, with all pockets being exactly one inch (2.5 cm) apart. Pin or clip them in place and sew just the bottom edges to the main piece (notice the blue dashed lines in the photo above?)
Step 4 - Add Side Pieces
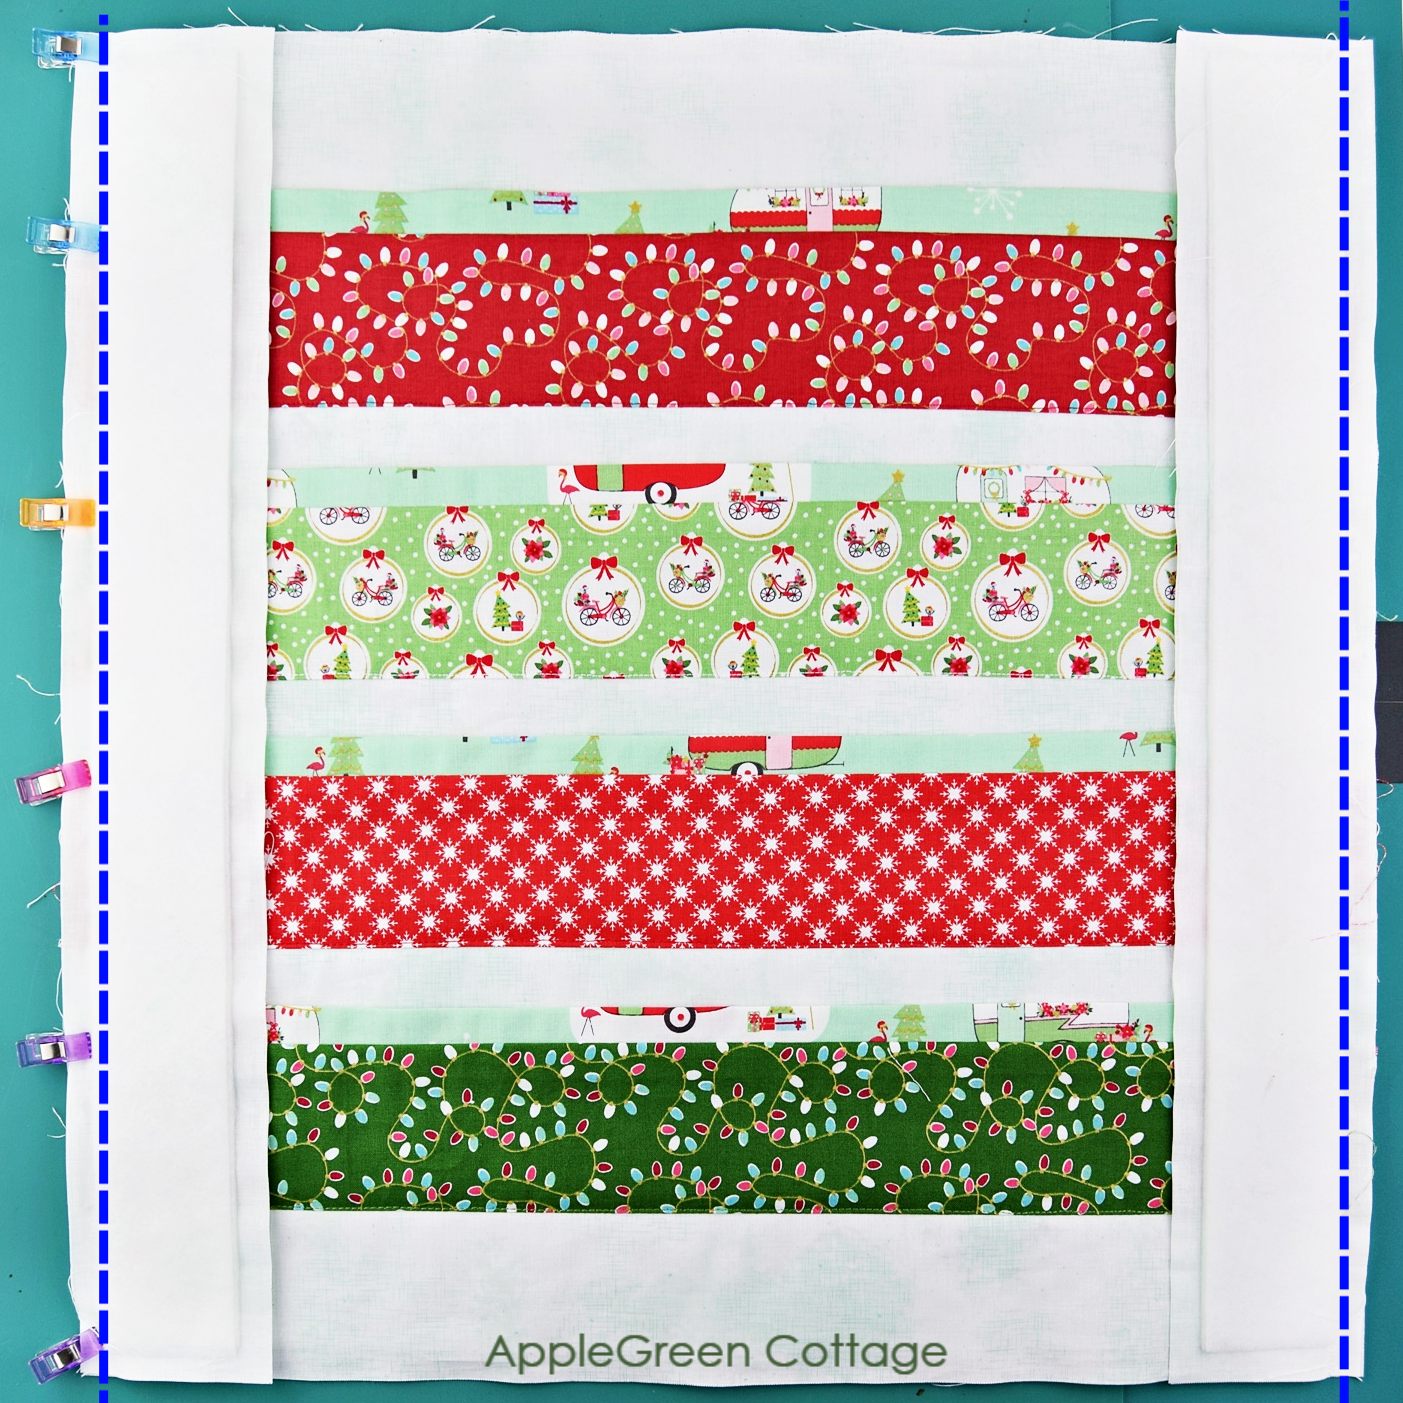
Place the side pieces on the main piece with right sides facing down and the vertical edges aligned. Sew them to the pocket piece using a ½" seam allowance. Open, press the seam allowance towards the outside and topstitch to fix the seam.
Step 5 - Make Hanging Tabs
Now, let's make four hanging tab pieces (use 3 x 12" rectangle) to be able to hang your beautiful advent calendar. We'll make them all at once.
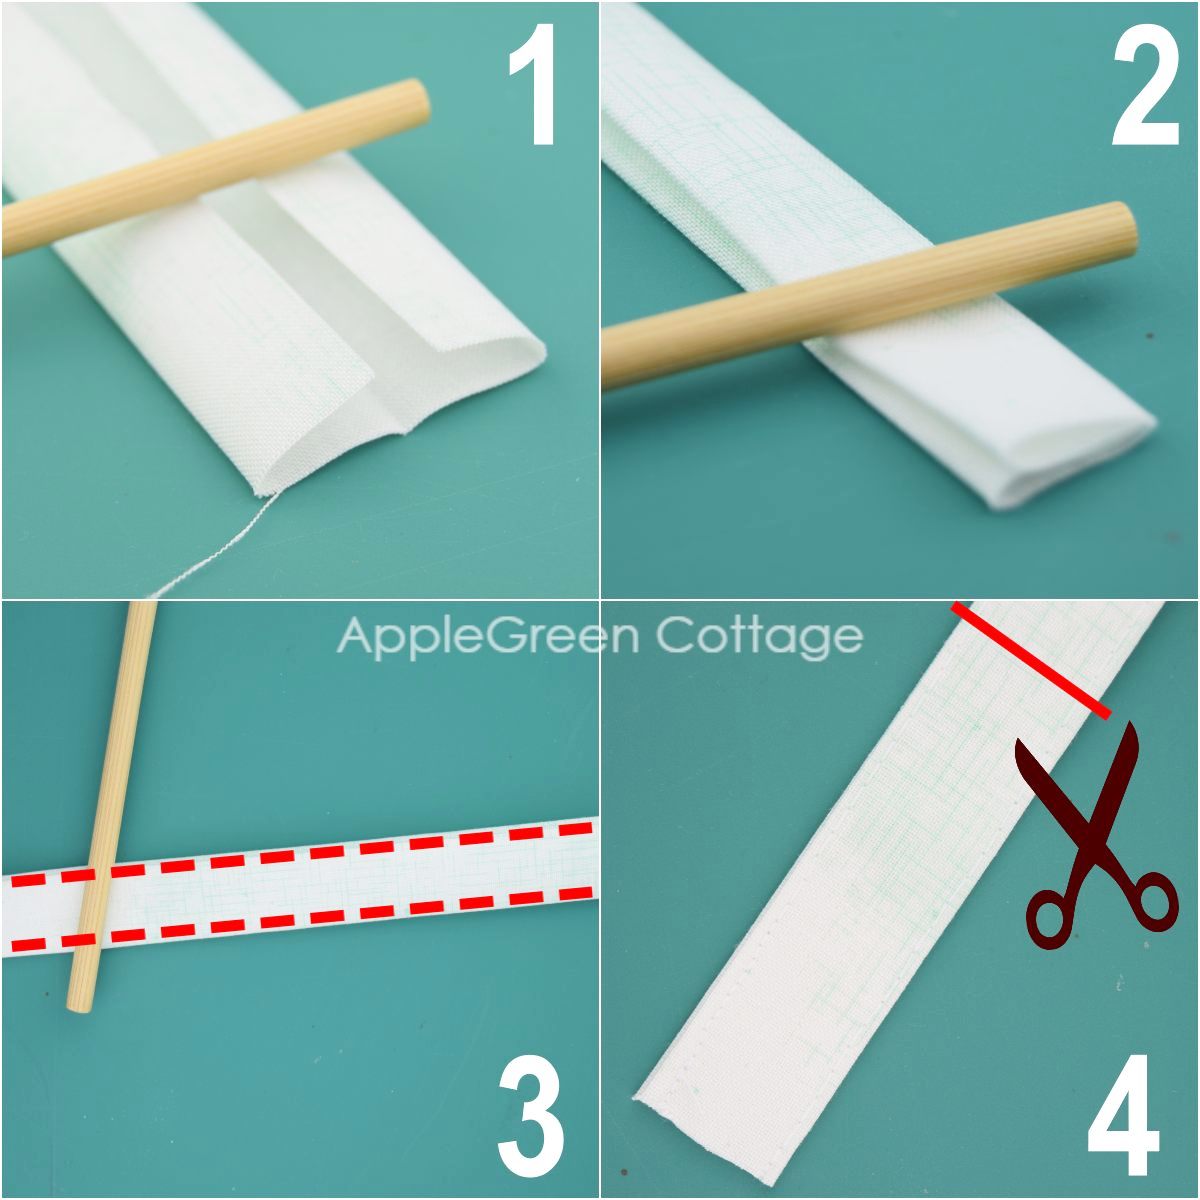
- Place your 3 by 12" piece wrong-side-up and fold one shorter edge towards the center and do the same with the other short edge.
- Fold once more along the center and press.
- Then topstitch along the edges.
- Cut into four equal pieces - each will be 3" long.
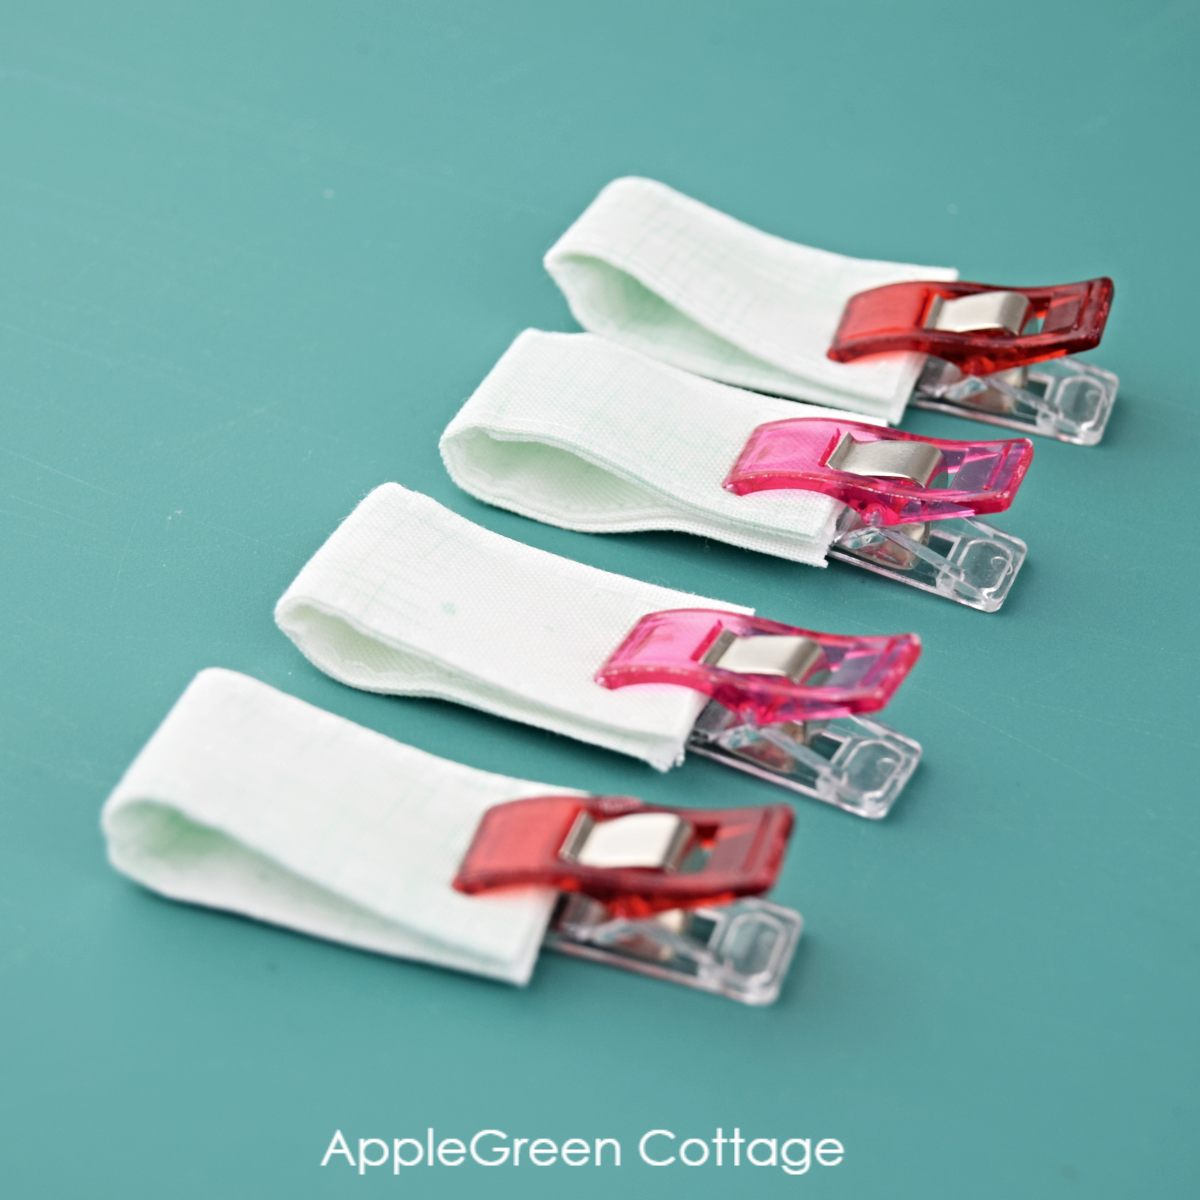
Fold them in half. You've got four hanging tabs ready to install.
Step 6 - Join Front And Back
Add hanging tabs, aligning them along the top edge of the front piece. Loops need to face towards the inside!

Cover with the back piece (width 23") and sew around using a ½" seam allowance. Make sure to leave a 6" opening at the bottom for turning. Then trim corners (see this how to trim the seam allowance tutorial), turn and tuck in the seam allowance on the opening hole.
Step 7 - Finish Pockets On Your Advent Calendar
Press well and make sure the side seams are nicely flattened. If you want to, you can topstitch around at ¼" from the outer edge of your advent calendar. And finally, 5 vertical seams will finish your diy advent calendar - spread them exactly 3" apart and what you get are 6 square pockets per row.
Step 8 - Add Numbers
Counting down to Christmas can begin! Oh wait, we need to add numbers. Or else all the chocolates might be eaten immediately (ask me how I know haha!)

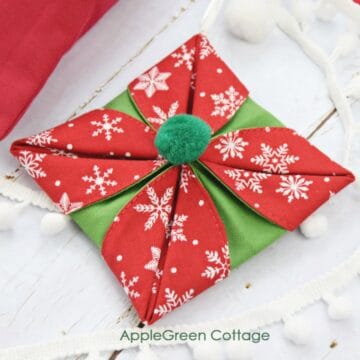
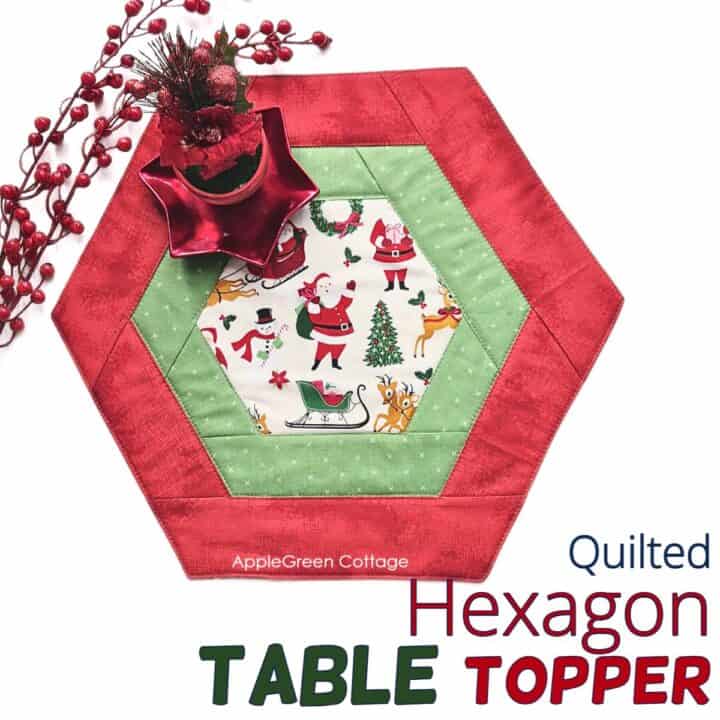
+Free Hexi Tabletopper Pattern
Use matching fabric and create this cute diy tabletopper for Christmas!
Helpful tips
What day should I start my advent calendar?
You always need to start the countdown with December first. So in addition to this free advent calendar pattern, you also need printable numbers. Read on!
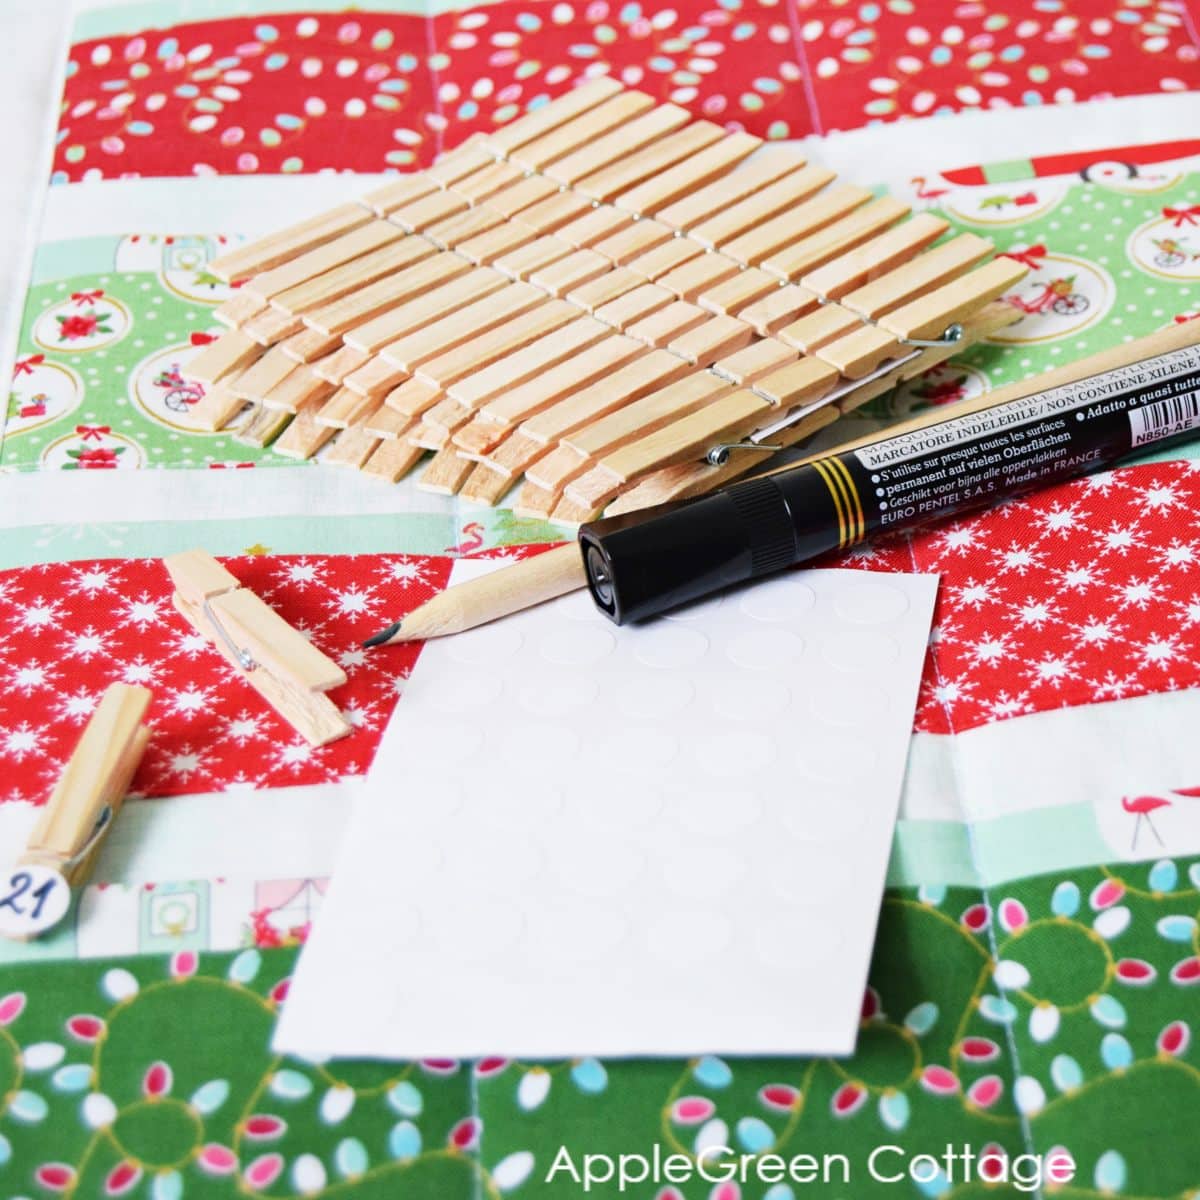
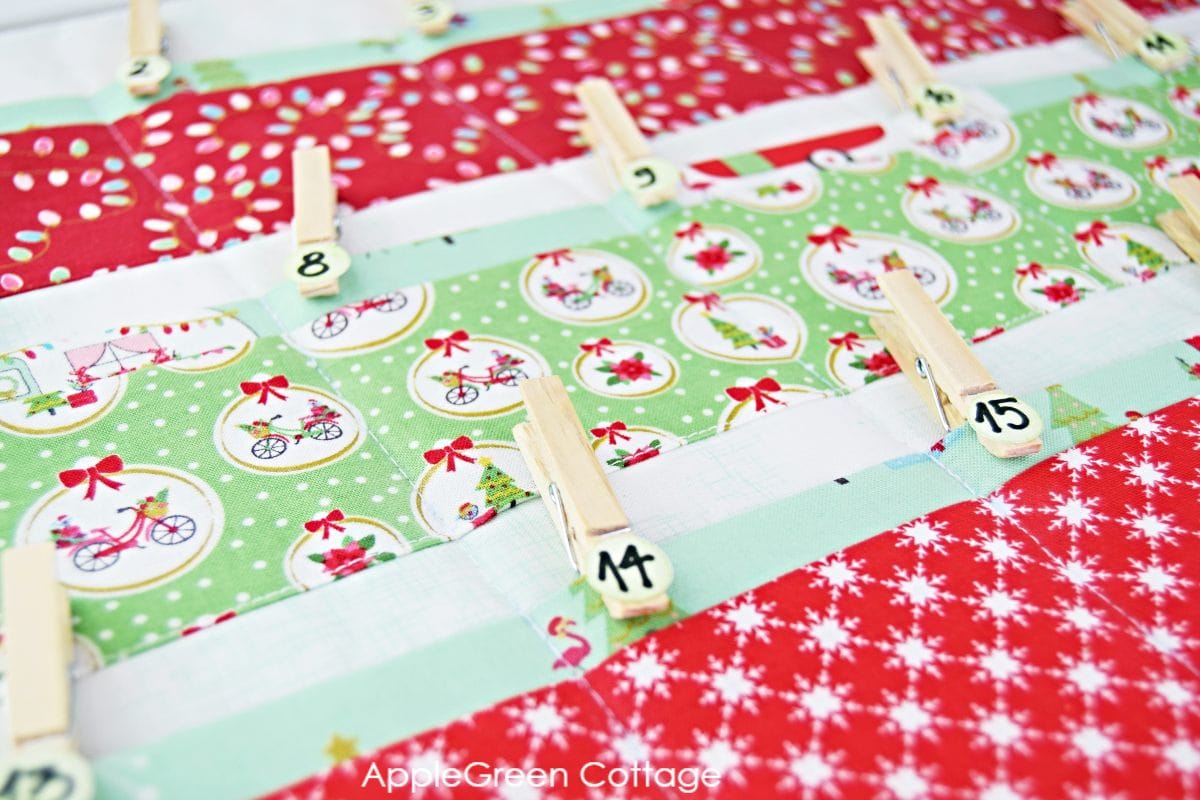
My favorite way to number the days of advent calendar is to keep it simple. Really. Like sturdy cardstock stickers plus mini clothes pegs simple. Clipping them on the pockets won't take you much time, and you'll be able to take them off for laundering.
I got a pack of wooden clothespins and round stickers and they are just right for any type of diy.
Except for fabric (feel free to use my raw-edge applique tutorial if you want to make number appliques), you might not want to attach anything permanently onto your advent calendar. You'll want to launder the calendar from time to time and I don't want to have the numbers ruin the diy fabric advent calendar. It does get dusty with use, and stained from little sticky fingers that unwrap their chocolate really fast.
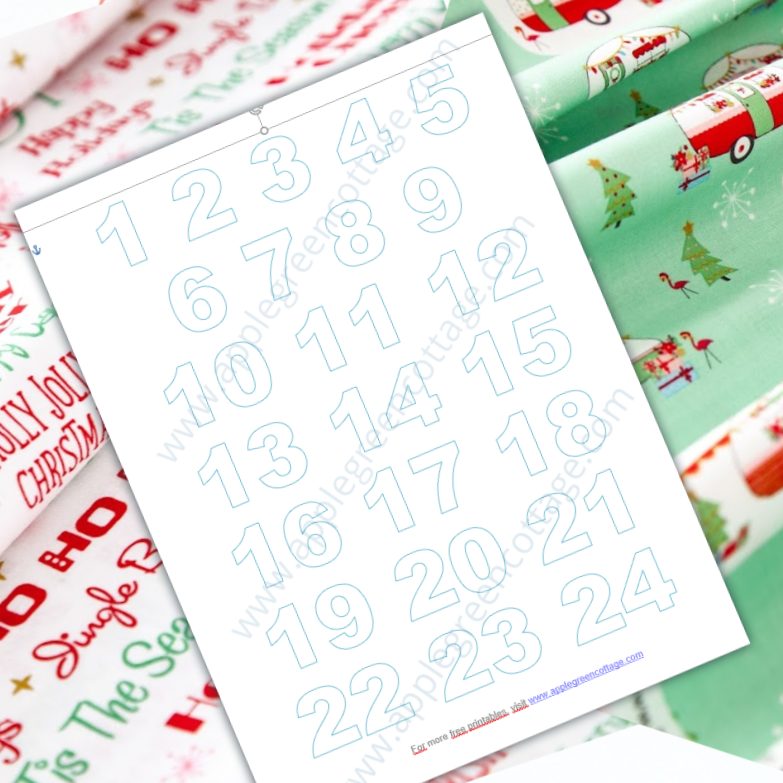
Free Printable Advent Calendar Numbers Template
In case you want to do a number applique, here's my free numbers template for you to use if you really really want to. A quicker way would be grabbing clothes pegs and printing these on cardstock (as is, not mirrored) and just cut out squares, then clip them to your diy advent calendar:
There are many other ways you can number your diy Christmas-countdown calendar, like felt stickers for clothes, foam number stickers (really nice, temporary). Other options would be using Cricut to cut the numbers, using stamps and fabric dye, or simply printing out my template and cutting out numbers or just squares from paper. Enjoy!
Get your advent calendar started! December 1st will be here before we know it!! As always, I'd love to know your thoughts on this pattern for advent calendar with pockets. Is it easy to follow, or do you need more tips? Let me know! And just in case you want more options, I have collected all the best diy advent calendar ideas I could think of - check them out!
Sew your own advent calendar and show it! Post a picture to Instagram and tag me @applegreencottage or #applegreencottage - I'd love to take a look!
HUGE Holiday Sewing Pattern BUNDLE - FREE!
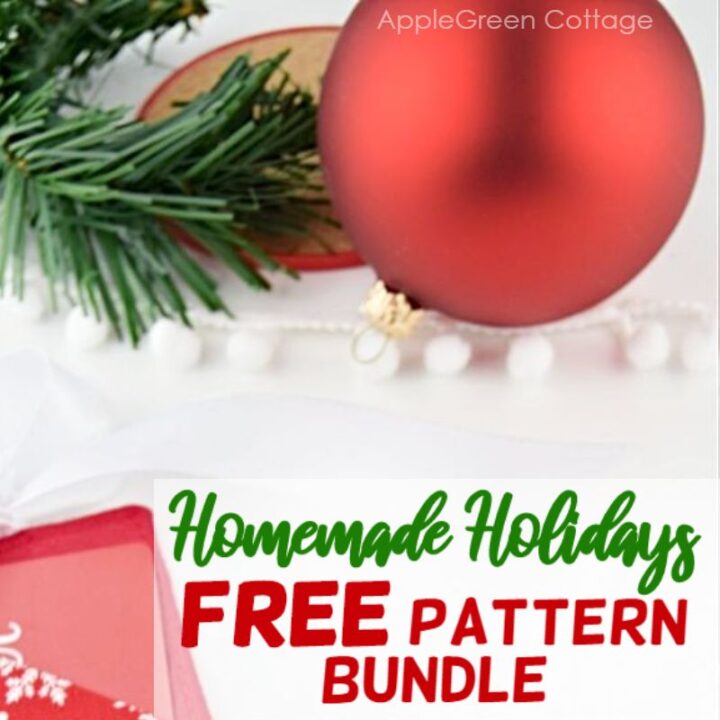
17+ sewing patterns to craft your own, cozy holidays!
WANT MORE FREE TUTORIALS AND GOODIES?
Get email updates and never miss out on new patterns, printables, and tutorials:
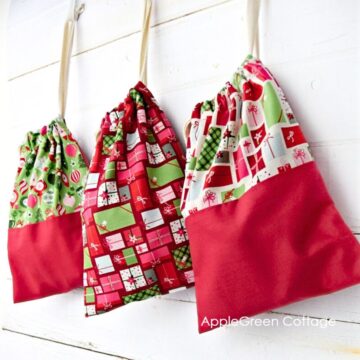
Or …check out the gift bag pattern in 6 sizes in our shop - a super easy no-corner-boxing sewing project. Reusable gift bags for all your future gifts!


Eva H says
I made a bunch of these advent calendars for my grandkids and grandneices and nephews. We renamed them "kindness" calendars. Each pocket contained an idea of a random act of kindness that the child can do for the day. We had to sets of note cards, one for preschool age children and another for schools age. They were a big hit!
Damjana Jakos says
Eva hi,
kindness calendars are such an amazing, heart-warming idea! Thank you for sharing,
Glenda Roy says
I made this Advent calendar last year, using iron-on numbers created with my printer and special iron-on transfer paper. I filled the pockets with tiny ornaments, home-made photo ornaments using pics from my daughter's and son-in-law's childhoods - a couple of them as magnets (now on their refrigerator!), small candies, small gifts - and even dog treats form my grand pup! It was fun to make, and I hope it will be refilled and used each year as part of their Christmas decor.