
See how to clip corners. This simple sewing tip will make your life easier and your sewing projects more pro-looking. Works every single time!

This post includes affiliate links. Thanks for your support. Are you here for useful sewing tips? These are a must-see too:
- All My Bag-Making Tips (FREE!)
- Guide All About Zipper Sewing (All My Tips!)
- the master guide for learning to sew
If you want nice, crisp and flat corners of your sewn bags, cases, and pouches - check it out! This simple sewing tip will show you how to clip corners, making your sewing projects more pro-looking. If you're looking for an easy way to reduce or even eliminate bulk when sewing corners (even when sewing with multiple layers!) - check out this easy, but very effective sewing tip.
So little work, but so effective that you might end up using this instead of the usual diagonal corner clipping. Works every single time!
How To Clip Corners
Now, do you like nice and flat corners on your sewing projects? I know I do. No lumps, please! Too much bulk in the corners will always result in an unsightly lump. No sewer wants bulky corners, especially because so little work is needed to take it all away.

Are you familiar with bulky corners like these? I know I am. But they are history now.
"I've had issues with lumps in the corners of my sewing projects for a long time. Especially when sewing tiny details, or with thick interfacing, I couldn't get the corner to behave as I wanted. Until I tried a new way of corner trimming. This one."
My first solution would be cutting the excess fabric at a straight diagonal line. But if you simply trim off your corner at a diagonal (one straight-line cut), chances are that you either won't cut off enough fabric, or you'll snip into stitches. None of those is good and defeats the purpose of corner clipping.

So, what to do instead?
Here's an easy solution to this problem: try trimming twice - snip a piece off on each side of the corner, at an angle. You'll see what I mean when I show you this image:

Trim each side at an angle from the corner point.
Later, when you turn your fabric right-side-out, you'll surely notice a difference. Make sure you push out the corner using a pointy, but not sharp object to get just the right form. Now, press. How does it feel? No lumpy part in the corner. How great is that! Congratulations, you're slowly turning into a pro!
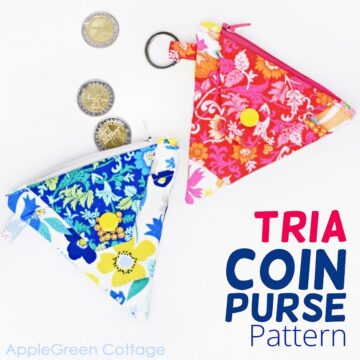
While it works nicely for the usual, right-angle corners, it is a must for me when sewing at an angle less than 90 degrees, like the TRIA Coin Purse:

The double trimming works great with acute angles like this one. And the result? This:
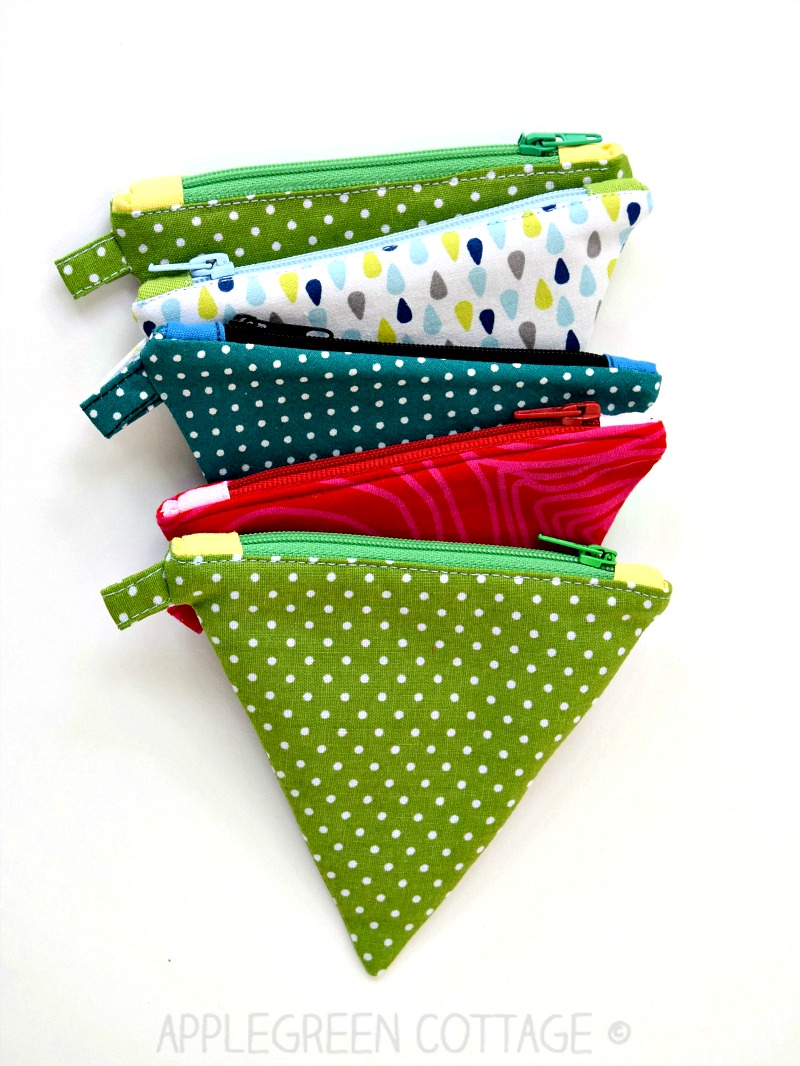
Sharp and crisp pointed tips. Every single time. Without using this tip, I am practically unable to make a nice, crisp and sharp point on this tiny coin purse. You can make your own if you like (Here's more about my TRIA coin purse pattern if you'd like to check it out.) I've included several additional sewing tips in the pattern instructions to make the project super easy and fun.
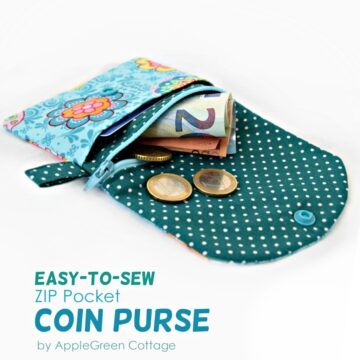
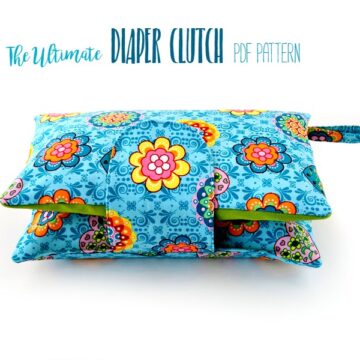
This corner trimming trick will work with or without interfacing. You can use it on many projects, nearly all my patterns use it, including some of the most popular ones:
No matter if a piece of fabric is interfaced or not, this tip will make your life easier and your sewing projects more pro-looking. You'll never go back to a simple diagonal corner clipping once you start trimming your seam allowance this way! And you'll be less likely to cut into stitches.
Less fabric in the way and less bulk - meaning nice and flat corners. Perfect!
WANT MORE FREE TUTORIALS AND PATTERNS?
Get email updates and never miss out on new patterns, printables, and tutorials:
Or …check out my latest PDF pattern in the shop - the SILA Duo Zipper Bag pattern. Two patterns in one, see more here:


Granny Suzy says
This will work even better: Shorten your stitches to approx. 1.8mm starting about 1/2 in from the corner. Stop stitching a hair's breadth before the point, pivot and sew one tiny stitch ACROSS it, pivot again and continue for another 1/2 in before reverting back to your standard stitch size. No, I am not nuts! Do your trimming carefully as usual and when you turn it using your pointy thingamajig, you'll have a very nice neat, sharp corner tip. I've been doing this for years; it works beautifully.
Liane says
I have an another way too. I use pinking shears. I cut the different angles like you but I use the indent of one of the teeth of the pinking shears directly above the corner. Because of the angle of the teeth it gets very close to the whole corner not just the tip.
Damjana says
Liane hi,
an excellent idea!
Sandy says
Your patterns are great. I like your tips also. I also clip my corners the same way you do, and I trim away the excess
batting. The batting also makes the corners bulky.
Maureen T says
Excellent tutorial. To me I wonder how I could have missed this idea. Glad to have found your tutorial. Thank you
Damjana at AppleGreen Cottage says
Thank you, Maureen!