
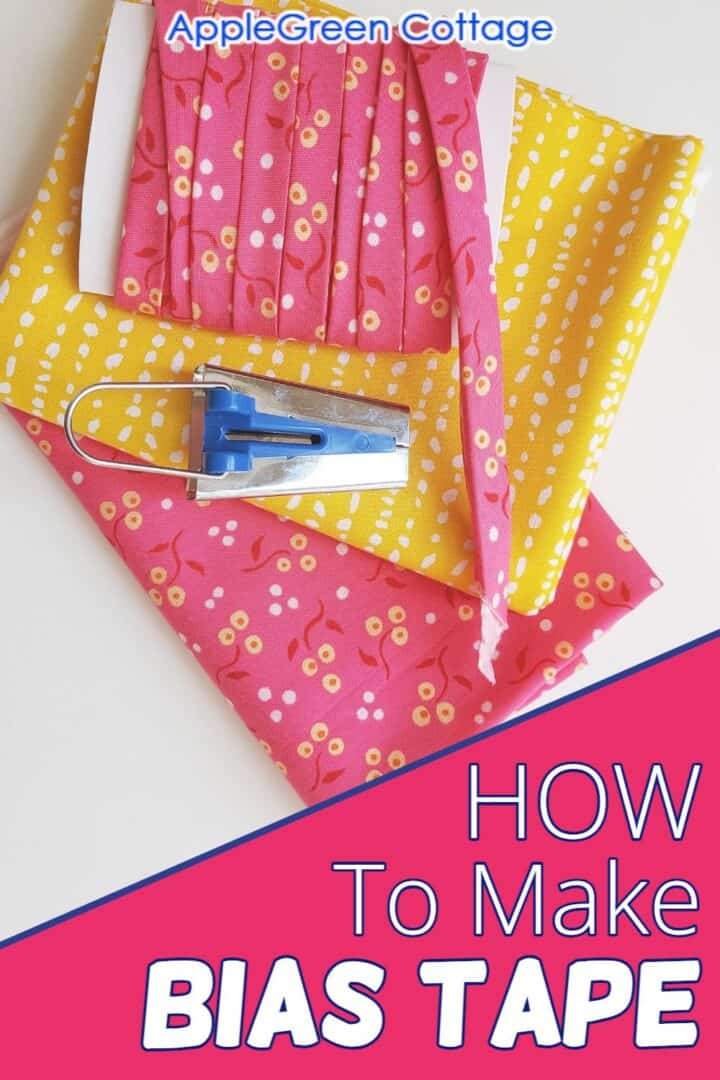
See how to make bias tape from fabric that YOU choose. Easy, quick, and so much prettier than store-bought!
With just a fat quarter of quilting cotton, you can make several yards of half-inch wide double-fold bias tape. See how.
Why you'll love homemade bias tape:
- make any width (and length!) of bias trim that you want
- just a little fabric will give you plenty of bias binding yards!
- for DIY bias trims, it's YOU who gets to pick the fabric
- it's easy - come see!
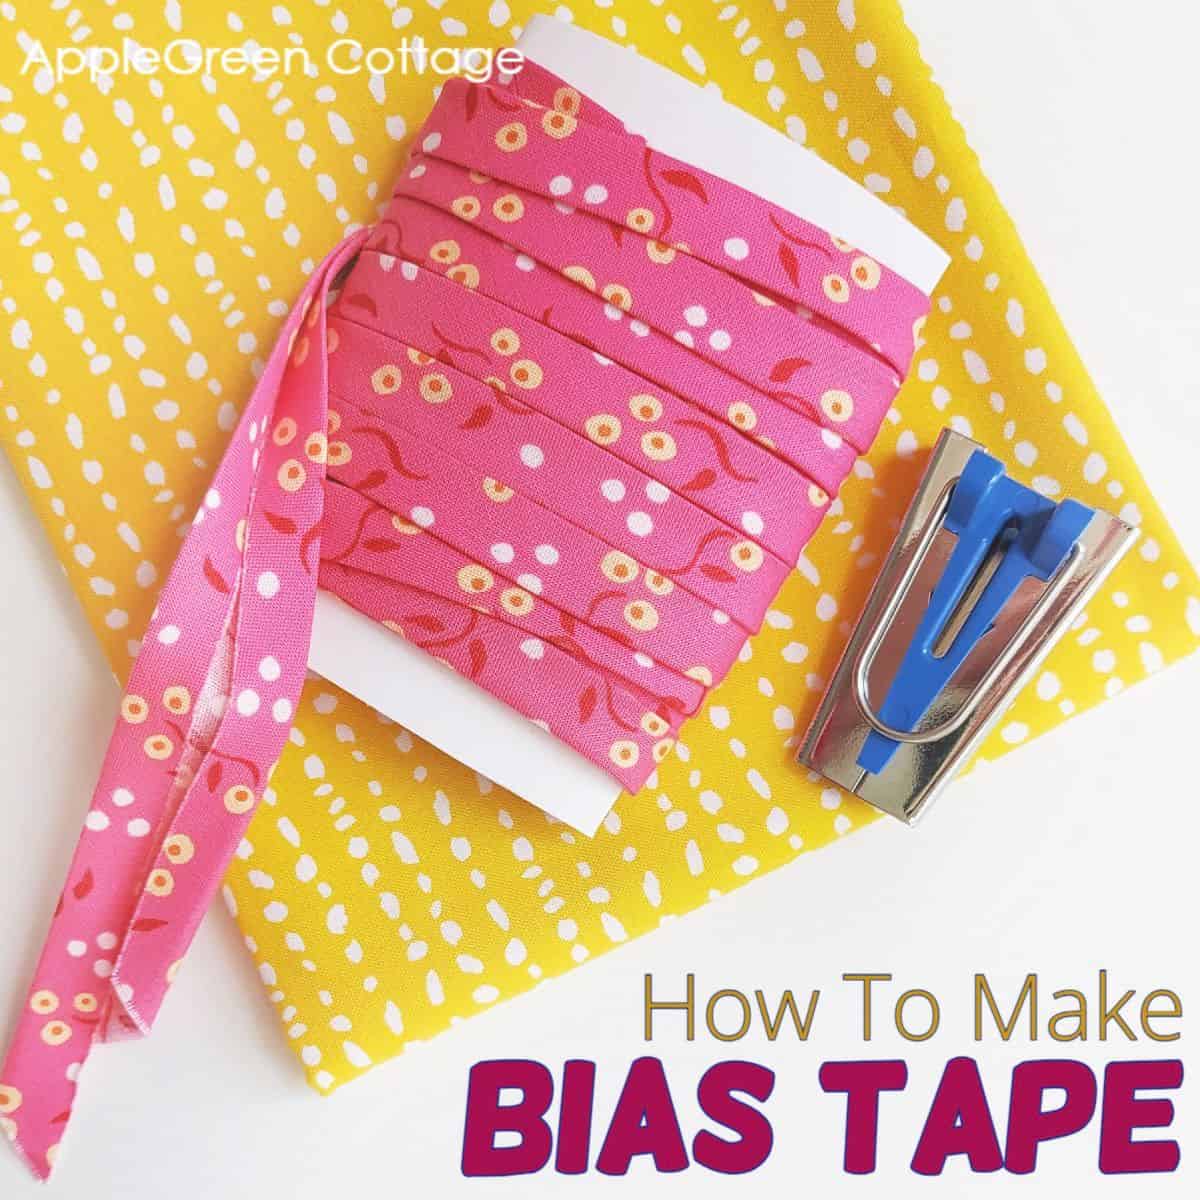
Table Of Contents
Ever gone to a store to get bias tape, only to find a few boring, solid colors - and not even the width that you need? I've been there. Instead of spending too much time looking for an appropriate width, length, and color of packaged bias trims, why not make your own? (Yours will look so much better anyway!) See how you can make your own single-fold or double-fold bias tape quickly and easily - but first, two basic things explained if you're new to this topic:
What is Bias Tape?
Bias tape is binding made from fabric strips cut on the bias (a 45-degree angle to the fabric's warp and weft threads). Why is bias tape cut on the diagonal? This diagonal cut provides stretch, reduces fraying, and results in a professional finish for sewing projects.
NOTE: here's how to sew bias tape on curves.
What is bias tape used for in sewing?
Single-fold bias tape is used to finish raw edges inside garments, while double-fold bias tape is used on visible edges like quilt bindings, apron edges, necklines, and armholes.
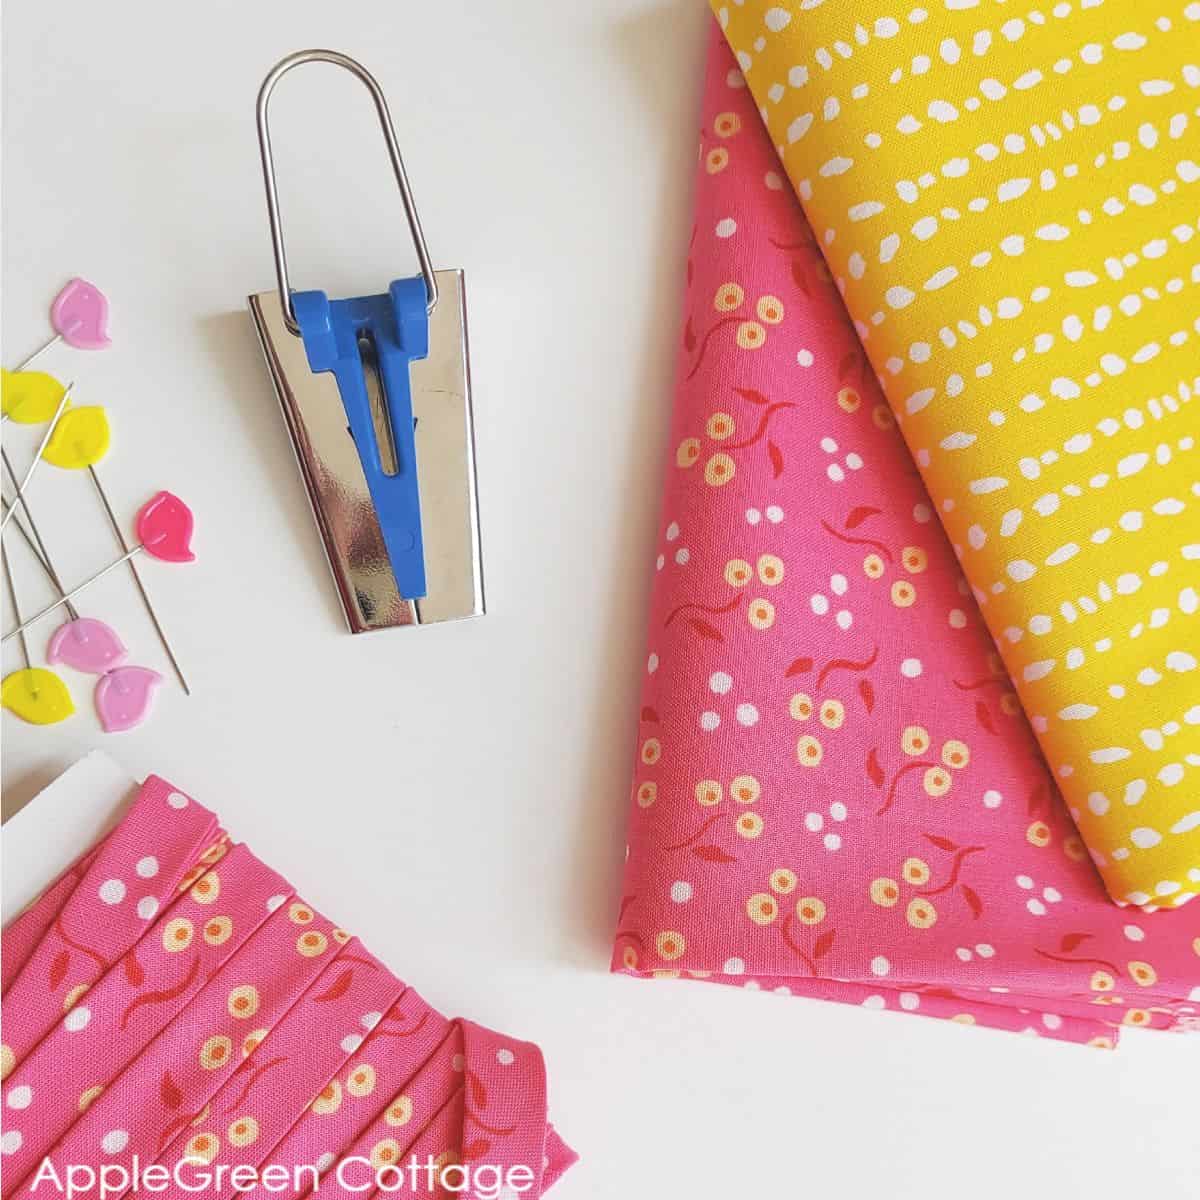
Supplies
Shop my personal favorite sewing supplies on Amazon HERE.
- 1 fat quarter of fabric
- rotary cutter and a cutting mat - or scissors
- a long quilting ruler
- pins, iron
- bias tape maker (I used the 1" on Amazon)
What size Bias Tape Maker do you need?
TOP TIP - What Bias Tape Maker Size to Choose: The width indicated on the bias tape maker refers to the finished single-fold bias tape, not the width of the fabric strips you'll insert. So I used my blue, 1" size, I had to cut 2" strip to end up with a ½" width double-fold bias strip.
I bought my bias tape maker off Amazon years ago, and that in a set, because I didn't know how to decide on the size I needed. Those markings were so confusing! This table shows you what width of fabric goes in which size tape-maker to produce which size of DIY bias tape.
| CUT strips | USE Bias Tape Maker Size (=single-fold tape finished width) | Finished DOUBLE-FOLD Bias Tape |
|---|---|---|
| ½" | ¼" (6mm) | |
| ¾" | ⅜" (9mm) | |
| 1" | ½" (12mm) | ¼" |
| 1 ½" | ¾" (18mm) | ⅜" |
| 2" | 1" (25mm, mine, blue!) | ½" |
Bias Tape Making Video
See a video on cutting fabric on the bias, sewing the tape, and folding into bias tape. (Disable your ad blocker if you can't see the video here)
How to make bias tape - STEPS
This is the original, strip-piecing bias tape technique. No frills, simple and easy:
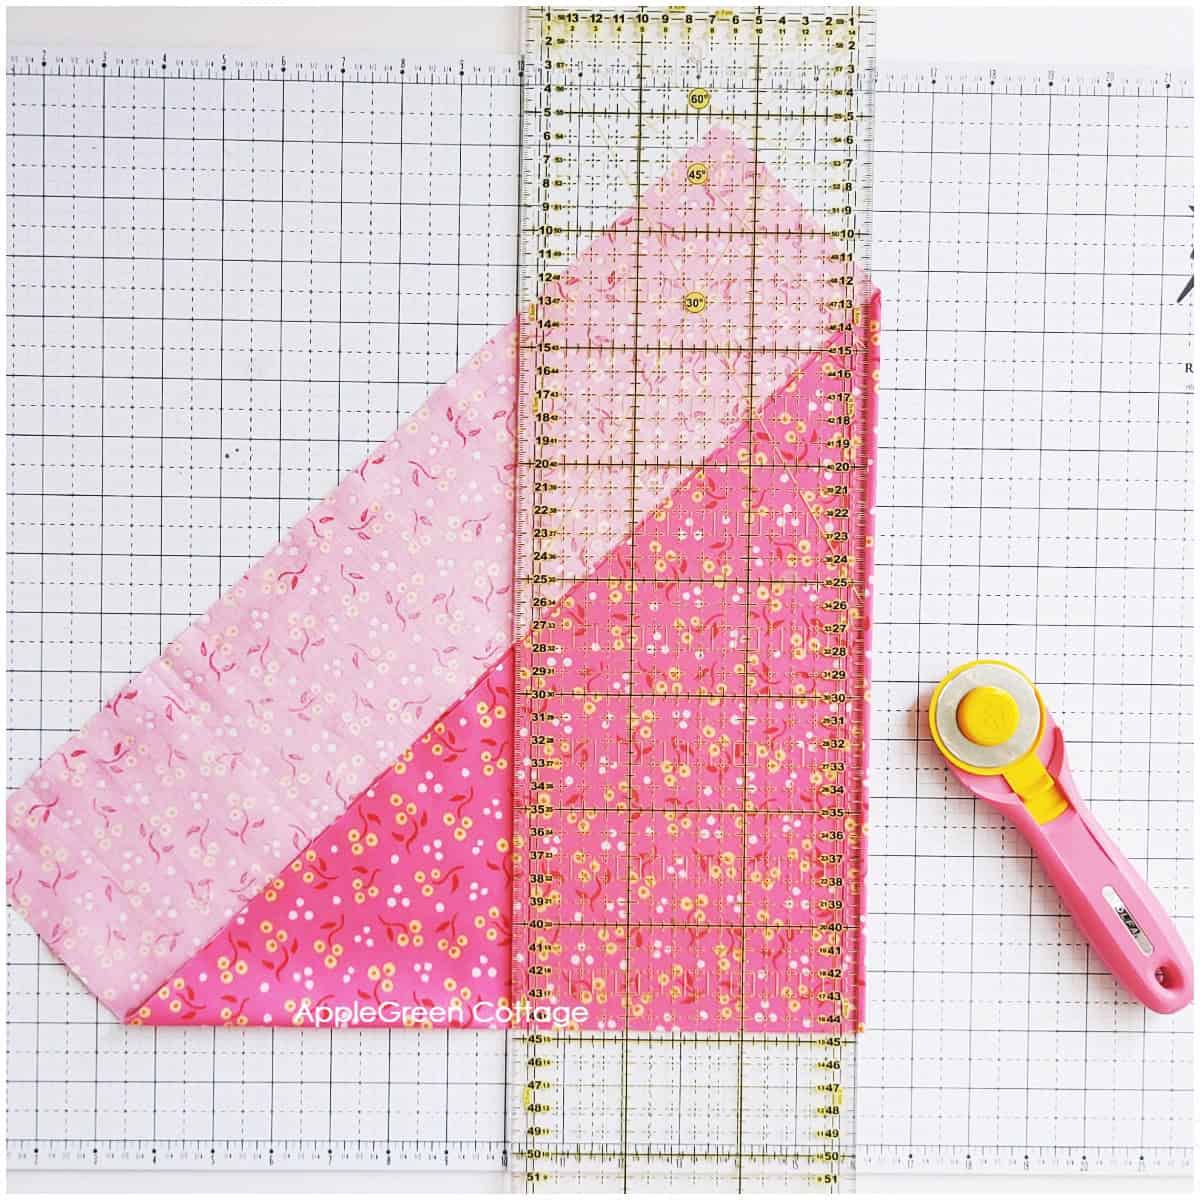
Step 1 - Press and Fold Fabric
Pick a fabric that fits your project. Press it to remove wrinkles.
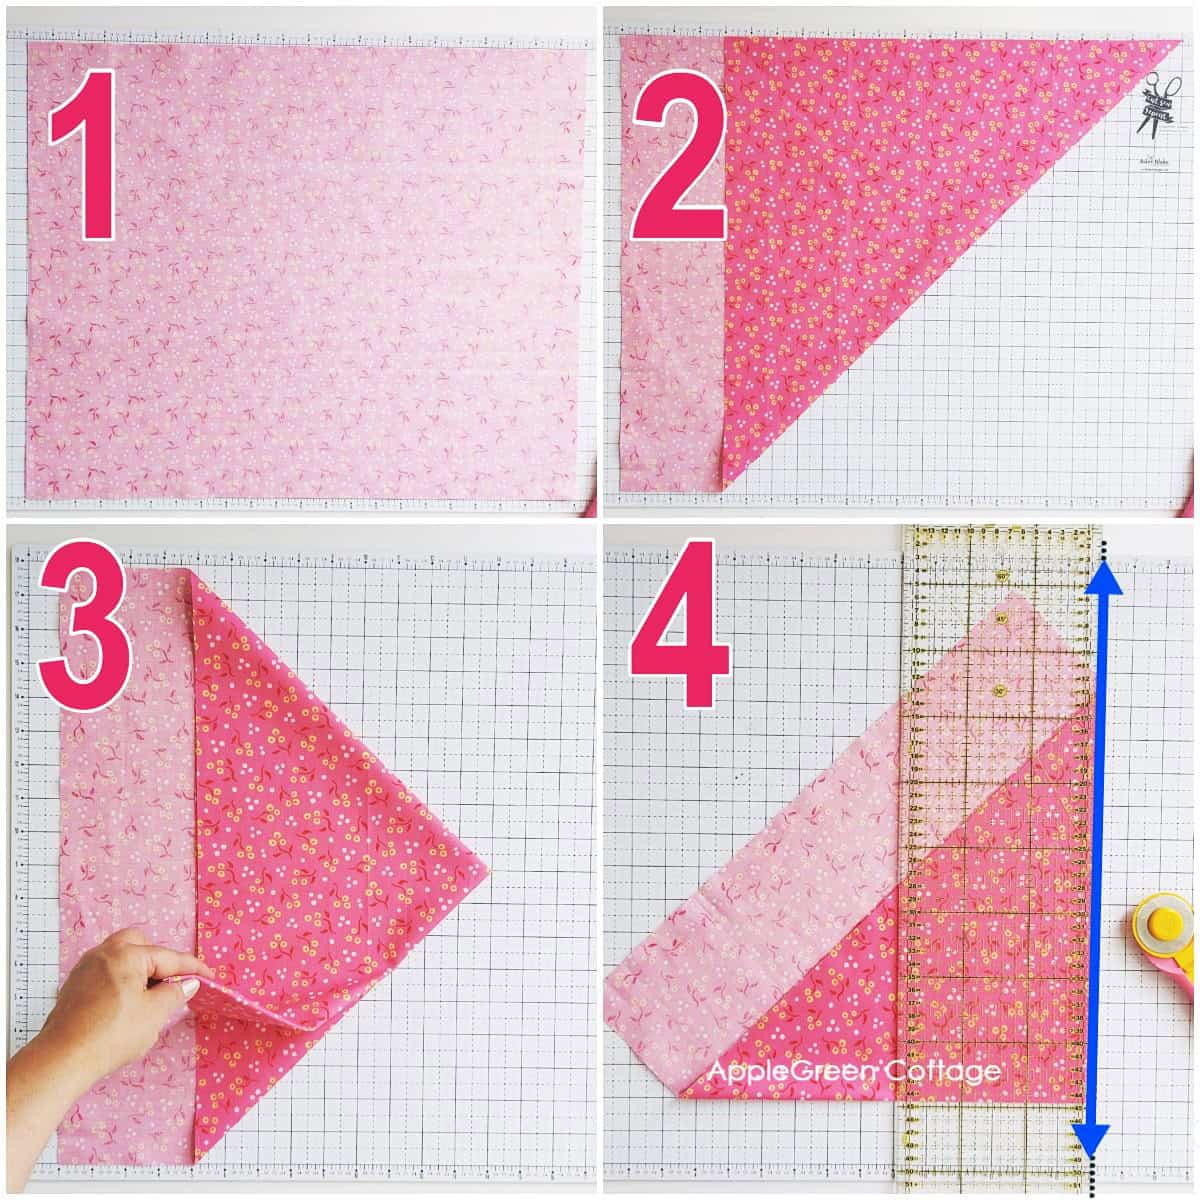
- Lay out the fabric face down.
- Grab one corner and fold it up to the cut edge, creating a 45º angle.
- Fold the other corner down on top of the first fold. Cutting goes faster this way!
- Rotate the fabric to line up one folded edge with the cutting mat's vertical guide.
Step 2 - Trim off the fold
Once your folded edge of the triangle is aligned with the cutting mat guide, cut off just a bit of the fold to get a clean edge.
Step 3 - Cut Bias Strips
Now, see how to cut fabric on the bias:
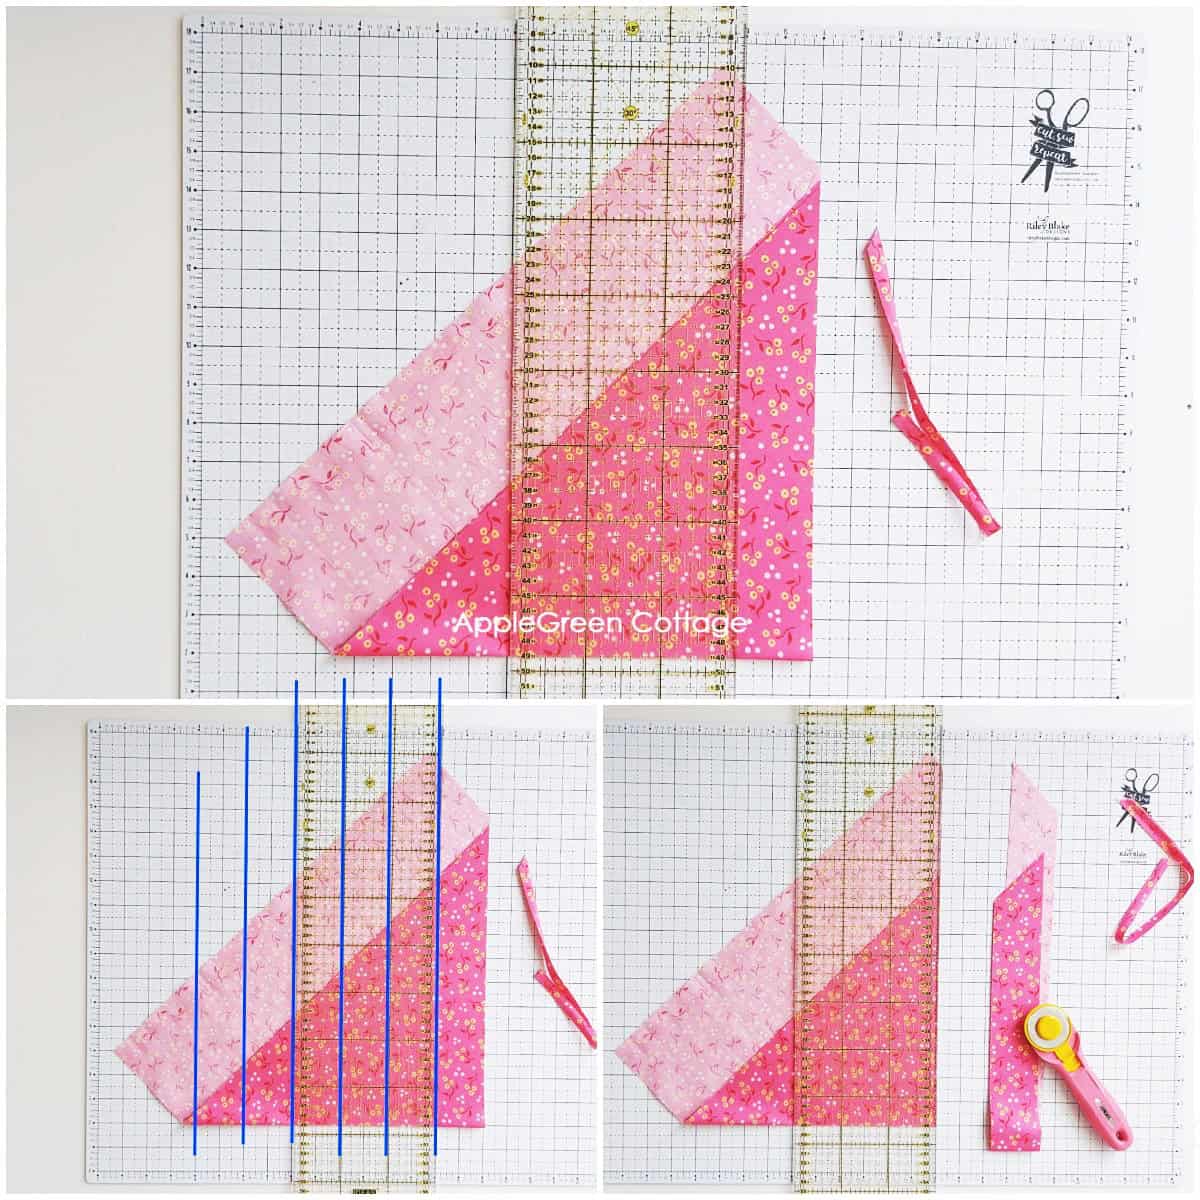
Lay the fabric flat. Use a ruler to mark and cut strips of equal width along the bias. You'll be cutting two strips at a time.
I cut my binding 2" wide for ½" double-fold bias tape. Depending on how wide your bias tape needs to be, choose your own strip width.
TIP: How wide to cut strips for bias tape?
For single-fold bias tape, cut the fabric twice the finished size. For double-fold bias tape, cut the fabric strips four times the desired finished size.
Step 4 - Join the Strips
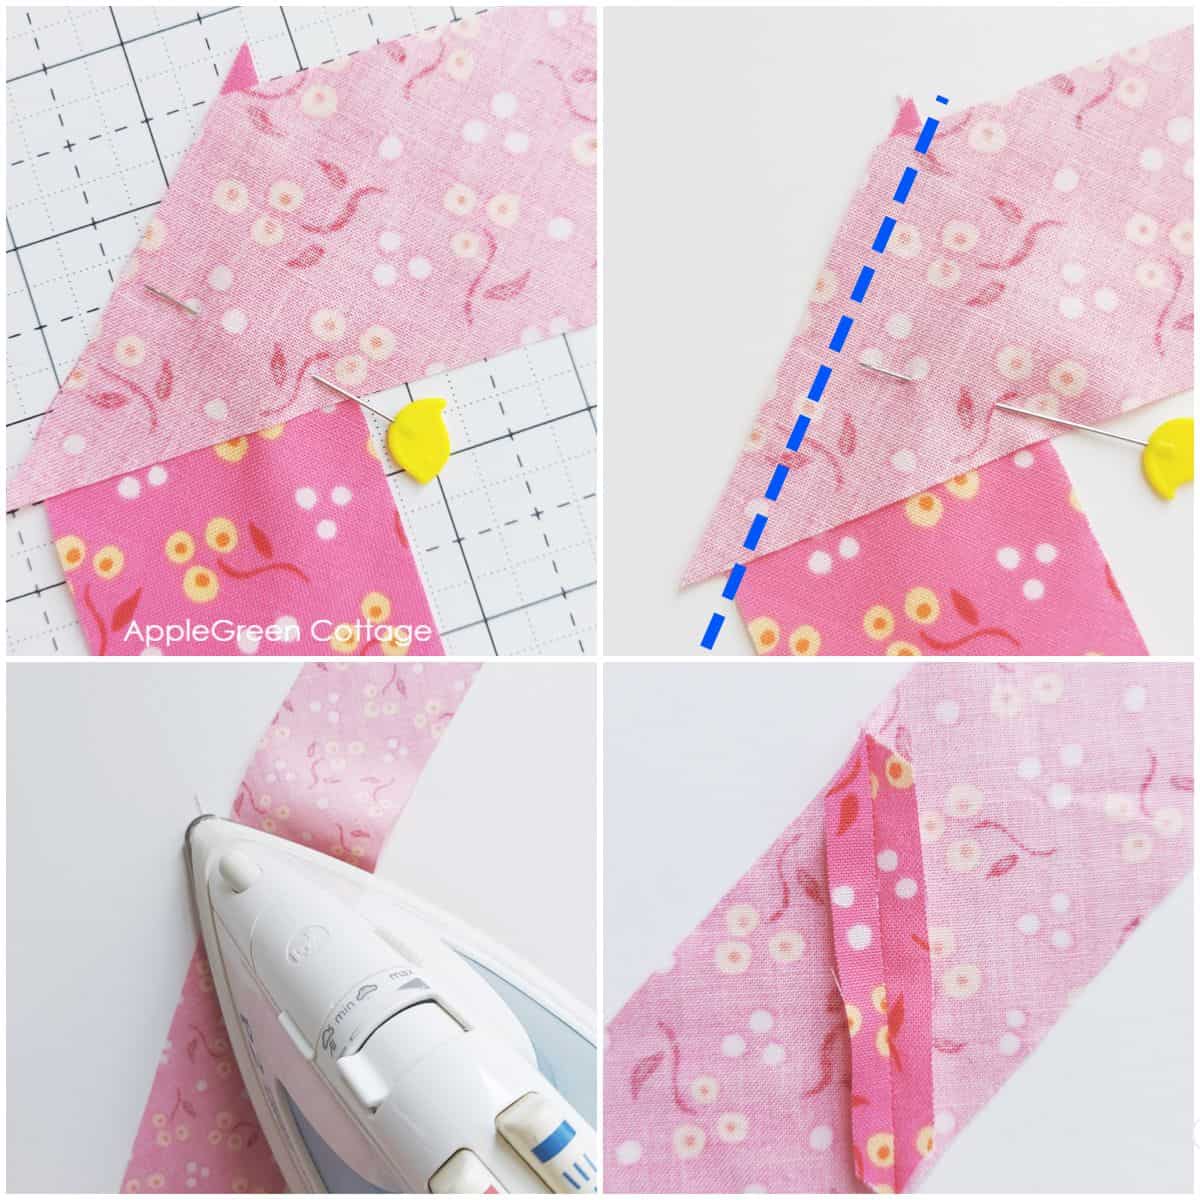
Now we'll sew the pieces together to make them the right length:
- place two strips right sides together at a 90-degree angle - line them up so the slanted edges intersect.
- Stitch across, using a ¼" seam allowance.
- Press the seam open.
- Trim the excess down.
Join more strips until you have enough length of the bias tape.
Step 5 - Fold the Bias Tape
Here you'll need to decide between a single-fold or a double-fold bias trim: for single fold, fold each long edge to the center and press. For double fold, fold the tape in half again and press: the folded edges meet and no raw edges are visible. The next step will show you how.
TOP TIP: While it's possible to fold the strip without any tools (same as making bag straps) using a bias tape maker will make it easier - and ensure consistent folds.
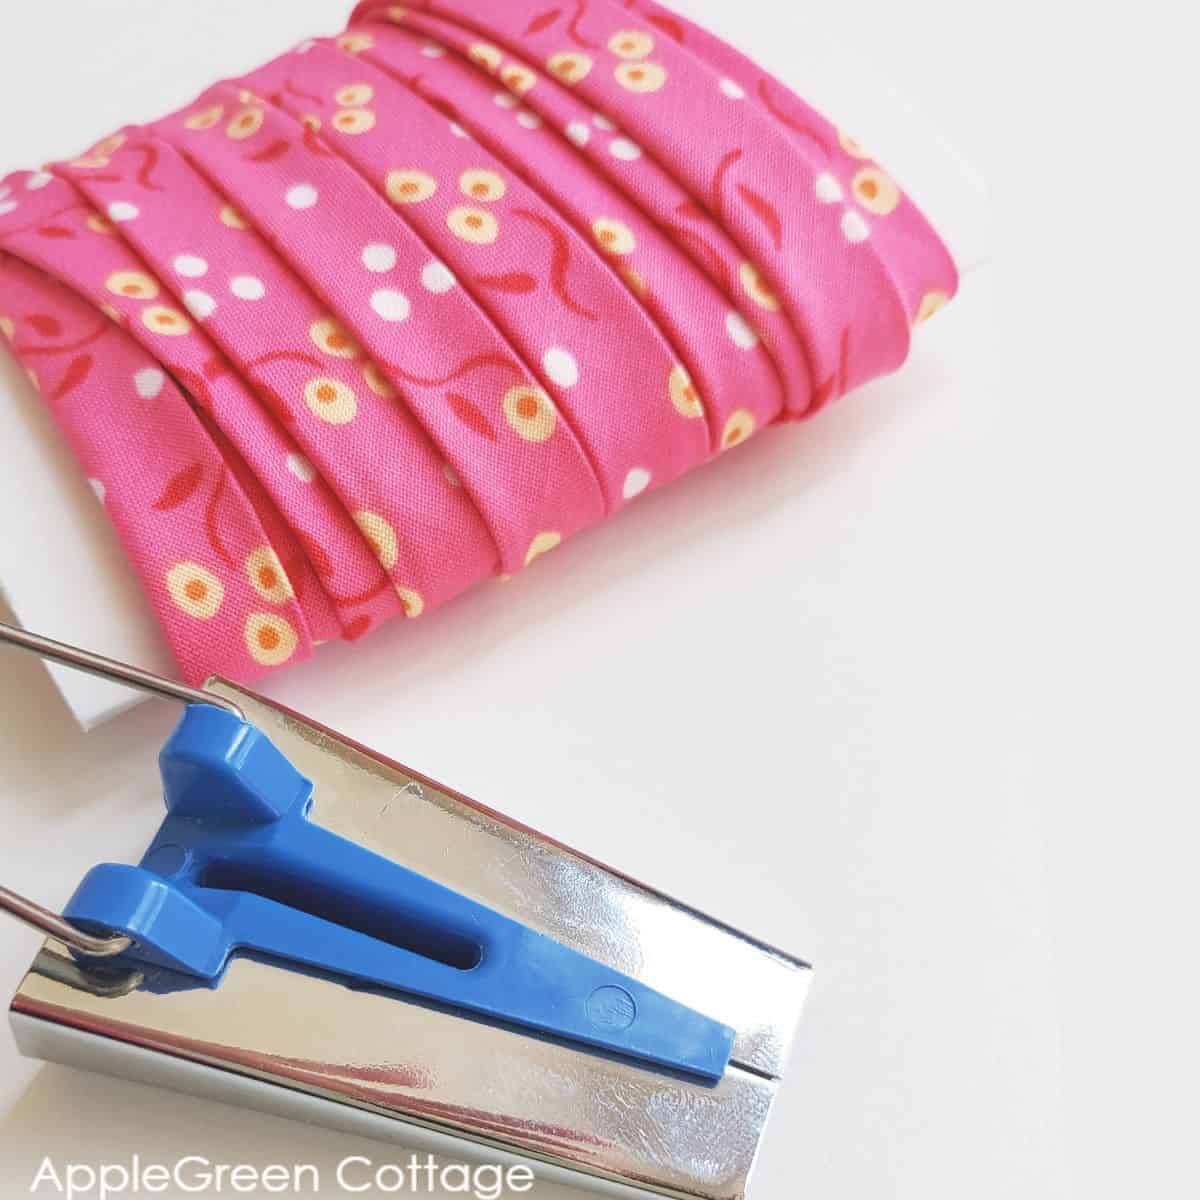
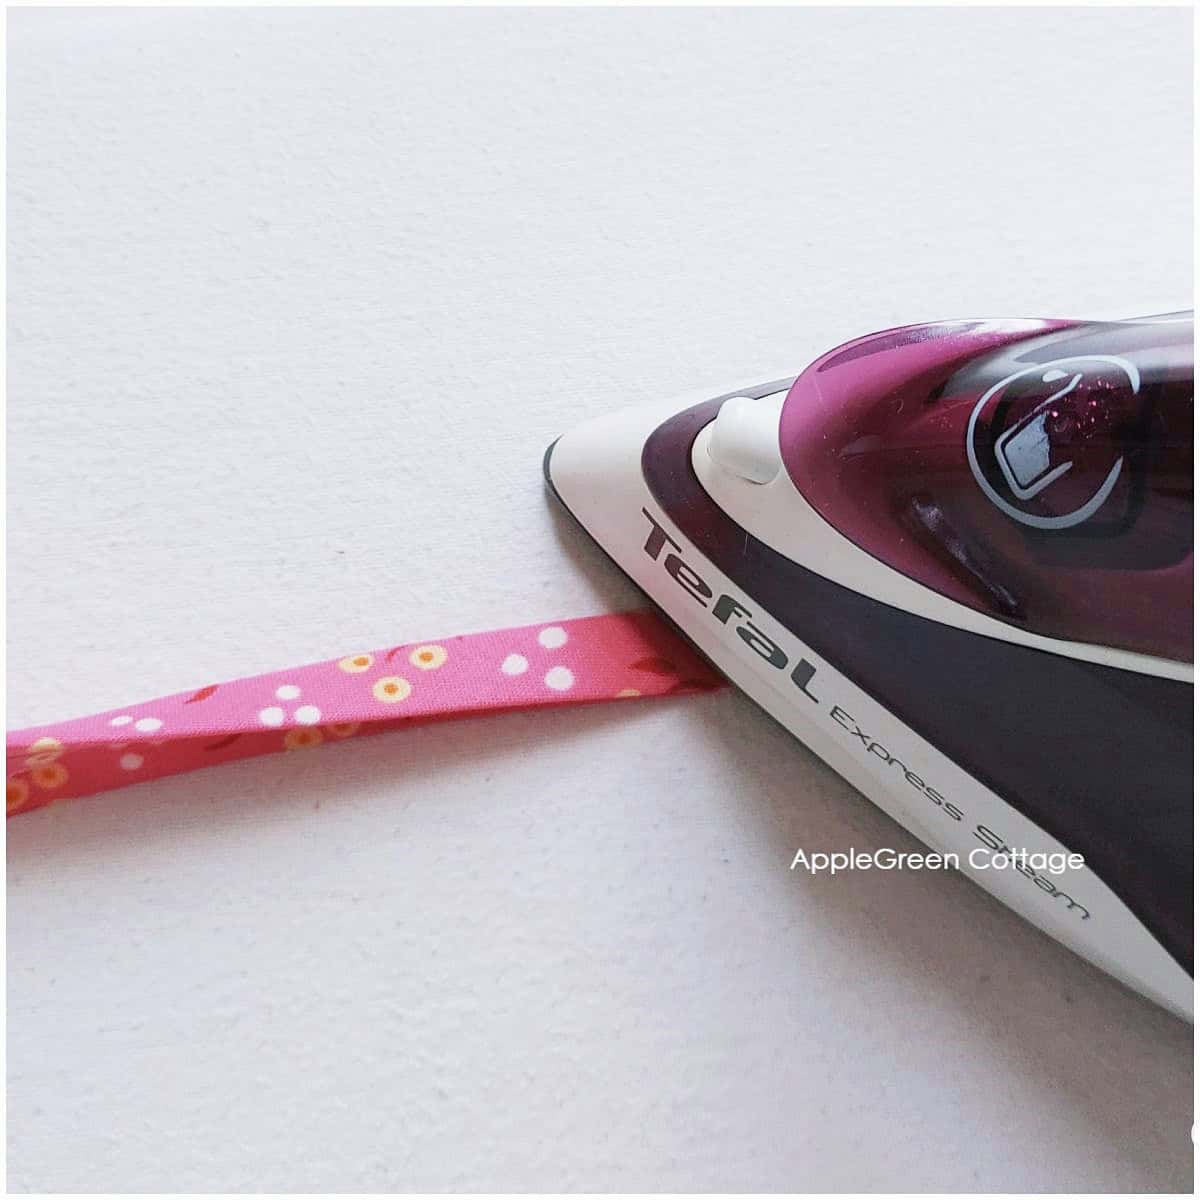
Step 6 - How to use bias tape maker
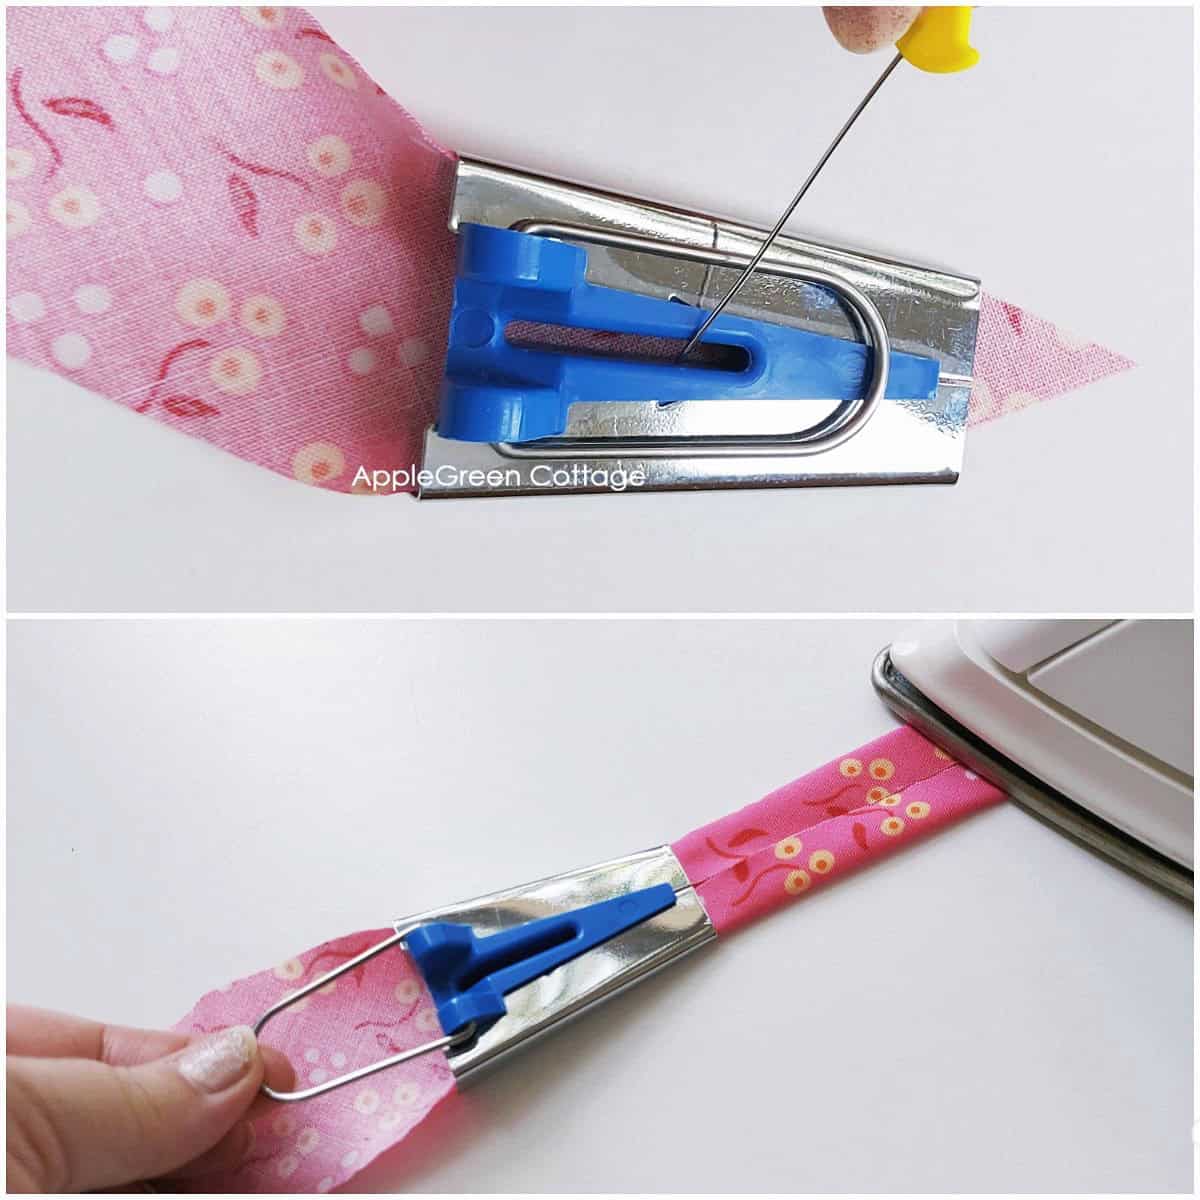
Let me show you how to use the bias tape maker (I got mine on Amazon)- it's so simple
- I just cut a 45-degree angle on one end and slide the fabric into the bias tape maker,
- moved to the ironing board,
- then slowly keep pulling on the metal lever with one hand,
- and followed with the iron in my other hand, to fix the fold.
TOP TIP: I use a pin to push the fabric end into the bias tape maker - there is a groove at the top side of the bias-tape maker. (Or use an awl.)
This is the result:
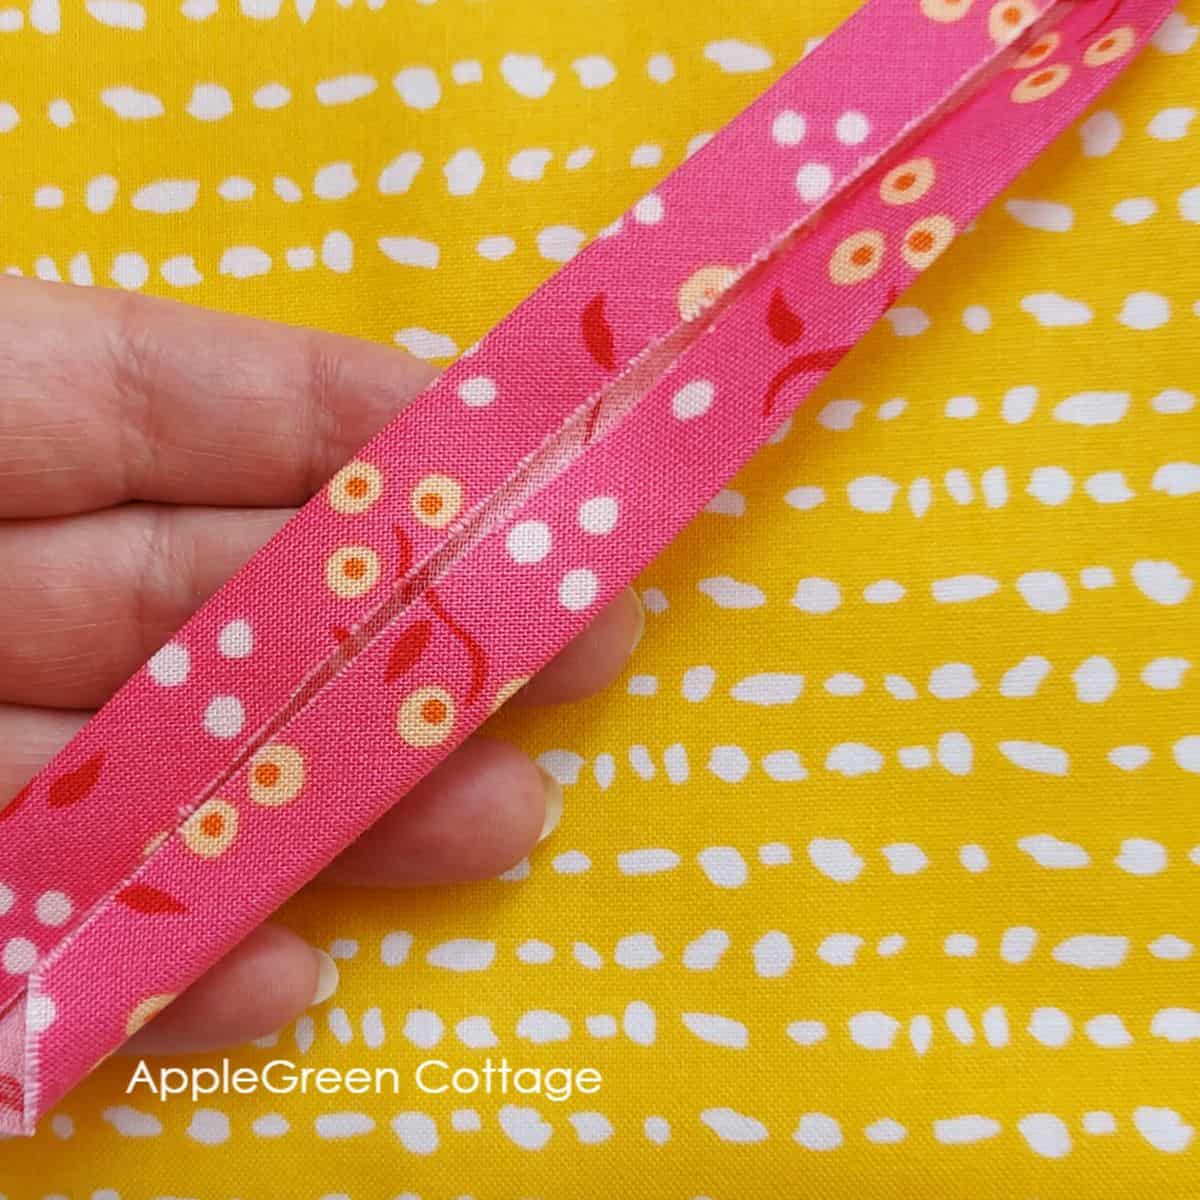
You can stop here, or fold the strip again, making the raw edges invisible from the outside:
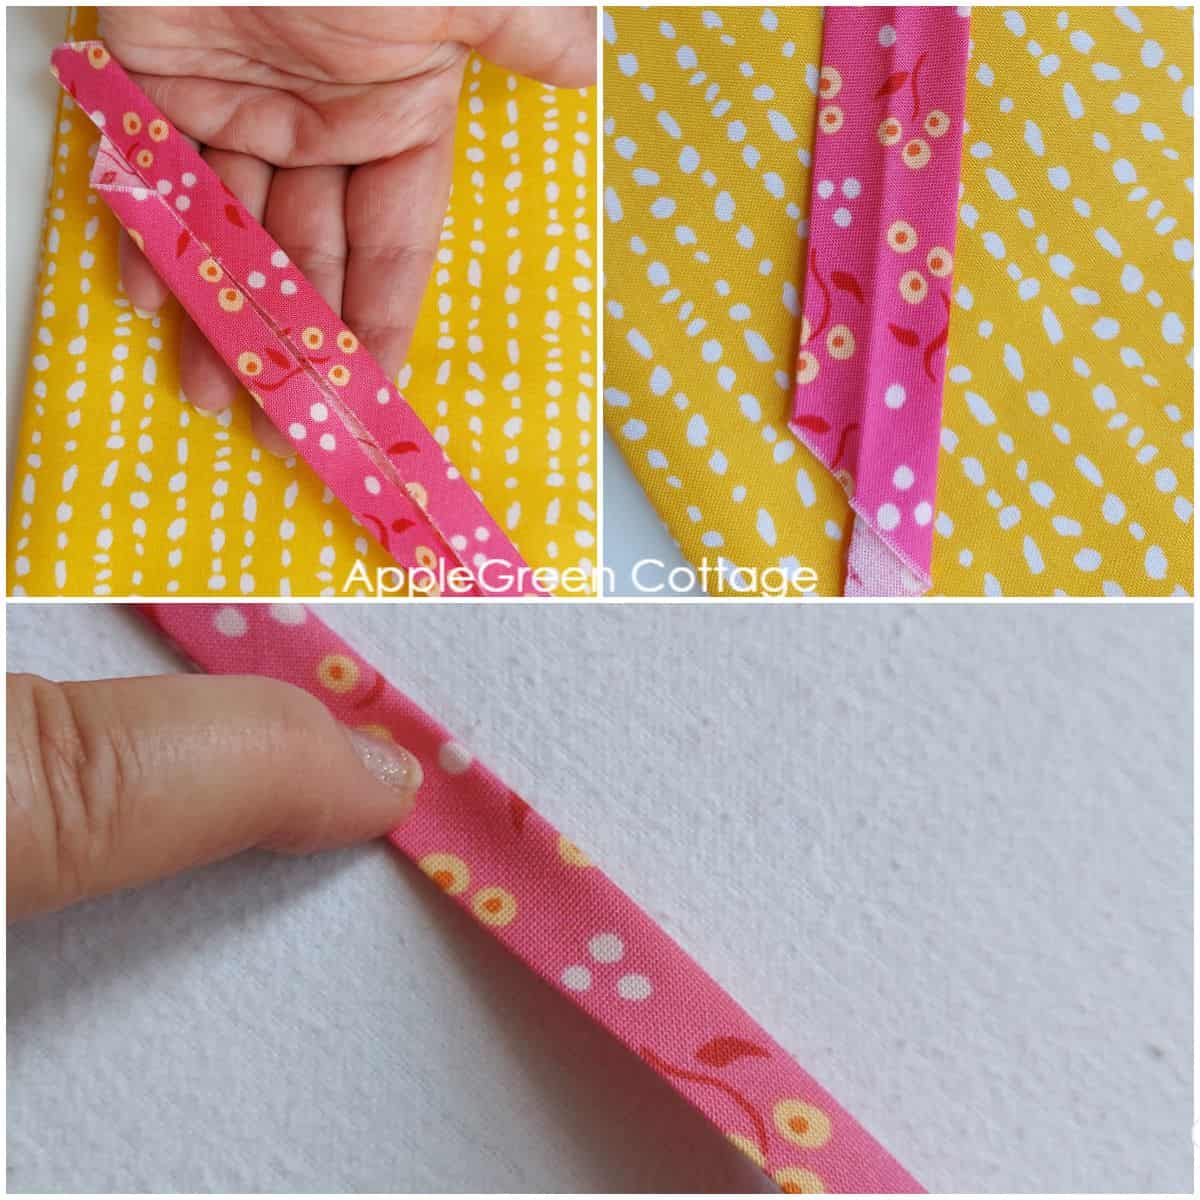
Optional Step 7 - Fold again and press
This is the only step needed to turn single-fold into a double-fold tape. Done! To store it, I use some cardboard to wrap it around, neat and simple!
How to make continuous bias tape
You must have heard of an option to make continuous bias tape without having to piece multiple strips together. This method saves you time, as you only need to stitch two long seams instead of the many short ones. On the other hand, it does require marking out all your lines before cutting. Also, I don't like cutting through all the fabric using my scissors, so this way is not my favorite. I'm giving you a quick how-to just to give you an option:
Continuous Bias Tape Steps
- Step 1: Cut a square piece of fabric, then cut it in half diagonally, along the bias.
- Step 2: With the right sides together, pin the two triangles together at either of the straight sides (not the diagonal side). Stitch the two pieces together using a one-quarter seam allowance.
- Step 3: Open up the fabric pieces and press seam open. What you have now is a parallelogram.
- Step 4: Starting at the edge of the fabric, mark 2" lines with a pen, pencil, or fabric marker. These diagonal lines will be parallel to the fabric edge and will be drawn on the wrong side of the fabric. No cutting yet! Also, mark a ¼" stitching line on each short end of the fabric piece (these 2 will be at 90 degrees to the other lines)
- Step 5: With the right sides together, fold the narrow edges lengthwise to make a small square.
- Step 6: Once folded, offset the 1st row and pin in place. Then, match up the rest of the lines and pin. You will be sewing these pieces together t ¼″, so be sure to match the lines at the seamline (¼″ in from the edges) not at the raw edges.
- DETAIL: You should now have a tube-like shape with 2" of fabric offset at each end. Sew a ¼″ seam. Press the seam open.
- Step 7: Starting at the first offset row of drawn lines, cut until you reach the end.
- Step 8: Pull your continuous bias tape strip through your bias tape maker and press the folds with your iron.
What is the difference between bias tape and bias binding?
Simply put, the difference is in the fold: once you've cut and assembled the fabric strip on the bias, you can simply fold it in half along the entire length. This is bias binding. (talk quilts with rounded corners!) If you, however, fold the two raw edges towards the center and fold it agin, you get a double-fold bias tape. Simple!
Often, the two terms are used as synonyms.
Projects To Use Bias Binding
Primary on the inside of apparel - for necklines, armholes etc. Also, potholders, hanging towels, to create neat edges on raw fabric - especially on curved edges. Also for decoration, and sometimes on quilts - though I prefer to make my own quilt binding for those, they just turn out better for me.
Another big use for me, on any raw edges in bagmaking. I prefer turned bags to bound linings, but sometimes, opting for a double-fold bias tape on bags will simplify your sewing process a lot! (Like this sling bag pattern with seam binding, for example)
Single Fold Bias Tape or Double Fold Bias Tape?
What is single-fold bias tape?
Single fold bias tape is a strip of fabric that is folded once on each side towards the center. When laid flat, single fold bias tape shows two raw edges folded towards the center crease.
Often used to finish raw edges on the inside of garments or projects where the tape won't be visible.
To apply single fold bias tape, align one raw edge with the edge of your project, sew in place, fold it over the edge, and then sew again to enclose the raw edge.
What is double fold bias tape?
Double-fold bias tape is essentially single-fold bias tape that has been folded in half again along the center crease. This is why it's narrower than single fold bias tape.
It is used for binding the edges of projects where the tape will be visible: quilt bindings, apron edges, and neckline finishes.
To apply double fold bias tape, slip the edge of your project into the fold of the tape, pin in place, and sew along the edge to secure both sides of the tape. A photo step-by-step for this is under way, stay tuned!
What is the difference between single-fold bias tape and double-fold bias tape?
Simple. When you fold your fabric strip once on each side towards the center, you get single-fold bias tape. If you fold it again, it will become half the width - and this is the double-fold bias tape.
Comparison Table:
| Single Fold Bias Tape | Double Fold Bias Tape | |
|---|---|---|
| Construction | Folded once on each side towards the center. | Folded in half again along the center crease. |
| Appearance | When laid flat, it shows two raw edges folded towards the center. | Narrower, thicker, due to additional fold. |
| Common Uses | Finishing raw edges inside garments. Projects where the tape won’t be visible. | Visible edges like quilt bindings, apron edges, necklines, and armholes. |
| Application Method | Align raw edge with project edge, sew, fold over, and sew again to enclose. | Slip project edge into the fold, pin, and sew to secure both sides. |
FAQ and Troubleshooting
A standard set like this one on Amazon includes these sizes: ¼", ⅜", ½", ¾", and 1". These markings show the width of single-fold binding tape. See the tutorial above to see all markings, for double-fold tape too.
You'll need a 1" blue bias tape maker to process a 2" strip of fabric, giving you a 1" single-fold bias tape, or a half-inch double-fold bias tape. However, I mostly use a different type, this DIY quilt binding to bind quilts.
Sometimes, a piece of fabric you have is not a regular rectangle. In this case, you'll need to find where the grain of the fabric is, to know how to cut it. This is how: hold the fabric up to the light, and you'll notice the direction of the weave. If that is not helpful, try pulling on the piece and seeing which direction stretches the most. That is going to be the angle you want to cut the bias strips on.
When you want to figure out how much bias binding you need, see the measurements of your project, and add at least 10 inches more than the perimeter of the project you're working on. This will make sure that you don't run out of your bias binding.
Are the seams where bias binding strips are joined bulky? Always sew strips together at a 45-degree angle to distribute bulk evenly. Trim the seam allowance to ¼ inch and press open. This creates a smoother, no-bulk seam.
Make sure to cut your fabric strips precisely on the bias - that is, on a 45-degree angle. Also, make sure to press the fabric piece before cutting to make straight cutting the strips easier.
Ensure you are not stretching the bias tape while sewing. Pin or baste the tape in place before sewing to keep it aligned correctly. Also, a steam iron to press the tape flat helps!
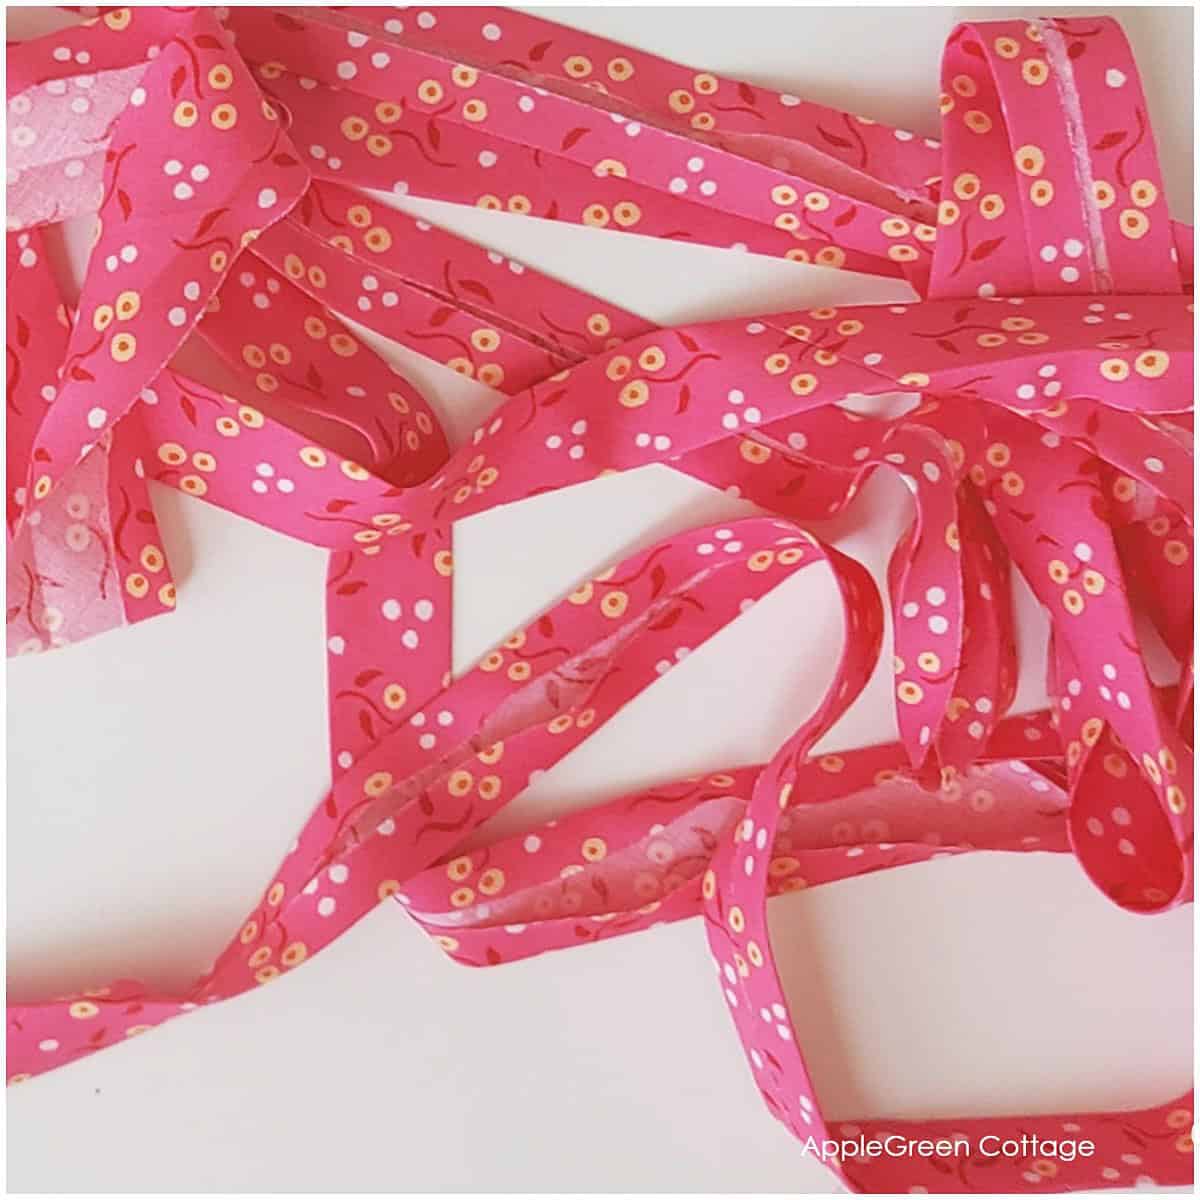
Now, were you a little scared by the idea of making bias tape before? I hope you no longer are, - and now that you know how to, you'll be making bias tape in no time!
You know what's the best thing for me, about making my own bias tape for sewing? All the bursting colors, and the unique prints I can use!
Next tutorial, I'll show you how to attach it. Share with your sewing friends who could use some binding help!

Join the FREE 7-part email course and make 6 beautiful items for your home! You'll love it!
WANT MORE FREE TUTORIALS AND PATTERNS?
Get email updates and never miss out on new patterns, printables, and tutorials:


Leave a Reply