
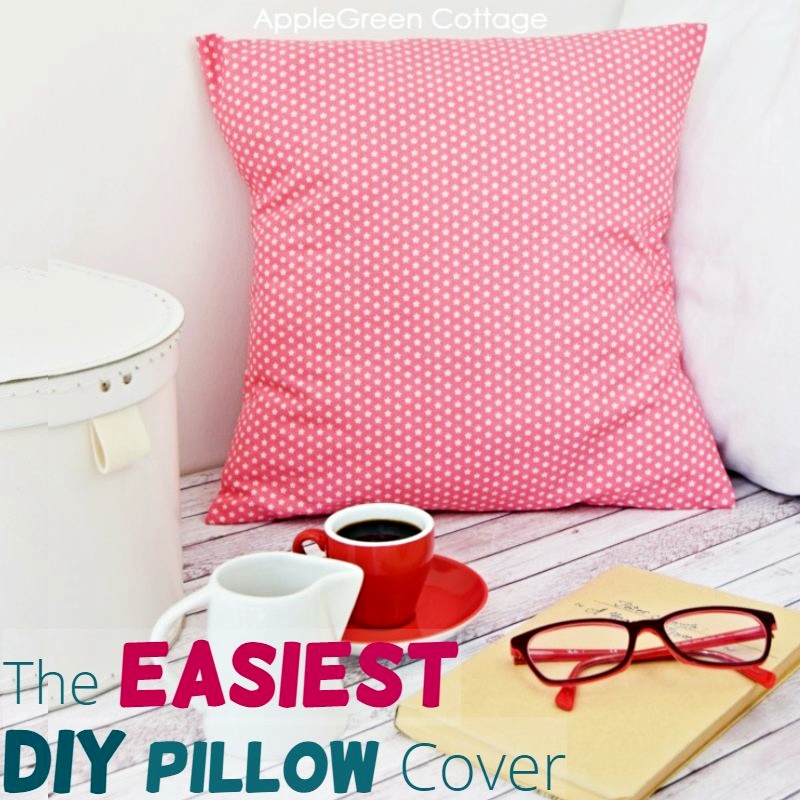
Learn how to make a pillow cover the easy way. That's like 15 minutes of a sewing beginner's time, one single piece of fabric, no zipper, no buttons, nothing except 4 straight seams.
Change up your pillows and you've got an easy living room makeover. Maybe toss in a few of my round storage bins in matching colors (more here), and your home is perfect.
Check out how to sew throw pillow covers - the easiest diy pillow cover ever!

This tutorial is also part of Printable Tutorials BUNDLE
100 PDF tutorials now, and growing!
Looking for more things to sew for home? This tutorial is part of the SewPretty HOME series - it's free:

Join the FREE 7-part email course and make 6 beautiful items for your home! You'll love it!
How to Make a Pillow Cover Tutorial
Back to the diy throw pillow covers - if you're just starting to sew, and have been wondering how to sew throw pillow covers, you're on the right track. These just might be the easiest thing I've sewn in years! It's a super-easy sewing project that will probably not even require 15 minutes to complete.
Now, let's be clear about what I mean by super-easy: it's folding a single piece of fabric and sewing 4 straight lines. That's it.

Now, if you've never before sewn a thing, this is your chance to try out the simplest straight stitch and see how to make a standard pillow cover with an envelope-backed closure. Easiest of all.
The front of the pillow has the same fabric as the back of the pillow, the only difference being a neat envelope slit on the pillow's back side.

These diy pillow covers are super easy to use, and I always have a few spare ones at hand. At the time I had a preschooler and a crawling baby in the house, these pillow covers came incredibly handy.
Also called envelope pillow covers, due to - well, envelope closure at the back - they are changed on a whim. No buttons, no zippers. You just grab the pillow, pull the cover, and toss it into the washer. Repeat a day or an hour later when there are blueberries all over it because the baby somehow got her hands on a snack bowl full of fruit and dragged it around. At least I know now why she'd been so quiet for those 5 minutes. 🙂
Bottom line: simple to sew, simple to use.

Supplies
- ½ yard of fabric in your favorite prints
- a pillow form (mine is 16" by 16")
- sewing machine or needle, pins or Wonder clips,
- iron, scissors, or rotary cutter plus cutting mat (I use this one by Olfa)

The cutting will go super quick if you use a rotary cutter. I used this Pink Splash Olfa (link) with my project.
Steps To Sew A Pillow Cover
Let's see how to sew one. First, for those of you who like video, I've made a slide-show to get the feeling of how easy it is:
Oh, one thing more before we start: the overlap will be approximately 5". You can opt for a smaller overlap if you're short on fabric, but I like 5" because it will stabilize the pillow form so nicely. Now, let's start:
Step 1 - Prewash your fabric
To prevent later shrinkage, prewash your fabric.

Step 2 - Cutting Instructions
Measure and cut the fabric. First, just to be sure about the measurements, measure your pillow form. Mine was 16" by 16". But I've got you covered for other dimensions, too: scroll down for measurements if you have a different size of the pillow form.
For a 16" by 16" pillow, cut a piece 17" by 39".
- horizontal: 16" x2 (front and back side of pillow) plus 2" (hems) plus 5" (overlap)
- vertical: 16" plus 1" (hem)

Step 3 - Hemming
Hem the two short edges. Turn under each of the two short edges of the fabric by the finished hem amount, that is 1" (2.5cm) and press. Then open the pressed seam allowance and tuck the raw edge underneath into that fold. Like this:

It's a lovely hack that makes it easier than going the standard way.

5) Press and topstitch using a ⅜" (1 cm) seam allowance to catch the fold underneath. Backstitch at the beginning and end of the seam to reinforce it.
Step 4 - Folding
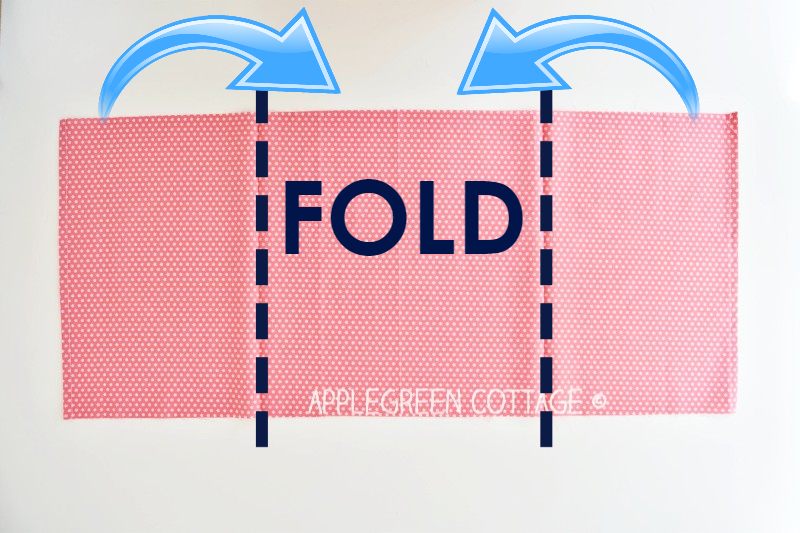
6) Once hemmed, lay the piece right side up. Fold both edges towards the center, so the edges will overlap by 5".

Please NOTE: for a pillow of 16", I needed need to fold the edges back by 10 ½". For other pillow dimensions, the 10 ½" fold does not apply. If you have a rectangle of other dimensions than mine, simply fold the edges to achieve a 5" overlap of the edges.
This means the total width of the folded piece now will equal the finished width of your diy throw pillow cover. Measure to double-check.
Step 5 - Sewing

Stitch along the top and along the bottom edges, using a ½" seam allowance. I usually finish the raw edge using a zigzag or a serger hem for a nice finish, but nobody will notice if you don't.
Step 6 - Turn Right Side Out

Turn right side out and press. Finished. Insert the pillow form and toss it on your sofa. Making pillow covers has never been easier. Enjoy the super-easy new look!
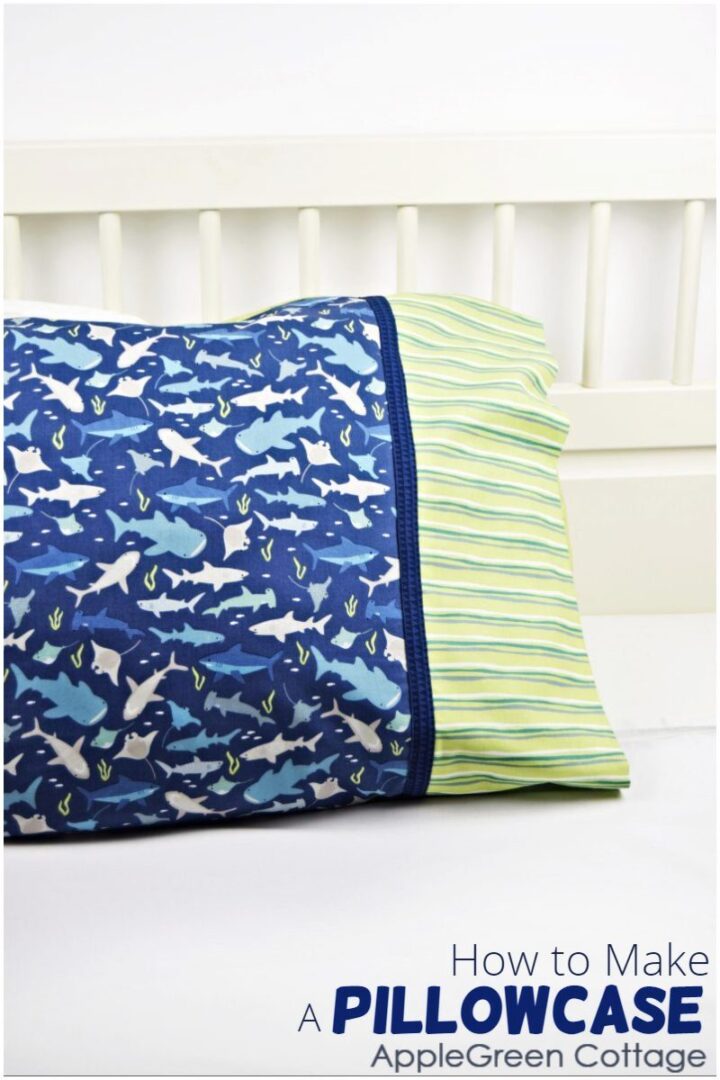
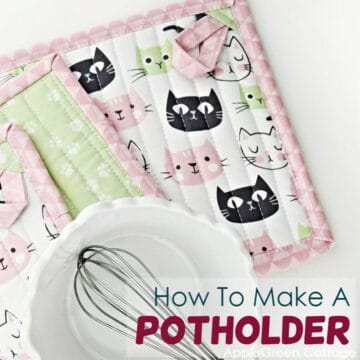
+Make THIS Pillowcase Too!
Questions Answered
What is the typical size of a throw pillow?
While many standard throw pillows are 18-inch squares, other quite common sizes include 16", 17", 19", and 20", up to 24" size. My favorite combo is a mix of several sizes and prints, so never get discouraged from trying what works best for you.
What type of fabric is best for throw pillows?
The type of fabric that is best for throw pillows depends on the desired look and feel of the pillow, as well as the intended use and durability needs. My absolute favorite is cotton (and of that one, quilting cotton) - it's the easiest to sew and wash. Some other popular choices include:
- Linen: a durable and breathable natural fiber. Looks awesome, too!
- Polyester: affordable and easy to care for.
- Velvet: luxurious and soft to the touch. (But not so easy to sew with, may I add!)
- Silk: a luxurious and elegant option.
Standard Pillow Cover Sizes
Want a different size of a pillow cover? I've got you covered. This is the simple formula to use when deciding on the size of the fabric required for your diy pillow cover:
- horizontal: PILLOW FORM DIMENSION x2 (front and back side of pillow) plus 2" (double hem) plus 5" (overlap)
- vertical: PILLOW FORM DIMENSION plus 1" (hem)
How do I calculate how much fabric I need for a pillow?
This is the fabric required for different pillow sizes:
- for a standard 18" by 18" pillow, cut: 19" x 43"
- cut 20" x 45" for a standard 19" by 19" pillow
- for a standard 20" by 20" pillow, cut: 21" x 47" etc.
Easy and quick! These easy envelope pillow covers will instantly change the look of your sofa. While there are many ways to sew a pillowcase, this one I think is the fastest of all. I'm planning to show you another quick way to make them, especially the longer and larger ones, but this will just have to wait for some other time. Make sure to subscribe to our mailing list here so you don't miss it.
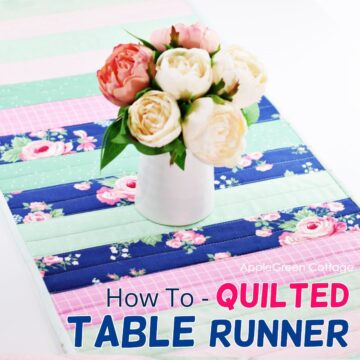
Related Ideas
Looking for more things to sew for home? Check out these:

This tutorial is also part of Printable Tutorials BUNDLE
100 PDF tutorials now, and growing!
Join the FREE 7-part email course and make 6 beautiful items for your home! You'll love it!


Barbara Merdian says
Thanks for sharing this easy and helpful pillow cover post. What a great way to create a fresh look.
Damjana Jakos says
Barbara you're welcome!
Tina Giaramita says
Thank you for sharing this! Your instructions were the easiest to understand and follow! I make a lot of the travel size pillow covers and the way you explain how to do the measurement calculations was sooooo much easier for my 'math-challenged' brain to understand. I'm also a 'visual learner' and try to find videos, but I had no trouble with reading and understanding your tutorial! I love your patterns and tutorials and am slowly, but surely collecting your wonderful and fun patterns. Thank you for sharing your creativity, time and hard work with us!
Lara Cottrill says
This is a great pattern, thank you so very much for sharing! I made 2 when I was mostly asleep and they still turned out beautifully!