
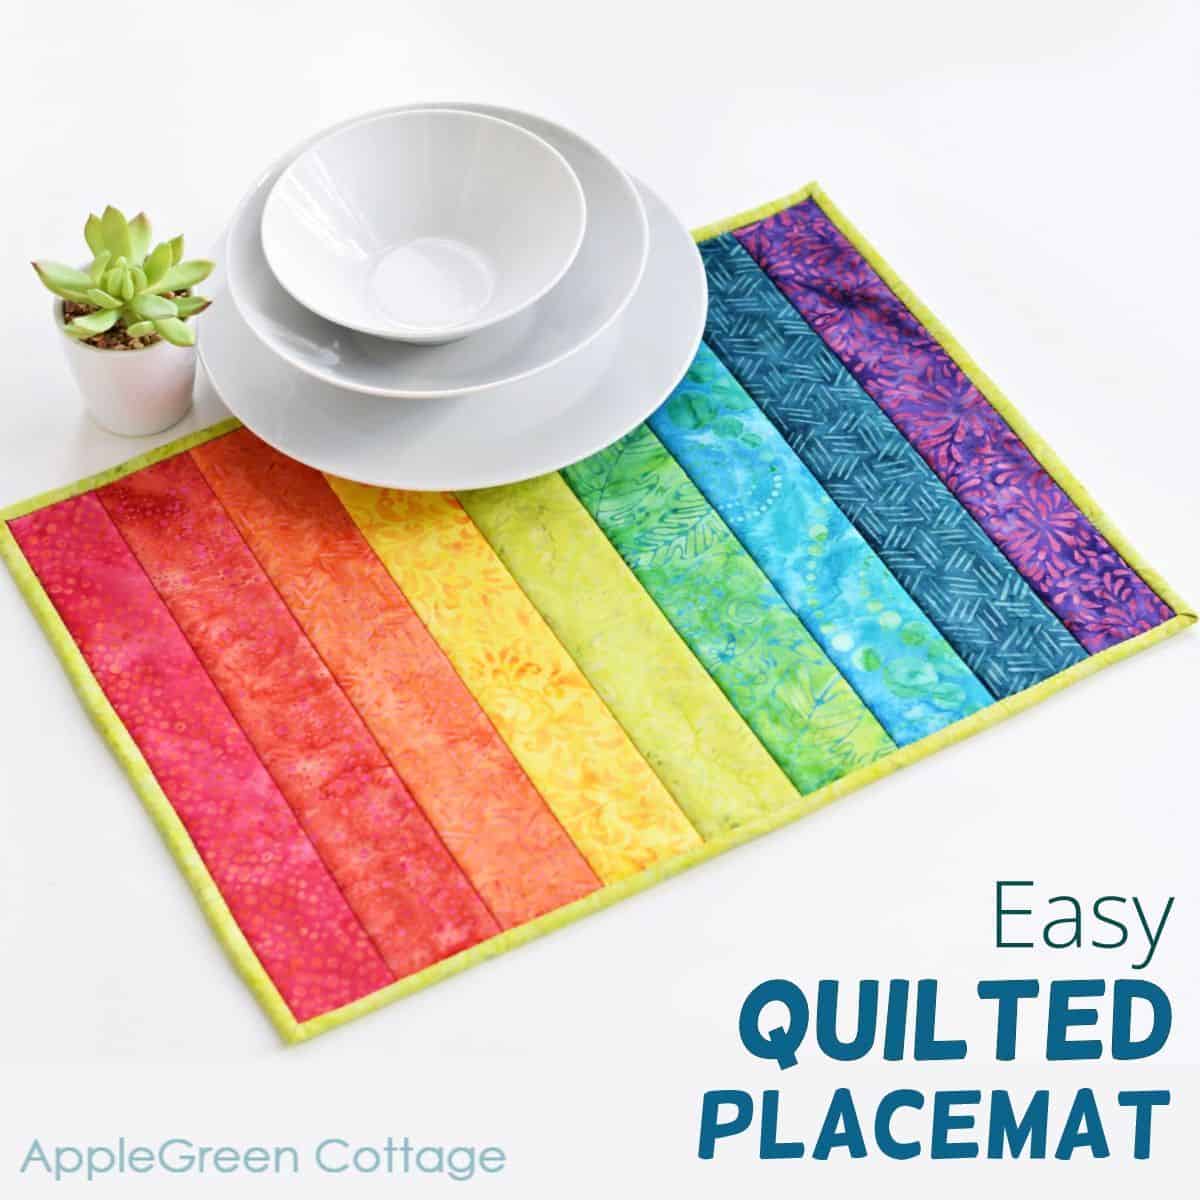
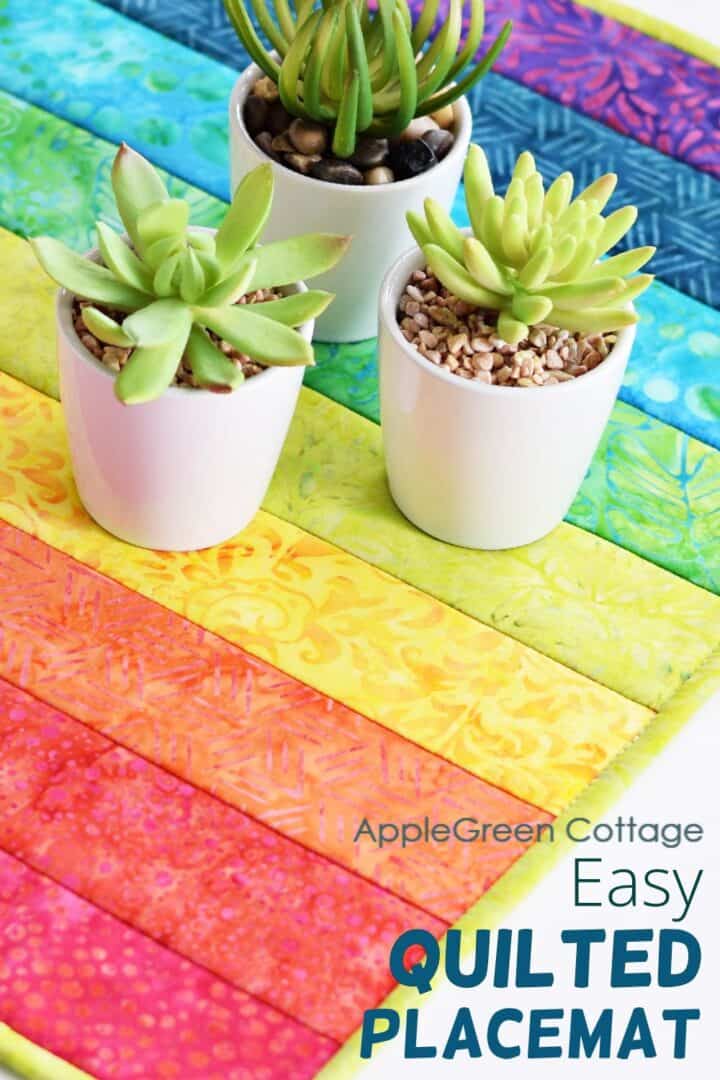
Love effortless sewing? Try this jelly-roll-friendly rainbow placemat! Create a beautiful quilted placemat that everyone will love.
Of all the quilting patterns for placemats, this one turned out to be the easiest for me. So if you're a quilting beginner looking for a first quilted placemat pattern for your dining table, or a seasoned quilter searching for a quick, one-afternoon make - this is the pattern to go for.
This easy placemat pattern is perfect for beginners - see why!
Do you want an ad-free, printable copy of this online tutorial? Get it in our shop. Or get the whole →BUNDLE!

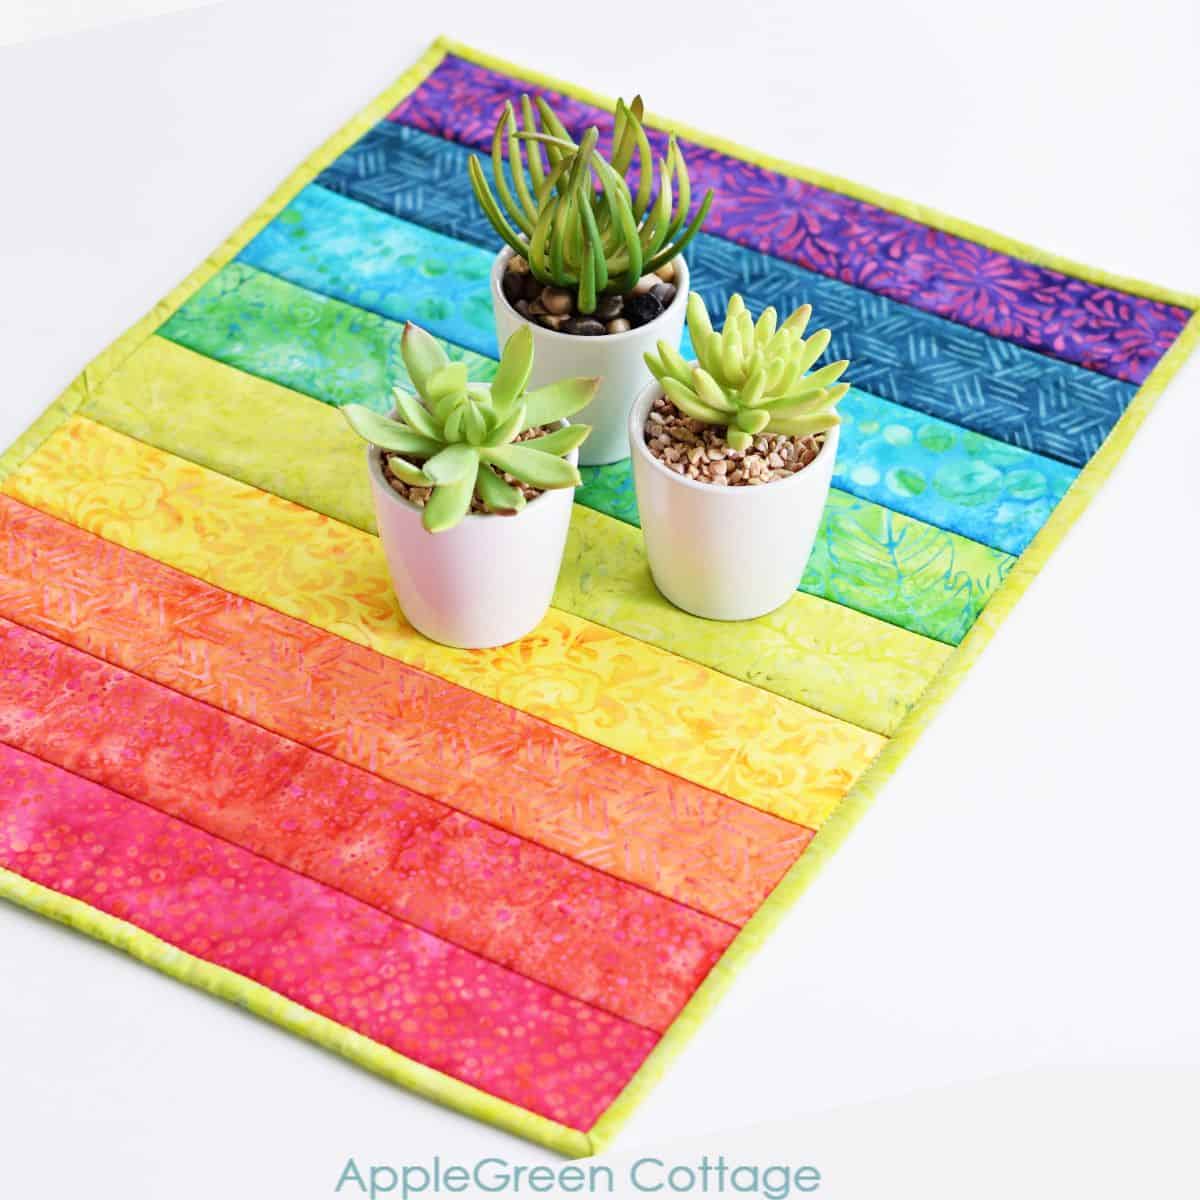
This quilted placemat pattern is great for any time of the year. Scroll down and get inspired!
Quilted Placemat Sewing Video
But first, let me give you a short slideshow-type video for you. It is sometimes very helpful to get a quick picture of what to expect:
And scroll down for the photo tutorial if video is not your thing 🙂
Supplies
- 9 strips of fabric for the top (2 ½" by 15")
- a fat quarter for backing
- batting same size as backing fabric
- 1 ½ yards of binding - see how to make your own binding
- a ruler, a rotary cutter, and a cutting mat
- basting pins or baste spray
- the usual: sewing machine, scissors, thread
Shop my personal favorite sewing supplies on Amazon HERE.
TIP: use a walking foot attachment on your sewing machine, which moves all fabric layers at the same speed. This will prevent puckers and make sewing easier.
Features
Why you'll love this simple quilted placemat idea:
- simple construction
- uses up scraps
- a beautiful, no-fail, no-fuss home decor project you'll be able to showcase every single day. Get ready for compliments - even if you've never quilted before!
This easy quilted placemats pattern uses up all those scrappy strips of lovely fabric you couldn't throw out but didn't know what to do with. You can use a jelly roll, too! The backing requires one fat quarter of fabric. Oh, and before I forget, also check out our new SewPretty HOME email series:

Join the FREE 7-part email course and make 6 beautiful items for your home! You'll love it!
Or, why this is the Easiest Quilt As You Go Placemat Pattern.
The quilt as you go construction makes this placemat a great beginner quilting project. See this tutorial to find out everything about what is quilting as you go - and how to use this technique pretty much anywhere. But let's get back to our quilted placemat pattern.
These quilt-as-you-go placemats are perfect for adding a touch of style to your dining table. WHILE protecting it from spills and stains. Useful + beautiful, a great combo if you ask me!
If you're new to quilting, don't worry. Making these easy placemats is a great way to learn the basics and build your confidence. and to get started, you'll need a placemat sewing pattern. There are plenty of options available online, or you can create your own by measuring and cutting a piece of fabric to the desired size. For beginners, this one might be the best - no complicated designs, just straight lines.
What is the size of placemats?
This placemat quilt finishes at 18" by 13".
Quilted Placemat Tutorial
Step 1 - Fabric Selection
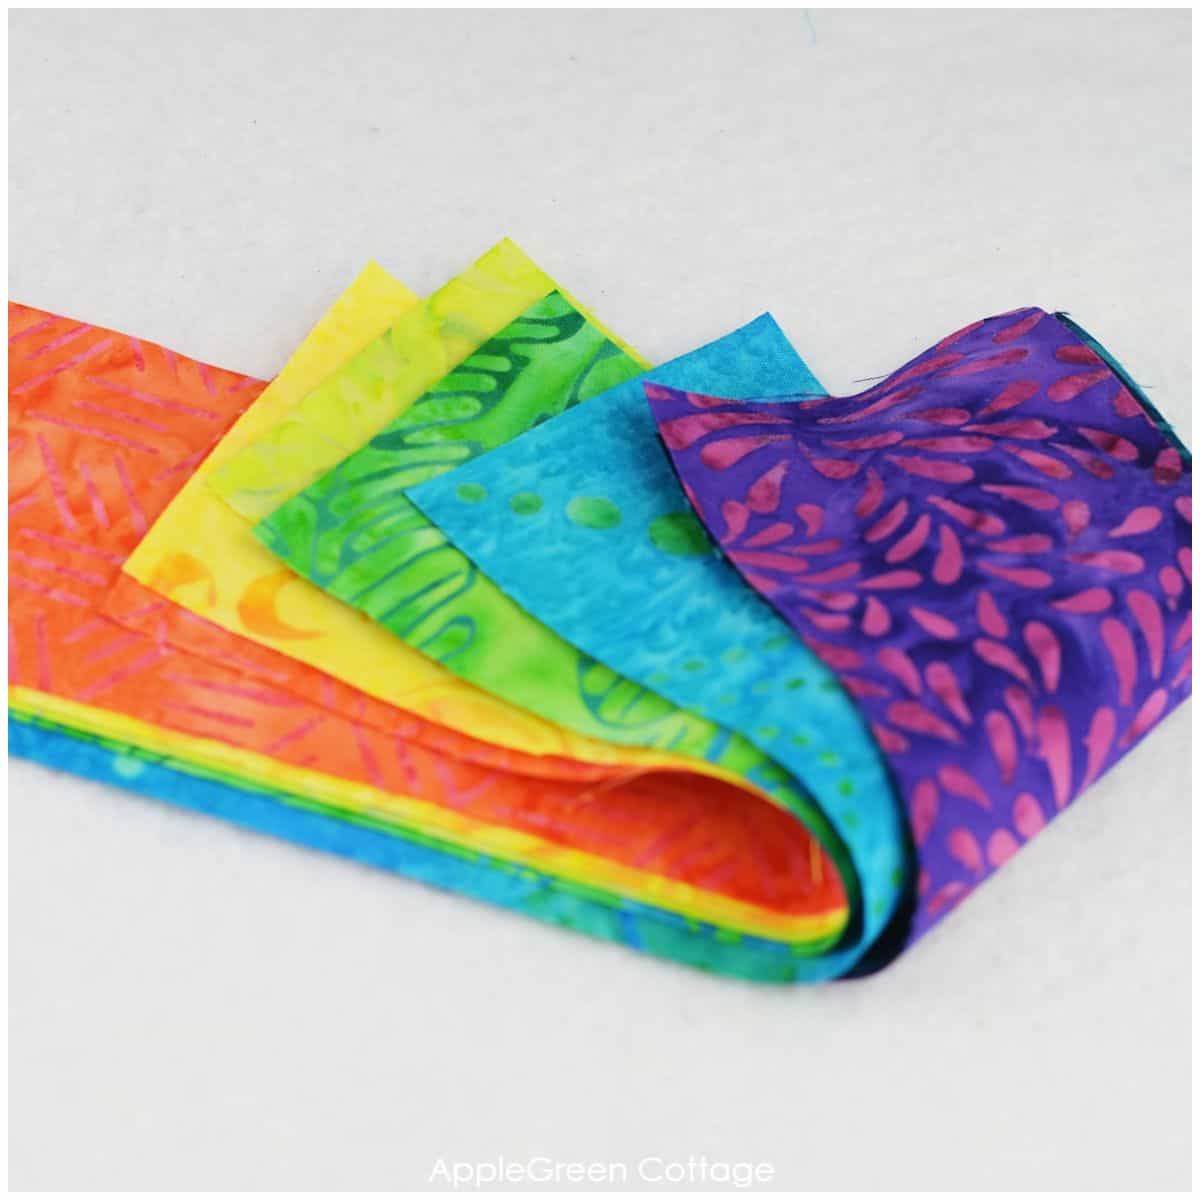
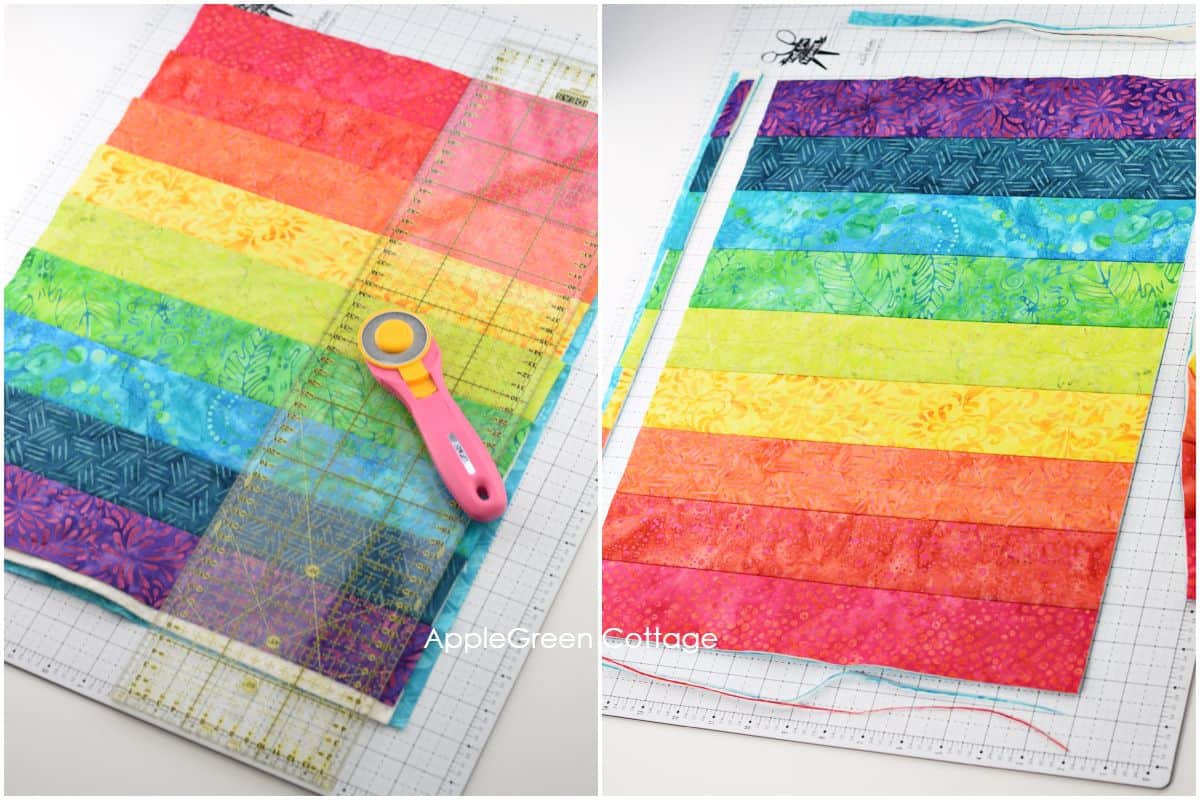
This step is fairly subjective: select the fabric pieces in colorways that will work best for your project. (either similar or contrasting, whatever you like best), I chose a rainbow.
Or, just pick a few of your favorite colors you want to work with, solids are totally amazing with this quilting technique! I chose a rainbow stack from the beautiful Batiks collection from Riley Blake Designs:
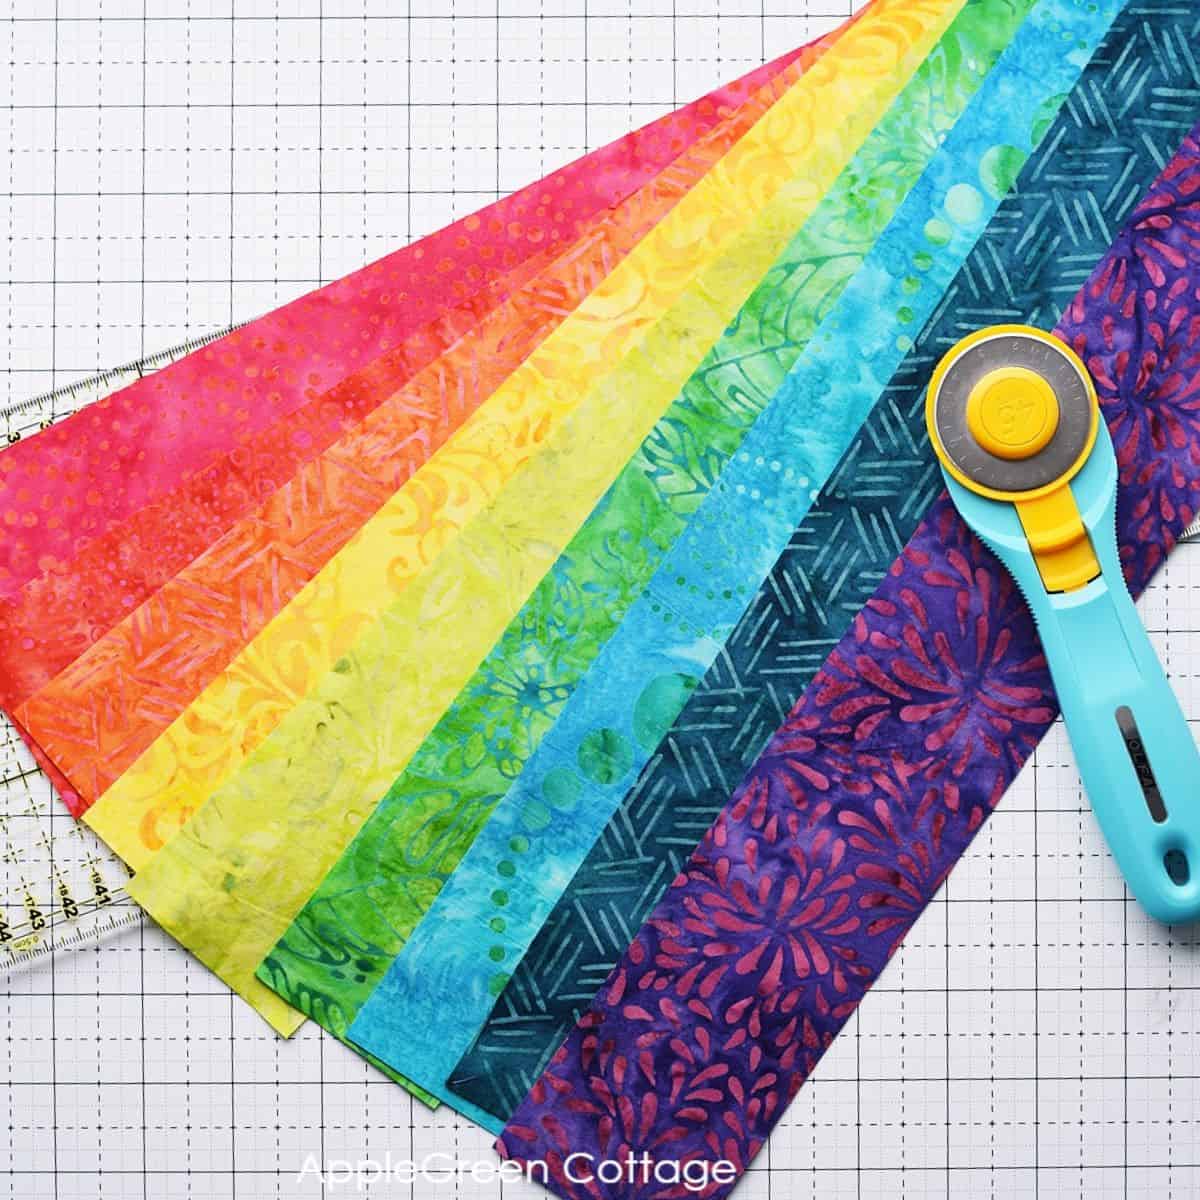
This placemat quilt pattern has no printable template. Simply cut 2 ½" strips, or use a jelly roll - as easy as that!
Step 2 - Cutting Instructions
For the placemat top layer, cut: (9) strips of 15" by 2 ½" for the placemat top.
Batting and backing: cut a piece of 20" by 15" from the backing fabric and from the batting, respectively.
Binding: you'll need to cut 2 stripes from the width-of-fabric and sew them together to get approximately 1.5 yards of binding.
See my 4 Favorite Quilting Rulers!
Step 3 - Prepare batting and backing
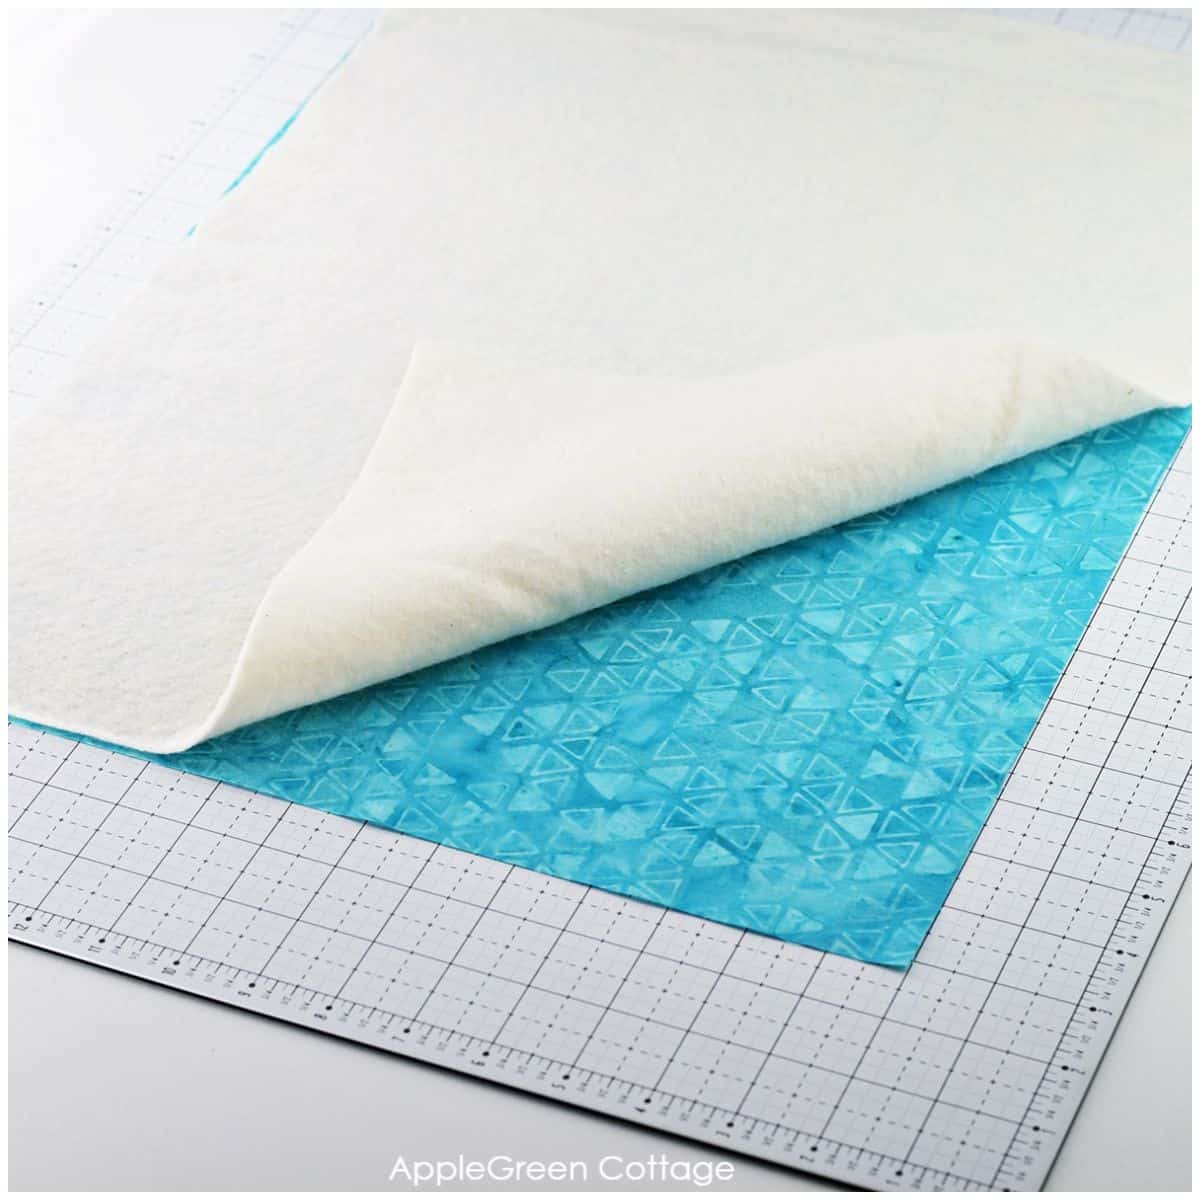
Place your backing fabric on a flat surface, right side facing down. (NOTE the image: the batiks have a wonderful, vibrant print visible on both sides equally)
Press it so it's completely flat and without puckers. Then place the batting over it, it should be approximately the same size. I use a basting spray (one like Odif 505) to keep the two layers together.
Step 4 - Arrange Fabric Pieces
Stack the strips in the order you want them to appear in the finished placemat.
Step 5 - Attach The First 2 Pieces
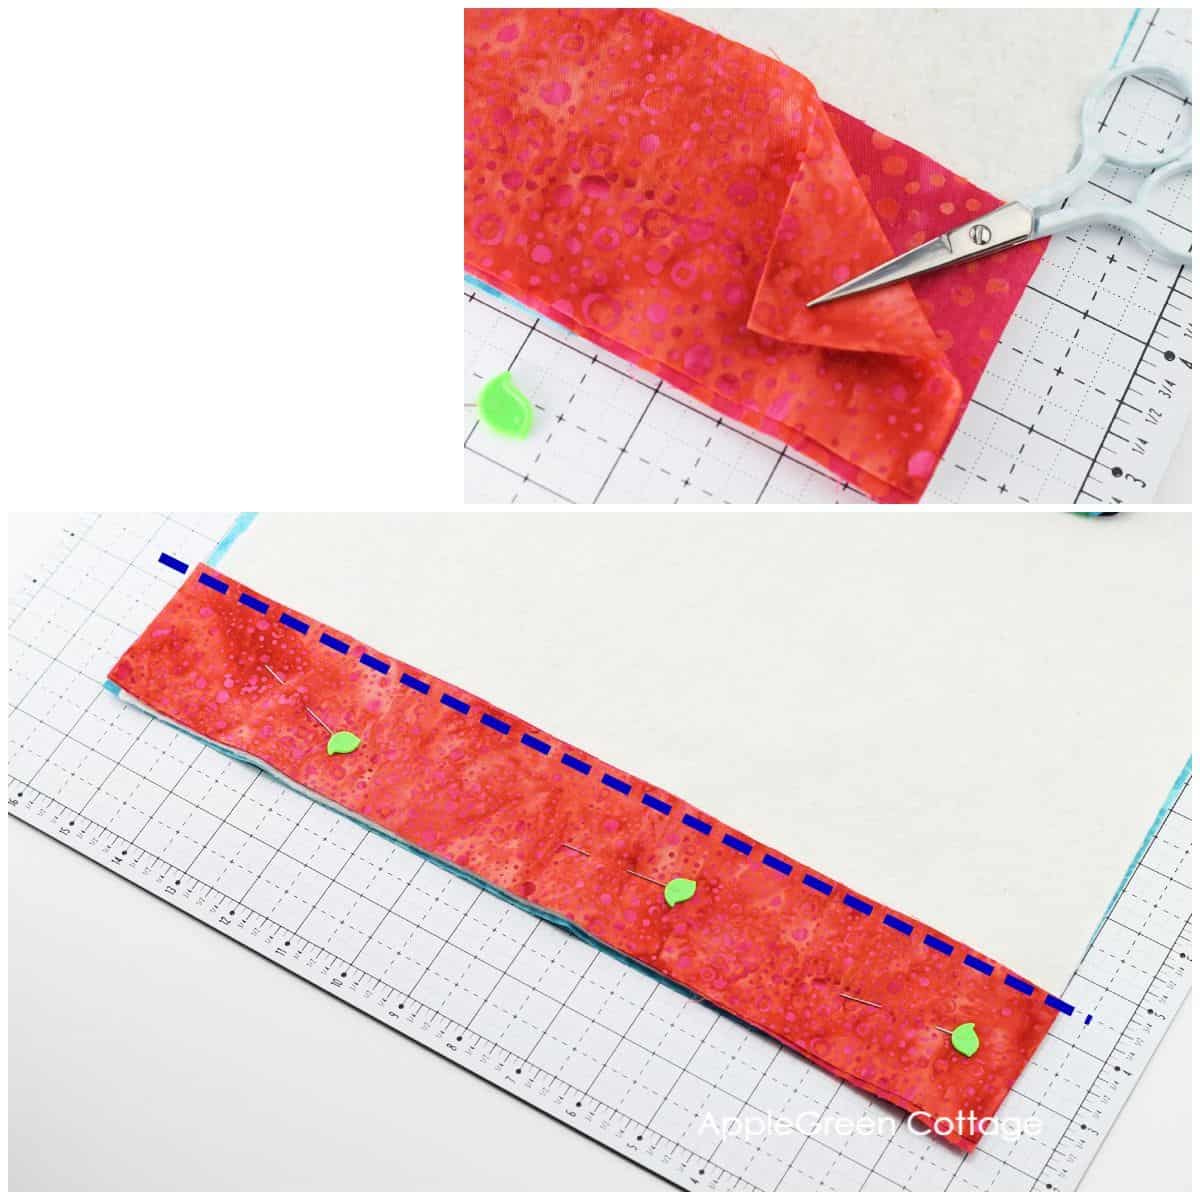
- You've already got the backing + batting ready.
- Take the top strip from the stack and place it along one short edge, right side up.
- Place the second strip with the right side down (so the right sides of the strips face each other) with all edges aligned and pin through all layers.
- Sew along the right edge of the fabric using a ¼" seam allowance (6 mm)
Open the pieces and press well.
Step 6 - Attach the rest of the strips
Then add all the remaining pieces the same way:
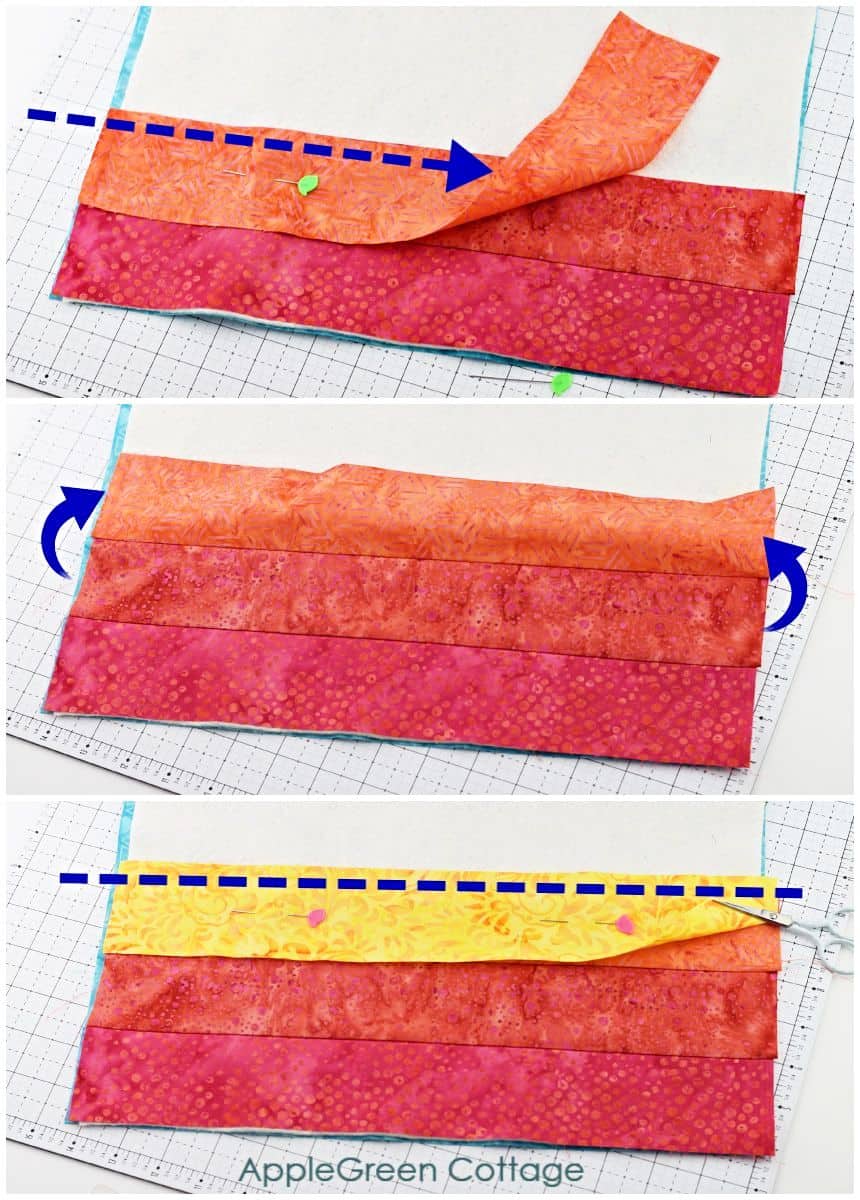
So... place the next strip from the pile on the previous piece with the right sides together, pin, and stitch along the right edge using the ¼" seam allowance. Open and press.
Pin, sew, and press after each strip is added until you've used up all the strips and reached the edge of the batting.
Step 7 - Optional - quilting lines
If you want to, now you can add some more quilting. This might be my first-ever quilting tutorial where I opted out of any additional quilting.
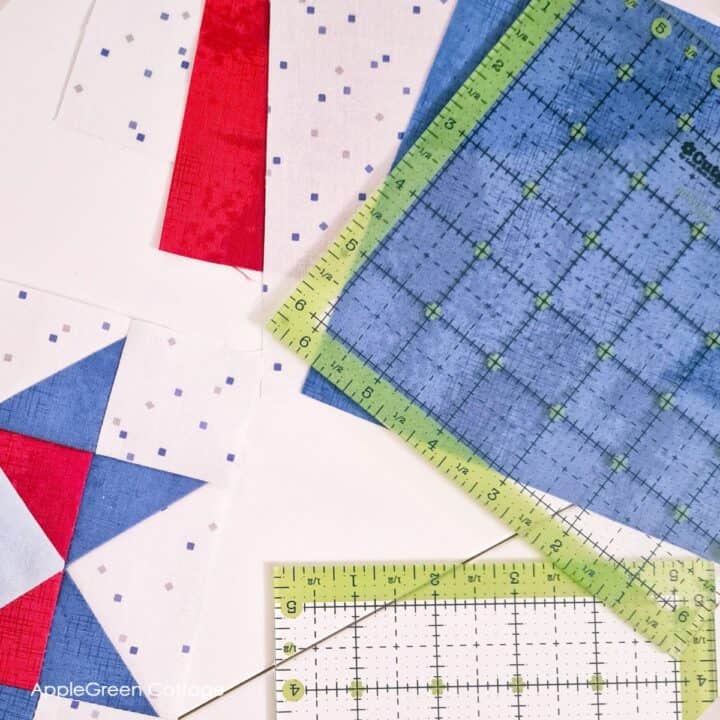
Step 8 - Square it up
After sewing all the strips for your placemat top, use a quilting ruler and a rotary cutter to cut off any excess fabric, batting, and backing, to get all corners to 90 degrees.
Step 9 - Add Binding to Quilted Runner
First, take your long strip of binding and press it in half if you haven't yet. Attach binding. If you're entirely new to quilt binding, check out my easy quilt binding tutorial - I show you how to machine bind your quilt, and where to start (and why).
It can be easier for you to start attaching the binding at the back of the placemat. Here I started machine binding on the front side of my runner quilt. Plus, use this clever binding hack!
HOW TO START SEWING BINDING AT THE FRONT
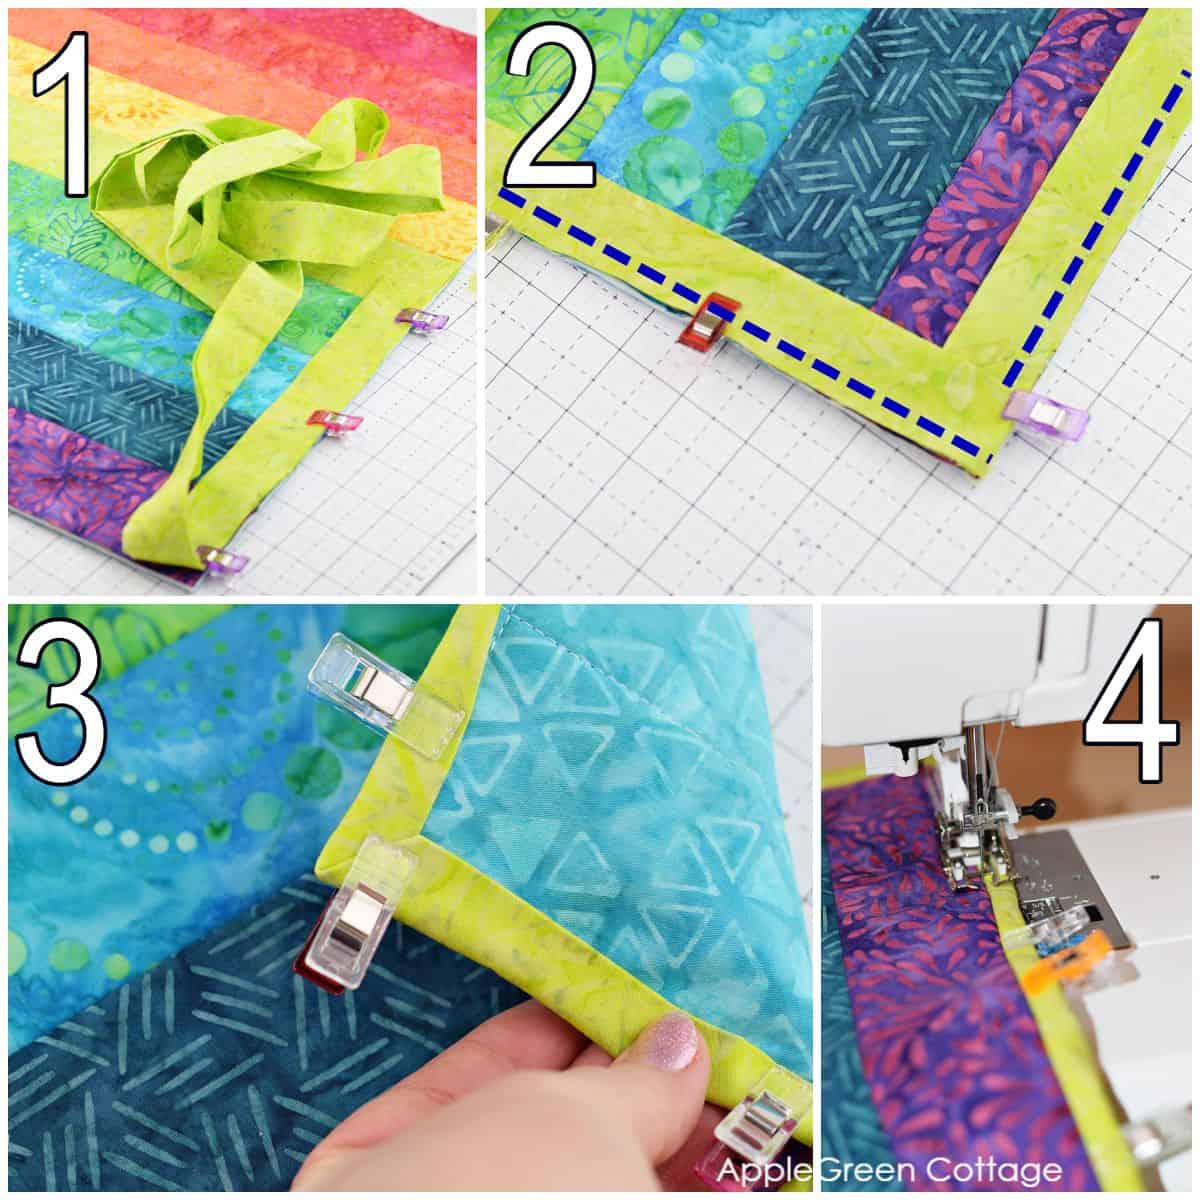
Since some of you will definitely want to try this way of applying quilt binding, let me show you quickly how to do it if you start at the front of your quilt sandwich:
- First, get your binding ready.
- Start attaching binding on the front. (see images 1, 2)
- Then fold it backward (see image 3) and
- ... finish by machine stitching it in place from the front (see image 4). I did that by stitching in the ditch, and keeping an eye on the back to make sure I caught every layer.
This is what I also did on my panel quilt tutorial. It took me some more time to bind but it turned out beautiful!

Tips for more accurate quilting and sewing
Two tips to make it easier:
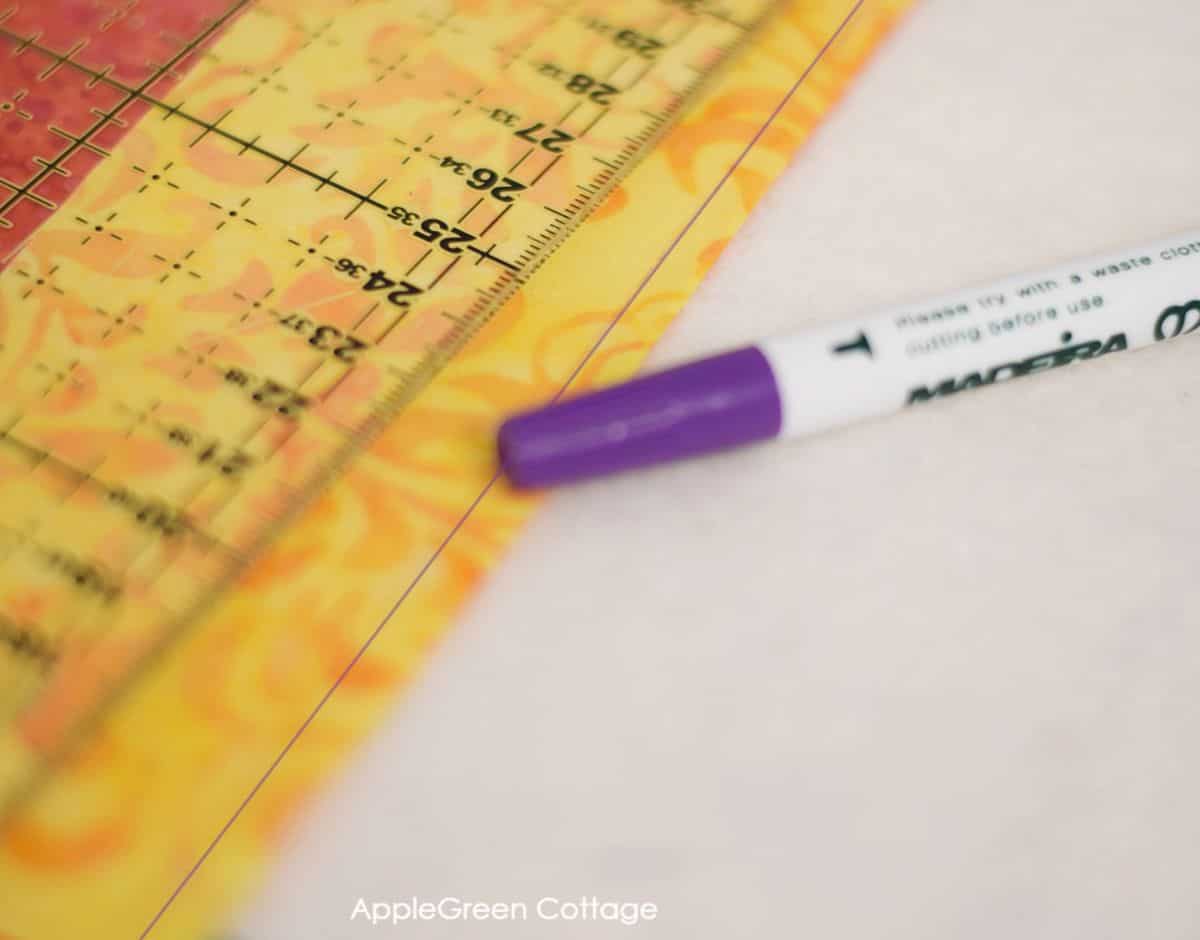
Tip No 1: to sew an accurate ¼" seam when attaching the individual strips, you can mark the seam line before you sew, using an air-erasable fabric marker.
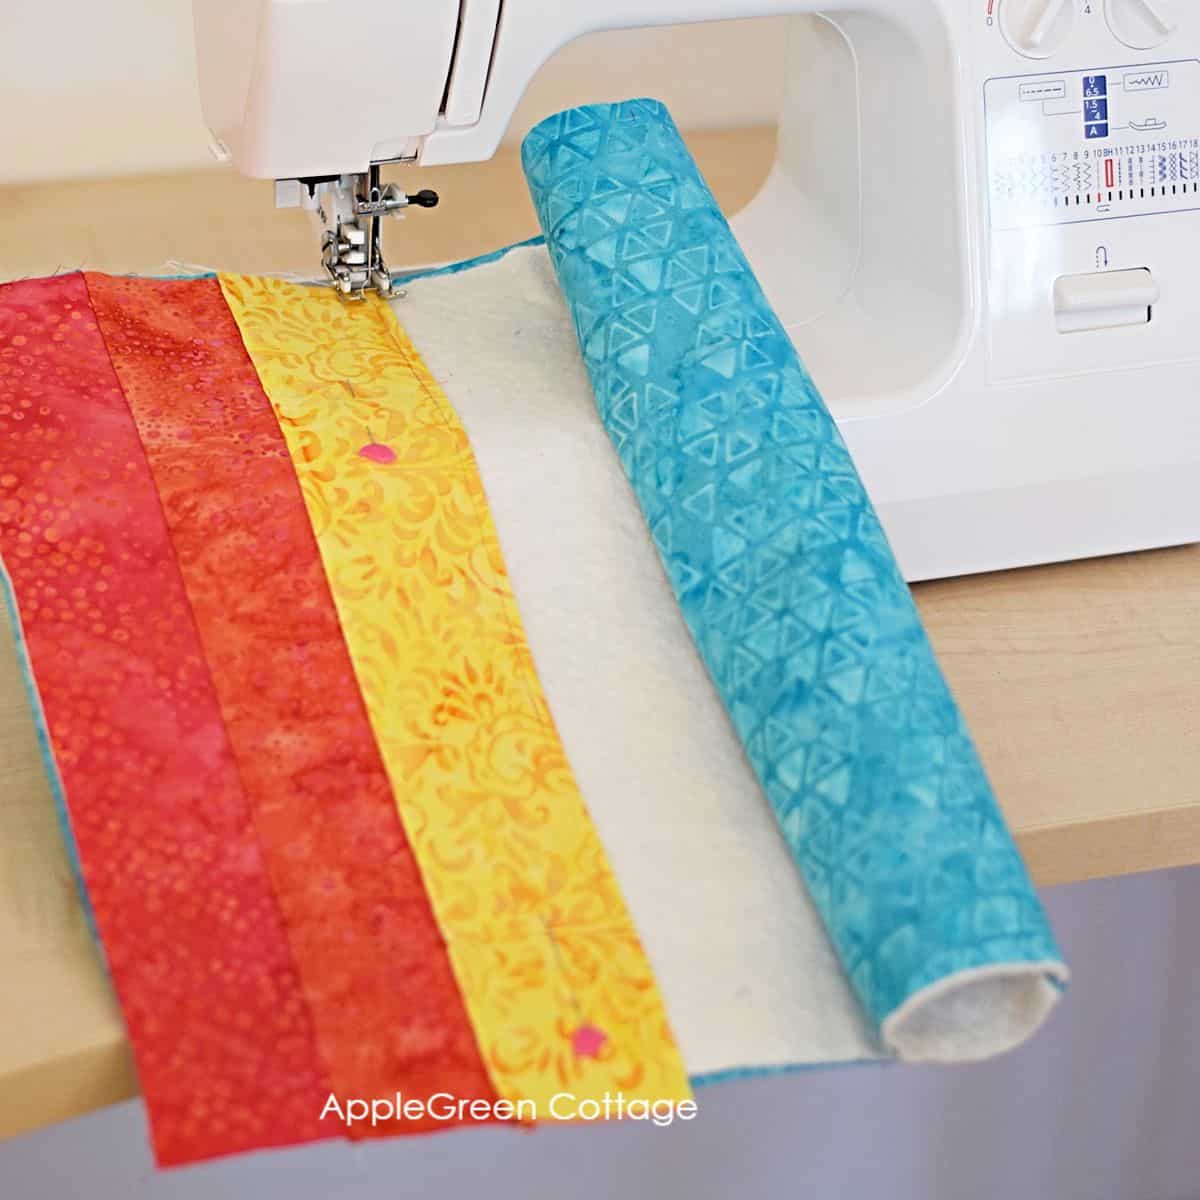
Tip No 2: It is helpful to roll the excess batting/backing from the right side, making it easier to fit into your machine.
HOW DO YOU CALCULATE QUILT BINDING? LENGTH OF QUILT BINDING.
When you want to figure out how much binding you need for a quilt, you'll need the exact measurements of your squared-up, unfinished quilt. You'll need at least 10 inches more than the perimeter of the placemat project you're working on.
As an example, your quilt is 20" by 30", then 20+30+20+30 =100" when we go around all corners of your quilt. Then add 10" to make sure you don't run out of your binding and to make sure the ends overlap.
Should I use batting to sew a placemat?
Even with easy placemat sewing patterns, you'll definitely need some batting, thin or thick. If you are making a non-quilted placemat, you can use fusible fleece, like with this diy placemat tutorial. I personally find batting quite useful in kitchen items: you can use your diy placemat, or even a diy quilted table runner as a hotpad: in these cases, I use the thickest batting I have at hand.
I hope these were helpful. If you have any more questions, let me know and I'll try to answer them all here. Now once your placemats are complete, you can use them to dress up your dining table or give them as a thoughtful gift to friends and family. With so many options for fabric, colors and prints, the possibilities are endless!
I hope you liked this quilted placemat tutorial, as well as the tips to help you create your own quilted placemats. Now it's your turn to start making quilted placemats. Go grab your sewing machine and get started!
Related Quilting Projects
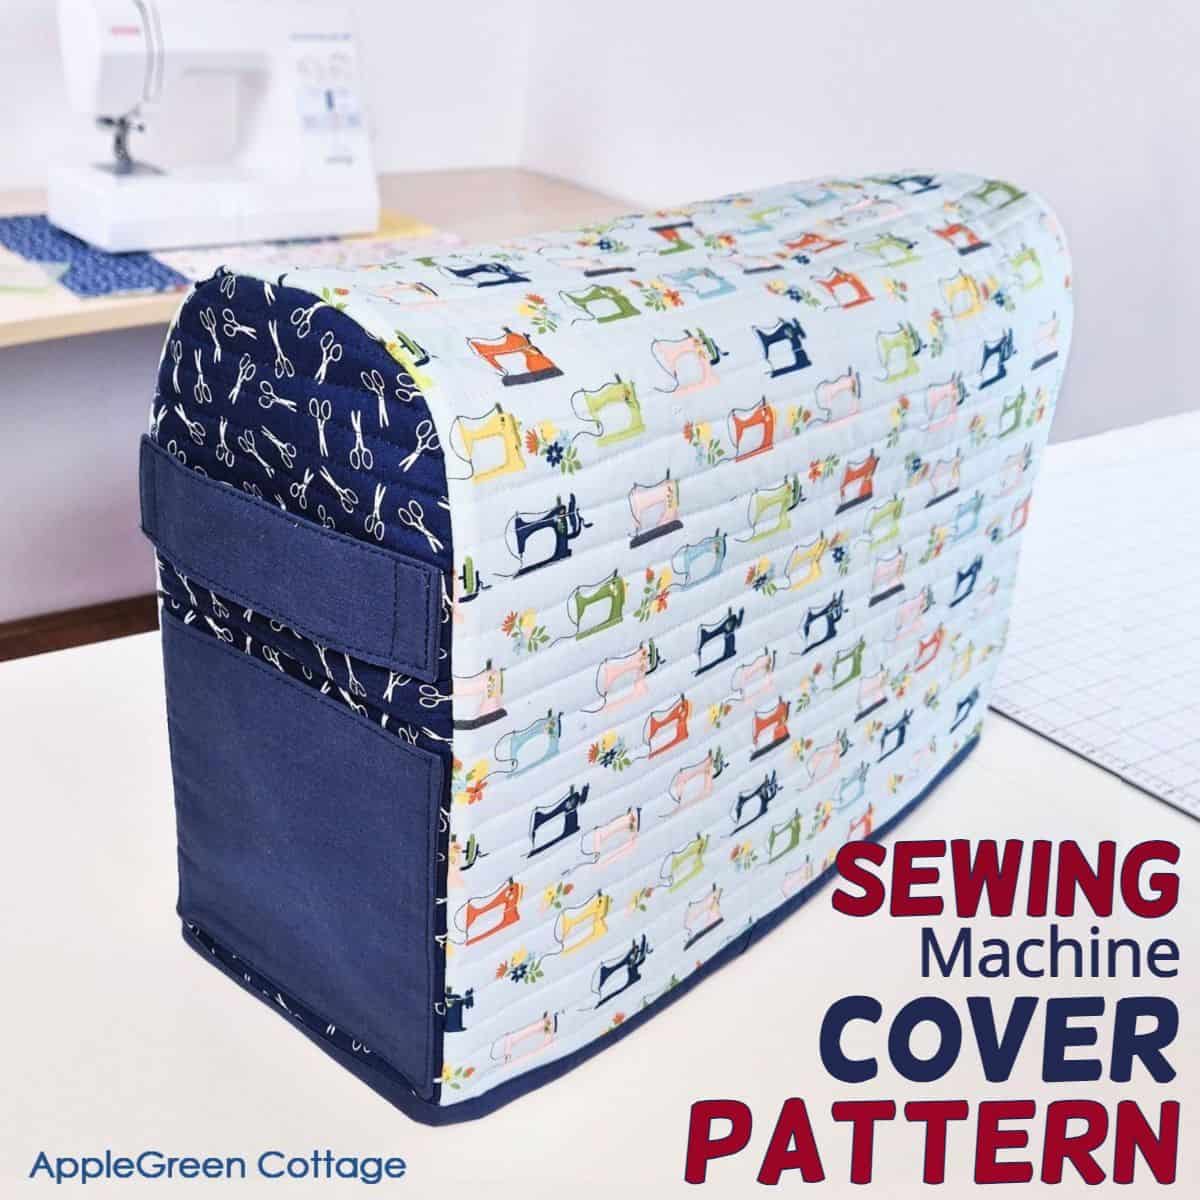
You can make a beautiful and easy quilted sewing machine cover to protect it, and make your sewing corner prettier.
Or, if you don't feel like sewing binding, did you know you can make a fully-lined oven mitt without any binding? Use this oven mitt tutorial with a free pattern:

Join the FREE 6-part email guide and make super easy diy GIFTS - each in 30 minutes or less! You'll love it!


Loretta J Johnson says
Love your patterns and colors.
Damjana Jakos says
Loretta hi, thank you!