Check out this easy tutorial for the best diy mop pads for wet cleaning you'll ever make. Here's how to make a mop out of towels, no velcro adjusters or press studs are needed.
This mop pad tutorial is one of my most popular diy sewing projects for the home, and the best thing is - it's so easy to make!
This post includes affiliate links. Thanks for your support! If you like free projects, you'll love these free tutorials too:
- Best 15 FREE Tote Bag patterns
- This Super FAST Diy Gift Bag - In Minutes!
- Super Easy Felt Storage Cube - Free Template
- Or check out this popular SewPretty HOME series:
Join the FREE 7-part email course and make 6 beautiful items for your home! You'll love it!
My Best Diy Mop Pads
Funny thing, I've always spent a lot more on the refills for household items than I initially thought I would. Floor mop pads for wet cleaning were no exception. After all, you can't get the whole house clean in one go using a single mop pad, right? {At least I can't. No way, with two kids!}
But then again, have you noticed these mop pads are just simple rectangular pieces of fabric sewn together? Nothing fancy, actually! You can make several floor mop pads like these yourself in no time, out of a single old towel.
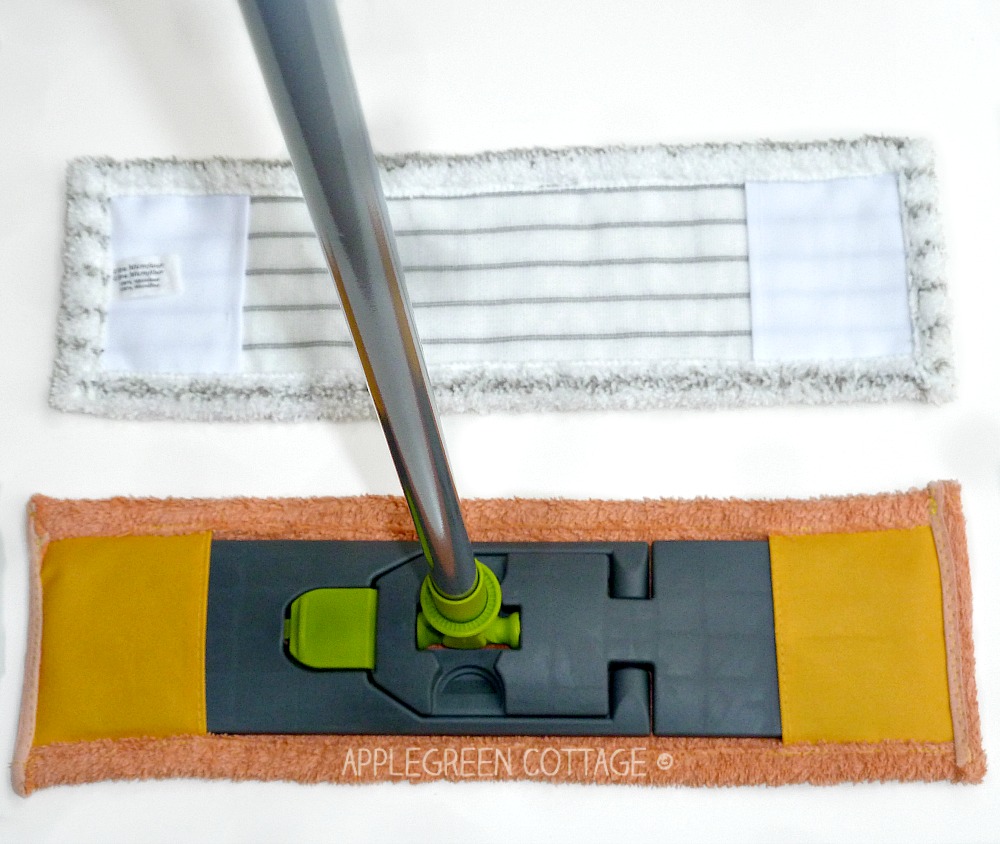
Just to be clear, this side-pocket mop pad will suit the mop heads that fold. Check out the photo - see the rectangular green button on the mop head? Just press it and the head will open and fold. Place the mop pad on both ends, press the mop head down and it's done. Sweep! According to my experience, side pocket mop pads last longer than the ones with velcro adjusters or press studs.
Ready to see how easy it is to make the side-pocket mop pad I described above?
If you like, check out the slideshow video I made for you to get a picture of how easy it is.
Now the step-by-step written tutorial:
Supplies to Sew Diy Mop pads
You'll need:
- a towel (the thicker the better)
- a piece of oilcloth or other strong, densely knit, no-stretch material
- sewing machine
- sewing thread
- scissors
- pins
- an existing (fitting!) mop pad with side pockets for easy measuring
Now to the tutorial. I've split the whole process into tiny steps, so it will be totally easy even for those who have never sewn a thing yet. Yes, that easy!
DIY Mop Pads Tutorial
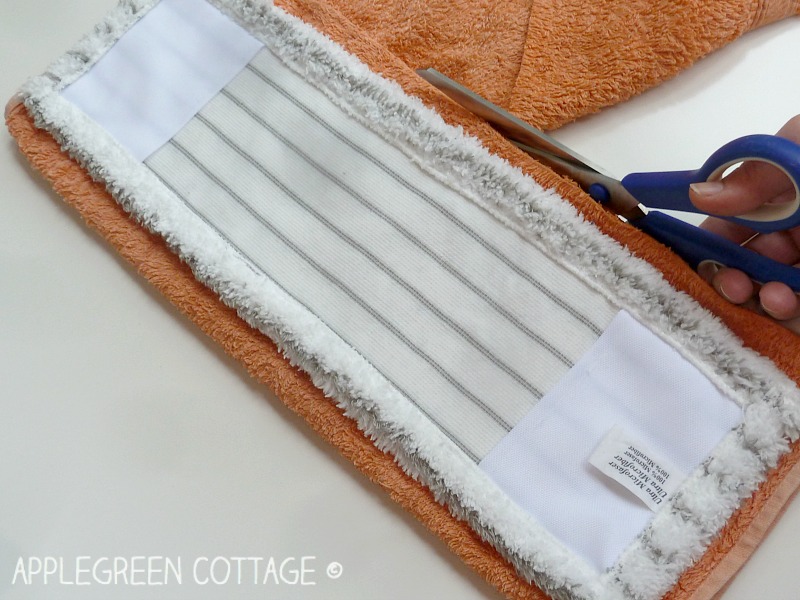
1) Fold an old towel so you'll get two layers, then place an existing mop pad half an inch away from the fold. Then cut around the 'modeling pad', leaving a ½" seam allowance all around it. You'll get a nice rectangle. Don't cut the folded edge.
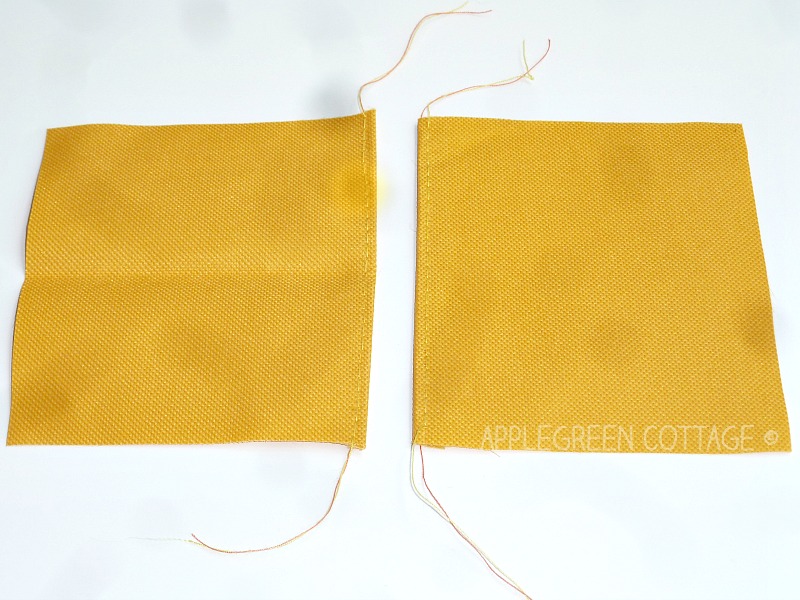
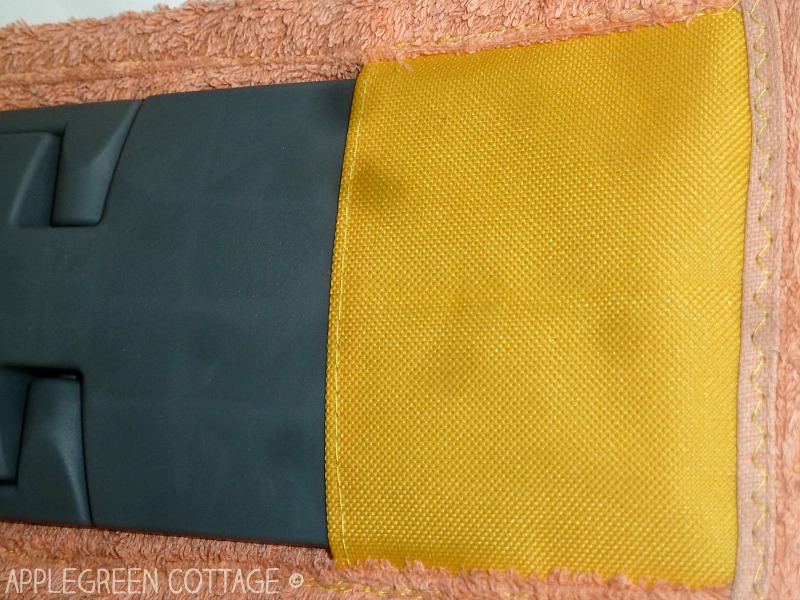
2) Cut 2 small rectangles from the non-stretchy material. They will form the flaps of the pad, enabling it to be attached on the flat mop head. Hem one of the longer edges (of each piece) as seen in the photo.Dimensions of the small rectangles:
- width: same as flat mop head width plus an inch
- length: same as flat mop head width minus an inch
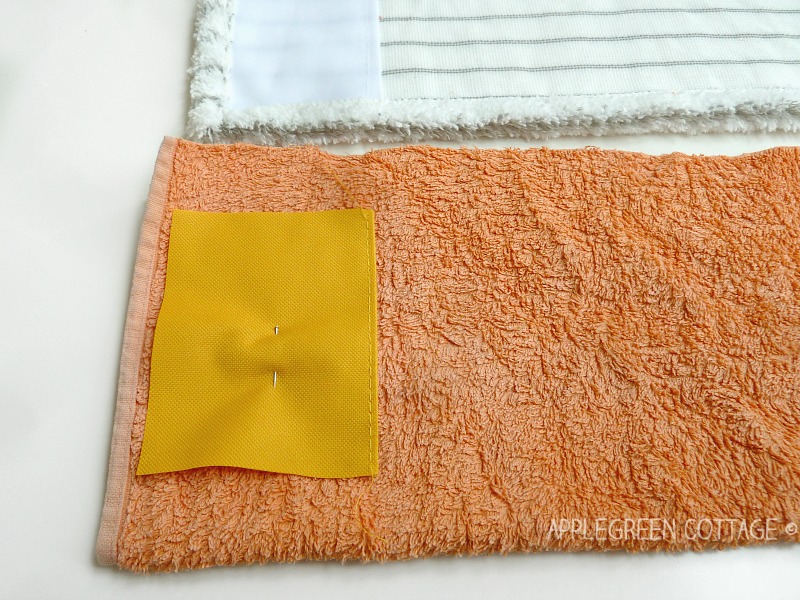
3) Place the two small pieces onto the large towel piece. Pin in place, using the existing mop pad as a guide. Like this:
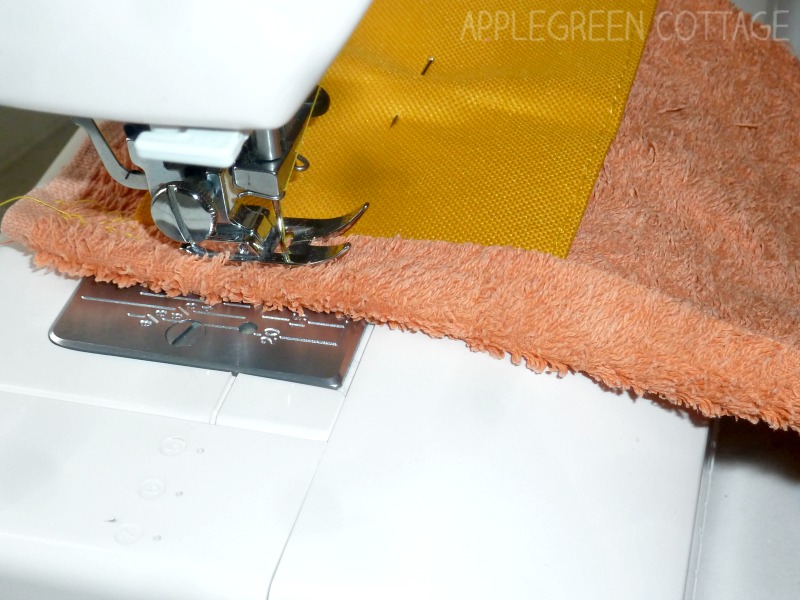
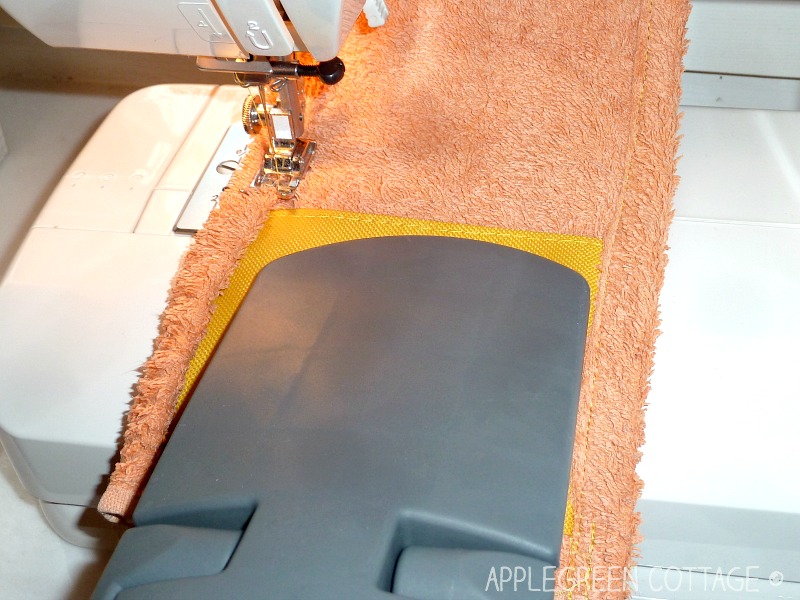
4) SEW THE LONG EDGES. Fold the long edge (i.e. the ½ inch seam-allowance portion) of the towel piece upwards and machine-stitch along the long side of the mop pad, as you see in the photo below. You can stitch multiple times in the area where the two materials meet, to ensure the mop pad will last longer.
BONUS HINT: cut off the corner at the end of the long edge of the mop pad when sewing. This way, you'll reduce bulk and it will be easier to finish the seam. Like this:
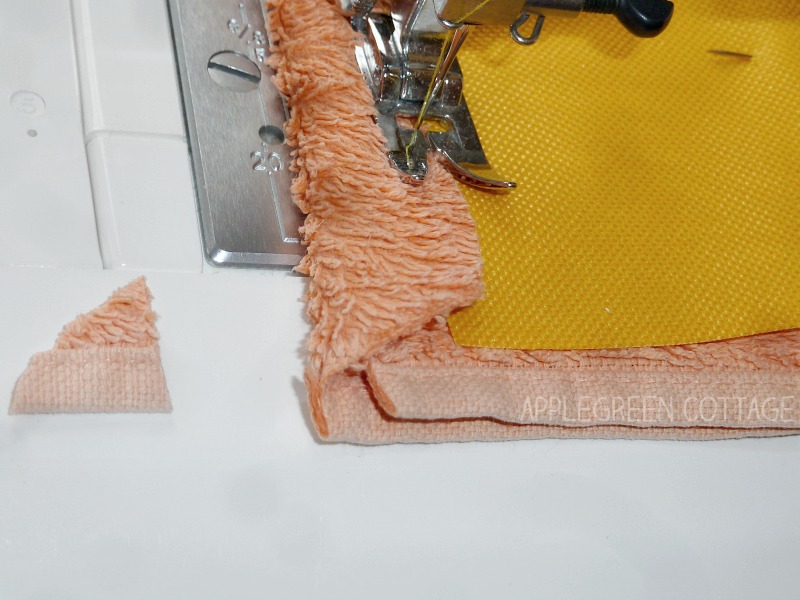
5) Repeat on the other long side. To ensure a snug fit of the mop pad, I also double-checked the width against the floor mop head while sewing. I recommend you do the same.
6) CLOSE THE SHORT SIDES. All that's left to do now is close the short sides of the mop pad: you can simply zigzag over them.
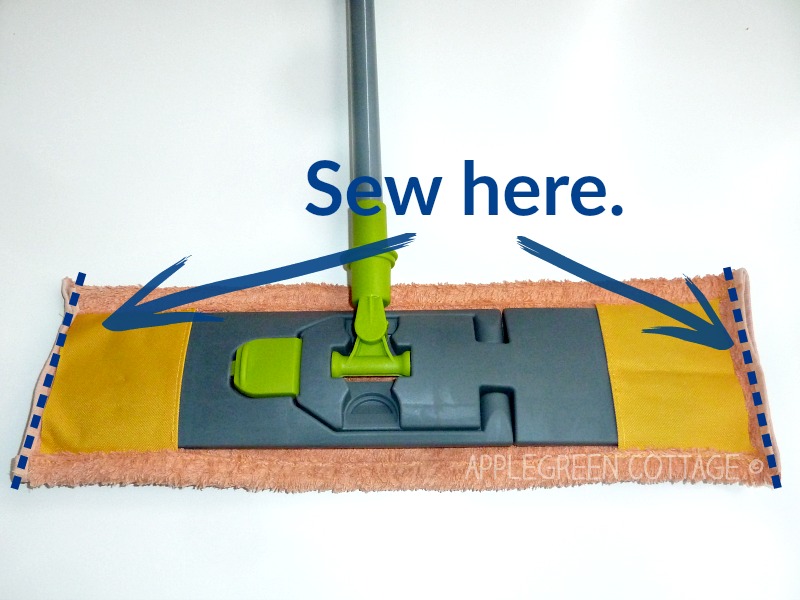
What I did was I folded the sides over first and then stitched them using a zigzag stitch. But just so you know, folding is not really necessary. The zigzag alone will do the job! Just make sure you'll zigzag over the raw edges too if there are any - this way, you'll prevent fraying.
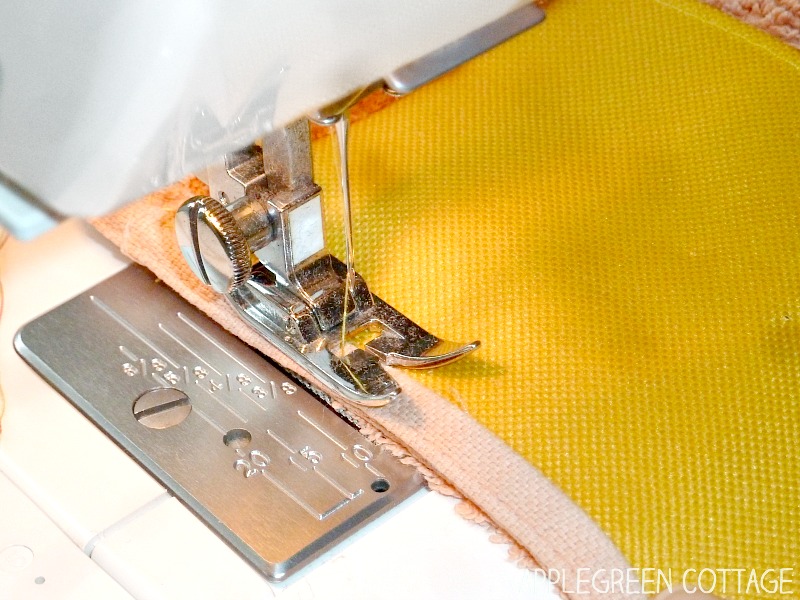
*By coincidence, my towel from which I made this mop pad tutorial was the ideal width, so there are no raw edges on the sides. But this doesn't happen often, so - yes, zigzag over the raw edges. And sorry for the dusty machine foot in the photo (real life 🙂
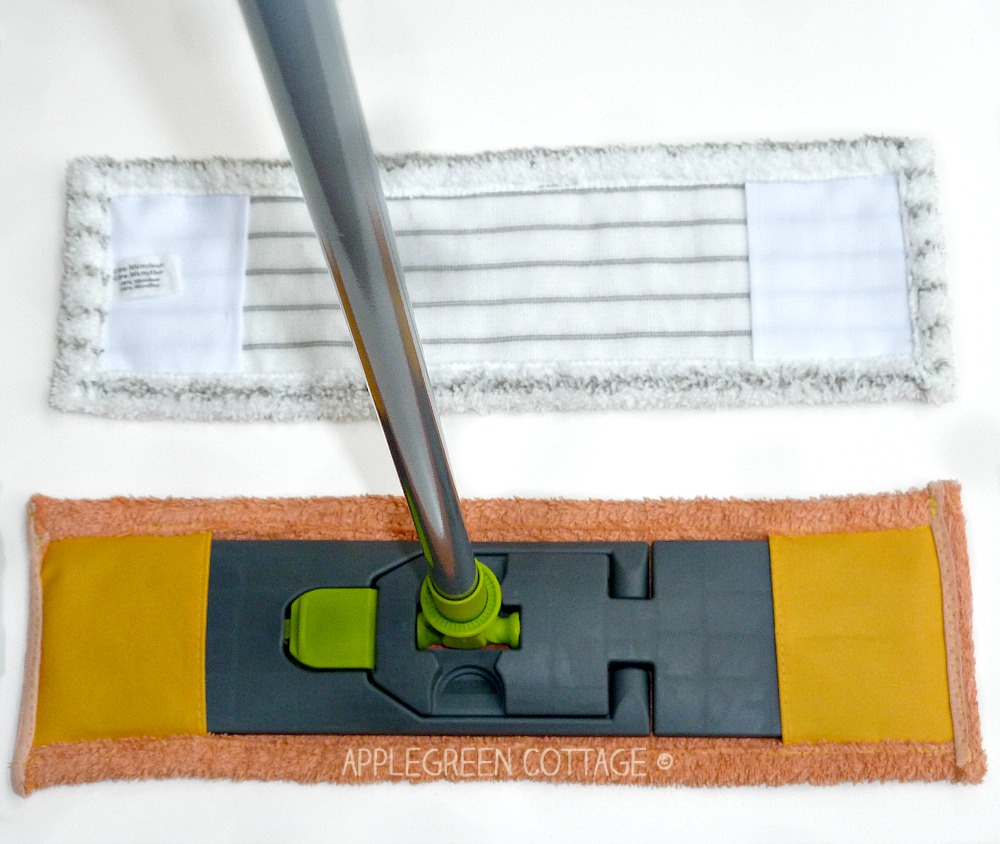
7) Finished! You've made it! A real beauty, isn't it? (Ohhh, nobody says that to a mop pad, right? Except if you're a hobby sewist!)
BONUS HINT for cutting out pieces:
And while you're cutting your pieces for your diy mop pad, make several more. That's what I usually do for my other sewing projects, too! If you cut a few additional pieces and store them (somewhere they won't be mixed up with my fabric scrap pile! Trust me, it happens!) - it will save you a lot of time for next time you'll need additional mop pads.
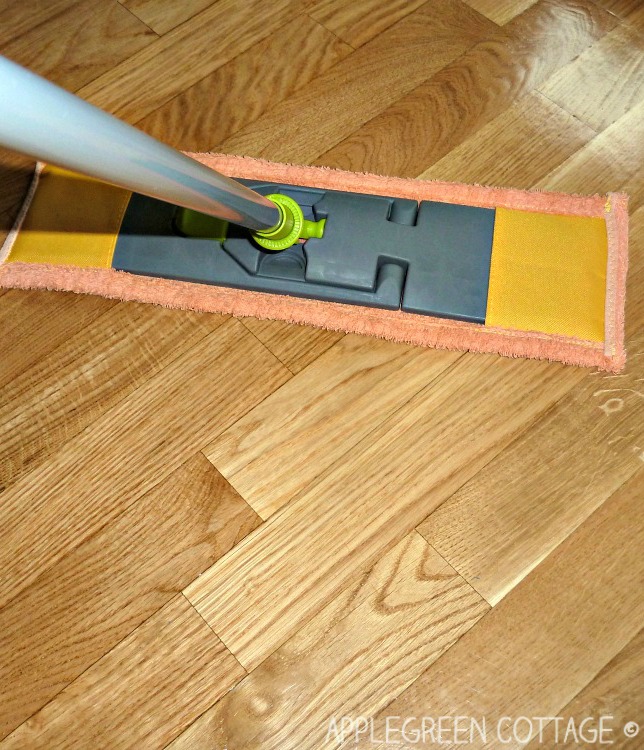
Now it's time to show off the new diy mop pad in action. Neat, isn't it? And it works!
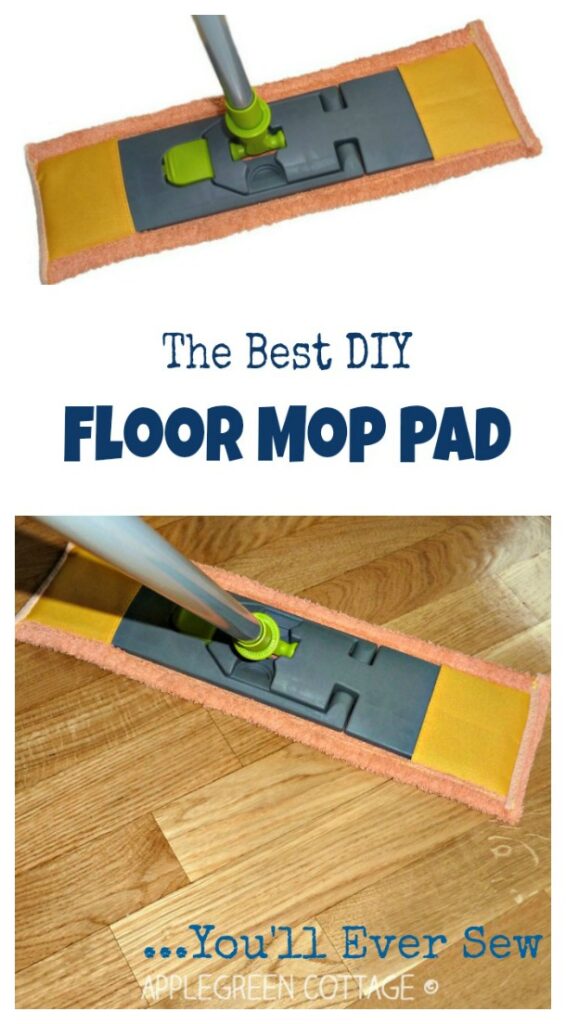
Make yourself a few of these cute flat mop refill pads - for free! It's a quick and easy project. Start sewing now - or pin this tutorial for later!
NO TIME FOR SEWING NOW? NO PROBLEM!
Sometimes life gets in between and there's simply no time to make something (let alone a mop pad!), no matter how much you'd like to sew. Happens to me sometimes too 🙂
Just make sure you pin this tutorial so you'll be able to save some money on mop pad refills when life gets less hectic. Happy sewing!
WANT MORE FREE TUTORIALS AND GOODIES?
Get email updates and never miss out on new patterns, printables, and tutorials:
Or check out this pretty ALLina project bag pattern in our shop - for all your storage needs:

Debbie Becker
What kind (Brand) of mop is that? Mine has the oush in holders for the pad but yours looks so much better.
Damjana at AppleGreen Cottage
Hi Debbie,
the mop in the photo is a local store brand, mömax (a German store chain, I believe), maybe this one by O'Cedar I found on Amazon would be easier to get? (link: http://amzn.to/2qkTANW) - this is a mop for those mop pads that have side pockets, and the mop head is foldable. In Europe, you can get this type of mop in practically every household department store, Vileda being one of the leading brands. I hope this helps.
Hebrew Issa
Lovely. Saved alot by taking the time out to look at your work . Great job Damjana.Shalom .
Damjana at AppleGreen Cottage
Happy to hear that my tutorial helped you save money.
Pam @Threading My Way
Great way to save money, Damjana and looks easy to do. I've showcased your fab tutorial today.
Damjana at AppleGreen Cottage
Pam, that's awesome, thanks!
JKuhn
That is very clever and easy to do... I really like this idea!
Jacky
Damjana at AppleGreen Cottage
Thanks Jacky!