
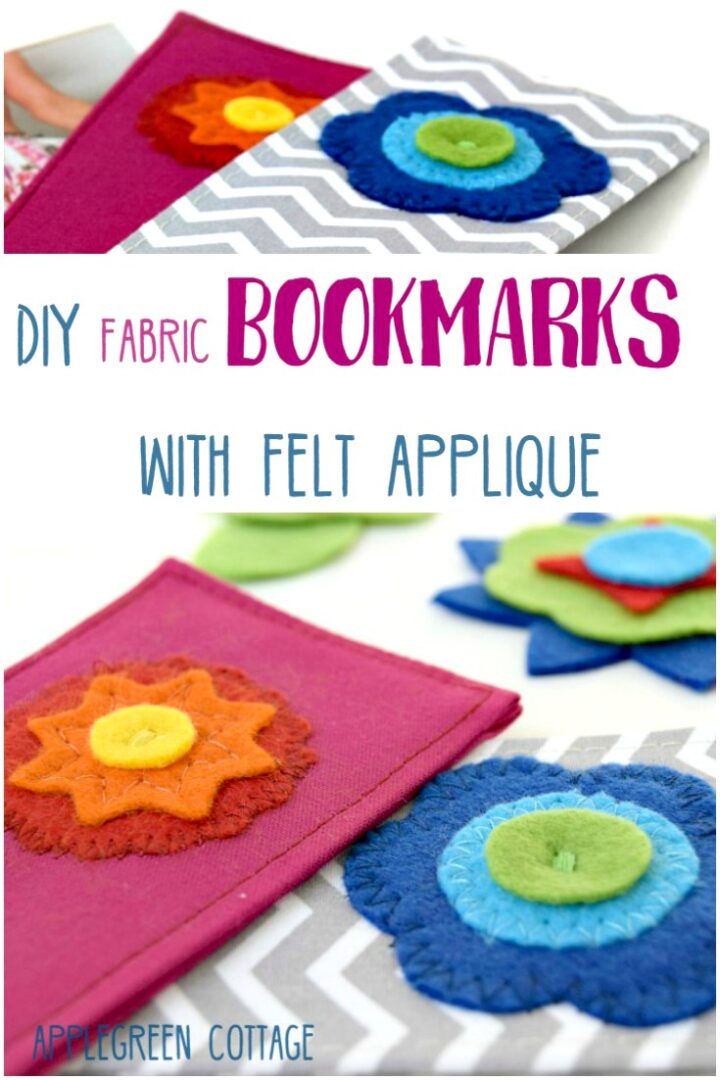
How to make a bookmark - Here's a super easy tutorial for fabric bookmarks with felt applique, a clever and simple scrap-busting idea for this book-reading season. These bookmarks with felt applique are a quick and easy beginner sewing project, and they make wonderful personalized DIY presents for your loved ones.

This post may contain affiliate links. Thanks for your support. You might have noticed I like making diy bookmarks - like these new diy corner bookmarks, check them all out!
You'll find tons of easy crafting projects on this blog, including these you'll want to see:
- Diy Paper Bookmarks - For Kids
- Fabric Hanging Basket
- Super Easy Felt Storage Cube to DIY
- Free Template - Folded Felt Flowers
Enjoy! Now, back to 'how to make a bookmark': these are easy projects to get your kids involved in sewing; depending on their age, they can choose the fabric, the felt colors, they can cut the felt forms, or even sew if they have already learned how to sew. Older kids will be able to complete the project on their own.
These DIY bookmarks will also make wonderful personalized presents for your loved ones, and easy and cute stocking stuffers.

How To Make A Bookmark Video Slideshow
First, for those of you who like video tutorials, I've made a video slide-show just to make it easier for you. Check it out:

Now, check out this easy tutorial! Let's start at the beginning and see what you'll need for the project:
Supplies

Supplies required in this how to sew a bookmark tutorial:
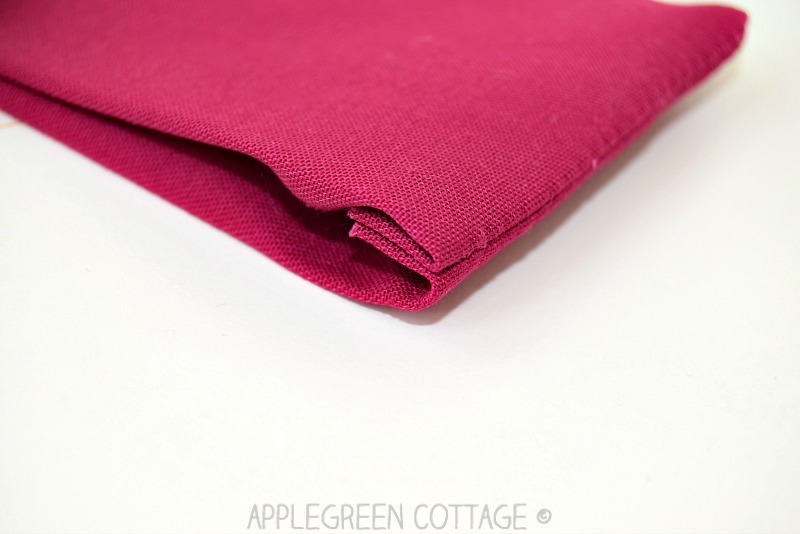
- BASE: a 9 by 6 inch (=23cm x 15cm) large scrap of fabric
- a piece of fusible fleece or batting: 2 ½ inch x 8 ¼ inch (=6.5cm x 21cm) - i.e. in the finished bookmark size to avoid bulk on the stitching line)
- optional: same dimension as felt batting: stiff woven interfacing for additional stability
- a few felt scraps in your favorite colors
- sewing machine or needle, pins, sewing thread, scissors
- optional: a few cookie cutters (you'll see soon why)
How To Make A Bookmark - TUTORIAL

1) Cut the rectangular fabric piece for the base (dimensions above). You'll only need ONE piece per bookmark only. I made 4 bookmarks this time.

2) For added stability and thickness, you can apply the fusible interfacing and batting to the base. I chose two layers, stiff woven interfacing for stability and fusible fleece to give the bookmark a bit of a body:

3) Apply fusible interfacing and batting to the base, one on each side as you see in the image above.

4) Fold under the seam allowance along both long edges of the fabric. Press.

5) Make sets for the felt applique combination for the flowers. The easiest way to get the form? I just traced a few cookie cutters and cut along the traced lines. For me, there's no easier way to do it! So I might have made a few more than required, though they didn't make it into this photo...

Depending on how many bookmarks you want to make, you'll probably only need 3 pieces per one. This is how I arranged my pieces.

6) Now, pin your felt applique-to-be on one half of the fabric. You'll remove the pins as you sew.

7) Select matching or contrasting threads (your choice!). Start sewing the lowest layer, and then add the smaller ones. Plain straight stitch, wide zigzag or decorative stitches - your choice!
Now, stitching. Follow along:

8) Seam allowance along the long edge of the fabric stays FOLDED (I pinned it, see?)
Then, unfold the center fold and re-fold it right-sides-together, so you see batting and stabilizer - see the image above.

9) Stitch over both short ends, using the ⅜" (=1 cm) seam allowance.

10) Turn right side out.
To push out the corners, use a point turning tool or something similar, like a chopstick, a knitting needle, or simply a pencil. Don't use anything sharp since it could make holes in your fabric.
A detail: see, the raw ends are neatly tucked in. Now's the time to press the fabric for a nice and crisp finish.

11) One long side is still open: edge-stitch around the entire bookmark. This way, you'll stitch the opening closed. Done!

Your bookmark is ready, now you just need to choose which book you'll start reading first! Happy sewing!
Pin For Later:

WANT MORE FREE TUTORIALS AND PATTERNS?
Get email updates and never miss out on new patterns, printables, and tutorials:

Or …check out the Mia Clutch pattern in our shop. One of my quickest and easiest pouch patterns, and it has a nice little folding hack you'll love!
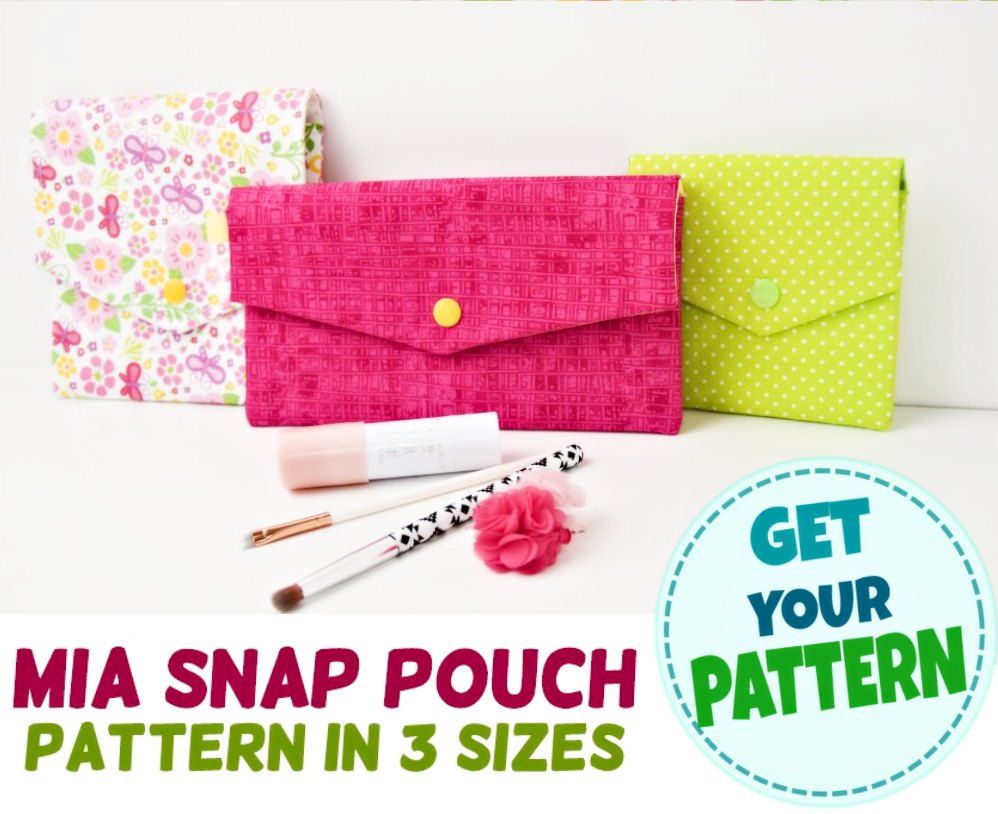
Beginner-friendly, no zippers at all.


Michele Cullen says
Love these! Great scrap buster and extra gift!
Pam @Threading My Way says
These would make lovely gifts, Damjana - and they look very easy to make. I'll be showcasing your fab tutorial this weekend.