

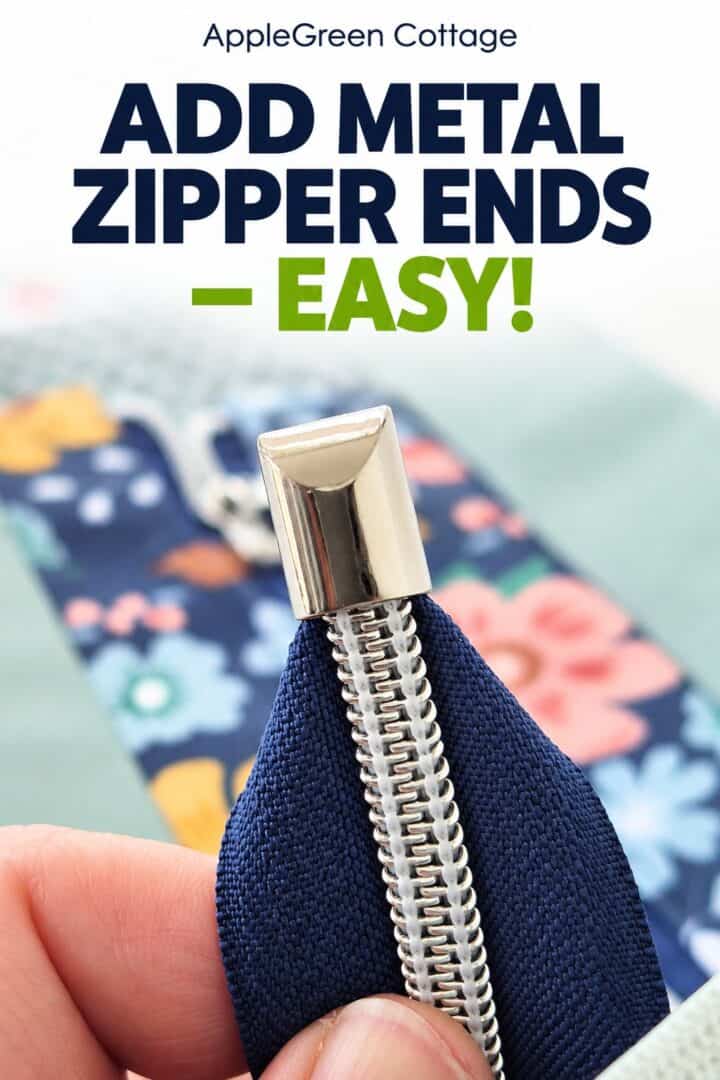
See how to add a zipper end cap to a bag zipper - it only takes a few minutes!
Want to give your handmade bags and purses a clean, professional finish? Adding a metal zipper end cap is one of the easiest ways to do it. This quick video tutorial and step-by-step photo guide will show you exactly how.

Though it may not look like a beginner project, it is pretty easy to install a zip end to a bag zipper. Actually, I find it even quicker to add a metal end cap than sew a fabric zipper tab!
Table Of Contents
Metal Zipper End Cap vs Fabric Zipper Tab
Both options work well (and I've got tutorials for both!) - it just depends on the look you want and the materials you have on hand.
A metal zipper end cap is fast, neat, and gives your zipper a polished hardware finish. It's a great choice when you want the bag to look a little more professional, or when the zipper end will be visible. The only downside is that you need the right size end cap, plus the tiny screw that comes with it.
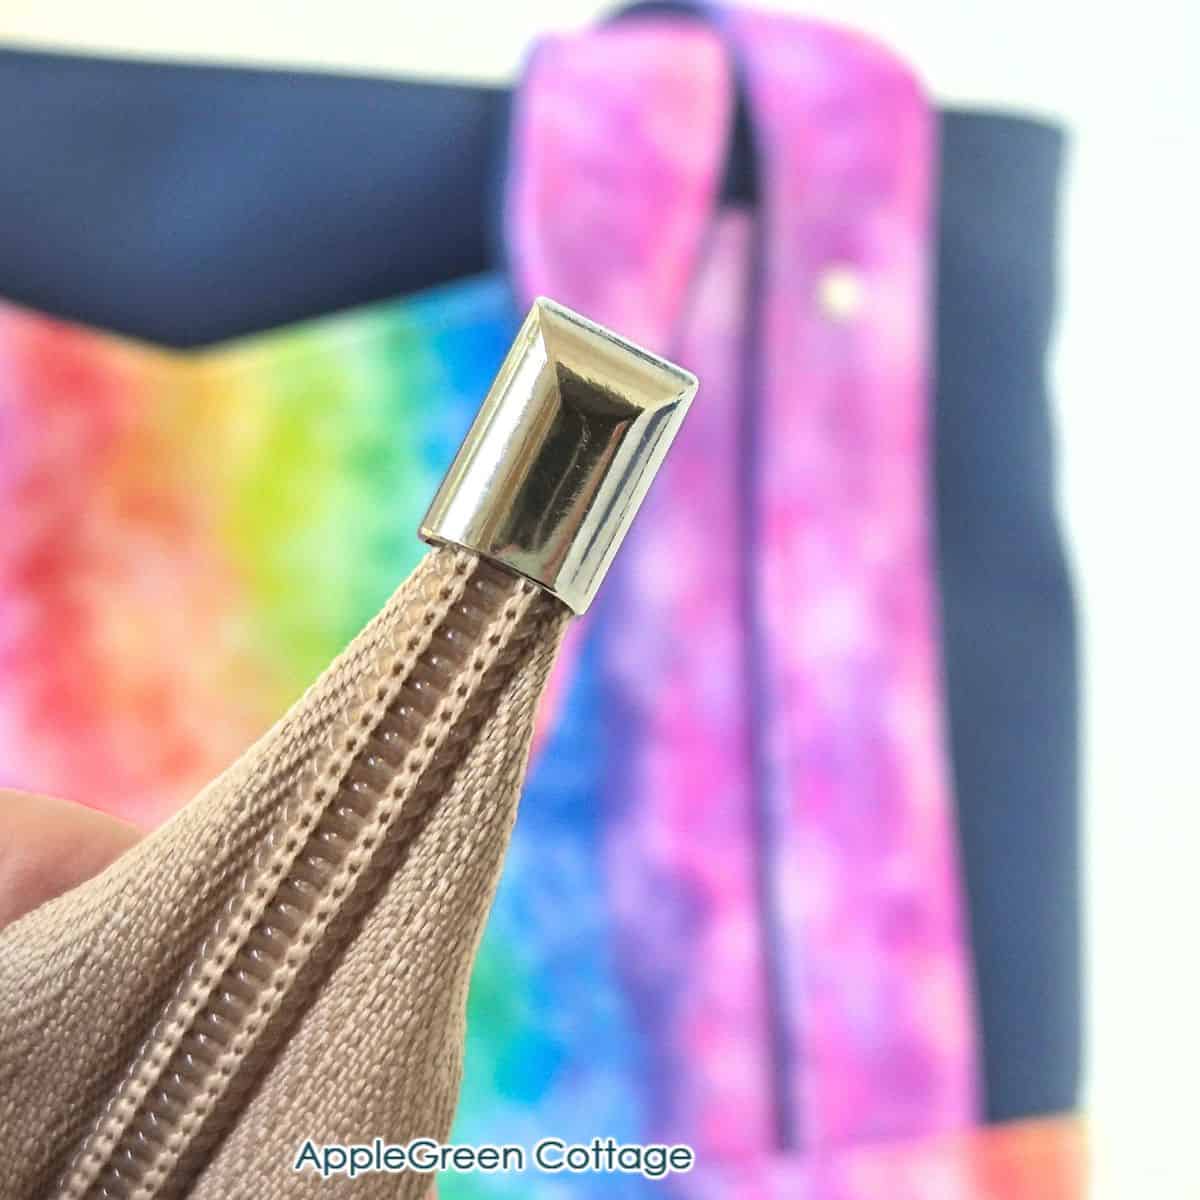
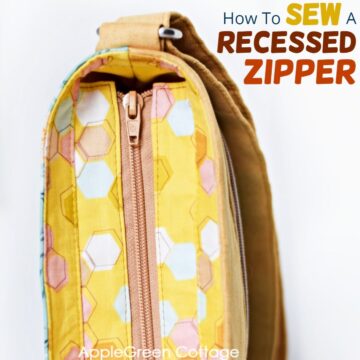
It covers the raw zipper tape, gives the zipper tail a clean, polished finish, and adds a professional-looking detail to your bag. Try it with my popular recessed zipper panel tutorial!
A fabric zipper tab is a softer, fabric-matching option. It's useful when you don't have zipper end hardware, when you want the zipper end to blend into the bag, or when you prefer an all-fabric finish. It takes a little more sewing, but it's a great alternative and works beautifully too.

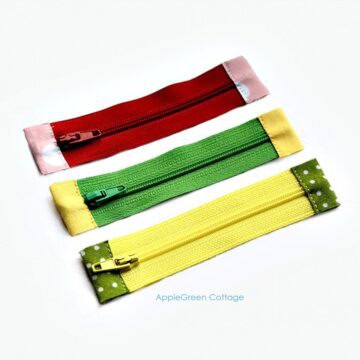
→ See a separate tutorial for sewing a fabric zipper tab. I also made a fabric zip end on this cosmetic pouch tutorial.
In short: use a metal zipper end cap for a quick, polished hardware finish, or a fabric zipper tab for a softer handmade finish that matches your bag.
Standard metal end cap Sizes
There are several styles of metal zipper end caps, but a common size for bagmaking is 17 mm long × 11 mm wide × 6 mm high (approximately ⅝" × ⅜" × ¼"). This is the size offered by both WAWAK and Sallie Tomato. Since dimensions can vary between manufacturers, you'll need to check the inside opening to make sure your folded zipper tape will fit.
supplies
Shop my personal favorite sewing supplies on Amazon HERE.
You'll Need:
- metal end cap with a screw
- Small screwdriver (here are several popular ones) - 18mm is standard size!
- scisors and lighter to shorten and synge zipper tape end
- optional: glue and awl
how to add a zipper end cap - STEPS
A beginner project, really! We'll go slowly, I've taken photos of each tiny step to make it super easy for you.
Step 1 - Shorten the zipper end
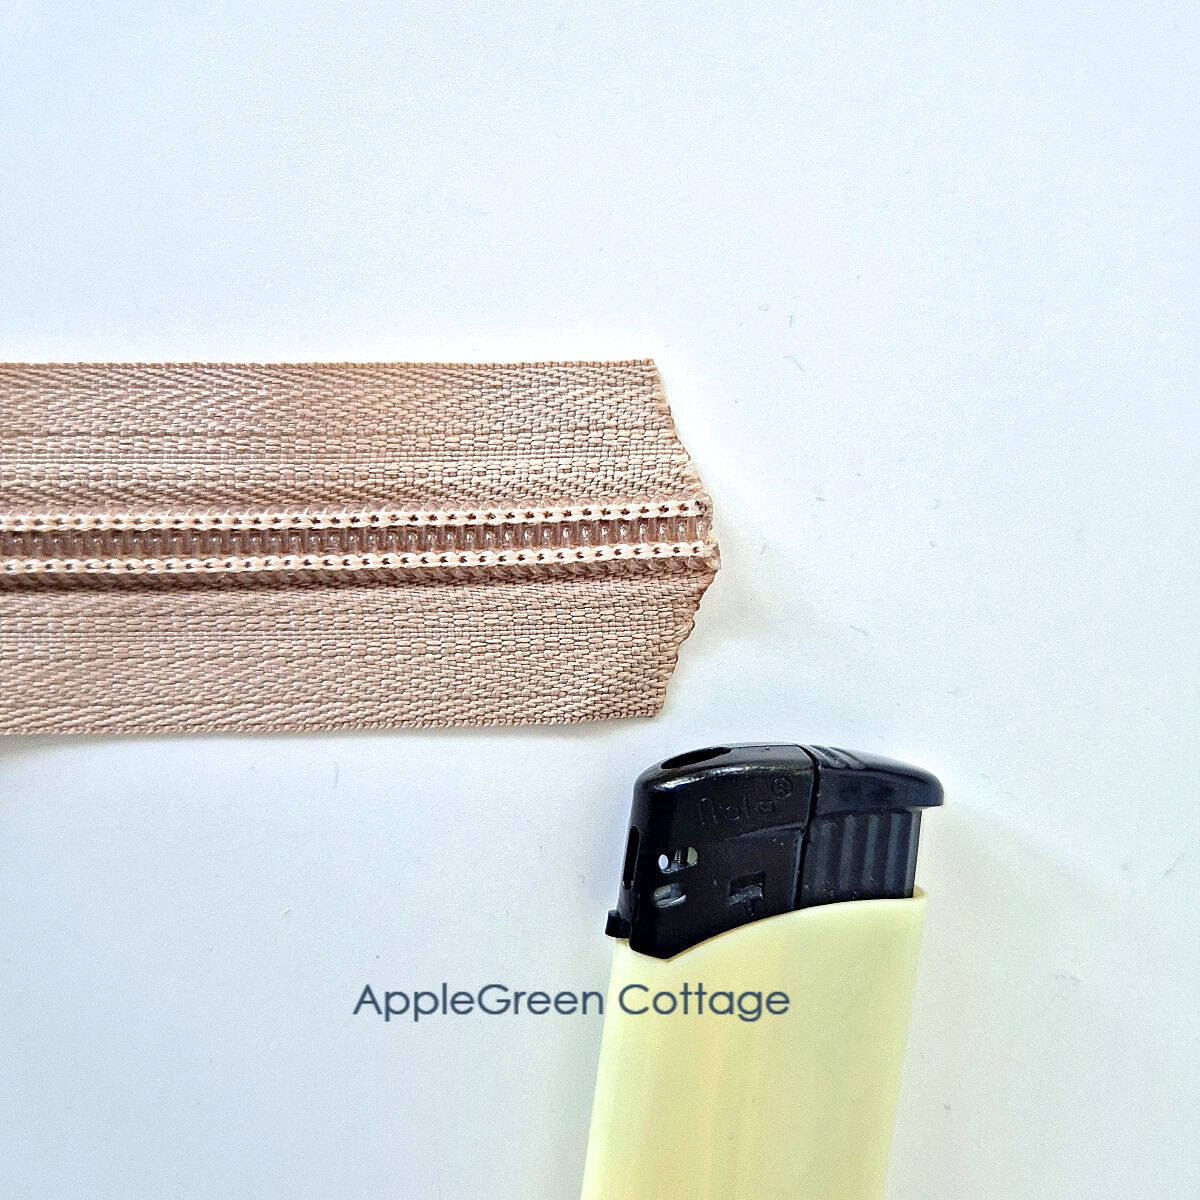
Trim the end of the zipper tape into a slight V shape. This makes it easier to slide the zipper end on.
Carefully synge the raw edges of the zipper tape to prevent fraying.
Step 2 - Fold zipper tape towards the back
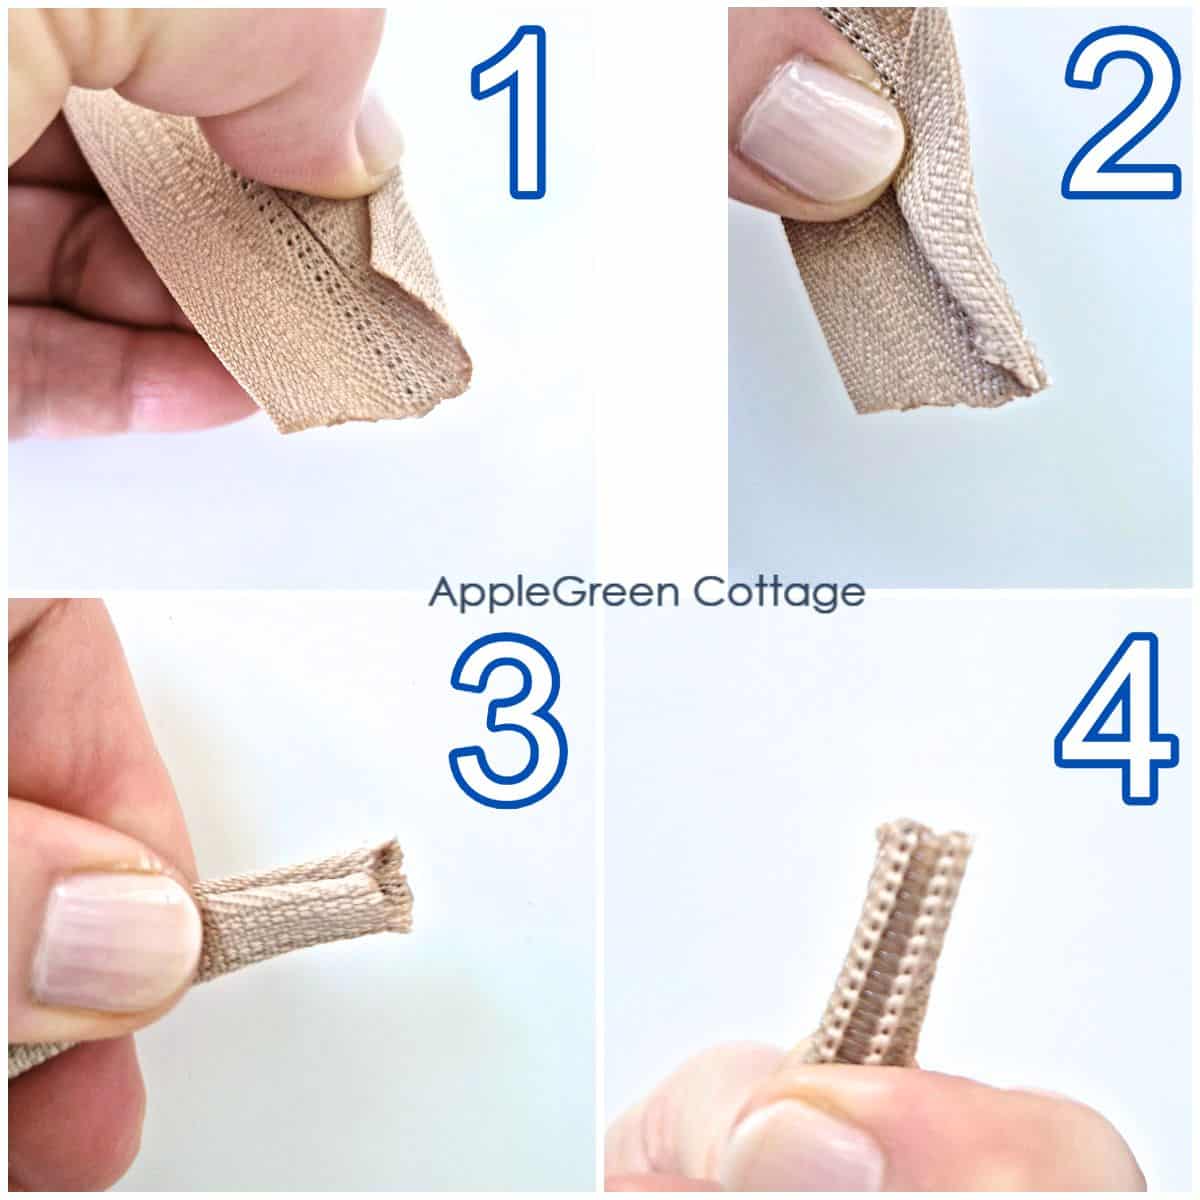
Fold one side of the zipper tape under and back behind the zipper teeth (1) - I usually fold twice (2) so all the tape is now hidden behind the zipper teeth.
Fold the other side of the zipper tape under the same way. (3)
NOTE: The folded end should be about the same width as the zipper teeth. (4)
Step 3 - Add END Cap
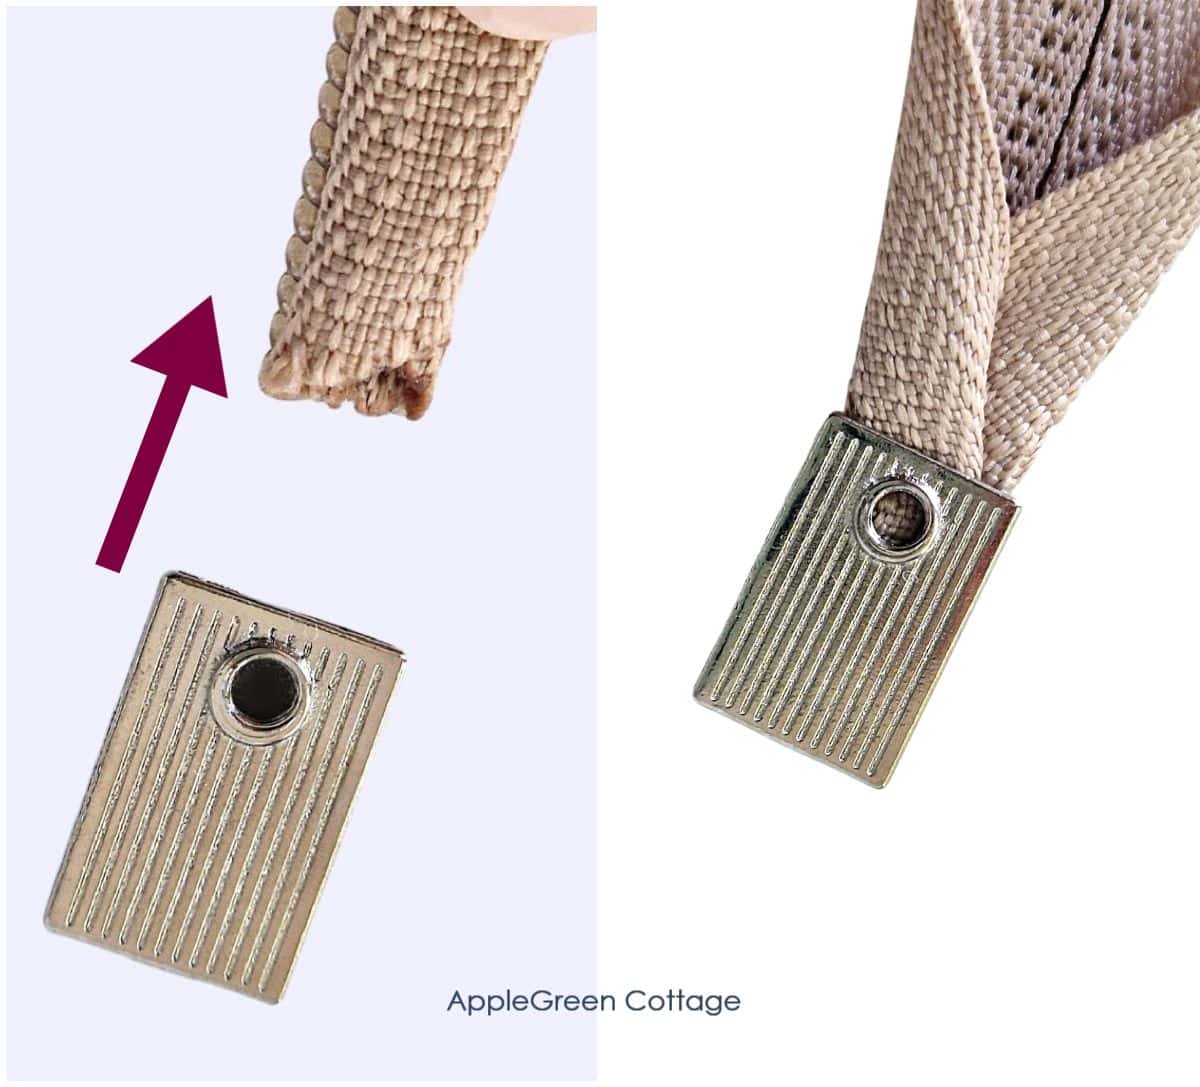
OPTION: add a tiny bit of glue inside the zipper end cap.
Slide the metal zipper end cap onto the folded zipper end. The cap hole should go to the back of the zipper - it should not be visible on the front (zipper-teeth) side.
Step 4 - Poke a hole through the layers
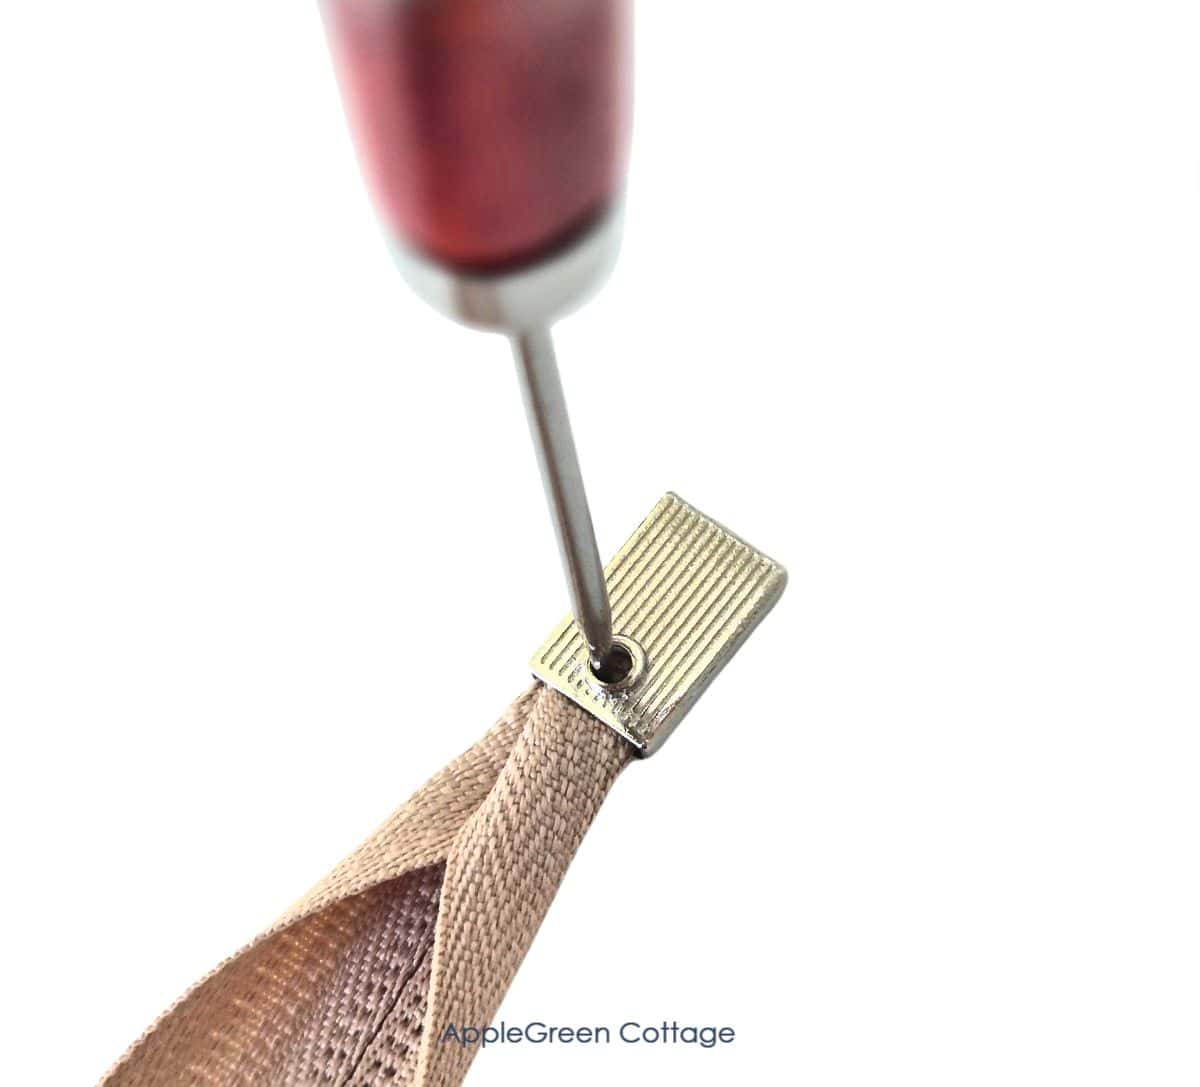
I usually use an awl to make a small hole through the zipper tape where the screw will go.
Step 5 - Fasten the screw
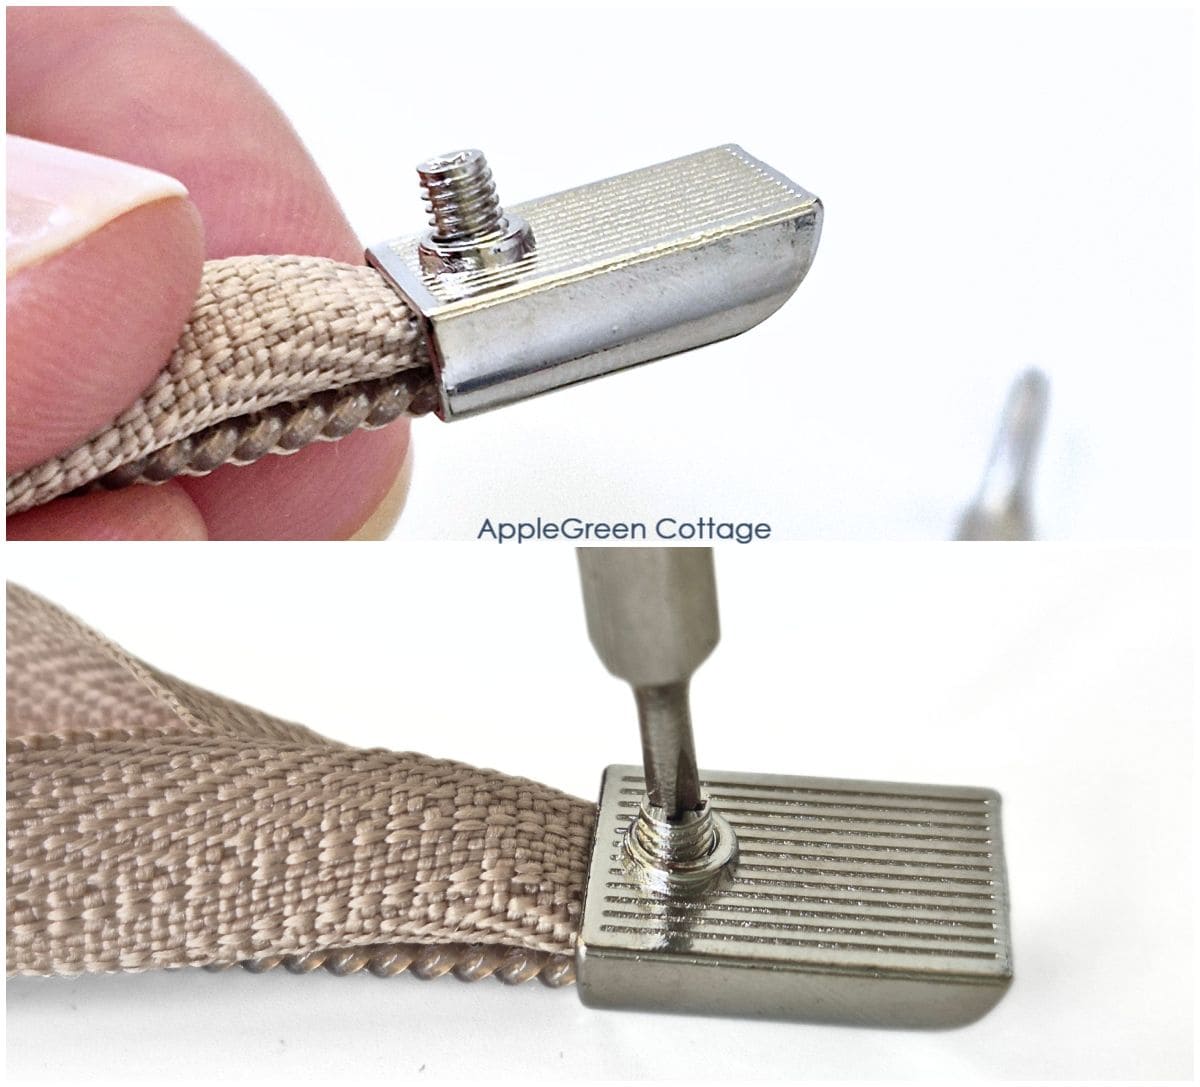
Insert the tiny screw and tighten it carefully. Also be careful not to lose the screw, it's really hard to find on the floor. Ask me how I know 🙂
And that's it - I hope you liked this tutorial on how to install metal zipper end caps!
Alternative:
You can also make a fabric zipper end instead. Easier than you'd think!
Test it on This BAG pattern:
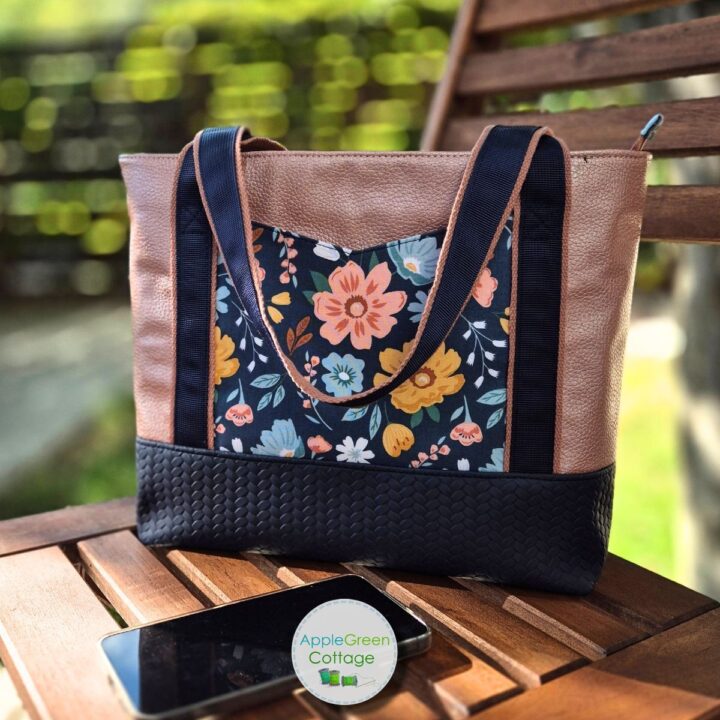
Sew Your New Favorite
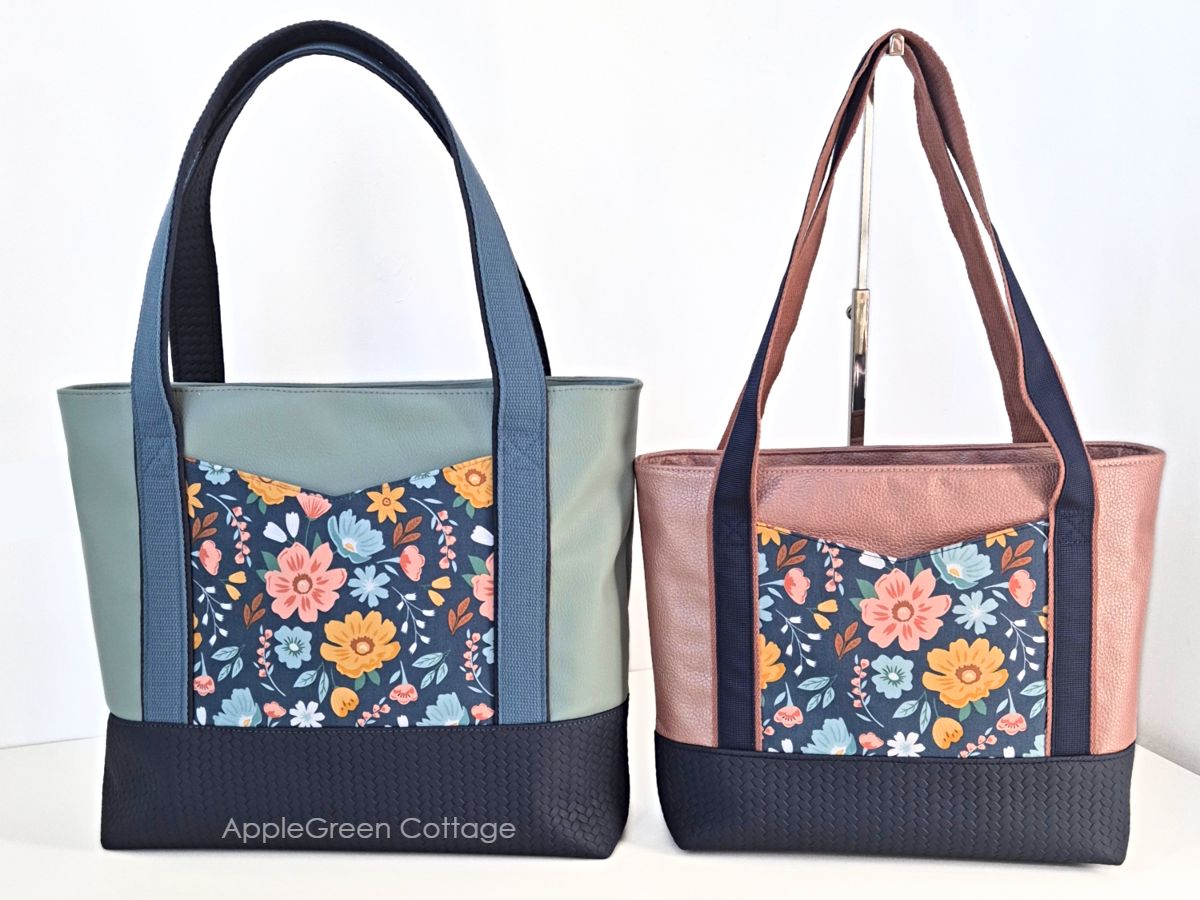
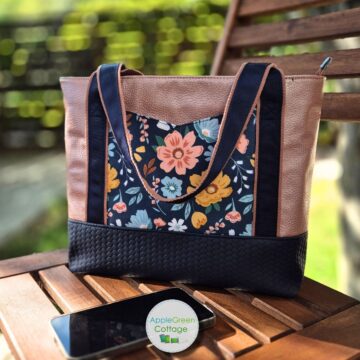
For those wondering where this tutorial came from, I made it when sewing one of my own designs, the Avela Tote. I love it for its convenience and - beauty! And, it comes in two sizes, for everyone:
Related Ideas

I highly recommend looking into the how to reduce bulk in bagmaking guide. Tons of value! There are also many easy sewing projects you can use your new zipper sewing skills, say with this makeup zipper pouch too - it's a free pattern!
More bagmaking ideas
NEWER BAGMAKER?

+7 FREE Templates!
Make a trendy DIY webbing strap with strap connectors:


Leave a Reply