
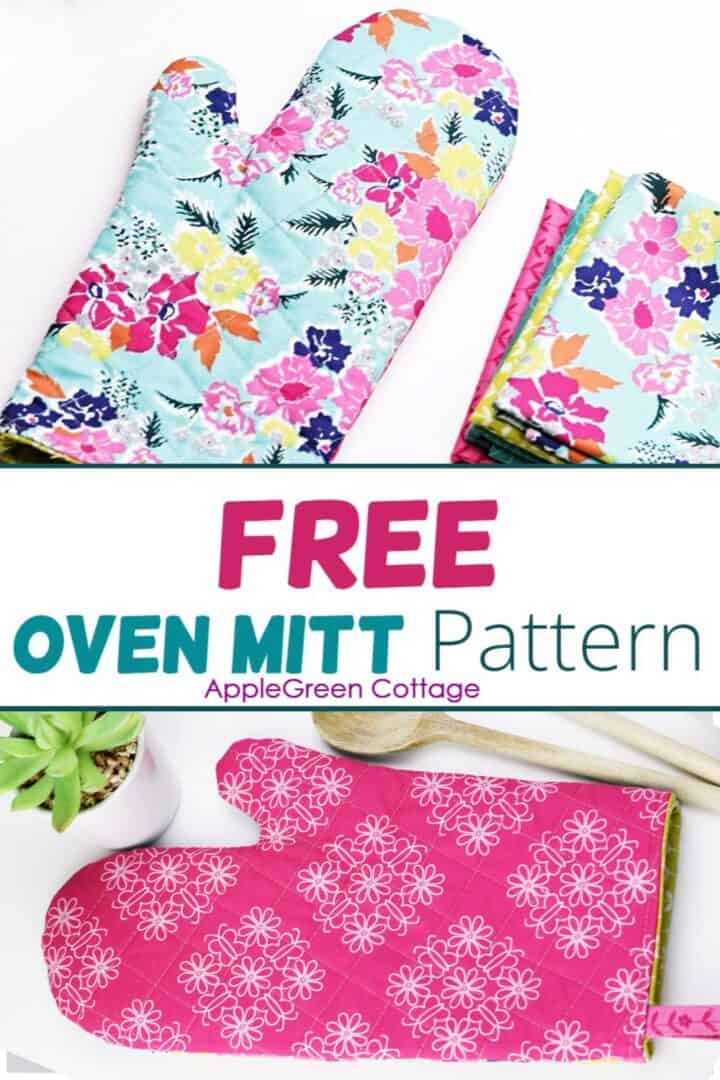
Protect your hands from hot dishes and baking trays. See how to sew an oven mitt with our free printable oven mitt pattern. 2 sizes, adults and kids!
Easy to make - no raw edges and no binding!
If your kitchen is like mine, it gets messy. Especially the items we use for baking and cooking. Like my potholders. And oven mitts. They get dirty all the time! But I can always make a new set - and now, you too!
Prefer an ad-free printer-friendly option of the whole tutorial+pattern? See the → optional PDF file in our shop.

This tutorial is also part of Printable Tutorials BUNDLE
100 PDF tutorials now, and growing!
Table Of Contents
Why people love this pattern
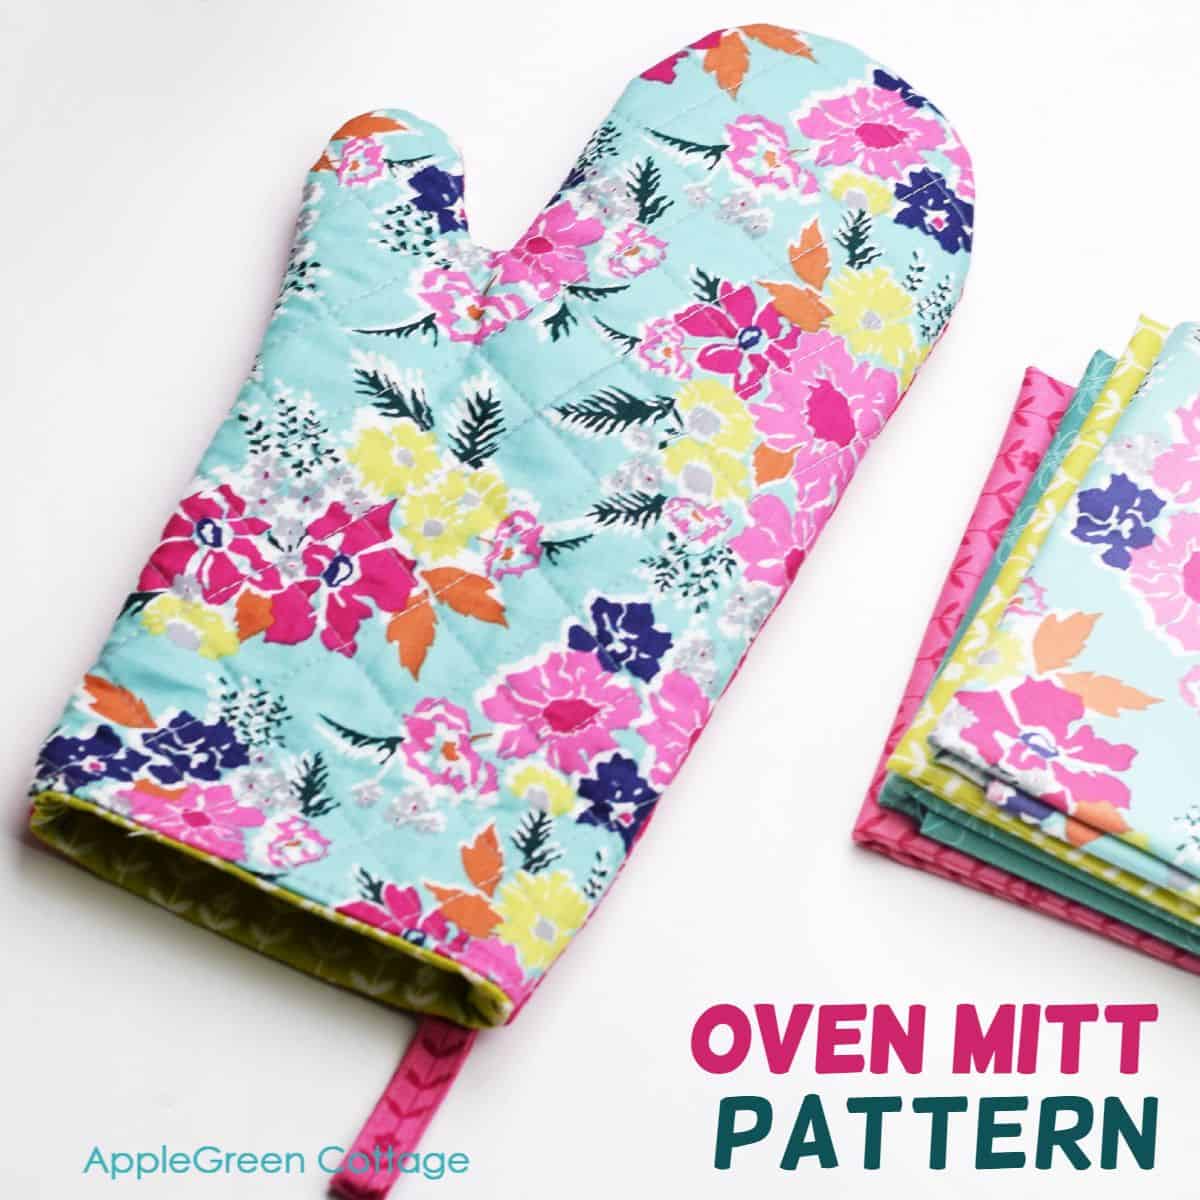
This quilted oven mitt is generously sized to provide lots of protection.
- 2 sizes: kids and adult (both generously sized)
- covering a lot of the forearm (better protection!)
- No bias binding needed (yay!)
- Fully lined (of course!)
- Easy quilting (quilting beginners, welcome!)
- optional hanging loop (handy!)
Oh, and before I forget, also check out our new SewPretty HOME email series for a few matching projects!

Join the FREE 7-part email course and make 6 beautiful items for your home! You'll love it!
Supplies
Shop my personal favorite sewing supplies on Amazon HERE.
- half a yard (meter) of quilting weight fabric in total (I used Flower Farm collection from Riley Blake Designs)
- insulated batting (I used Insul-Bright)
- the usual: sewing machine, thread
- scissors or rotary cutter, and a cutting mat
- Odif 505 for temporary spray-basting the layers. Ignore it if you don't have it, and use safety pins instead.
- walking foot recommended
- sewing clips (or pins)
- free oven mitt pattern here
What is the best batting for oven mitts?
If you're asking yourself what batting to use for oven mitts, here's a short answer: best use heat-resistant batting like Insul-Bright to protect your hands from burns. You can also use cotton batting (not polyester batting)
Make a Matching Apron!
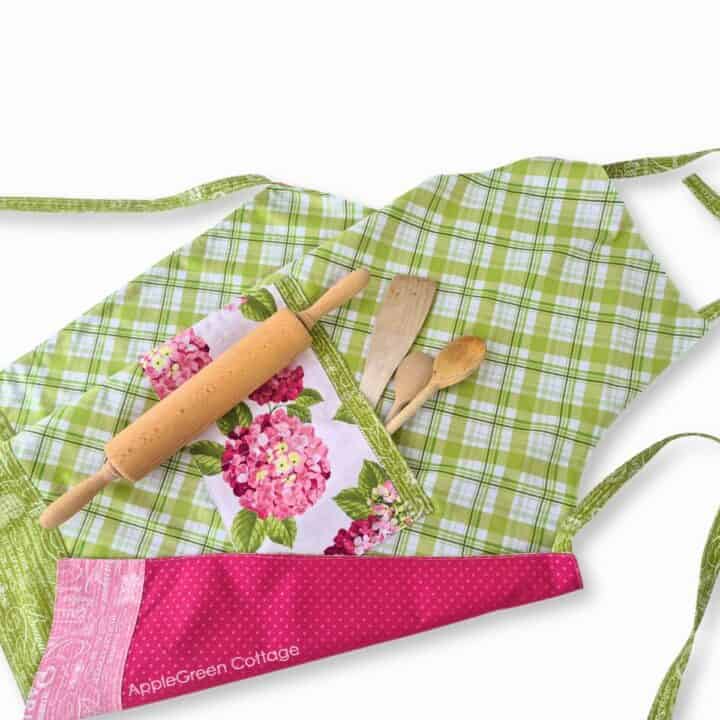
+Free Apron Pattern
Use matching fabric and sew an apron -2 sizes, reversible!
Quilted Oven Mitt Sewing Video
Sewing Steps
This project uses a ⅜" (1 cm) seam allowance.
In short, we'll first make two quilted pieces from whole fabric pieces to quilt the outer, then add lining and stitch those together. No binding! But let me show you the process slowly and nicely, with a lot of photos:
Step 1 - Get the Free Oven Mitt Pattern
Join our mailing list and get the oven mitt template in 2 sizes emailed to you:
Prefer an ad-free printer-friendly option of the whole tutorial+pattern? See the → optional PDF file in our shop.
To print this PDF, download the pattern file to a desktop, open it in ADOBE READER, and print at 100% size on paper or cardstock. (See pdf printing tips here if it's your first PDF pattern.)
Step 2 - Cut fabric and insul-bright
Decide on the size (adult or kids size). I chose the adult size, it finishes at 12 ½" long by 7" wide.
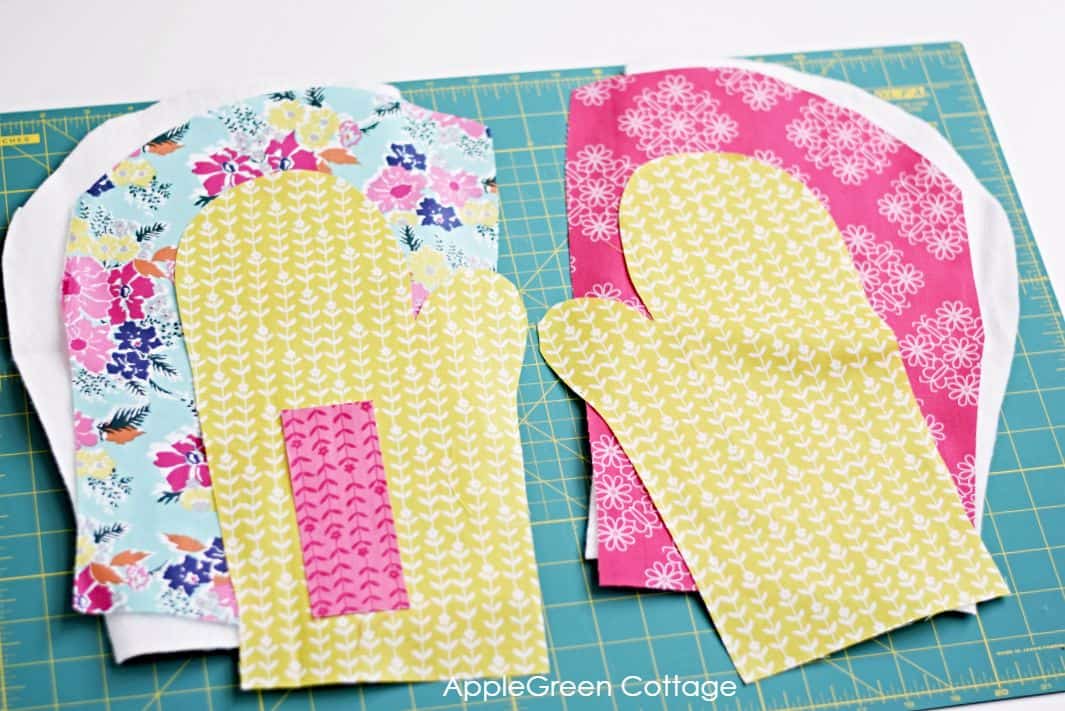
1 - Use the MAIN pattern piece to cut:
- 2 quilting cotton pieces for the exterior, mirrored and at least one inch larger on all sides than the template
- 2 pieces of insulating batting, cut mirrored and the same size as the outer fabric (larger than the template)
- 2 quilting cotton pieces for lining - these two pieces should be mirror images of each other, too - but cut exactly the size of the template (no need to leave any extra fabric, as you won't quilt these lining pieces.)
2 - Use the HANGING LOOP pattern piece to cut a hanging loop from quilting cotton
How To Cut The Pieces: you'll need to cut pairs: two main outer pieces, batting pieces, and the lining pieces must be MIRRORED, each time the thumb portion pointing to the left and the other pointing to the right. This is important.
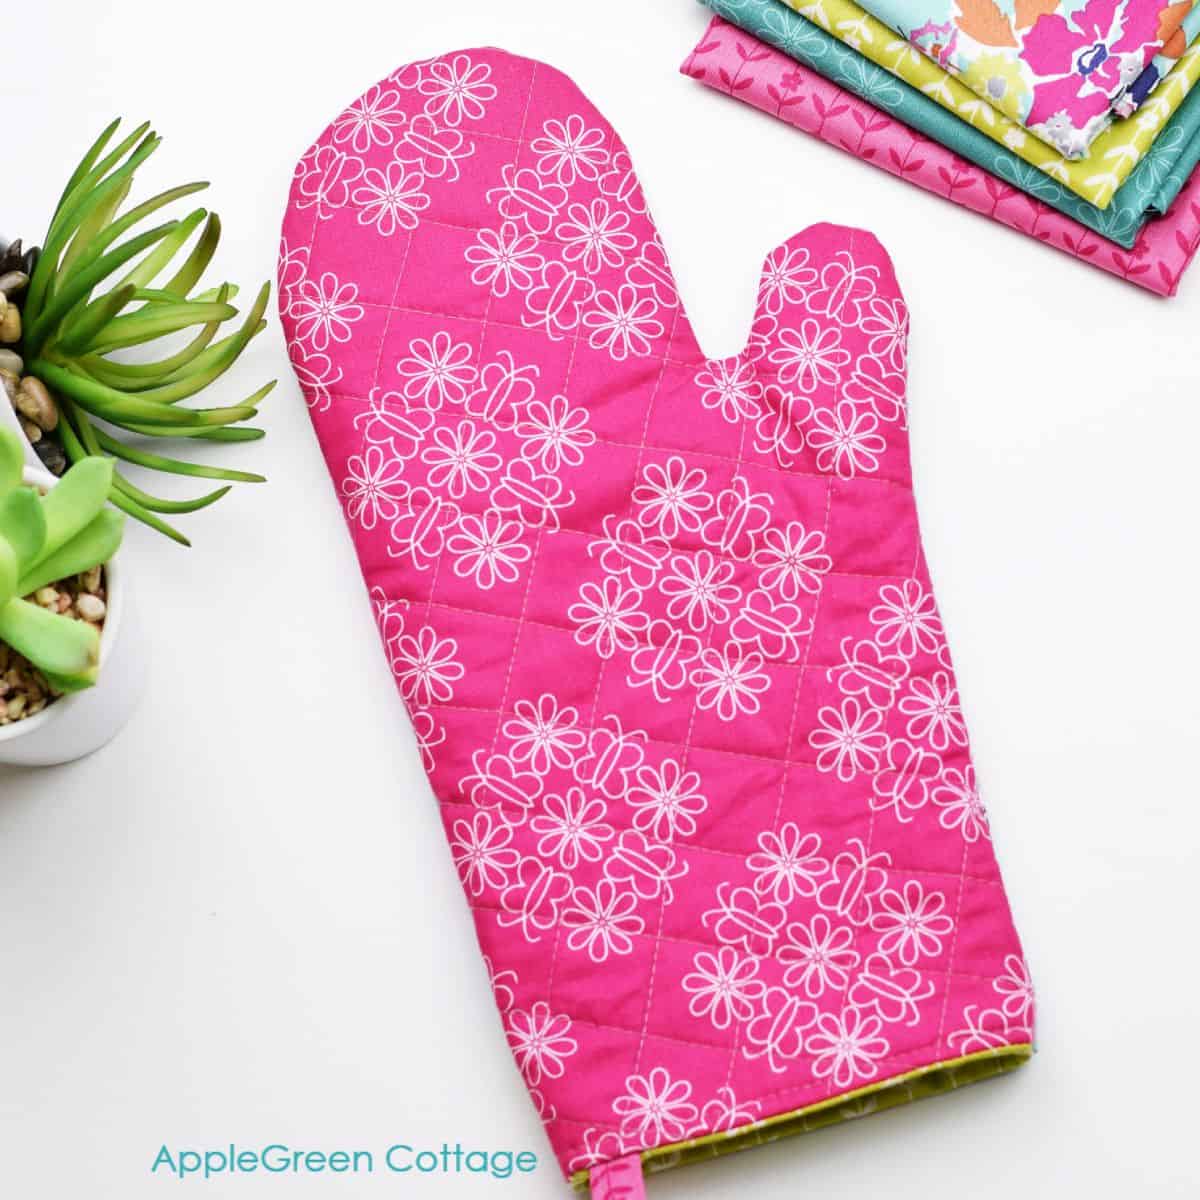
Step 3 - Quilting Step
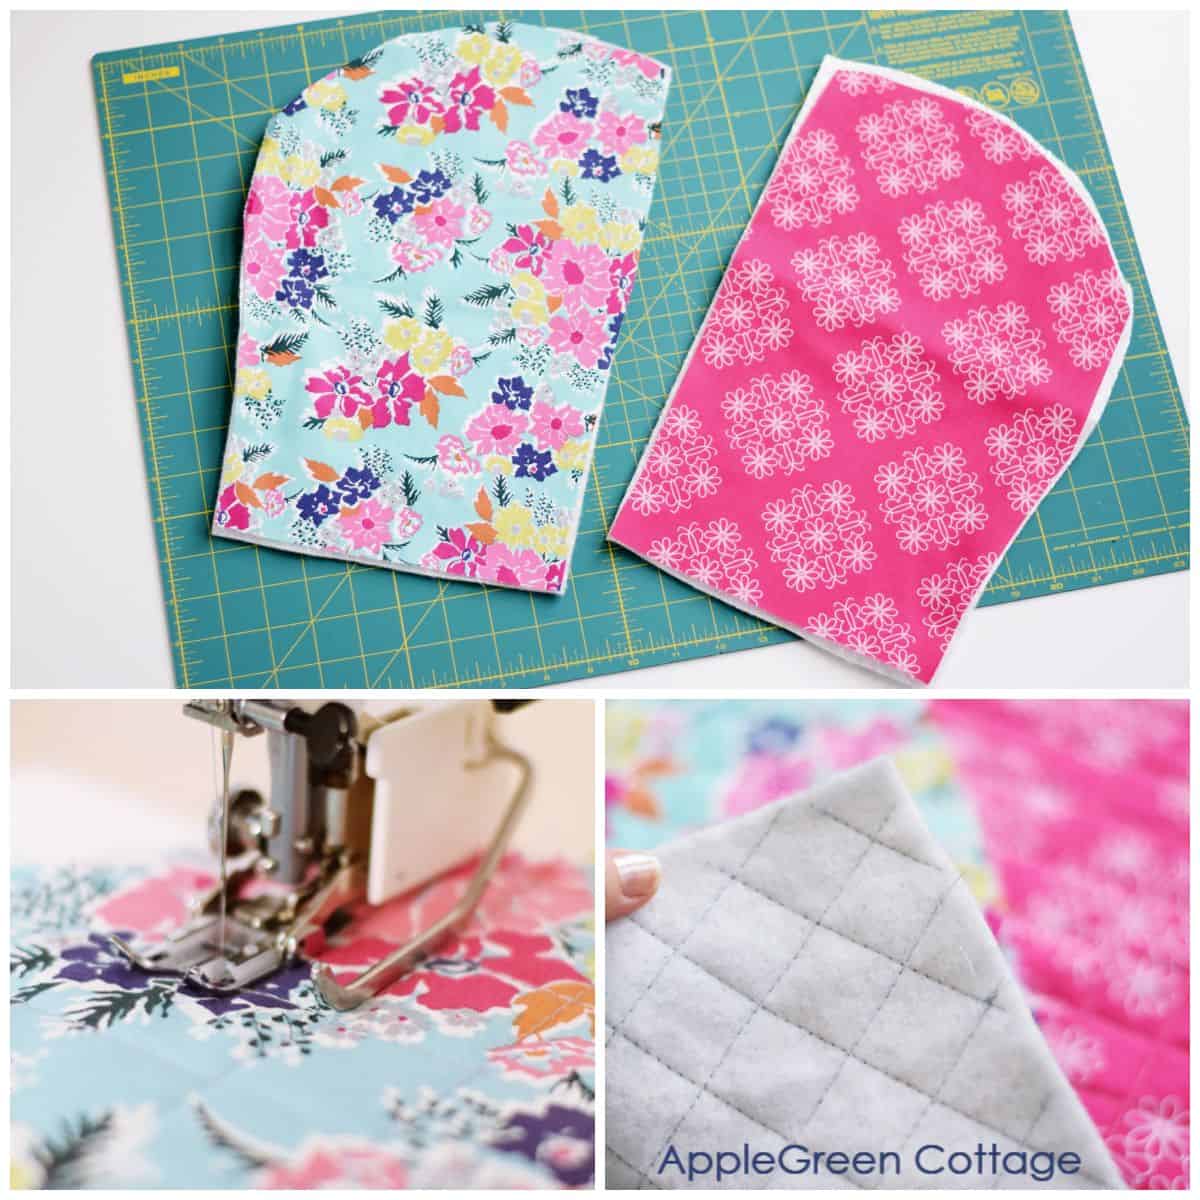
Place the batting on a flat surface and lay the fabric piece (pretty side up!) over your batting. Then quilt. I made a diagonal grid with seams approximately 1″ apart, diagonally. Looks amazing and it's easy! (Also, see a quilting tip at the end of this tutorial!)
2 tips
- Use a walking foot on your sewing machine, which moves all fabric layers at the same speed. Fewer puckers and easier quilting!
- Spray-baste the layers before quilting, or use safety pins to keep the 2 layers in place.
Step 4 - Cut the 2 Exterior Layers - MIRRORED!
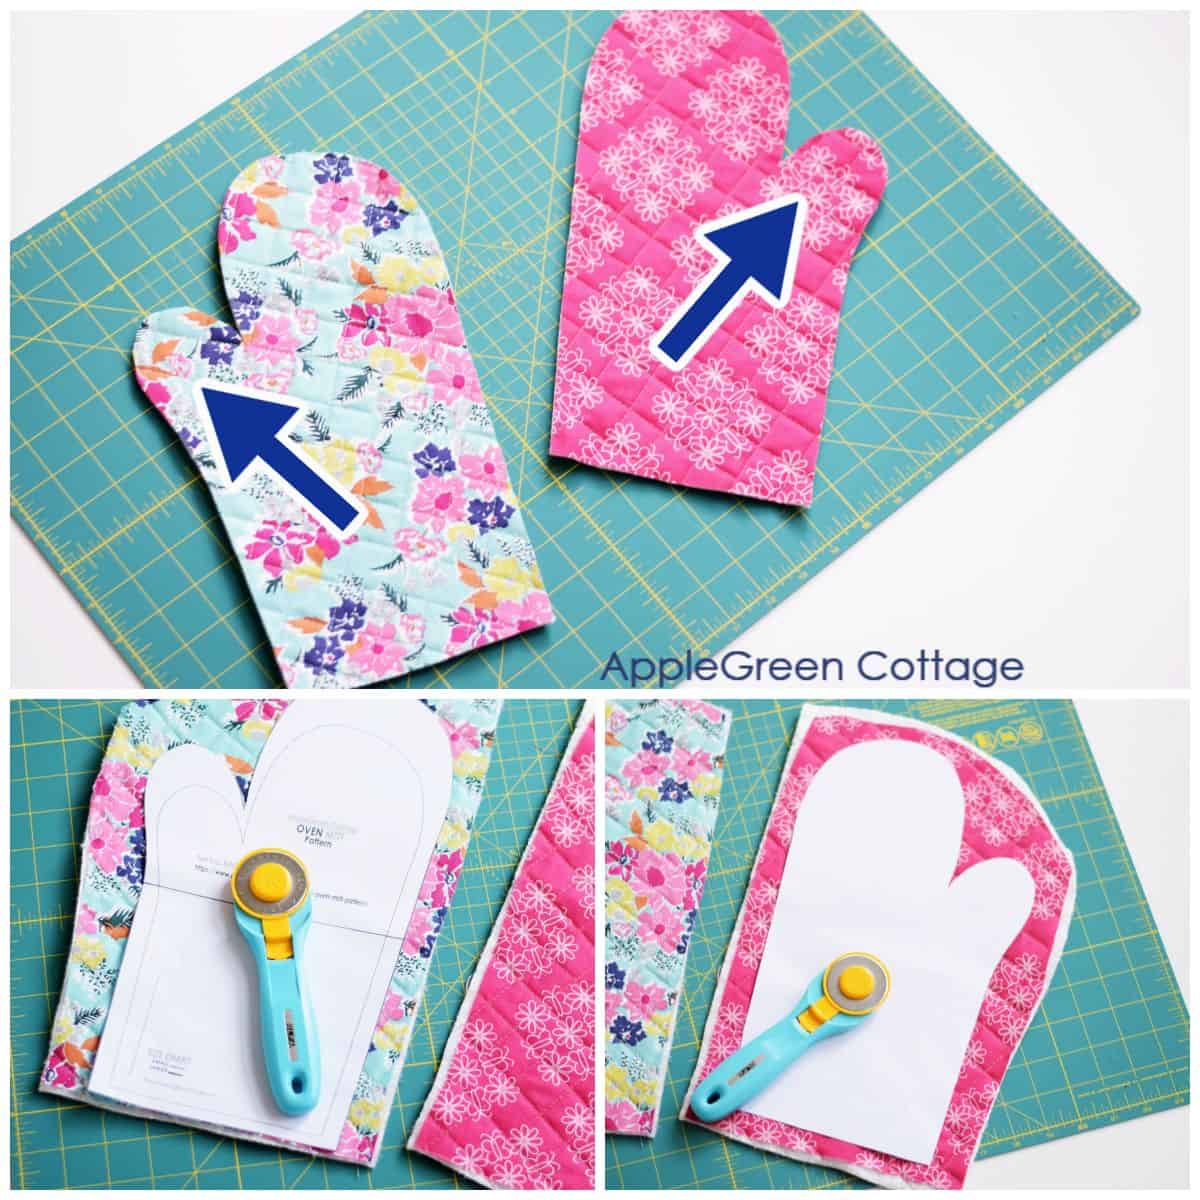
After you've quilted the two exterior pieces, use the template to trim any excess fabric and batting around the pieces. This will make them the same size as the lining.
NOTE: to cut mirrored pieces, use the template on one, and flip the template on the other quilted piece.
Step 5 - Create an (optional) hanging loop
Make your diy oven mitts even better - add a hanging loop! If you like to have your oven mitts hanging close to your oven, use the hanging loop pattern piece from the pattern to do this:
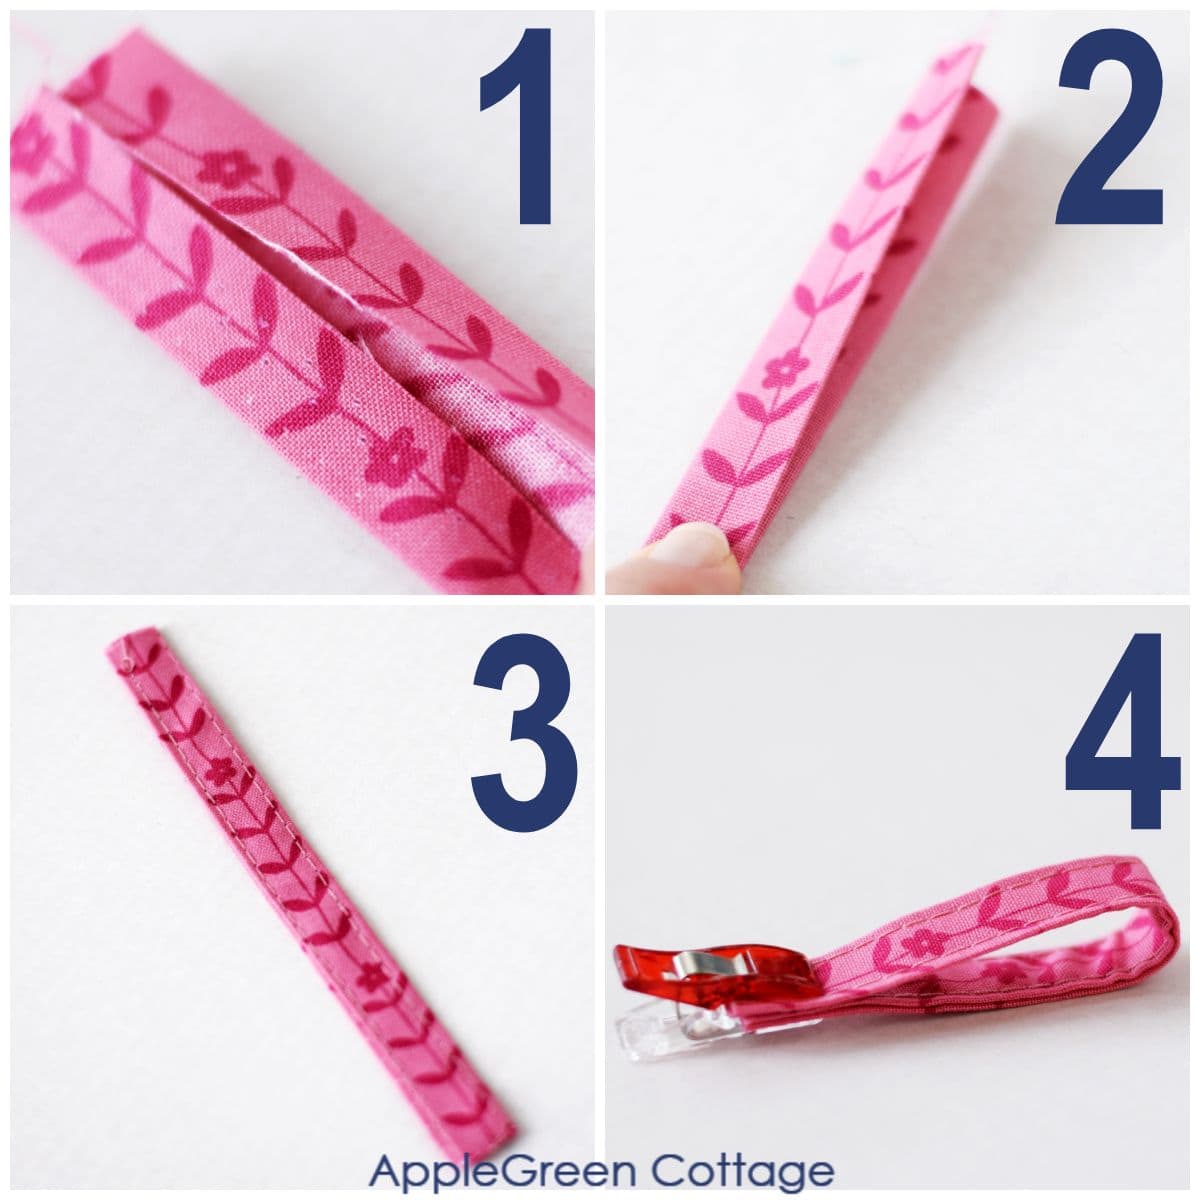
- Using your hanging loop fabric piece of fabric, fold the two long raw edges towards the center with the wrong sides together and press.
- Fold the strip again in half, then press again.
- Edgestitch along both long edges.
- Fold in half to be used on your oven mitts in a later step.
And here's where to place the loop between the layers:
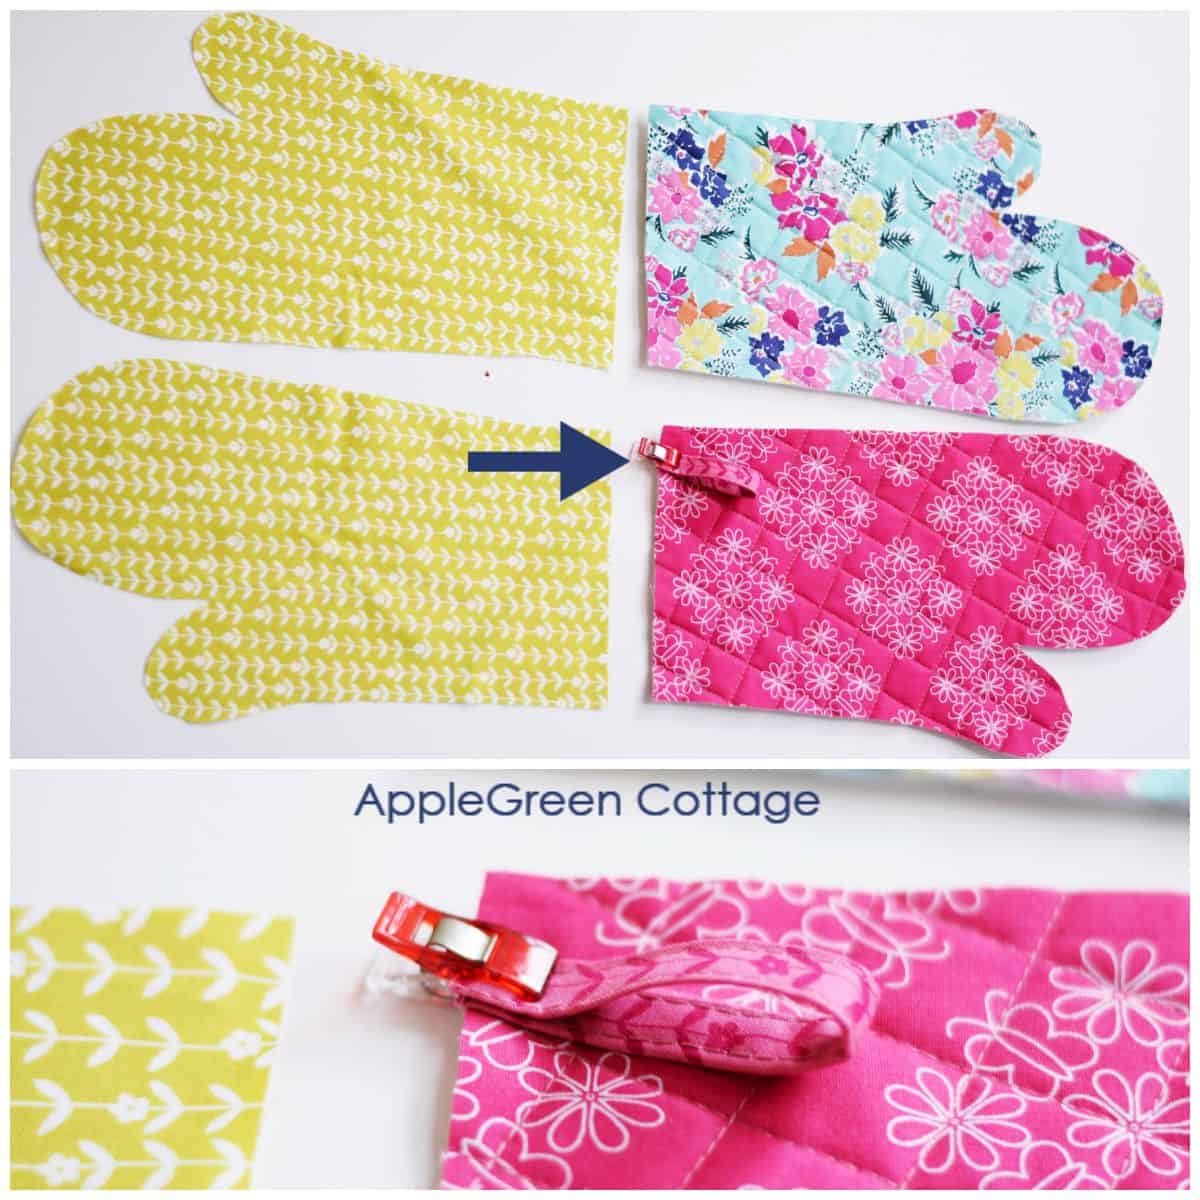
Step 6 - Join Lining And Exterior Layers

The image above shows you how to make two stacks:
- Place down the exterior pieces with the right sides facing up.
- (optional) add a hanging loop
- Cover them using the lining pieces with the right side facing down, aligned along the top edge.
Using a ⅜″ (1 cm) seam allowance, sew the top edge on each of the two stacks.
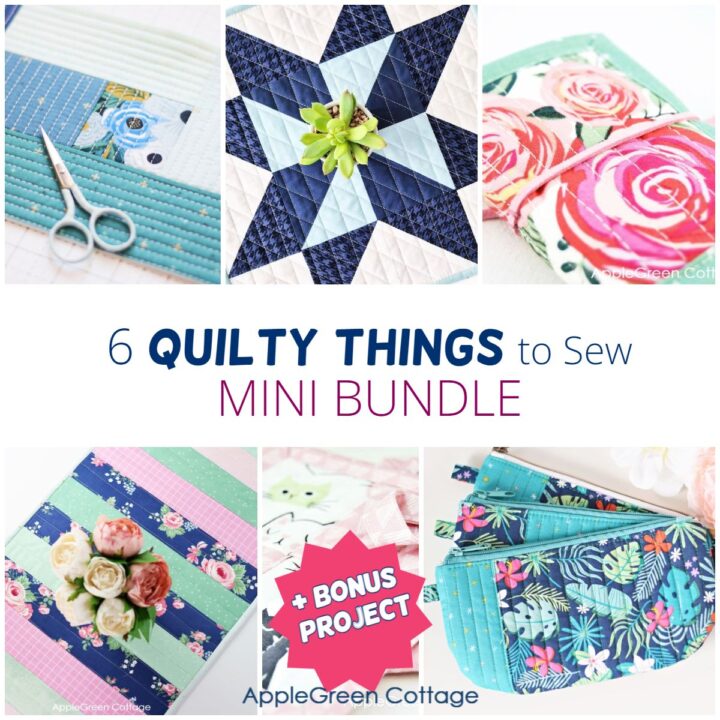
6 Quilty Ideas +BONUS
Love a quick quilty win? Don't miss THESE!
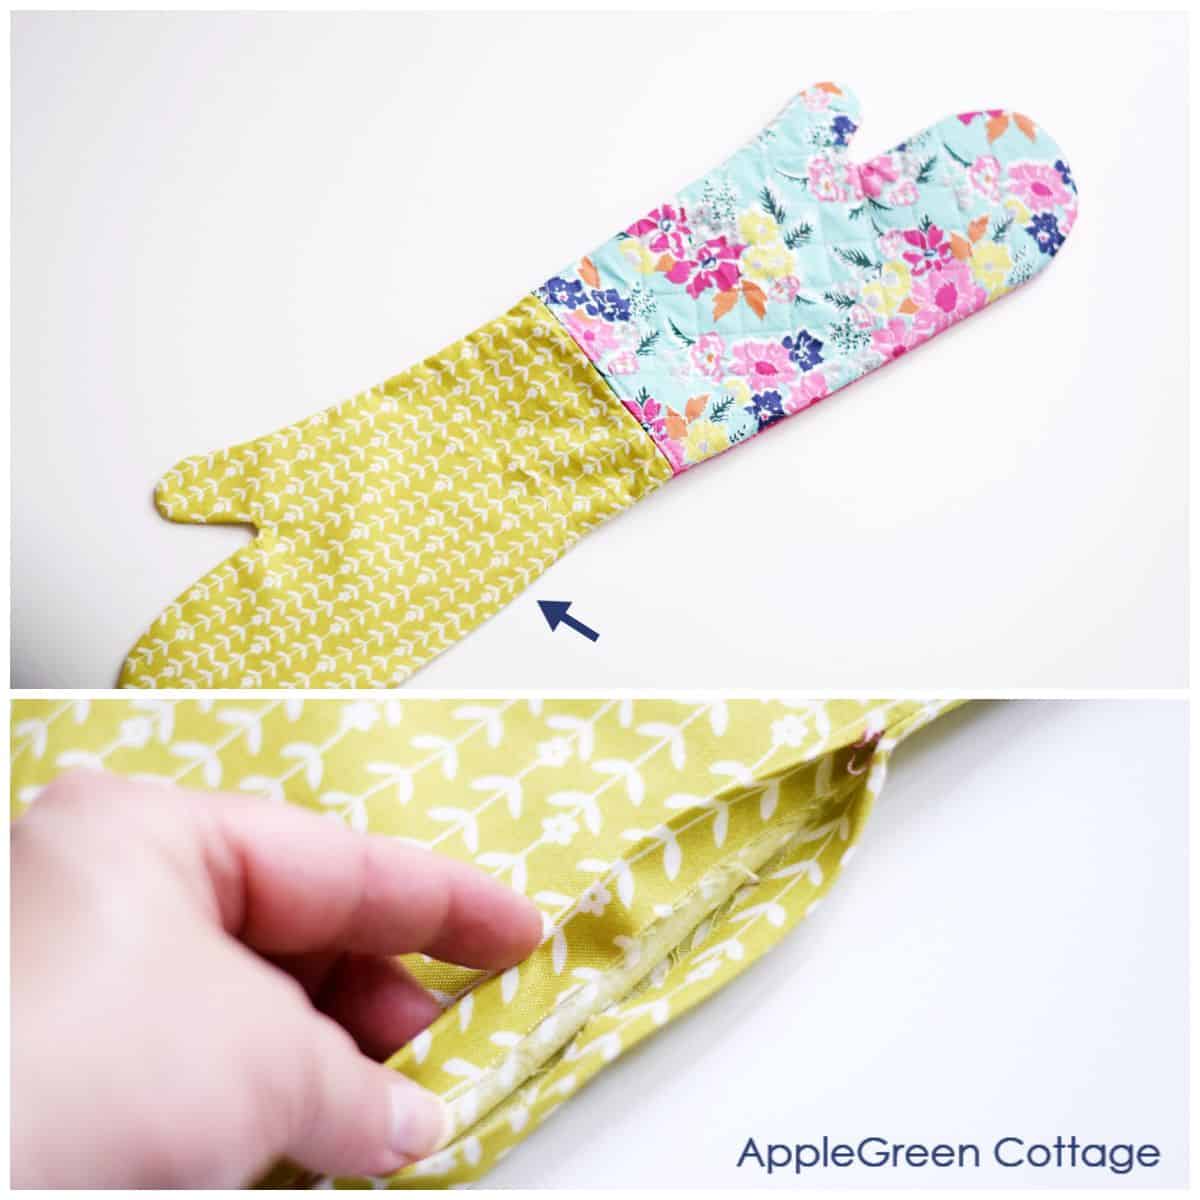
Step 7 - Topstitching the exterior
Don't like to topstitch around narrow openings? Do it now, slightly modified: press the seam allowance towards one side and stitch it in place:
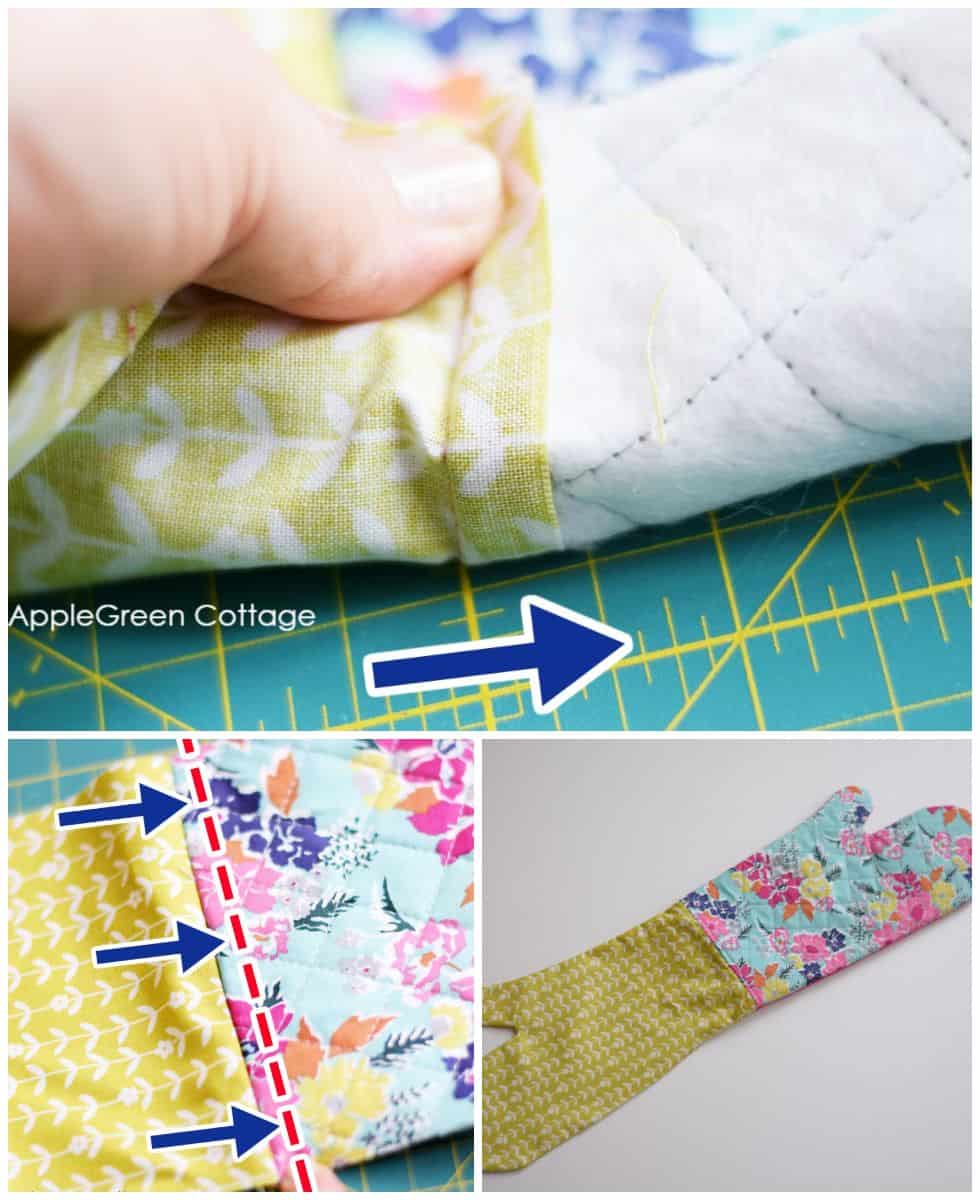
PRESSING TOWARDS THE OUTER: I chose to press the seam allowance towards the outer layer and stitch it to the outer layer. I wanted to get a visible 'topstitching seam'.
PRESSING TO INNER LAYER: If you absolutely need to PREVENT your lining from peeking out, press the seam allowance towards the lining, and stitch over the lining. That is understitching - the opposite of what I did. It causes the exterior fabric to roll just slightly towards the inside of the oven mitt and hide lining. But the seam will not be visible on the outside.
Step 8 - Sew the pieces together

Place the pieces with the right sides together and sew around, using a ⅜" (1 cm) seam allowance. Make sure to leave an opening for turning on the back seam of the lining piece.
TOP TIP:
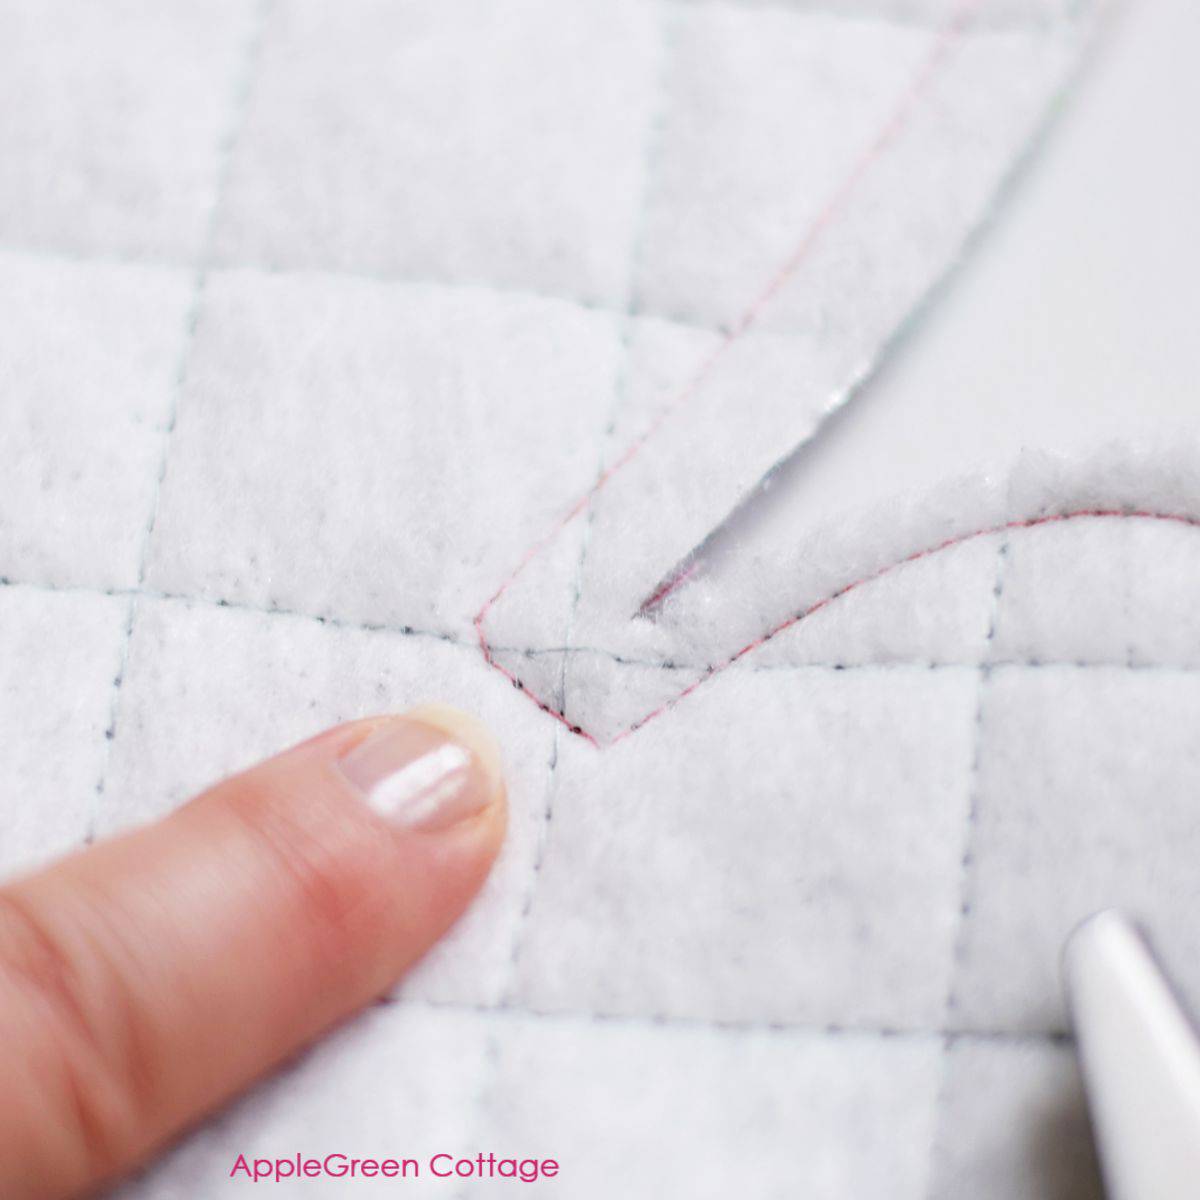
You'll need to make a sharp turn when you get to the area between the fingers and thumb. Make the turn generously 'wide' for a neater seam - it will be easier to clip the seam allowance and prevent puckers. (See the Tips section below, on how to prevent puckering!)
Step 9 - Trim the seam allowance
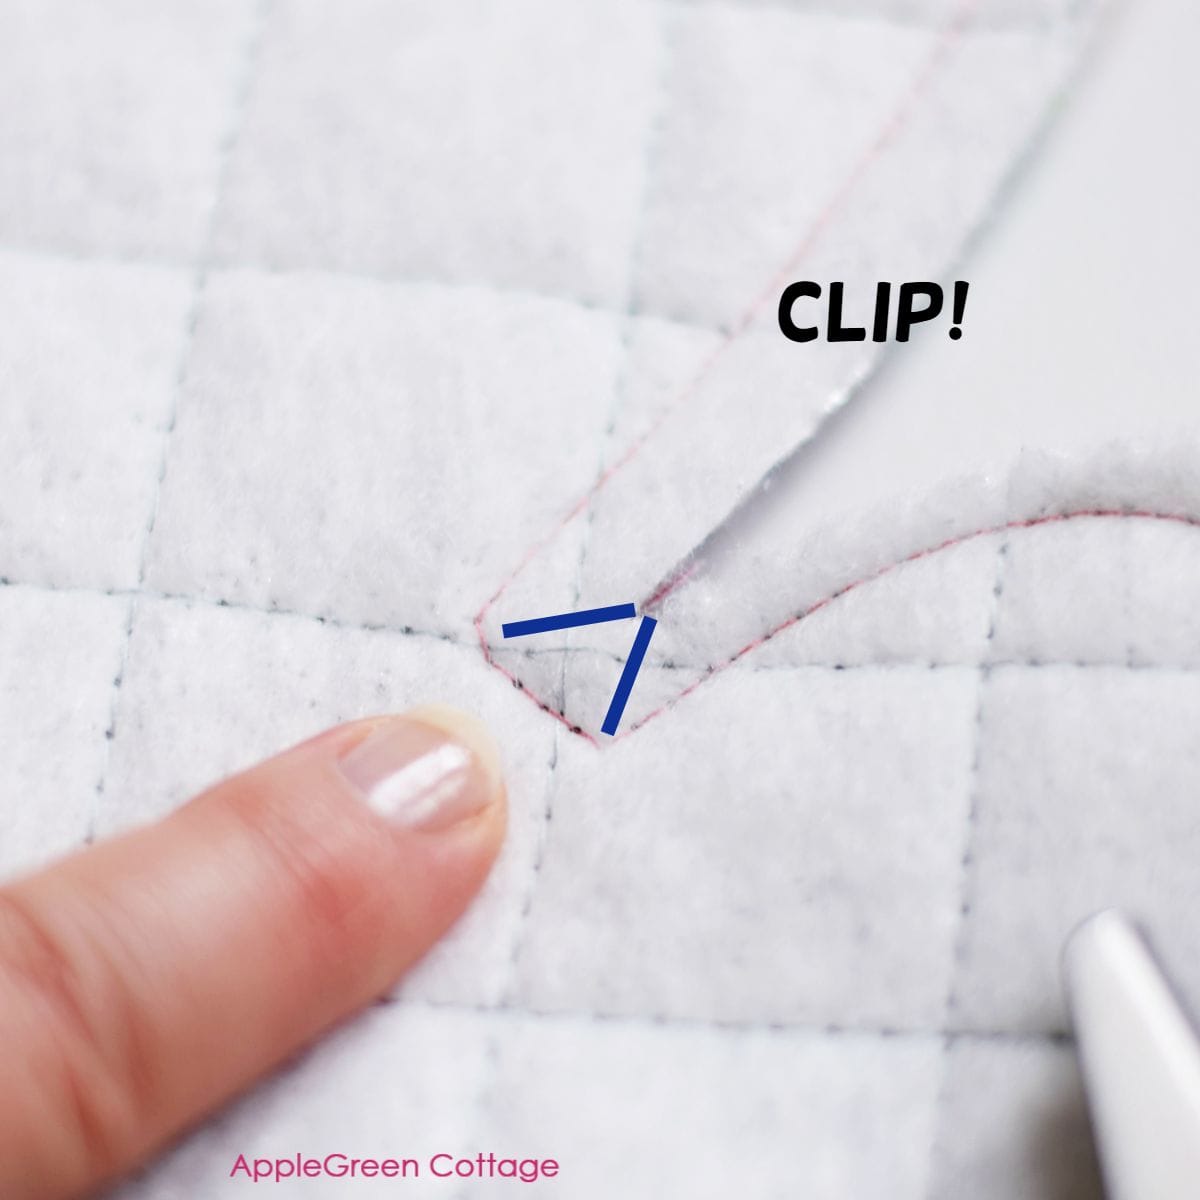
Trim the seam allowance and notch the curves for easier turning later. I used pinking shears around the mitt and clipped notches into the seam allowance between the thumb and the fingers (see image above)
Don't trim the seam allowance on the opening area.
Step 10 - Turn right side out and close the hole
Then turn right-side out and press well.
You've just created a beautiful handmade oven mitt - enjoy!
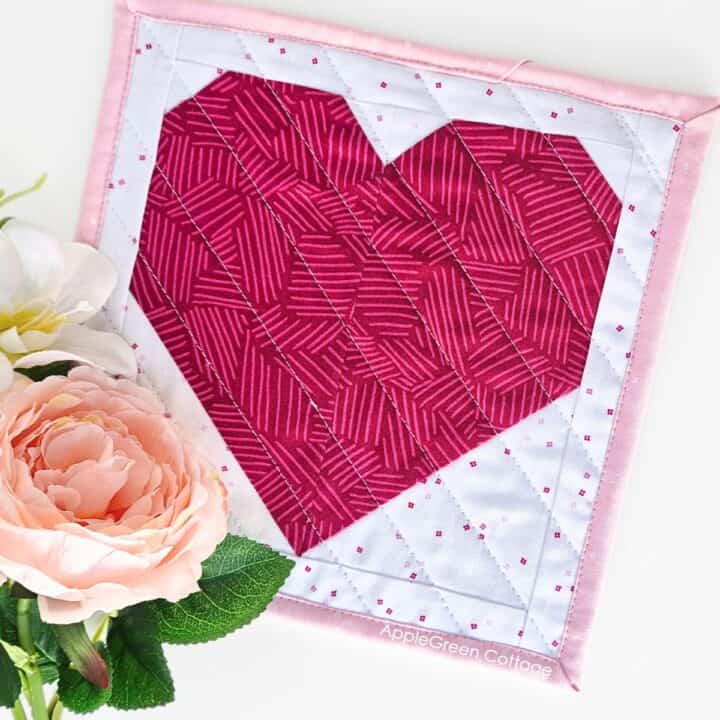
Make a Matching Heart Potholder!
Helpful Tips For Making Oven Mitts
Quilting Tip: how to quilt your two panels evenly
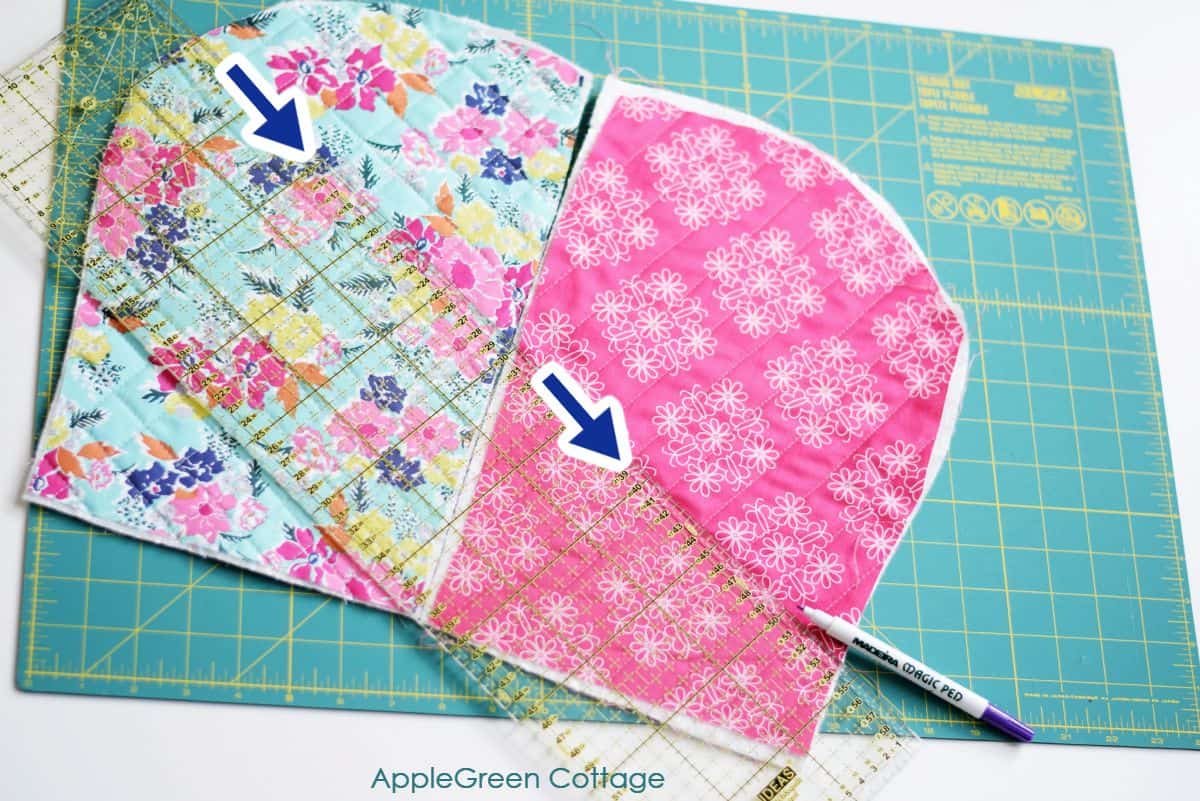
When I realized I had just randomly quilted my first piece, I wanted the second one to have the same quilted look: I placed the second panel close to the first one and used my quilting ruler and a fabric marker to continue the line through the other piece. This became my guiding line to quilt the other piece. Easy-peasy! This is probably the simplest tip on this site 🙂
How to prevent puckers when sewing the oven mitt?
If you're new to sewing, stitching through curves can be tricky. To make it easier, do this when sewing curves:
- use a shorter stitch length (it will help you sew more even curves)
- go slowly
- once you've finished sewing, trim the seam allowance, and make tiny notches into the seam allowance, making sure you don't cut into the seam.
Also, press well once finished. A good press will make your project look way better, I promise!
What is the best size of an oven mitt?
An oven mitt needs to be easy to slip on and it's best if it's a bit wider than your hand so you can move your fingers easily when using it. It needs to cover at least a portion of your forearms.
AppleGreen Cottage adult oven mitt pattern size (the one used in the tutorial) is a generous standard size that will fit most adults: 12 ½" long by 7" wide. It covers a lot of the forearm, it's safer that way.
But in case you are blessed to have little helpers when baking for this holiday season, I've got you covered: the free template includes a kid-sized oven mitt pattern too. It's an inch shorter and an inch narrower, fits my 10-year-old perfectly, and is a bit large for my 8-year-old.
Of course, you can easily expand or decrease the size to fit your exact needs.
What is better, a potholder or an oven mitt?
A good pair of oven mitts can protect your hands while baking your favorite treats. Usually, they help you grip a baking tray better than a potholder, and provide more coverage.
The biggest downside of oven mitts is that it takes more time to slip them on than to grab a pot holder or towel. This is why I've created them with a wide opening, so they should be super easy to slip on. Hope this helps!
If you're more likely to grab a potholder than an oven mitt, I've got you covered too: here's how to sew a quilted potholder. You can make both!
I hope you liked this quilted oven mitt tutorial, as well as the tips to help you create your own quilted oven mitt. Now it's your turn to get creative, enjoy!
Love sewing for the home? Try out our other free tutorials, like this easy potholder in 2 sizes, easy quilted placemat from scraps, and the bowl cozy pattern. These make adorable gifts!
Also, check out my 6-sized Christmas gift bag pattern here in my shop. For all your handmade presents! But first, make sure to get the free oven mitt sewing pattern:
Want a PDF copy of the whole tutorial+pattern?
Prefer a full, ad-free and printer-optimized Printable Tutorial with both instructions AND pattern included? ↓↓
This tutorial is also part of Printable Tutorials BUNDLE
100 PDF tutorials now, and growing!


Pat says
Great pattern. But is it available as a PDF?
Thanks.
Damjana Jakos says
Pat hi, a great question, and the answer is yes! The pdf pattern-only is always free when you enter your email address in Step 1 ("where should we send you the FREE oven mitt pattern?") - it gets emailed to you, and the instructions are here, online.
However, if you're looking for a PDF with BOTH the pattern AND the instructions in a printer-friendly, ad-free version, you can get it here: https://shop.applegreencottage.com/b/quilted-oven-mitt-printable-tutorial Happy sewing, always!
Sandy P. says
Great tutorial. I just have one question because I've been using the insulbrite to make hot pads and was going to do a matching oven mitt. I'm pretty frustrated as I can stitch 3 or 4 stitches and then it skips. I've tried at least 6 kinds of needles. Nowhere in instruction does anyone mention the size needle to use while sewing with the insulbrite and two layers of cotton fabric. Thanks. Great tutorial!
Damjana Jakos says
Sandy hi,
a great question - when my machine starts skipping stitches, it's usually a sign that I need to switch the needle for a larger one. (I love using Schmetz jeans 110 for multi-layer projects!) I hope this helps,