
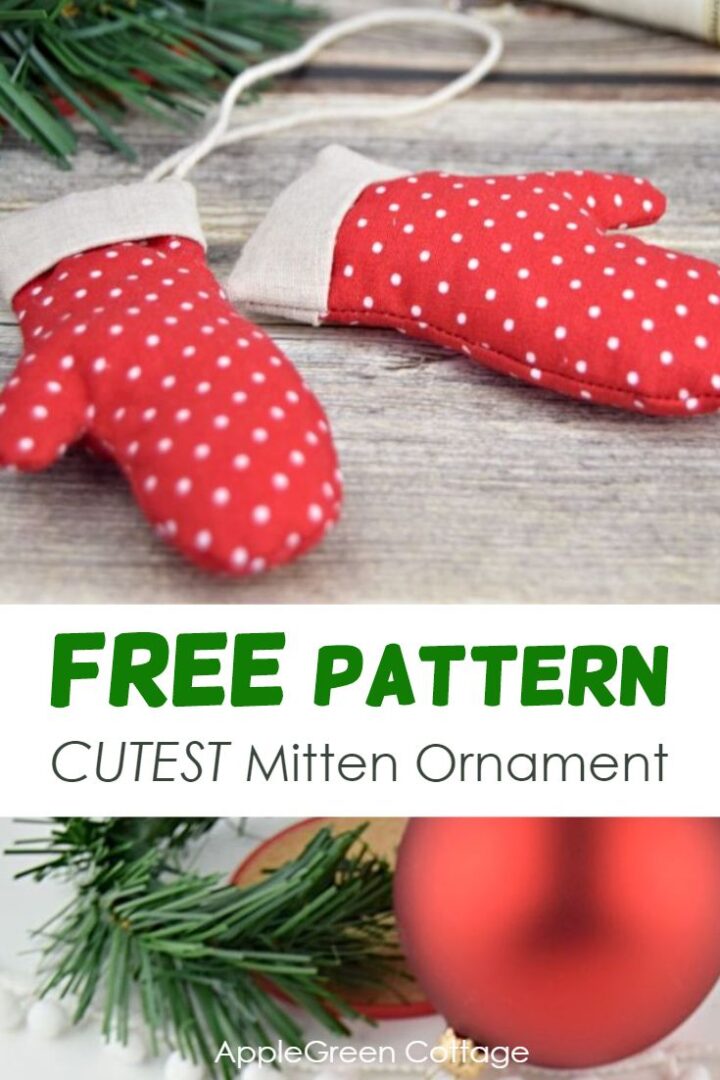
Get into the holiday spirit with this free mitten ornament pattern and create your own personalized Christmas decorations. Perfect for a cozy and festive touch to your home.
The printable mitten template comes in 3 sizes, for all your holiday decorating projects. Even better, you can mix and match it with other patterns from our FREE Homemade Holidays pattern Bundle. Scroll down to find out more!
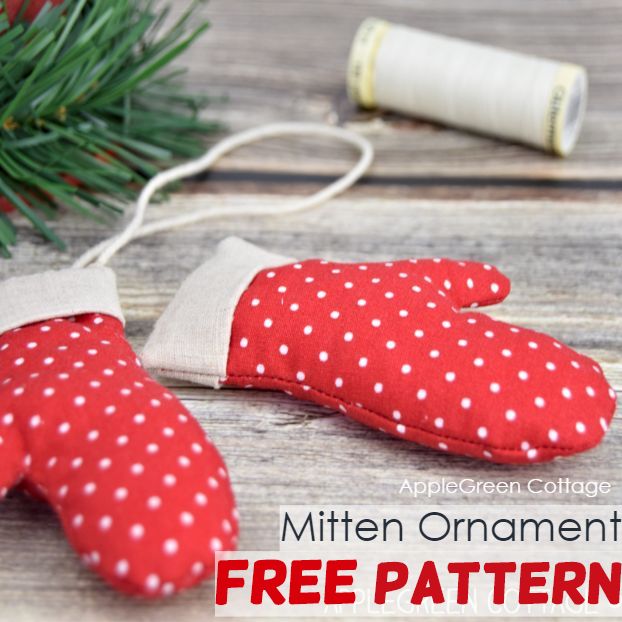
Table Of Contents
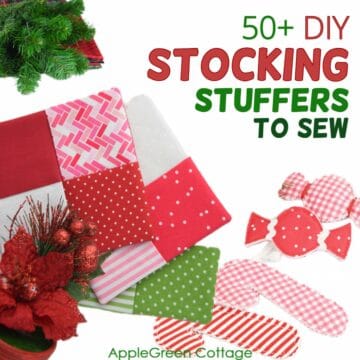
Have you got any scrap fabric from making a DIY Christmas Stocking like this one? Use scraps to create these super cute yet easy mitten ornaments in no time.
About The Mitten Ornament Pattern
These super easy DIY mitten ornaments can be nearly entirely machine-sewn. A quick sew, and you can make a whole bunch of them. They are also perfect gift toppers, and great as baby's first Christmas ornament (And how adorable these would be all in light pink or baby blue!!)
Also, you can simply make a garland out of these Christmas mittens and hang them over the mantle. Just like we did with this DIY mini stocking garland - irresistibly cute!
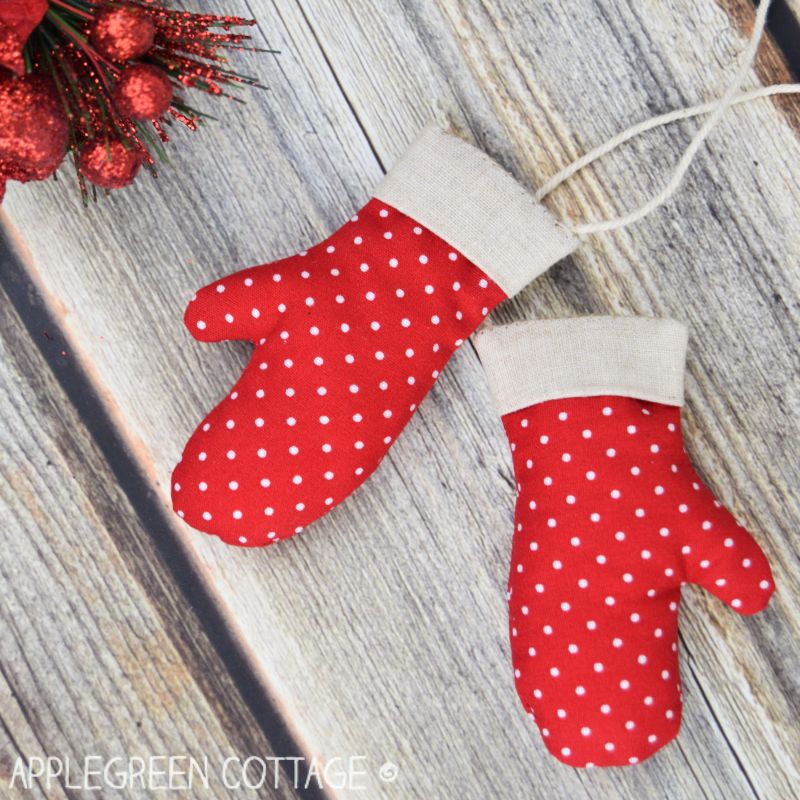
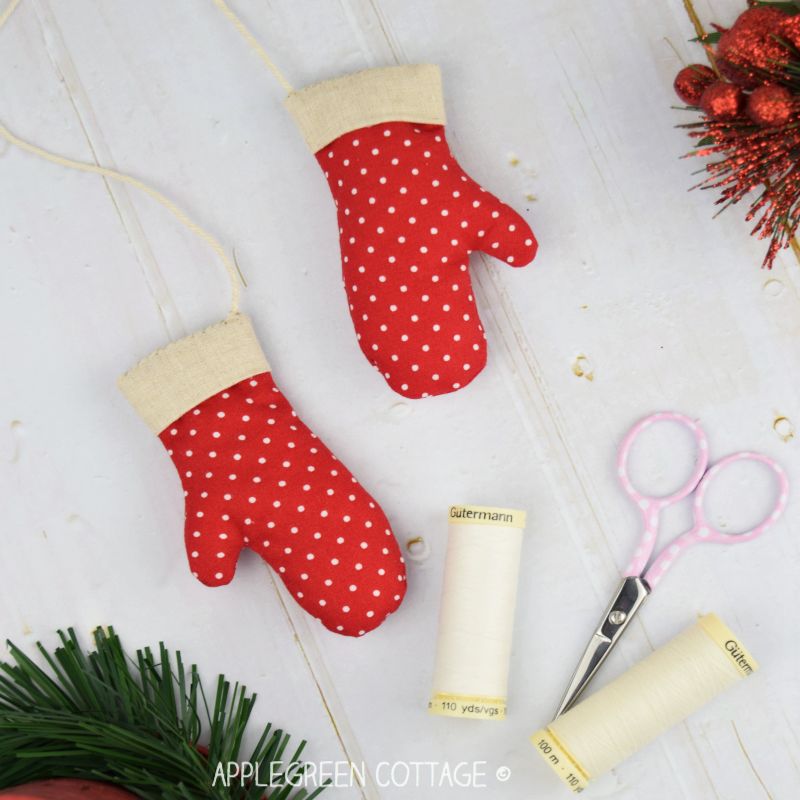
Need to make them larger? No problem, the free Christmas mitten ornament template comes in 3 sizes! I decided to make these mitten Christmas ornaments in sets of two, and attach the hanging ribbon to one on each side - double the cuteness!
Christmas Mitten Ornament Video
But first, sit back and relax - see the easy steps in this quick slideshow so you get an idea how it goes: If you prefer a step-by-step photo tutorial, scroll down.
Supplies
- two scraps of red fabric per one mitten
- a bit of a neutral solid in white or cream for cuff (cca 2" by 4" for the smallest mitten)
- 7" - 10" embroidery thread or twine for hanging
- polyfill (get one small pack for the entire Homemade Holidays Bundle)
- matching thread, sewing machine, scissors, needle, iron
- printable mitten template pdf - page 5 from the free Homemade Holidays Bundle:
HUGE Holiday Sewing Pattern BUNDLE - FREE!

17+ sewing patterns to craft your own, cozy holidays!
Mitten Ornament Sewing STEPS
Step 1 - Get the printable mitten template (page 5) from the FREE Holiday Bundle
Join our mailing list and get the Free Homemade Holiday patterns BUNDLE emailed to you:
Download to your device and print out page 5. Decide on the size and cut out the template.
Step 2 - Cut the fabric pieces
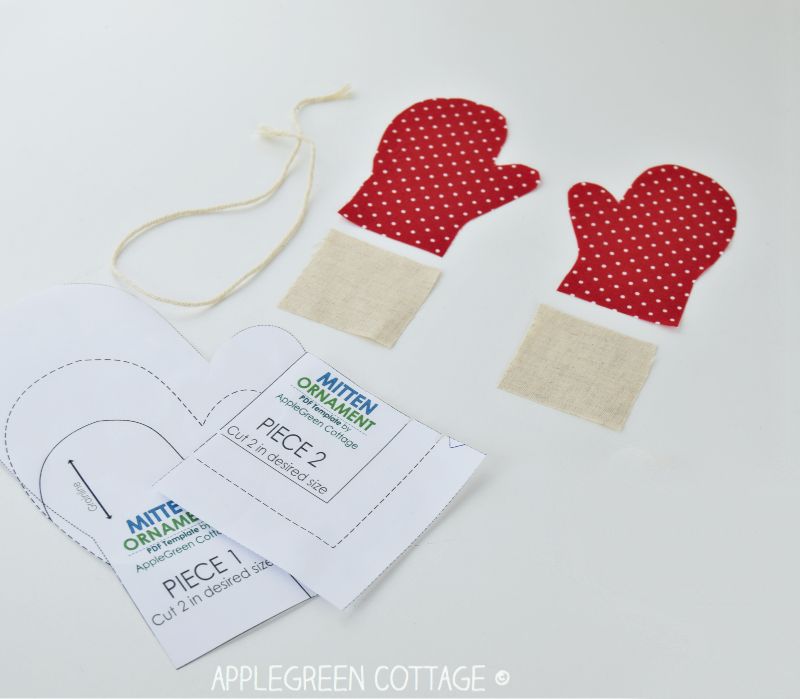
Cut two of each pattern pieces: the main piece and the cuff piece.
Step 3 - Sew the cuff to main piece
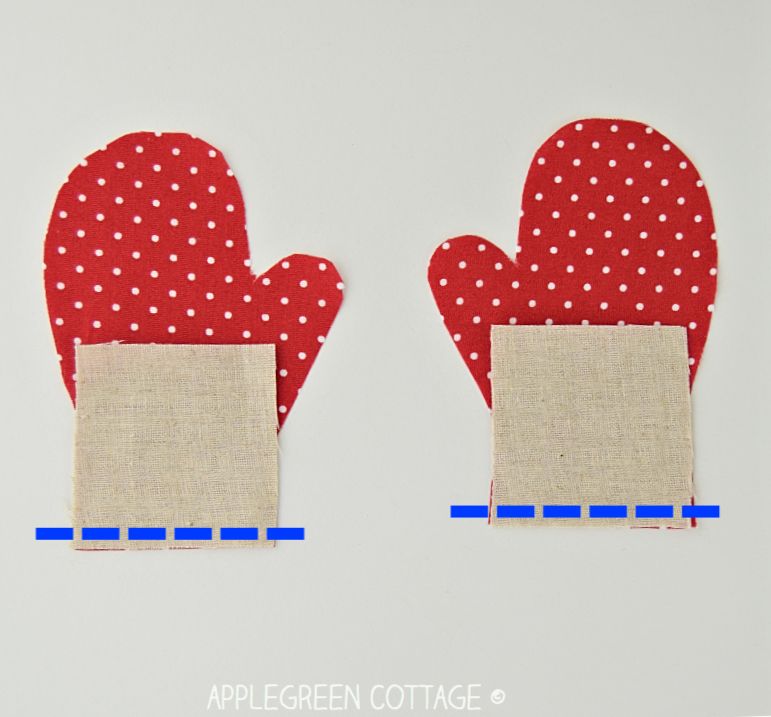
Place the main piece (Piece 1) and the cuff (Piece 2) right sides together and sew them together using a ¼" (7 mm) seam allowance:
Step 4 - Fold the Cuff
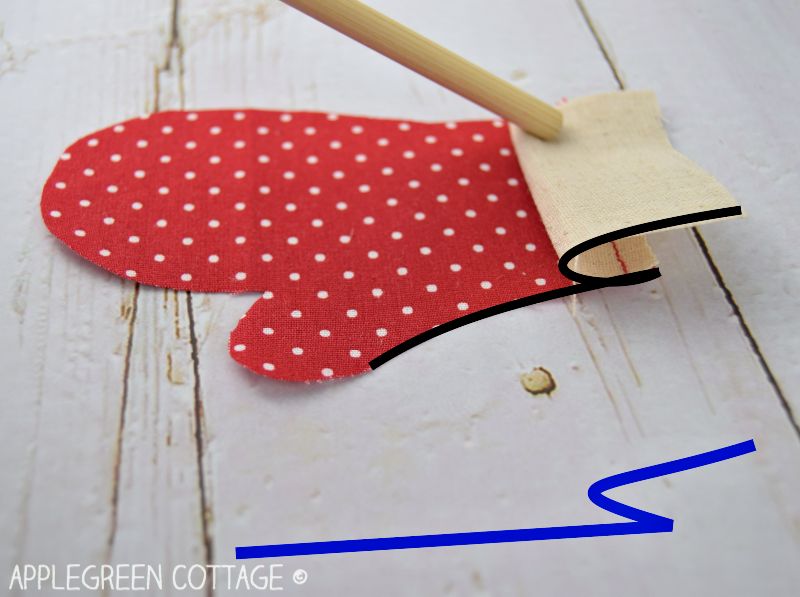
Now we'll make sure the cuff on the mitten ornament 'sits' nicely when all sewn up: unfold the cuff from the main part just a bit, not pulling it all the way away from the main piece but leaving approximately a third of the piece back. Do this with both pieces of the mitten ornament. Easier to show than describe, so check out the pic here:
Step 5 - Place two mitten sides together
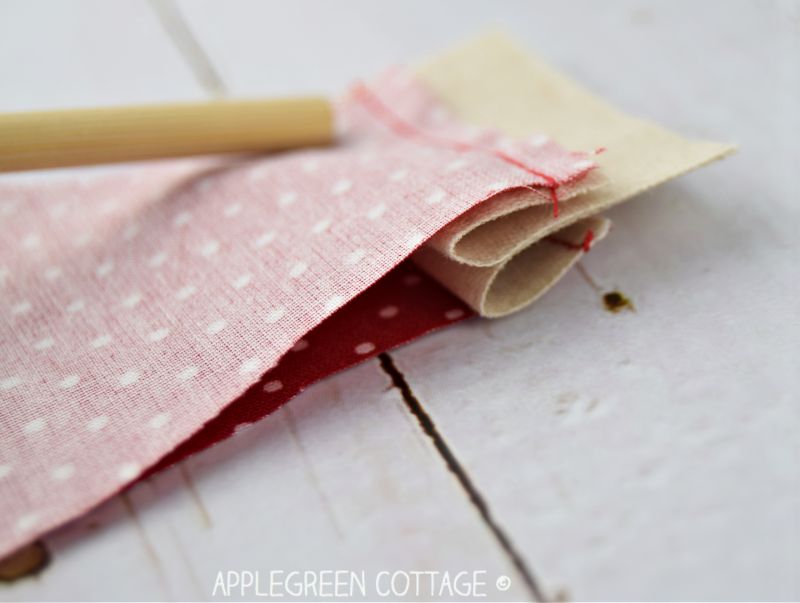
Place the pieces right sides together. It makes it easier if you press. It should look like this from the side:
Step 6 - Sew around
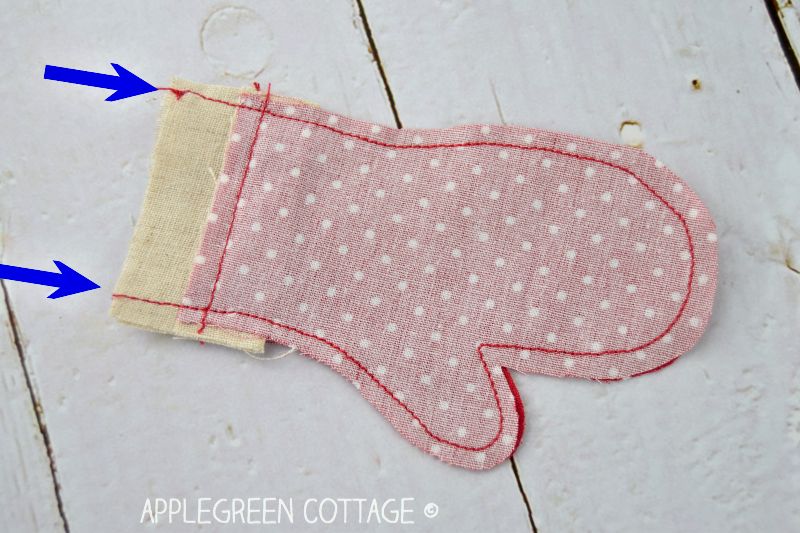
Pin and stitch around, starting and ending at the cuff, using a ¼" (7 mm) seam allowance. See where the arrows are pointing:
Step 7 - Trim the seam allowance
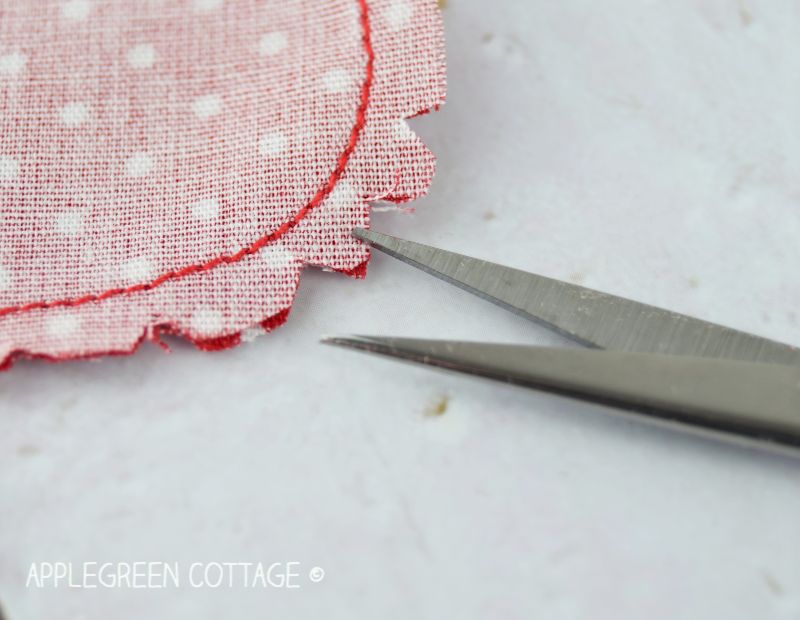
Notch and trim the seam allowance for a nicer finish. Make sure not to snip into the seam.
Step 8 - Turn
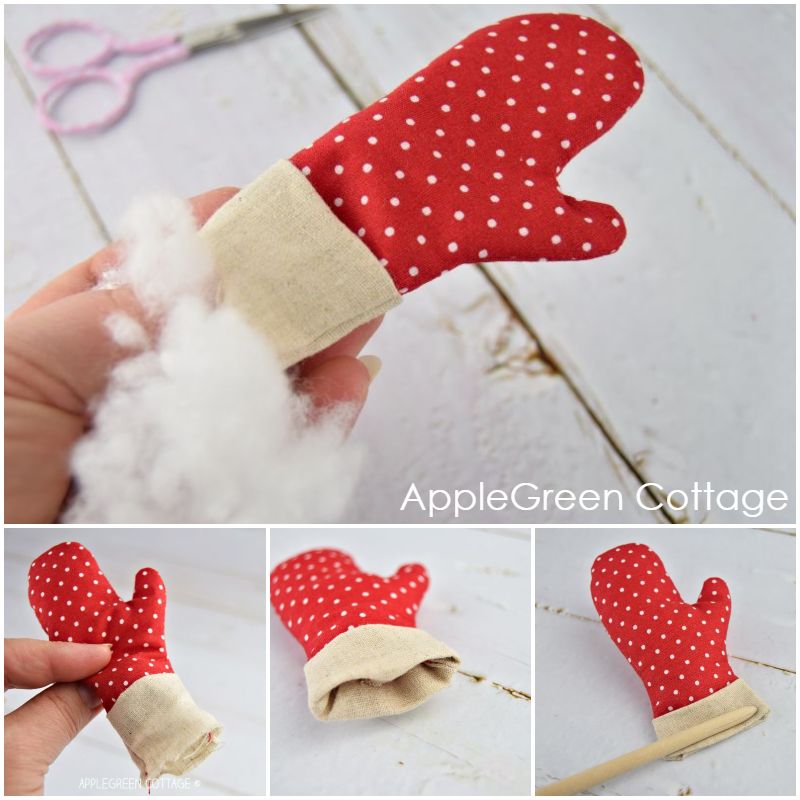
Turn right-side-out and add some poly-fill. Don't stuff it too much, less is more. The ornament should be fluffy and not stiff. The cuff should not be filled at all. Once you've added poly-fill, tuck ⅜" (1cm) of the cuff fabric towards the inside to create a clean edge. See the photos:
Step 9 - Attach Twine
Once you have both of the mittens finished, it's time to add the twine or embroidery floss to connect them and make them easy to hang on the Christmas tree. Stitch the twine to the inside of the mitten cuff, then stitch the hole closed.
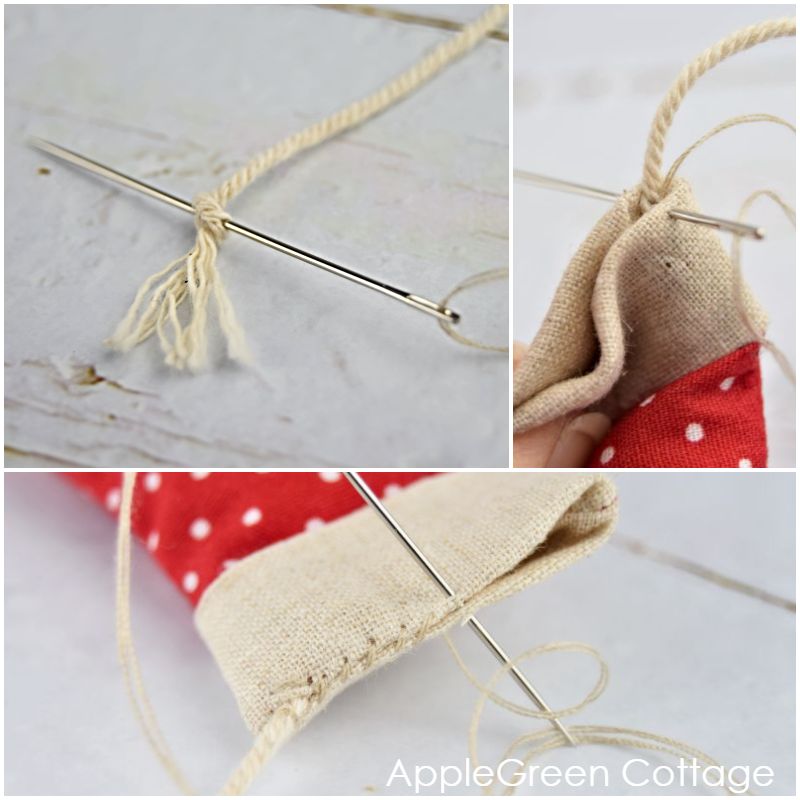
Bonus tip: I'd usually tie a knot on one end of the twine and stick the threaded needle through it, then make a firm loop to secure. Now with the twine firmly attached to the sewing thread, I start sewing the turning hole closed. This way, the twine won't be torn off even if kids pull really hard on the ornament.
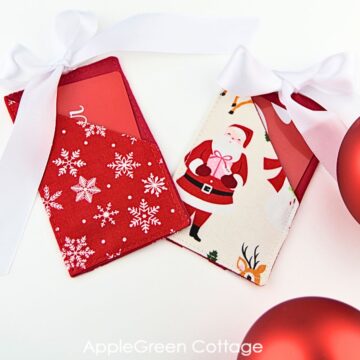
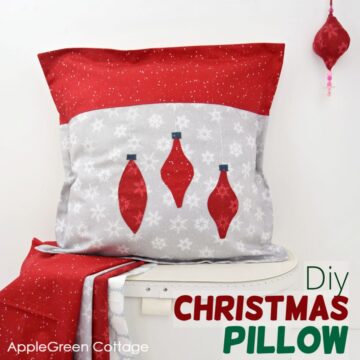
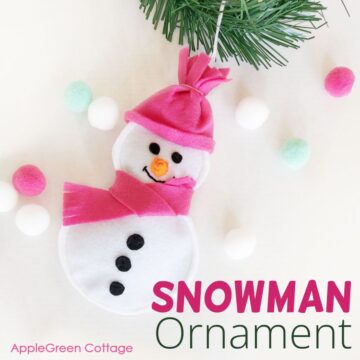
Related Holiday Ideas
Done and ready for gift-giving and holiday home decorating. There are so many more christmas ornaments to sew here at AppleGreen Cottage! Check out more ornament sewing ideas:
Where can I get the free pattern?
Join our mailing list and get the template for free - and more, the entire (huge!) Homemade Holidays BUNDLE, with more than 18 templates to create your own cozy holiday decor:


Leave a Reply