
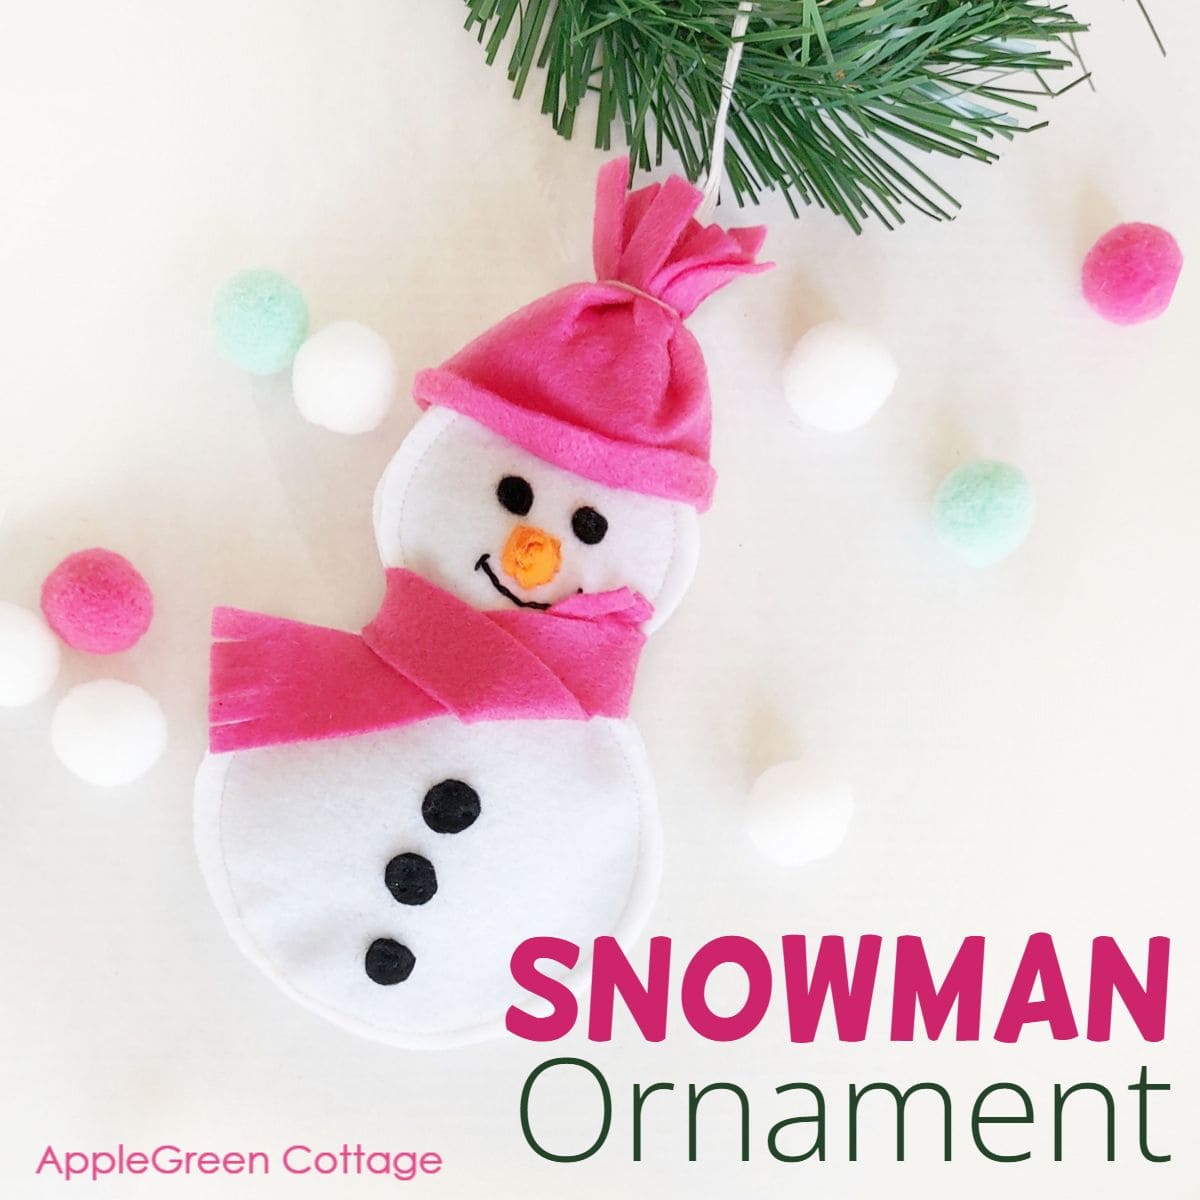
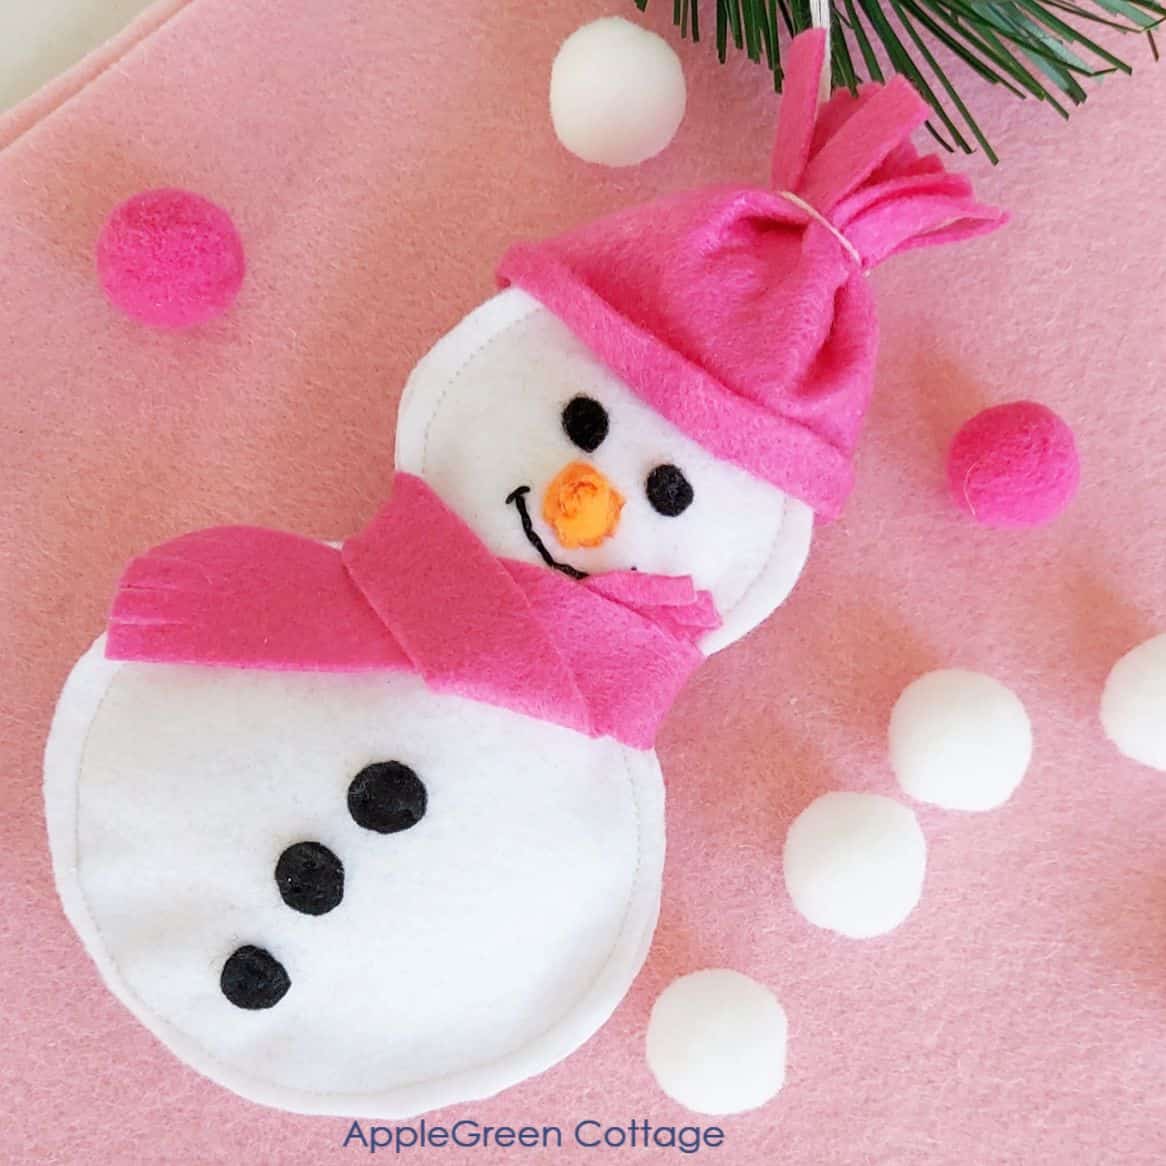
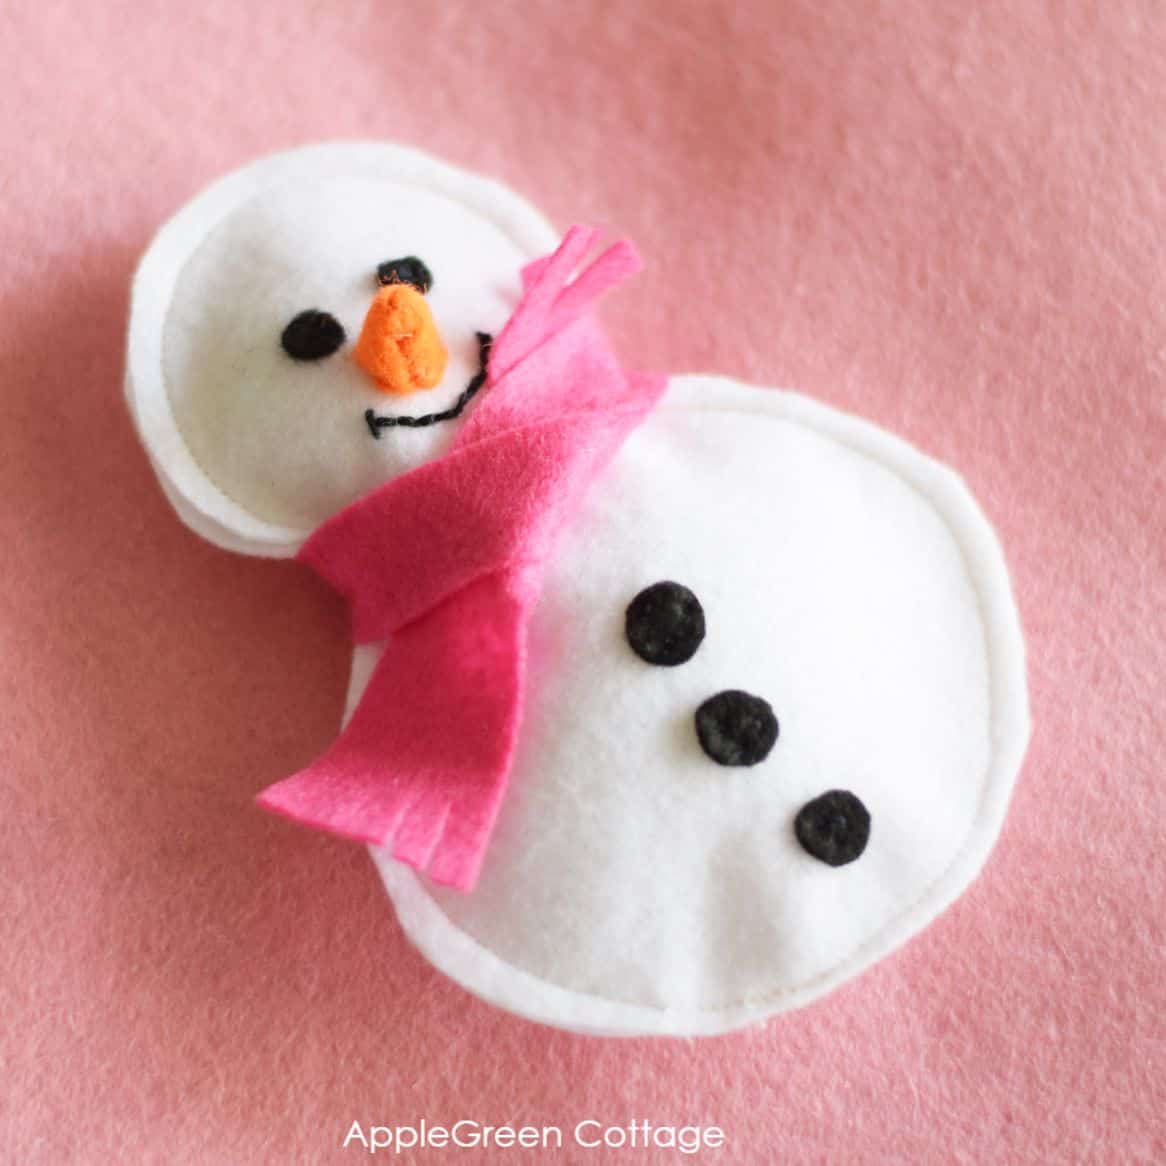
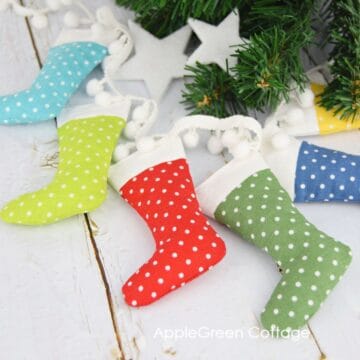
Have fun making a felt snowman! These diy snowman ornaments will look perfect hanging on your Christmas Tree, as part of a Christmas garland, or as decorations for your Christmas presents.
This project is part of my huge FREE holiday sewing pattern Bundle. Scroll down to find out more!
Have I told you that our family has a holiday tradition? Every year, we create a few new Christmas ornaments to add to our collection. This year, we started early: in September. It's fun, and the best thing? Absolutely no time pressure!
Table Of Contents
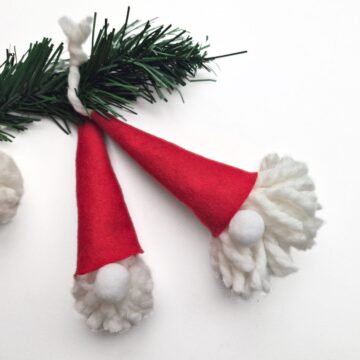
It was my daughter who had an idea to create diy snowmen. I chose the material, felt, and she was in charge of choosing the colors. Notice the pink scarf and cap? Yay! I believe it turned out lovely! You can also mix and match it with these cute DIY gnome ornaments that can double as a fun gift topper too.
And with the free template (see below!), they are even easier to make.
Supplies
Shop my personal favorite sewing supplies on Amazon HERE.
- felt scraps in white, black, and a third color
- a few inches of a thin ribbon or string for a hanging loop
- a bit of poly-fill or other toy stuffing material
- matching thread, scissors, sewing machine, or needle
- Free template - download and print page 18 from my Homemade Christmas Patterns Bundle
HUGE Holiday Sewing Pattern BUNDLE - FREE!

17+ sewing patterns to craft your own, cozy holidays!
Diy Snowman Ornament Video
Here's a quick video on how to make snowman ornaments, followed by step-by-step instructions:
How To Sew A Snowman Christmas Ornament - STEPS
Step 1 - Print the template (page 18)
Join our mailing list and get the Free Homemade Holiday patterns BUNDLE emailed to you:
Download to your device and print out page 18. There are three sizes of the free snowman pattern, I chose the large size for this tutorial.
How To Print this PDF file
For best results, download the PDF to a desktop or laptop, open it in Adobe Reader, and print at 100% size. (I recommend not printing directly from a browser window or from mobile, it could cause issues.)
Step 2 - Cut Felt Pieces
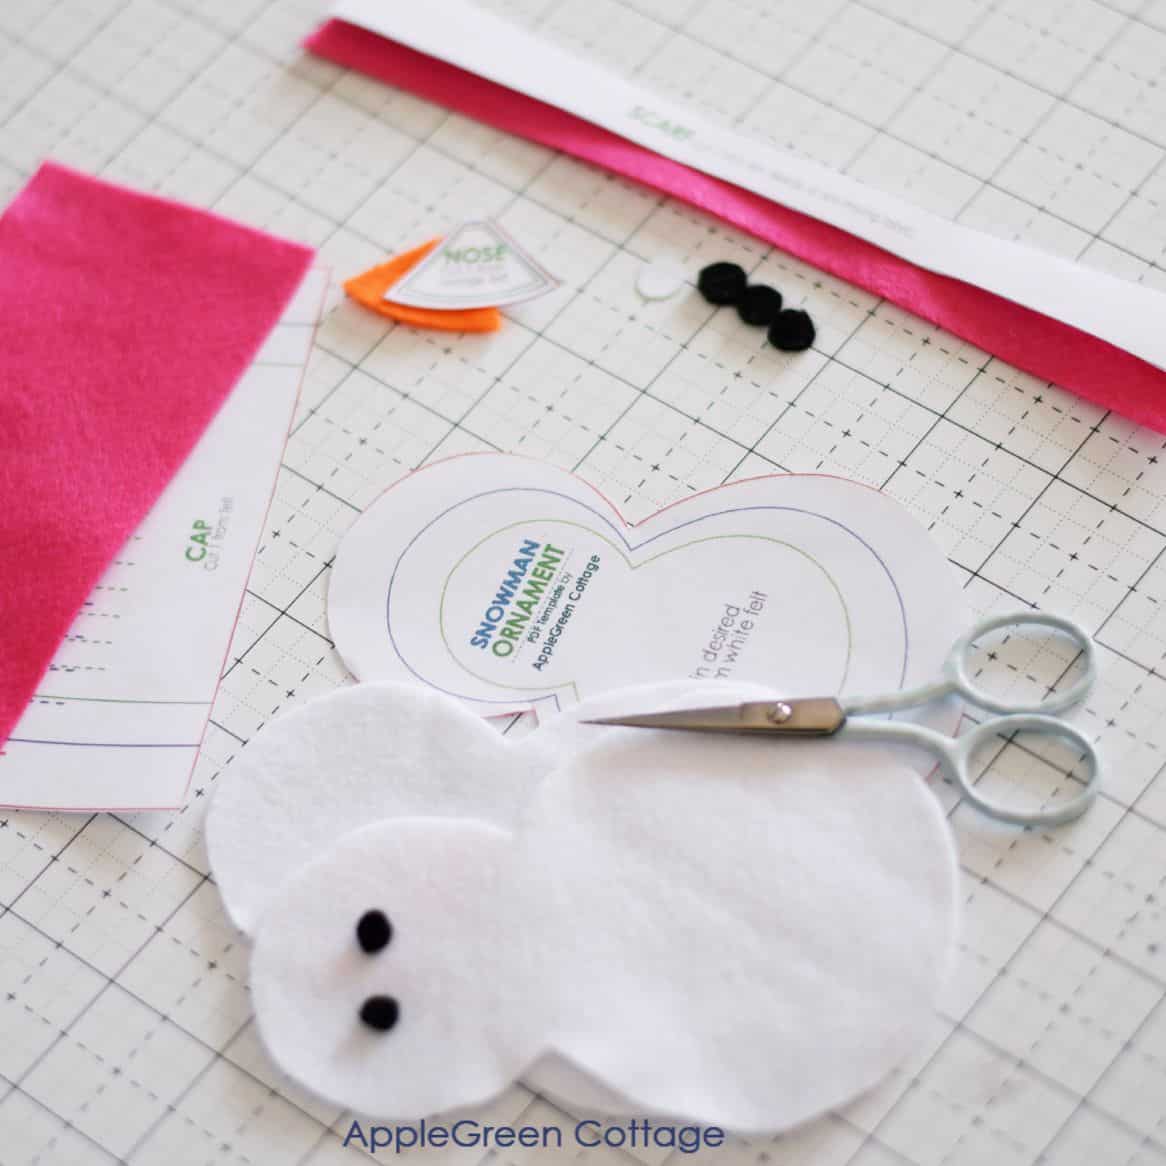
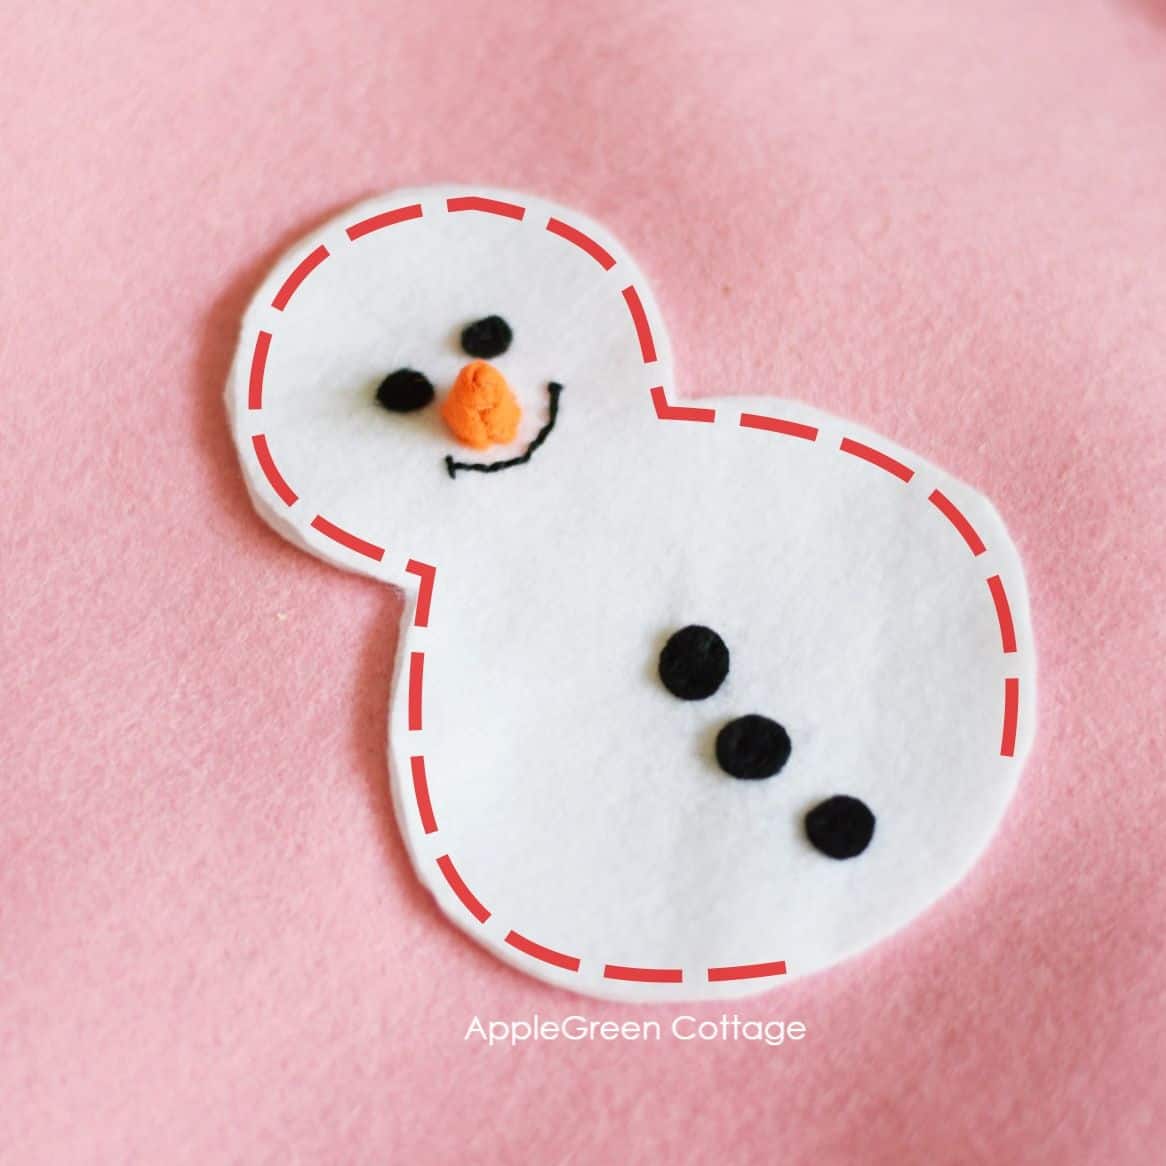
From the template, cut all the pieces of felt:
2 pieces of white snowman base, 1 orange nose, 3 black buttons, 1 scarf piece, and 1 cap piece.
Add two tiny black round-ish pieces for the eyes. No need for these to be exact, and no use following a template: two really small, ¼-inch 'blobs'.
Step 3 - Attach the eyes
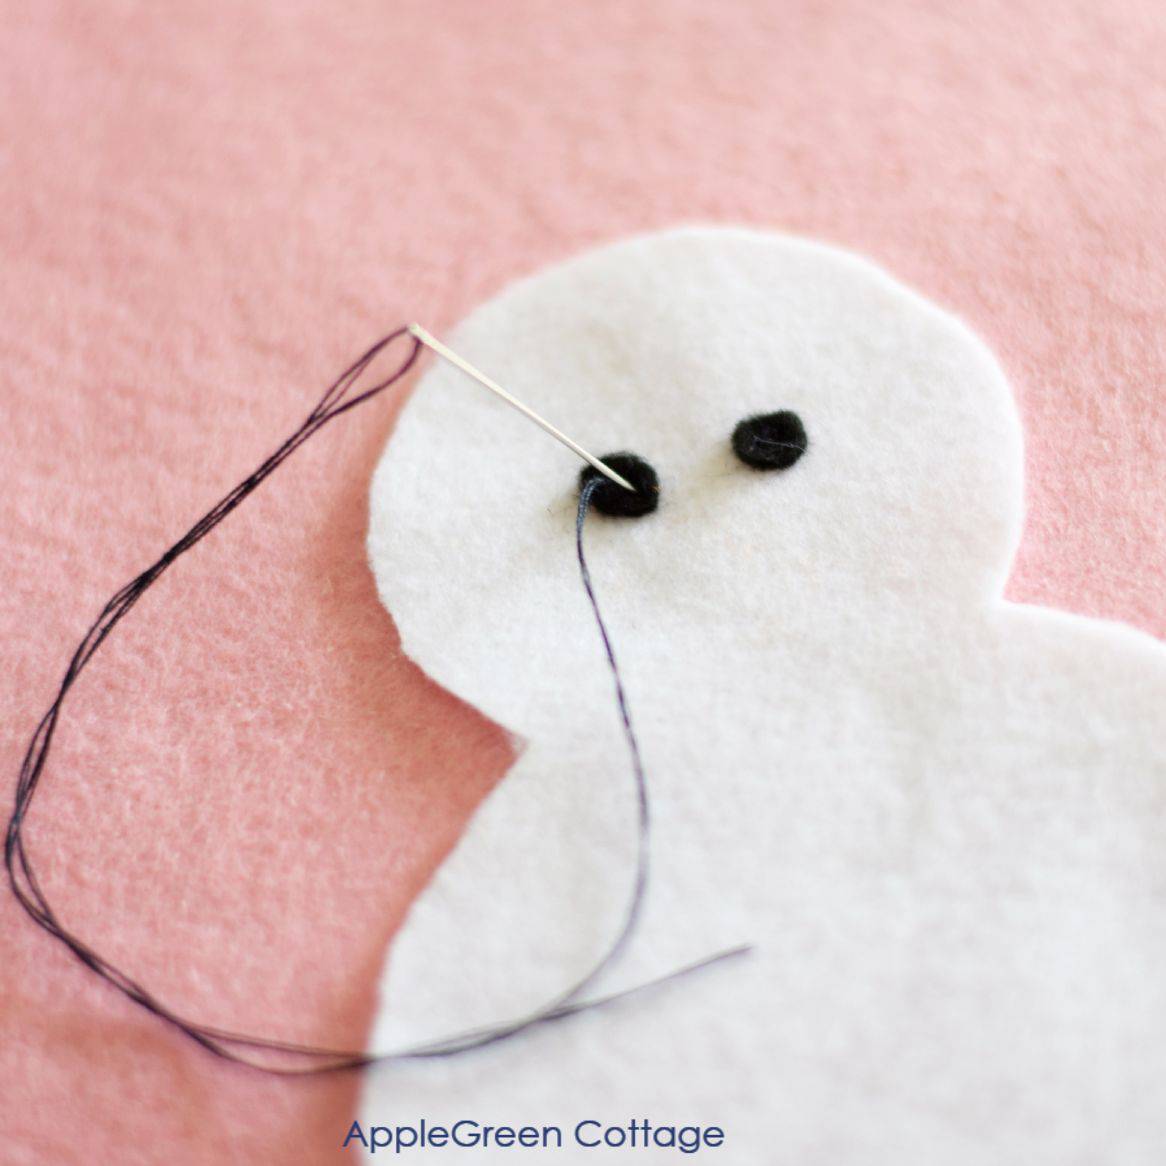
Attach the two tiny eye pieces to the center of the head, on one snowman base piece. Just a few forth-and-back stitches using black thread will do.
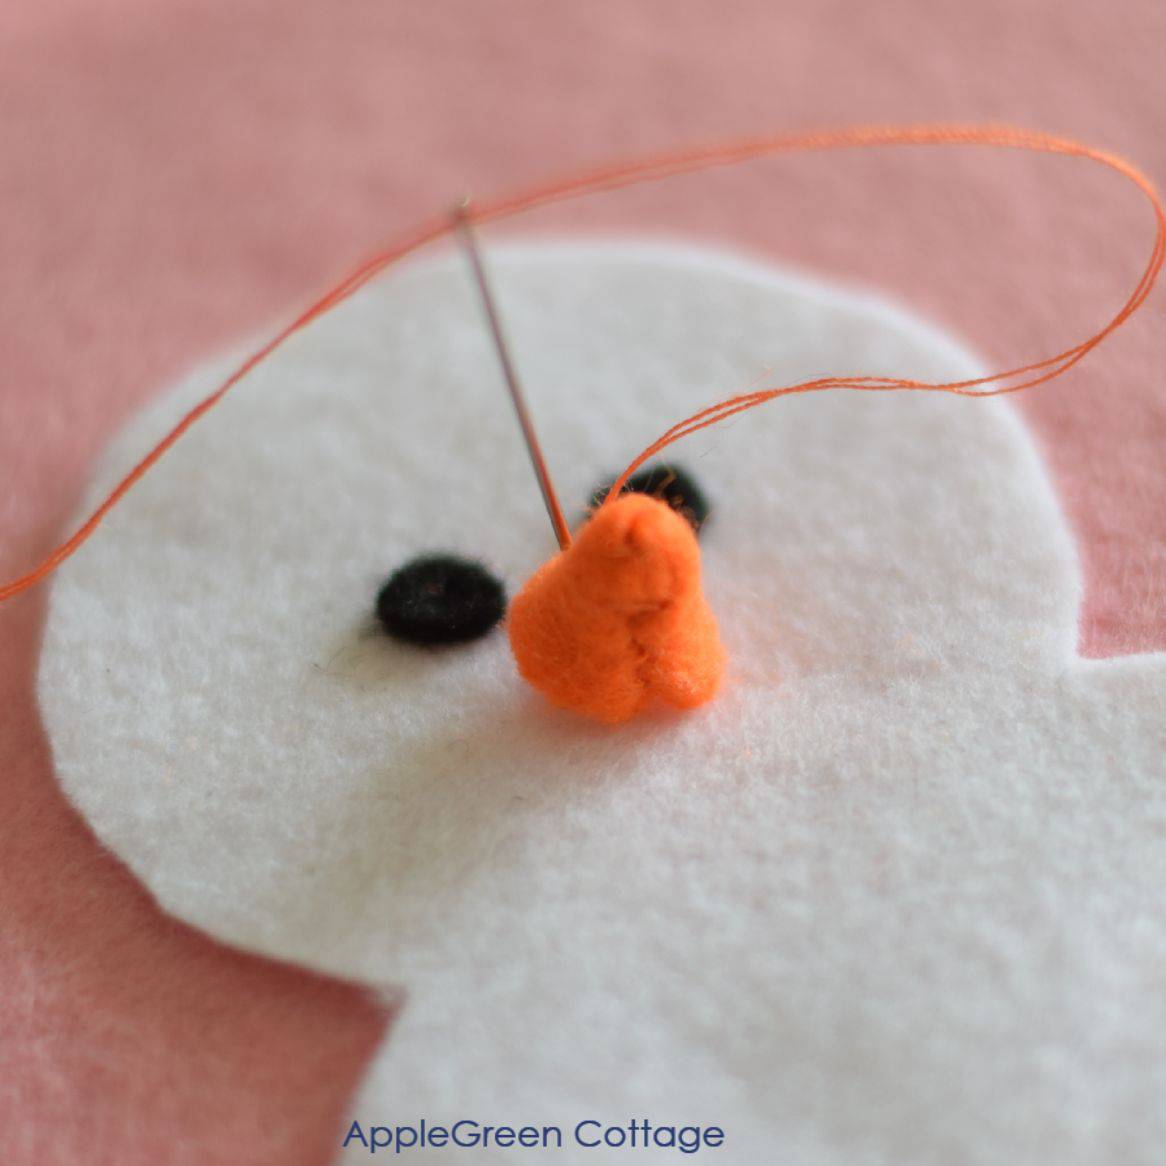
Step 4 - Create and attach the snowman's nose
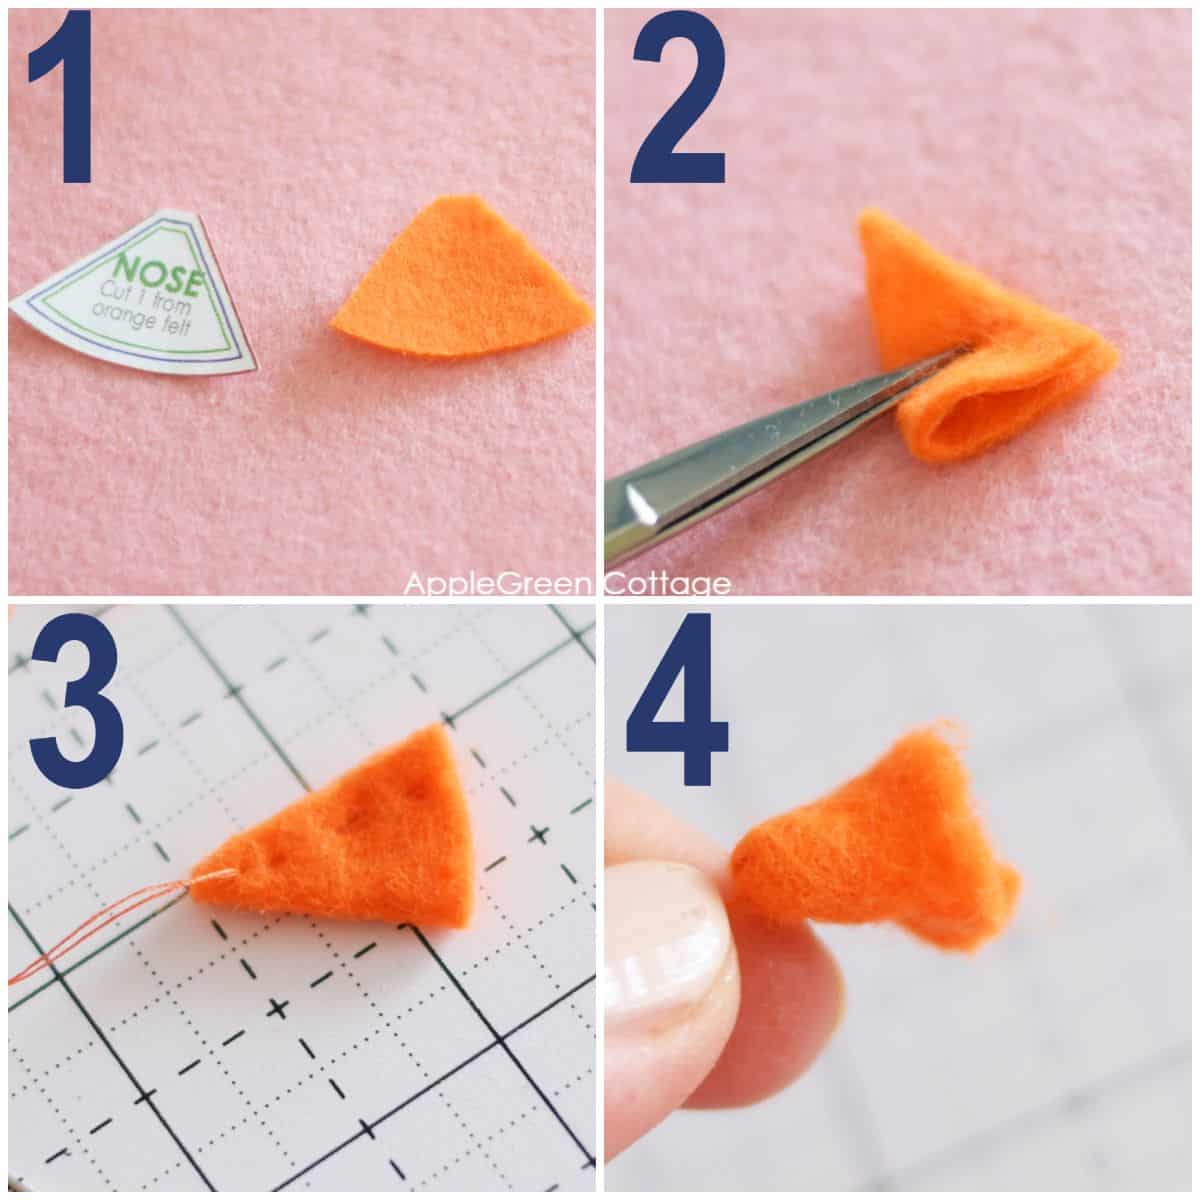
- you'll use the orange felt piece marked as 'nose' on the template
- fold in half as shown in the image
- using a simple running stitch, hand-stitch along the edge, turning the piece into a cone shape.
- Turn right side out - here's the mini carrot nose.
Stitch the 'carrot nose' onto the main snowman base, just a bit lower than the two black eyes are located:
Step 5 - Create a snowman's mouth
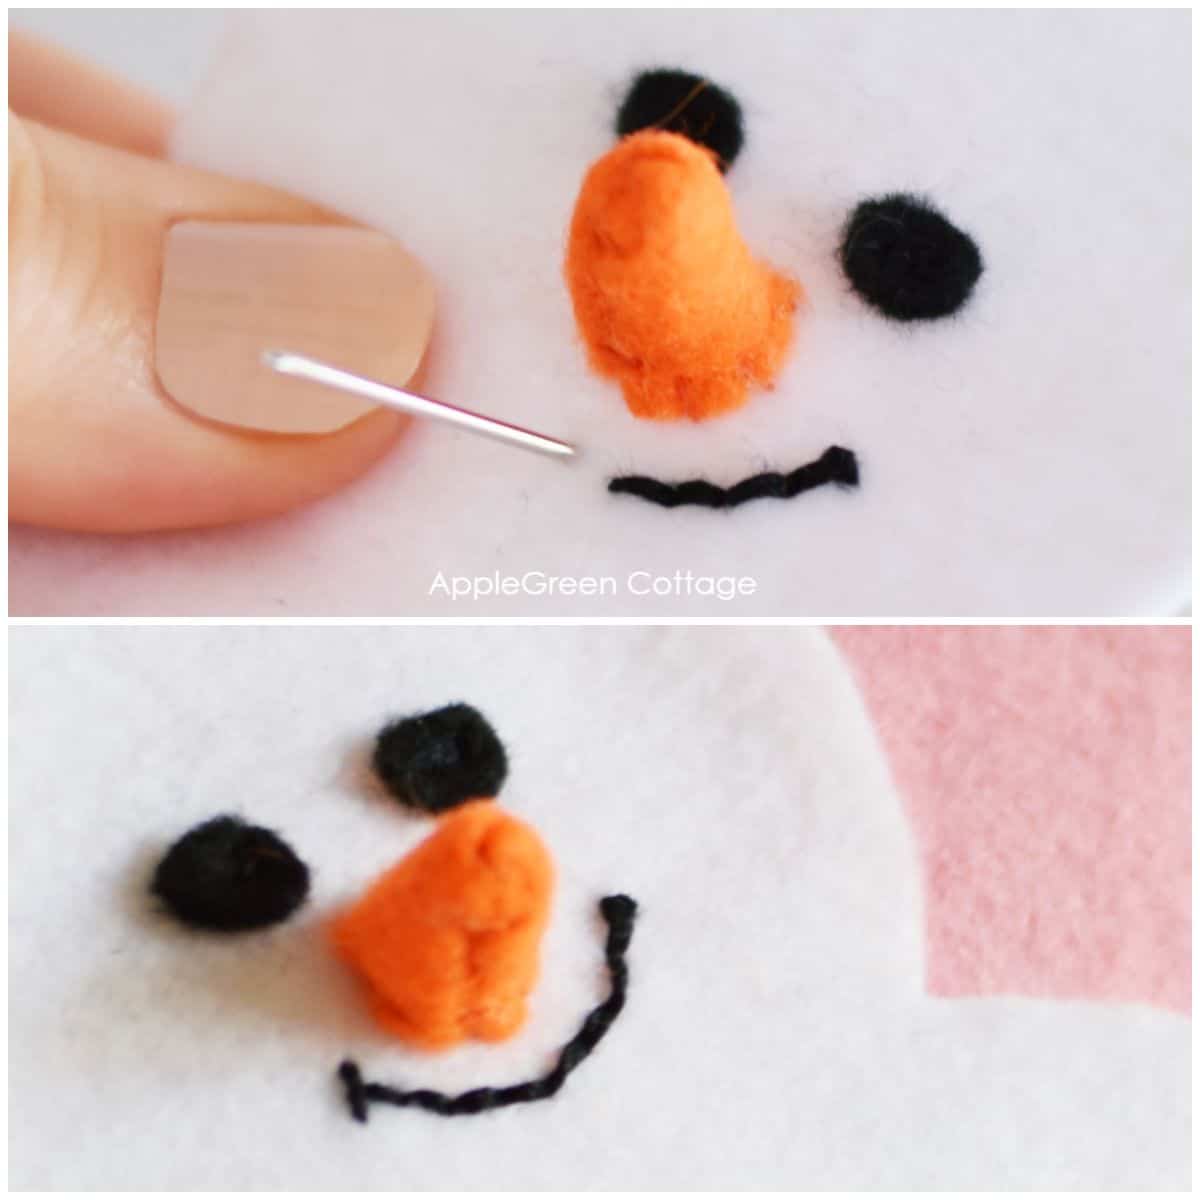
Create a mouth using a simple running stitch, a backstitch, or a chain stitch. The photo shows you a backstitch. No need to be perfect! When you're finished sewing, secure the stitch on the backside.
Step 6 - Add 'buttons'

Stitch the three black circles to the snowman's belly.
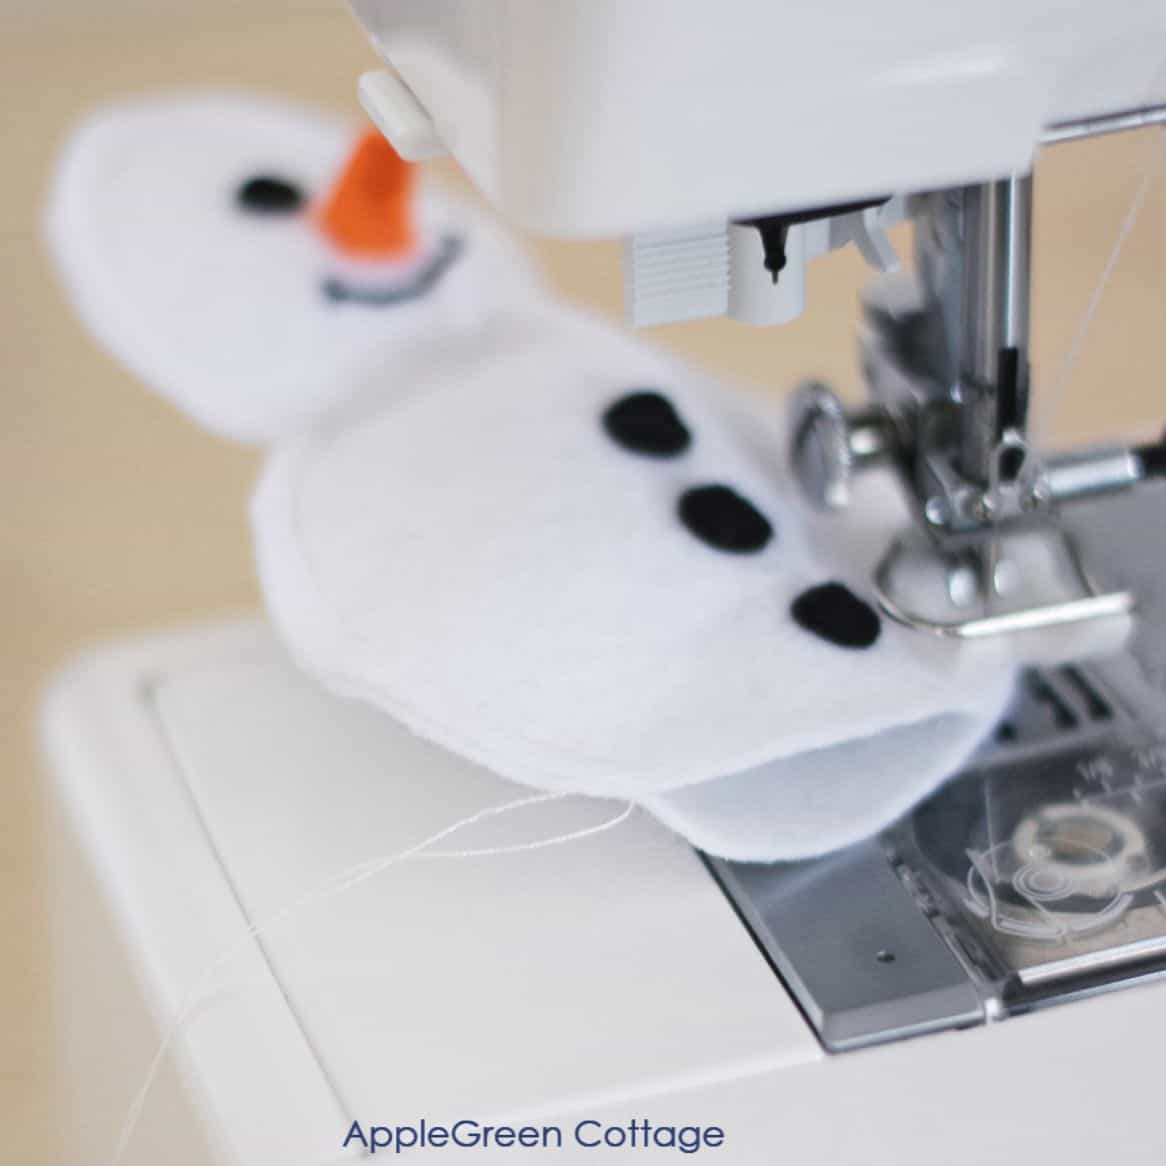
Step 7 - Join the two main layers
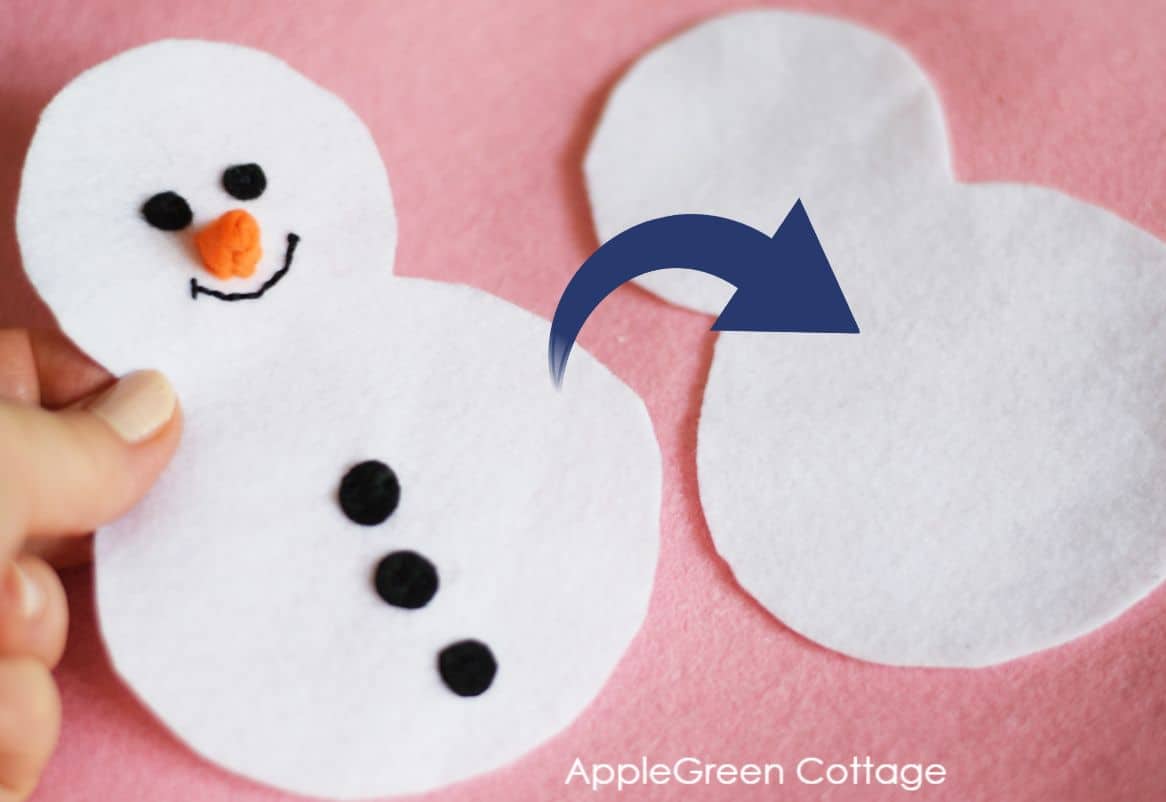
Put the (almost finished) front of the snowman design on the other white felt piece and sew them together. Make sure to leave a 2-3 inch opening at the bottom, like this:
While you can certainly hand-stitch it, I used my sewing machine, straight stitches. Once I sewed around the piece, I left the piece on the sewing machine plate, to add stuffing before I proceeded:
Step 8 - Add stuffing
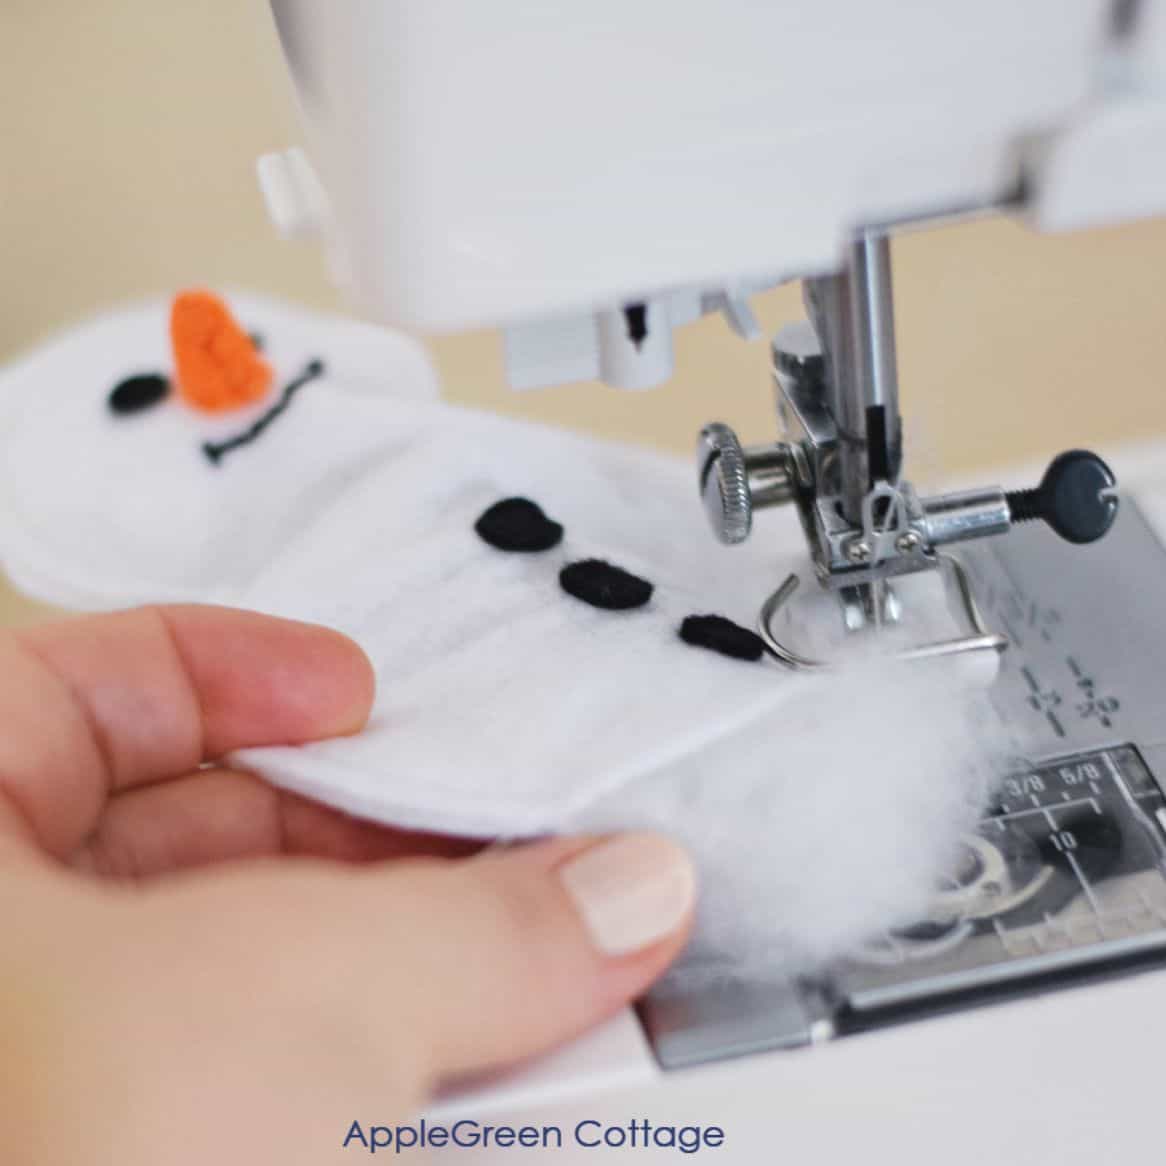
Now, add poly-fill, or some other stuffing. Less is better, as you only want the snowman to be slightly shaped, not deformed. Sew the opening closed.
Step 9 - Add a mini scarf
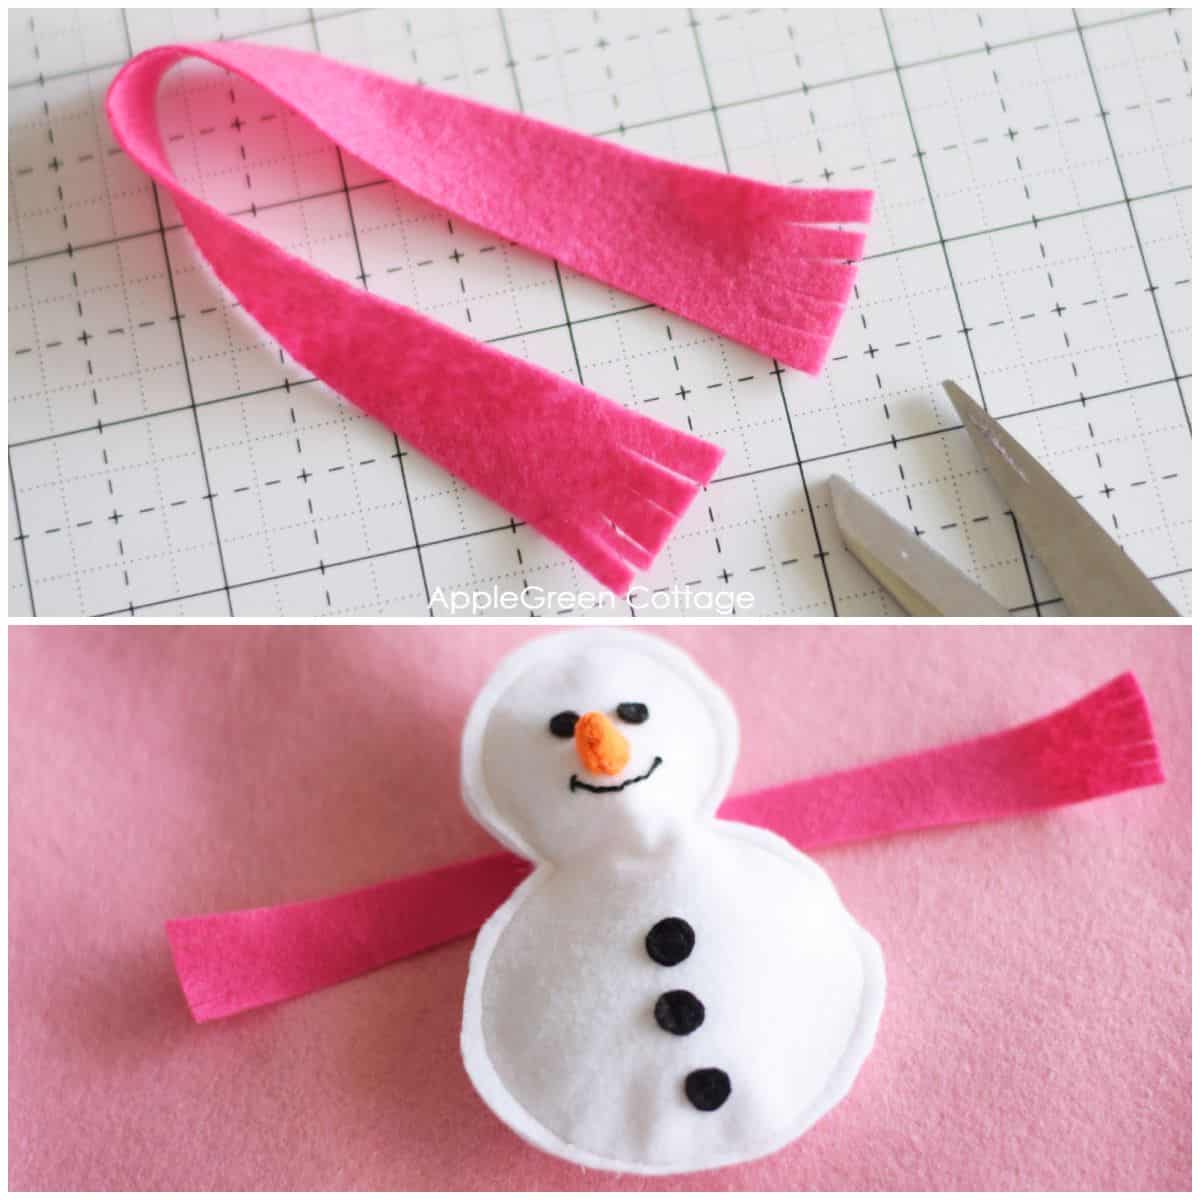
Using the mini scarf piece, cut the ends into 4 or 5 fringes, using embroidery scissors. Then wrap the scarf around the snowman's neck:
Step 10 - Make a snowman's hat
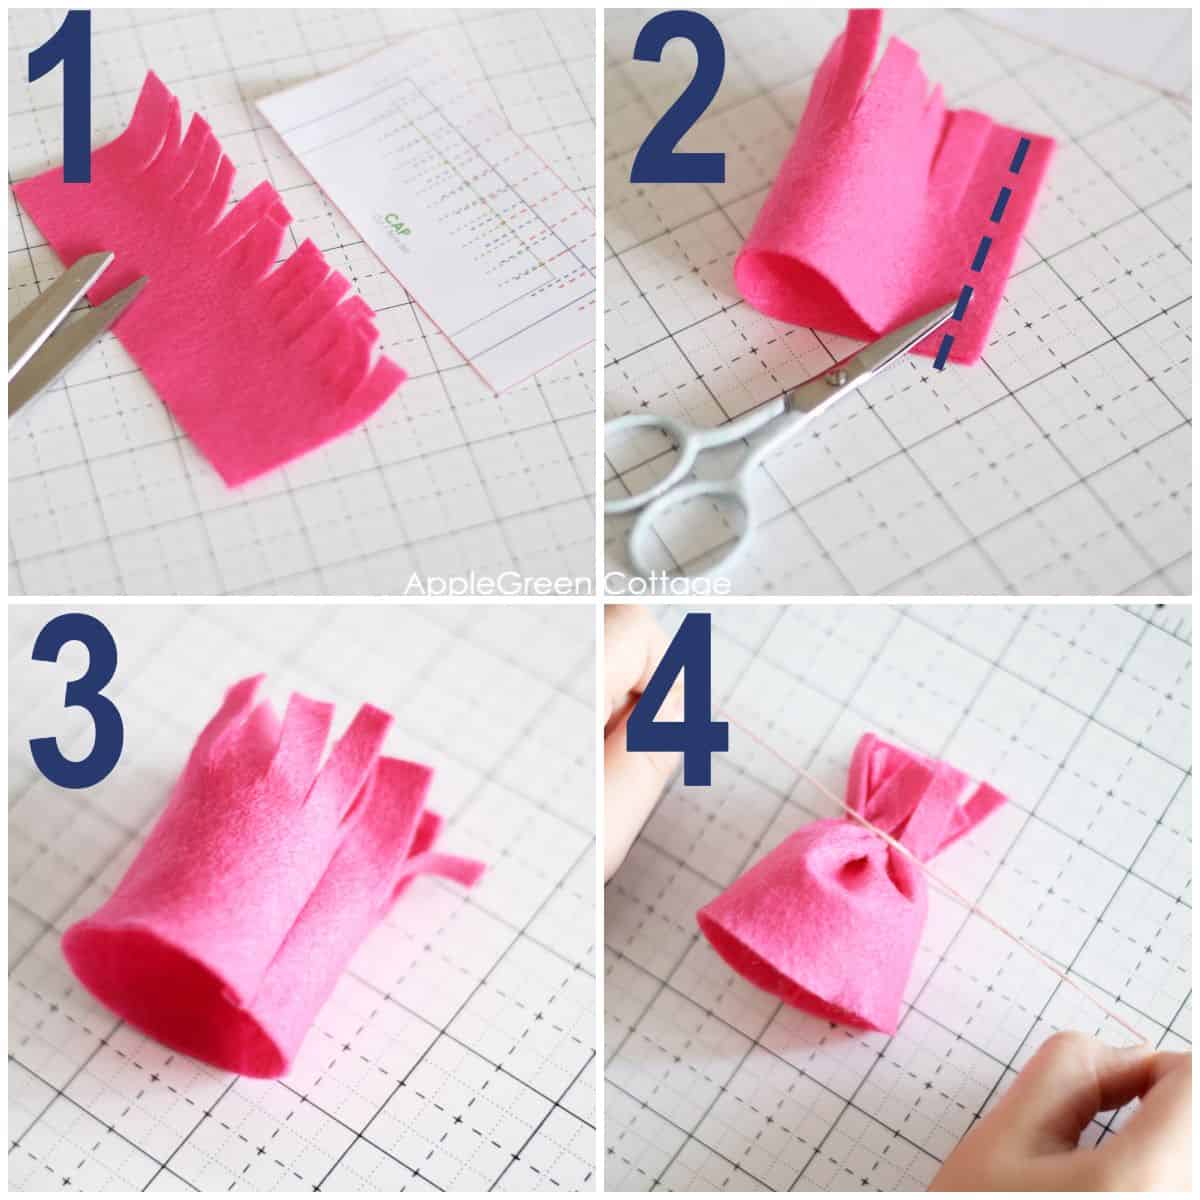
Create a small snowman's cap:
- Make a fringed top: using a disappearing ink marker, trace the line from the template that will become your cutting guide. Then cut fringes - these will become the hat top.
- Fold in half and stitch the sides together.
- Turn right side out.
- Using twine or embroidery floss, tie off the top part where the fringes begin. Now's the time to fold the bottom of the hat and put it on the snowman:
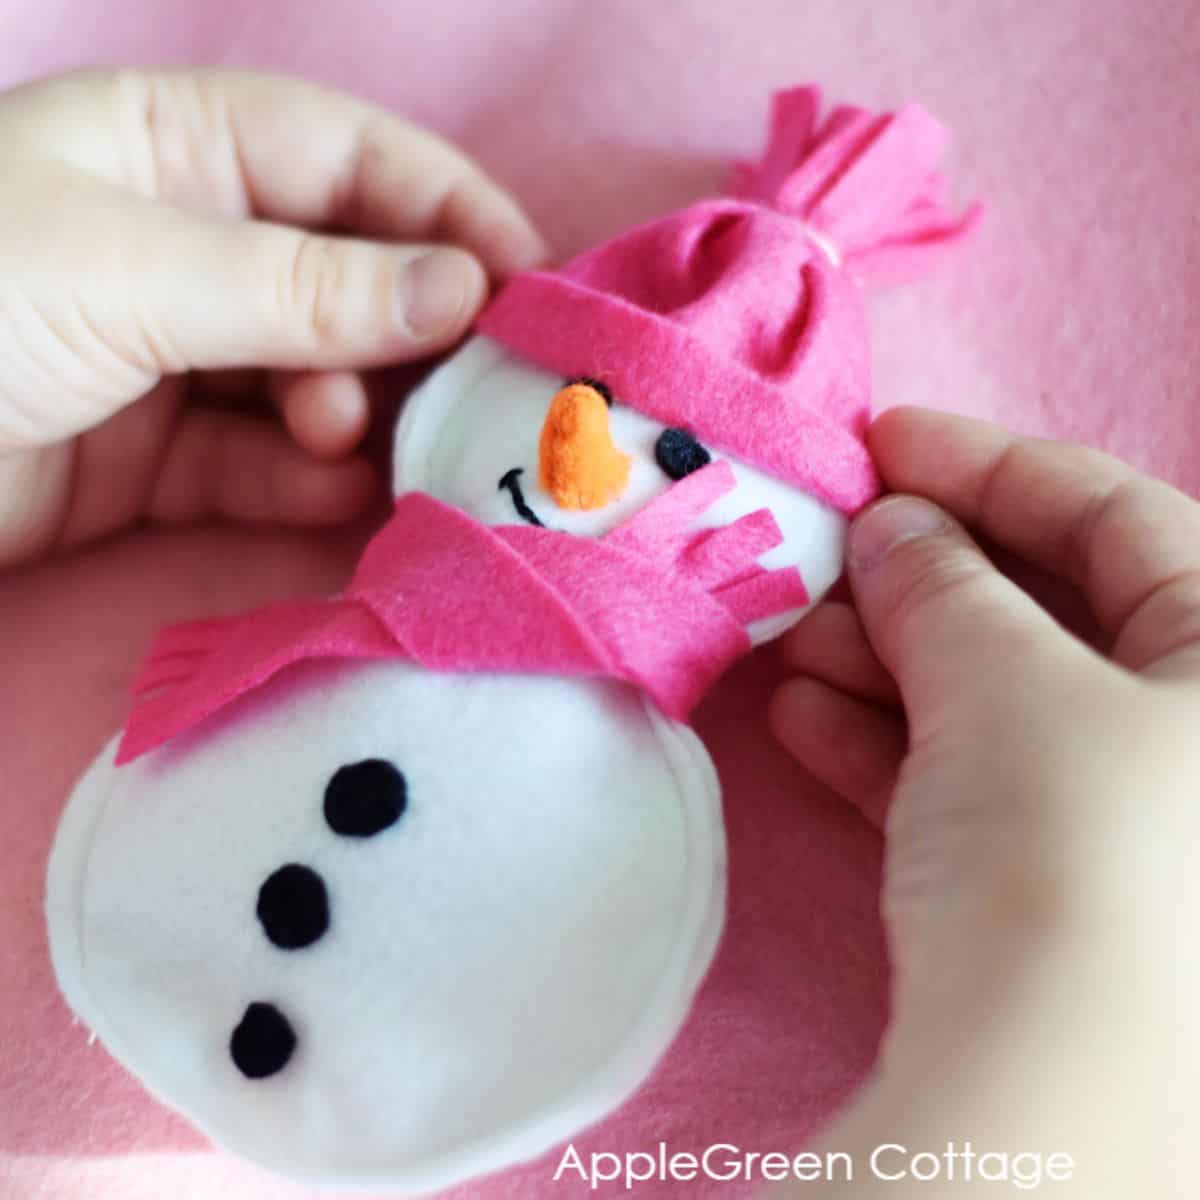
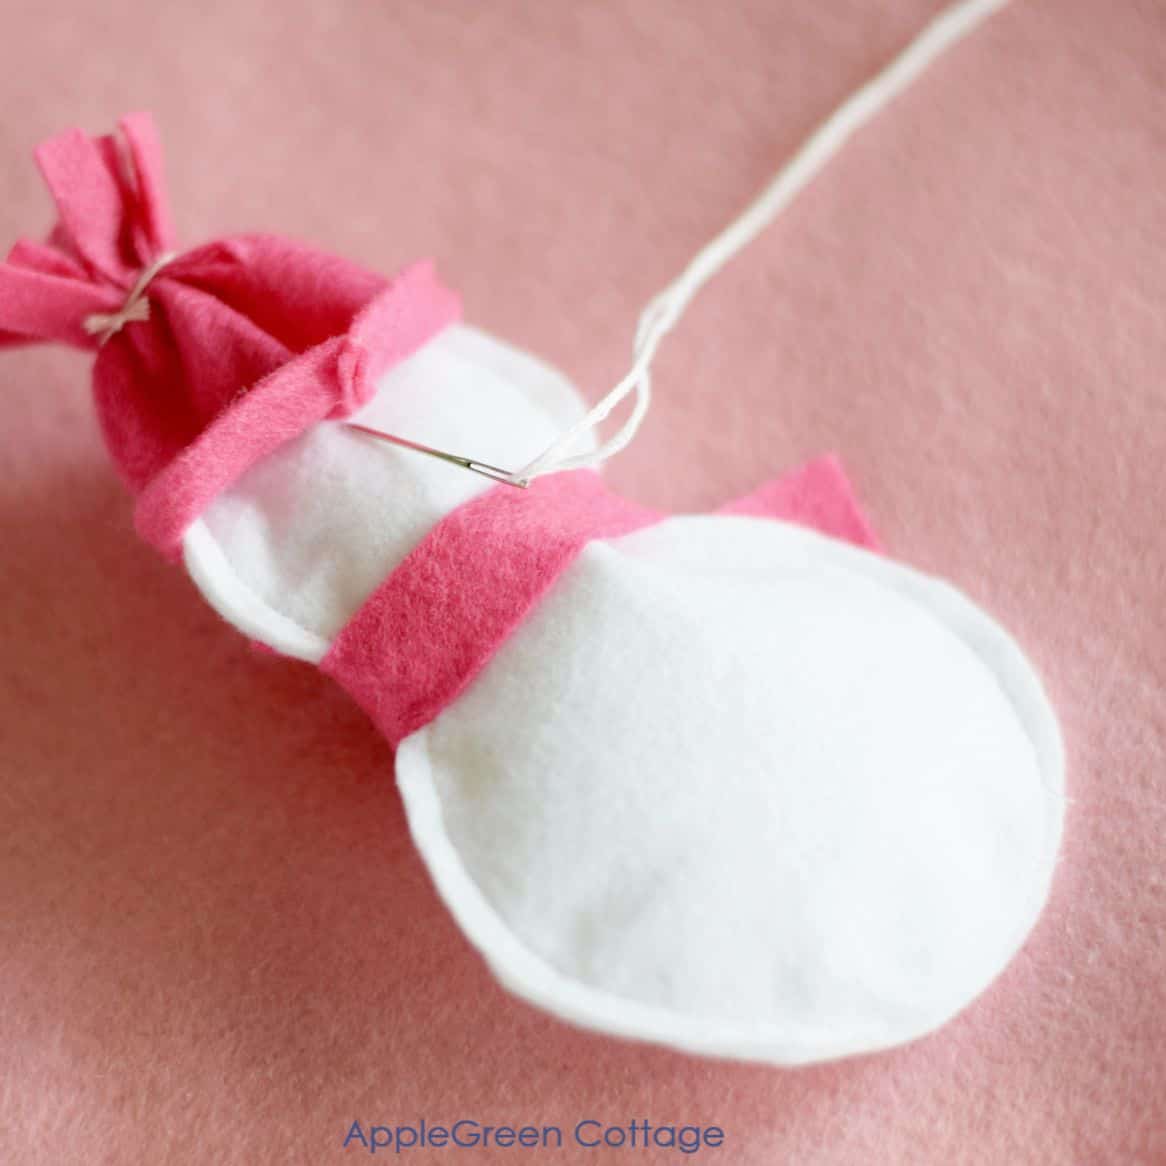
Then stitch the hat to the snowman's head and attach a hanging loop.
Ta-daa, finished! I hope you'll enjoy these easy snowman ornaments. Funny, but it takes a lot more time to read this than to actually make one 🙂
My daughter was a great assistant (she helped me photograph this tutorial too!), and later made two snowman ornaments by herself.
Looking for more holiday projects? Try this Super Cute Mini Mitten Ornament, or the popular Origami Ornament - Looks Complicated But It's So Easy!!
Related Holiday Decorating Ideas
Looking for other projects like this? There are so many christmas ornaments to sew here at AppleGreen Cottage! Try these:
Where can I get the free snowman ornament pattern?
Join our mailing list and get the template for free - and more, the entire (huge!) Homemade Holidays BUNDLE, with more than 18 templates to create you own cozy holiday decor:
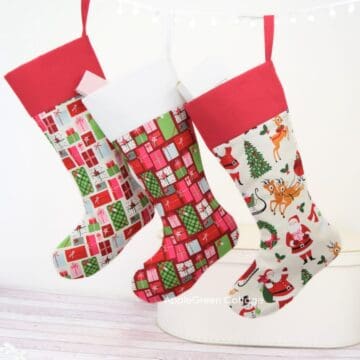
Bundle includes: Gift card holder template, Origami Christmas ornament, Mitten ornament, Santa Hat Ornament, Christmas Tree Ornament (2 versions), Diy Bauble Christmas Ornaments, Diy Felt Ornaments, Diy Candy Ornaments, Poinsettia Ornament, Ornament Hat (2 versions) - and that's not the end of the list yet!

And if you want to create even more, see all the Christmas sewing patterns here at AppleGreen Cottage. I'll return soon with more tutorials. Join our mailing list to stay updated on new projects and not miss out.
Or …check out the gift bag pattern in 6 sizes in our shop - a super easy no-corner-boxing sewing project. Reusable gift bags for all your future gifts!


Leave a Reply