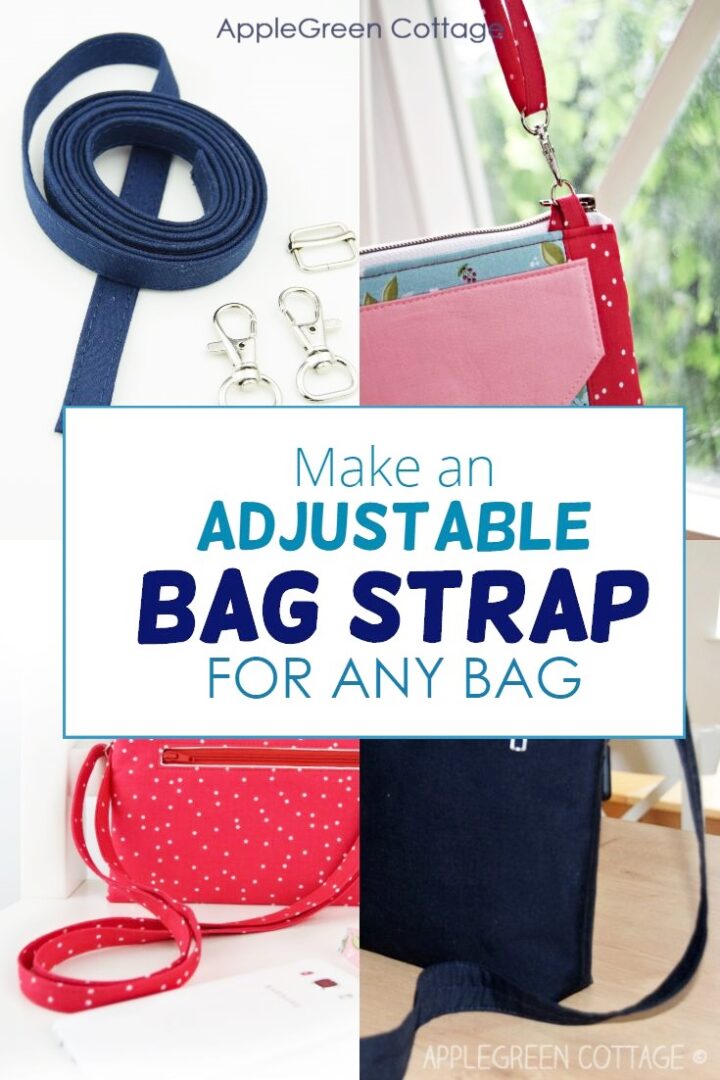
A bag that has an adjustable strap is so much better than those with a fixed-length one! See how to make an adjustable strap for any bag.
Do you want your bag to change into a crossbody strap bag like this one in a moment? Or shorten the strap to sling it over your shoulder? You can have it all, see below!
This post contains affiliate links. Thanks for your support. If you're here for bagmaking, also check out how to Make Your Bag Handles Look Pretty.
Table Of Contents
Not all bags come with an adjustable strap, but it's such a handy thing to have on a bag! Imagine the many times would like to wear your bag across the body, to keep your hands free! And other days, when you'd like to keep it simple and shorten a bag strap to carry it over one shoulder. With an adjustable strap, just change the length, so it suits all your needs.
Let's make your bags look even better with cool, adjustable straps you can use on any bag from now on. Two ways!
Adjustable straps are currently No 4 of my favorite bag strap sewing tips, check out my readers' top 3 favorites here too:
Let me show you how easy it is, and I bet you'll always want to make all your bag straps adjustable! Here's the how-to.
How To Make An Adjustable Strap
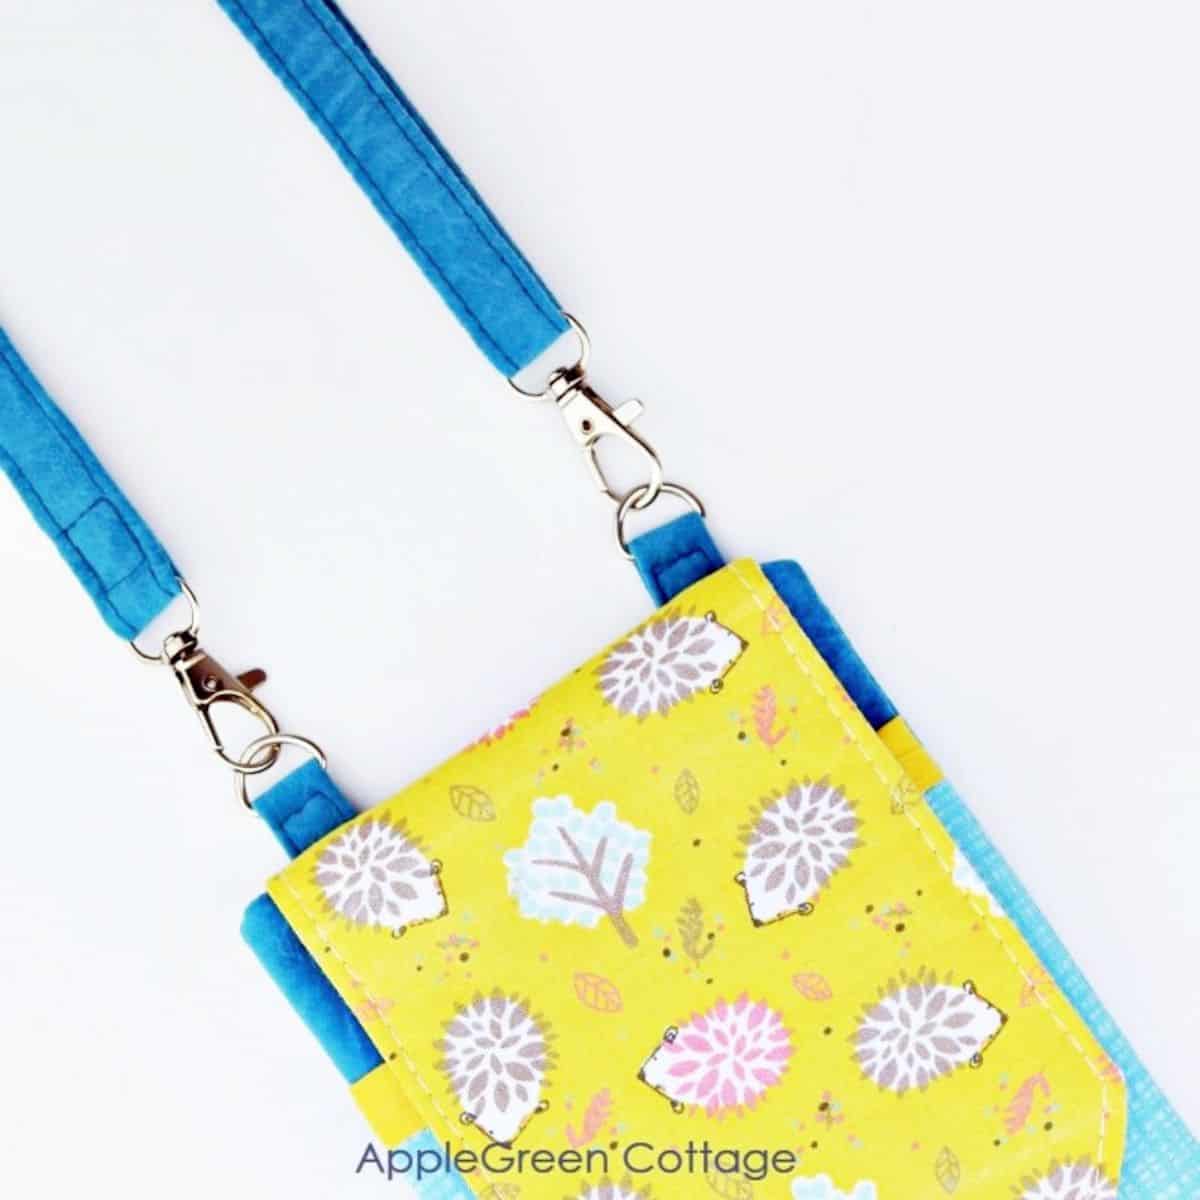
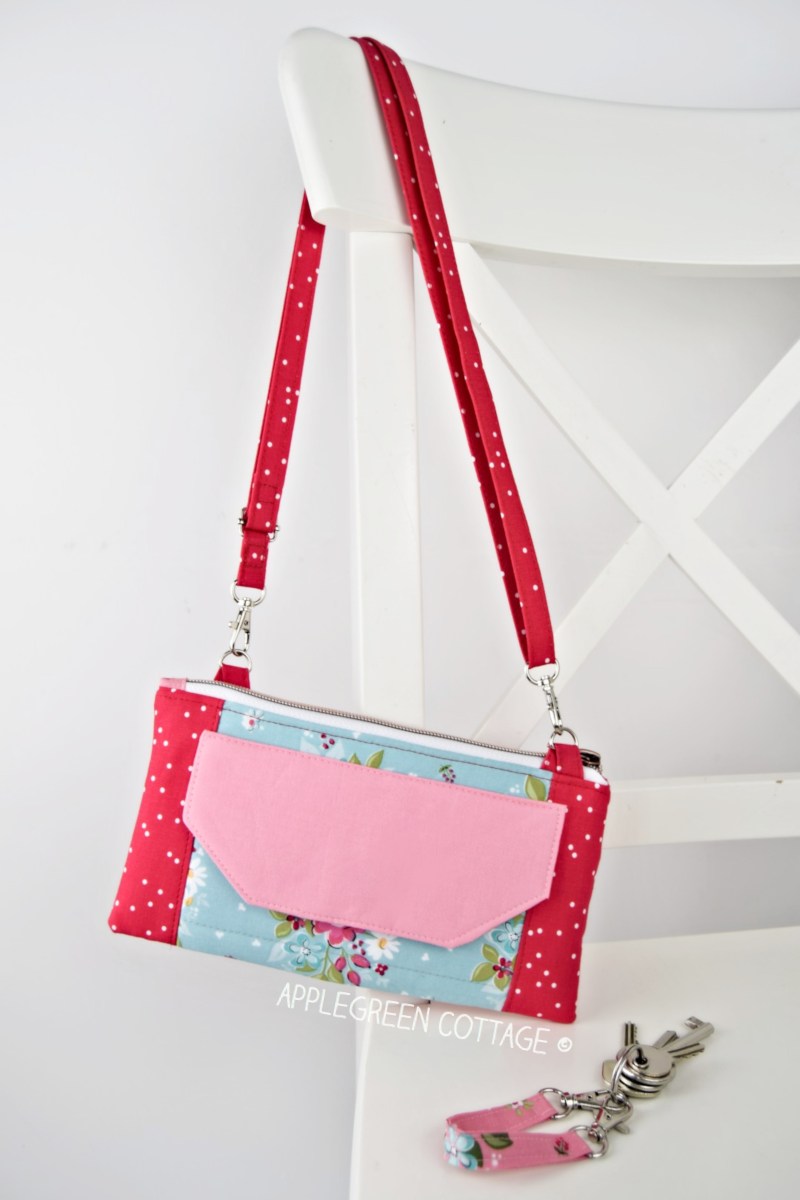
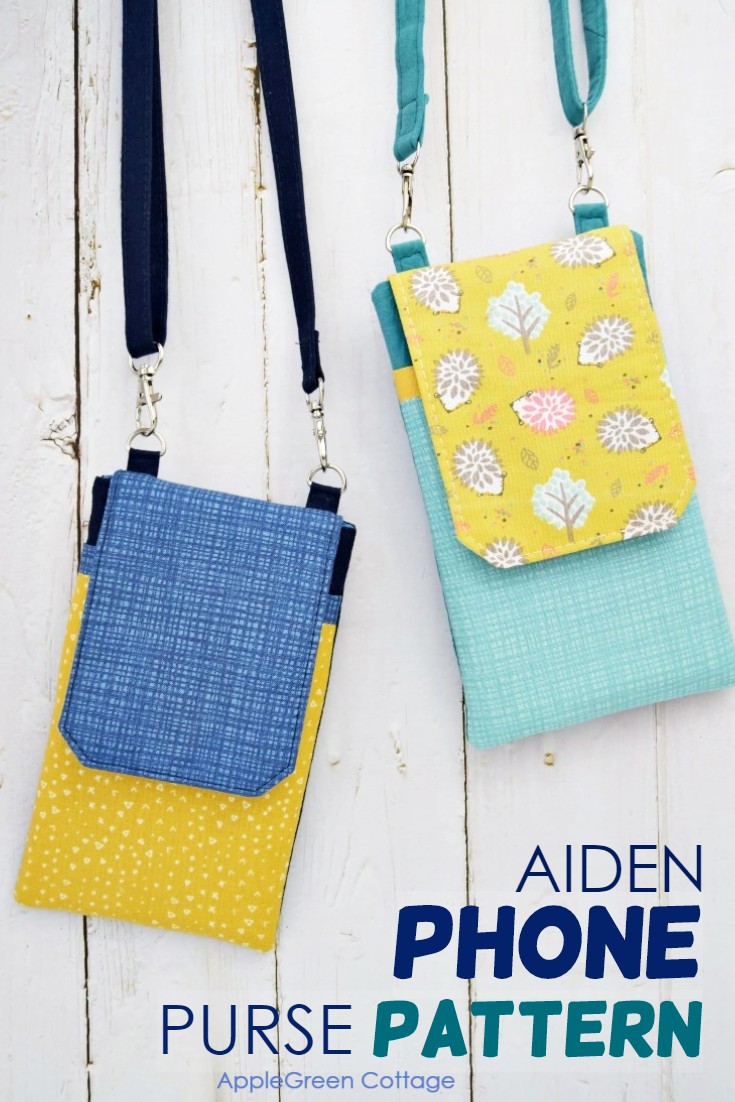
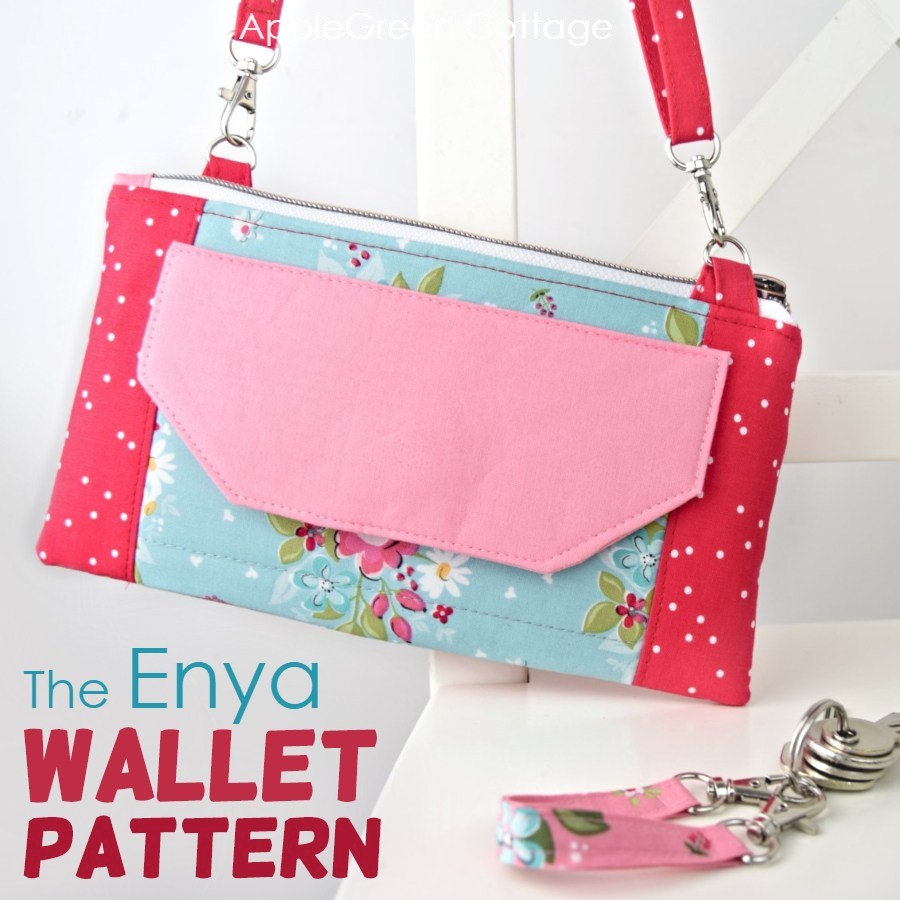
An adjustable strap is not hard to make and instantly gives your bag a more professional look. You can make one that is adjustable but cannot be removed from a bag, like in my TEYA tote pattern, and a detachable adjustable strap, like in my AIDEN Phone Purse and the ENYA Wallet Bag (see photo below!), and a gazillion of other patterns out there.
What differs is the hardware, but not the process of sewing, so let me show you the hardware you need first:
Hardware to make a non-detachable adjustable bag strap
You'll Need:

- bag hardware: 2 rectangular rings (width 1 ¼" = 32 mm) and 1 strap slider adjuster (width 1 ¼" = 32 mm)
- a long strip of fabric, at least 53 inch long (I prefer 57")
- fusible woven interfacing
Hardware to make a DETACHABLE + adjustable Bag Strap

- bag hardware: 2 lobster clasps, also called swivel clips and 1 strap slider adjuster
- like above, a long strip of fabric, at least 53 inch long and fusible woven interfacing
- in addition to above, you'll also need two D-rings, or O-rings or rectangular pieces to add to the bag as anchors, and to which the lobster clasps will attach.
Shop my personal favorite sewing supplies on Amazon HERE.
How to Make an Adjustable Bag Strap -
Non-Detachable Version
This part of the tutorial is meant for the strap width of 1 ¼ inch (32 mm). If you want another width, adjust accordingly.
Fabric Cutting Directions
You'll need these pieces:
OUTER FABRIC:
- cut a long stripe at least 53" long, 5" wide (= 134.5 cm x 12.70 cm)
- cut two pieces for side strap tabs: each 2 ¾" long, 5" wide (= 7 cm x 12.70 cm)
INTERFACING:
- use stiff, fusible woven interfacing
- cut a long stripe: 52" long, 2.5" wide (= 132 cm x 6.3 cm)
- cut two pieces for side strap tabs: each 2 ¾" long, 2.5" wide (= 7 cm x 6.3 cm)
ALTERNATIVELY, you can use ready-made cotton webbing: length 60", width 1 ¼" will be the same as the fabric measurements above (for my metric-countries friends, that would be 150cm x 32 mm)
If you need to join fabric pieces to get that length,
Sewing Instructions:
These instructions are split into 4 parts, to make it easier for you:
A) Make the SIDE STRAP TABS
B) Make The LONG STRAP, and
C) Attach the SLIDER
D) ATTACH ADJUSTABLE STRAP TO THE BAG

1) First, let's apply interfacing:
- to the middle of the entire long outer fabric stripe
- to the middle of the side strap tabs (mind the direction of the interfacing pieces! – see the image)
A) MAKE SIDE STRAP TABS
There are many ways a bag strap can attach to the bag. While bag patterns will have a top strap anchors, side strap anchors, or sewn in or sewn onto a bag, I need to choose just one way here (or risk this tutorial to become really really long haha!) So let's do the sewn-on, side strap tabs.
For each side strap piece, do this:

- First press both unlined edges towards the center and then
- Fold the tab in half along the center. Press again.

These are the two pressed stripe tabs. You'll finish one short end on each of these.
Unfold the center fold and re-fold it inside-out – see the image:

Stitch over the short end, using the ⅜" (=1 cm) seam allowance.

Trim the corners to reduce bulk and turn right side out and press. Now you have this:

Repeat on ONE short end of the OTHER stripe tab.

Fold the stripe tab through the rectangle ring, leaving the unfinished edge hidden behind the finished edge. (See the image?)

I usually baste stitch to keep the fold in place.
Now it's time to attach the side strap tab to the side of a bag. You'll want to attach the tab so the top part with the hardware is either at the bag level or a bit higher.

Get ready for bulk. Stitch slowly, pivot at corners.
I sometimes only stitch a rectangle when there is a lot of layers to sew through. The seam is strong enough, but if you prefer, you can do it the 'envelope style' (see below)
Repeat with the other tab: attach the second one to the other side of the bag side seam.
B)MAKE THE LONG STRAP

•First press both unlined edges towards the center and then
•fold the strap in half along the center. Press again.

You should have a long narrow stripe - here, it's 1.25″ (=32mm) wide.

Now we'll finish the short ends: unfold the center fold and re-fold it inside-out – see the image.
Stitch over the short end, using the ⅜" (=1 cm) seam allowance.

Repeat on the other short end of the bag strap.

Turn both short ends right-side-out. Then topstitch first along the open (and pressed!) long edge, all the way to the end of the long stripe. Repeat the topstitching on the other long side.

This is the finished strap. Now you'll add a few pieces of hardware to make it adjustable.
C) Attach the SLIDER
Attach the metal slider adjuster to one end of the strap:

Place the slider adjuster 'right' (front) side down, and the strap should be placed with the outer side facing down, too.

Thread the end of the strap around the middle bar of the tri-glider.

Stitch in place, using the 'envelope-style' seam. Or you can simply stitch a rectangle to secure the end of the strap.
See the next image to learn how to form the 'envelope-formed' seam.

How to stitch: -Start at the green dot -Follow the steps 1-7 -End at the red dot.
D) ATTACH ADJUSTABLE STRAP TO THE BAG
You've already got the metal slider adjuster on one end of the strap. Place the strap so that the fabric fold is visible from the top of the stripe.

(1)Now, grab the other, free end of the strap, and guid it through one side strap tab on the bag.
(2)Guide it through the slider.
(3)Feed it through the other rectangular tab on the other side of the bag, from the bottom.

Your free end of the strap now just needs to be attached to the side tab on the bag. Fold it ...
…and stitch in place.

How to stitch:

- Start at the GREEN dot
- Follow the steps 1-7
- End at the RED dot.
How to Make DETACHABLE Bag Straps
Now let me show you the part required to make detachable bag straps. It's just a little different from the one above, and it's a great option to have when you want your bag to double as a clutch. Just clip or unclip the strap - two bags in one!
As mentioned, these parts of the tutorial are the same, so I will not repeat them: fabric cutting, making the side strap tabs (see A above), making the long strap (see B above) and attaching the slider (see C above)
The only part that is different is the 'D' section:
D) ATTACH ADJUSTABLE STRAP TO THE BAG
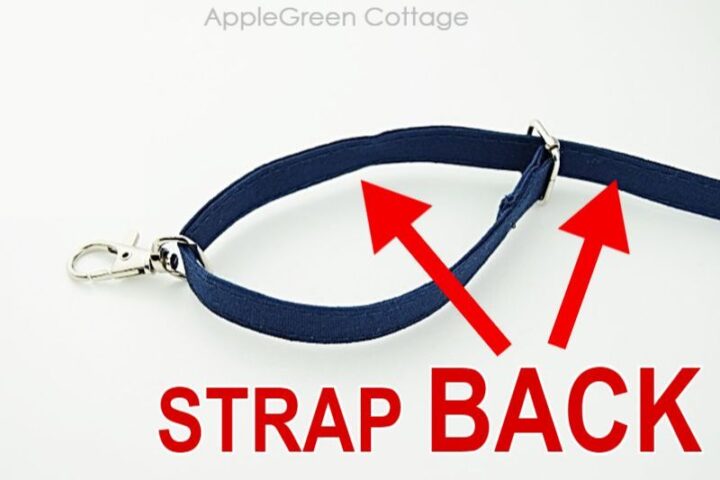
So let me show you how to attach the lobster clasps to the finished long strap. This is the point where you've finished sewing your long strap and have attached the triglider (strap slider).

Please note that this photo shows a narrower strap, but the principle is the same: just use the width for your desired bag strap dimensions.
Now, the process is similar like before when attaching the strap to the rectangular - here, the lobster clasps will take their place, and you won't need to have them sewn into your bag.
Slide on the first Swivel Clasp
Once the adjuster is sewn onto one strap end, take the other, free end of the strap and guide it through the first swivel clasp:

Then guide the strap through the adjuster/slider - see the next 2 images:

And finally, feed the remaining strap end through the other swivel clasp: slide the swivel clasp ring on the strap and fold 1” (2.5 cm) back over the ring.
Sew a rectangle over the strap end to secure. Bury the threads on your new bag strap when done:

Now your detachable bag strap is ready to use on any bag you want. Congrats! You've just learnt how to make adjustable straps for any bag you want, and that two ways. let me know which one you prefer!
How to cut fabric for straps - different strap widths
Want your bag strap wider or narrower? I'm also listing a few other fabric widths to cut for your adjustable strap bag, in case you someday want to create a different width of a bag strap:
- for a 1" wide finished bag strap (2.5 cm): use a 4" (10 cm) wide piece of fabric
- ¾" wide finished bag strap (2 cm): use a 3" (7.5 cm) wide piece of fabric
- for a ½" wide finished bag strap (1.3 cm): use a 2" (5 cm) wide piece of fabric
Or, if you prefer a wider strap, like 5 cm or 2" finished width: to get a strap that turns out 2" wide, cut a strip that is 8" wide.
How to extend a bag strap
Sometimes, you might need to join smaller pieces of fabric to form a long bag strap. This might save you a trip to the fabric store. (Though I do have a list of my favorite online fabric stores too - and a good post on what fabric to choose for bagmaking 🙂
So you want to make a bag strap and you've run out of long fabric pieces to cut one? You don't need to buy more yardage, you can piece your bag straps from smaller pieces. Here's how to join two pieces to form a long bag strap:
Cut the strips in the width of four times the finished strap width. If you want a ¾" wide strap, that would be 3", if you want a strap 1" wide, cut the stip width of 4". Cut as many strips you need to get the desired length, but here I'll just show how to put 2 pieces together.
So, here's how to extend bag straps:
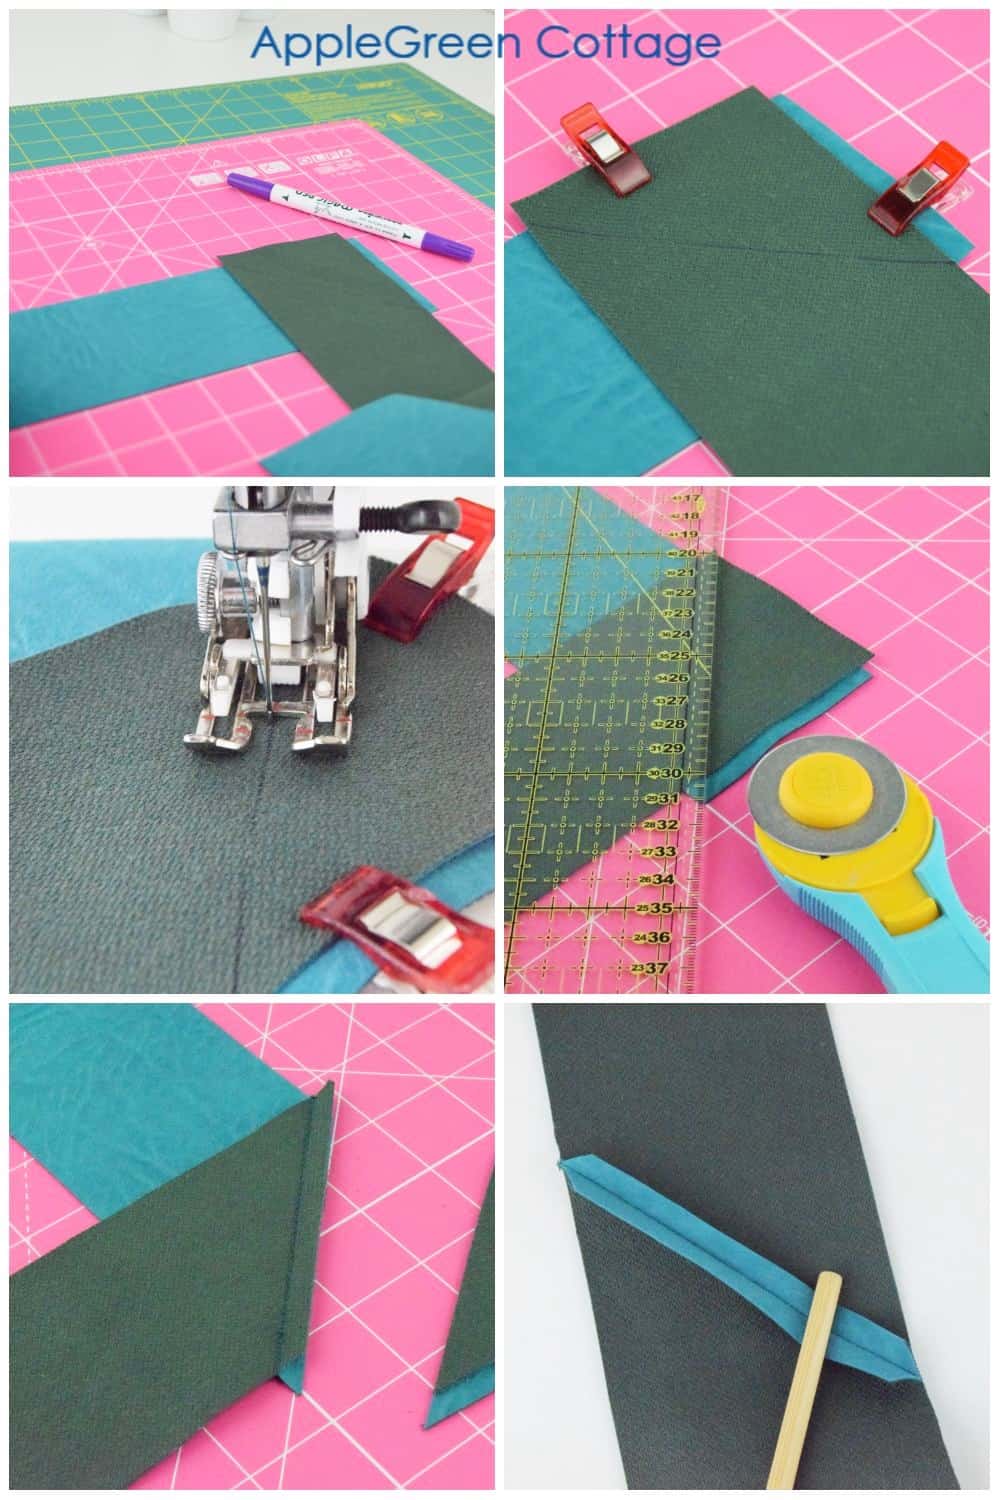
Place the two strips at 90-degree angle, making sure they overlap by a ¼" (7 mm), then draw a line at 45 degrees, and clip to prevent shifting. Stitch.
Open the seam and press the seam open (use a pressing cloth if it's not cotton!)
Clip the tails formed in the seam allowance, then follow your strap-making instructions as per the pattern you're working on. (You'll probably be fusing interfacing as the next step.)
BONUS: since you've joined the strips diagonally, you won't end up with a 'lump' of fabric in the spot where you are joining strips to make a long strap. Good!
How to carry bags with adjustable straps
An adjustable strap is perfect if you love crossbody bags but sometimes want to carry your bag over one shoulder. If you need ideas, here are two of my customer's Teya Crossbody Bags with non-detachable adjustable straps - aren't they cute:

And this is the Aiden Phone Pouch, with a detachable and adjustable strap.
There are limitless options for how to make a crossbody strap - you can even make a few different straps to use interchangeably, on all the bags you love to carry around.
So, how do you adjust a crossbody strap?
I want to be thorough - just in case you haven't yet used an adjustable strap on a bag, let alone created one, I'd like to quickly cover the question of how do you use a strap adjuster:
- to extend the strap: grab the strap, one hand holding the strap that's attached to the tri-glider, and the other one the strap on the side opposite the tri-glider. A moderate pull should cause the strap to glide over the tri-glider, making it longer to wear.
- to shorten the same strap, simply grasp one of the adjuster loops in each hand. Pull the loops in opposite directions to tighten the strap. As you do this, the tri-glider will move closer to the end of the strap, reducing its overall length.
Bag wearing options with a detachable strap
You can use a single strap on different anchors:
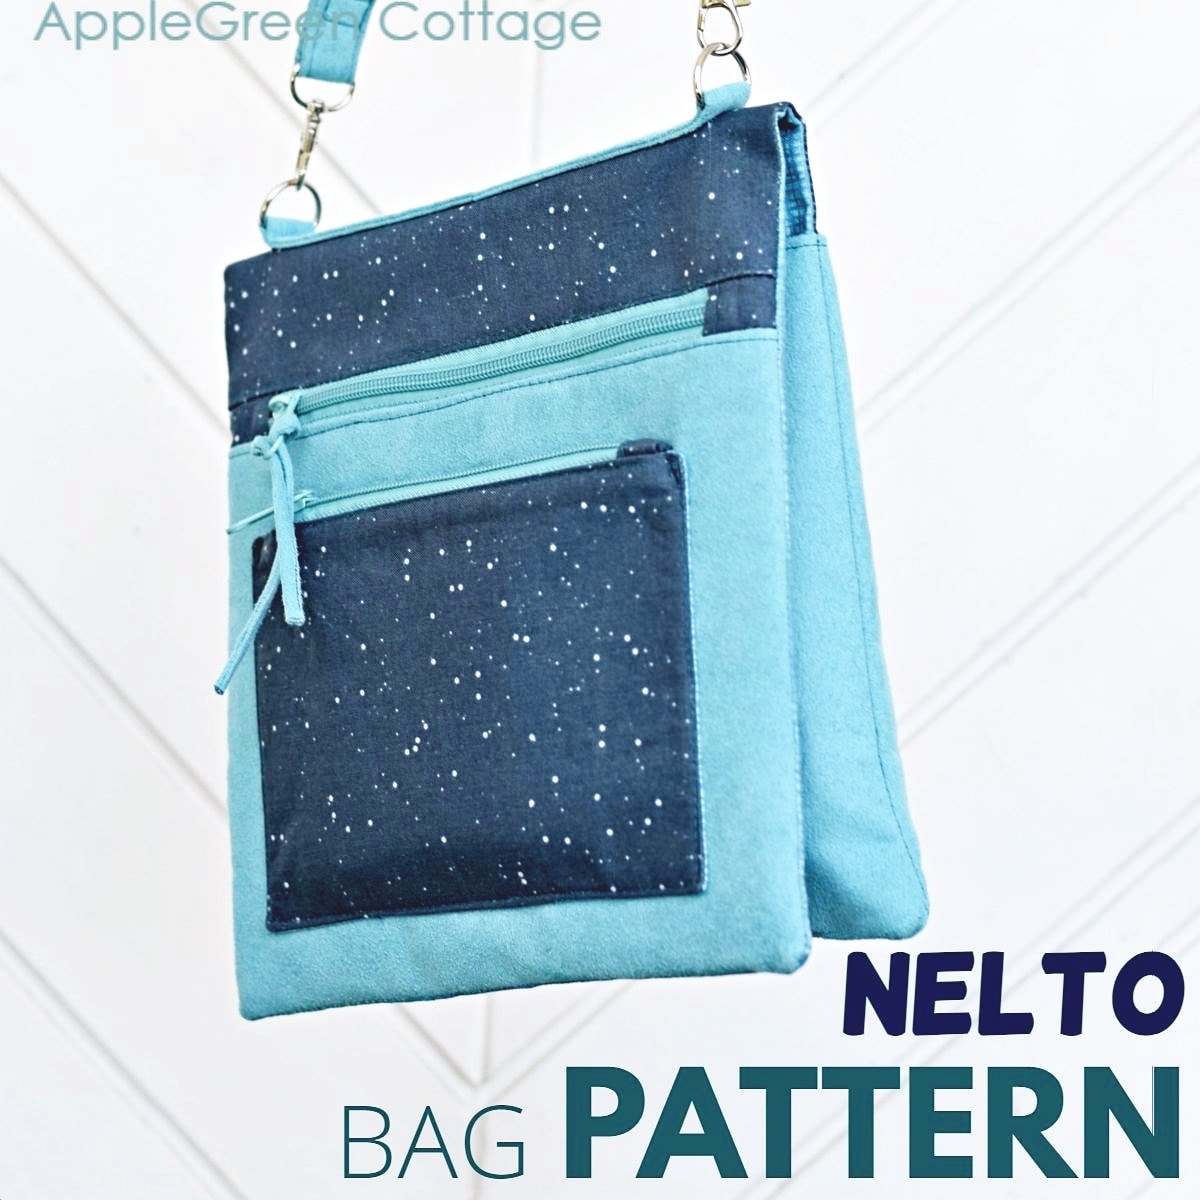
The Nelto bag pattern has 3 wearing options, so you can clip the detachable bag strap onto different parts of the bag - see the features of the unique Nelto crossbody purse pattern - or check out all the different bag versions here.
If you'd like to see more about sewing bags that look good, I've got more tutorials for you in addition to this diy adjustable strap tutorial - see how to add Easy Zipper Tabs and find out All About Interfacing (probably No 1 thing in bags!)
WANT MORE FREE TUTORIALS AND GOODIES?
Get email updates and never miss out on new patterns, printables, and tutorials:
Or …check out the popular Enya Wallet Bag in our shop - use it as a crossbody, clutch, or regular wallet, it has everything a big bag has!

Draconis sanguinis says
where could I get the rings and what would they be called? I'm not actually using it for a bag but I think its perfect for this goat skin knife sheath I'm making.
Damjana Jakos says
hi Draconis sanguinis,
take a look at this post where I talk about getting bag hardware. https://www.applegreencottage.com/where-to-buy-bag-hardware/ You're probably looking for D-rings, rectangular rings, o-rings and there's a lot more. Might be just what you need. I hope this helps, Damjana
Charmaine says
Well I'm glad I found this page and learned the 2 D ring hack! I knew there had to be a way and can't believe I didn't figure it out myself. Thanks everyone!
Lisa G :-) says
Thanks for this great tutorial! I just used it to make an adjustable bag for a post-mastectomy pillow-purse for a friend.
L. Moriarty says
Thanks so much for this tutorial! It was very easy to follow. I didn't have an adjuster, so I used two D rings and it works beautifully!
Damjana says
Oh I always love seeing the two-D rings hack, good job! 🙂 Thank you for visiting my tutorial. xoxo, Damjana