
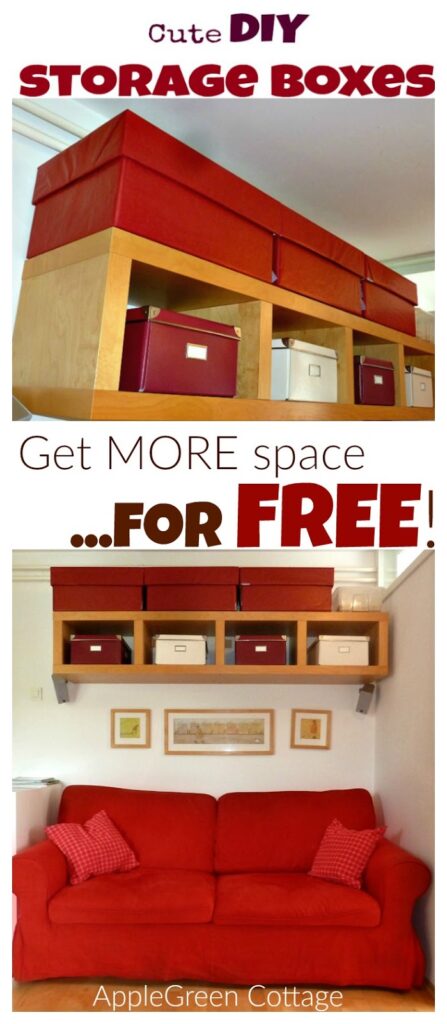
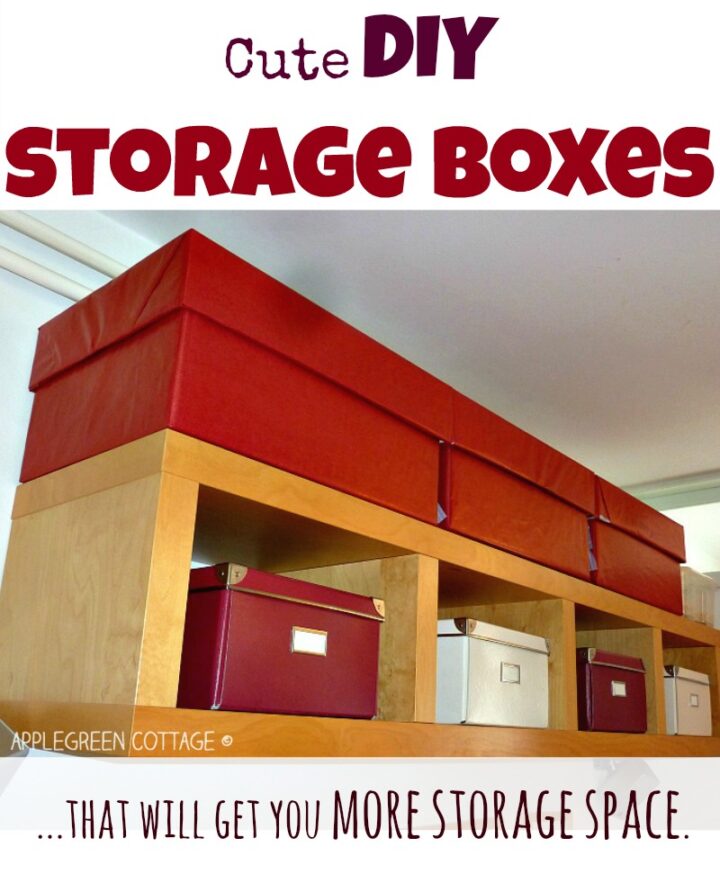
Short of storage space? This might be a perfect solution for you: zero-cost, recycled, and tailored-to-measure diy storage boxes. Have a look at several do's and don'ts and learn from my mistakes. Quick and easy!

DIY Storage Boxes - 3 Main Benefits
It's easy to make these cute diy storage boxes all by yourself. There are at least 3 reasons why I love all kinds of homemade storage, either
- made with upcycled package boxes here
- using wrapping paper to organize storage spaces here, or
- making fabric storage bins here.
These are the reasons you'll love these storage boxes:
- zero cost
- upcycling opportunity
- tailored-to-measure. Exactly the dimensions that you need, no more, no less.
No need to lose that 5 inches of below-the bed space just because there are no fitting plastic boxes to find at that hardware store, right? Or the valuable space just below the ceiling. This is where the boxes found its ideal space in our home:

Since the birth of our first kid, the demand for practical DIY storage solutions has skyrocketed. And if you're a mom, you'll probably know what I'm talking about.
ways TO USE DIY STORAGE BOXES
So if you are in the same club, here's a few ideas how to use a large cardboard box for storage: -toys
-crafting materials
-diapers and paper towels if you buy them in bulk
- and pretty much anything else you don't need every day and needs to be out of sight.

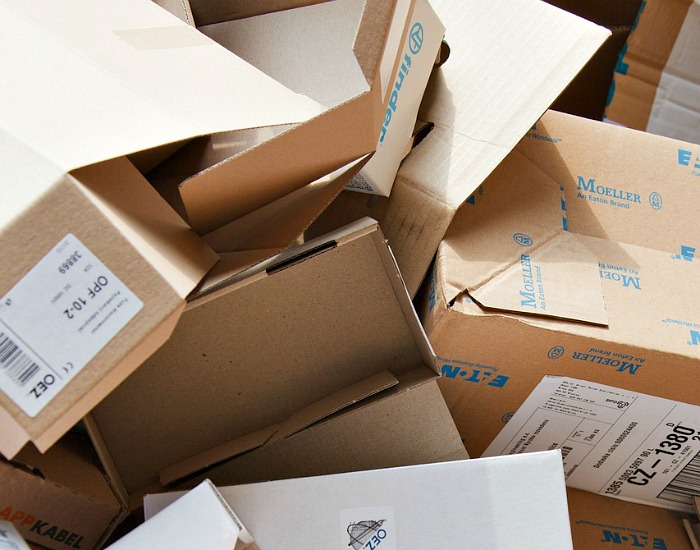
As you might have seen already in one of my other posts on storage options, I love home-made cardboard boxes. In fact, I've got some work-in-progress all the time. And a stash of packaging boxes that I don't let be thrown away - just for the case I get another idea where to win another storage space. (They would probably be making people crazy, but my partner is really patient with my storage-crafting ideas.)
HOW-TO make Diy Storage Boxes
1) Find the spot that could house additional storage. Above a shelf, under your bed, in the pantry, just above kitchen cabinets, above a door or a window (just place a shelf above it!) - you'll find it if you look around!
Measure the space available
2) Measure carefully and write the dimensions down: width, length, and height, all of them. (No, you won't just remember the exact measures, believe me 😉
Use what you have
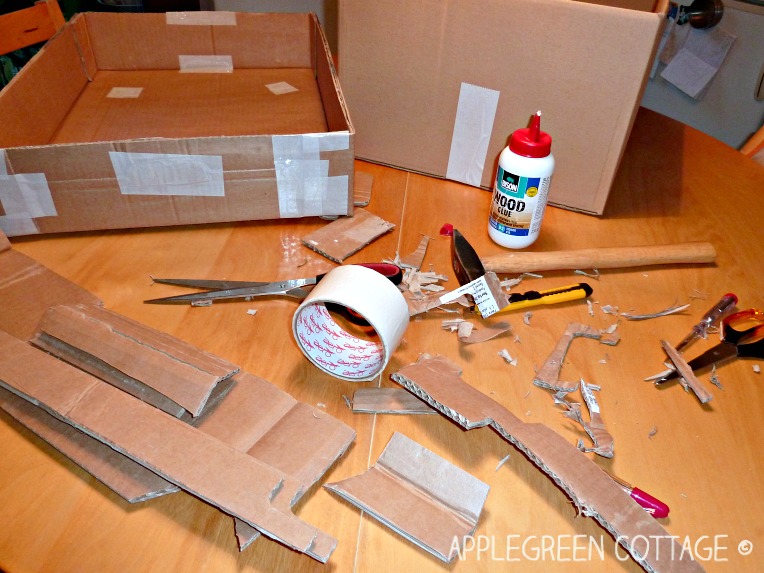
3) Be practical: try to find the cardboard boxes that already fit into the space you intended for storage boxes. Only if you don't find them, you'll need to use larger ones and adjust their size. It might involve cutting, glueing, even hammering - see the photo below to see what I'm talking about. It's fun!
Allow for some extra space
2) When making lids, you'll inevitably need to glue together some parts of cardboard, to make them fit onto the main box. At least that is my experience, but it goes fast. When making the lid, observe the hints I'm putting to the end of the post. It will save you additional work.
How To cover the upcycled cardboard boxes
3) When selecting the paper to wrap around the box and the lid, you'll have endless options. I opted for cheaper wrapping paper with large boxes, so I avoided paying a lot for wrapping paper. Remember: if the box is large, you might need a lot of paper. Another option is simply painting the cardboard box and the lid, using a paint that will not brush off.
One More tip for better storage boxes
4) Make it easier for you: you don't need to do everything in one go. One is hunting for boxes, step two (months later, I admit) was making the lids, and step three and four was wrapping the boxes in decorative paper.
BONUS TIP - learn from my mistakes:
When making lids, feel free to learn from my mistakes:
If you are working with thick (three- or even five-layer) corrugated cardboard, make sure you make lids for your boxes large enough. They should be at least an inch longer than the box itself. This way, you'll avoid my mistake when I first started making DIY cardboard boxes, I wanted the lids to match exactly. And made quite a few too small. That is due to the thickness of the cardboard.
They should not fit too tightly. Bear in mind that you'll want to wrap them in some nice decorative wrapping paper, and this will not be feasible if they are already fitting exactly when in raw form. Also, the wrapping paper would peel off too soon (at joints) once the box is in use.
The boxes I showed you above are used for crafting materials, and for toys that we need to store out of sight. Their dimensions were carefully planned to fit on the shelf, as well as to store bulky items such as large plastic toys. Have a look:
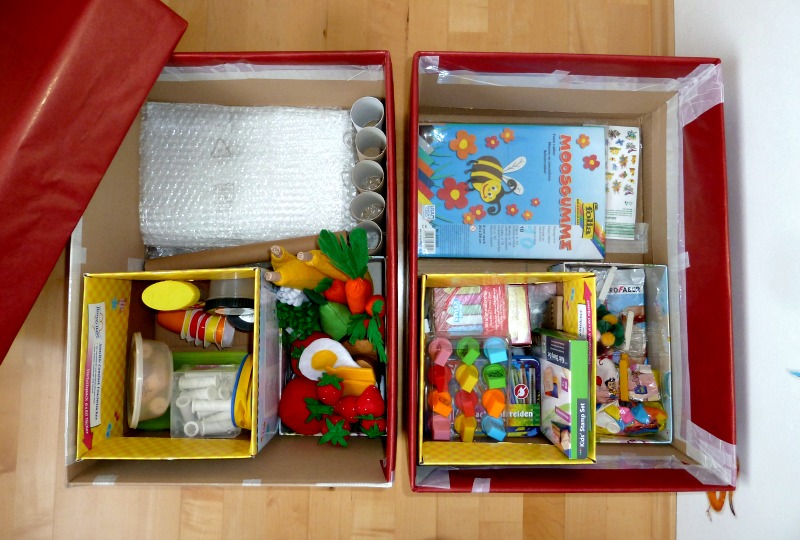
You see, even the felt play food I made ages ago has found its space in these boxes! If your boxes are really huge, you can use this tutorial to make the EASIEST DIY dividers. Same material, made in no time!
Or you can use felt to add more organization to your boxes: I've made a tutorial on felt storage boxes. One of my easiest and quickest crafting projects this year! The how-to is here (check out the clever no-measuring trick!) And one more final tip that works so well for our home: feel free to
Mix and Match Your Diy Storage Options
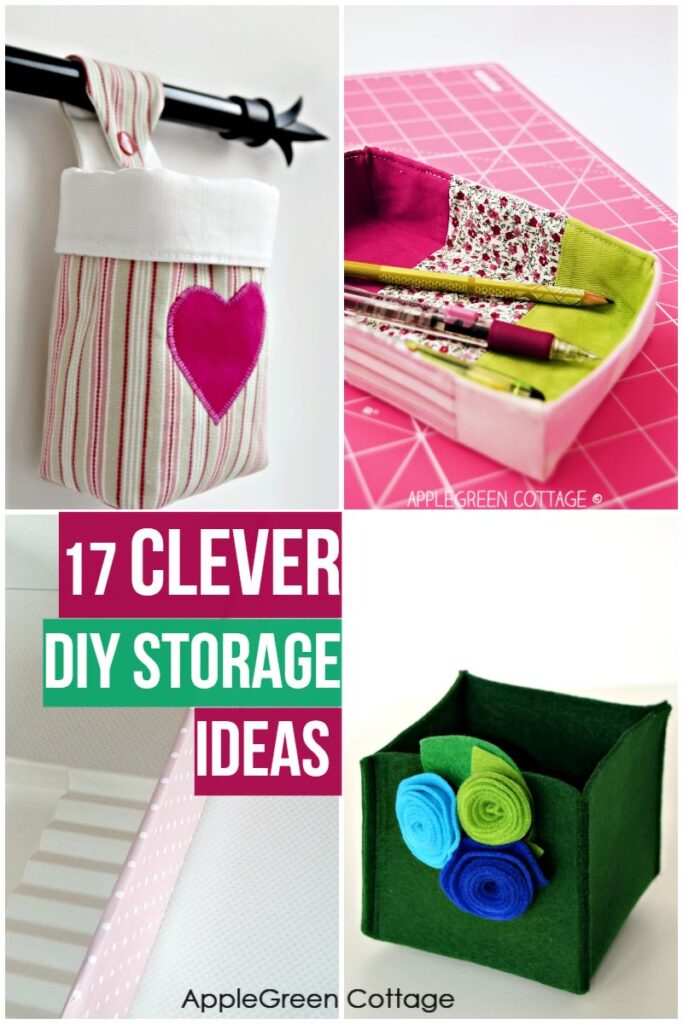
Feel free to check out these diy Home Storage Projects - some are super quick and some a re super fancy. But you can all make them yourself:
Save For Later:
Want More Free Patterns?
Get email updates and never miss out on new patterns, printables, and tutorials:
Or check out this pretty ALLina project bag pattern in our shop - for all your storage needs:

Linda P says
The boxes can also be covered with fabric.
Damjana says
Linda hi, absolutely, agree! Imagine all the pretty fabric prints, on display all around the house. What a happy place!
Mari Monge says
I have made some boxes recently too but I have used decoupage. For those that are not familiar it is used to reinforce for example the boxes so that they last a long time and become really sturdy. All you need is some carpenters glue with a little bit of water and any type of paper, can use newspaper or scrap paper. Check out ¨youtube¨ for instructions.
Ann/Chihuahuabulldog says
I LOVE making boxes. Some great ideas here. Thank you so much to everyone! <3
Anonymous says
IF wanting larger boxes, you can go to local florists and ask for quarter or half boxes that the flowers come in. They are sturdy larger boxes that are great for storage. The lids are usually as deep as the boxes so I usually cut them down to about half the depth so they are easier to remove. These boxes are about 3-4 foot long.
Damjana at AppleGreen Cottage says
Oh that's great to know, thanks!And getting a lid that matches already in the original version will make the work significantly easier. Thanks for sharing the info,
Rita M says
Save wrapping paper from gifts and that could be used to wrap the boxes. I have done that on numerous times. Saves money and time(from going to the store)when needed. I just smooth out the used paper, fold it and put it away until needed.
Anonymous says
Another suggestion: Watch thrift stores for wrapping paper or other suitable paper. Sometimes you can get it for 50 cents a (partial) roll.
Damjana at AppleGreen Cottage says
Yes, agree, and it's a great idea! I never manage to get past a seriously discounted wrapping paper roll 🙂 Thanks for commenting,
jjflamingo says
These are really nice! We always have extra boxes, thanks to lots of Amazon orders.
Damjana at AppleGreen Cottage says
Yes, those boxes accumulate quickly 🙂
Anonymous says
Like your idea! If they will be used often & get a lot of wear & tear they could also be covered in vinyl contact paper or printed duct tape. I happen to have both unused just sitting around. or even cover in the comic section of newspaper so not to buy gift wrap paper. Even clear packing tape around box top edges & lid would make them hold up to frequent use & little people. smiley face.
Damjana at AppleGreen Cottage says
Thanks for these great ideas!