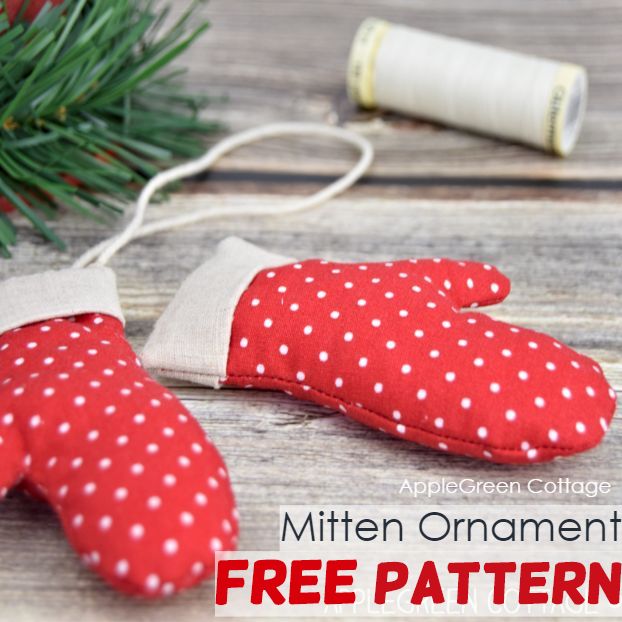
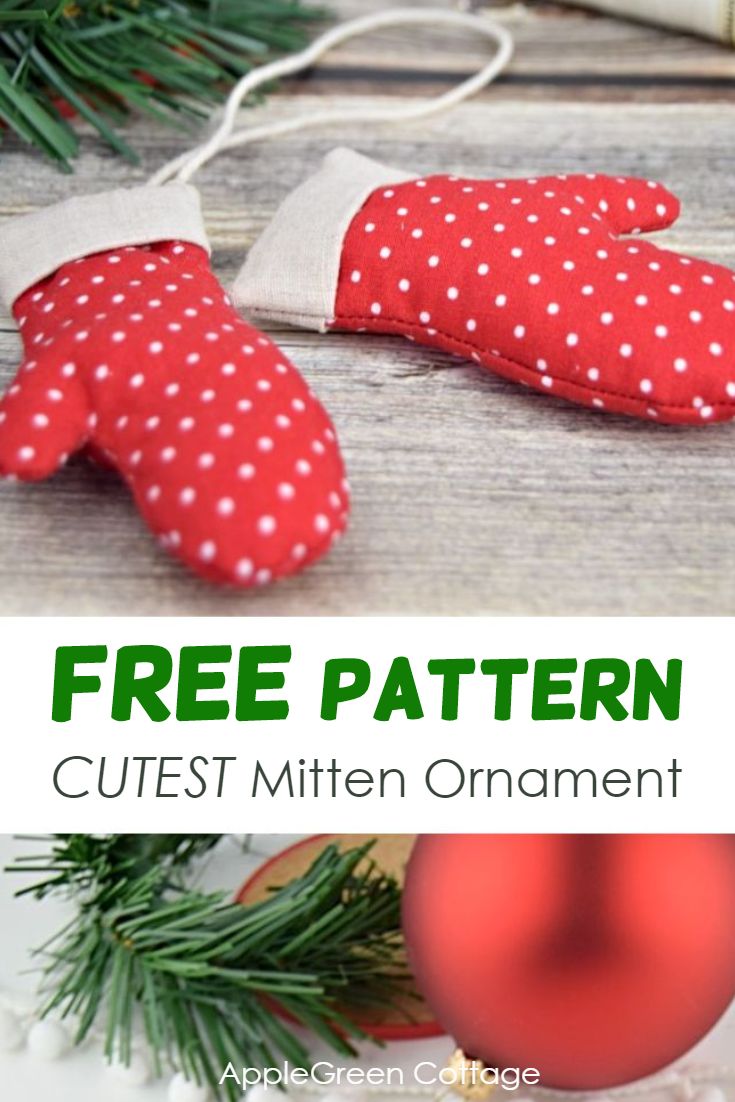
Here's a free Christmas mitten template for a stunning mitten ornament. Get started on your Christmas crafts with this free mitten ornament pattern that comes in 3 sizes - for all your holiday decorations! And it's part of my new free Homemade Holiday Pattern Bundle - scroll down to get them all!
This post contains affiliate links. Thanks for your support.
">Make this cute mitten ornament with a few scraps and this free Christmas ornaments pattern - so cute! This mitten template comes in 3 sizes and is part of my Homemade Christmas Pattern Bundle - download all the patterns for free and have a wonderful handmade holiday! (Edit: SCROLL DOWN For the LINK to the free pattern bundle!)
Sign up for my newsletter HERE to get ALL the tutorials from the Handmade Holidays series to your inbox.
These super easy mitten ornaments can be nearly entirely machine-sewn. A quick sew, and you can make a whole bunch of them. They are also perfect gift toppers, and great as baby's first Christmas ornament (And how cute would these be all in pink or blue!!)
Also, you can simply make a garland out of these Christmas mittens and hang them over the mantle.
Need to make them larger? No problem, the free Christmas mitten ornament template comes in 3 sizes!
If you're looking for more holiday patterns, these are super popular right now:
- My Best Christmas Stocking pattern
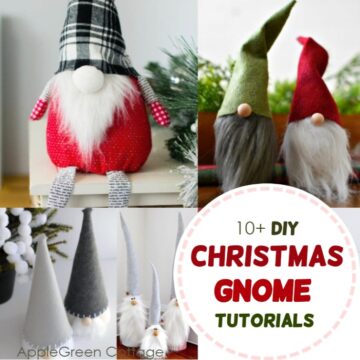
- 15+ Cutest Diy Christmas Gifts For Kids
- 45+ Gifts To Sew this Season
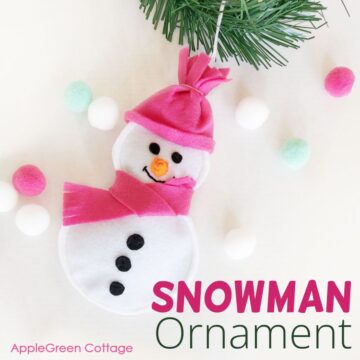
- 5 Easy Christmas Tree Ornaments You'll Love
Christmas Mitten Ornament
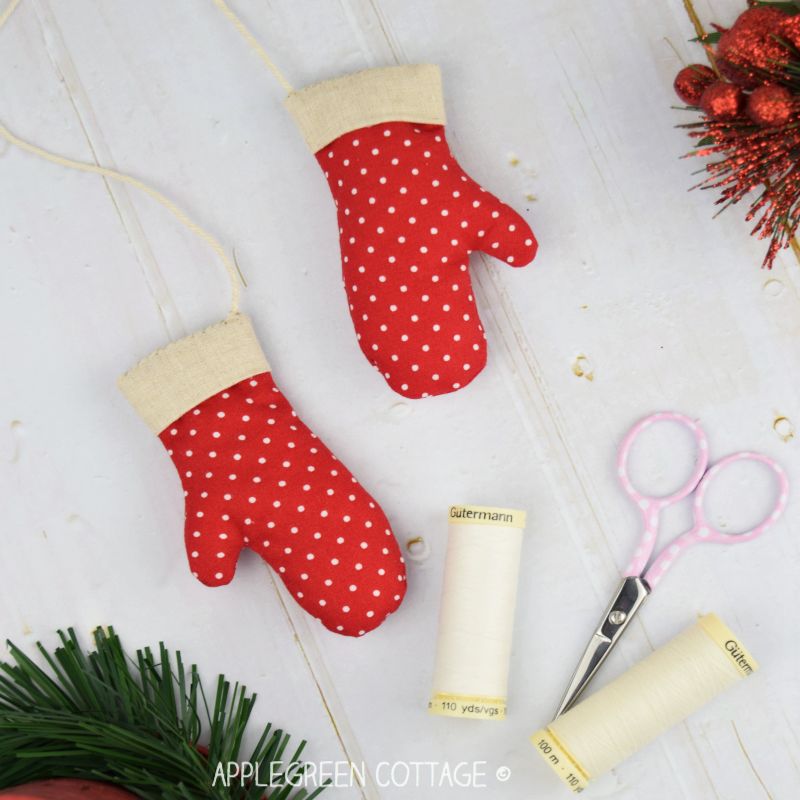
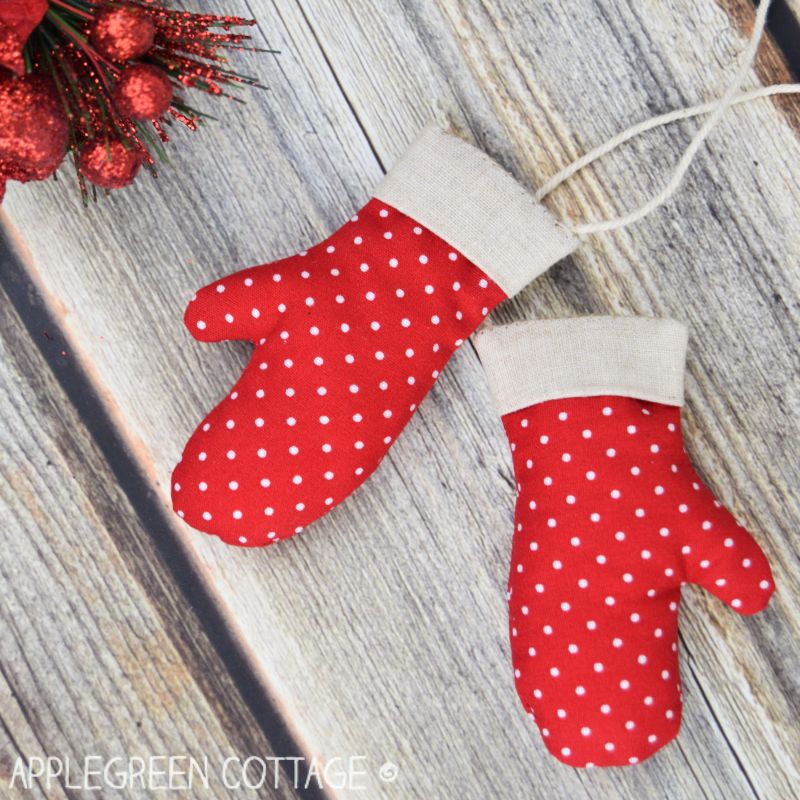
I decided to make these mitten ornaments in sets of two, and attach the hanging ribbon to one on each side - so much cuteness! First, sit back and relax - see the easy steps in this quick slideshow so you get an idea how it goes: If you prefer a step-by-step photo tutorial, scroll down.
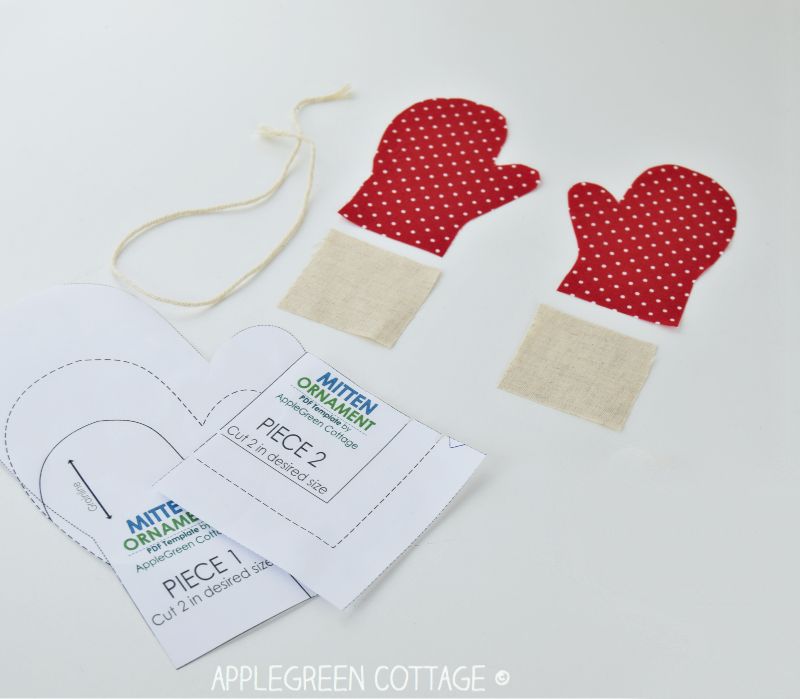
Supplies:
- two scraps of red fabric per one mitten
- a bit of a neutral solid in white or cream for cuff (cca 2 by 4 inch for the smallest mitten)
- 7" - 10" embroidery thread or twine for hanging
- poly-fill (get one small pack for the entire Homemade Holidays Bundle)
- matching thread, sewing machine, scissors, needle, iron
- Free mitten template in 3 sizes: Feel free to use the template from my Homemade Christmas Patterns Bundle - it's FREE for all and contains more than 10 free Christmas sewing patterns. All made for you! Here:

Get FREE Homemade Holidays Pattern Bundle here.

UPDATE: MORE templates to be ADDED to the Homemade Holiday FREE Pattern Bundle!- Join our mailing list here, so you don't miss out on any new tutorials!
Steps
Mitten Ornament - Step 1
Cut two of each pattern pieces: the main piece and the cuff piece. You'll find both mitten pattern pieces in three sizes in the FREE Homemade Christmas Patterns Bundle HERE in the shop - no code required.
Mitten Ornament - Step 2
Place the main piece (Piece 1) and the cuff (Piece 2) right sides together and sew them together using a ¼" (7 mm) seam allowance:
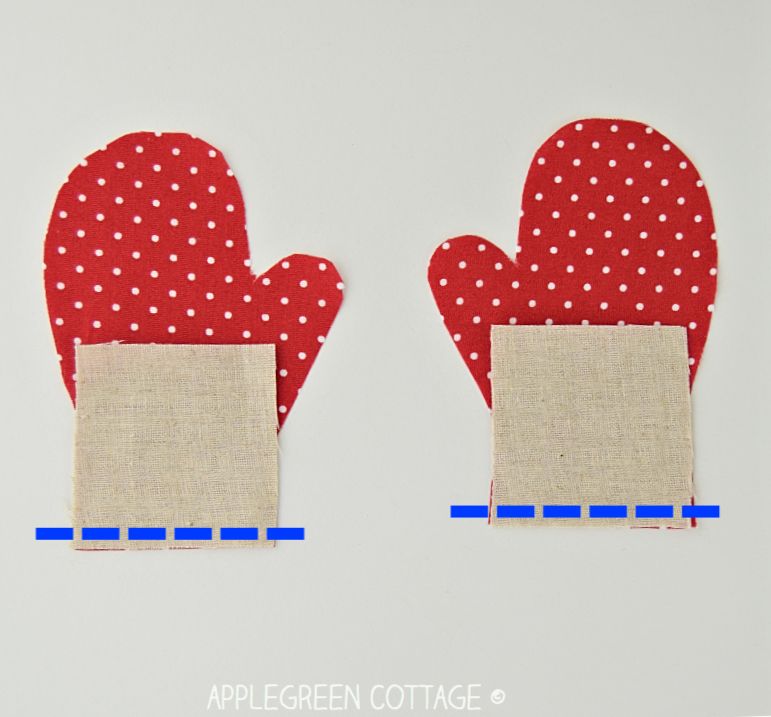
Mitten Ornament - Step 3
Now we'll make sure the cuff on the mitten ornament 'sits' nicely when all sewn up: unfold the cuff from the main part just a bit, not pulling it all the way away from the main piece but leaving approximately a third of the piece back. Do this with both pieces of the mitten ornament. Easier to show than describe, so check out the pic here:
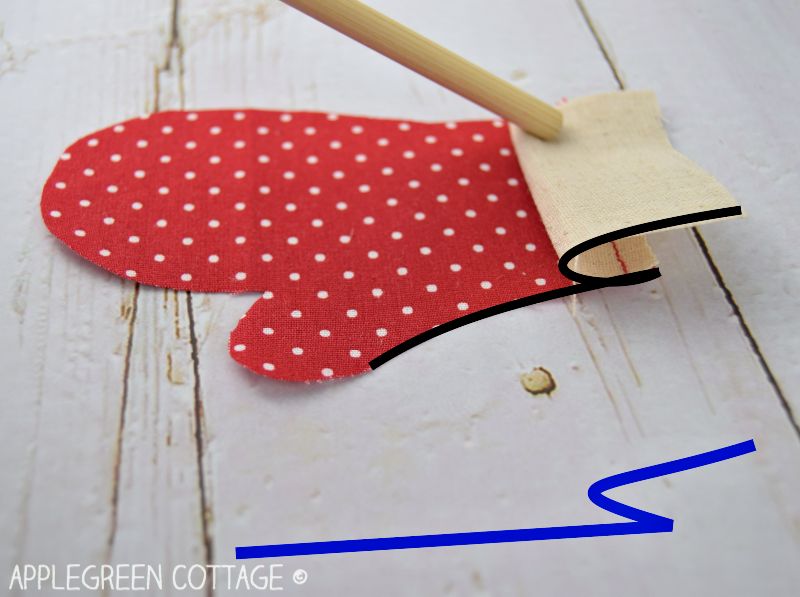
Mitten Ornament - Step 4
Place the pieces right sides together. It makes it easier if you press. It should look like this from the side:
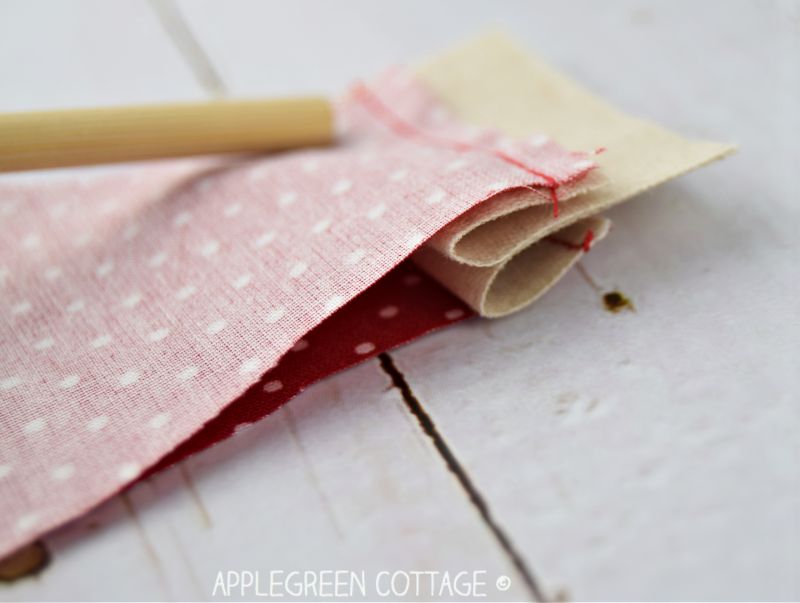
Mitten Ornament - Step 5
Pin and stitch around, starting and ending at the cuff, using a ¼" (7 mm) seam allowance. See where the arrows are pointing:
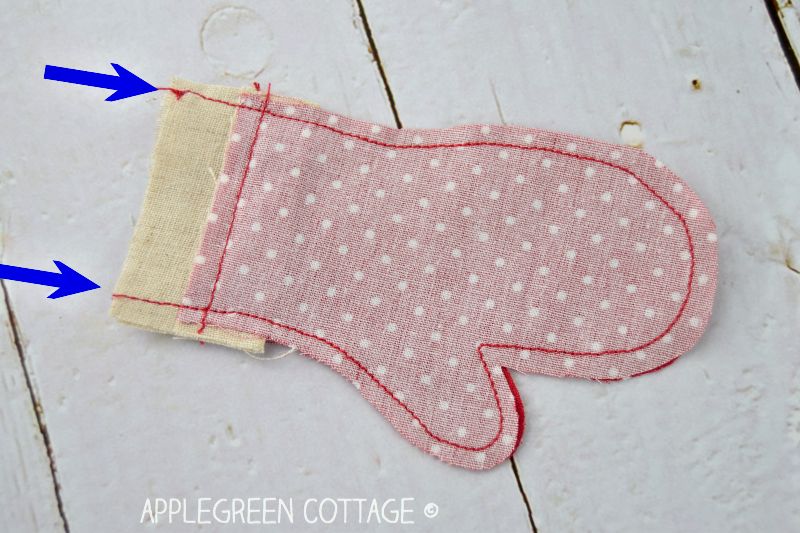
Mitten Ornament - Step 6
Notch and trim the seam allowance for a nicer finish. Make sure not to snip into the seam.
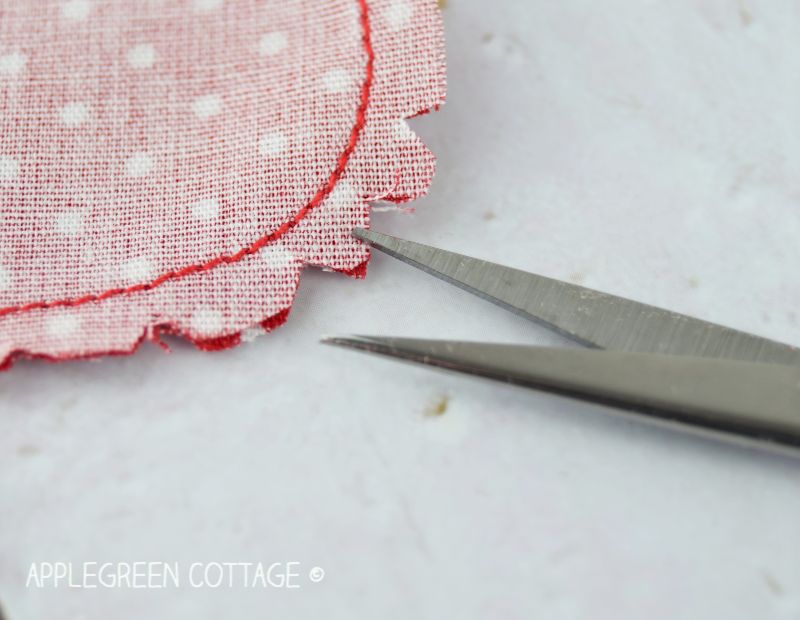
Mitten Ornament - Step 7
Turn right-side-out and add some poly-fill. Don't stuff it too much, less is more. The ornament should be fluffy and not stiff. The cuff should not be filled at all. Once you've added poly-fill, tuck ⅜" (1cm) of the cuff fabric towards the inside to create a clean edge. See the photos:
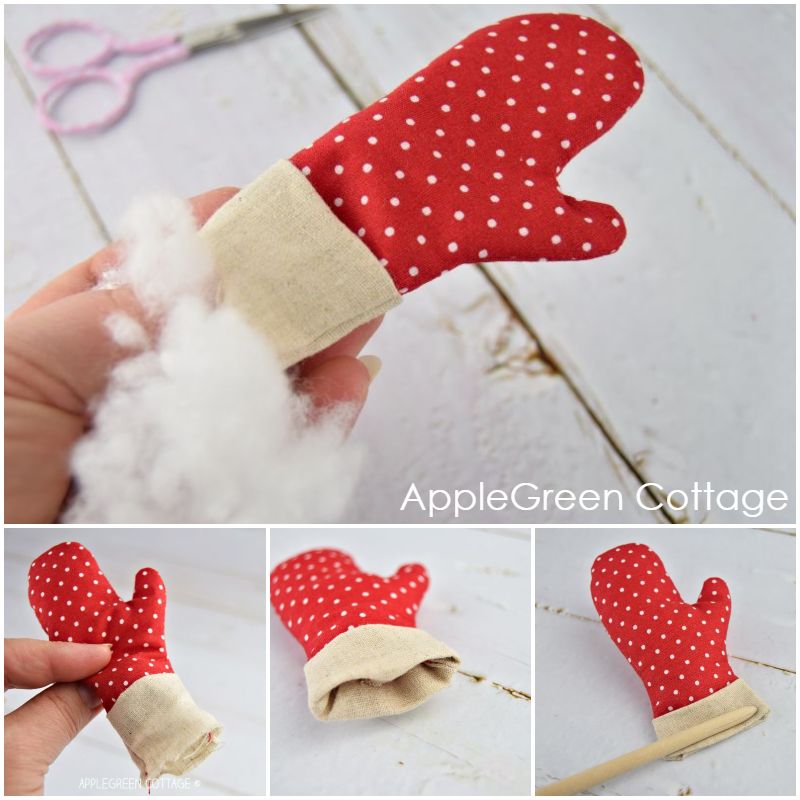
Mitten Ornament - Step 8
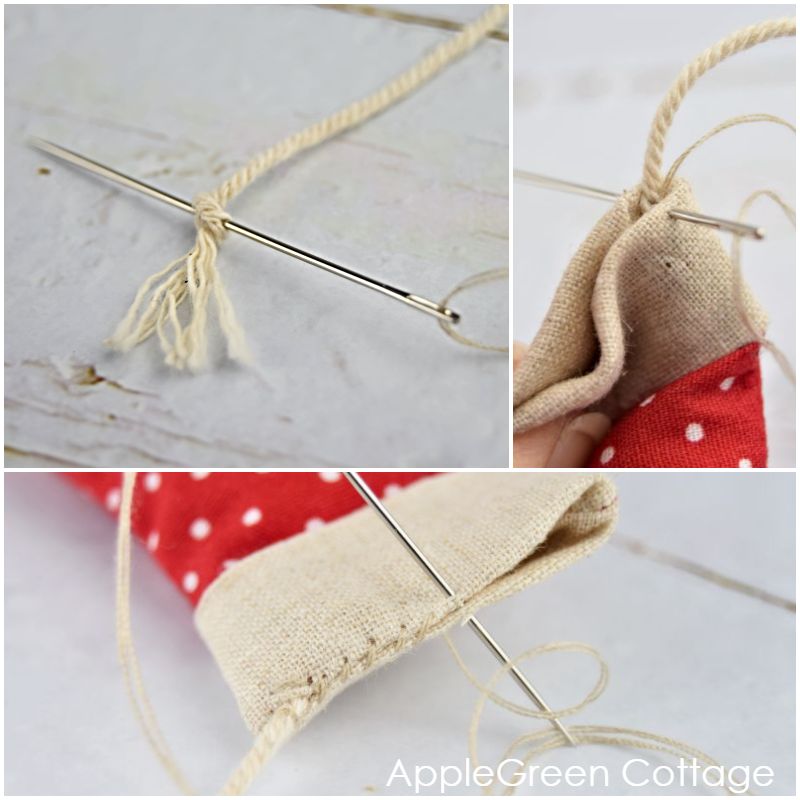
Once you have both of the mittens finished, it's time to add the twine or embroidery floss to connect them and make them easy to hang on the Christmas tree. Stitch the twine to the inside of the mitten cuff, then stitch the hole closed.
Bonus tip: I'd usually tie a knot on one end of the twine and stick the threaded needle through it, then make a firm loop to secure. Now with the twine firmly attached to the sewing thread, I start sewing the turning hole closed. This way, the twine won't be torn off even if kids pull really hard on the ornament.
Done and ready for gift-giving and holiday home decorating!
Make sure to save the project for inspiration - and so you find all the free templates when you need them:
And make sure to download the FREE Homemade Holidays - Free Pattern Bundle from the shop for FREE (no coupon required.) - you'll be able to use all the patterns in there once I've published all the free tutorials that I have planned - all in a few days' time. Make sure you don't miss out on any!
WANT MORE FREE TUTORIALS AND GOODIES?
Get email updates and never miss out on new patterns, printables, and tutorials:
Or …check out the gift bag pattern in 6 sizes in our shop - a super easy no-corner-boxing sewing project. Reusable gift bags for all your future gifts!


Leave a Reply