
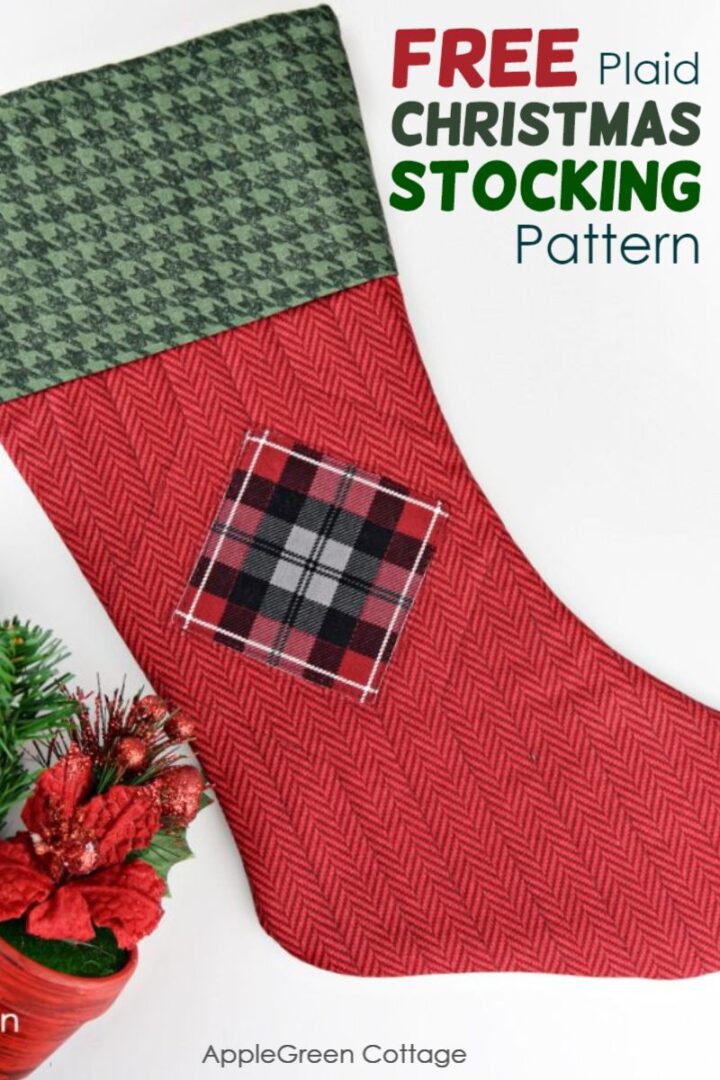
See how to make a christmas stocking with plaid. Make a beautiful plaid christmas stocking using my stocking pattern. The sewing pattern includes two different stocking designs, scroll down to see why, and how to get them both for free.
Do you want a printable copy of the WHOLE tutorial? → See it HERE or get it in the huge-value BUNDLE!
Did you know I have made a lot of holiday sewing tutorials (like this diy advent calendar, one of my latest ones!), and several stocking patterns so far:
- my first reversible Christmas stocking pattern (smart no-fold cuff!)
- modern quilted stocking. (Pieced!)
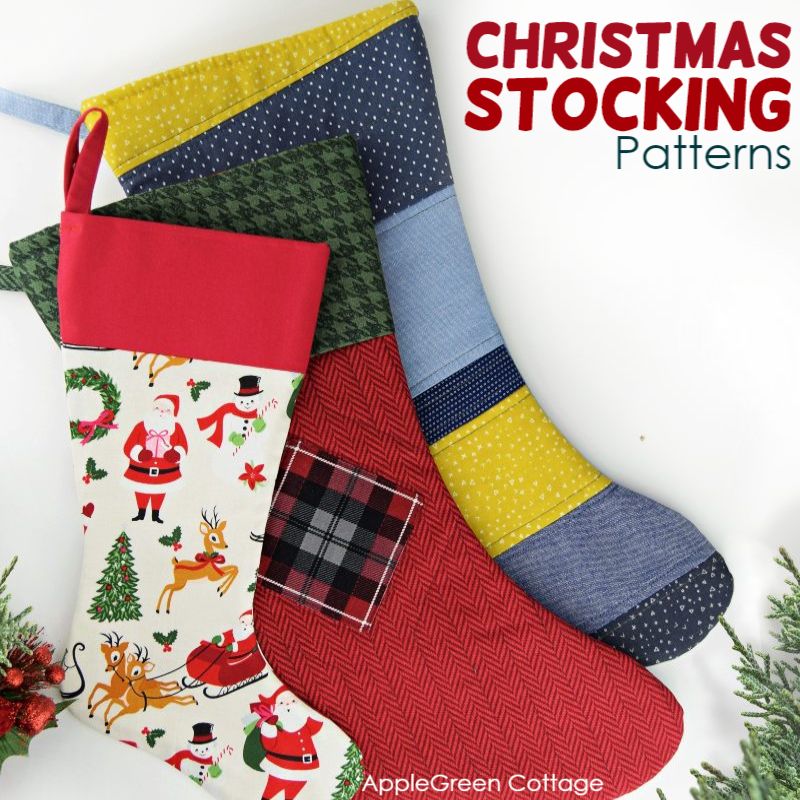
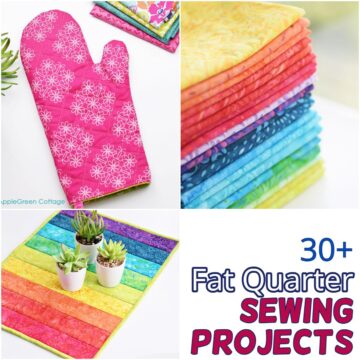
I've designed two different stocking patterns you can use to make three totally different stockings - for free! Which one is your favorite? Make sure to scroll down and get the pattern file for free.
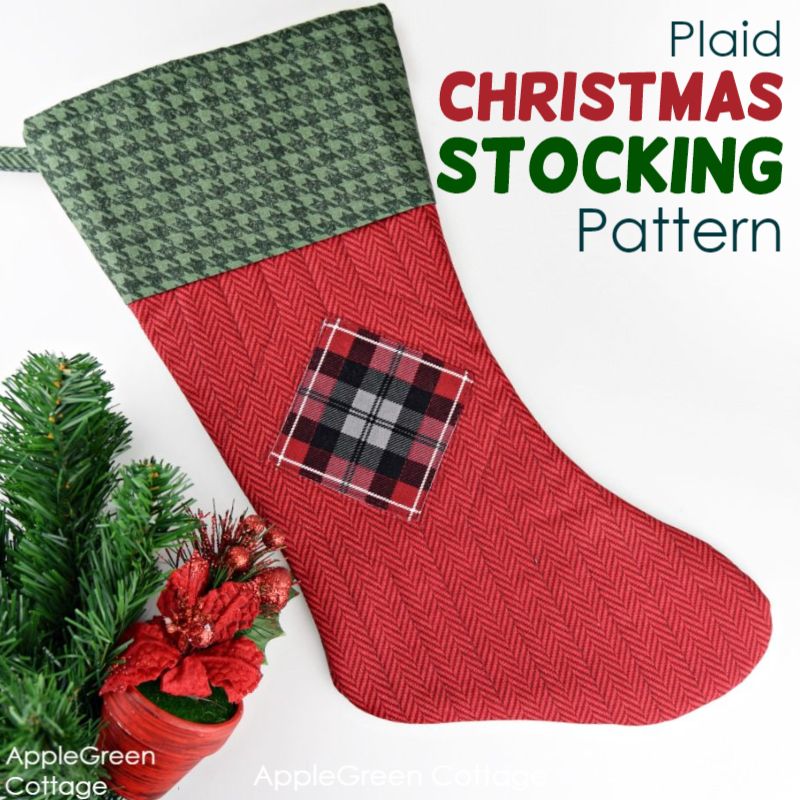
Diy Plaid Christmas Stocking
And now, there is a third one, this plaid christmas stocking I want to show you today. This one has a more traditional look and I wanted to show you how easily you can make heirloom holiday decor, just by selecting the right plaid.
Also, we'll add a nice decorative cuff to add some contrast, this one will be different from my first pattern.
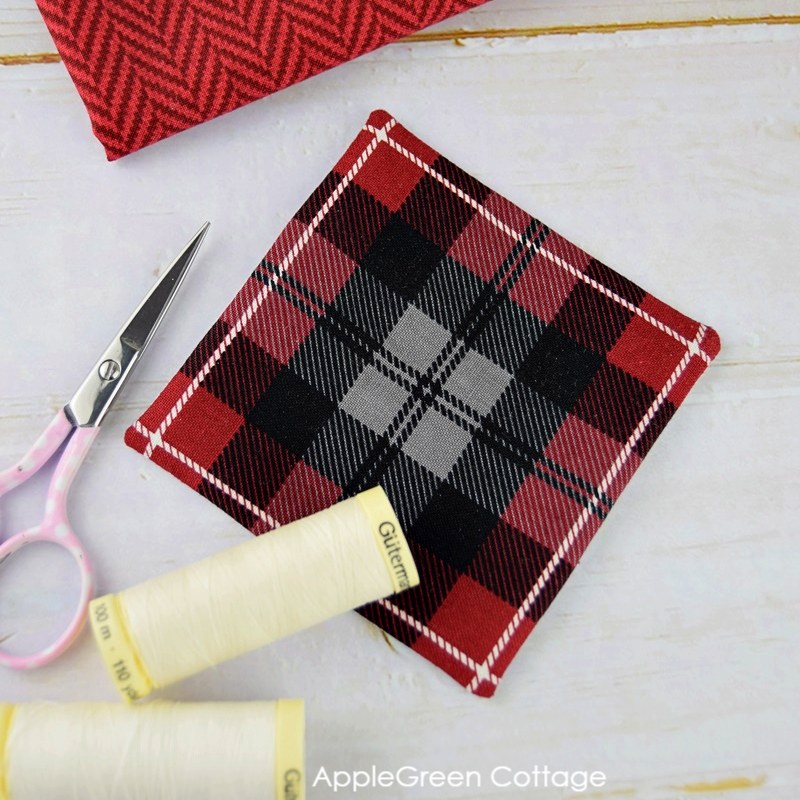
To sew it, I cut into the wonderful plaid prints from the All About Plaids collection, courtesy of Riley Blake Designs.
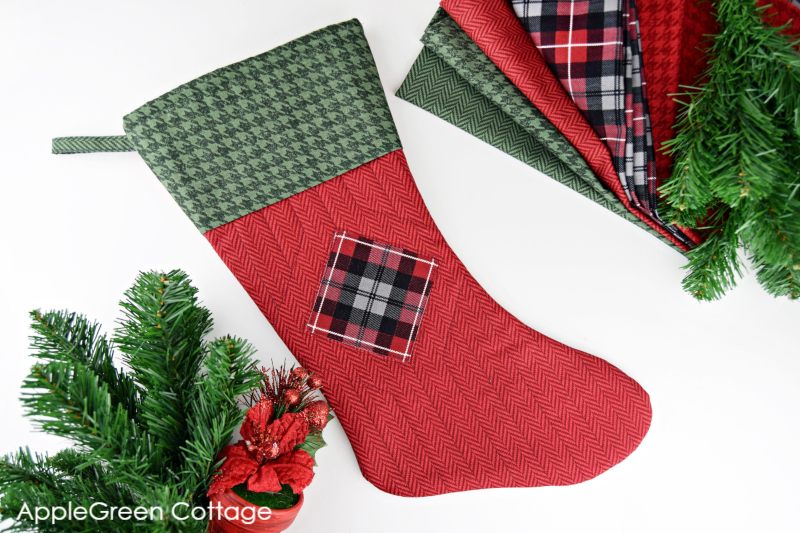
And you can totally use scraps of your favorite plaid, too. This stocking will turn out beautiful even if used with solids, say dark green and some warm, dark crimson or bordeaux, plus a pinch of plaid that will set the holiday vibes.
To show you how, I made one side using the turned edge applique technique - one that does not fray. One you reserve for high-quality heirloom stuff. These stunning plaids will shine in your home for many holiday seasons!
Here's to happy handmade holidays!
FINISHED SIZE OF THE Plaid CHRISTMAS STOCKING
Height top-bottom 17" (43cm), diagonal from loop to toe 19" (49 cm), width of the top opening 8" (20 cm)
SUPPLIES TO SEW THE PLaid Christmas STOCKING PATTERN
- a yard (meter) of quilting weight fabric in total
- scrap pieces of plaid as accents, tartan is the ideal plaid print here!
- batting: 2 pieces 11″ by 21″ to quilt the 2 outer pieces - skip batting for back if using fleece for the back!
- sewing machine, pins/clips, iron, scissors, or rotary cutter plus cutting mat
- STOCKING TEMPLATE: use the second, large Christmas stocking pattern from my file (print just pattern pages 6-8)
How To Make a Christmas stocking
In short, we'll first make two quilted pieces from whole fabric pieces to quilt the outer, then add lining and stitch those together, sandwiching a pretty cuff piece in between. But let me show you the process slowly and nicely, with a lot of photos:
Step 1 - get the free template
Join our list and get the pattern emailed to you:
Do you want a printable copy of the WHOLE tutorial? → See it HERE or get it in the huge-value BUNDLE!
How To Print this PDF file
For best results, download the PDF to a desktop or laptop, open it in Adobe Reader, and print at 100% size. (I recommend not printing directly from a browser window or from mobile, it could cause issues.)
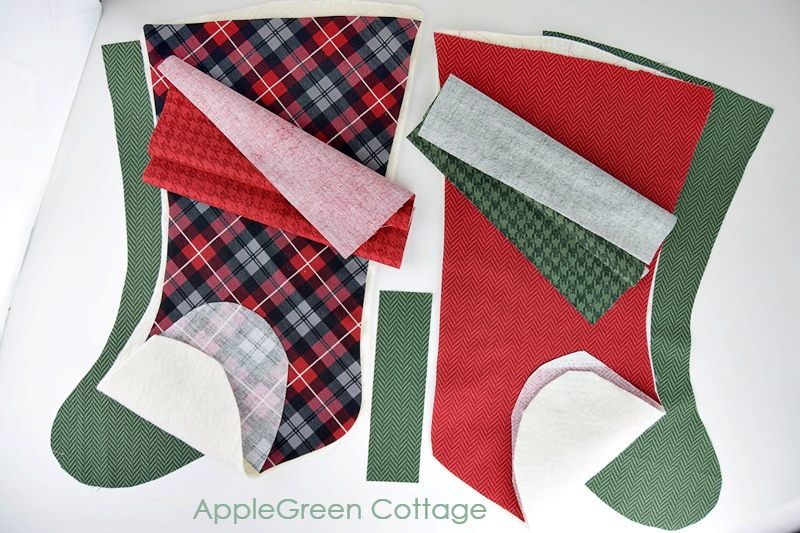
Step 2 - Cutting Instructions
- Cut the small hanging strap from pattern piece No 2
- from pattern piece No 1, cut:
- Cut the 2 outer main stocking pieces, mirrored and roughly one inch larger on all sides than the template for outer
- two batting pieces, cut the same way (larger than template)
- cut 2 main stocking pieces from lining - these two pieces should be mirror images of each other, too - but cut exactly the size of the template (no need to leave any extra fabric, as you won't quilt these lining pieces.)
- for the cuff, and this one is NOT in the pattern, cut two 10" squares (25 cm2) from contrasting, decorative fabric.
How To Cut The Main Pieces: you'll need to cut pairs: two main outer pieces, batting pieces and the lining pieces must be MIRRORED, each time one pointing to the left and the other pointing to the right. This is important.
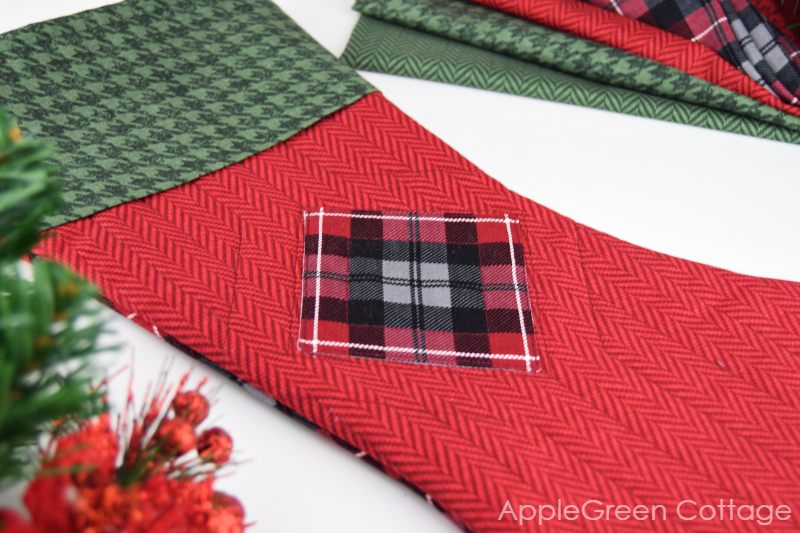
Optional Step 3 - Add Applique
If you wish, you can add some pretty, long-lasting, non-fraying applique to one or both of your outer pieces. I only added it on one side to show you how to. This type of applique technique is called the turned edge applique - but you know me, I made a quick tutorial to show you a HACKED version so it's super easy for you. You'll love it - click through to the applique tutorial and scroll down to the 'turned edge applique' part!
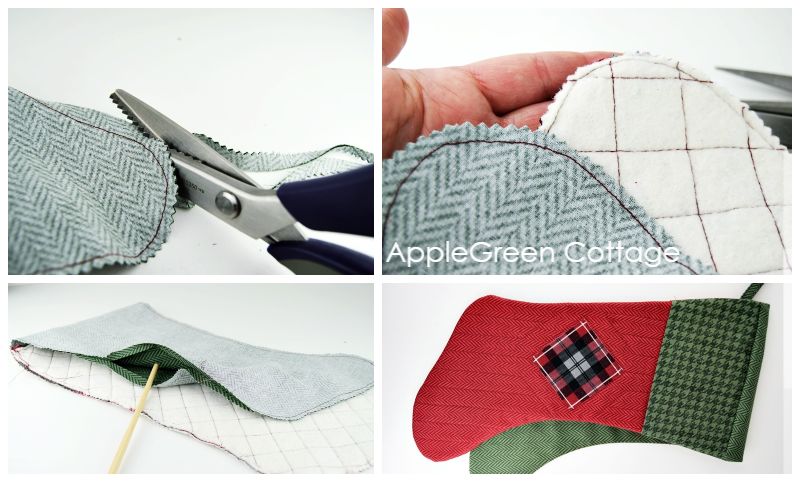
Step 4 - Quilt the 2 main pieces
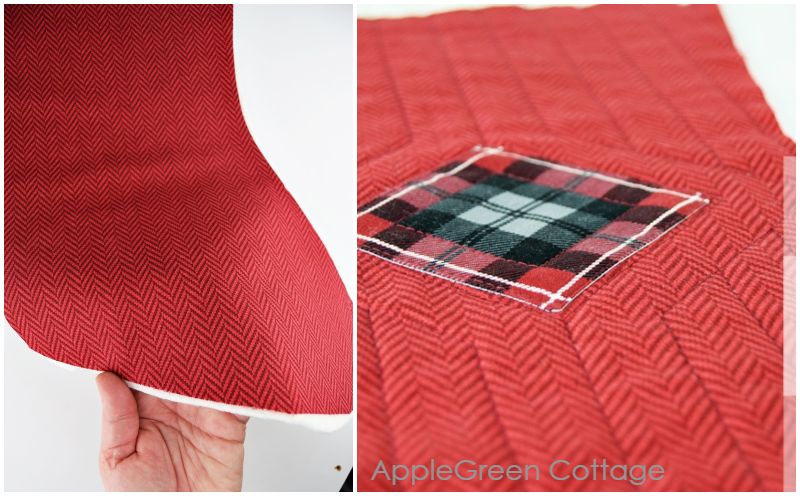
Position the batting on a flat surface, place the fabric piece over your batting. Then quilt. While I do believe you can use some pretty awesome quilting here, I just went with straight lines again, since I love the look (and maybe I'm just too lazy for elaborate, beautiful free motion quilting.) I straight-line quilted it with seams approximately ¾″ apart, top-to-bottom. Especially with tartan, buffalo check, and overall with plaid, I just follow the color line. Looks amazing and it's easy! On the other piece, I made a one-inch grid.
After you've quilted the two outer pieces, use teh template to trim any excess fabric and batting around the pieces. This will make them the same size as lining.
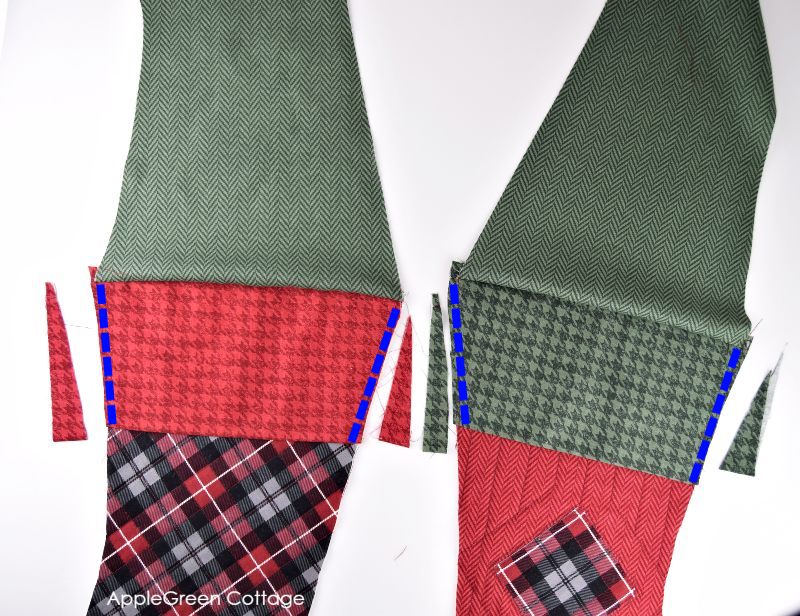
Step 5 - Sew the Top of The Plaid Stocking
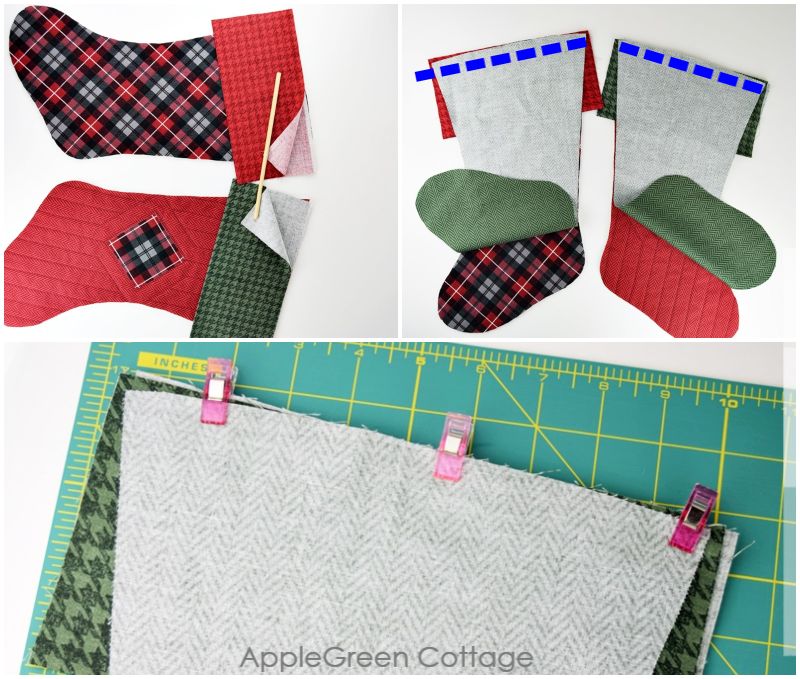
Make two stacks:
- Place down the outer pieces with right sides facing up.
- On top. place the folded cuffs with raw edges aligned with the top raw edge of the outer pieces.
- And on top, the lining pieces with right side facing down, again aligned along the top edge.
Using the ⅜″ (1 cm) seam allowance, sew the top edge on each of the two stacks. Trim the seam allowance and press.
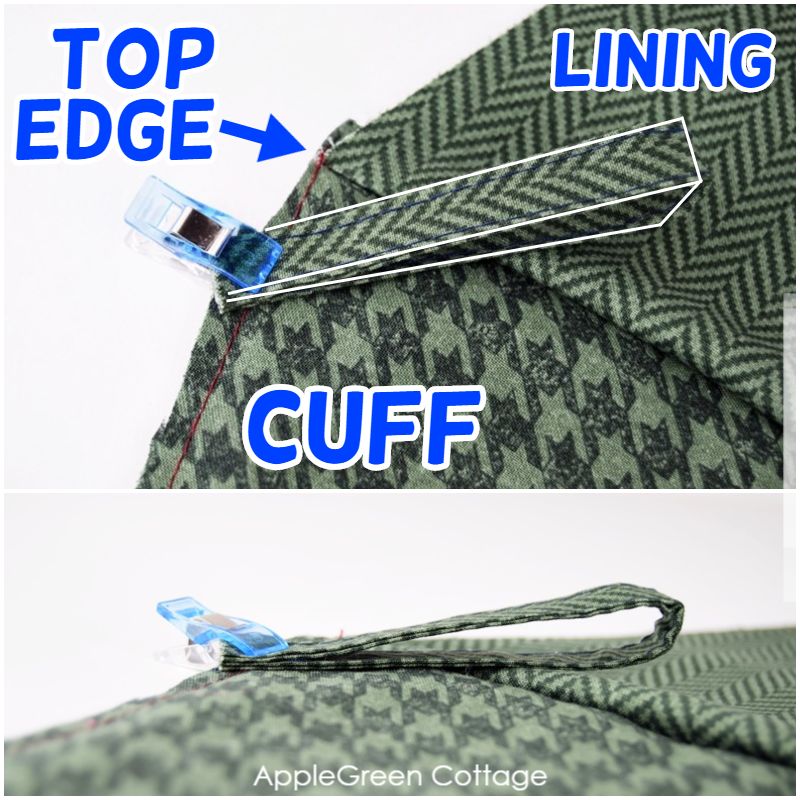
Step 6 - Trim the Cuff sides
And now, a smart hack - oh how much I love little hacks! This is how we'll prevent the finished cuff from squishing the quilted part. We need to make it juuuust a tiny bit wider than the main stocking - or in sewing terms, we need to add some ease to the cuff. All you need is to slip your hand between the cuff and the quilted stocking, and only THEN pin or attach the sewing clips. This way, the cuff will retain the little extra width it needs - see this image:
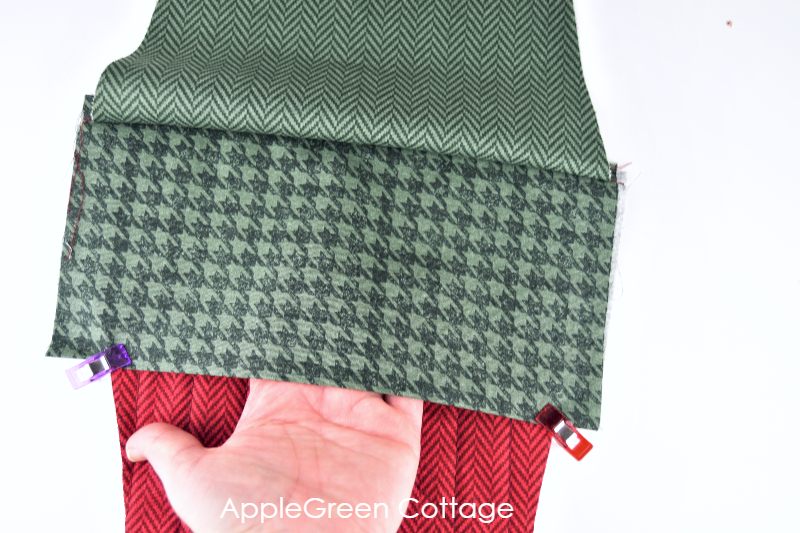
Then baste the cuff sides and trim the excess:
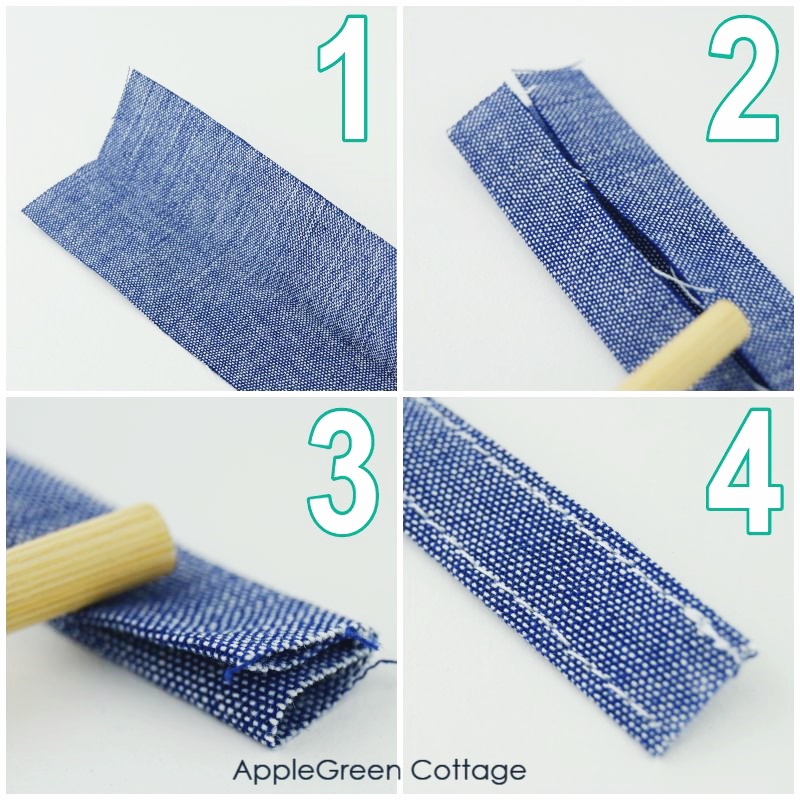
Step 7 - MAKE AND ADD THE HANGING LOOP
Cut the small hanging strap from pattern piece No 2.
Make the hanging loop: fold along the long edges, first along the center (1), then unfold and press the sides towards the center (2). Refold along the original center and press (3). Stitch along both long edges (4). Please excuse the colors (I do these loops so often it looks like I've developed a standard 4-step image-that-fits-all haha)
Fold the strap in half, forming the loop. Place the two ends on the edge, approximately one inch under the top seam where the outer quilted fabric meets the lining. The loop should face in the direction of the lining and slightly bent towards the inside of the stocking. You just want to catch the loop ends into the backside seam of your stocking, not the entire loop. Like this:
Step 8 - SEW THE PIECES TOGETHER
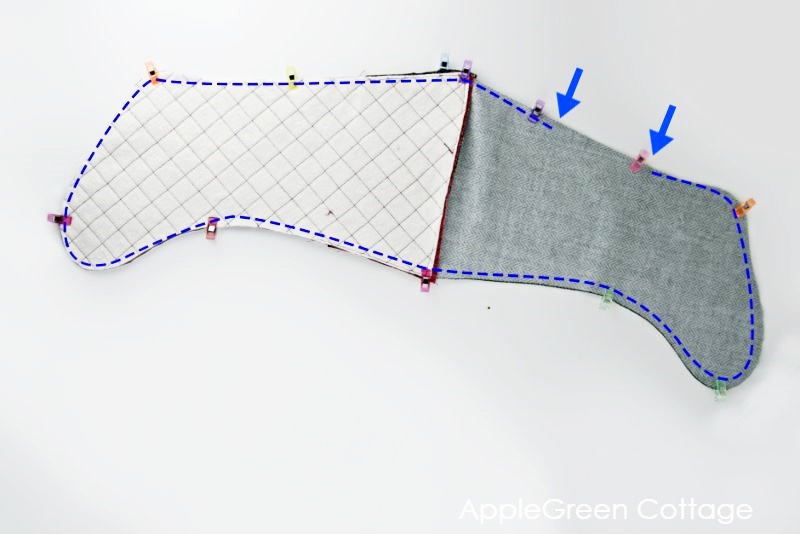
Place the pieces with the right-sides together and sew around, using a ⅜" (1 cm) seam allowance. Make sure to leave an opening for turning on the back seam of the lining piece.
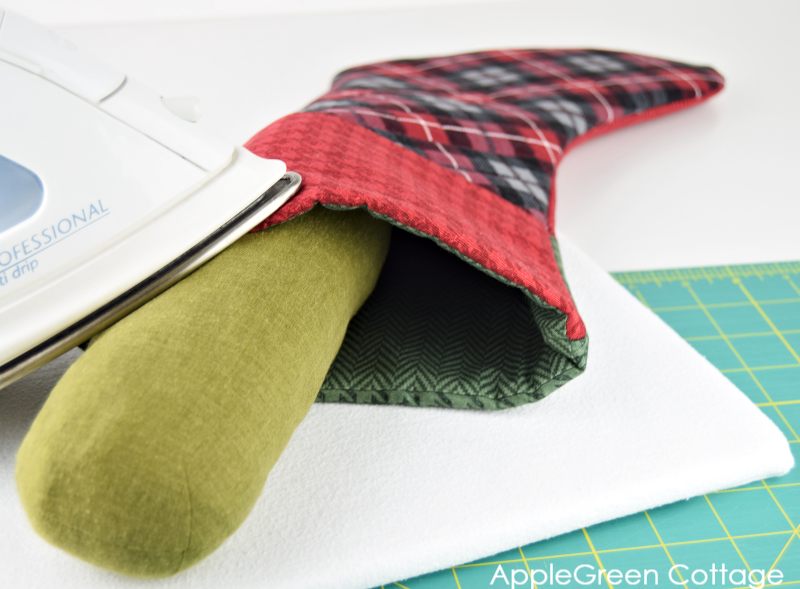
Step 9 - TURN RIGHT SIDE OUT AND CLOSE THE HOLE
Trim the seam allowance, taking care not to snip into stitches. You can use pinking shears or just snip notches, it will help you make your project neat. Then turn right-side out and press well. Feel free to use this free seam roll template, it will make pressing so much easier!
The two things left to do: close the turning hole in the lining. Also, I always topstitch around the opening. Here's your plaid Christmas stocking pattern - and the project finished!
Enjoy! Also, check out my 6-sized Christmas gift bag pattern here in my shop. For all your handmade presents!
But first, make sure to get the free stocking pattern - remember you get two different stocking patterns you can use to make three totally different stockings - for free! Which one is your favorite?
HOW DO I GET THE plaid STOCKING PATTERN FOR FREE?
Join our free newsletter and get the pattern emailed to you:
WANT A PRINTABLE COPY OF THE WHOLE TUTORIAL?
Do you want an ad-free, printable copy of this online tutorial? Get it in our shop. Or get the whole →BUNDLE!


Arlene says
This is truly a WONDERFUL pattern. Thank you for all your energy, clarity, and ideas. Your directions were perfect! I used the "plaid" pattern because I wanted ones with cuffs. I had purchased some really pretty fabric that I was saving for "some day". These stockings were the perfect "some day" project. They are gorgeous. I really like that they are classy, a much better stocking shape and smaller than my previous ones. I made patterned stockings with solid lining and cuffs. Thank you so much!!!
Kathy Lee says
I notice that the outer (quilted) pieces and the inner lining pieces are the same size as they are sewn together. However, they were cut an inch different in size. My quilting did not take up that much of the excess in size. Do you then trim the outer pice to the template size before assembling? Am I not seeing that in the directions?
Damjana says
Kathy hi,
oh thank you, that's a great question. I have added the note to step 4. Just before you assemble the pieces in step 5, you'll need to cut off any excess fabric and batting from the outer stocking pieces, using the stocking template.
Happy sewing,