
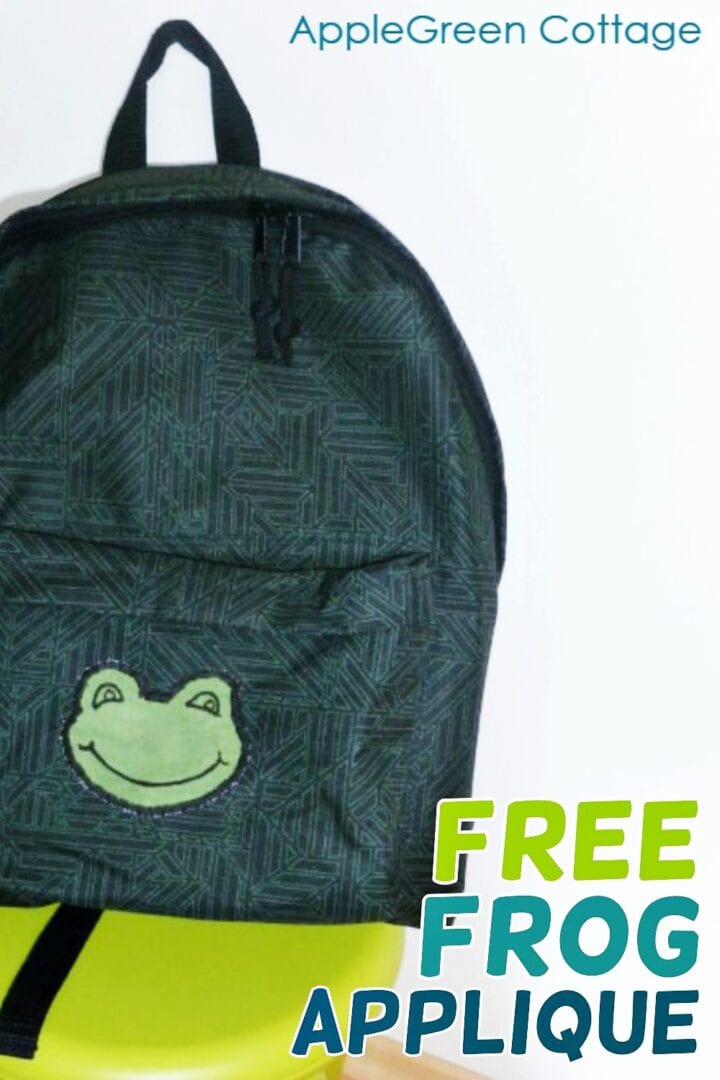
See how to make a frog applique and sew the frog applique pattern on a backpack. Get the free frog applique now!
Make sure to scroll to the end of the tutorial and get the free frog applique to print out and use on your frog applique sewing projects. Enjoy!
Free Printable Frog Applique
This tutorial for a diy frog applique is an idea to do something creative in a short time.
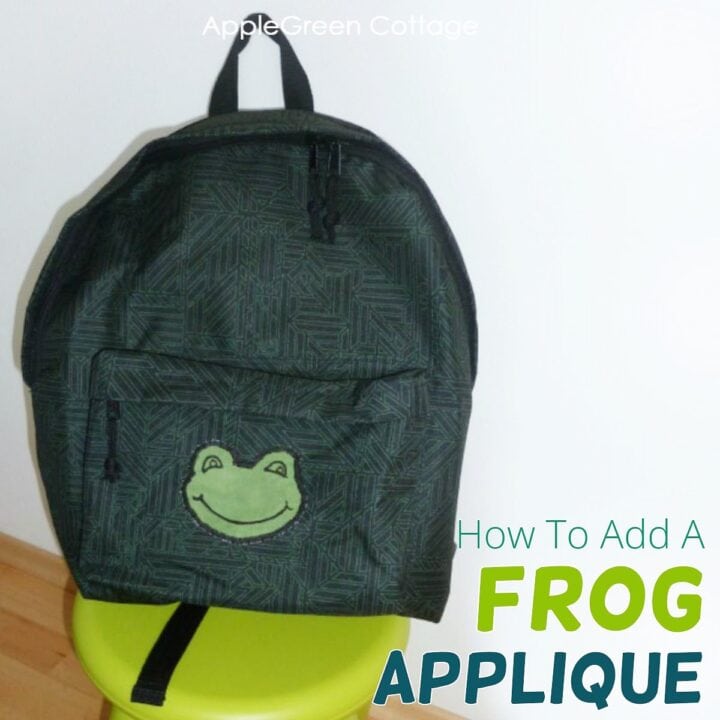
You'll need to buy or sew a backpack for your kid sooner or later, right? I don't know how you feel about the popular spiderman, bob-the-builder- and similar disney-like stuff, but let me show you a nice and easy way to personalize an ordinary, not pricey backpack with a self-drafted diy frog applique. while you can sew your own backpack using my fee tutorial, this one I purchased.
This cost me only EUR 4 for the backpack (can you believe it!) and half an hour of stitching.
How-To Sew a Frog Applique on A Backpack

- get a piece of cotton fabric (single color, it helps if it is thicker)
- draw a frog head on it - you can use my idea or draw your own design
- cut it out and put it on a piece of paper (to make sewing easier) - this will make it easier to sew around it as the paper does not stretch.
- start sewing (with paper placed under it) trace all lines using a very short zigzag stitch (satin stitch):
- length should be between 0.5 and zero, just long enough to move forward...
- width should be set to 4 or even 5, feel free to adjust it to your liking
- remove paper and handstitch "the frog" to the backpack using the same thread as before. I did so, but you can use fusible interfacing and simply iron it on if the backpack is not heat sensitive. In this case you will have fused it before sewing and will not need the paper.
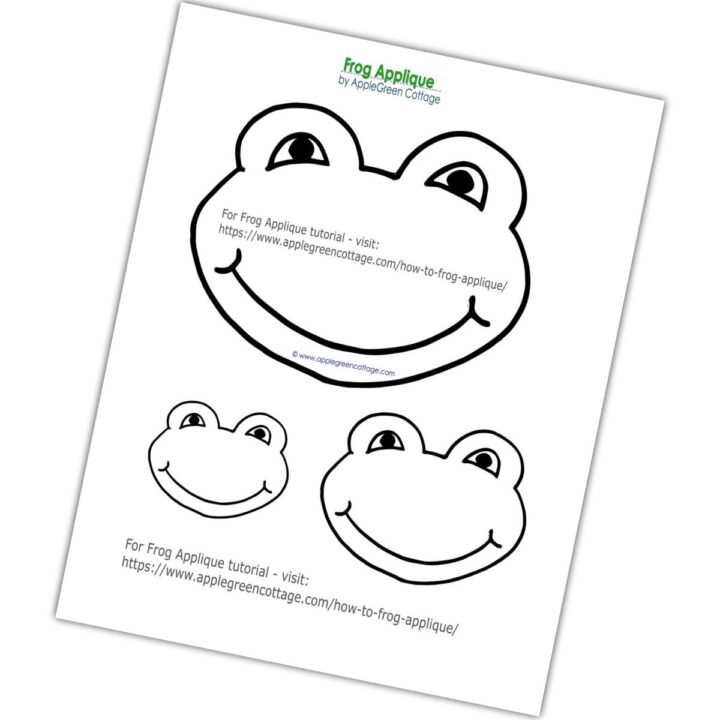
Free Frog Applique Pattern
Make sure to scroll down to the end of this tutorial to get the free frog applique pattern to print and use. It's so much easier to use a frog printable template than drafting your own image of a frog to add as an applique to your bag or backpack.

If you are a beginner, the stitches won't be totally straight, but don't worry - kids don't mind squiggly lines and you can say it's because it's unique.
There are tons of additional options: trace something from a coloring book, search the internet for simple drawing ideas, or use your imagination - it's best you use something with simple lines, not very demanding. At least if you have just a regular sewing machine like me.
AGC free applique templates
Also, I've made quite a few free printable applique templates for you to use, just to name a few:
- get the free heart applique
- free printable frog applique pattern in 3 sizes
- printable alphabet letters templates for applique (scroll to the bottom of that post)
If you want a proper how-to add applique using fusible web, check out this tutorial (it has a free template, too)

Tutorial here.
Our toddler will enter kindergarten after the summer is over and this backpack will accompany him there.
If you are looking for ideas on where to put your new frog applique, here are several easy bag patterns in my shop. Some are free.
Here is the Free Printable Frog template
Get the free template by clicking on the button below, no password required:
Click on the 'Click Here' button to save your free template to your computer. Open in Adobe Reader and print.
Make sure to save this blog tutorial to Pinterest using this link or the image below, so you can use it later:
As always, I'd love to see if you've made something using this free applique template and frog applique tutorial. Please post a picture to Instagram and tag me @applegreencottage or #applegreencottage - so I can take a look!
WANT MORE FREE TUTORIALS AND PATTERNS?
Get email updates and never miss out on new patterns, printables, and tutorials:
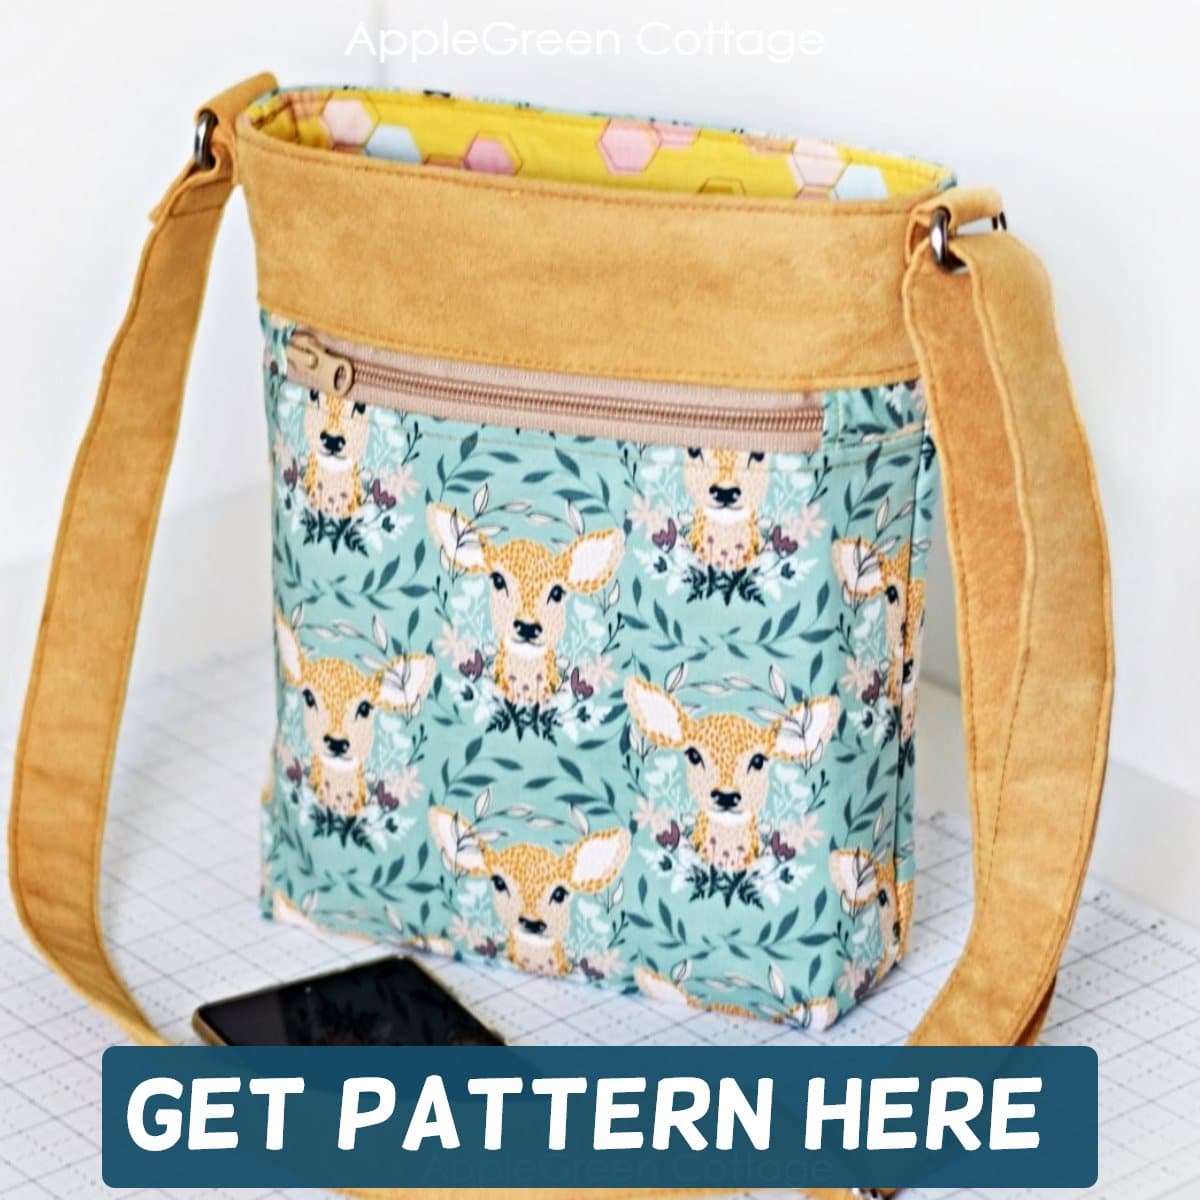
Or …check out the TEYA crossbody bag pattern in our shop. One of my first bag patterns with pockets both on the inside and outside - and it works great as a gadget bag too!
TEYA PATTERN UPDATED!
PATTERN UPDATED.

Leave a Reply