
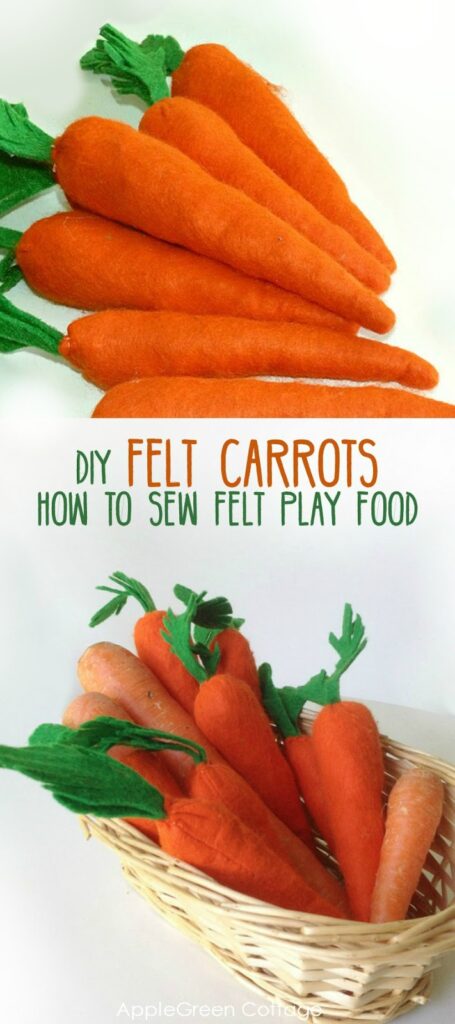
See how to sew this easy felt carrot pattern with our free carrot template.
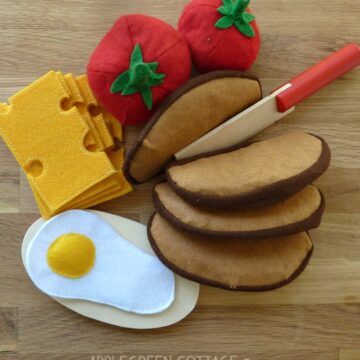
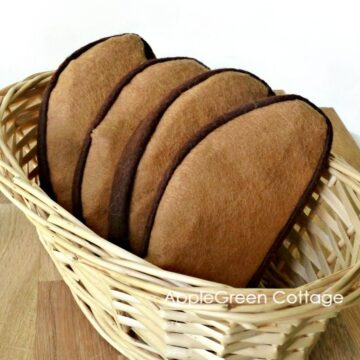
Sewing carrots can be fun! You can combine these carrots with some other felt food, like sunny-side-up eggs, cheese, bread, bananas, broccoli, and tons of other felt food. Easy and quick to make, take a look and make sure to get the free printable carrot template below.

This post may contain affiliate links. Thanks for your support. This project is also included into my favorite Easter sewing ideas list!
Felt Carrot Pattern
Do your kids love felt play food? This time I'd like to show you how to make felt carrots to add to your felt play food collection. Wouldn't this make a wonderful DIY present for a child? Check out my favorite 7 Felt Play Food Tutorials HERE.

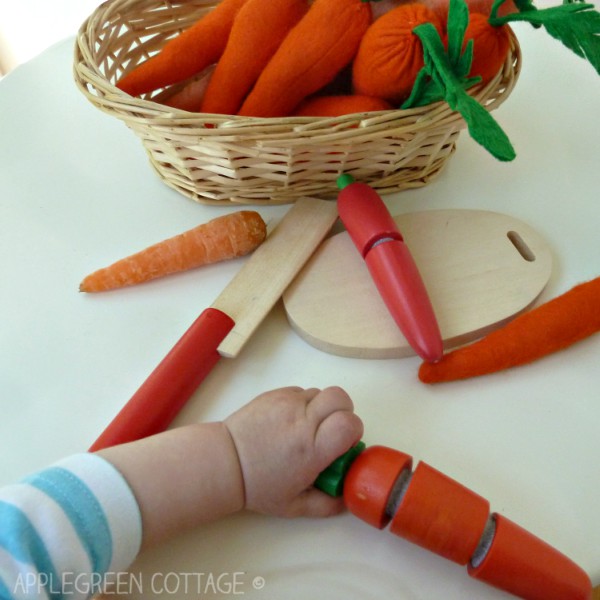
Felt food is so much fun! Here and there, we add a few items to our kids' play food collection, and these carrots have been a hit ever since! Immediately after the first batch of play carrots was finished, kids opened both a play food shop and a restaurant in the middle of the living room!

This was how the play started, and we added a few wooden carrots from our Melissa&Doug cutting set to add to the fun:

Now, let's get back to felt carrots tutorial.
Supplies To Sew Felt Carrots
- orange and green felt
- toy stuffing (you can use scraps of jersey or minky if available)
- matching thread
- sewing machine or a needle
- pins
How to Make Felt Carrot tutorial
There are just a few simple steps, but I've added step-by-step images to all, so even kids can sew their own felt carrots.
To make these easy carrots, you can either draw your own template or use mine.
Step 1 - Print The Free Carrot Template
See the end of this tutorial to get the page with the free carrot template. The carrot pattern printable already includes a ¼" (0.6 cm) seam allowance.
Step 2 - Cut Felt Carrot Pieces
Using the template, cut out the pieces as indicated on the printable template:

You could also cut pieces without one, of course (and it can be fun!), but using a template might save you quite a lot of drafting, making the project way faster. If you use our free carrot template, you'll end up with these three pieces.
Step 3 - Add details to the green leaves
First, let's make a few cuts into the green 'leaves':

Later on, you'll be able to twist them and they'll appear more realistic than what you see here.
Step 4 - Stitch the Main Orange Piece
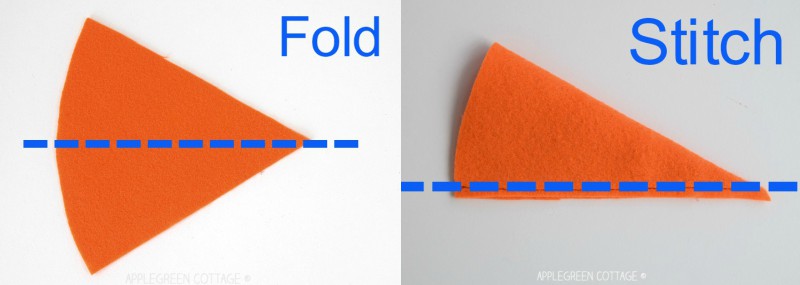
Next, take the orange piece, fold it as shown, and stitch, making a cone.
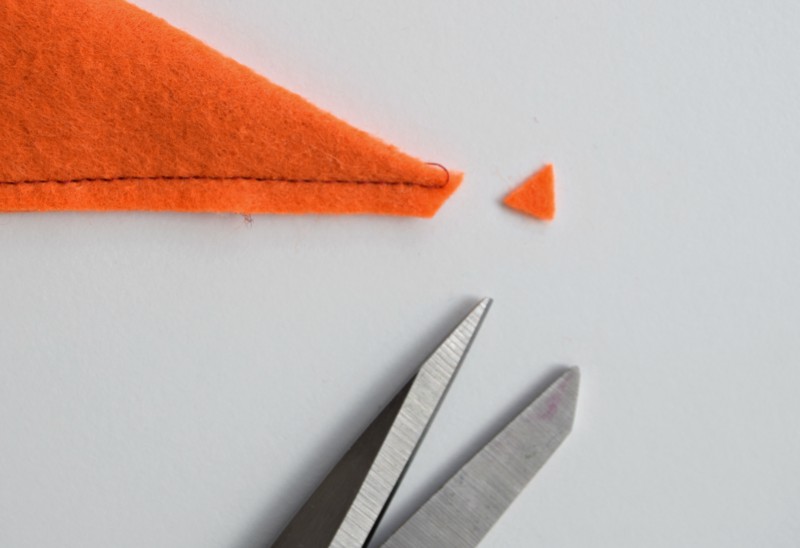
Snip off the bottom tip on the seam allowance, to make the cone easier to turn.
Step 5 - Turn and Stuff
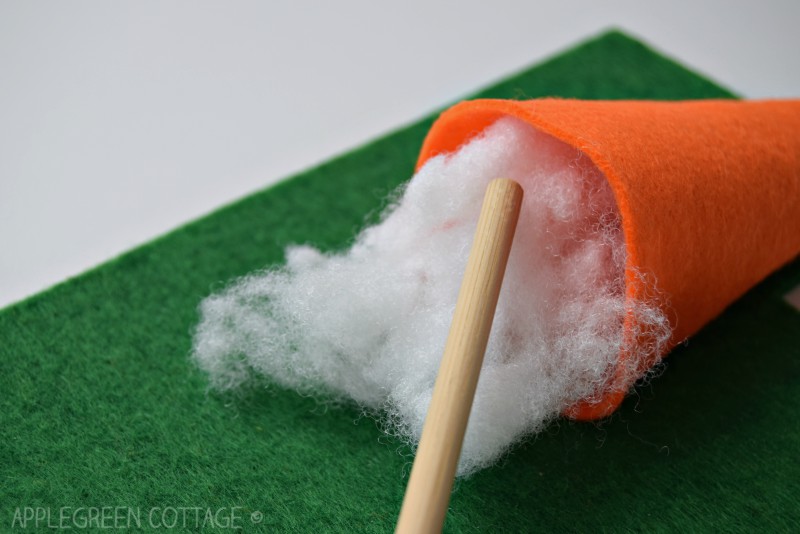
Turn the cone inside-out. Then stuff with either toy stuffing, poly-fill, or use scraps.
Step 6 - Stitch the Top Closed
Using a running stitch, stitch around the opening, pull on your thread and gather, like this:
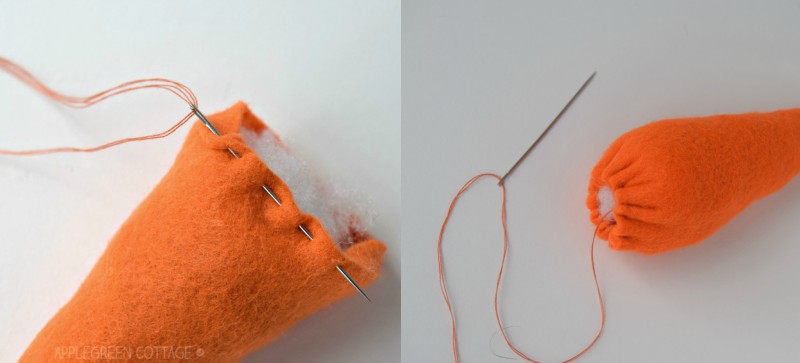
Did you know you do not even need to make a knot when you start stitching? I love this little trick!
Step 7 - Add the greenery
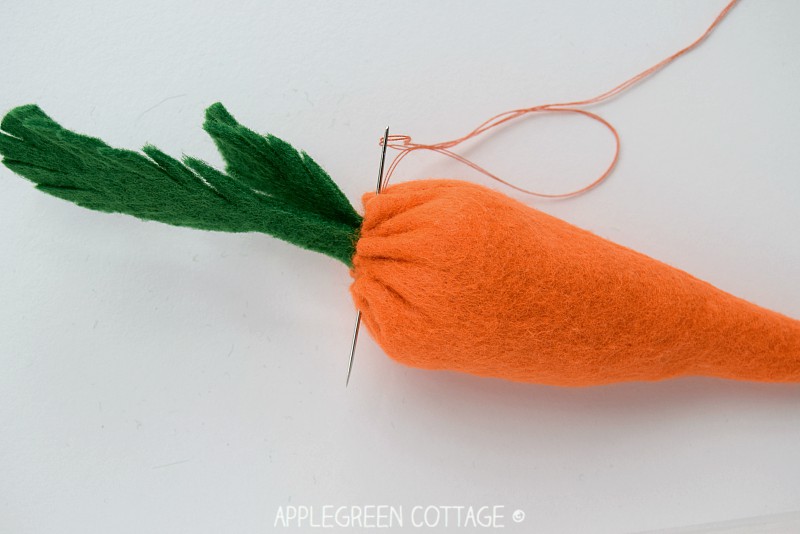
Insert the two green leaves and stitch them in place. Done!
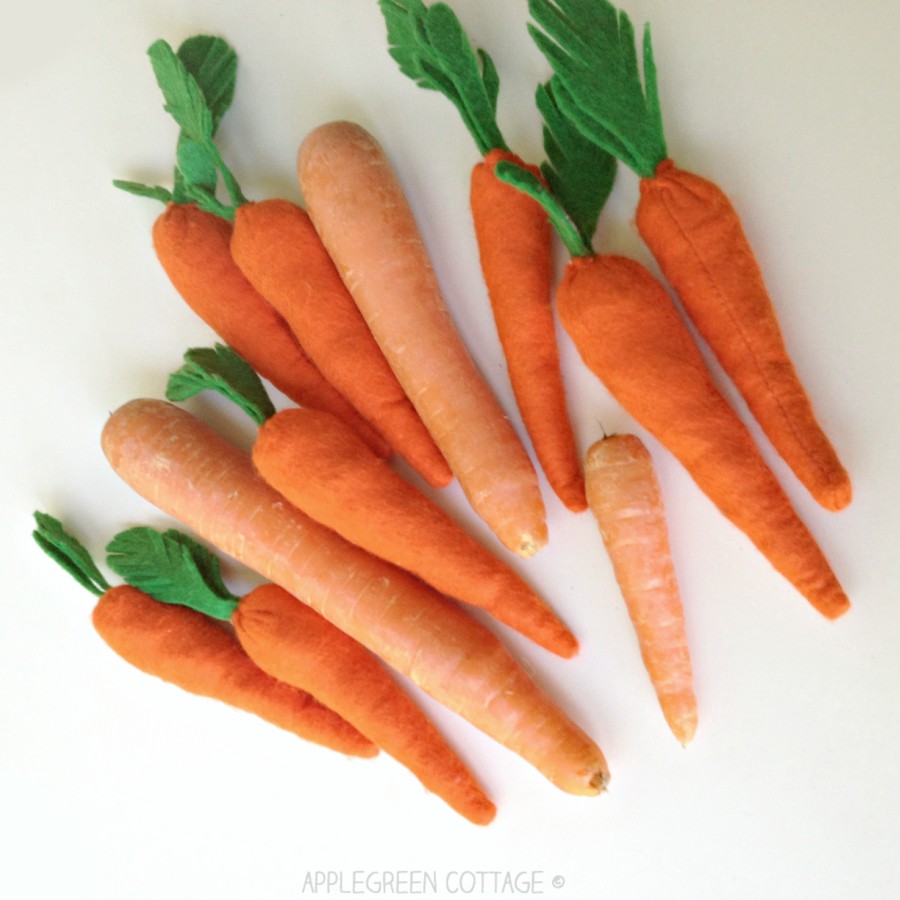
So, which ones are real? 😉
These were an ideal mix - real carrots, wooden toys, and felt carrots. But pretty soon, the real carrots disappeared and there were only felt and wooden carrots left. (That's because we had a snack just before the next photo session.)
See More Felt Play food tutorials

As always, I'd love to see if you've made play carrots using this tutorial. Please post a picture to Instagram and tag me @applegreencottage or #applegreencottage - so I can take a look!
Free Carrot Template
I've created a simple carrot printable template that you can download for free. To download the FREE carrot TEMPLATE, click the button below:
Save For Later:
WANT MORE FREE TUTORIALS AND PATTERNS?
Get email updates and never miss out on new patterns, printables, and tutorials:
Want More Spring Projects?
Check out the latest special pattern bundle that's available right now in my shop - perfect for your spring decor, and for every room in your home:
Heard about Janitorial Services Seattle group says
These would make great ‘play foods’ for the kids! (And much cheaper than store bought plastic ones that don’t survive bites! LOL
Pam @Threading My Way says
Your carrots almost look real, Damjana, and they are so easy to make. Fab tutorial as always. Showcased today...
Damjana at AppleGreen Cottage says
Pam, thank you!
Cucicucicoo: Eco Crafting & Sewing says
Oh my gosh, Damjana, these are just too cute! And I can't get over how such an easy project can look so realistic! Love them! Pinning and sharing! 🙂 Lisa
Damjana at AppleGreen Cottage says
Dear Lisa, thank you for such a kind comment. I'm quite happy, too, with how they turned out. Have a great day,