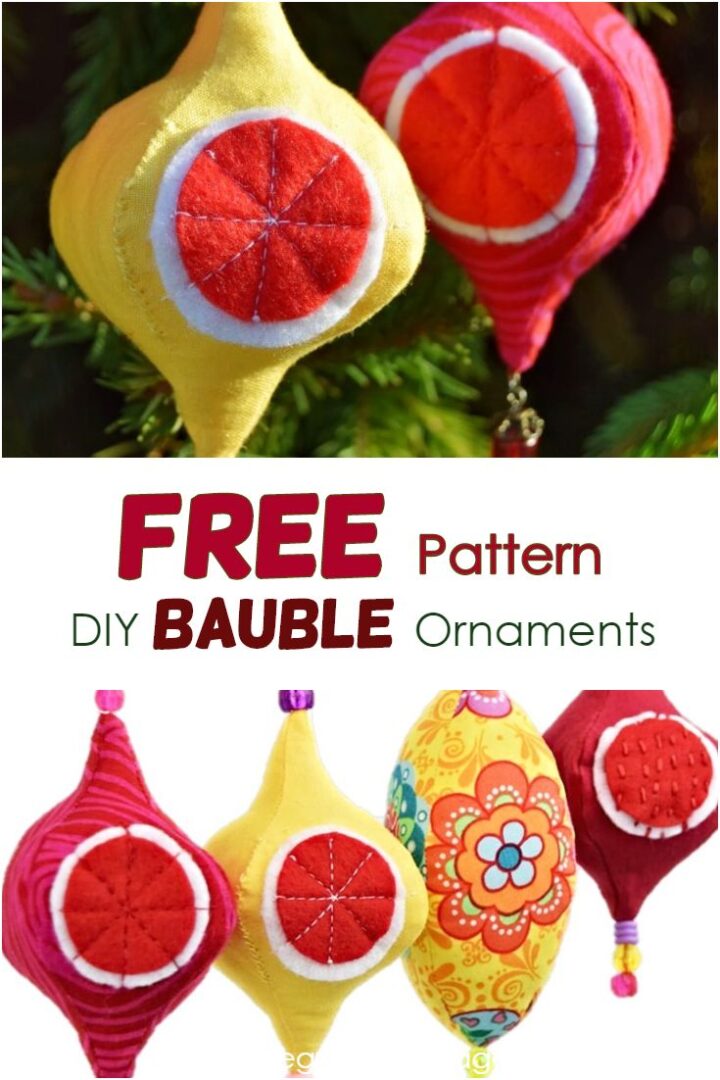
Diy Christmas Ornament - See how to make these colorful fabric baubles and finial ornaments for your Christmas tree. A beautiful addition to any Christmas home decor, these bauble ornaments are way easier to make than they look like. Scroll down to get the free pattern!

This post contains affiliate links. Thanks for your support.

UPDATE: MORE templates to be ADDED to the Homemade Holiday FREE Pattern Bundle!- Join our mailing list here, so you don't miss out on any new tutorials!

Also, they look amazing with bold floral prints. Go ahead, use up your most precious scraps and put them on display on your Christmas tree!
Need to make them larger? No problem, the free templates come in 3 sizes!
If you're looking for more holiday patterns, these are super popular right now:
- 15+ Cutest Diy Christmas Gifts For Kids
- Fun Elf On The shelf Ideas
- 35+ Super Easy Christmas Decor Ideas
- Origami Ornament - Looks Complicated But It's So Easy!!
Diy Christmas Ornament - Baubles, Drops And Finial Ornaments
If you prefer a step-by-step photo tutorial, scroll down.
Supplies:
- scrap fabric in vivid colors and contrasting prints
- a bit of felt to cut two little circles - optional
- poly-fill (get one small pack for the entire Homemade Holidays Bundle)
- beads for embellishment - optional
- 7" - 10" embroidery thread or twine for hanging
- matching thread, sewing machine, scissors, needle, iron
- Free template - download and print page 10 of my new Homemade Christmas Patterns Bundle - it's FREE for all and contains more than 10 free Christmas sewing patterns. All made for you! Here:

2 bauble template options:
- There are 3 designs on page 10. Look for the BAUBLE Ornament.
- Alternatively, you can make a different design, it's called the DROP Ornament on the same page (10) of the Free Pattern Bundle
Steps
Diy Christmas Ornament - Step 1

- Cut out 4 pieces of the design - I cut 4 bauble pieces from fabric.
- Optional: cut 2 circles from felt, using the circles from page 10 of the PDF pattern - look for the two pieces marked 'Option Small Circle' and 'Option Large Circle'.

Diy Christmas Ornament - Step 2

Diy Christmas Ornament - Step 3
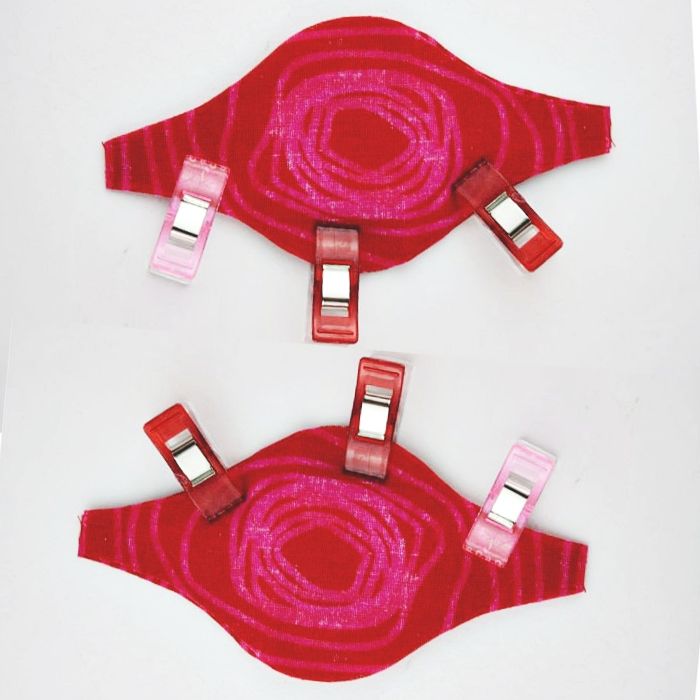
Make 2 pairs: place the pieces right sides together, two by two.
Diy Christmas Ornament - Step 4
Sew 2 pieces together on one edge only, then do the same with the other two. You'll have two pairs.

Diy Christmas Ornament - Step 5
Place the (compound) pieces right sides together and stitch along one edge again.

Diy Christmas Ornament - Step 6
Notch the curved portions of the seam allowance for easier turning. This is what you have now:

Diy Christmas Ornament - Step 7
Time to stitch the last open edge together - make sure to leave a small turning hole:

Diy Christmas Ornament - Step 8
Turn right-side-out and add some poly-fill:

Diy Christmas Ornament - Step 9
Stitch the opening closed and add any embellishments you want to. At the top side, add twine or embroidery floss to connect them and make them easy to hang on the Christmas tree:

Done and ready for holiday home decorating!
Make sure to save the project so you can use all the free templates when you need them:

And make sure to download the FREE Homemade Holidays - Free Pattern Bundle from the shop for FREE. You'll be able to use all the patterns in there once I've published all the free tutorials that I have planned - all in a few days' time. Make sure you don't miss out on any!


Bonita Mathieu
Thank you so much or all your wonderful patterns and directions. I love,
love your website. Happy Holidays to you and your Family.
Cucicucicoo: Eco Crafting & Sewing
These are so cute, Damjana, and so colorful!
Holiday Decorations
I love how whimsical these look! For a beginner sewer, this project doesn't look too complicated either. Thanks for sharing this DIY and free pattern.
Damjana
You're welcome!