
Has your lip balm ever accidentally uncapped - inside your favorite purse? It makes such a huge mess. Ask me how I know!
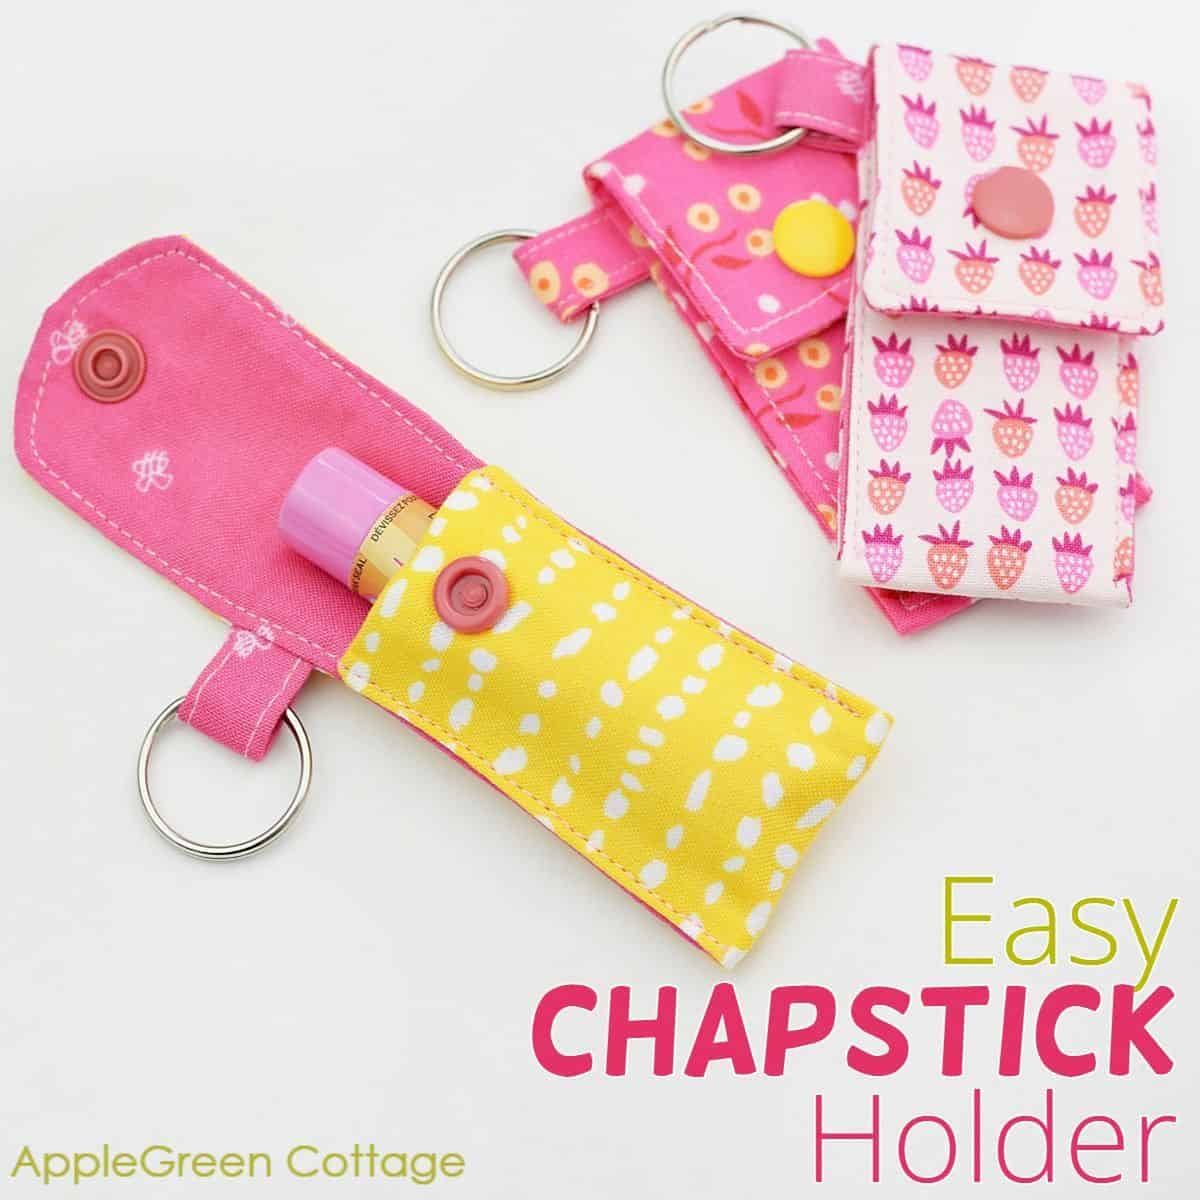
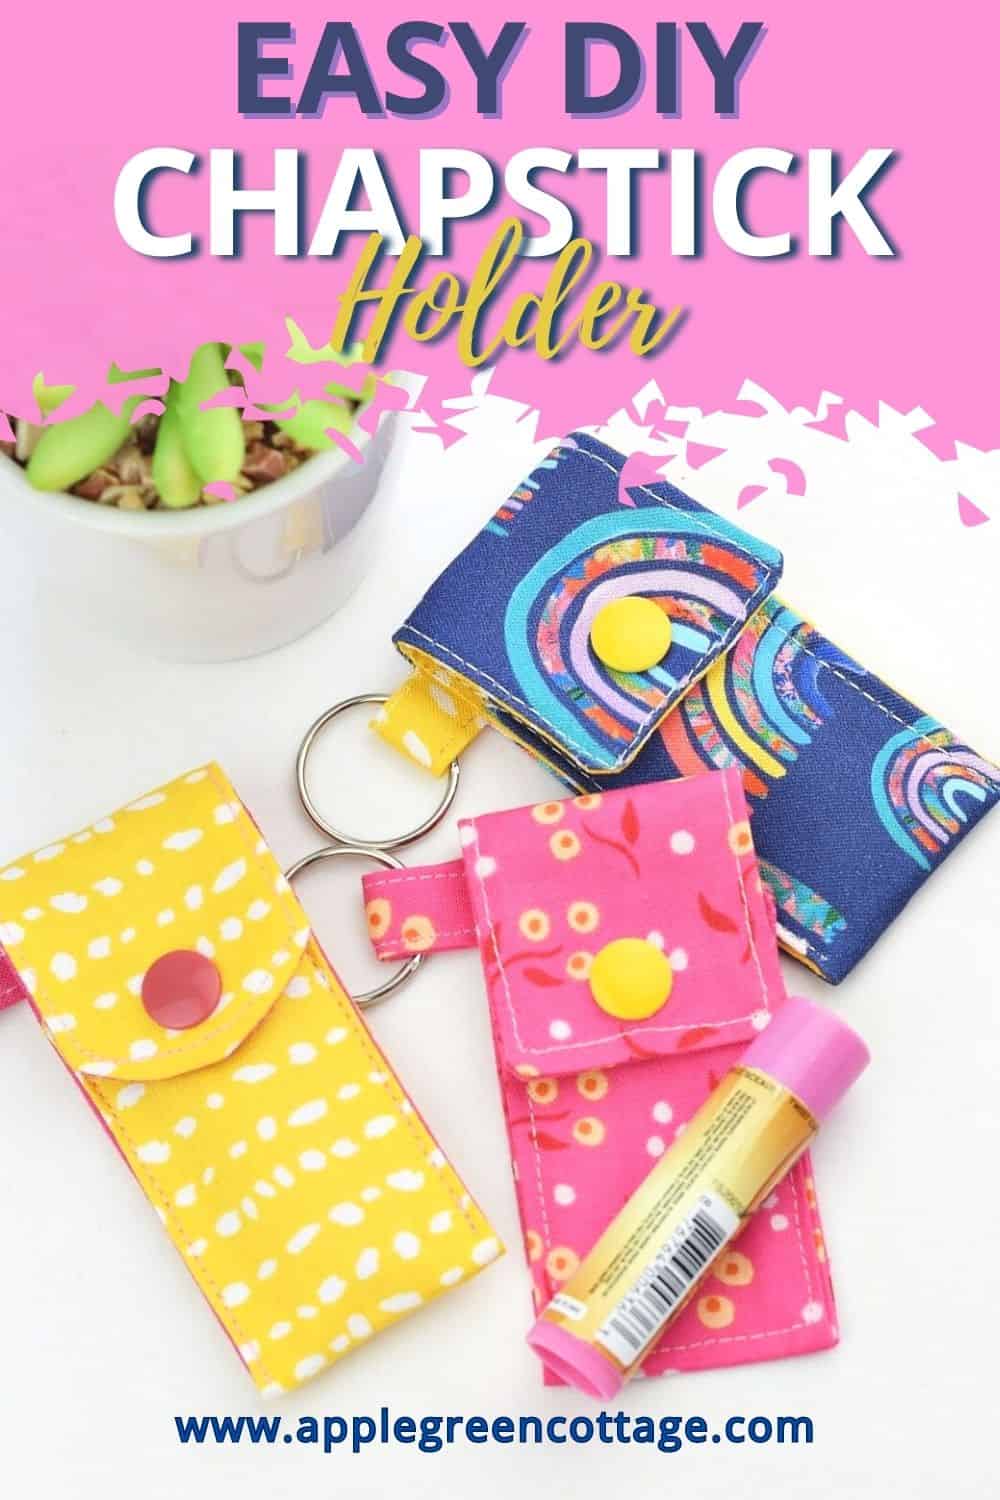
See how to sew a chapstick holder with a flap - and stop losing your chapstick lip balm! You can sew it in minutes - and the best thing? It has a closed top. No more uncapped lip balms causing a mess in your favorite purse!
Scroll down for the free chapstick holder pattern.
Want a printer-friendly option of the whole tutorial+pattern without ads? See the → optional PDF file in our shop.

This tutorial is also part of Printable Tutorials BUNDLE
100 PDF tutorials now, and growing!
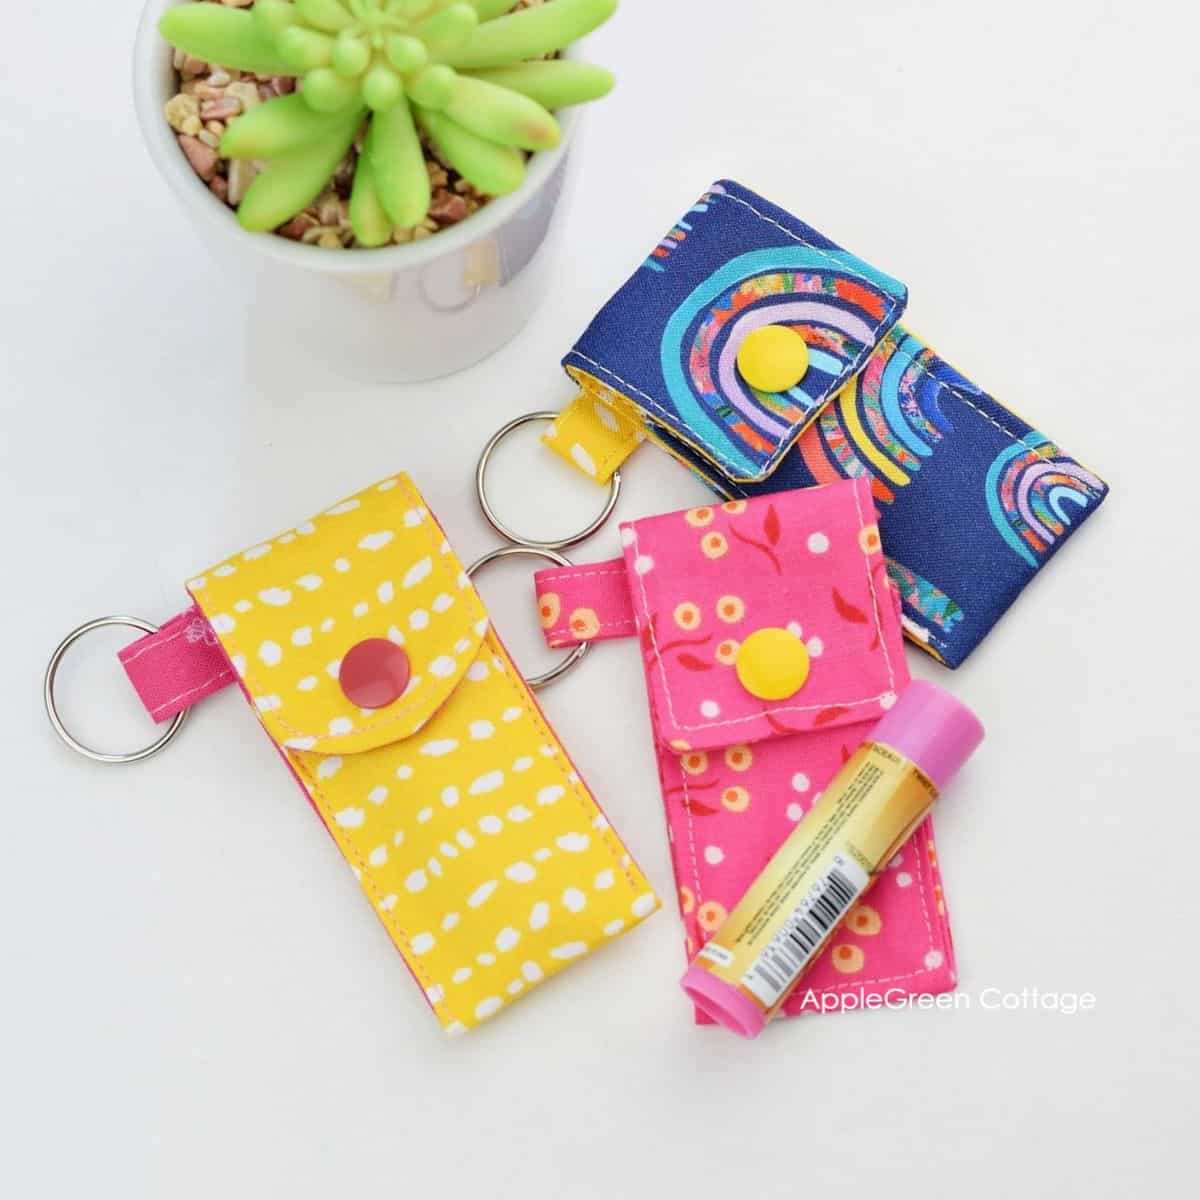
A lip balm case is a great item for every member of the family to have. When everyone has their own lip balm holder, it's easy to identify whose is whose. And it's one of those super easy makes anyone can sew!
Table Of Contents
Why This Chapstick Holder is Awesome - 4 Things:
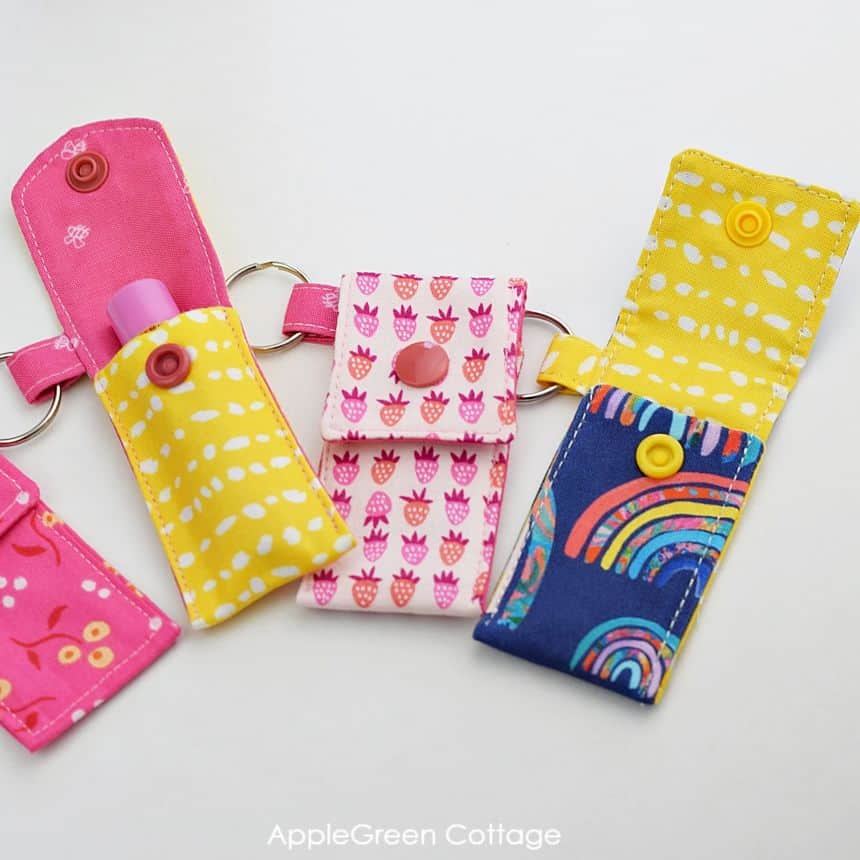
- It has two flap options, one for a simple rectangular flap (quickest!) or a slightly rounded flap. Just so you can choose.
- And it has a keyring so you can clip it to a backpack, gym bag, or purse. No more losing your lip balm - keep it where you need it!
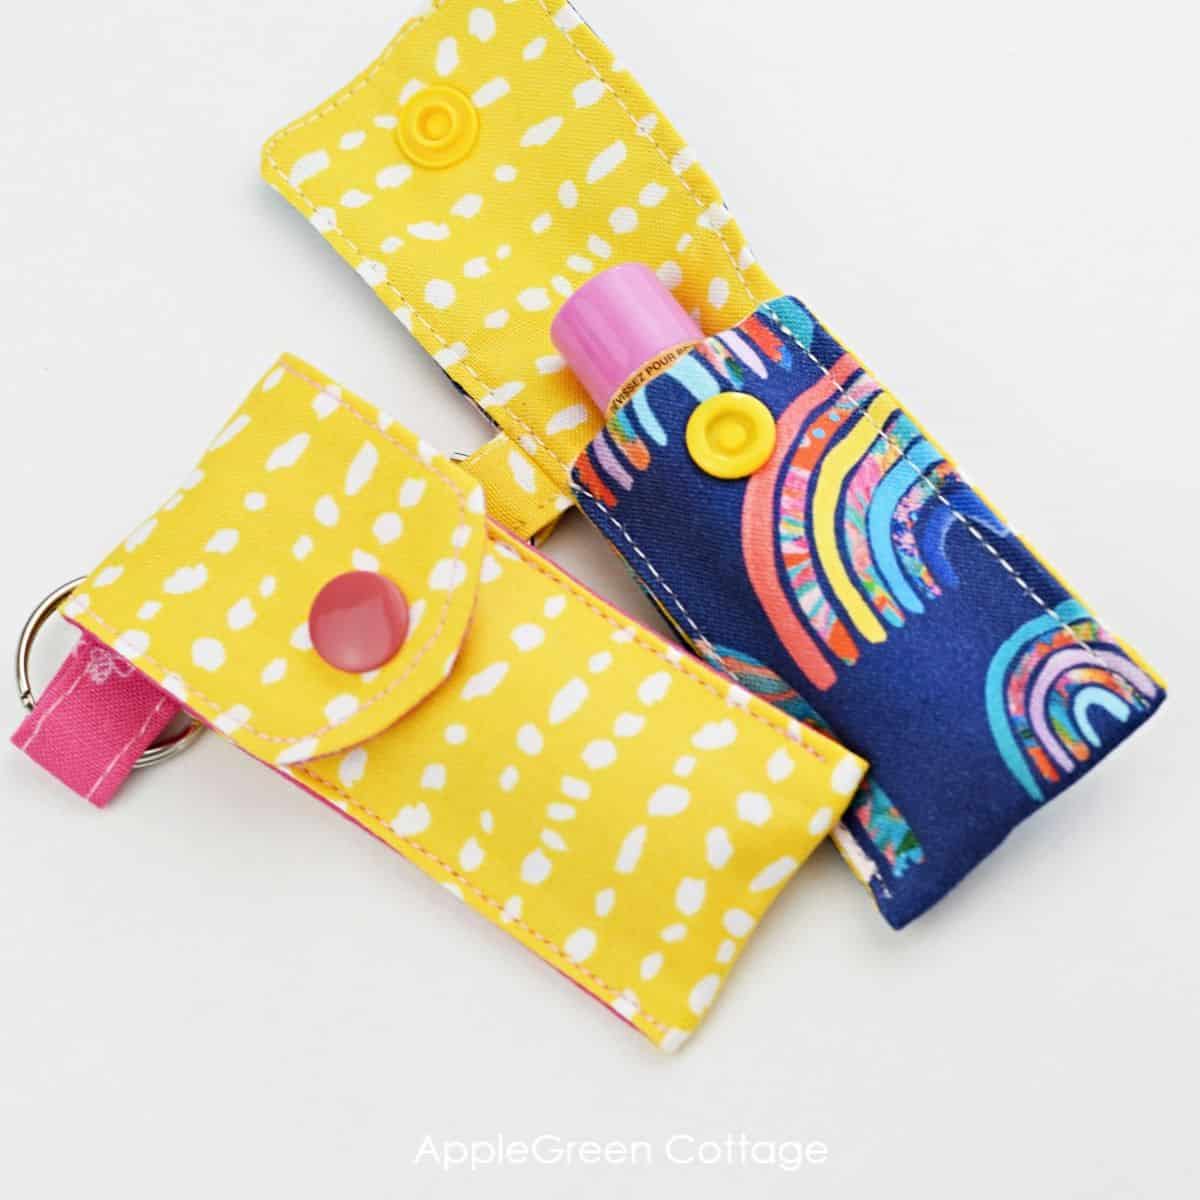
- I made the diy chapstick holder template wide enough to fit both the ChapStick balm size and the slightly wider Labello-type size.
- And because of the flap, the tube does not need to fit snuggly (it won't fall out), which means it's easier to use!
Finished Size
What size is this lip balm holder? I want you to be able to use your chapstick holders with both the chapstick size (standard in the US) as well as the slightly larger Labello-type lip balm (popular in Europe) - so I made the holder 3 ½" long and 1 ½" wide to fit either.
Sewing Video
Here's a video for sewing a chapstick holder. (pause your adblocker if you can't see the video)
Idea: attach it to Any Bag or Purse!
Here's an idea: instead of a split ring, add a swivel clasp and attach to your favorite bag. Say, this adorable little ELARINA bag:
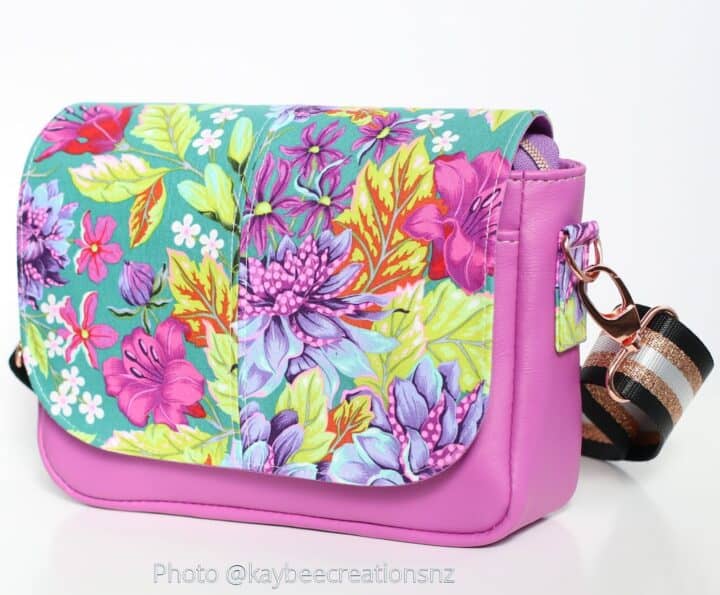
'A petite but mighty crossbody!'
tester bag by Karen @kaybeecreationsnz, ELARINA pattern
And now, scroll down for the photo tutorial with step-by-step images.
Supplies
Shop my personal favorite sewing supplies on Amazon HERE.
- free pattern
- scraps of cotton fabric in two prints or solids
- optionally lightweight fusible interfacing
- a split ring (1" size on Amazon)
- a fabric marker, a ruler
- a rotary cutter, and a cutting mat - or scissors
- pins or sewing clips
- sewing machine
What kind of interfacing do you use for diy chapstick keychain holders?
Something lightweight, like 911FF from Pellon, G700 from Vilene, H200 from Vilene, SF101, or something similar.
Is this chapstick holder pattern easy to sew?
Yes! This is one of our most popular beginner sewing projects. You only need to sew a few straight(ish) lines, and it's no biggie if the stitching is not perfect! So if you're new to sewing, don't worry, it's an easy and quick make. And it looks so cute!
Diy Chapstick Holder TUTORIAL
Step 1 - Get the Free Chapstick Holder Pattern
Join our mailing list and get the chapstick keychain holder pattern emailed to you:
Want a printer-friendly option of the whole tutorial+pattern without ads? See the → optional PDF file in our shop.
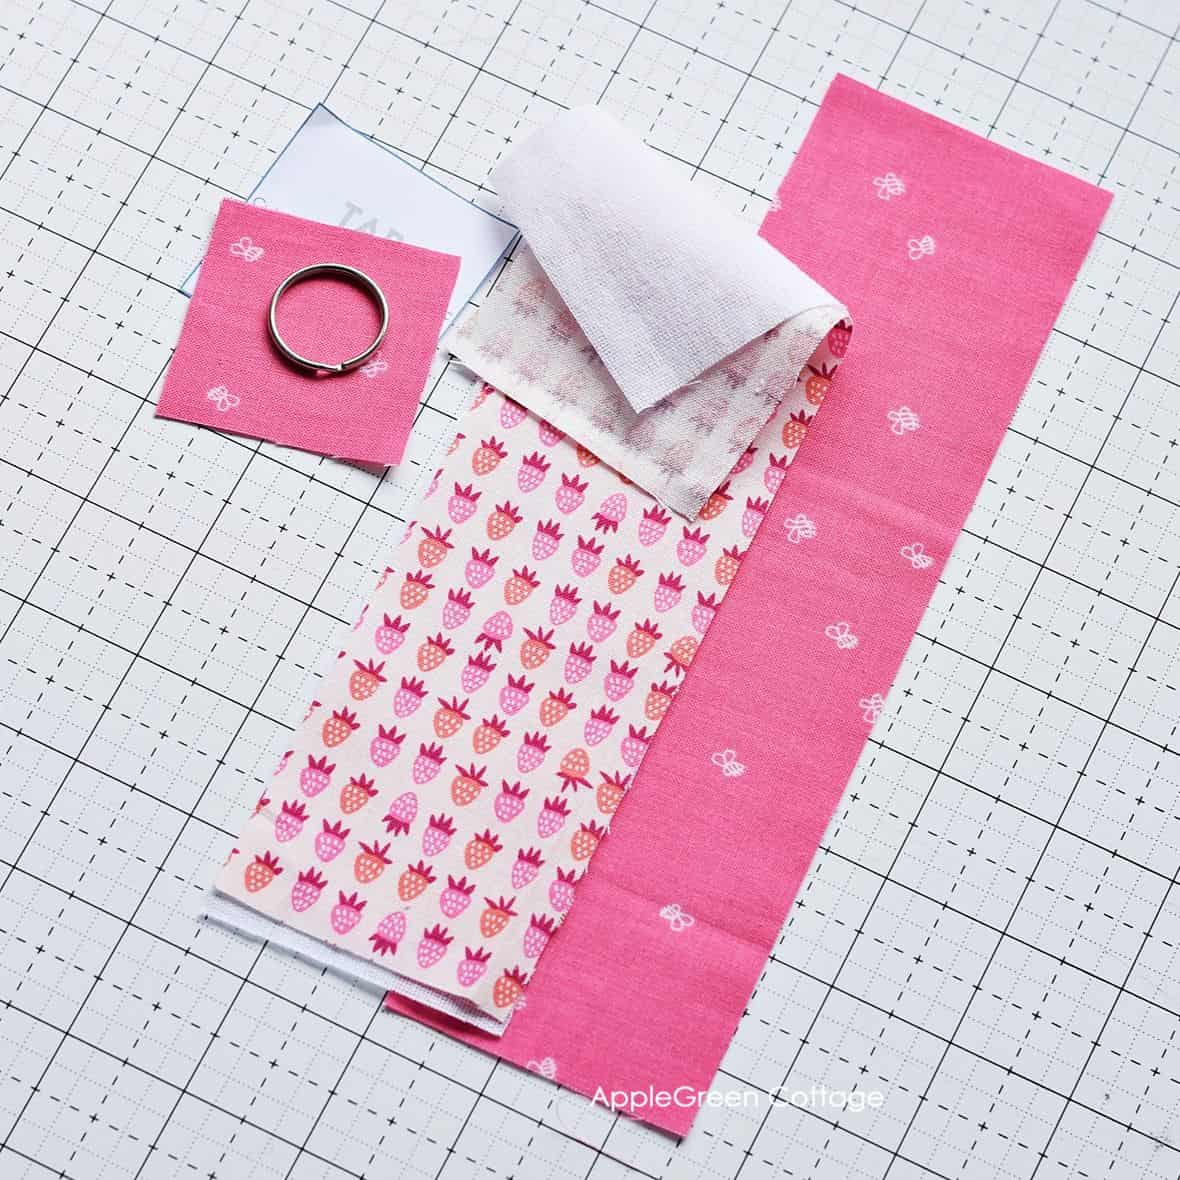
Step 2 - Cut fabric
Use the template to cut
- 1 outer fabric piece (here: strawberry print)
- 1 lining fabric piece (pink), and
- 1 tab piece from lining fabric
Optional: fuse lightweight interfacing to the back of the outer piece for stability.
Step 3 - Create the Fabric Tab
Next, we'll create a keychain tab for your chapstick keychain holder.
How to Make Keychain Pull Tab?
A small item like a diy lip balm holder is absolutely better if it has something to clip onto your keys, or bag - a tab, or a loop. You can either make it from fabric or simply use a ready-made ribbon, cotton twill tape is not slippery and is thin enough to be sewn in.
My go-to solution is making my own loop. It adds a cool detail in a totally matching color. This is how I make the loop, it's quick and easy:

- use the 2 by 2-inch piece, fold it in half with the wrong sides together, and press. Open and
- fold the two long raw edges towards the center, then
- re-fold along the center fold. Press.
- Edgestitch along both long edges.
Step 4 - Attach the Tab To Outer Piece
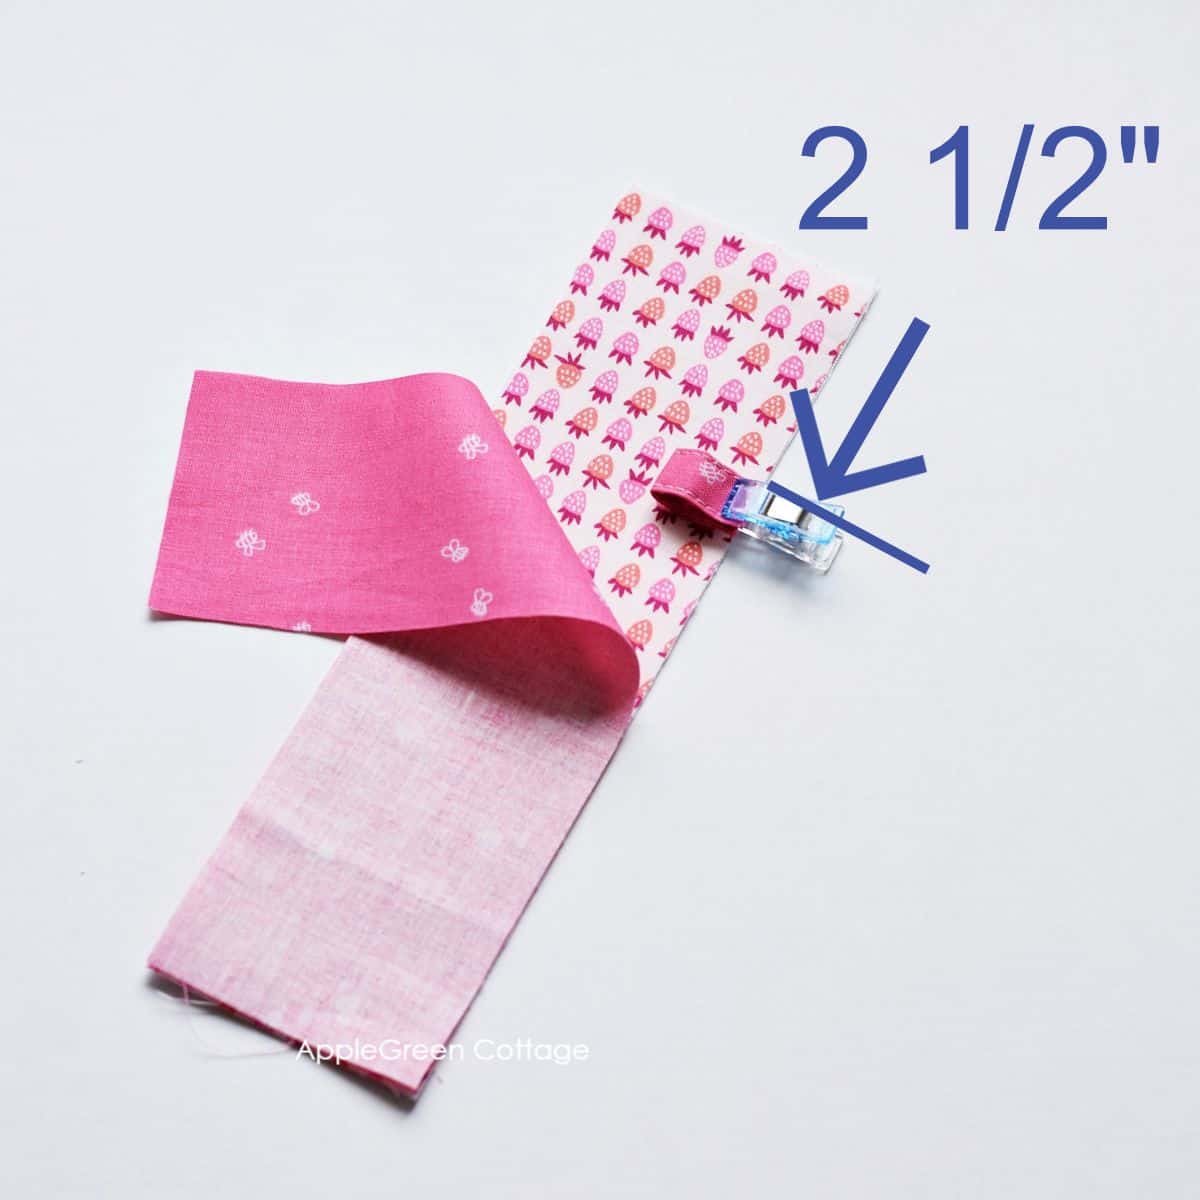
Fold the tab and clip or pin it to the front of the main fabric, to the right, and 2 ½" down from the top. See the photo above.
Step 5 - Stitch the Pieces Together
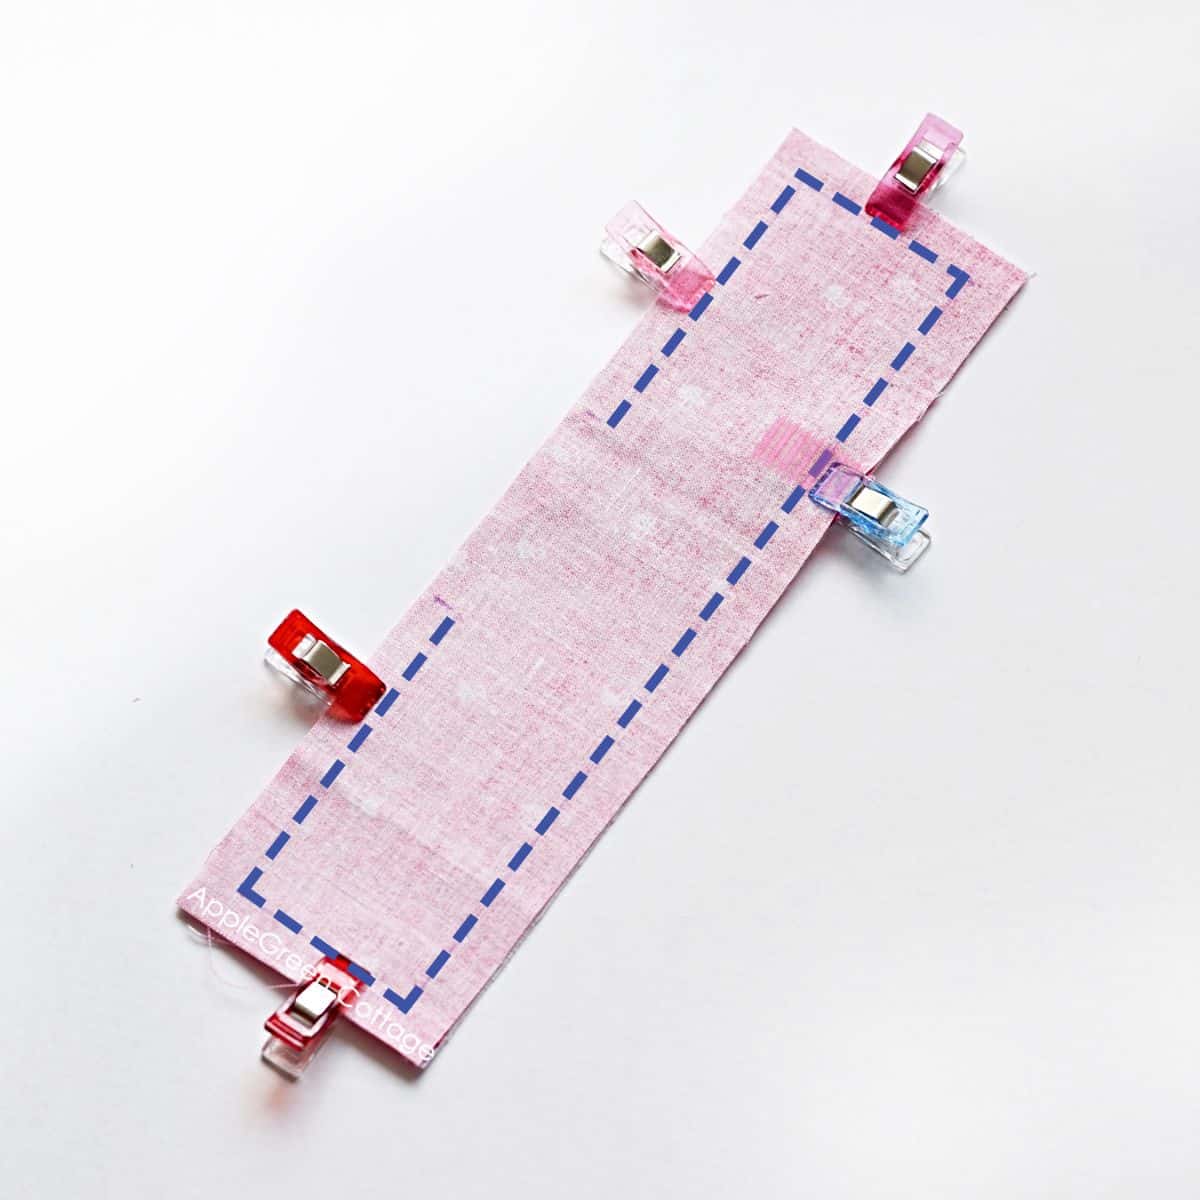
- Once the tab is attached, place the outer and lining pieces together, so the right sides are facing.
- Pin or use sewing clips to hold the pieces in place.
- Sew around using a ⅜" seam allowance (1 cm) - make sure to leave a 2 or 3" opening for turning in the middle of a long edge.
Step 6 - Trim And Turn
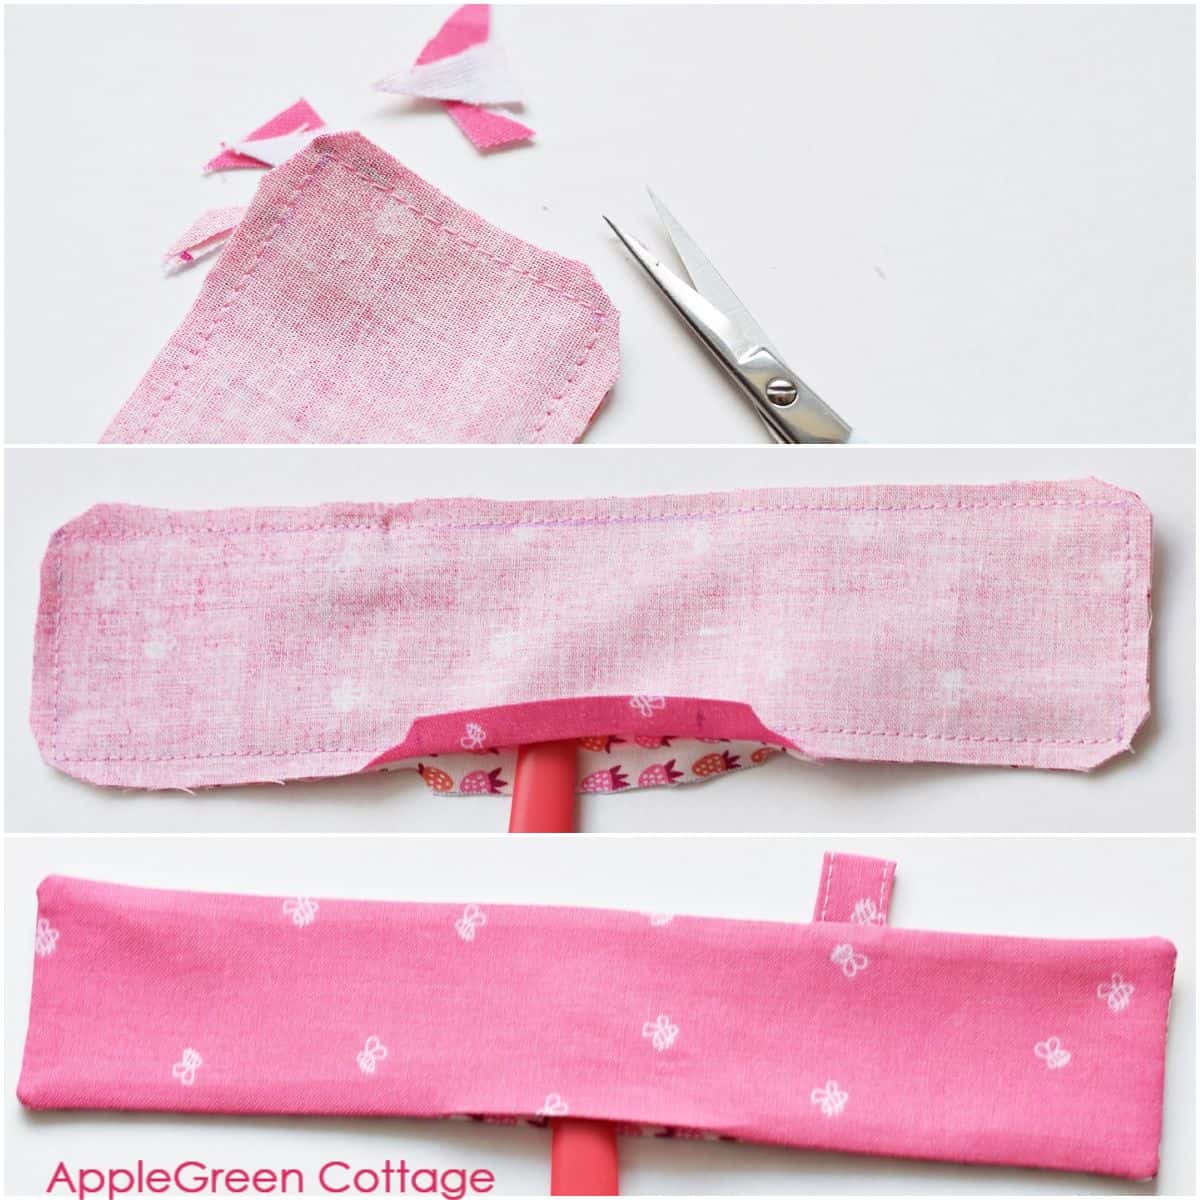
Trim the excess seam allowance, clip the corners, then turn and press. A point-turning tool will help you poke the corners out.
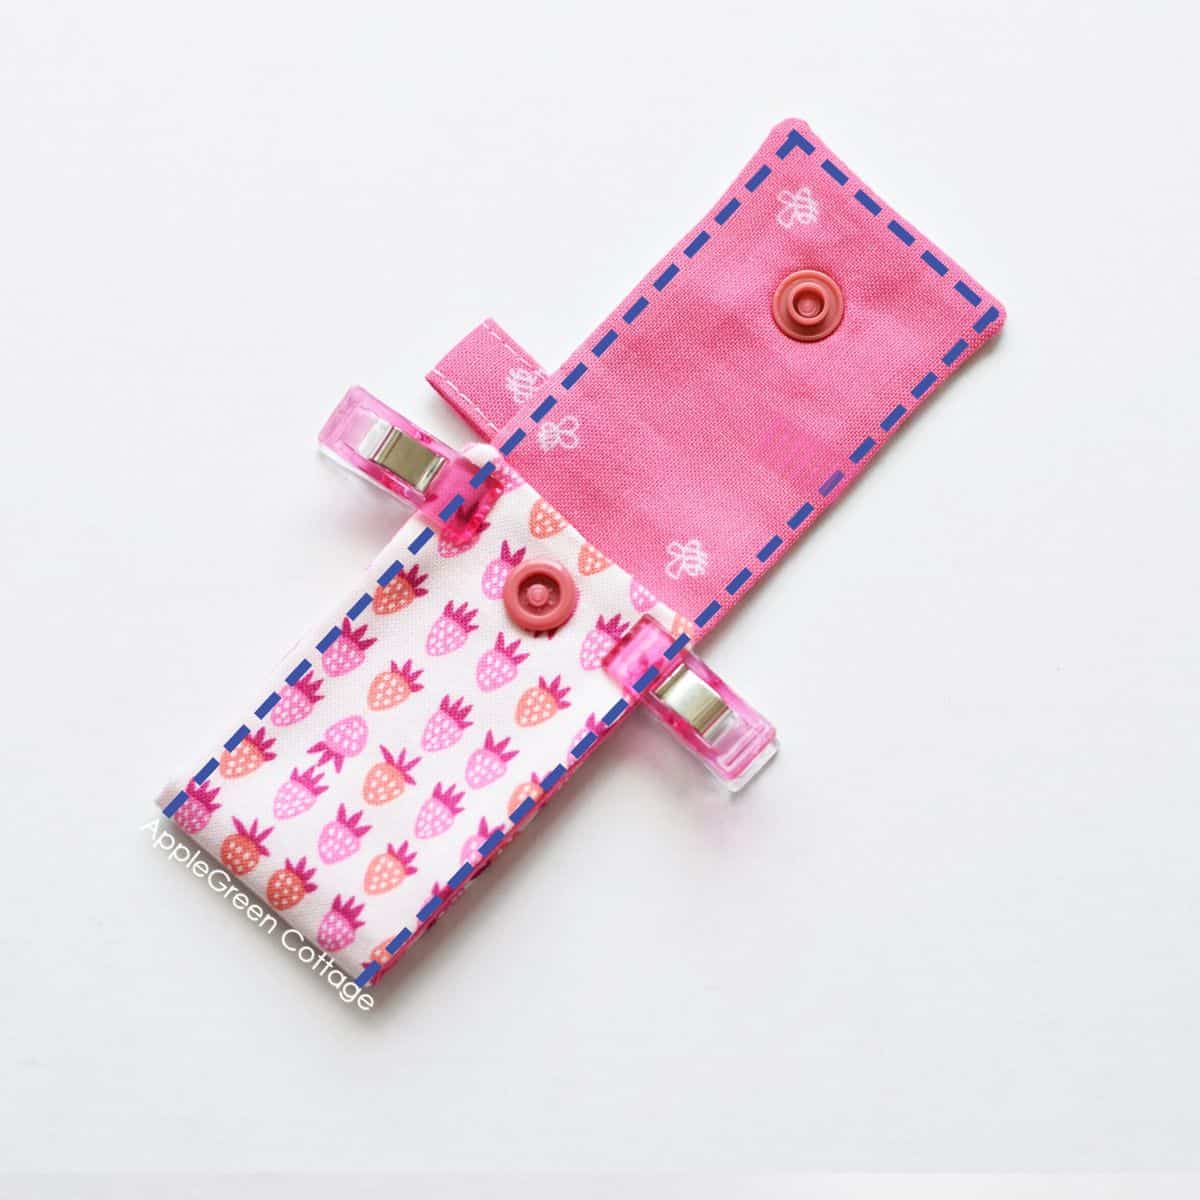
Step 7 - Add a snap
Add plastic snaps to the two marks using KAM snap pliers. The snaps need to face each other when the flap is closed:
Snap placement:
- top snap: ½" from the finished top edge, facing toward the lining
- bottom snap: ½" from the finished bottom edge, facing toward the outer fabric.
Wide machine foot? TIP
Consider putting the top snap on after you topstitch so it doesn't get in the way of the sewing machine.

Step 8 - Fold and Topstitch Around
Place your semi-finished lip balm holder on the table, with the lining layer facing you.
First, fold 2 ¾" of the bottom portion upwards. The pocket will end right below the tab. (See photo above, I chose this exact placement and dimensions because this way, you can sew this project with the least bulk possible.
Now the last thing to do is topstitch around the edges, you can skip the bottom if you like. The topstitching will also close the turning gap.
Step 9 - Attach the Keyring
The last thing to do is attach a keyring, you can add an additional swivel clasp onto it if you wish to. Now it's finished, and you've learned how to make a chapstick holder keychain - yay!
Don't want to forget about this easy sewing project? Save this project for later! Click here to save this project on Pinterest:
Helpful Tips and Info
Let's make your chapstick keyring holder sewing project even easier - a few tips and answers to our readers' questions:
As always, my top picks are quilting cotton or canvas. The best fabric for a keychain chapstick holder should be durable, washable, and easy to sew. So, skip the sheer or super stretchy fabrics. If you enjoy working with vinyl, that's a great option too-just remember it's not washer-friendly! Plus, this is the perfect project to upcycle fabric from an old denim shirt!
A chapstick tube is 2 ¾ inches long and ¾ inches in diameter.
The easiest way to slightly increase the size? Just use a smaller seam allowance: instead of the ⅜" or 1 cm, use ¼" or 6 mm. You can scale it any way you like, but let me first explain two things:
- one, this pattern already fits both the (smaller) chapstick size, as well as a slightly larger lip balm size, the Labello brand that's popular in Europe.
- second, I chose this exact placement and these dimensions because this way, you can sew this project with the least bulk possible.
But you can play with sizing, try and test your favorite size of course. Let me know!
Sure you can, if it's made with washable fabric I suggested above. Once it gets a little stained, feel free to throw it into the washer, good as new!
But honestly, I might know someone who just makes a new one each time, as sewing it up usign our free pattern will only take minutes. So, by the time the washing cycle is over, you can have a whole stack of new stocking stuffers on your sewing table, already made. How cool is that!
Add it to Any Bag or Purse!
Here's an idea: instead of a keyring, add a swivel clasp and attach to your favorite bag. Like our newest pattern, this adorable little ELARINA bag:
'A petite but mighty crossbody!'
tester bag by Karen @kaybeecreationsnz, ELARINA pattern
Conclusion
Lip balm holders like this one are cute, practical, and easy to make. They are a great project for beginning sewers and make great gifts and stocking stuffers - perfect to slip into a pocket on a diy advent calendar like this one!
I hope you liked this tutorial. Now it's your turn - grab your sewing machine and get started!
How do I get the FREE Pattern?
Get it for free when you join our free mailing list:
Want a printable copy of the whole tutorial?
Prefer a full, ad-free and printer-optimized Printable Tutorial with both instructions AND pattern included? ↓↓
This tutorial is also part of Printable Tutorials BUNDLE
100 PDF tutorials now, and growing!

Join the FREE 6-part email guide and make super easy diy GIFTS - each in 30 minutes or less! You'll love it!
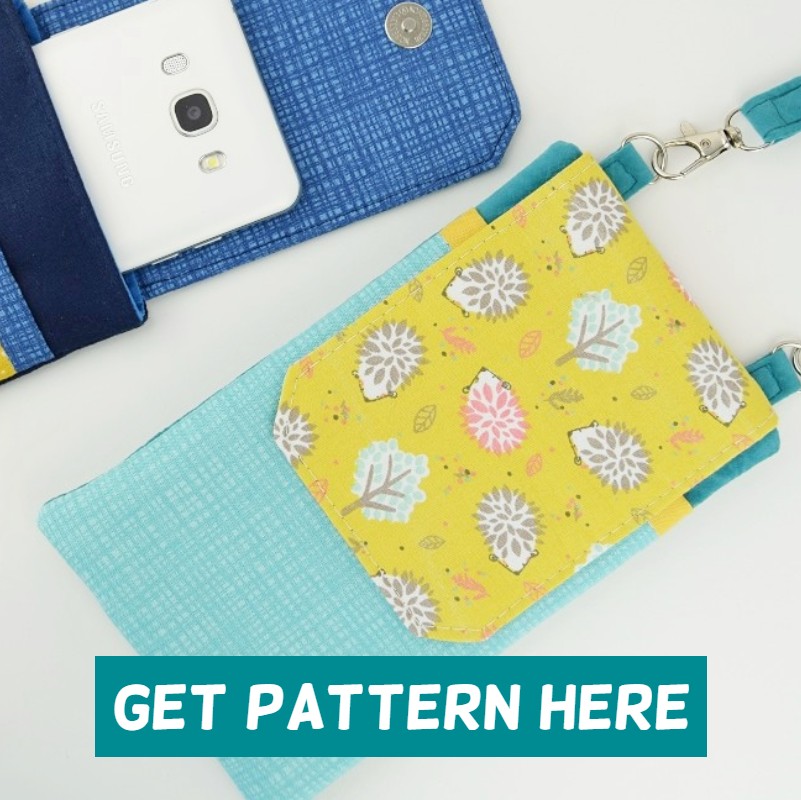
Or …check out the popular Aiden Cell Phone Purse in our shop. Guess what's on the back of this cool phone bag!


Jason says
Love this pattern. Do easy and quick. Thank you so much
Tina G. says
Love this pattern! The chapstick is so handy to get to and won't fall out because of the covered snap flap (I always love using my KAM snaps, too!). Very fast and easy scrap-buster for quick gifts. I like to make one to match whatever bag or tote I'm making as a gift. Makes a nice extra surprise touch.
Damjana Jakos says
So happy you loved it! <3 I agree – KAM snaps are the best, and I love the idea of matching the chapstick holder to a bag for that extra surprise touch!
Linda Faye Anderson says
Thank you