
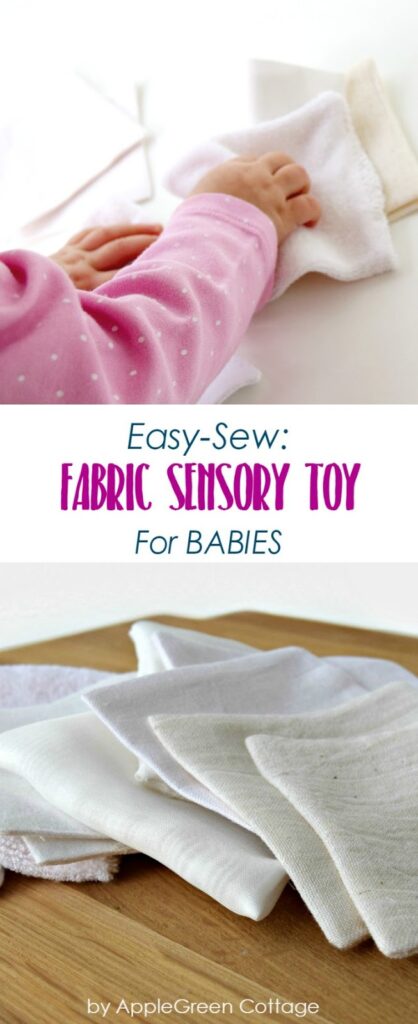
This is probably the easiest of the diy sensory toys for babies you'll ever sew. Best of all, this soft little toy helps your baby explore different textures and build tactile awareness.
In this baby sensory toy sewing tutorial, you'll sew simple sensory squares using only straight lines. It's an easy homemade baby toy and a great beginner sewing project.

Do you love sewing for baby? You'll love this free email guide:
Join the FREE 6-part email guide and sew the CUTEST things for a baby - the EASY way! You'll get my best baby sewing ideas by email.
Table Of Contents
Prefer an ad-free printer-friendly option of the whole tutorial+pattern? See the → optional PDF file in our shop.
Why you'll love this diy baby sensory toy
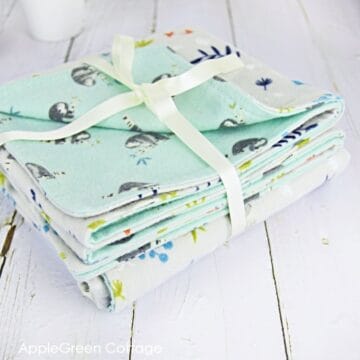
It makes such a sweet and quick handmade gift:
- Soft, light, and fun to play with
- Great for exploring different textures
- Washable - perfect for baby use
- Easy to sew, even for beginners
Here you'll learn how to sew sensory squares with just straight lines. If you're new to sewing, this is an easy and rewarding project to start with.
Supplies
- a few fabric scraps, preferably in white or non-dyed
- sewing machine or needle, pins or sewing clips,
- quilting ruler
- iron, scissors, or rotary cutter plus cutting mat (I use this one by Olfa)
Shop my personal favorite sewing supplies on Amazon HERE.

What Fabric To Choose for a Baby Sensory Toy
Use a mix of fabrics with different textures, so the toy feels interesting to little hands. Good choices include lightweight cotton, cotton gauze, jersey knit, terry cloth, linen, voile, and silk if you have some. You can also add textured fabrics like minky, velvet, wool, burlap, denim, lace, mesh, seersucker, or flannel.
Top Tip: If you are sewing with stretch fabric such as jersey, use a zigzag or overlock stitch so the seams won't tear.
Finished size
It depends on what fabric size you choose, I made 4 ½" squares.
How To Make Baby Tactile Toy - STEPS
This project uses a ¼" seam allowance, but you can use the one you prefer. Size variations do not affect the functionality.
Step 1 - Cutting Directions
Cut rectangles measuring 4" by 8" or 5" by 10" (10x20 cm or 13x26 cm). Cut 2 matching rectangles from each fabric, so each texture has a pair. For example, 12 pieces will give you 6 matching sets. A rotary cutter makes this step faster, but scissors work well too.

Tip - How to sew very lightweight fabric

Sewing tip: if sewing with a very thin fabric (cotton gauze, sheer foile), you might want to use a double layer of fabric for each fabric square. Not necessary, though.
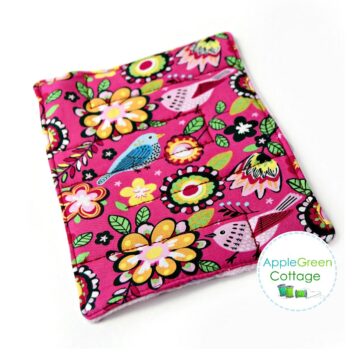
Step 2 - Sewing Step
Take one rectangle and fold it in half with the right sides together. Sew around using a straight stitch, leaving an opening in the middle of one side for turning:

Easy Sewing Tip
Stop and start your stitching neatly at both sides of the turning opening. This makes the fabric line up much better after turning, and closing the opening later will be much easier.
Step 3 - Clip Corners

Clip the corners for a nice finish and to reduce the bulk.
Step 4 - Turn Right Side Out

Turn right sides out. Push the tips out using a point turner tool or another non-sharp object like a knitting needle. I had a chopstick at hand, it did quite alright. Don't use anything sharp since it might make holes in your fabric.
Step 5 - Close the opening

Close the opening that had been left for turning. Press. Repeat as many times as you want. You can make a larger set than the one I chose, of course.
More about sewing sensory baby toys
For more DIY tactile toys and fun sensory activities for children, feel free to check out these tutorials (they have free PDF templates attached): diy matching memory game with a free template and this free fabric maze pattern. Happy sewing!

Why are homemade sensory baby toys good for babies
These homemade sensory toys encourage tactile awareness from the start. And if you make these textured sensory fabric squares in matching pairs, they can stay useful later too - as a simple fabric matching game that helps build tactile discrimination.
I have also seen this toy being recommended by autism experts, and it's a good toy for visually impaired children.
Easy Ways To Change Your Sensory Squares
You can make these tactile squares in a few different ways. If you want them a little puffier, add a small amount of stuffing before closing the opening. I left mine unstuffed so they stay light, soft, and easy to wash.
Edgestitching is optional too. You can add it for a flatter, more finished look, but I prefer to leave it out to keep the edges as soft as possible for baby hands.
More baby sewing patterns
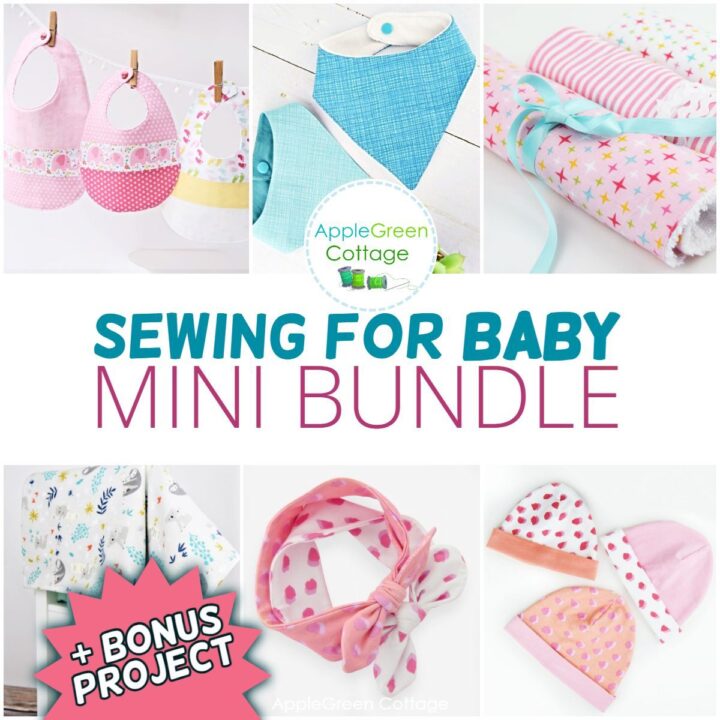
6 BABY Patterns + BONUS
Love sewing for babies? See THIS!
Make sure to grab these free baby sewing patterns:
Want a printable copy of the whole tutorial?
Prefer a full, ad-free and printer-optimized Printable Tutorial with instructions AND images included? ↓↓
WANT MORE FREE TUTORIALS AND Patterns?
Get email updates and never miss out on new patterns, printables and tutorials:
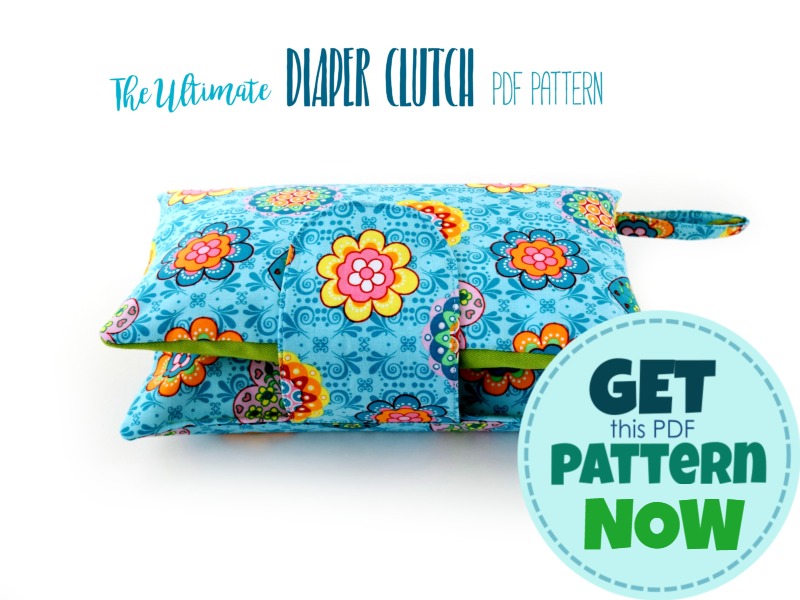
Or check out this popular pattern in our shop: Ultimate Diaper Clutch - a perfect baby welcoming gift every new mom would love to get!

Betsy says
Hi: I made several tactile blankets for babies who are born blind. I make them out of 7x7 inch squares of different textures until the blanket is the size of a regular baby blanket. Since the babies can't see, the different textures encourage them to feel the material. Once they feel one and their hands wander over to another texture, they start to feel around to check out what else is there. This helps them to learn to crawl, explore and discover. I back them with fleece, sewing right sides together, leaving an opening of about 9" to turn right side out and then sew that closed. I also use yarn to secure various spots in the corners of some of the blocks to keep the blanket from shifting.
Damjana says
Betsy hi,
that's wonderful, what you have sewn. I'm posting your comment here in the hopes other readers will be inspired by you too. I certainly am. Thank you.
Warmly,Damjana
Julie Pedersen says
I love the idea of a matching game. I may have to make some of these up for a couple of special ed classrooms as they couldn't demolish these like they can cards. They could also help teach colors and possibly numbers if the fabric was right. Thanks for the idea.
Damjana at AppleGreen Cottage says
Julie, all great ideas, thank you!
Sandy Thomas says
Why do you need two of each if you are folding the pieces in half?
Damjana at AppleGreen Cottage says
Hi Sandy,and thanks for asking - you want to make 2 identical squares in each fabric you select, so these are also suitable for playing a matching game. Especially toddlers love it! (So, for example 12 tactile squares will make up 6 matching sets) I hope this answer works for you. Have a great day,
Anne says
This is a great idea!! It would be easy to sew several sets in one sitting and stash them away for future baby gifts. Anne
Damjana at AppleGreen Cottage says
Thanks, Anne!