
Are you bothered by the uneven finish on your past sewing projects? Want a nice clean finish on your projects? Then the French seam is the way to go!
See how to sew a French seam, hide all the raw edges on your project and create a nice clean finish on your garment, home decor, or even a zipper pouch. Scroll down and see where's the (only!) catch with this type of seam - and see the → French Seam HACK I use too!

Table Of Contents
What is a French Seam?
It's a strong, neat seam that hides raw edges with just two lines of stitching. Sounds fancy, but trust me-it's way easier than it looks. Just remember: stitch - flip - stitch. Yep, that's it! Keep reading and you'll see how simple it really is.
In a hurry? Here's the quick version - then scroll down for the full step-by-step with photos:
- Place fabric with the wrong sides together.
- Sew the first seam and trim it.
- Open the seam, press and
- ..refold.
- Sew the second seam.
- Press.
For details, see steps with photos below and the → French Seam HACK!
Did you know that I've got an entire collection of easy sewing tips and hacks? You'll love them! Check them out here: 10 Sewing Tips Every Beginner Should Know
Why And When To Use French Seam
- Clean finish on both sides - raw edges are fully enclosed
- Strong and durable seam for everyday use
- Beginner-friendly: no fancy skills needed, just a straight seam
- Great for unlined projects - when the inside shows, like in sheer tops or pillowcases.
With which materials to use French seam: it works best on lightweight and medium-weight fabrics like cotton, chiffon, or silk. Linen, too, looks great with this type of seam if you ask me! Avoid with heavy fabrics - it can get bulky.
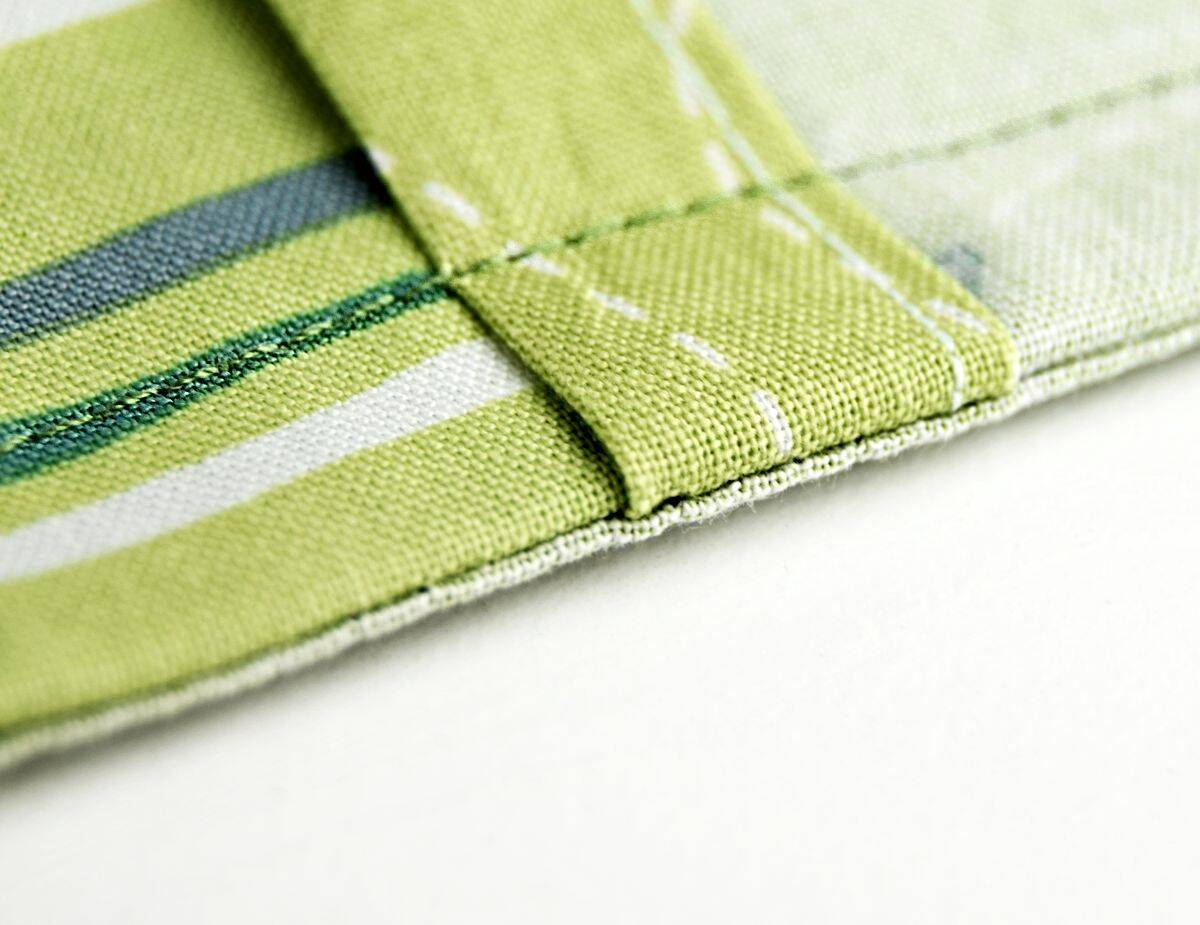
In this tutorial, I used cotton twill so you can clearly see the steps, but try it with lightweight cotton for your first go!

For this tutorial, let's say our project requires a standard ⅝" (1.6cm) seam allowance. This is what you usually see with apparel (And I might have a new project like this underway...but shhhhh)
Projects Sewn with French Seams
When you sew a French seam, the raw edges are enclosed within the seam, and this makes it a very durable seam. This makes the french seam so useful! You can french seam pants, french seam t-shirts, use French seams on sleeves and pockets, and a lot of home decor items, like this French seam pillowcase.
And with nearly all of these French seam projects, using the french-seam technique will make your project look way better than if it had not been used. Just take a look at the next few tutorials and see for yourself:
Where is french seam used?
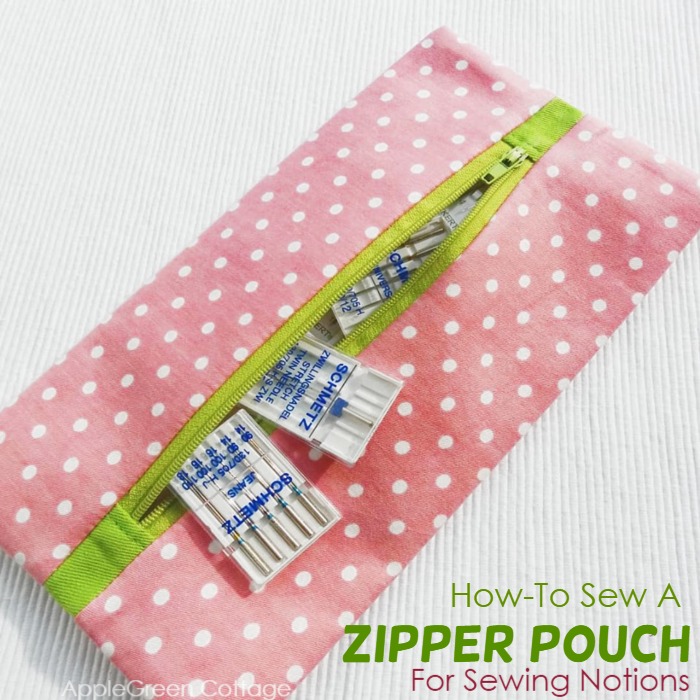
Here's a super easy tutorial to use a French seam to sew an easy and beautiful zipper pouch. French seams make this pouch so pretty - AND, it has lining too! Make sure to check it out and make a few for yourself.
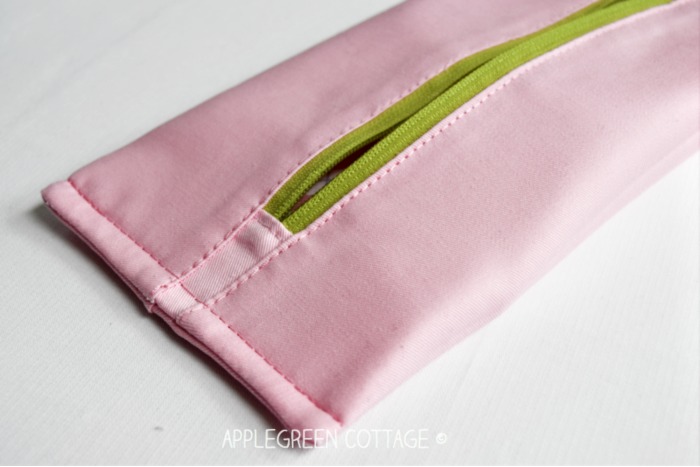
Or, if you want o make it even easier, use French seams with this unlined expandable zipper pouch:

I used an entirely different technique to make these expandable zipper pockets, but what makes it similar to the one I mentioned above is the use of French seams to neaten the seams. Not a single raw edge on this magic expandable pouch, can you believe it!
Video
...which brings me to the fulltutorial, finally, haha! Let's see how you sew a French seam, first a quick video overview:
..and now step-by-step in photos, the French Seam tutorial.
French Seam - STEPS
Step 1 - Place Fabric Pieces Together

You'll start with the wrong sides of the fabric together. Not used to that? Don't worry, it's OK - you'll see why.
Step 2 - Sew the first seam and trim it

So, with wrong sides together, stitch the two pieces using ⅜ inch (1cm) seam allowance. The seam allowance will be on the right side of the fabric - that's perfectly fine.
Now trim to ⅛". (I do not open the seam, so I can trim it using a rotary cutter. Easy&lazy way to trim, I love it!)
Step 3 - Open and press the seam

Unfold fabric with right sides facing up. Press the seam allowance to one side. To be honest, I first press to one side and then to the other side, to make the seam easier to further manipulate it.
Step 4 - Refold seam to the other side

Fold the fabric so that right sides are facing. The raw seam is hidden. Press along the seam.
Step 5 - Sew the second seam

Sew the second seam - it will need to be bigger than the ⅛" you trimmed to before. I stitched at a quarter of an inch, that is 2/8 inch (0.6cm) seam along the edge, encasing the raw edges.
The previous seam allowance will be sandwiched in the fold.
Step 6 - Press

Bring your item to the ironing board one last time and press the seam flat, then unfold it and press again, to one side. Done!
How to Get the Seam Allowance Right with French Seams?
There's just one thing to watch out for with French seams: seam allowance math.
If you don't split the seam allowance correctly between the two steps, your finished project could end up too tight or too loose. The trick? Just make sure the two seam allowances (Step 2 + Step 5) add up to the total seam allowance given in your pattern.
Think of it as: Step 1 seam + Step 2 seam = Full seam allowance
Here are two common examples:
Example 1: For a ⅝" seam allowance
This is standard for clothing.
- Step 1: Sew at ⅜"
- Trim the seam
- Step 2: Sew at 2/8" (or ¼")
That adds up to ⅝" total, and this is what the above tutorial shows. (For my European and Australian sewing friends, in metric: ⅝" = 1.6 cm, ⅜" = 1 cm, 2/8" = 0.6 cm)
Example 2: For a ½" seam allowance
Common on small projects like this zipper pouch tutorial:
- Step 1: Sew at ¼"
- Trim the seam
- Step 2: Sew again at ¼"
That adds up to ½" total. (In metric: ½" = 1.3 cm, ¼" = 0.6 cm)
That's it! Just split the seam allowance correctly, and your French seams will turn out beautifully neat and just the right size.
The half-inch total seam allowance is already pretty small, I usually never go less than that on a French seam. Though you can, of course. (Just it's too fiddly for me.)
French Seam HACK!
You know I love a good hack, and this one makes sewing faster! If your total seam allowance is ⅝", you can sometimes skip trimming by stitching the first seam at 2/8" and the second at ⅜".
Heads up: This only works on tightly woven fabrics that don't fray easily (rotary cutting helps!). If your fabric frays, better to stick with the trimming method.

French seams give your garments a nice clean finish, especially if you do not have a serger. You can add French seams to almost anything. With some practice, you can even sew them on curved seams.
When should you use a French seam?
French seams are perfect for use on lightweight or sheer fabrics. French seams work best on light to medium weight fabrics, as heavier fabrics can produce bulky seams. Truth be told, they are best to use with straight seams, as they don't work as well on curved seams.
Flat Felled Seam vs French Seam
There are other seams out there too that will help you elegantly hide the raw seams, and the flat felled seam is one of them. I love using it on pillowcases, like this Christmas pillowcase tutorial. Here's a tutorial on how to sew a flat felled seam, but it's just a bit more difficult than the good old french seam.
Give the French seam a try, I hope this how to make a french seam tutorial was easy to read. You'll definitely want to use it on that new project I'm getting ready to post!
As always, I'd love to see if you've used this tutorial to make something - in case you need some sewing inspiration, feel free to scroll through my free sewing patterns! Please post a picture to Instagram and tag me @applegreencottage or #applegreencottage if you make something - I'd love to see!
Want More Free Patterns?
Get email updates and never miss out on new patterns, printables, and tutorials:
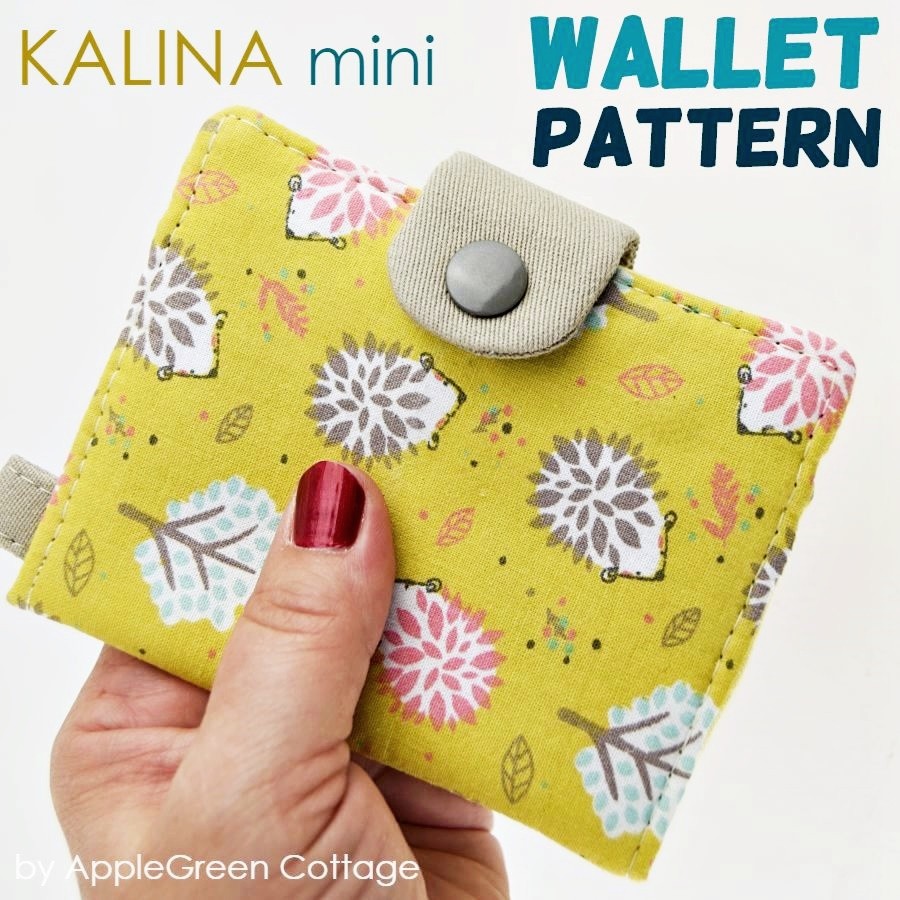
Or …check out this popular PDF pattern - the Kalina Mini Wallet in our shop. So practical!


Leave a Reply