This easy tutorial (part of this post here) will show you how to make a clutch purse that can be used as an essential clutch, as a keyholder, first aid kit, a phone sleeve, a panty liner pouch, and for a lot of other purposes. The best part - the pattern is available for free to all my newsletter subscribers! You can sign up here - but first, check out the tutorial!

This tutorial page is a part of the Lili Clutch Purse Pattern post - I've separated the tutorial because there are a lot of images that could slow down the loading of your page (nobody wants that!)
For more about the pattern and its features, visit this post (link).
Do you want a printable copy of the WHOLE tutorial? → See it HERE or get it in the huge-value BUNDLE!
How To Make A Clutch Purse
First, let me do a quick slideshow for you to serve as an overview of the project:
See, easy! You'll sew this pretty clutch in no time! Now, off to supplies and the photo how-to.
Supplies:
- two fabric pieces in your favorite prints:
- main fabric 8"x9" (21 x 23cm), lining 18"x10" (26 x 46cm)
- fusible fleece: 8" x 11" (21cm x 28cm)
- sewing machine or needle, pins or sewing clips,
- iron, scissors, or rotary cutter plus cutting mat (I use this one by Olfa)
- optional: pinking shears
- one set of KAM snaps
- KAM snap pliers (best get them in a set)
- an awl
Visit our Amazon Storefront to see my FAVORITE sewing tools and notions.
Lili Clutch Purse Pattern - Tutorial:

Step 1 - Get the free clutch pattern
Join our mailing list and get the pattern emailed to you:
Do you want a printable copy of the WHOLE tutorial? → See it HERE or get it in the huge-value BUNDLE!
Save the file to a desktop computer, open in Adobe Acrobat Reader (not in preview), and print it onto a piece of cardboard or paper.
Step 2 - Cut the fabric and fusible fleece
Cutting Instructions
FABRIC:
- • 1 piece marked as '1 SHELL' from main fabric (here: blue polka dots)
- • 1 piece marked as '1 SHELL' from lining fabric (here: yellow)
- • 1 piece marked as '2 POCKET' from lining fabric
- • 1 piece marked as '3' (TAB) from lining fabric
FUSIBLE FLEECE: use the two separate pattern pieces I designed so you don't need to measure at all:
- 1 piece marked as 'SHELL Interfacing'
- 1 piece marked as 'POCKET Interfacing'

Step 3 - Transfer the markings
Important: don't forget to trace the MARKINGS by cutting tiny slits into the seam allowance, as marked on the pattern. They will help you align the layers (and make your project a breeze!)

Step 4 - Add Fusible Fleece
Next step: attach fusible fleece to the fabric where indicated on the pattern. Use this quick how-to if you're not used to working with fusible:

And a photo, just to make it easier to follow along: you have applied fusible fleece to these two pieces below: outer shell fabric (polka dots) and the pocket (yellow).

Step 5 - Make The Pull Tab

Use piece No 3 from the pattern file to create the pull tab. It will be used as a keyring tab or anchor for a wristlet strap. This is how:
1. Place your 4 by 2-inch piece wrong-side-up.
2. Fold in half lengthwise. Press, then open again.
3. Fold the upper edge to the center crease and do the same with the lower edge.
4. Fold again along the original center and press.
5. Then topstitch along the long edges.
6. Finally, fold the finished pull tab in half.

Also, you can opt for an O-ring or a D-ring, like this:

This is totally optional but so useful! If you do make a pull, you can add an easy-to-make wristlet strap. Go to the wristlet strap tutorial HERE ( click). Beginner friendly, easy and quick:

Step 6 - Assemble the Pieces
Moving on, assemble and stack these 3 pieces:
1 - Place MAIN SHELL piece right side up (the one with fusible fleece on the back side)
2 - Fold the pocket in half with wrong sides together, place on the bottom side of the first piece.
3 - pin the pull to the position as marked on the pattern.
NOTE: the loop of the pull tab needs to be facing inwards.
Step 7 - Stitch the Bottom Area

Using a ⅜ seam allowance, stitch several inches on the bottom part. I usually do a 5-inch stitch - or roughly 12 cm. See the red dashed line in the image above? There! This way, you've just sealed the bottom of the clutch purse.
NOTE: Starting and stopping points are approximate. Just make sure it's more than the turning hole you're about to leave later for turning the project right-side out.
Step 8 - Add the Lining Layer

Place the lining SHELL face-down on top of the stack.
Step 9 - Sew Around

Pin in place or use wonder clips to prevent sliding, then stitch around using a ⅜" (1cm) seam allowance.
Leave a 3-inch (8cm) opening at the bottom for turning as indicated in the photo above.

Step 10 - Trim the Seam And turn Right side out
Trim and notch excess seam allowance, then turn right-side-out.

Step 11 - Sew the Gap
Stitch the opening closed, I usually use a ladder stitch.

IMPORTANT: Now flip the pocket to the other side of the pouch, which will reveal the pull tab. (see red arrow) In other words, you know everything is in place when you can see the tab on the outside.
Step 12 - Topstitch

Topstitch all the way around. Here's a popular how-to that can help you with neat seam finishing - especially when you have threads in various colors: How To Finish Seam The Neat Way
Step 13 - Add a KAM snap

The last step is to add KAM snaps. If you haven't done that before, here's an easy tutorial for you.
It's easy and quick! (Warning: you might not want to go back to buttons once you've tried out KAM snaps!)

Enjoy! Make tons of these sweet clutch purses, and use them for anything you can think of!
Save for later:

How Do I get the Free Lili Clutch Pattern?
Looking for an Easy-To-Print PDF tutorial?
Do you want an ad-free, printable copy of this online tutorial? Get it in our shop. Or get the whole →BUNDLE!

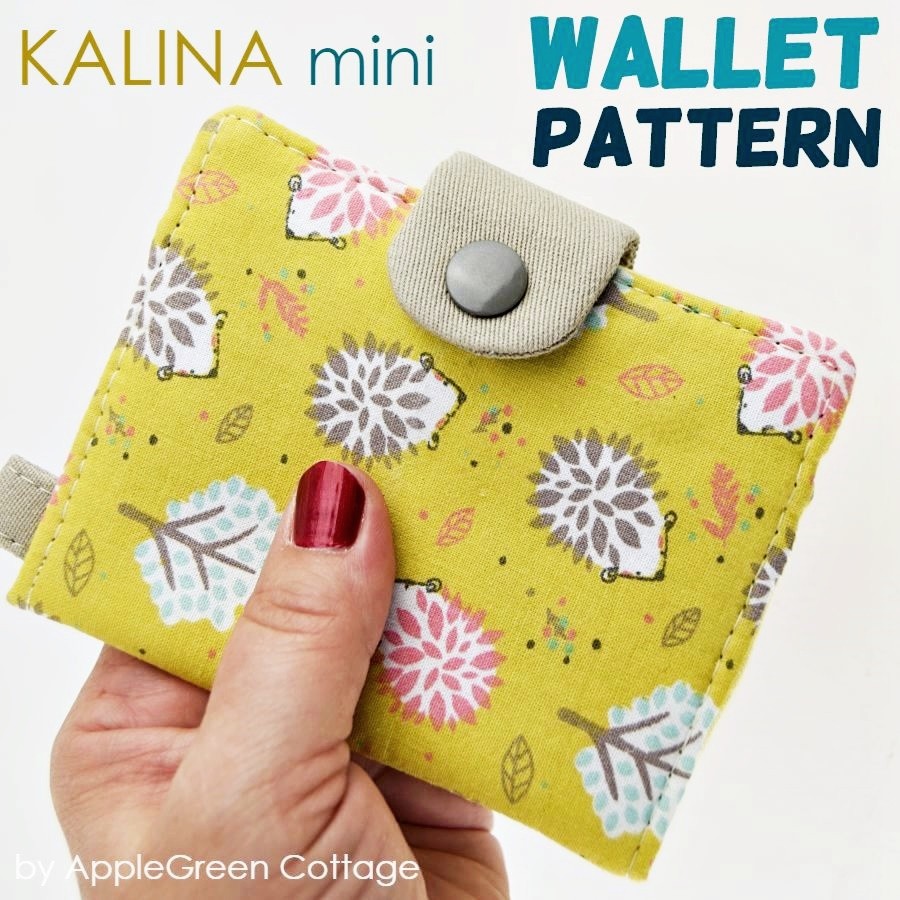
Or …check out this popular PDF pattern - the Kalina Mini Wallet in our shop. So practical!